

Chapter Four: Into the Hotel
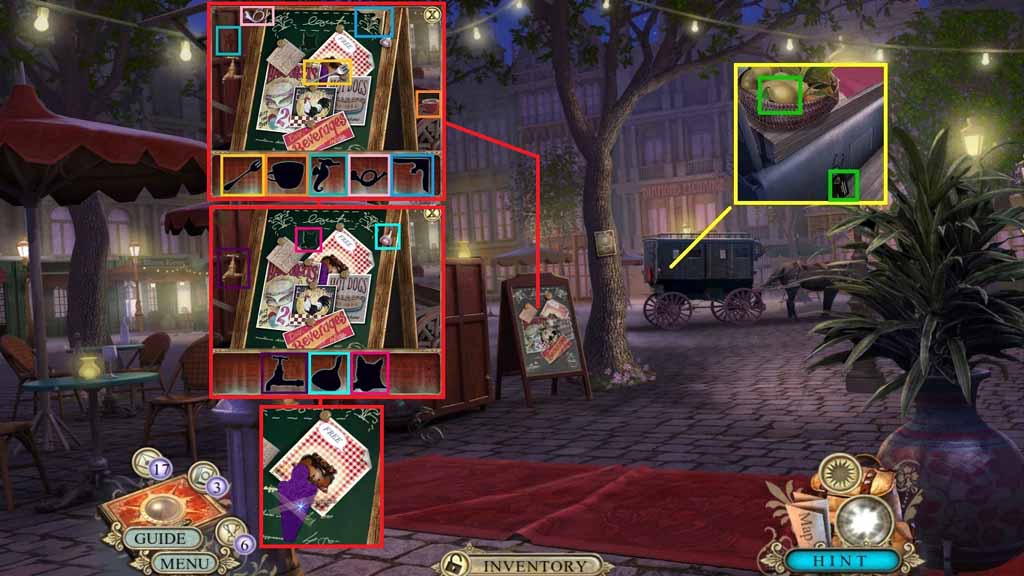
- Click the cloth and collect the lemon.
- Collect the card.
- Click the hidden objects area.
- Find the items.
- Click the papers and collect the poster and the 3/5 glass puzzle pieces.
- Move to the Café.
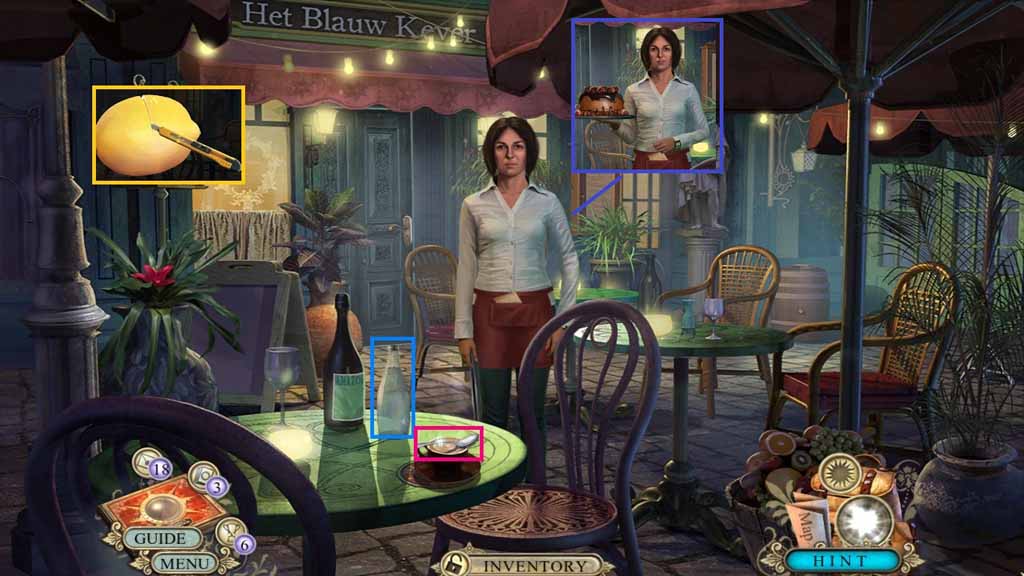
- Click the lemon.
- Select the box cutter slice the lemon and collect the lemon half.
- Collect the water bottle and the cake spoon.
- Give the server the poster and collect the cake and paper.
- Move into the Hotel.
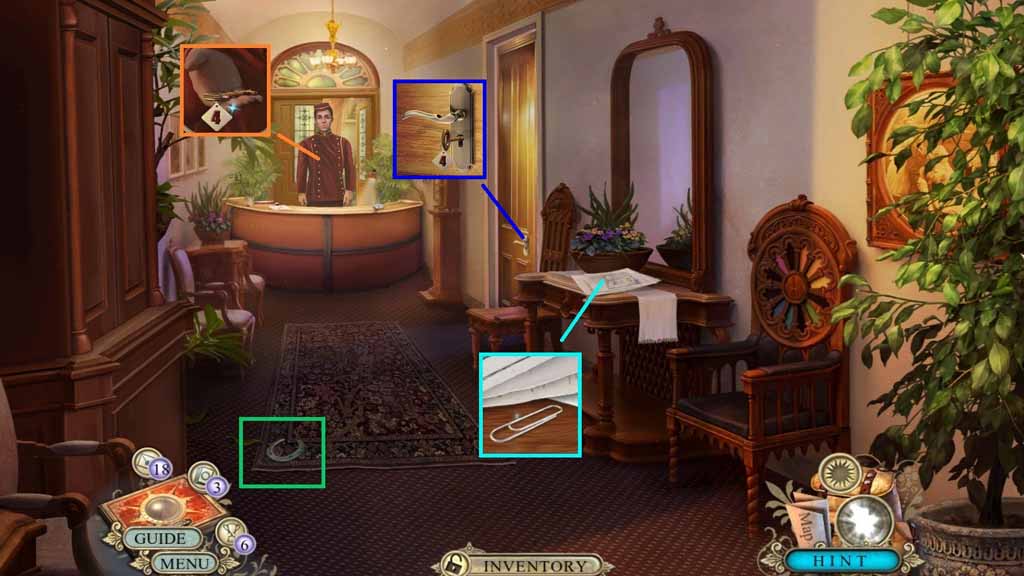
- Give the bellhop the cake and collect the room key.
- Clear the papers and collect the paperclip.
- Collect the 1/2 horseshoes.
- Insert the room key into the lock and into the doorway.
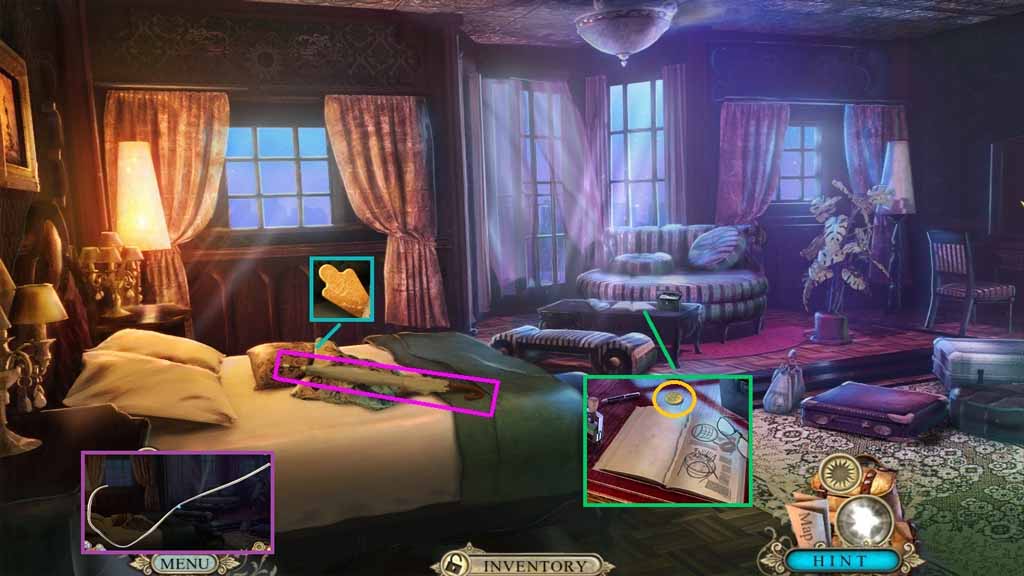
- Collect the umbrella.
- Click the pillow and collect the 4/5 glass puzzle pieces.
- Collect the cracker.
- Click the paperclip and click it three more times to collect the small hook.
- Move to the Café.
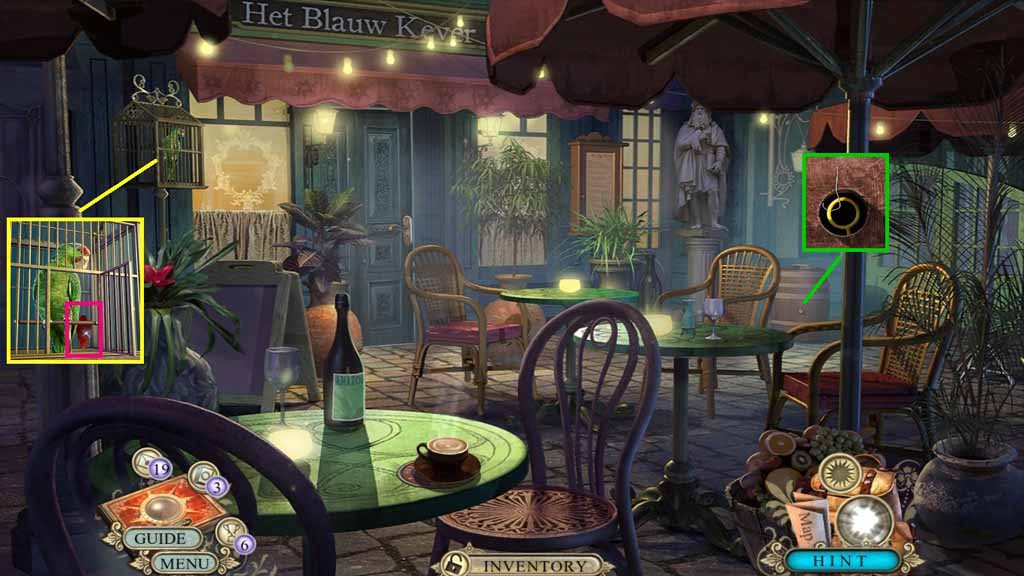
- Click the cage and give the parrot cracker.
- Collect the 5/5 glass puzzle pieces.
- Click the cork and use the small hook to collect the golden magnifying glass.
- Move to the Hotel.
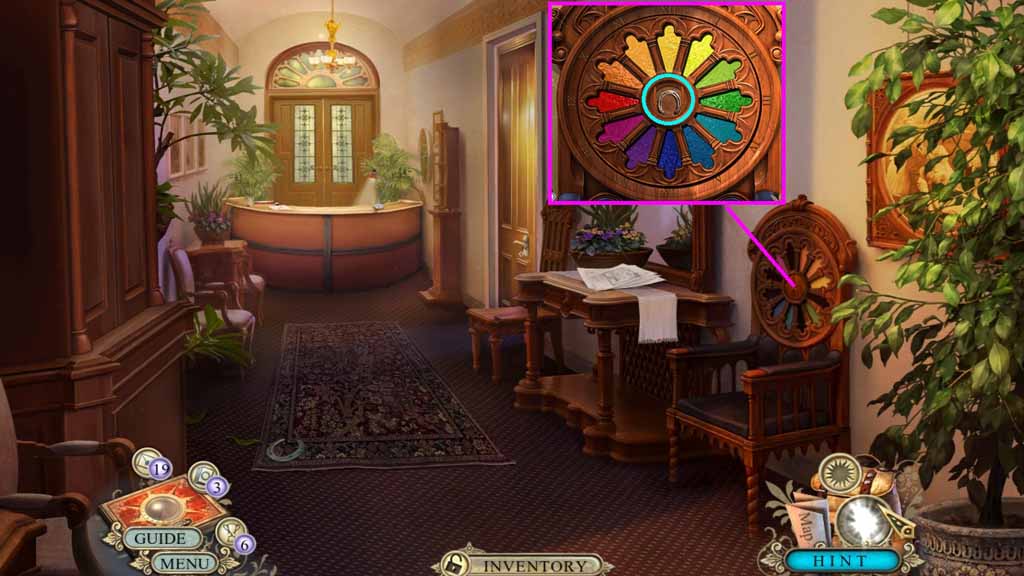
- Insert the five glass puzzle pieces to trigger a puzzle.
- Solve the puzzle by aligning the pieces correctly.
- Collect the 2/2 horseshoes.
- Move to the Town square.
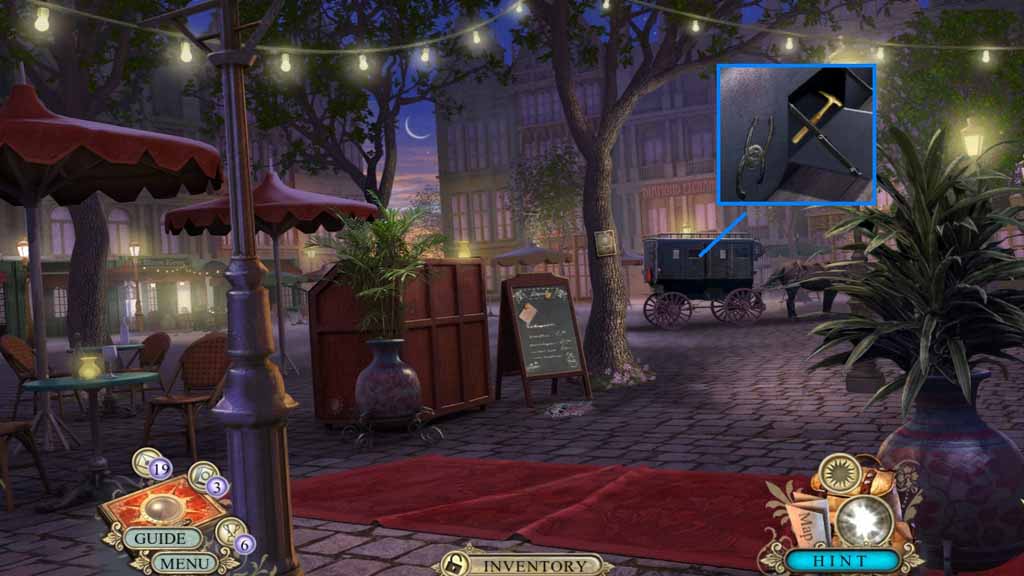
- Insert the two horseshoes into the slot.
- Collect the plate hammer.
- Move to the Hotel room.
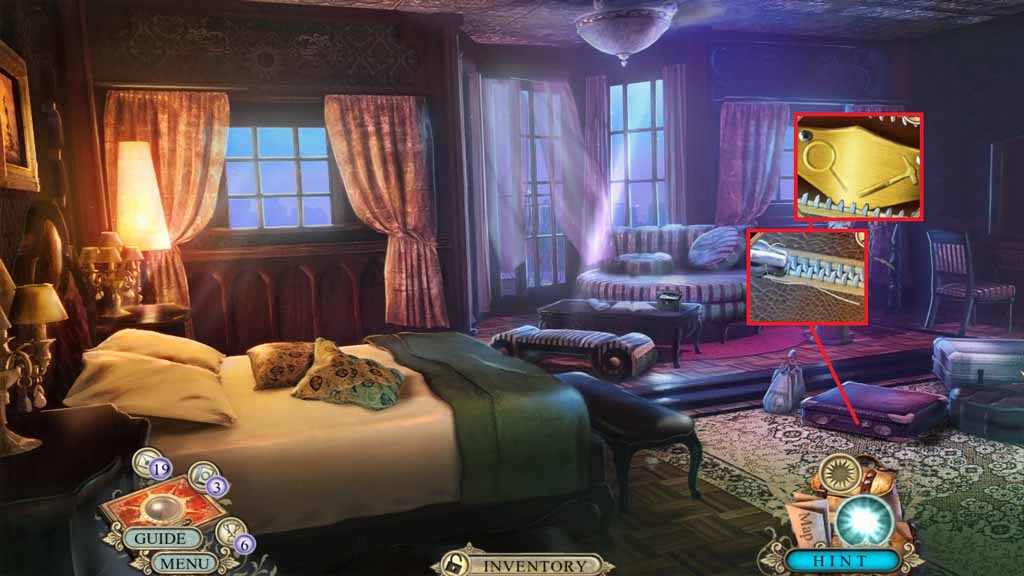
- Attach the small onto the zipper.
- Place the golden magnifying glass and the plate hammer into the slots to trigger a hidden objects area.
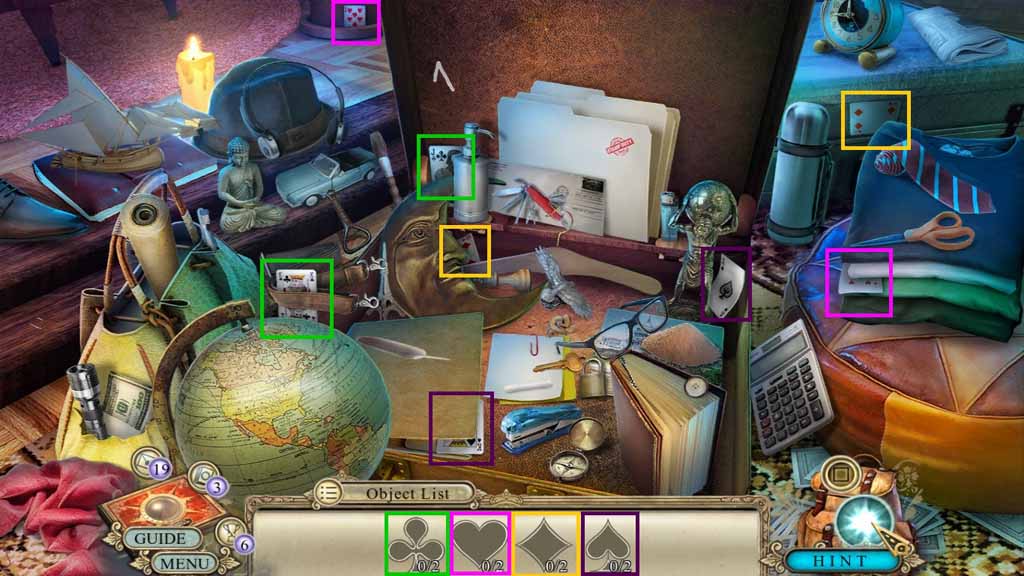
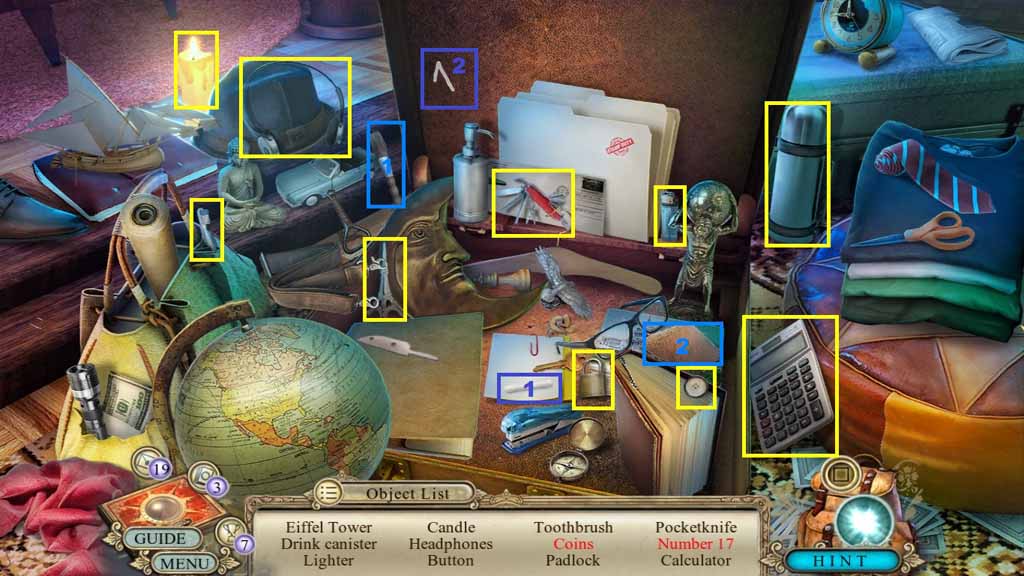
- Find the items shown.
- Find the listed items.
- Select the brush and use it to sweep the sand; collect the coins.
- Select the chalk and use it to complete and collect the number 17.
- Collect the candle.
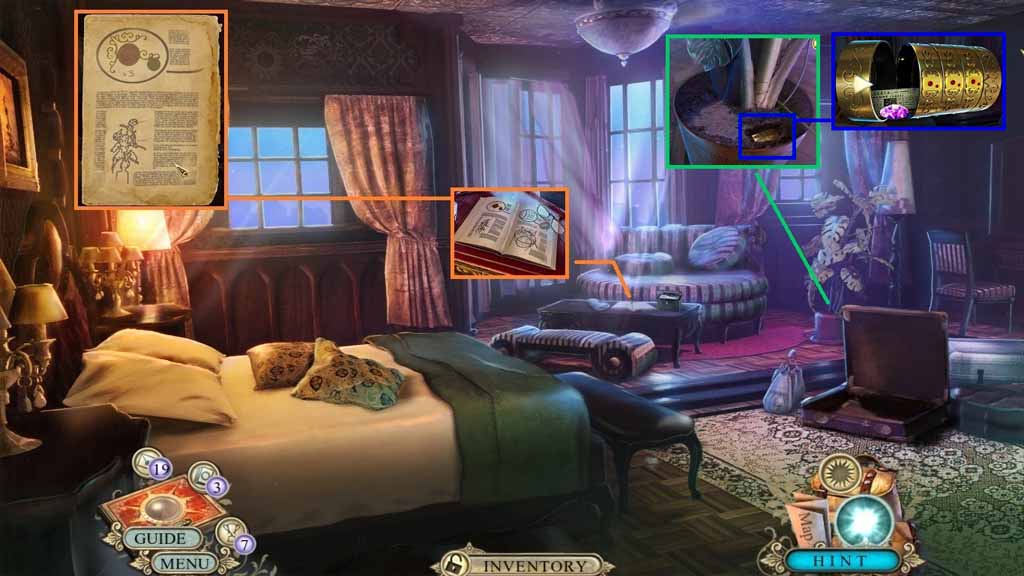
- Click the paper and use the lemon half on it.
- Select the candle to use on the paper and uncover the images; collect the Journal page.
- Insert the Journal page into the Journal and click it once.
- Pour the water bottle and to the soil and use the cake spoon to uncover the small cylinder.
- Click the small cylinder and rotated barrels to show all rubies.
- Collect the amethysts and the note.
Comments will load when you reach this part of the walkthrough.