

Chapter Five: The Estate
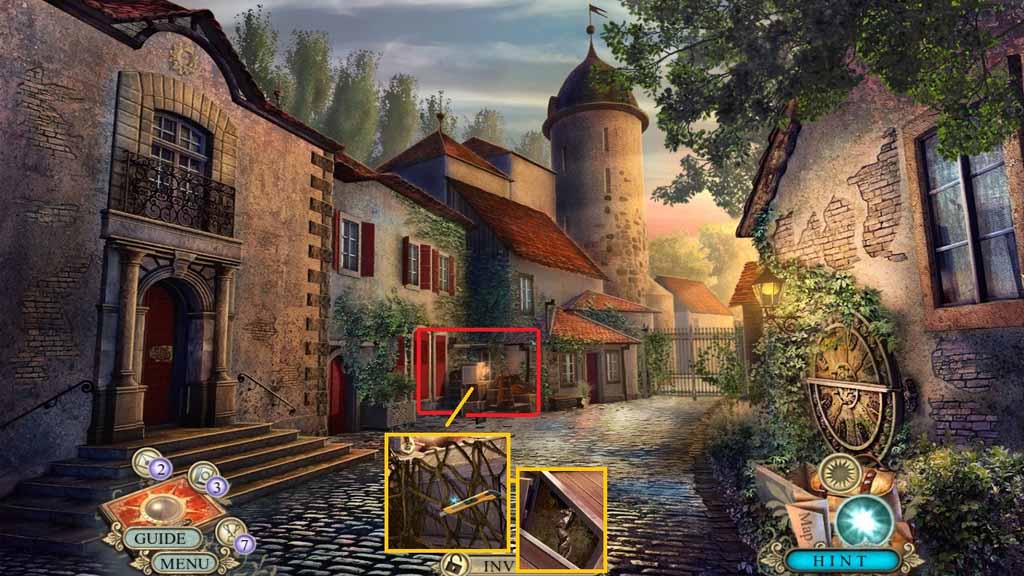
- Select the box cutter to slice the rope.
- Click the crates and collect the horse figurine.
- Zoom into the crates to trigger a hidden objects area.
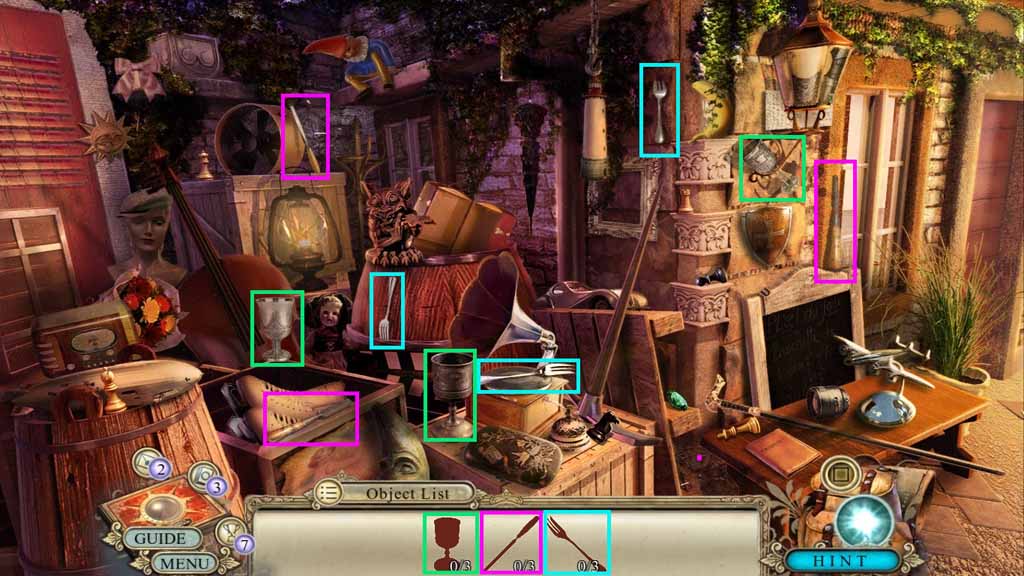
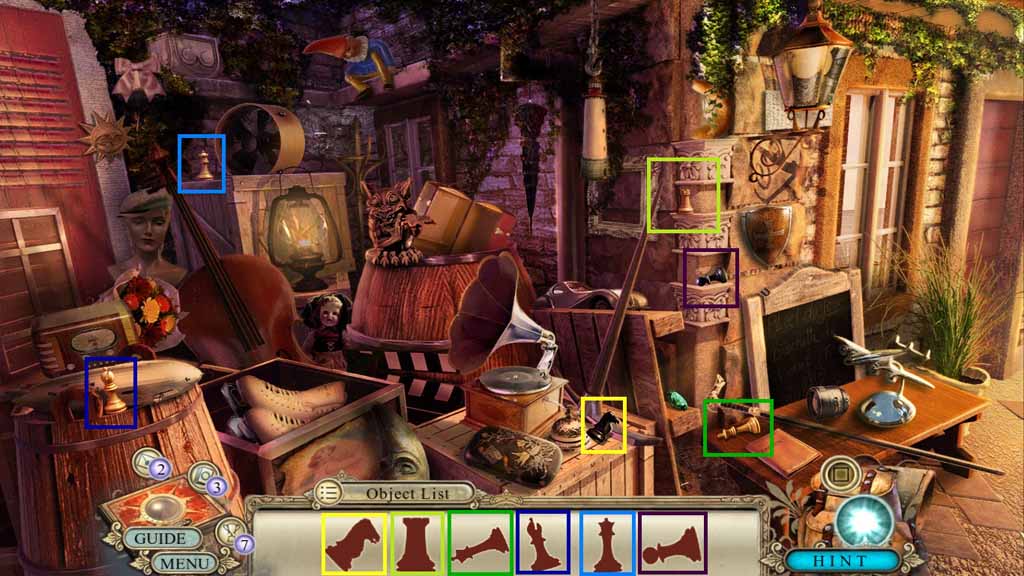
- Find the silhouetted items.
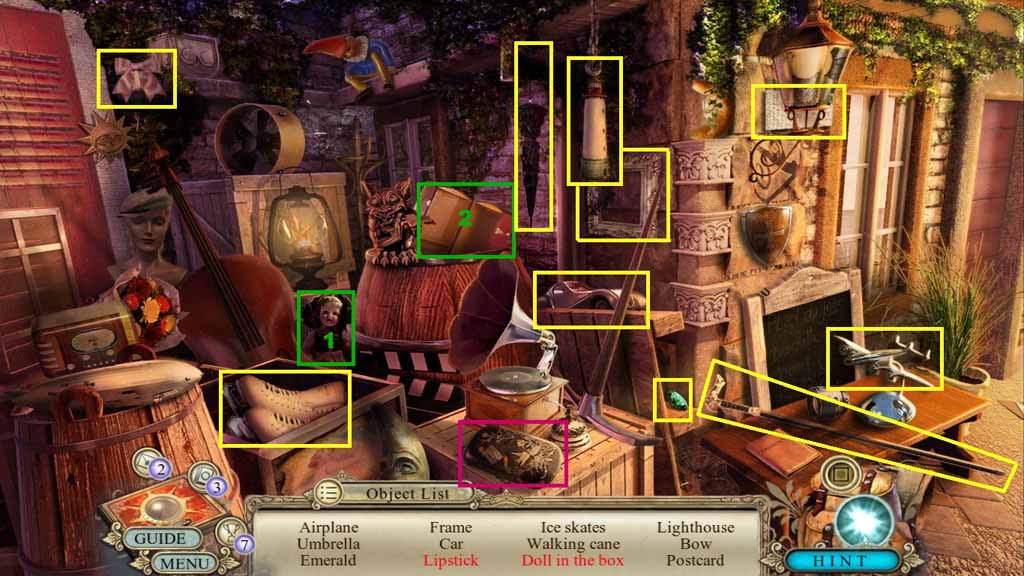
- Find the listed items.
- Click the case; collect the lipstick.
- Select the doll and place it into the box; collect the doll in the box.
- Collect the emerald.
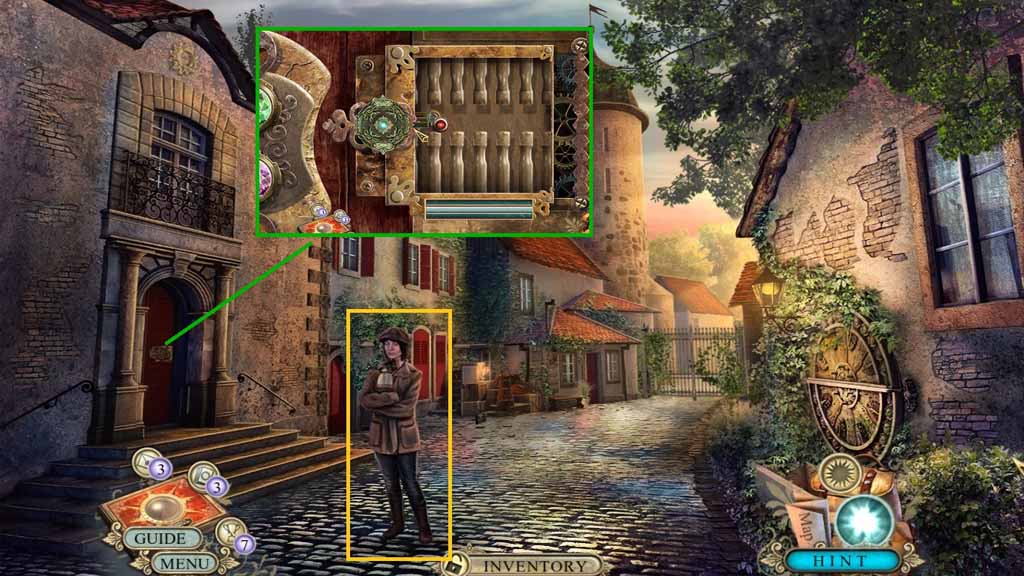
- Speak to the agent.
- Insert the emerald and amethyst into the door to trigger a puzzle.
- Solve the puzzle by moving the lever up-and-down to clear the obstacles.
- Enter the doorway.
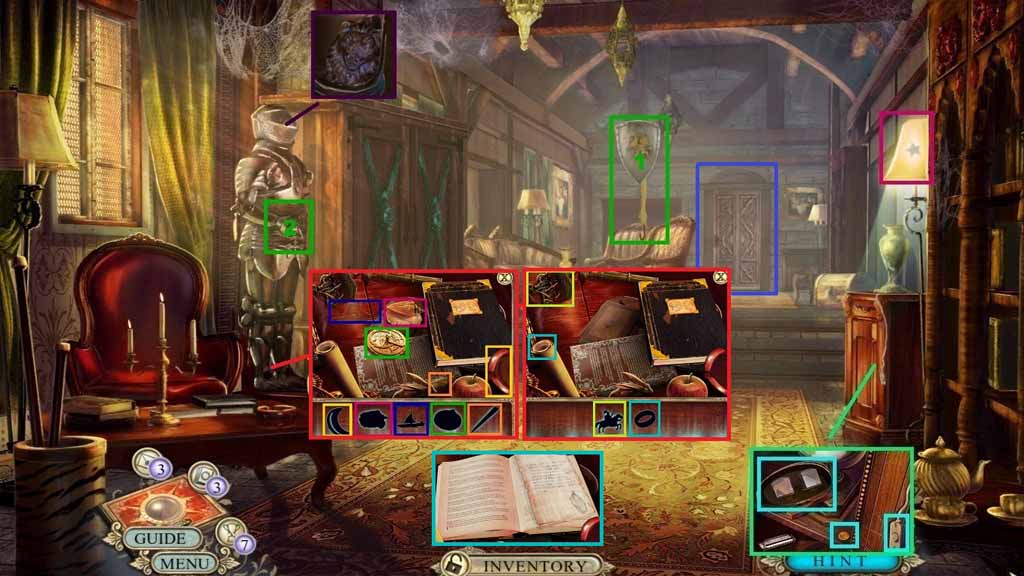
- Click the cabinet door and collect the coin and the stereoscope.
- Click the switch.
- Click the lamp collect the 1/2 small metal stars.
- Select the umbrella to collect the statue shield.
- Attach the statue shield onto the armor and collect the lion head.
- Click the armor base to trigger a hidden objects area.
- Find the items and collect the note and click the book.
- Move through the doorway.
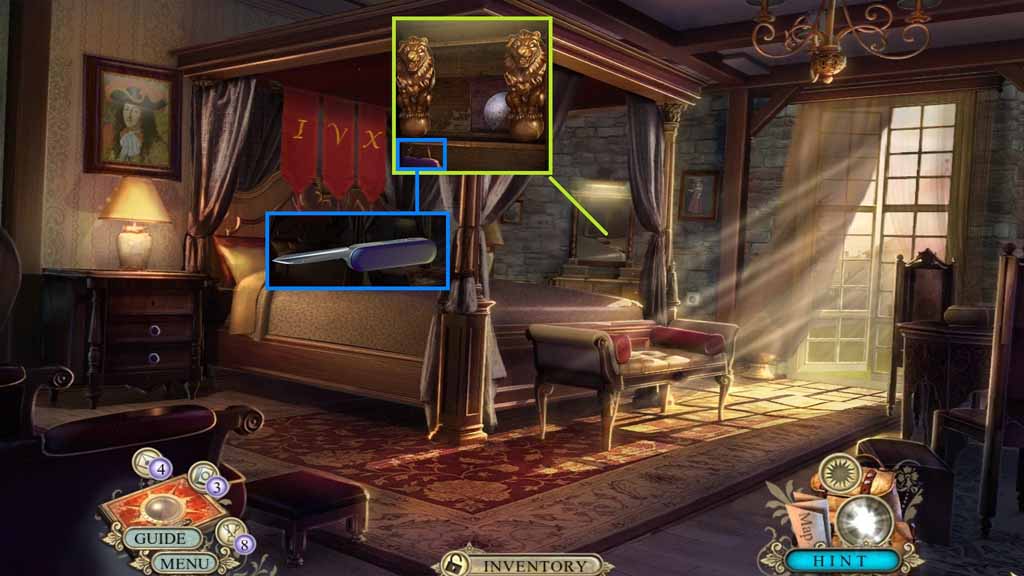
- Use the coin to remove the four screws.
- Collect the multi tool.
- Attach the lion head onto the statue and collect the globe half.
- Click the multi tool.
- Click the blade and collect the pocketknife.
- Move down one time.
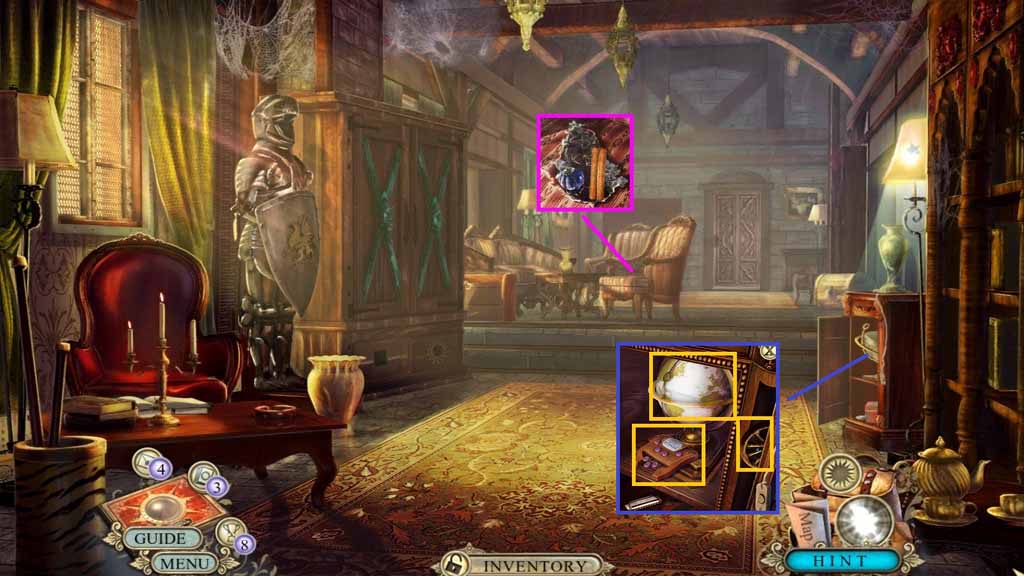
- Select the pocketknife to slice the chair and collect the door handle and the note.
- Attach the globe half onto the globe.
- Click 3 1 4 5 2 5 into the punch key and collect the 1/2 small wheels.
- Move to the Aubonne room.
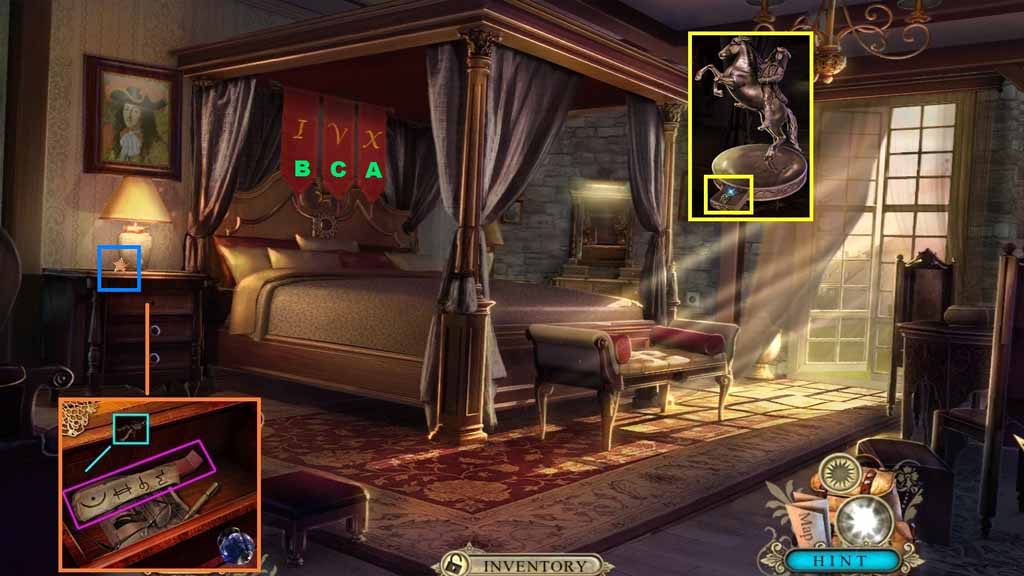
- Attach the drawer handle onto the drawer and click it once.
- Collect the belt and the 2/3 Temple entrance codes.
- Use the pocketknife on the square to collect the horse rider figurine.
- Click the horse figurine and place the horse rider figurine onto.
- Collect the small bronze key.
- Click the flags ABC order.
- Collect the 2/2 small metal star.
- Move down one time.
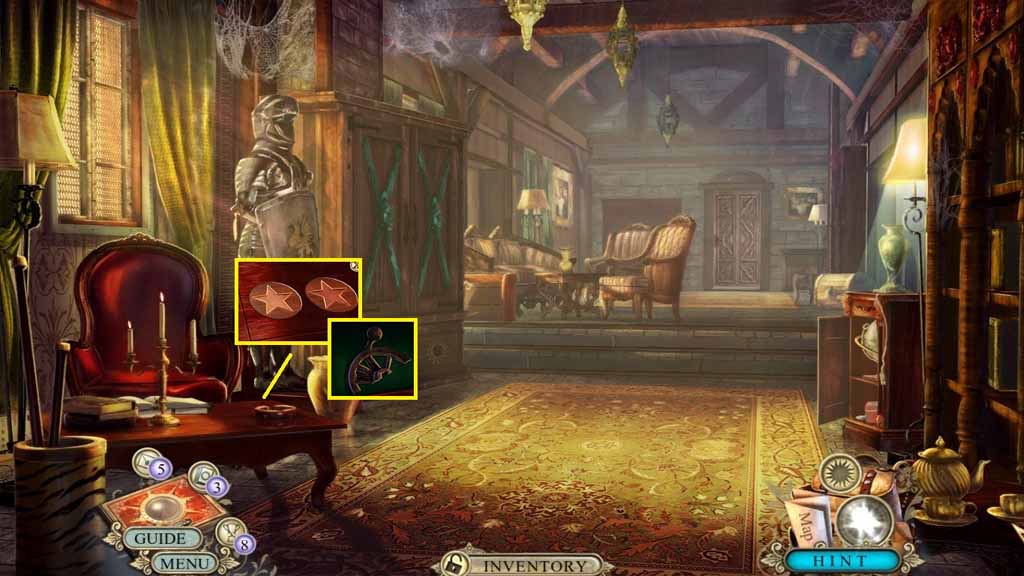
- Insert the two small metal stars into the slots.
- Collect the 2/2 small wheel.
- Move down one time.
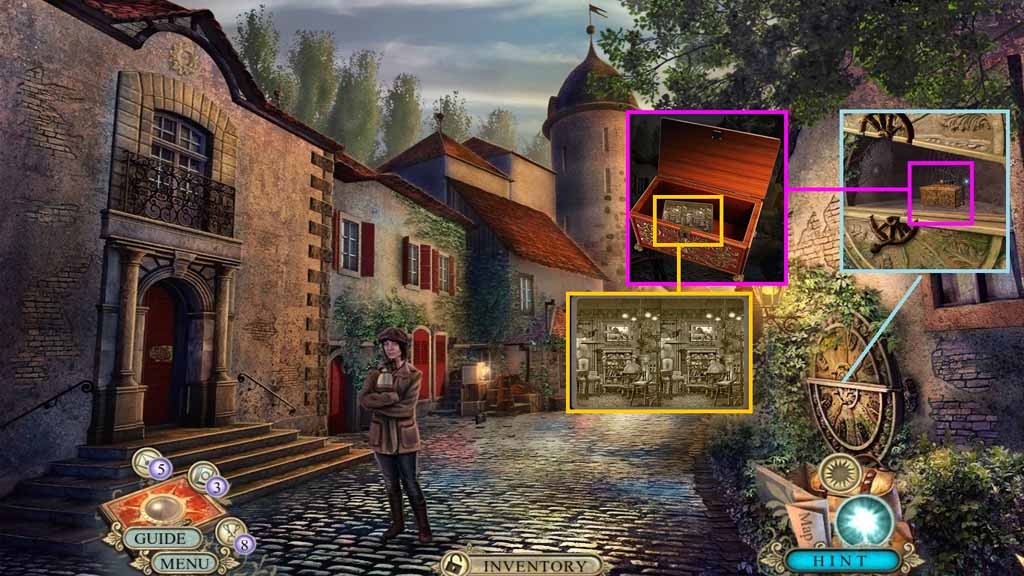
- Attach the small wheel onto the carving.
- Click them and collect the ornate box.
- Click the ornate box and use the small bronze key in the lock.
- Collect the old photo and click it one time.
- Collect the 1/3 diamond shards.
- Move into the Stereoscope booth.
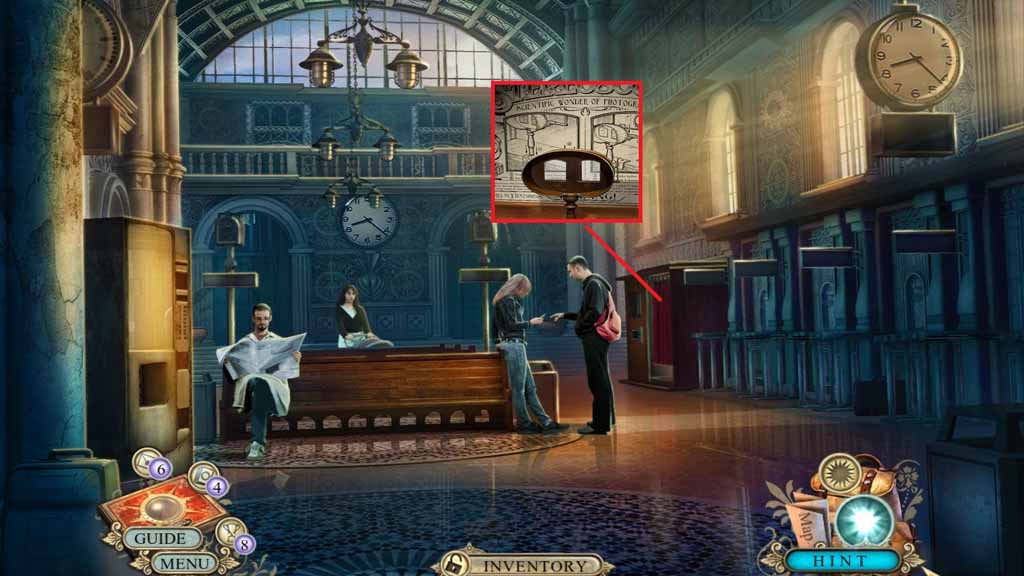
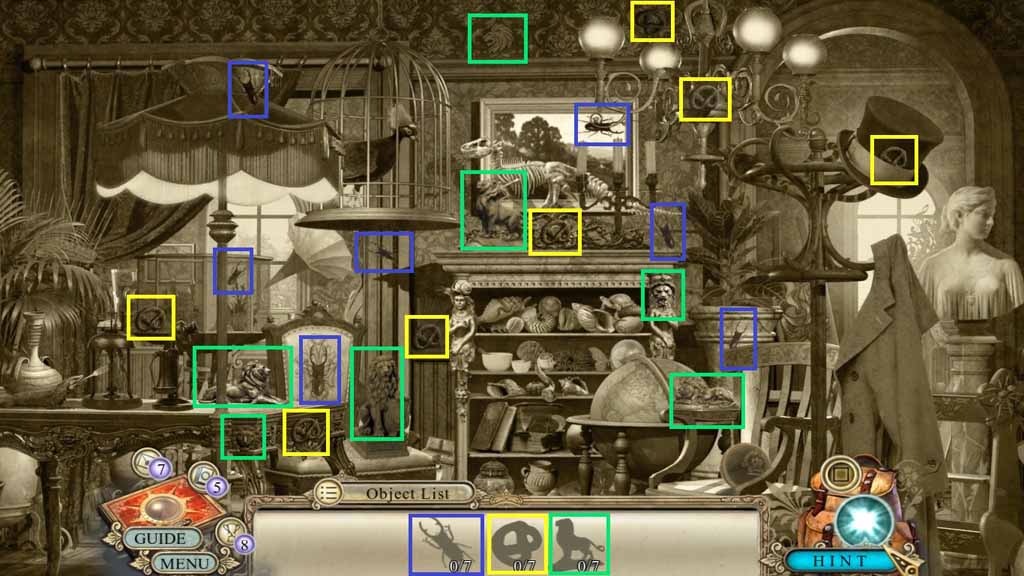
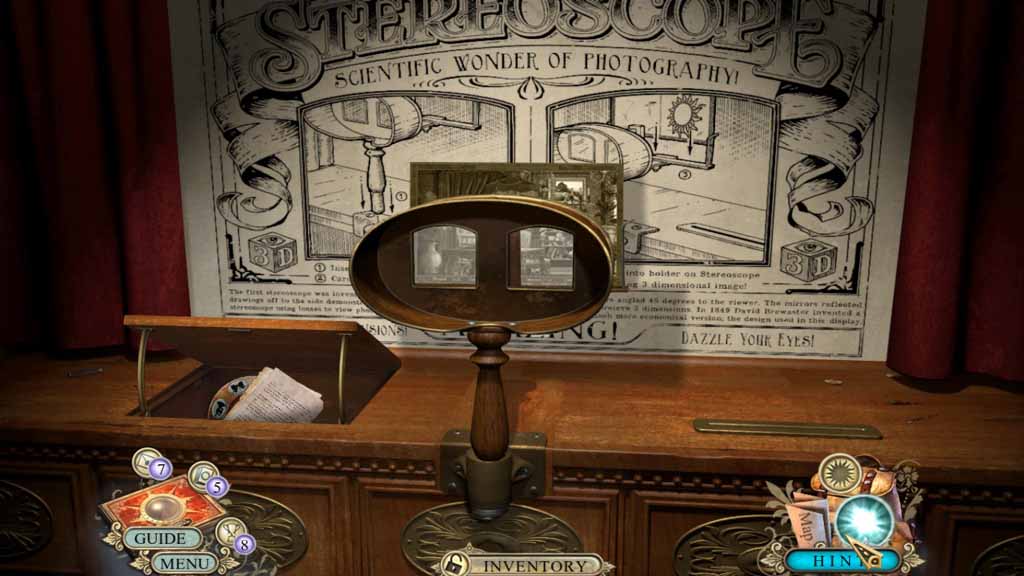
- Attach the stereoscope onto the stand and place the old photo onto it to trigger a hidden objects area.
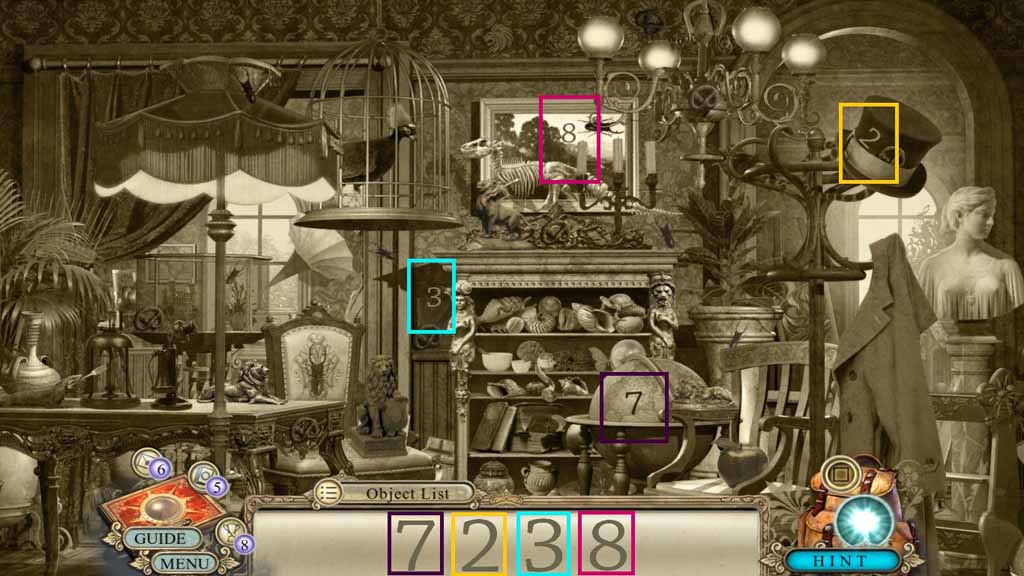
- Find the numbers shown.
- Find the silhouetted items.
- Collect the note and the round piece.
- Exit the scene and speak to the agent.
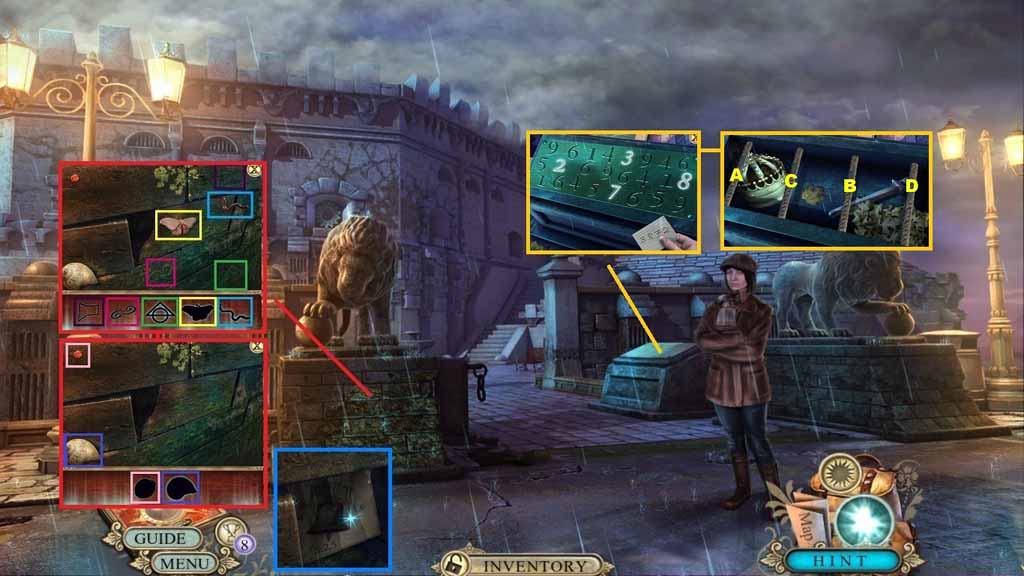
- Zoom into the wall to trigger a hidden objects area.
- Find the items and collect the note.
- Click 3 8 7 2.
- Click the bars in ABC order to collect the small crown and the wrench.
- Move inside the Fort.
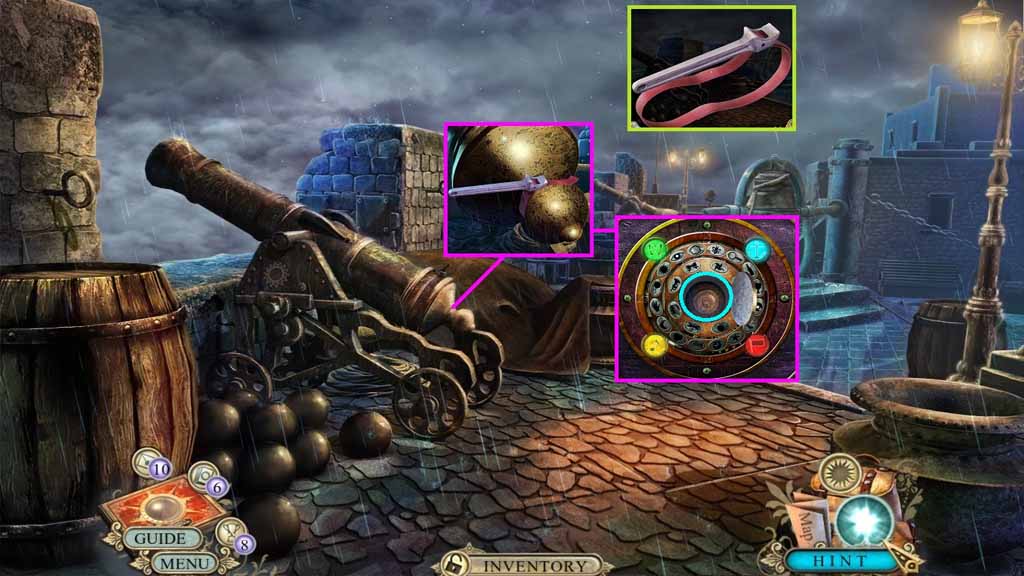
- Click the wrench and attach the belt to collect the belt wrench.
- Select the belt wrench to use on the cannon.
- Click the latch and attach the round piece to trigger a puzzle.
- Solve the puzzle by rotating the wheels so that the items are aligned correctly.
- Collect the Bell Clapper.
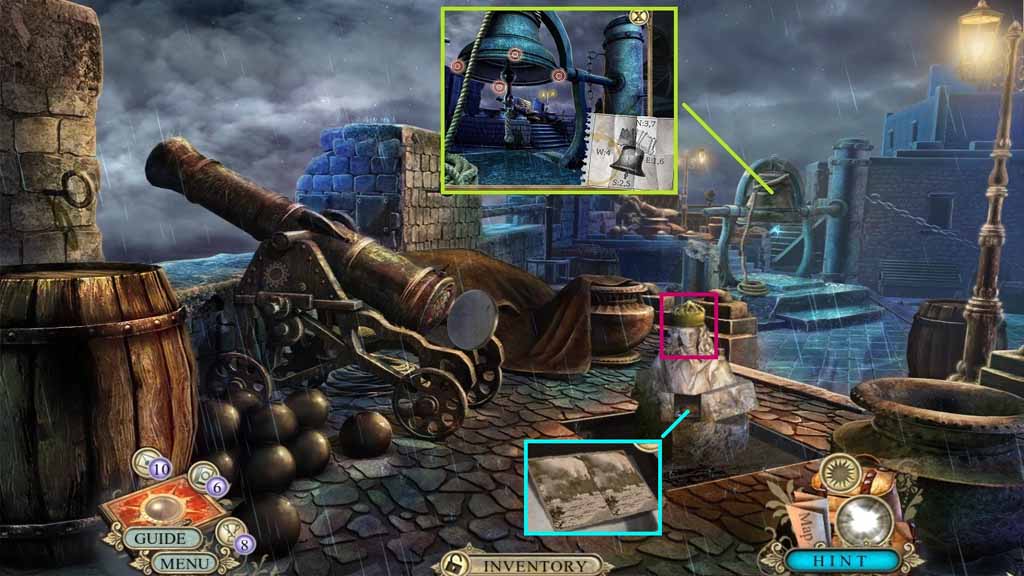
- Attach the Bell Clapper onto the Bell.
- Click the Bell buttons based on the clue: E – S – N – W – S – E – N
- Place the small crown onto the statue and collect the Toulon photo and the 2/3 diamond shards.
- Move down one time.
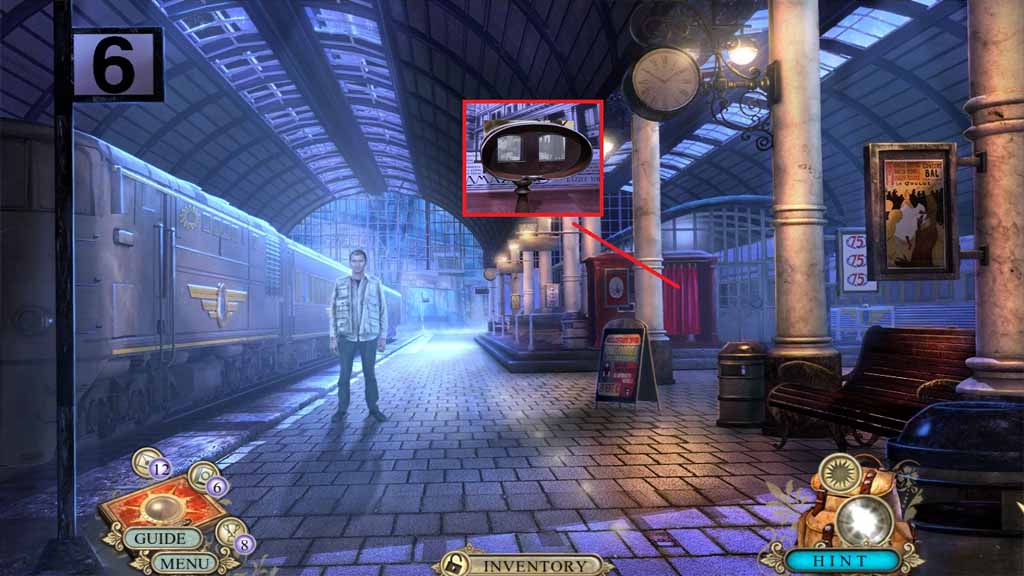
- Enter the stereoscope booth.
- Place the Toulon photo into the viewer to trigger a hidden objects area.
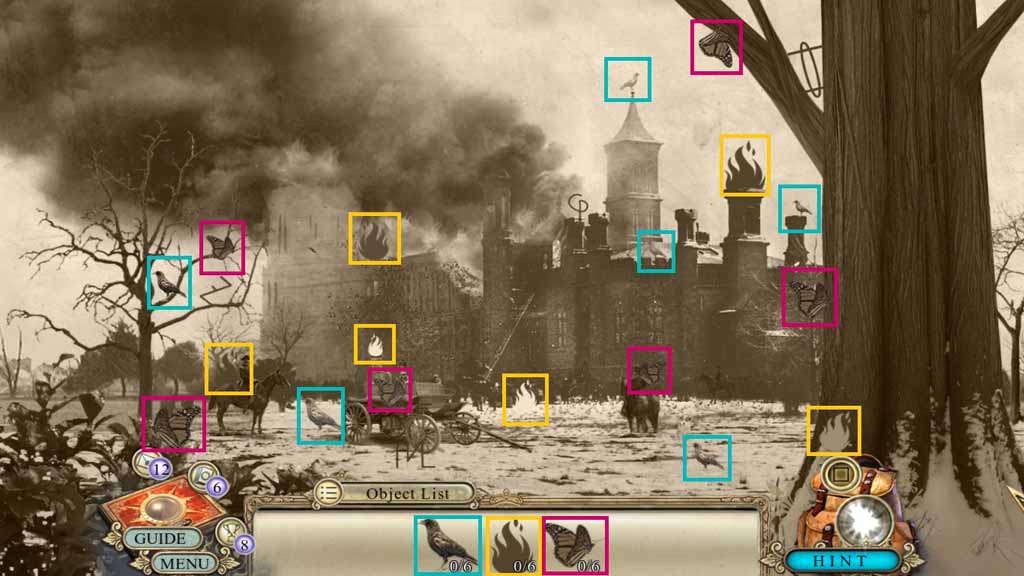
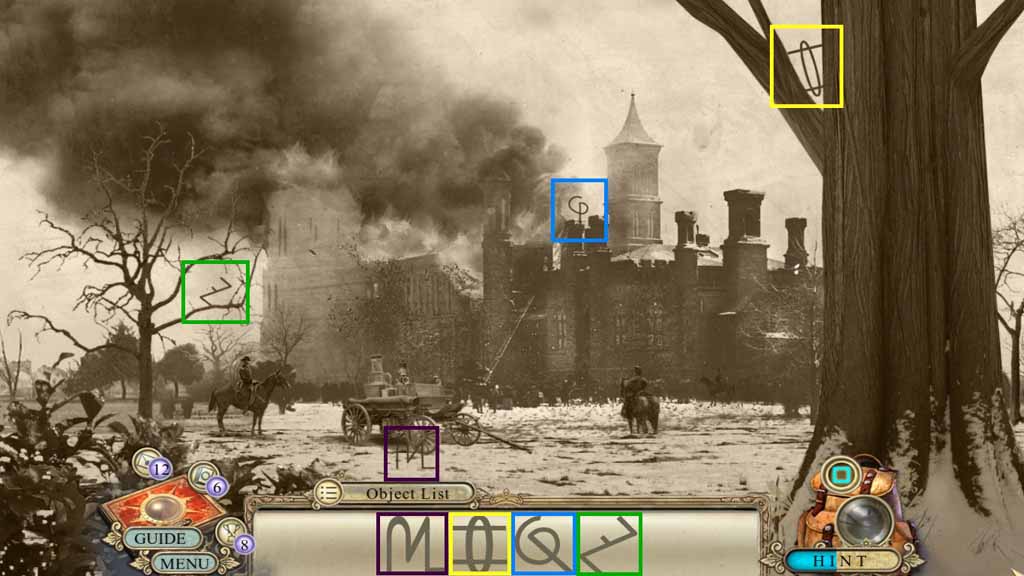
- Find the silhouetted items.
- Find the symbols.
- Collect the entrance code.
- Exit the scene.
Comments will load when you reach this part of the walkthrough.