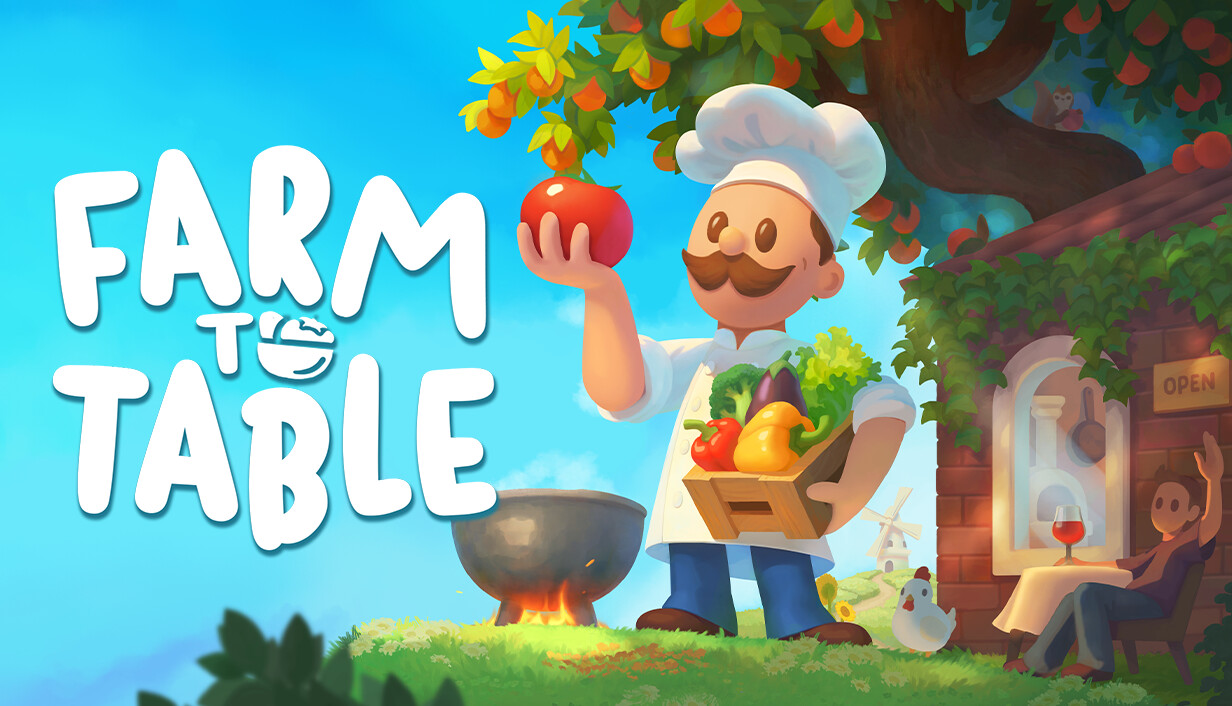
Starter Recipe Tracking and Menu Planning
Farm to Table can make a cozy kitchen feel messy fast. One customer wants dinner, one shelf has a lonely mushroom, and your menu suddenly needs more than your farm can supply. Slow down before you open. A strong menu is not the longest list of dishes. It is the short list your crops, storage, machines, and cooking stations can support without sending everyone into a panic.
As of June 11, 2026, Farm to Table is listed on Steam as an Early Access game, so exact recipe values, unlock order, prices, timers, staff behavior, and menu tools may change by build. In this guide, a recipe means a named dish your restaurant can cook, serve, or plan around. A station means the cooker, baking setup, grill, or machine chain shown on the recipe card or menu UI. If you are building your own full recipe list, tie every detail to the build where you saw it.
Recipe List and All Recipes Tracker
This is a working early-access tracker, not a complete all-recipes database. Use it as the format for your own Farm to Table recipe list. Treat a recipe as verified only after the named card or clear recipe result appears in your save, then copy the exact name, ingredients, station, and unlock source before using it during service.
| Recipe or Status | Ingredients | Station | Unlock or Source | Menu Planning Notes |
|---|---|---|---|---|
| Named starter recipe | Copy each ingredient and count from the visible recipe card. | Use the station or machine chain shown by the card. | Visible starter card, recipe discovery, research tree prompt, or other in-game prompt. | Safe for early service only if the ingredients are already harvested, stored, and near the station. |
| Crop-based recipe | Record the exact crop and any extra ingredients shown by the card. | Use the station shown by the card. | Crop testing, recipe discovery, or a prompt shown in your save. | Good to test early, but only add it to the menu after reserved stock and service stock are separate. |
| Machine-output recipe | List both the farm ingredient and the processed item the machine creates. | Machine chain plus the final cooking station. | Machine route or ingredient testing after the machine is available. | Do not add it to the menu until the machine chain is stocked before opening. |
| Renamed discovered recipe | Keep the card ingredients unchanged in your notes. | Keep the original station listed too. | Any discovered recipe that you renamed after unlocking. | Write both the custom name and the original card name so later menu checks stay clear. |
| Unconfirmed recipe test | Unconfirmed until your save shows a named or clearly usable result. | The station where you are testing ingredients. | Ingredient experiment, missing ingredient, or not-yet-discovered combination. | Do not plan service around it. Test it outside the dinner rush, then update the list when it becomes reliable. |
Starter Recipe Card Log
Do not trust a starter dish until its card or recipe result is visible in your own save. When a test turns into a named dish, write it down right away. Use this card log for each recipe before you place the dish on a busy service menu.
| Recipe | Ingredients | Station | How to Unlock | Value or Pressure Note | Menu Role |
|---|---|---|---|---|---|
| Use the exact recipe name shown on the card. | Record each ingredient and count. | Record the cooker, oven, grill, or machine chain required. | Write how it appeared: recipe discovery, research prompt, machine route, or ingredient test. | Add sale value, cook time, dish type, or ingredient pressure only when the card shows it. | Mark whether it is safe for early service, better as a backup, or too hungry for your current farm. |
What Is Safe to Plan Around First
- Check current orders, recipe prompts, and the menu screen before cooking for service.
- Test one new ingredient or processed output at a time. Record the result only after your save shows a named card or clear recipe result.
- Treat cooking a recipe and putting it on the active menu as two separate checks. Confirm the dish is on the menu screen before opening.
- Keep ingredients you are saving for unlocks or research out of the service pile unless you have extras.
- Recipe renaming exists for discovered recipes. If you rename one, keep the original name in your notes too.
- The recipe and menu limit UI supports scrolling for longer lists, but no fixed menu-limit number is worth printing here. Use the limit shown in your current menu screen.
Menu Setup Rules
- Keep your active menu small. One reliable dish beats four cute problems.
- Before opening, place each dish ingredient on a shelf crate or other nearby storage close to its station.
- Do not add a recipe if the ingredient is still in the field, still in a machine, or across the room.
- Watch for missing-ingredient, unreachable-target, or blocked-station warnings if staff or stations stop moving.
- If a recipe needs a machine output, stock the machine chain before you open. An idle machine is just expensive decor with a job title.
For a new player, the clean first plan is one known dish plus one backup ingredient chain. Put the main ingredient beside the cooking station, keep reserved crops separate from your service stash, and open only when you can cook several orders without leaving the kitchen path. That simple loop matters: backyard crop, station, plate, coins, then more fields, staff, machines, and higher reputation.
If service stalls because the menu drained your pantry, recover small. Remove the newest or hungriest recipe, restock one dependable ingredient chain, and reopen with only dishes you can cook from nearby storage. The goal is not dry min-maxing. The goal is to keep your handmade coastal restaurant calm between rushes, instead of asking one shelf to carry too many ingredients and a dessert dream at the same time.
Comments will load when you reach this part of the walkthrough.