

Chapter Nine: The Tower
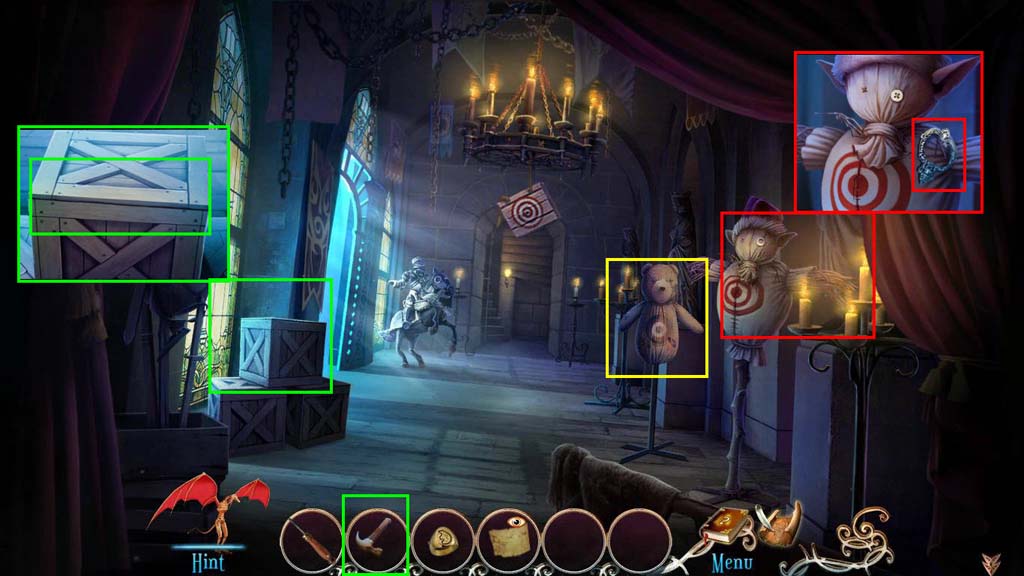
- Take the Scarebear.
- Click to zoom in on the crates.
- Use the Hammer on the crate.
- Take the Music Sheet.
- Click to zoom in on the dummy.
- Take the Door Handle.
- Go forward.
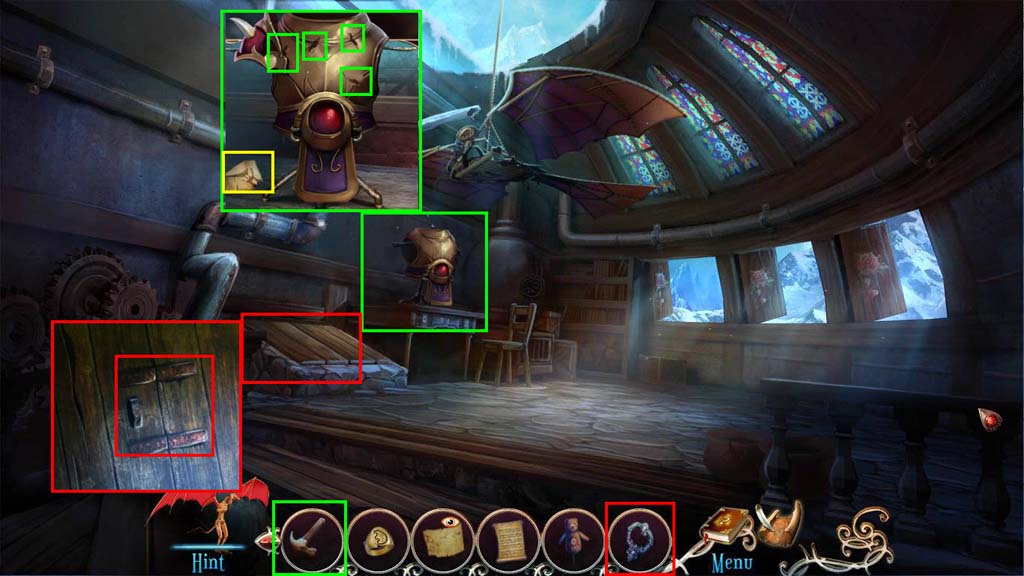
- Click to zoom in on the armor.
- Read the note.
- Use the Hammer on the dents.
- Take the Breastplate.
- Click to zoom in on the trapdoor.
- Use the Door Handle on the door.
- Play the HOG.
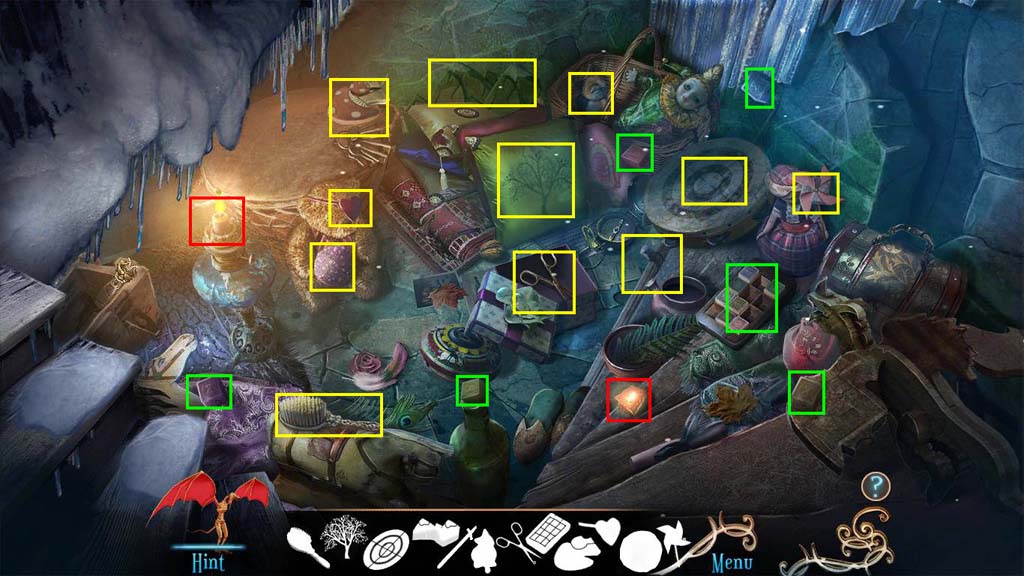
- Find all the items.
- You will receive the Scissors.
- Go to the Ledge.
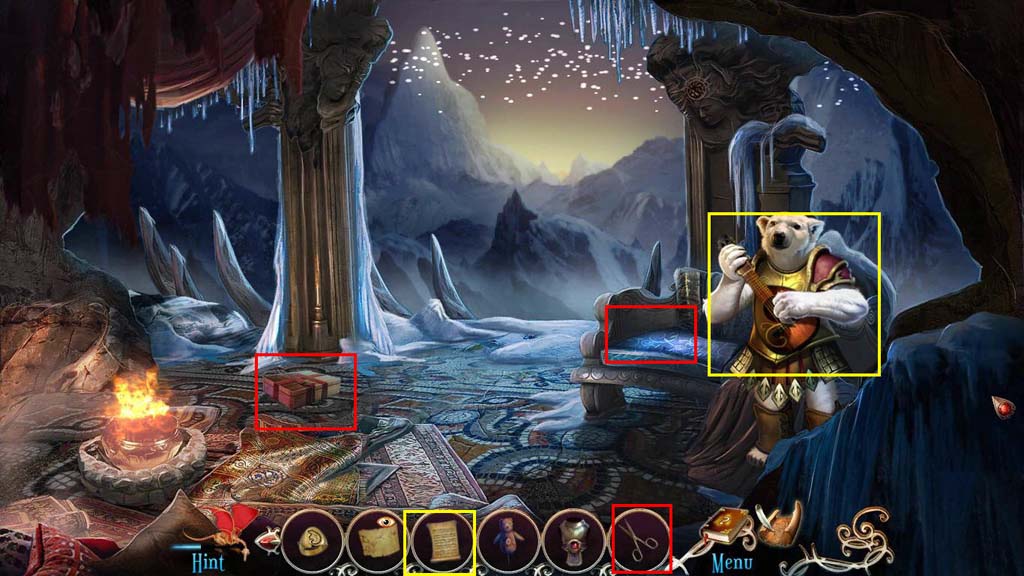
- Give the Music Sheet to the Bear.
- Click on the box on the ground to zoom in.
- Use the Scissors to open the box.
- Take the Needle and Thread.
- Click to zoom in on the seat.
- Use the Scissors on the cushion.
- Take the Cottons Stuffings.
- Go to the Battleroom.
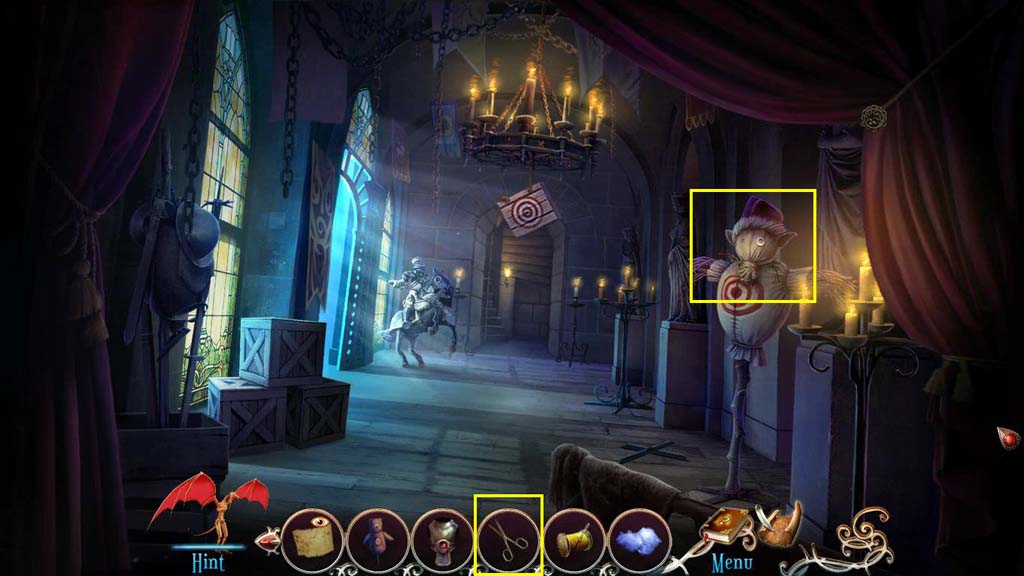
- Click on the dummy to zoom in.
- Use the Scissors on the button to get the Clothes Button.
- Go to the Cabin Clearing.
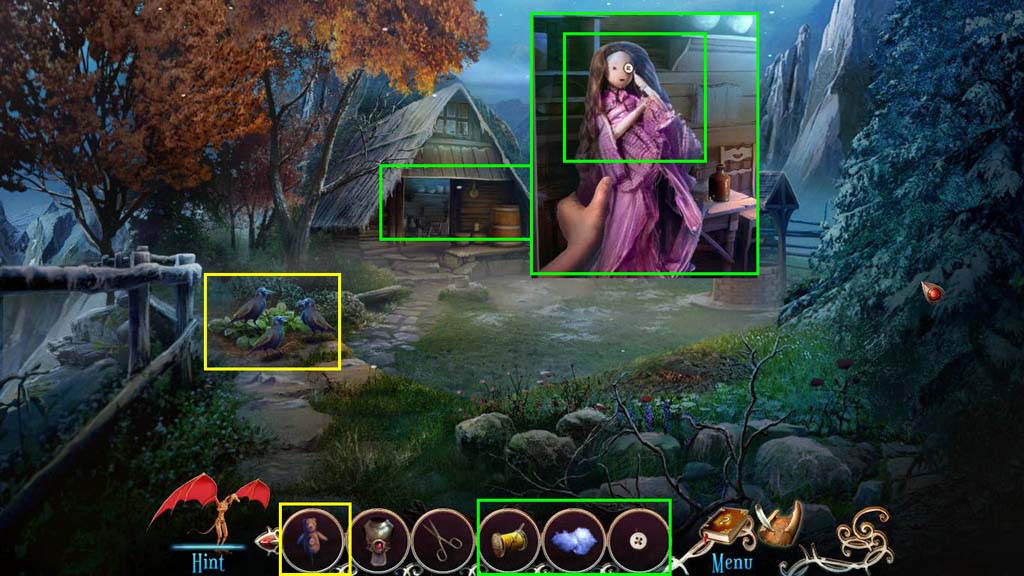
- Use the Scarebear where the birds are.
- Click on the cabin to zoom in.
- Use the Clothes Button on the doll.
- Use the Needle and Thread on the button.
- Use the Cotton Stuffings on the doll.
- Use the Needle and Thread on the doll.
- Take the Crossings Doll.
- Go to the Vault of History.
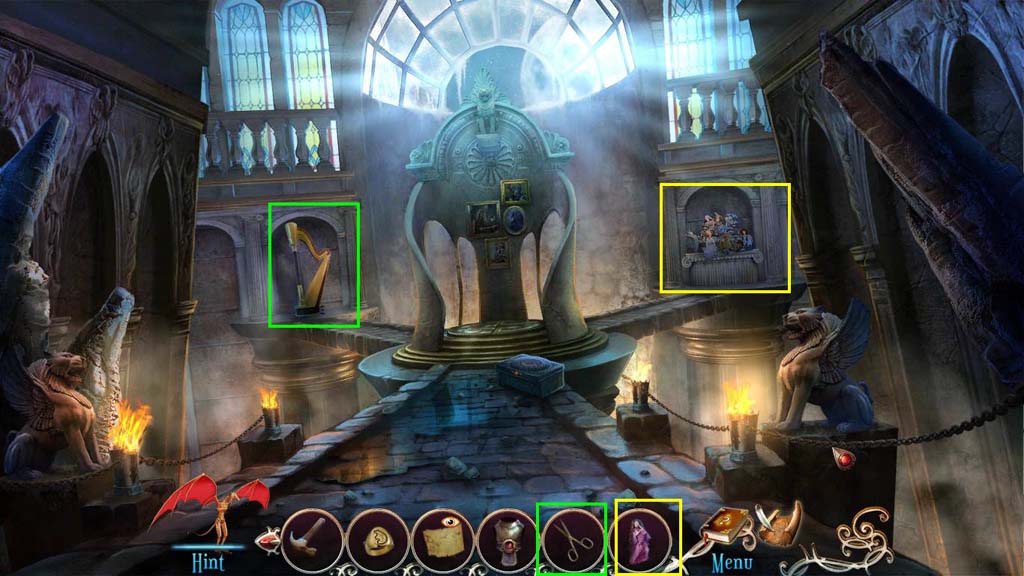
- Click to zoom in on the harp.
- Use the Scissors on the Harp.
- Take the Instrument String.
- Click to zoom in on the dolls.
- Use the Crossing Doll on the dolls.
- Take the Gem.
- Go to the Ledge.
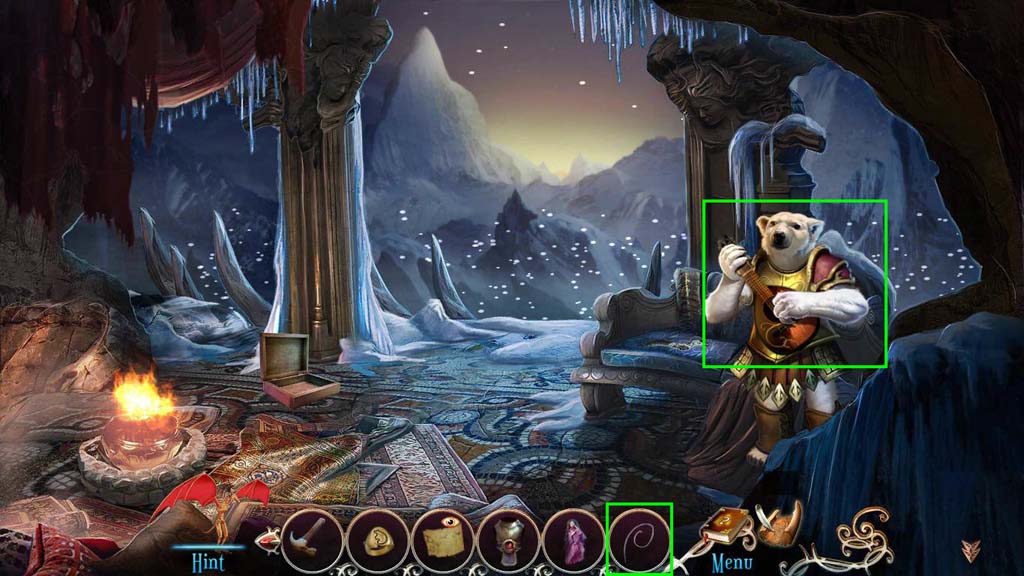
- Give the Instrument String to the Bear.
- You will receive the Lucky Pin.
- Go to the Throne Room.
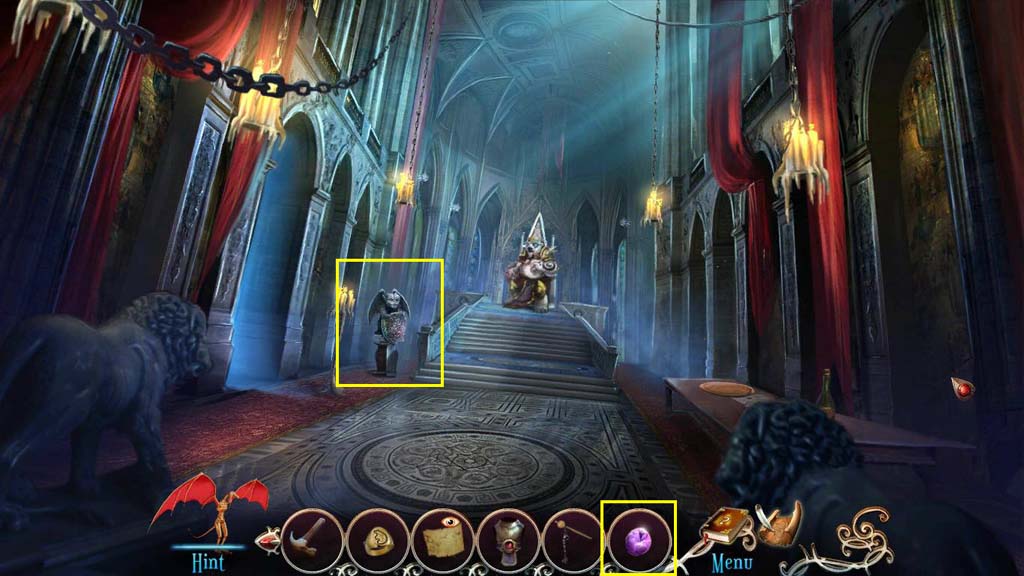
- Click to zoom in on the gargoyle.
- Use the Gem on the Gargoyle.
- Take the Shield.
- Go to the Battleroom.
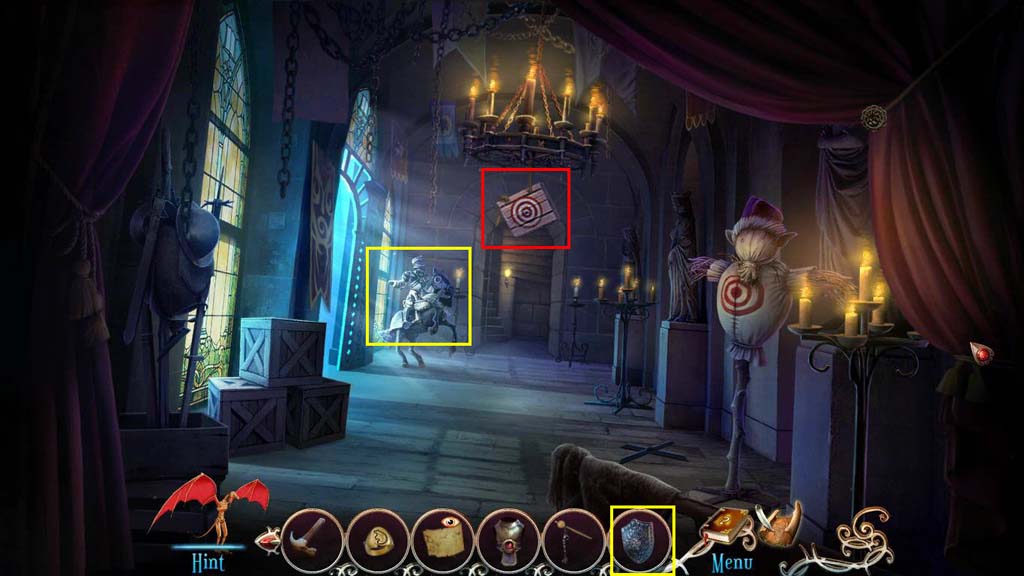
- Click on the knight to zoom in.
- Use the Shield on the knight.
- Take the Crossbow.
- Use the Crossbow on the target.
- Take the Throwing Knife.
- Go to the Spire Lobby.
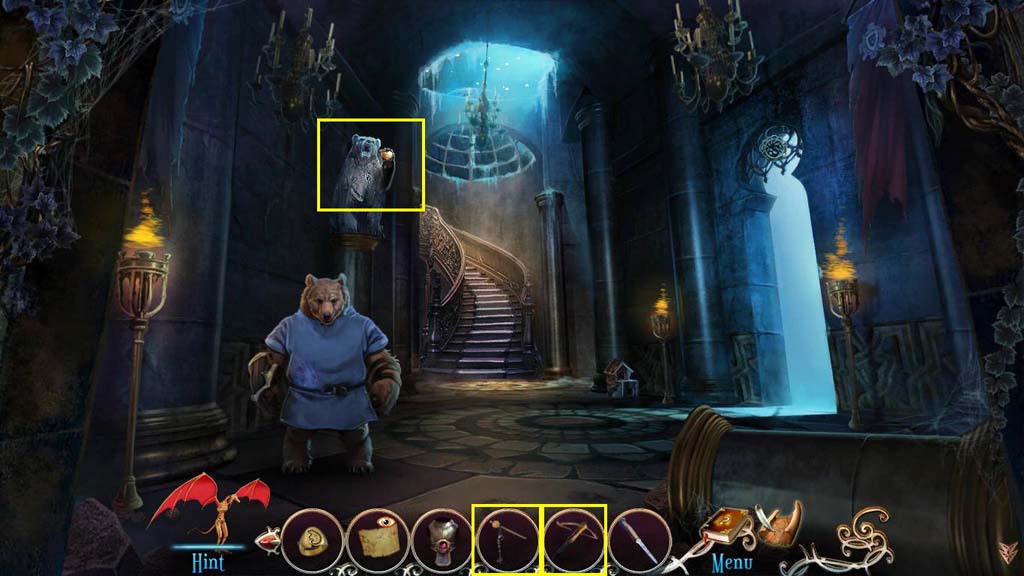
- Click to zoom in on the bear statue.
- Use the Crossbow on the heart.
- Click to zoom in on the heart.
- Use the Lucky Pin on the heart.
- Take the Bear Heart.
- Go to the Vault of History.
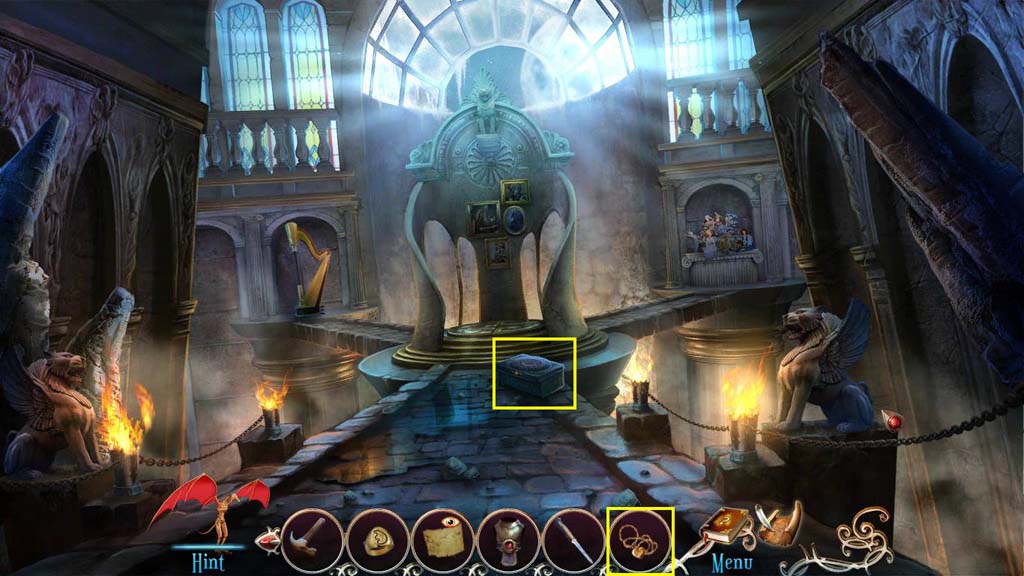
- Click to zoom in on the chest.
- Use the Bear Heart on the chest.
- Take the Helmet.
- Go to the Spire Lobby.
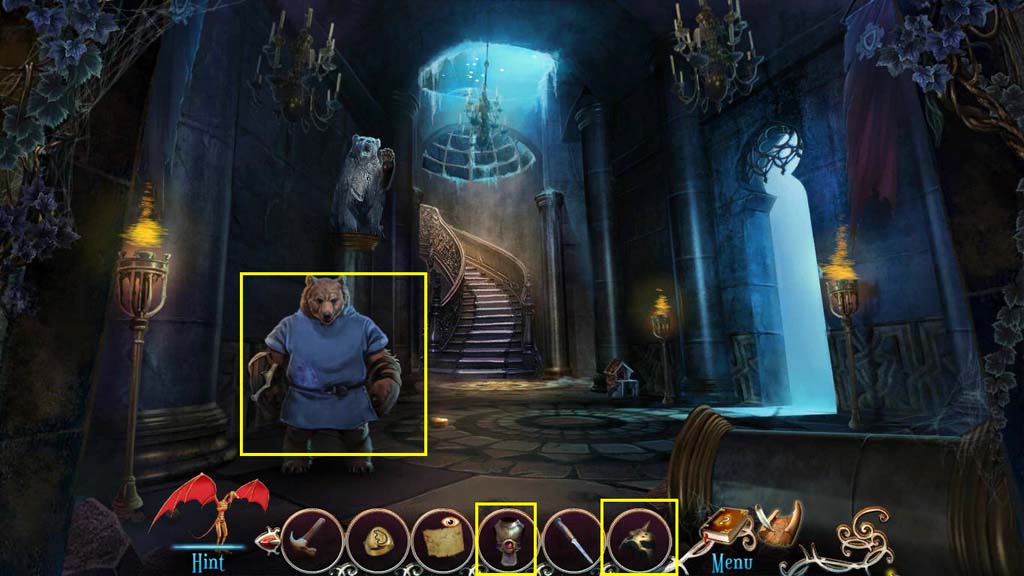
- Give the bear the Breast Plate and the Helmet.
- Take the Fur Pouch.
- Go to the Cabin Clearing.
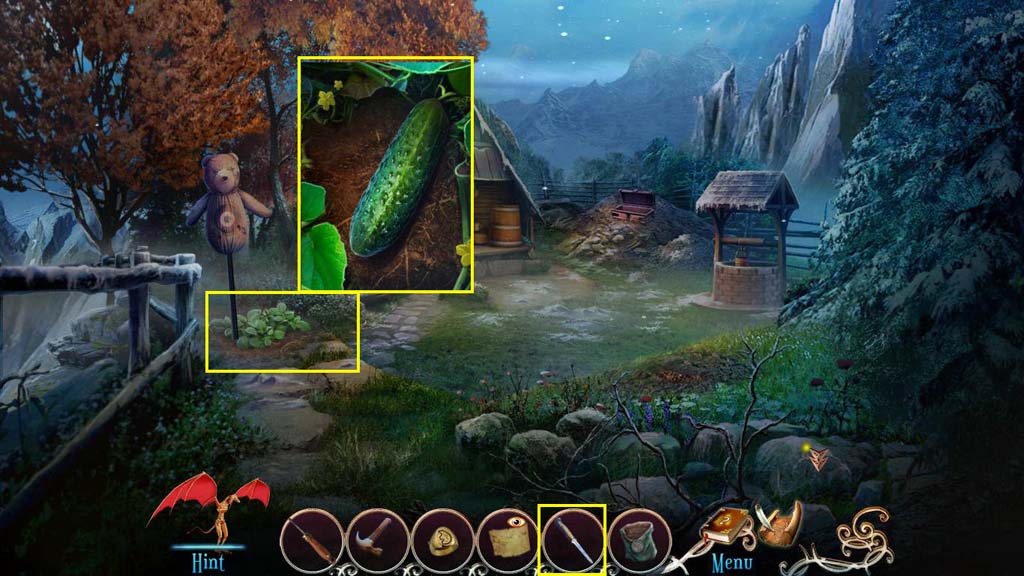
- Click to zoom in on the cucumber.
- Use the Throwing Knife to get the Cucumber Piece.
- Go back to the Spire Lobby.
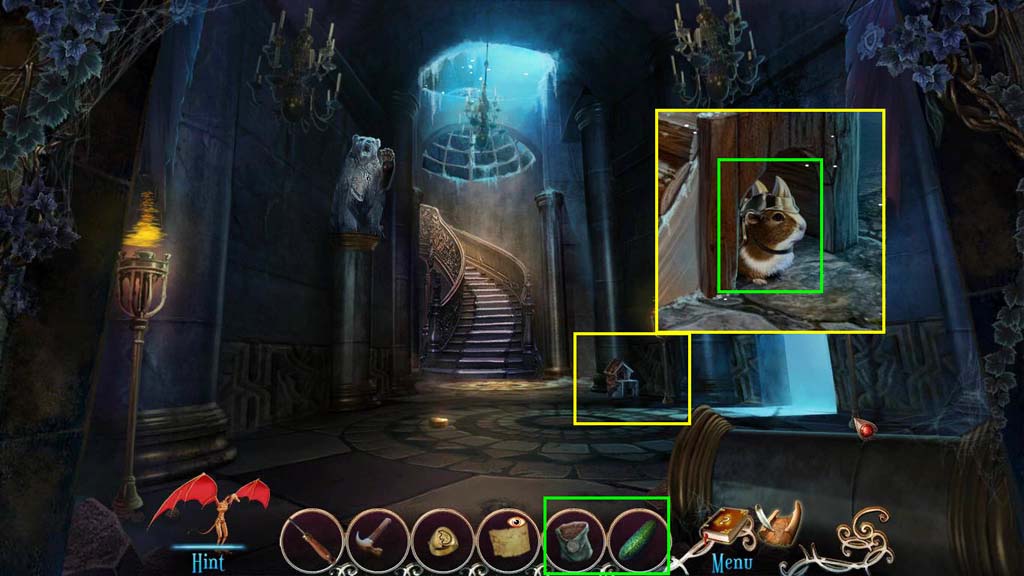
- Click to zoom in on the pet house.
- Use the cucumber and the Fur Pouch in the guinea pig.
- Take the armored guinea pig.
- Go to Across the Moat.
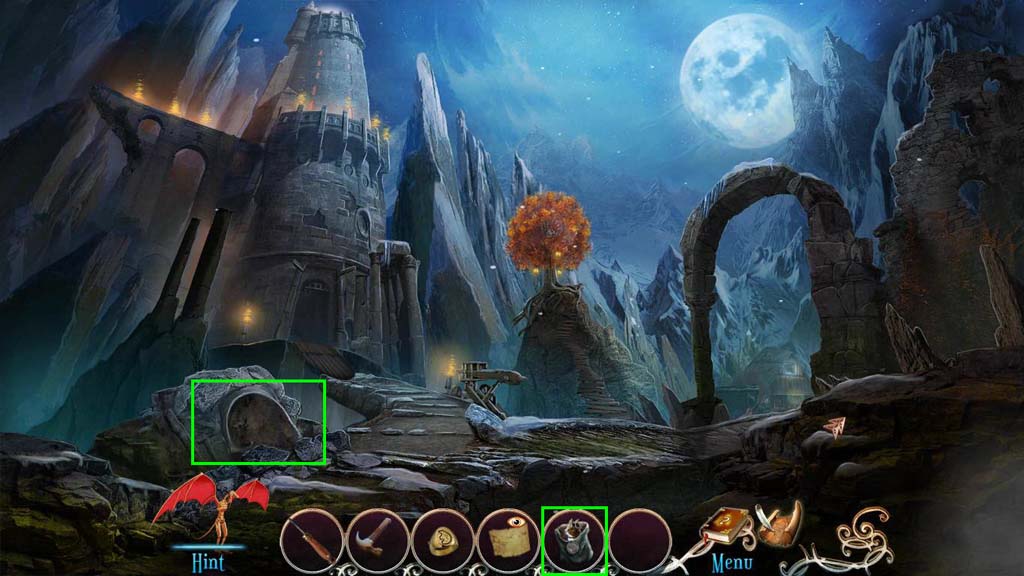
- Click to zoom in on the hole.
- Use the Armored Guinea Pig on the hole.
- Take the Screw.
- Go to the Toy Workshop.
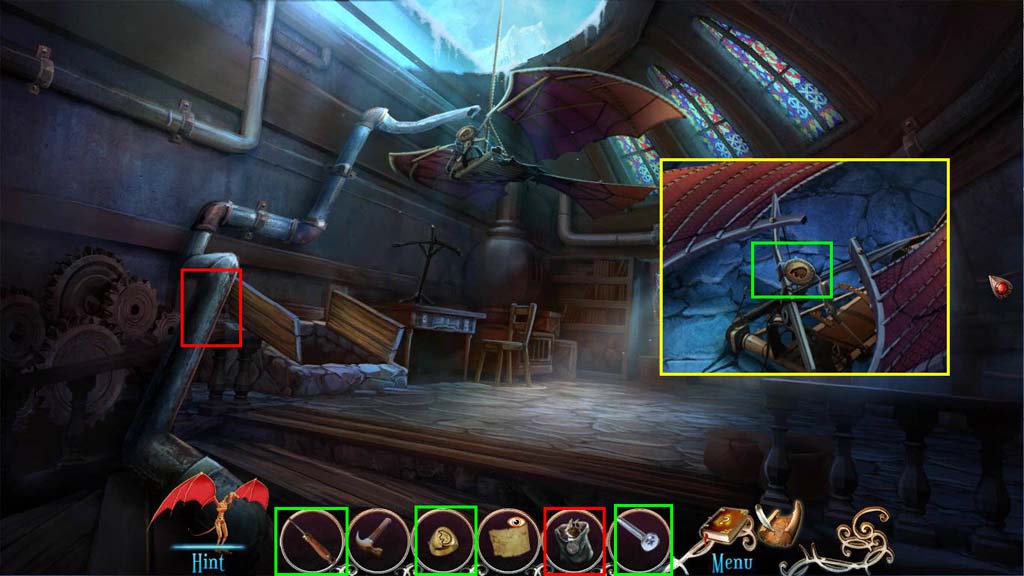
- Use the Armored Guinea Pig on the pipe.
- Click to zoom in on the kite.
- Use the Signet Ring on the kite.
- Use the Screw on the Kite.
- Use the Screwdriver on the screw.
- Take the Big Kite.
- Go to the Ledge.
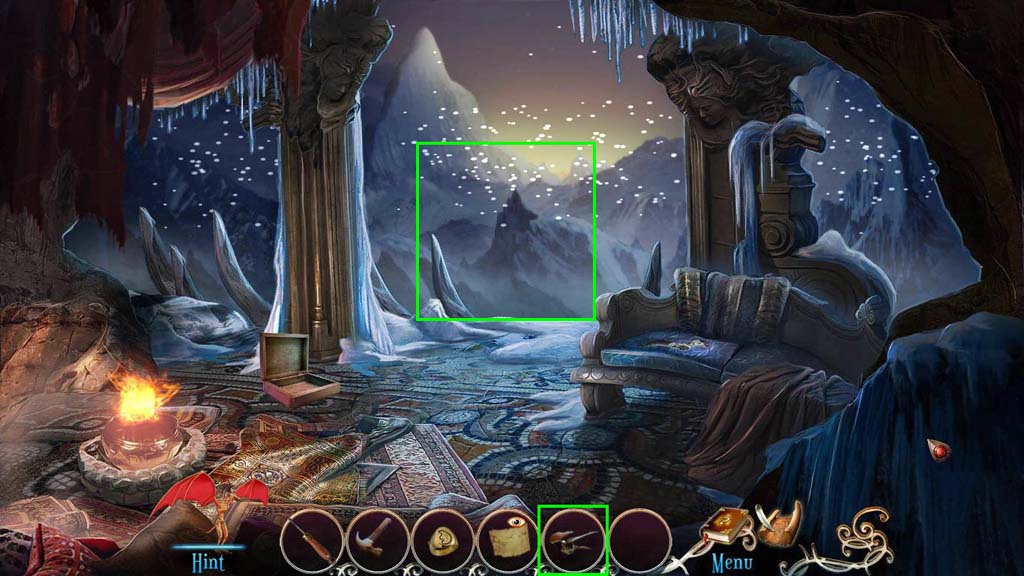
- Use the Ledge on the opening.
- Take the Crystal 1/4 from the king.
- Click on the kite to go to the mountains.
Comments will load when you reach this part of the walkthrough.