

Chapter Six: A Way into The Forge
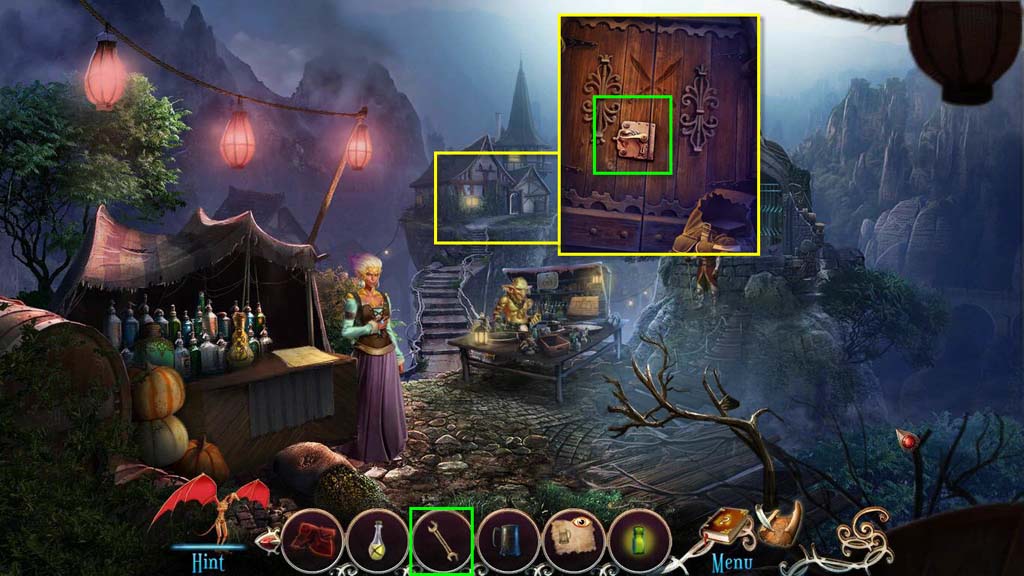
- Click to zoom into the door of the barracks.
- Use the Wrench on the lock.
- Enter the Barracks.
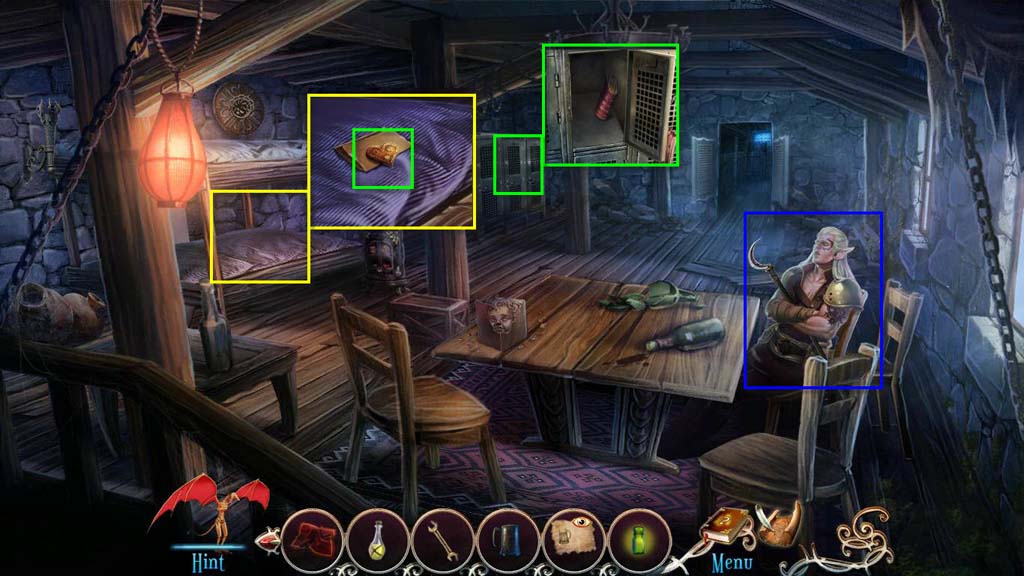
- Click to zoom in on the bed.
- Take the Heart. Read the note.
- Click on the sleeping guard.
- You will receive the Tattoo Design.
- Click to zoom in on the lockers.
- Open the Locker door and note the Manual with the missing pages.
- Go forward.
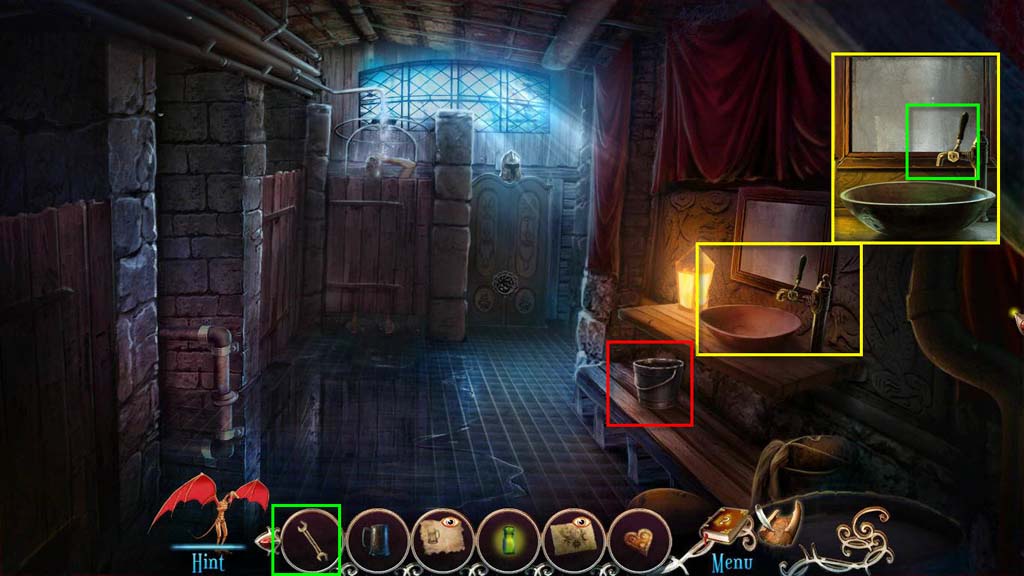
- Take the Bucket.
- Click to zoom in on the sink.
- Use the Wrench on the tap.
- You will receive the Tap.
- Use the Handkerchief on the mirror to clean it.
- Go to the Golem Room.
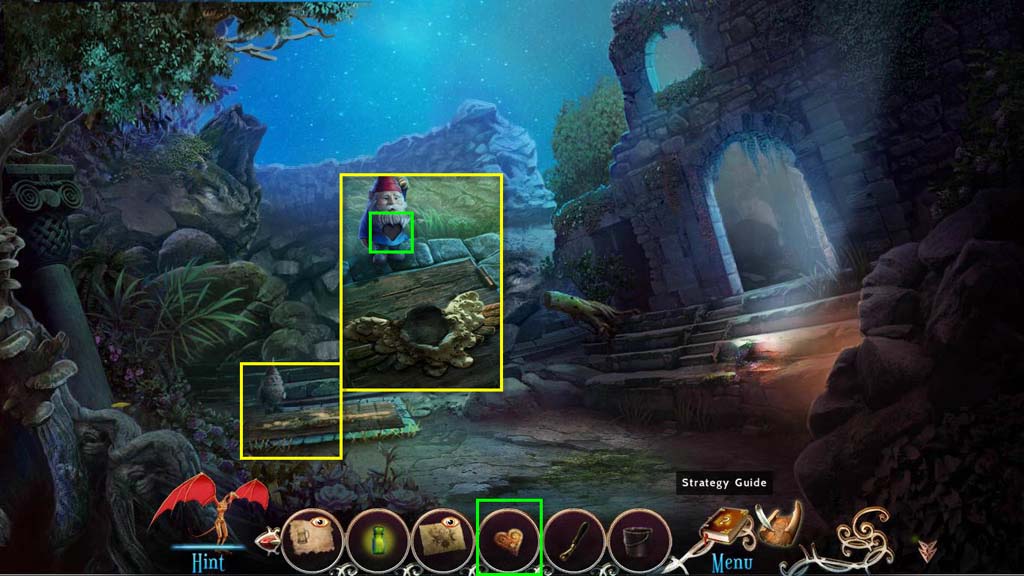
- Click to zoom in on the gnome.
- Use the Heart on the slot.
- Take the Bitterweed Seeds.
- Go to the Courtyard.
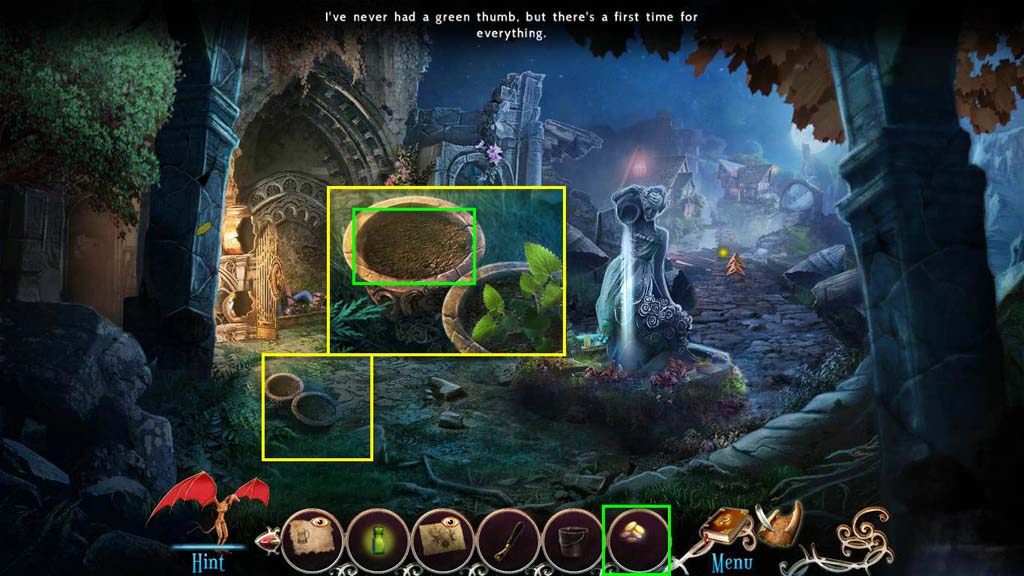
- Click to zoom in on the flower pots.
- Use the Bitterweed Seeds on the empty pot.
- Go to the Tavern.
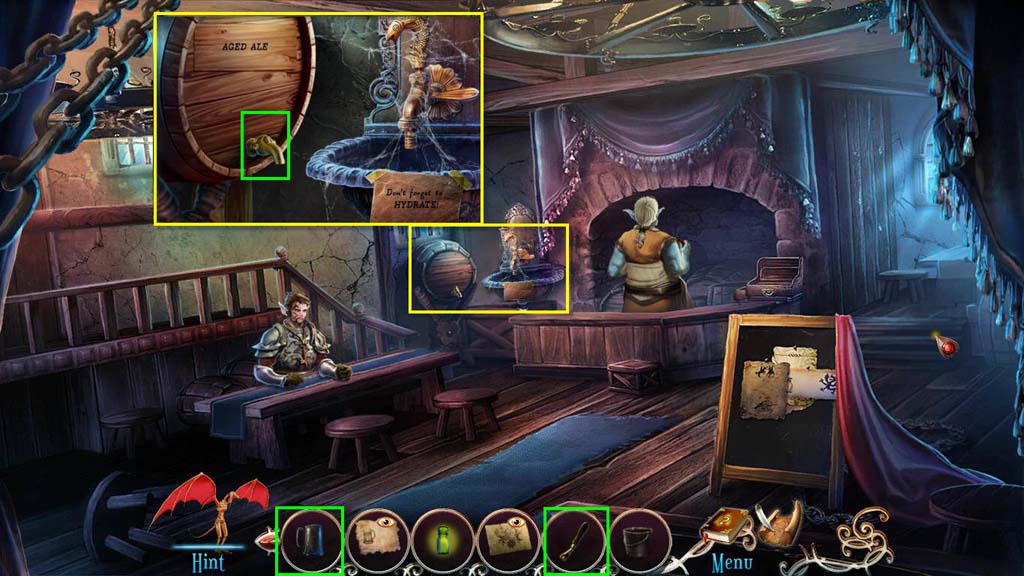
- Click to zoom in on the barrel.
- Use the Handkerchief on the dusty fountain.
- Use the Empty Waterskin on the fountain to get Water.
- Use the Tap on the barrel.
- Use the Empty Ale Mug on the tap to get the Aged Ale.
- Go to the Crossings Landing.
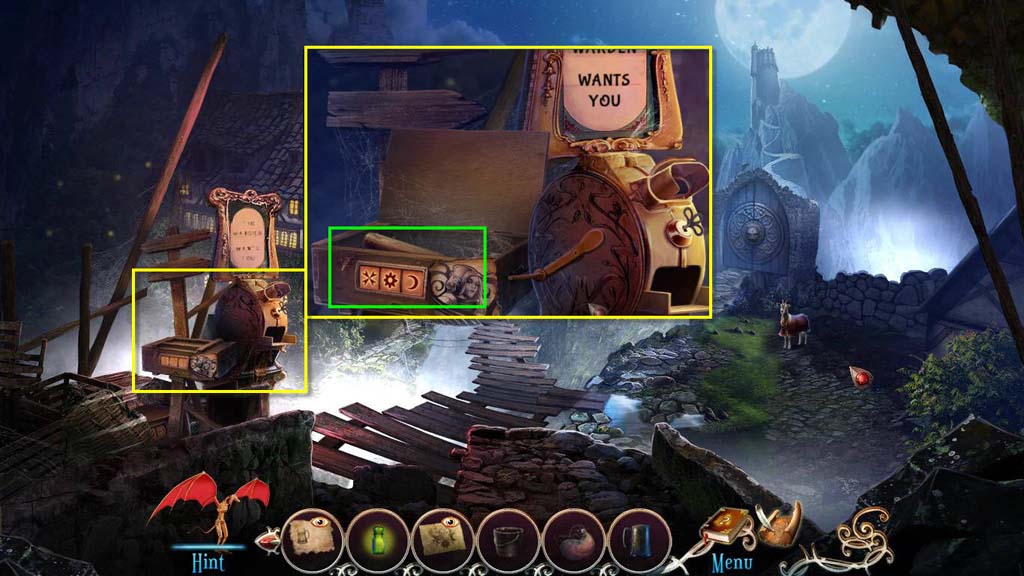
- Click on the box on the left.
- Look at the Tattoo Design and input the same symbols that are on the tattoo on the box.
- Take the Baton.
- Go to the courtyard.
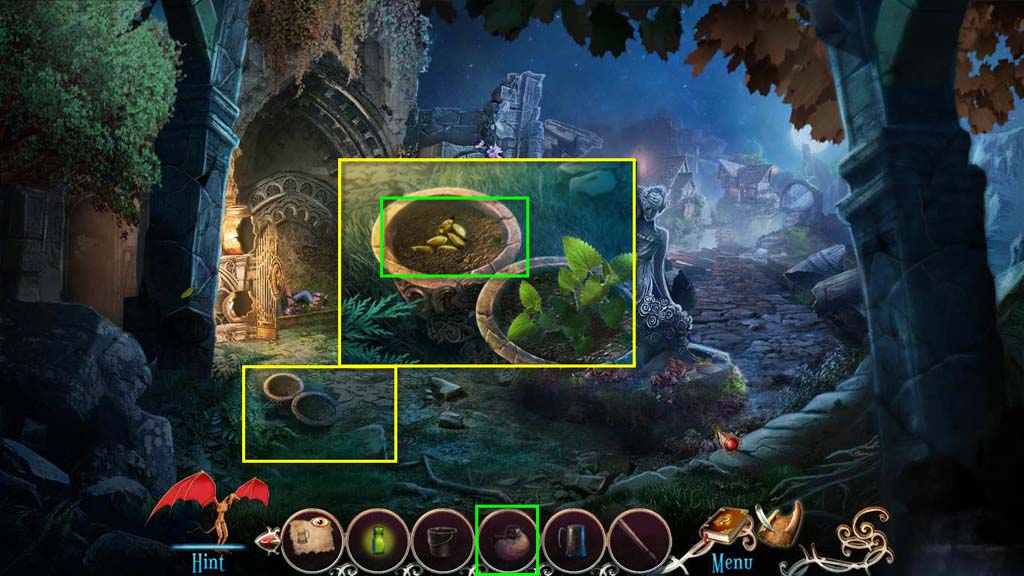
- Click on the pots to zoom in.
- Use the Water on the seeds.
- Take the Bitterweed.
- Go the the Crossings Landing.
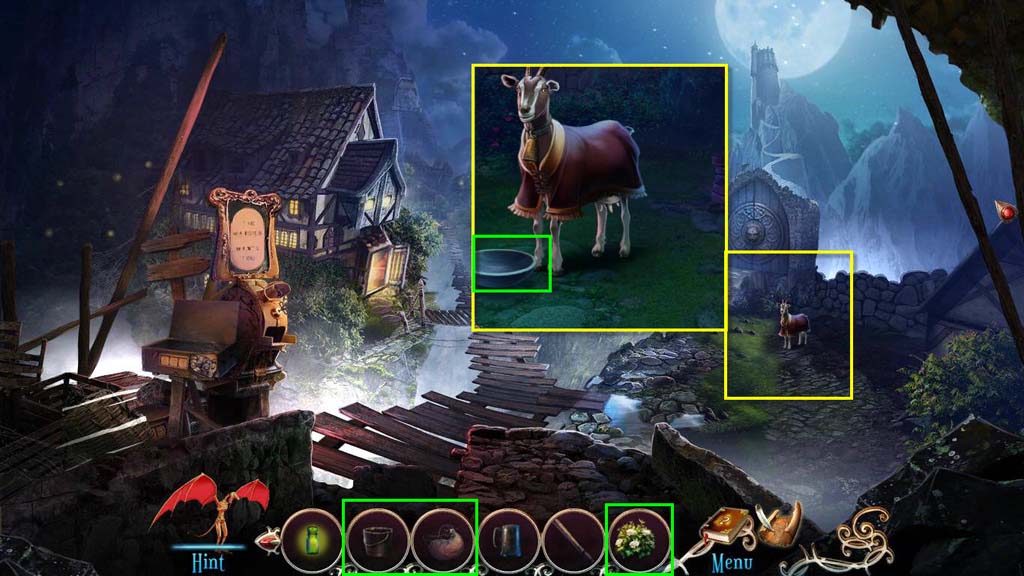
- Click to zoom in on the goat.
- Use the Water on the bowl.
- Use the Bitterweed on the bowl.
- Use the Empty Bucket on the Goat.
- You will receive the Milk.
- Go to the Courtyard.
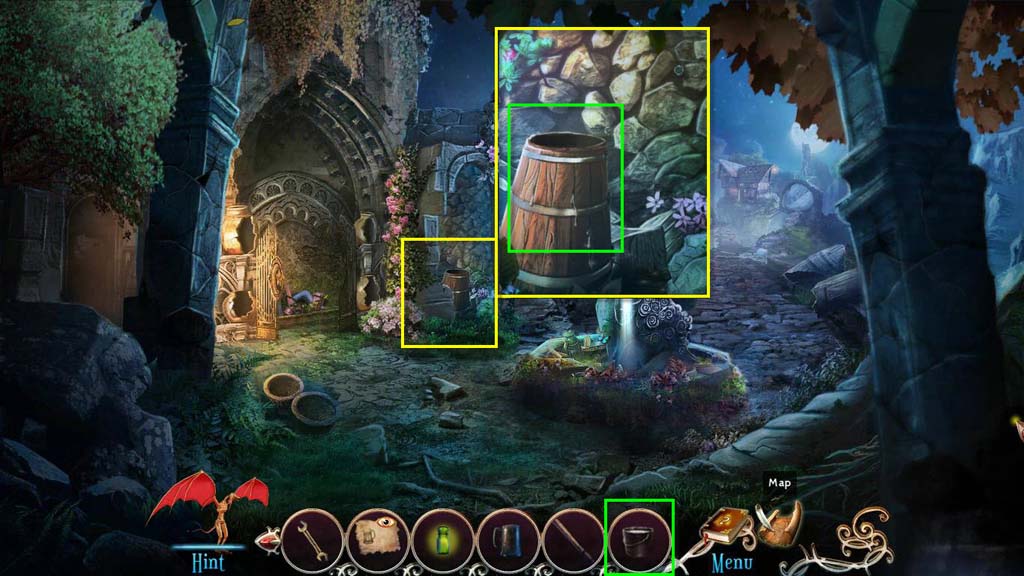
- Click to zoom in on the butter churn.
- Use the Milk and then the Butter Churn Plunger on the churn.
- You will receive the Spiked Buttered Ale.
- Go to the Tavern.
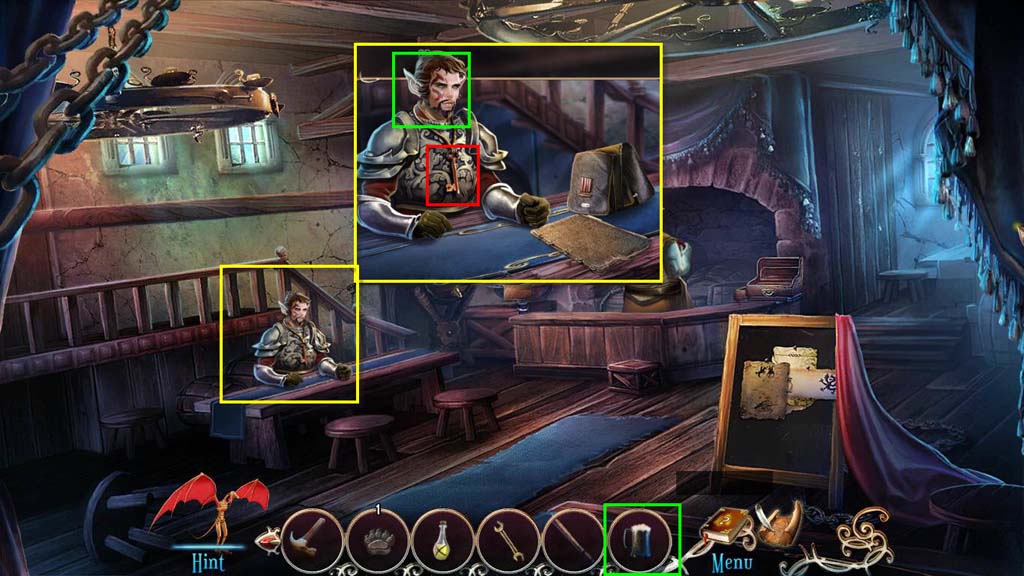
- Click to zoom in on the guard.
- Use the Spiked Buttered Ale on him.
- Take the Locker Key.
- Go to the Barracks.
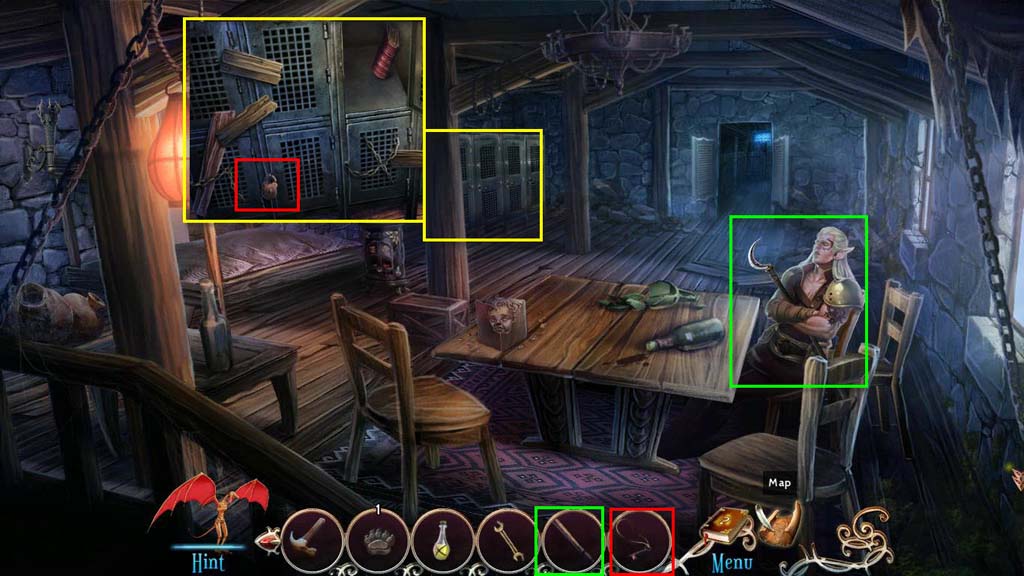
- Click to zoom in on the guard.
- Use the Baton on the guard to get the Hooked Spear.
- Click to zoom in on the lockers.
- Use the Locker Key on the lock.
- Take the Paw Print and the Guard Uniform.
- Go forward to the Shower.
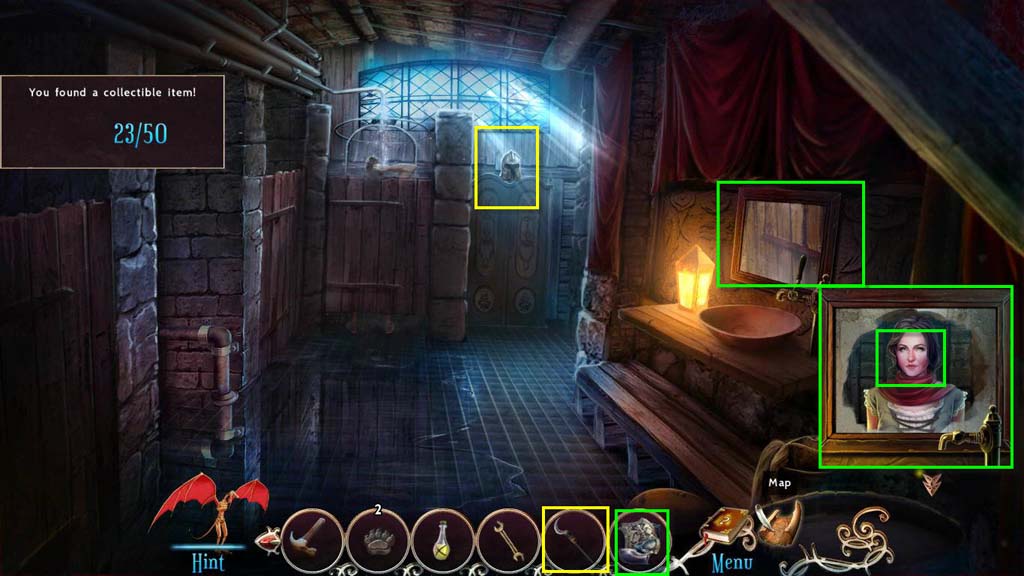
- Use the Hooked Spear to get the Helmet.
- Click to zoom on the mirror.
- Use the Helmet and the Guard Uniform on your reflection.
- Go to the Main Street.
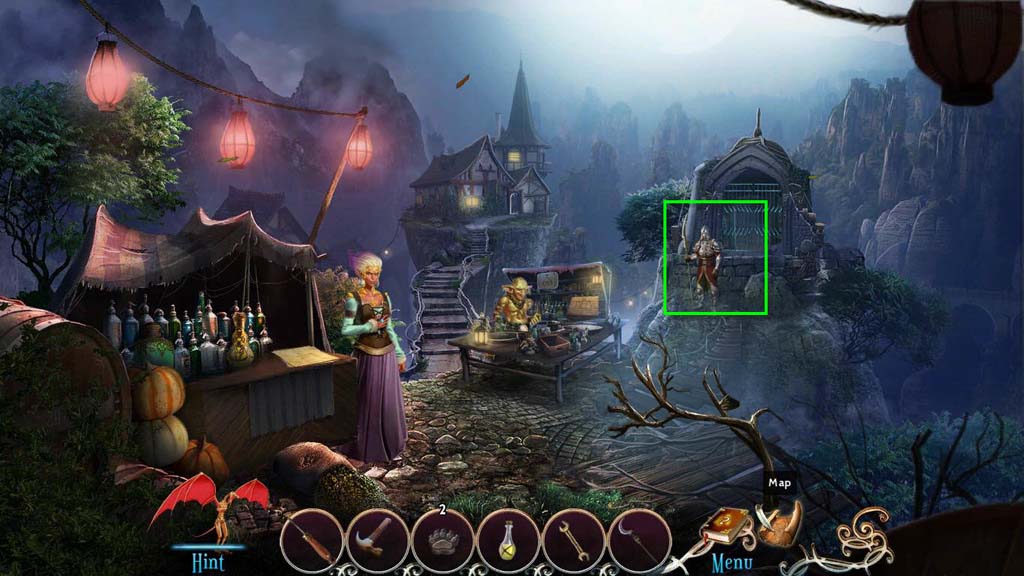
- Talk to the guard.
- Go forward into the lift.
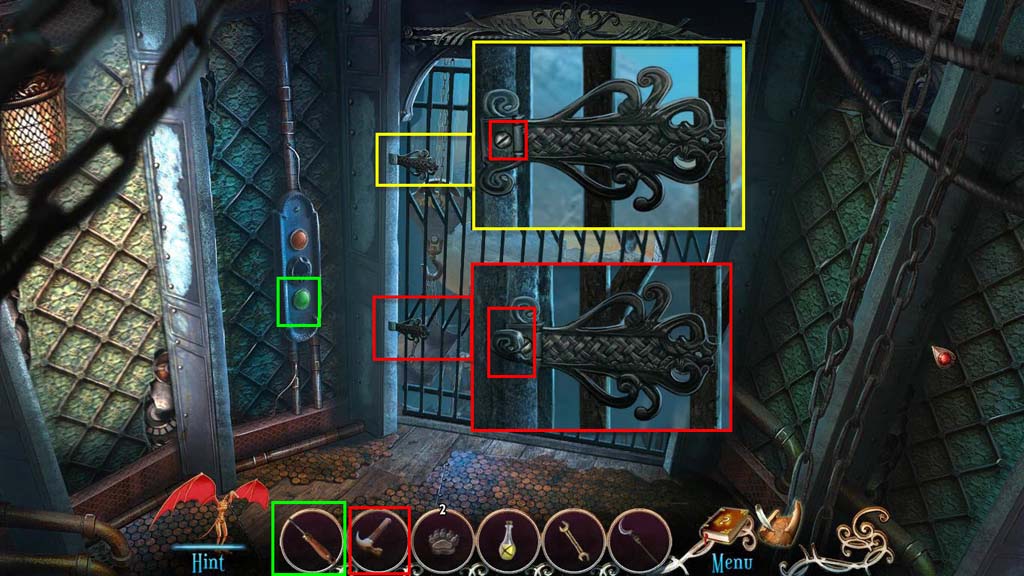
- Use the Screwdriver to get the Down Button.
- Click to zoom in on the top latch.
- Use the screwdriver to remove the screw.
- Click to move the latch.
- Click to zoom in on the bottom latch.
- Use the Hammer on the metal, then the Screwdriver on the screw.
- Click to move the latch.
- Click on the door to open it.
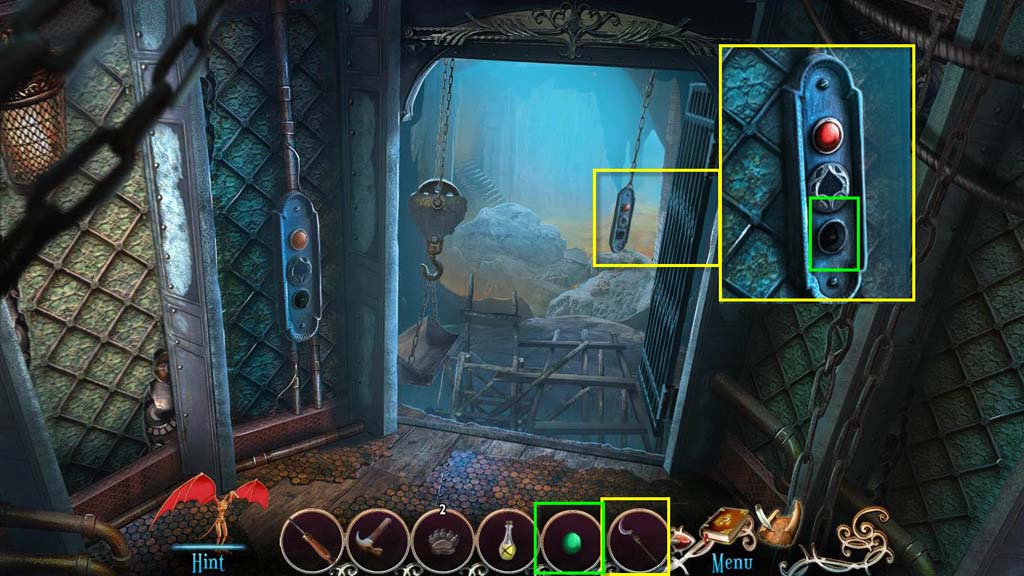
- Use the Hooked Spear on the controls.
- Use the Down Button on the controls.
- Click on the button.
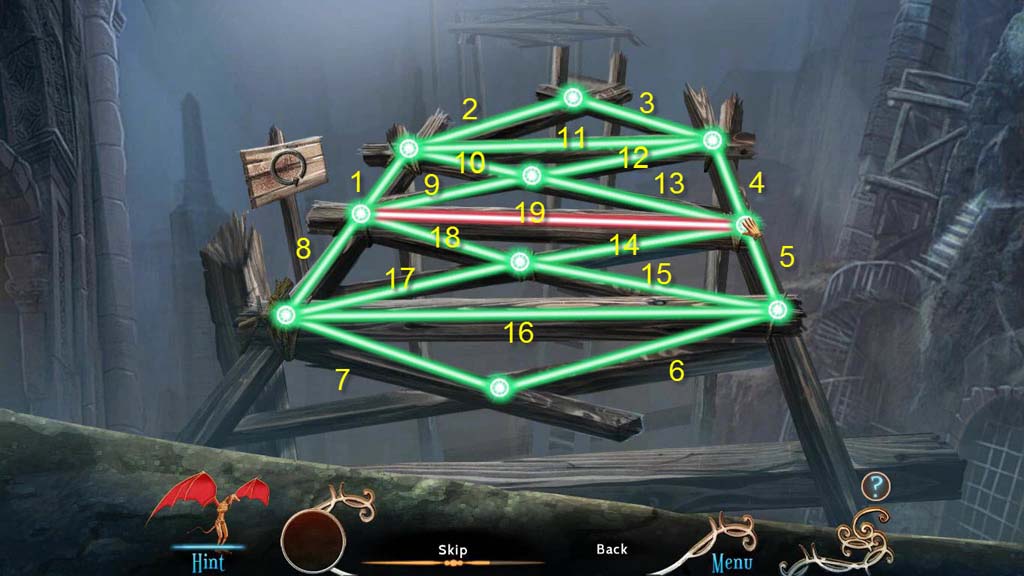
- You need to click between nodes to draw a line between the two points.
- See the screenshot for the solution.
Comments will load when you reach this part of the walkthrough.