

Chapter Three: The Golem
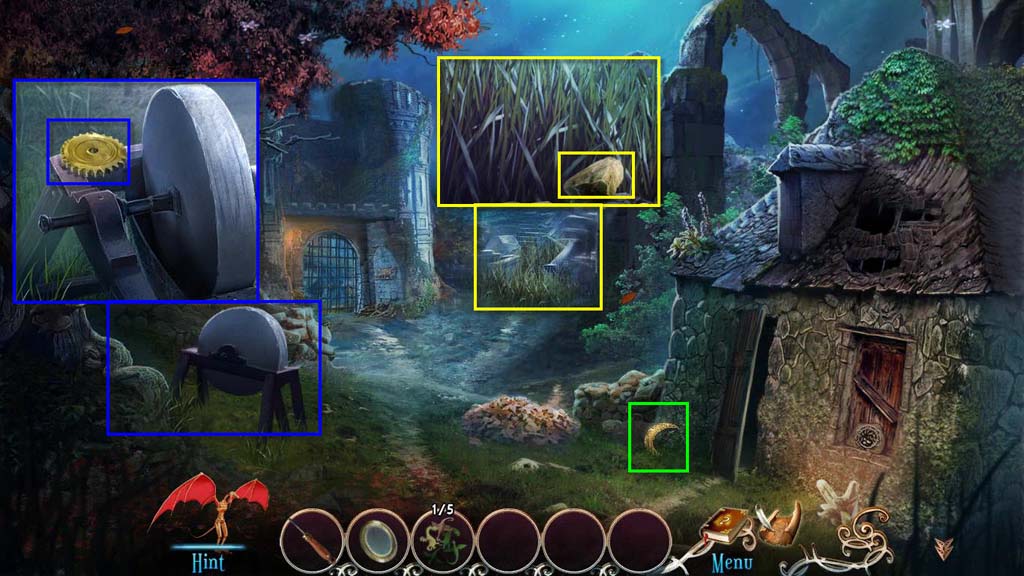
- Take the Moon-shaped Crest.
- Click to zoom in on the grindstone.
- Take the Small Gear.
- Click to zoom in on the tall grass.
- Take the Big Rock.
- Go in the house.
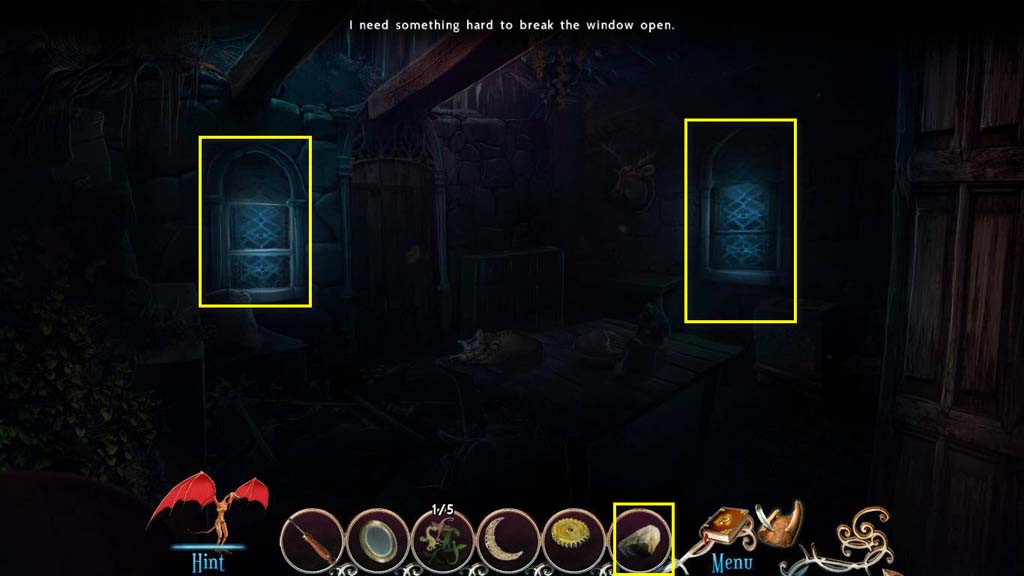
- Use the Big Rock on the two windows.
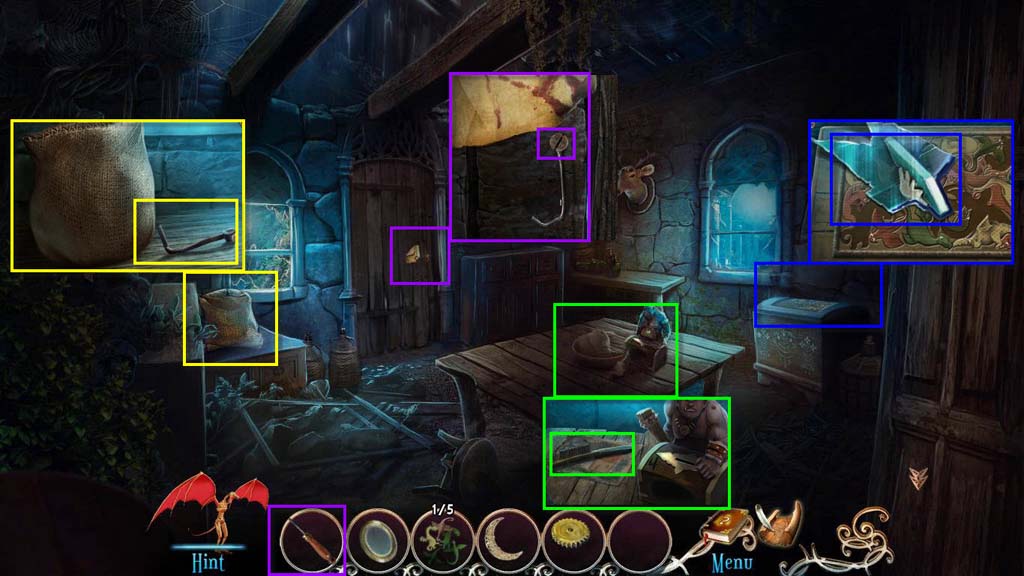
- Click to zoom in on the table.
- Take the Wire Brush.
- Click to zoom in on the chest on the right.
- Take the Alchemist Stained Glass.
- Click to zoom in on the bag on the left.
- Take the Crank.
- Zoom in on the door.
- Take the Screwdriver on the screw.
- You will receive the Small Hook.
- Go back one screen.
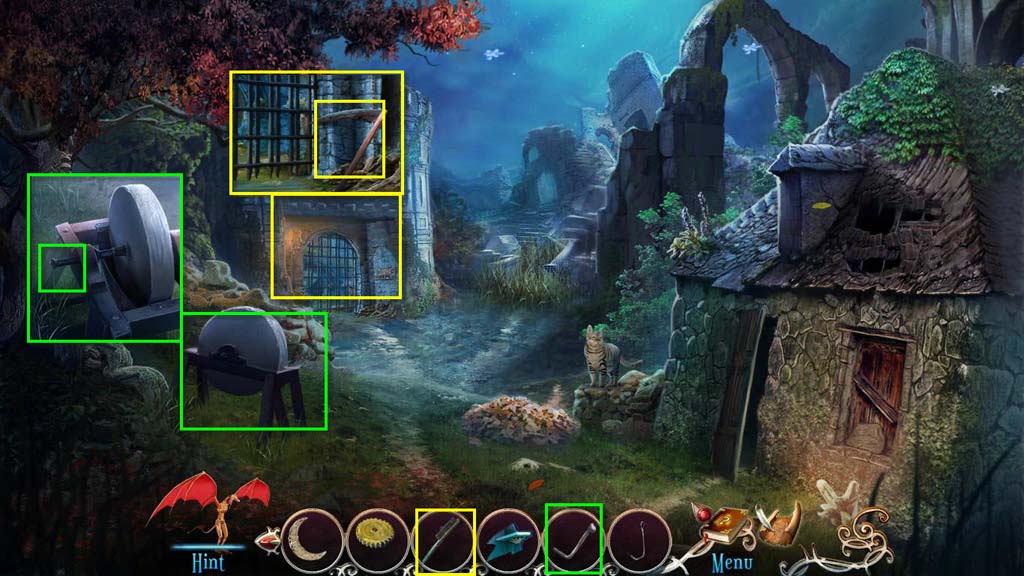
- Click on the cat.
- Click on the gate to zoom in.
- Use the Wire Brush on the blunt blade.
- Take the Blunt Blade.
- Click to zoom in on the grindstone.
- Use the Crank on the grindstone.
- Use the Blunt Blade on the grindstone to get the Scythe.
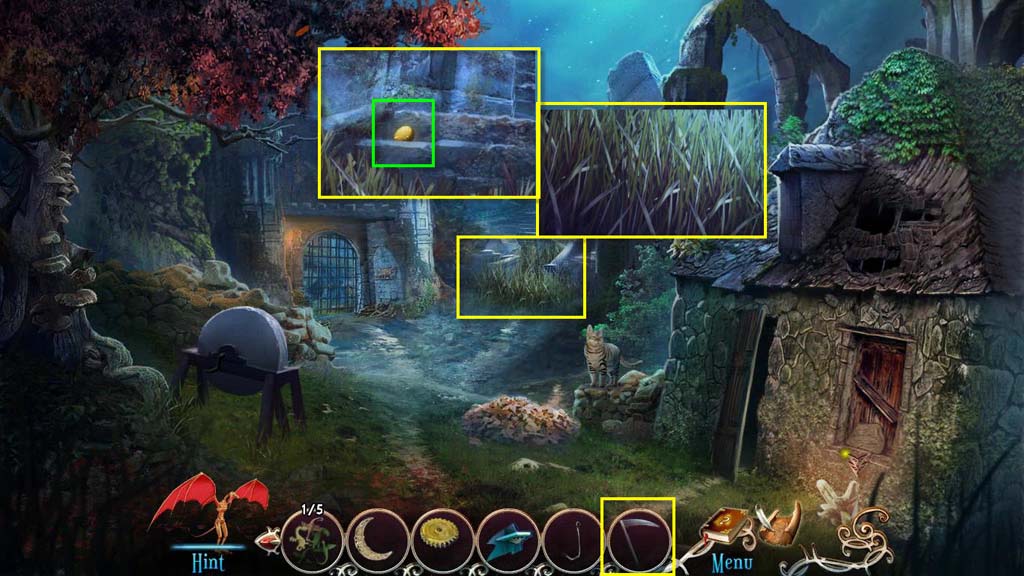
- Click on the grass to zoom in.
- Use the Scythe 3 times on the grass to clear it.
- Take the Coin.
- Go forward.
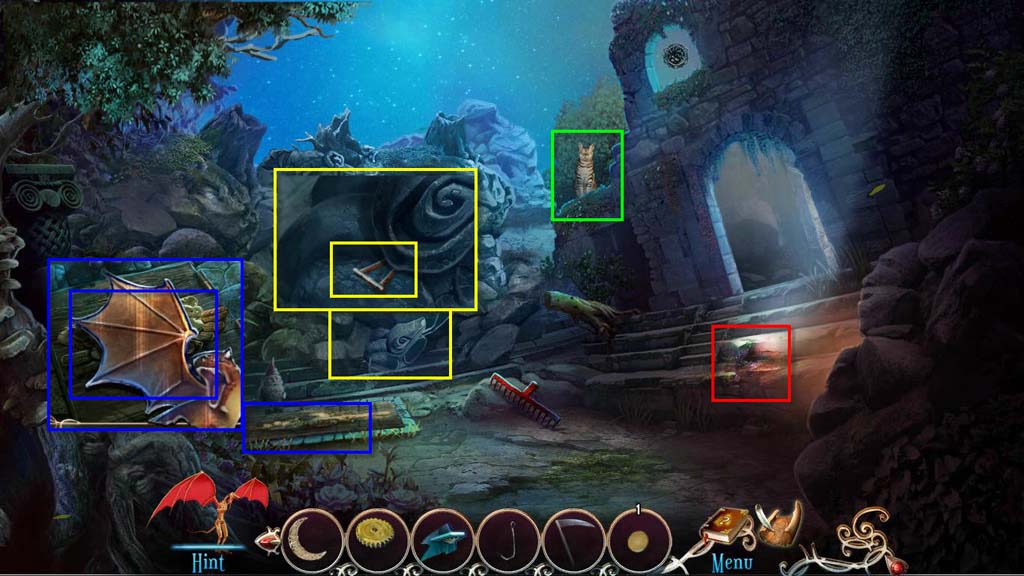
- Click on the cat.
- Click to zoom in on the ground.
- Take the Dragon Stained Glass.
- Click to zoom in on the rock pile.
- Use the Screwdriver to get the Lever.
- Click to zoom in on the stairs on the right.
- Use the Lens on the hole to see the mouse.
- Go to the right.
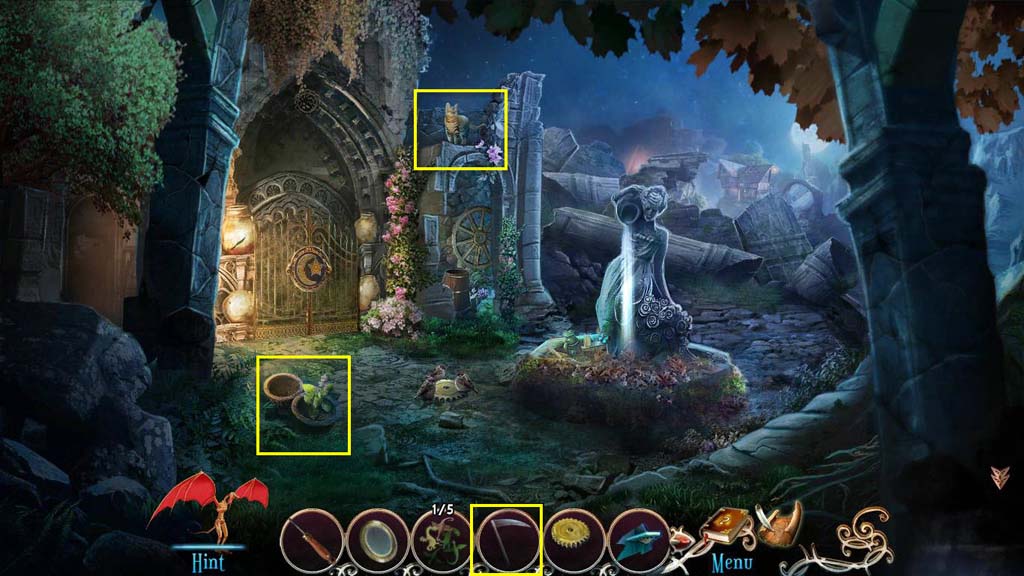
- Click to zoom in on the plant.
- Use the Scythe on the plant to get the Catnip.
- Use the Catnip on the cat.
- You will receive the Cat.
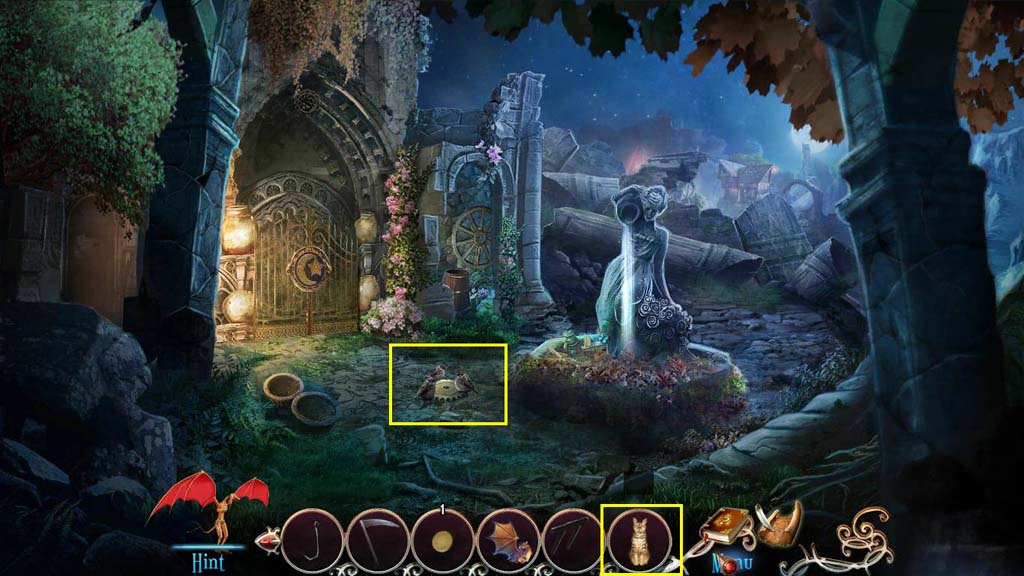
- Click to zoom in on the birds.
- Use the Cat on the birds.
- Take the Gear.
- Go back one screen.
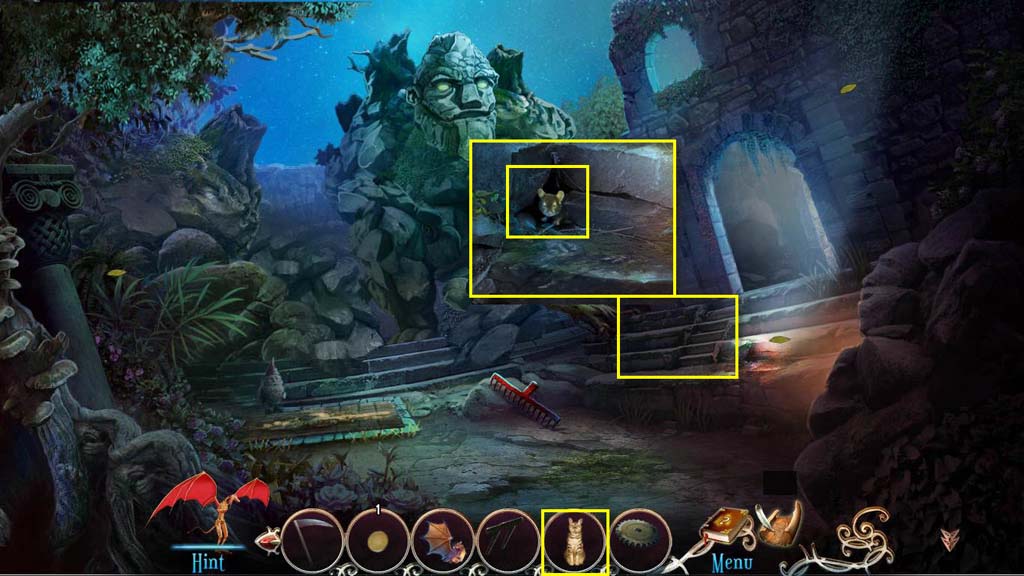
- Click to zoom in on the mouse.
- Use the Cat on the mouse.
- Use the Small Hook on the key.
- Take the Old Key.
- Return to the Cottage.
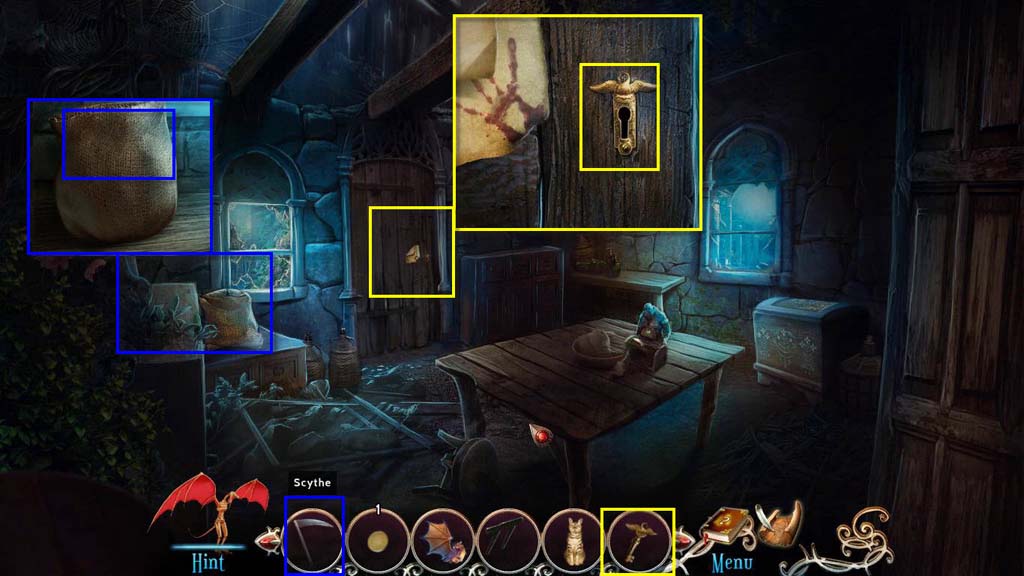
- Click on the bag to zoom in.
- Use the Scythe on the bag.
- Click on the door to zoom in.
- Use the Old Key on the door.
- Play the HOG.
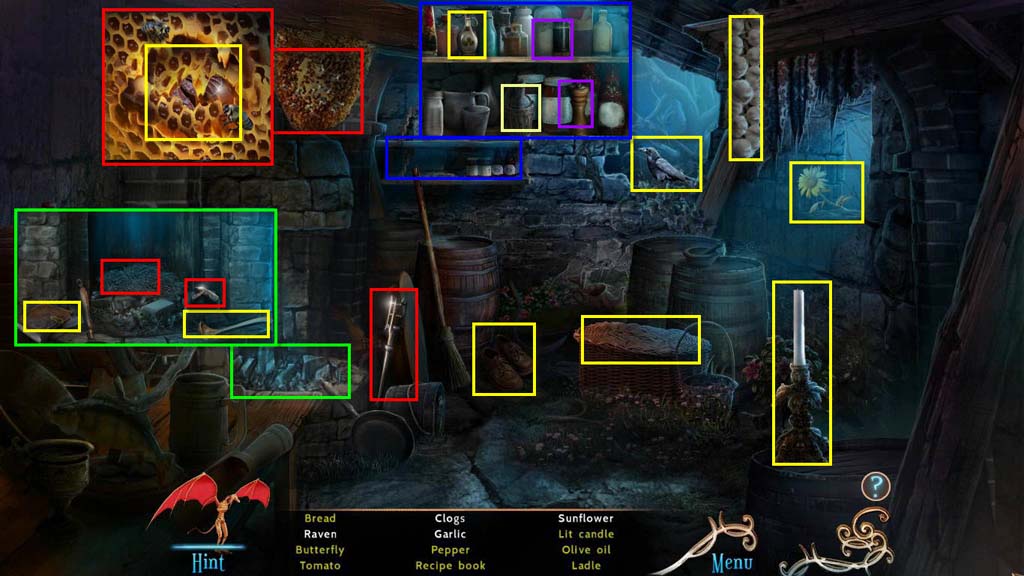
- Find all the items on the list.
- You will receive the Olive Oil.
- Go back one screen.
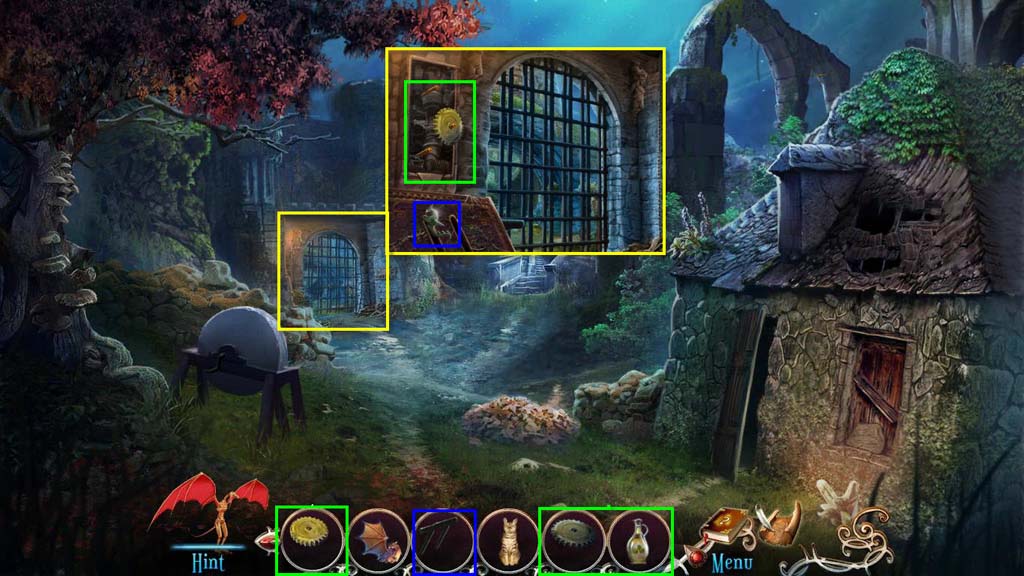
- Click to zoom in on the gate.
- Use the two gears on the mechanism.
- Use the Olive Oil on the gears.
- Use the Screwdriver to remove the Jigsaw Piece 2/6.
- Use the Lever in the slot and pull it.
- Click on the mechanism to play the mini-game.
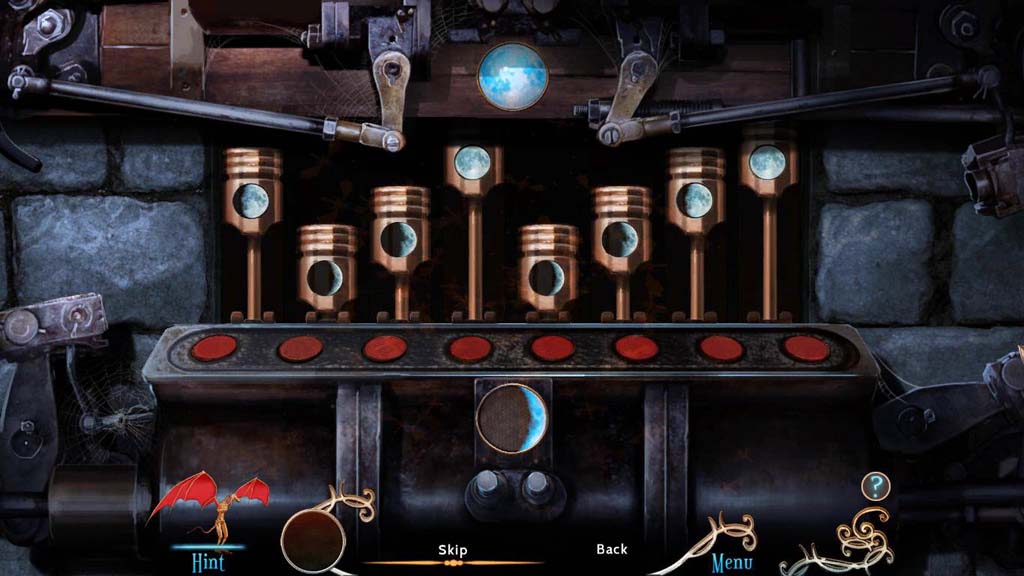
- Click on the buttons to move the pistons according to the moon phases they are showing.
- See the screenshot for the solution.
- Move forward.
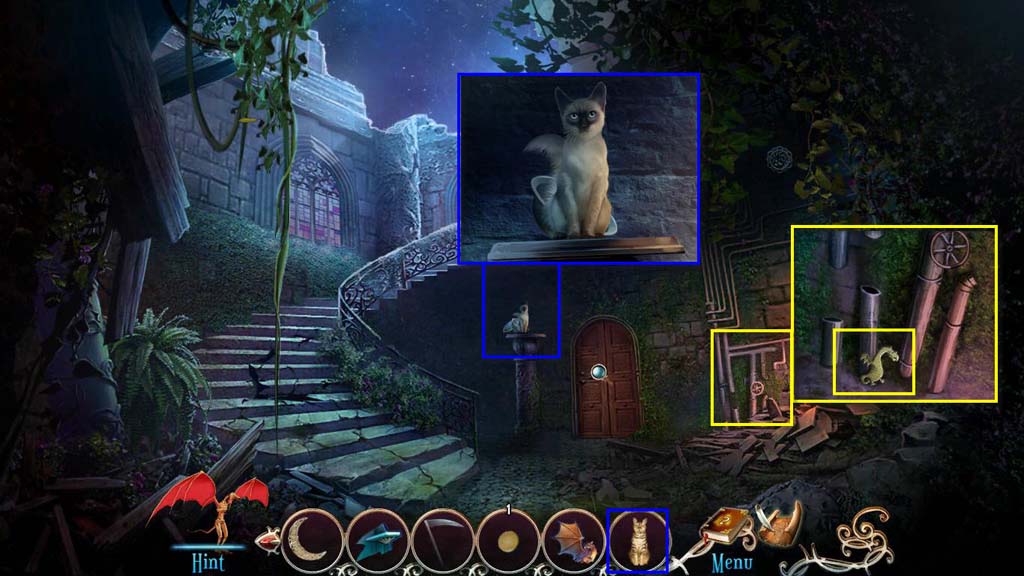
- Click on the pipes to zoom in.
- Take the Jigsaw Piece.
- Click to zoom in on the cat.
- Use the Cat on the cat.
- Take the Sifter.
- Try to go up the stairs
- Go to the cottage.
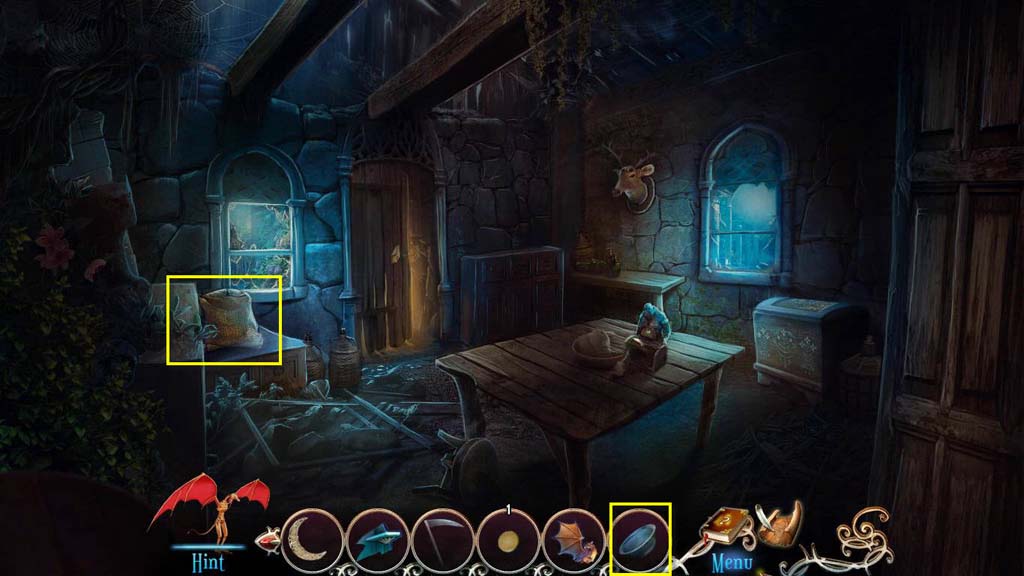
- Click to zoom in on the bag of flour.
- Use the Sifter on the flour.
- Take the Fork.
- Return to the G/F Tower.
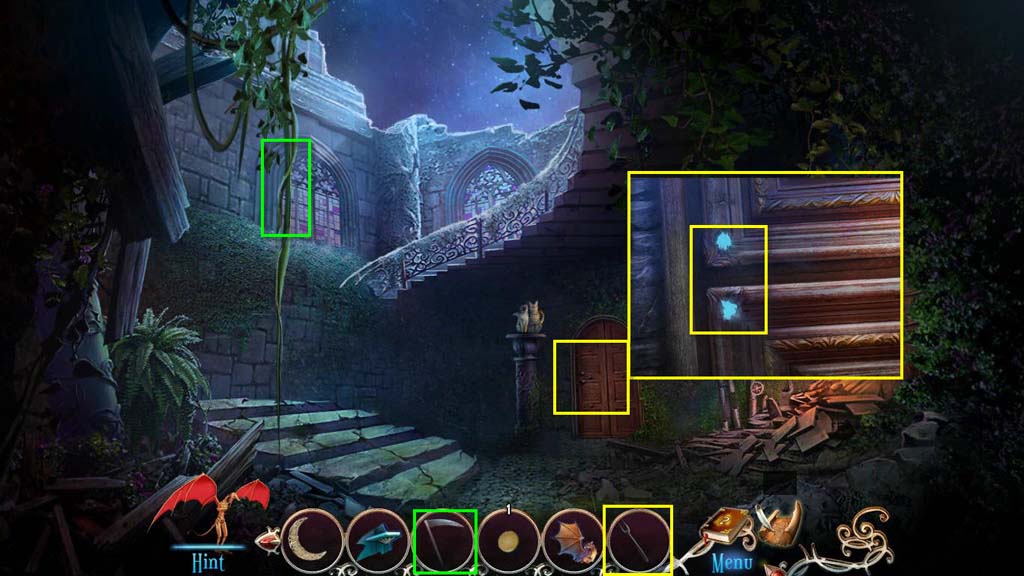
- Use the Scythe to get the Vine Rope.
- Click to zoom in on the door.
- Use the Fork on the holes.
- Take the Saw and the Golem Stained Glass.
- Return to the Cottage.
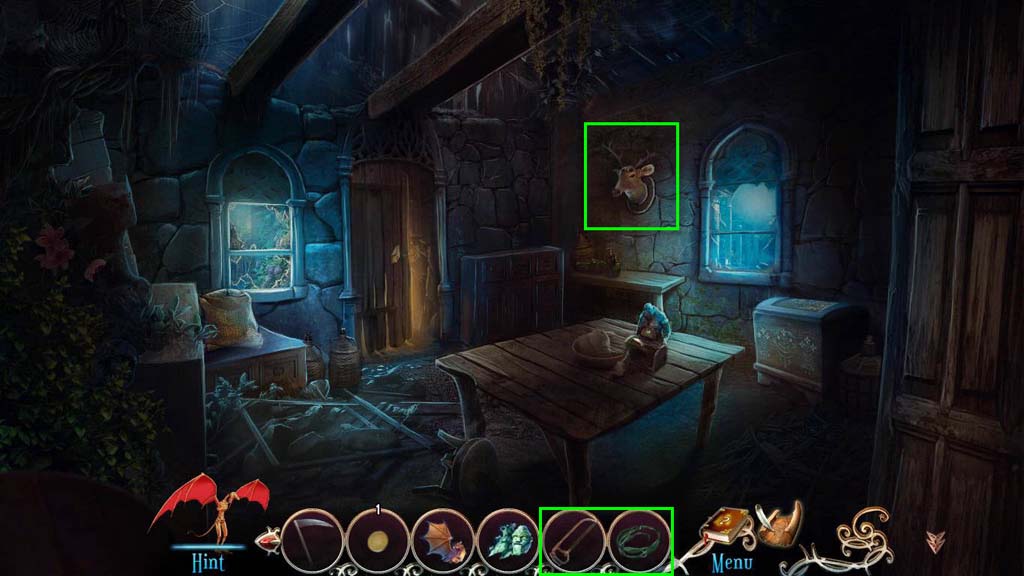
- Click to zoom in on the deer head.
- Use the Saw on the antler.
- Use the Vine Rope on the antler.
- You will receive the Grappling Hook.
- Return to the G/F Tower.
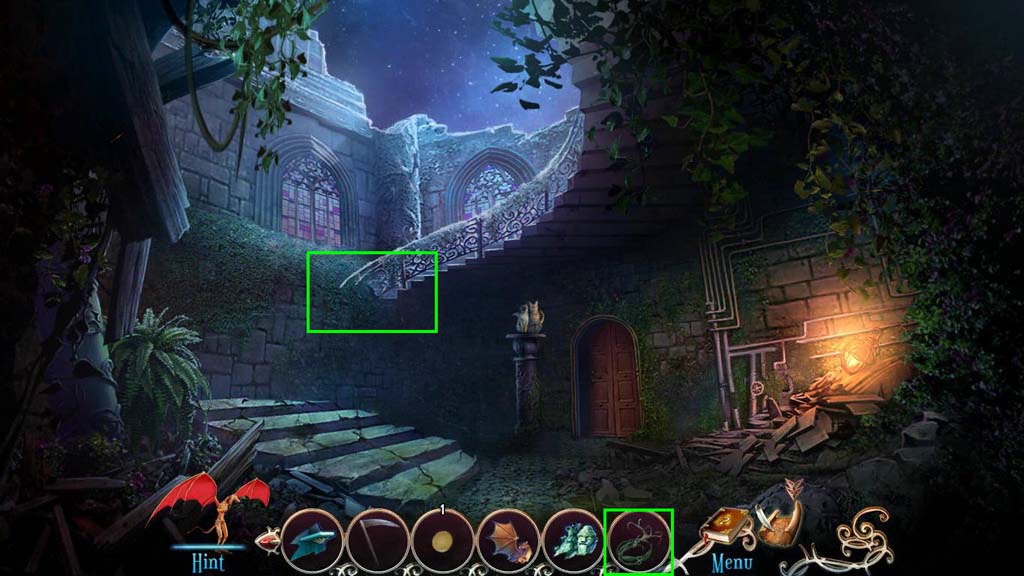
- Use the Grappling Hook on the stairs.
- Go up the rope.
Comments will load when you reach this part of the walkthrough.