
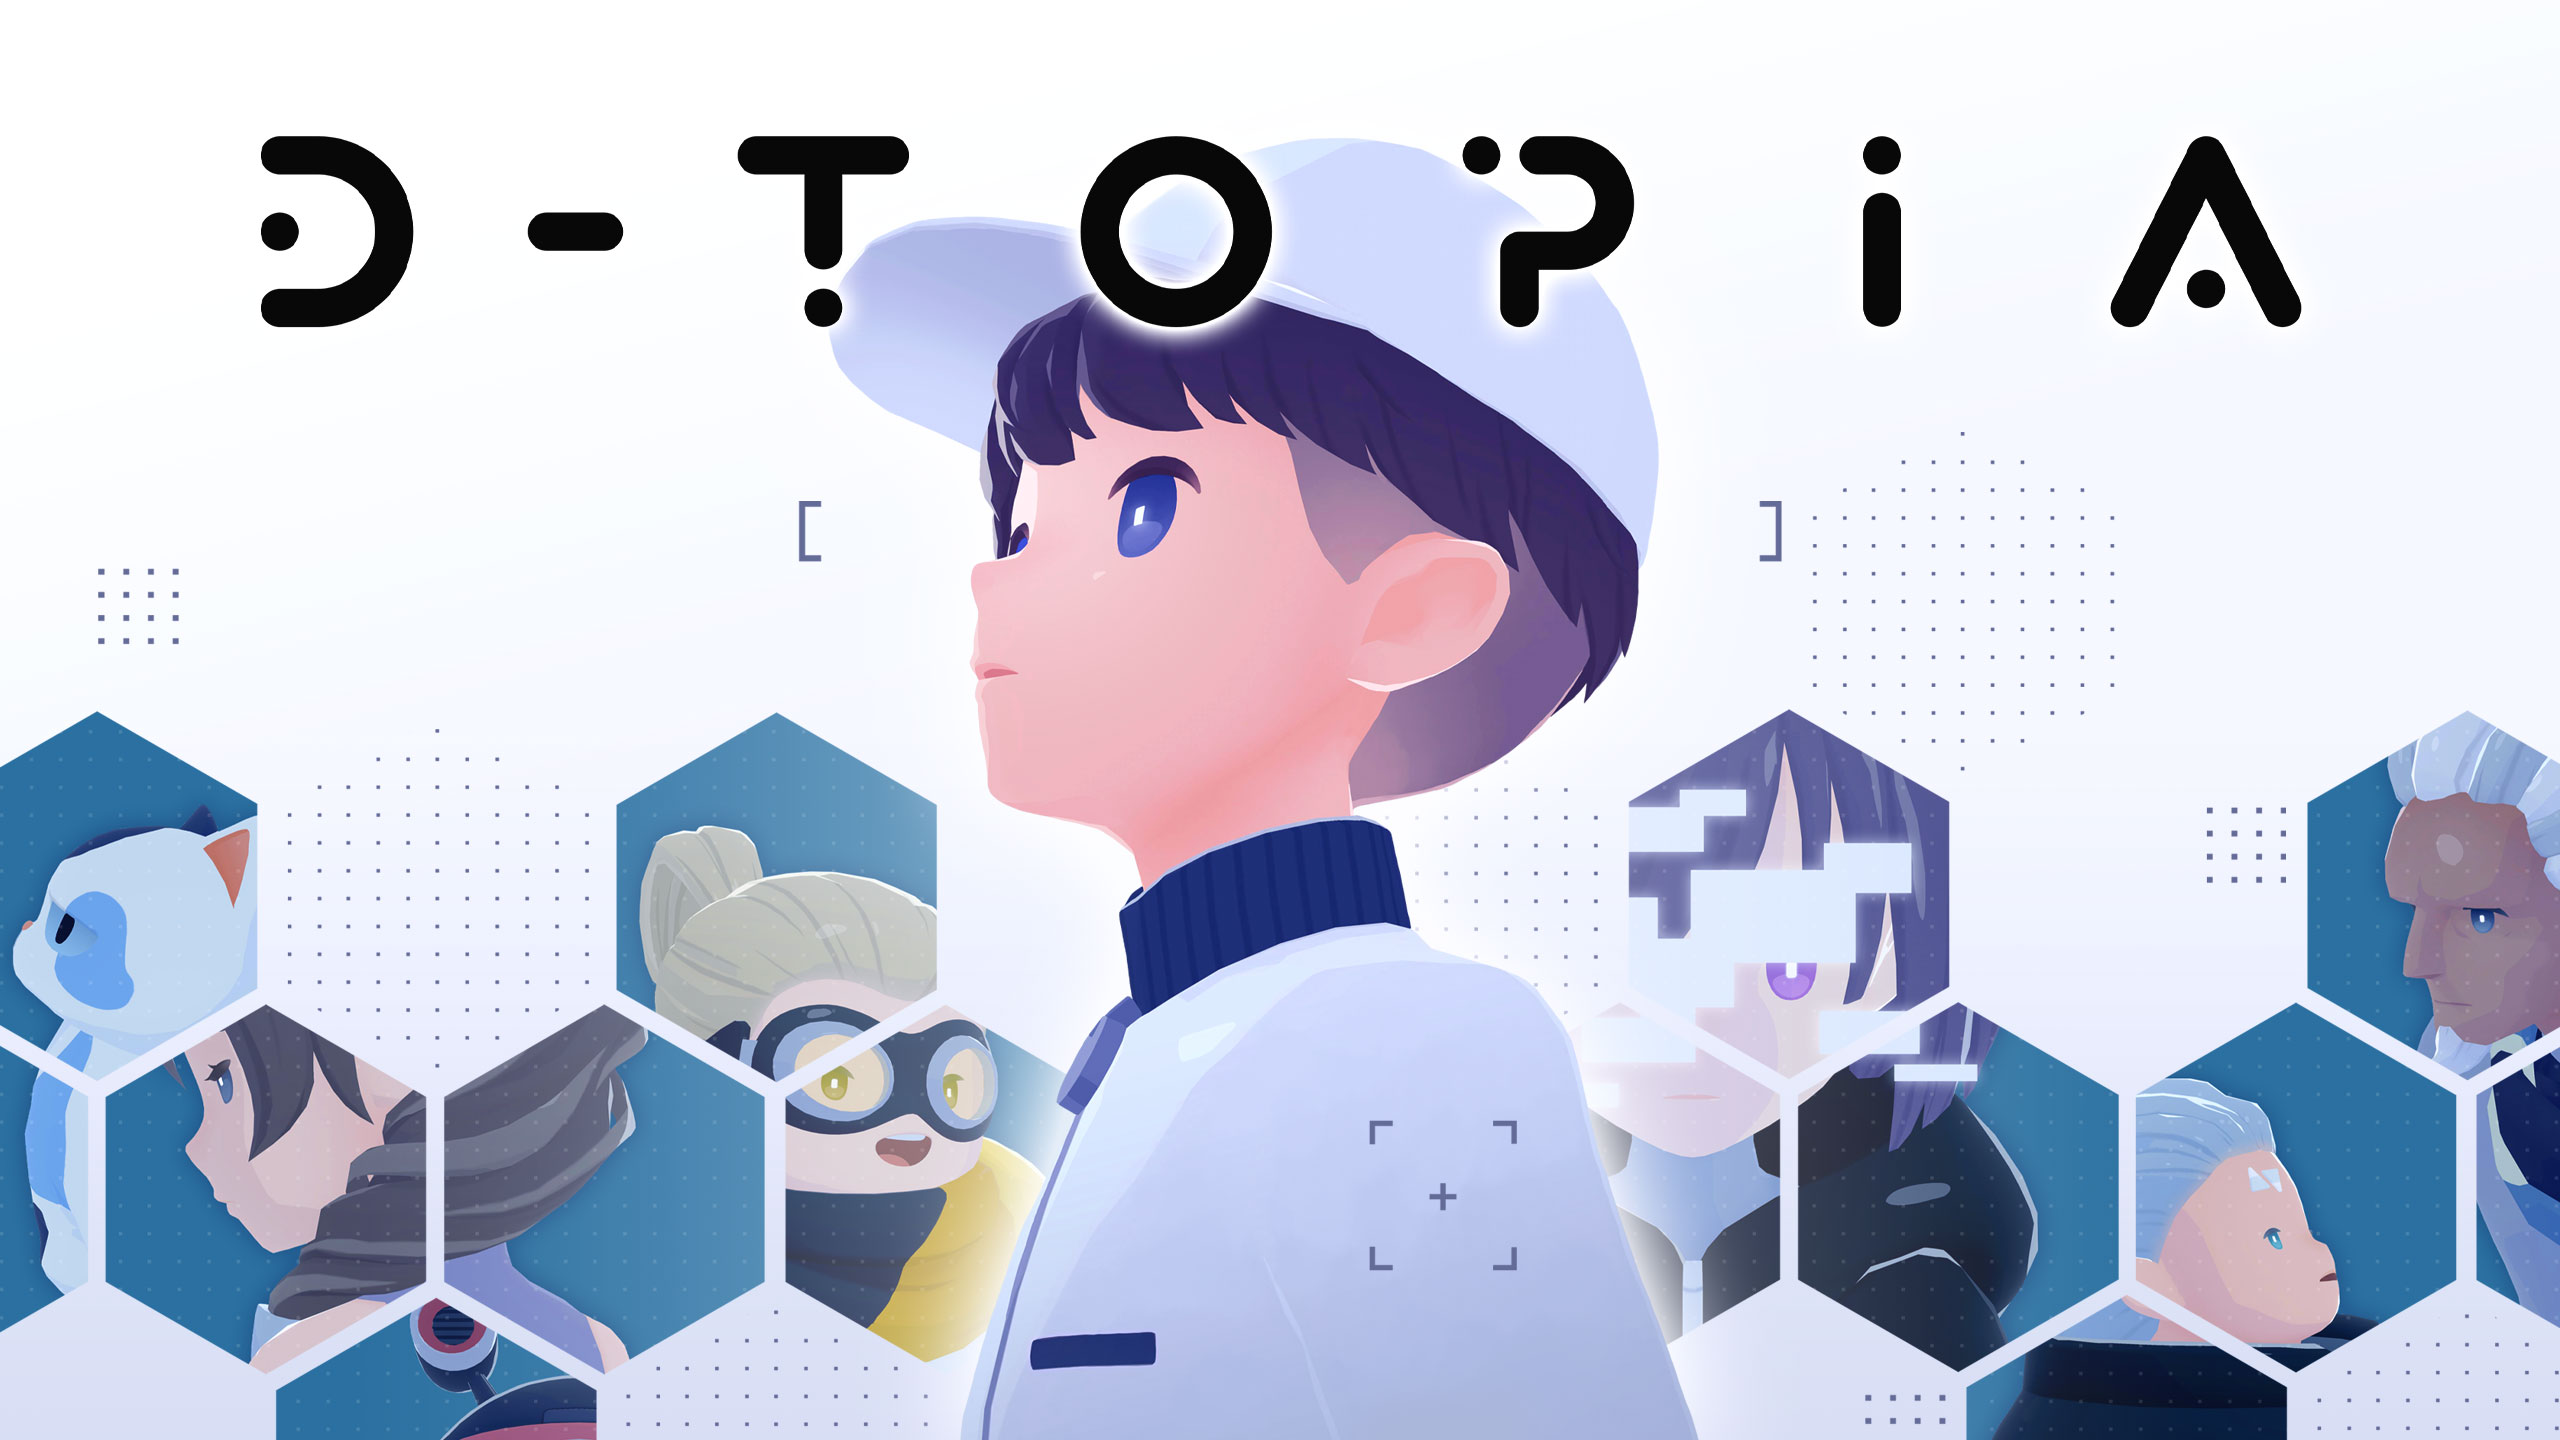
Resident Choices, Affinity, and Outcomes
You know the feeling: Shiro finishes one slow lap across Paradise, only to find that an optional conversation has vanished behind the next objective. D-topia is calm, but its social schedule has the warmth of a smiling filing cabinet. Check the map before major objectives, speak to each named resident, and use nearby Block Side terminals before leaving a district. Block Side is the hidden system layer used for repairs, secrets, and conversations that cannot be seen in the normal world.
This is a completion-friendly path that protects residents and keeps later options open. It is not the one morally correct route. A Ponderation is the thought tree Shiro uses before a major decision. Its result works with earlier requests, repairs, conversations, and key items; one kind reply does not decide an entire life.
Choose Your Spoiler Tier
- Tier 1 — Immediate reactions: Visible heart changes, dialogue responses, gifts, and virtual-room unlocks.
- Tier 2 — Resident outcomes: Who remains in Paradise, who receives treatment, and what happens after each Ponderation.
- Tier 3 — Ending influence: How the accumulated resident states support the happy, normal, or bad ending.
Visible affinity: Heart bursts and changes in the resident menu show affinity gains. Unshown outcome checks: Completed requests, held items, and Ponderation results can unlock later branches without adding a number to the gauge. Do not assume every friendly-sounding line adds affinity, that one response controls a resident's fate, or that a full gauge guarantees an ending.
Day 1: Tot and the Shop Incident
Decision context: Find Tot inside the shop in the Central Hall. Use the terminal on the right to enter Block Side, repair the malfunctioning shop Troid, and speak to Tot again. The repair gives you the Apartment Plants decoration and updates Tot's gauge to two hearts. Mari later explains that Tot appears to have sabotaged the Troid while taking food.
- During the Ponderation, reject immediate exile as the only answer.
- Reason that Tot can learn from what happened.
- Keep the incident from the district AI and accept responsibility for helping him.
Tier 1: Tot responds with relief, opens a direct line to Shiro, and reaches three visible hearts on this route. Tier 2: He remains in Paradise, so his chip problem and family history can be explored later. Expelling him closes that continuing resident path. Tier 3: Protecting him supports the positive chain. Expelling him is the required Day 1 choice on the bad-ending route.
Follow-up: Listen to Tot's chip complaint on Day 3. On Day 4, find him near the Factory, enter Block Side, and repair the glitch in his emotion-control chip. Invite him to the virtual room that evening and follow every available topic to learn about his dream of becoming a chef.
Days 2–3: Amane and the Compatibility Test
Prerequisite: Adopt the blue cat on Day 2 instead of approving its destruction. On rainy Day 3, speak to Amane when she becomes ill near the Factory, then talk to her again in the Garden before her compatibility test.
- Place the problem on the harsh test conditions rather than on Amane.
- Reason that she could perform properly under a clear sky.
- Return to the large Rainman machine outside the Salon and alter the weather for her.
Tier 1: Amane's affinity visibly rises after Shiro commits to helping her. Tier 2: She passes the test and remains in D-topia. She later messages Shiro, becomes more open, names the cat Osushi, and gives you a cat bed on Day 6. On the bad route, destroying the cat and refusing to help Amane during the rain results in her failing the test and being expelled. Tier 3: Keeping her in Paradise supports the positive resident state; her expulsion advances the bad route.
The cat and weather decisions belong to the safe positive sequence, but the game does not display separate hidden values for them. Complete both if you want the cleanest route. Invite Amane to the virtual room on Day 6 and finish her available topics before sleeping.
Day 4: Pivlof and the Memory Operation
Decision context: Escort Pivlof from the Factory through the Central Hall and Garden. Introduce him to Mari and speak with Poppy before taking him to the Salon. When he asks about his daughter, enter Block Side and inspect both hidden diary puzzles: one is upstairs, to the right of the bar, and the other is downstairs on the left.
- Reason that grief over his daughter is tied to his artistic block.
- Affirm his right to know how she felt.
- Treat regret and hope as parts of an artist's life, not defects to delete.
- Tell him the truth and advise him to refuse memory-removal surgery.
Tier 1: Pivlof thanks Shiro and reaches maximum visible affinity on this branch. Tier 2: He keeps his memories and leaves the Salon at peace. On Day 6, he gives Shiro a collection of vintage records. If Shiro hides the truth and does not oppose the operation, Pivlof undergoes memory removal. Tier 3: Preserving his memories supports the positive chain; allowing the operation advances the bad route.
Invite Pivlof to the virtual room on Day 4 and work through his topics about art, synthetic food, and the old world. The invitation is separate from the Ponderation, so do both.
Day 5: Heine, Nora, and the Warehouse Choice
Decision context: During the outage, code 7809 opens the direct route home, but taking it abandons the Heine rescue. For the rescue route, go to the Warehouse door and enter 9054. Inside, meet Nora, repair the damaged device on the left, and then approach Heine.
- Calm Heine and tell her the situation is under control so she returns to safety.
- Go back to Nora and hear why she caused the outage.
- During the Ponderation, note that Nora chose a low-traffic time and tried to avoid casualties.
- Decide that recovering her personal device does not justify stopping her by force.
- Agree to help her.
Tier 1: Helping Nora raises her affinity and opens her virtual-room conversations. Tier 2: Heine returns to safety. Nora protects Shiro from the second blast, and the helpful Nora path makes a duplicated Rank 7 resident ID available on Day 6. Tier 3: Rescuing Heine and earning Nora's help keeps the positive branch open. Going home with code 7809 is the quickest Day 5 step on the bad route.
Highly missable Nora follow-up: After the twins' Day 6 Ponderation, exit the Salon and stop immediately. Look left of the entrance for blinking red lights, switch to Block Side, and speak to the hidden Nora. She gives you the Celestial Telescope, gains an affinity boost needed for her maximum gauge, and becomes available for the virtual room. If you miss her, replay Day 6 through chapter select before continuing the later story.
Day 6: Mari, Sona, and the Third Option
Decision context: The red-suited resident is Sona, Mari's twin. Sona is ill, while Mari is a clone whose organs are meant to save her. Accept the surgical consent form from the red suit at the start of the day. When Mari asks for it in the Garden, do not hand it over. Say you will speak with Sona first, then enter the Salon after reaching Resident Rank 4.
- Speak to Sona upstairs and learn that her Rank 7 ID could register Mari as a permanent resident.
- Repair the malfunctioning security Troid after the twins run out.
- Meet Nora upstairs and accept the duplicated Rank 7 resident ID. This requires the helpful Nora route from Day 5.
- Speak to Sona's doctor outside the Salon to begin the Ponderation.
- Reject the claim that either sister must be sacrificed.
- Use the duplicated Rank 7 ID to register Mari as a permanent resident.
- Choose to divide the organ burden between the twins.
Tier 1: The third option appears only when Shiro still has the consent form and Nora supplies the duplicate ID. Mari and Sona accept the shared-organ plan; this immediate story response is separate from their visible affinity gauges. Afterward, complete Nora's hidden conversation and use the virtual room with Sona, Nora, Tot, Heine, and Amane. Tier 2: The operation succeeds. Mari and Sona both survive, accept shorter lives together, and message Shiro while celebrating their twentieth birthday. Their thank-you package arrives at the apartment. Handing the form directly to Mari leads to her sacrifice for Sona. Without Nora's ID, the remaining branches save only one sister. Tier 3: Saving both twins supports the happy ending, but it does not determine that ending by itself.
Day 7: Chloro and the Final Ponderation
Ending spoilers: Enter Number 47's home through Block Side, use code 0966 at the sealed terminal, and meet Chloro in the AI Mega Core. In the final Ponderation, steer Shiro toward free thought supported by AI rather than passive obedience.
- Choose the idea that people should think for themselves while still accepting useful AI support.
- Reject the idea that difficulty makes an unjust fate acceptable.
- Commit to continuing the work of helping others, even when perfect happiness cannot be guaranteed.
Tier 1: On the positive branch, Chloro grants the Master Key and opens the Day 7 cleanup period. Tier 2: Chloro accepts a future shaped by human choice rather than total system control. Tier 3: Earlier resident outcomes still matter. A mostly positive record supports the happy ending, one major negative turn can produce the normal ending, and the full bad resident chain leads Chloro to decide that imperfect humans are unnecessary. The last Ponderation completes the route; it does not erase the week behind it.
For Chloro's affinity, leave home at midday, switch to Block Side, and re-enter Number 47's apartment. Speak to Chloro again in the laboratory to unlock his virtual-room invitation. Return home, invite him, and finish every available topic.
Daily Maximum-Affinity Checklist
- Day 1: Meet Mari in the Garden. Repair Tot's shop Troid, speak to him again, and protect him during the Ponderation.
- Day 2: Complete the red-suited resident's food request with the red-berry white chocolate from the White Troid Shop. Speak to Tot, Mari, and Heine before advancing. Adopt the cat.
- Day 3: Speak to Amane near the Factory and in the Garden. Listen to Tot's chip complaint. Speak to Mari and Heine in the Central Hall. Change the weather for Amane. Invite Poppy to the virtual room before bed.
- Day 4: Complete Pivlof's escort, both diary searches, and his memory Ponderation. Fix Tot's chip in Block Side. Speak to Heine in the Warehouse. Invite Tot and Pivlof to the virtual room and clear their topics.
- Day 5: Rescue Heine through Warehouse code 9054, calm her, and then help Nora recover her device.
- Day 6: Speak to Amane near the Factory for the cat-bed gift, Pivlof in the Garden for the record gift, Poppy near the Bistro, Heine in the Warehouse, and Tot before entering the Salon. Save both twins, complete Nora's blinking-red-light conversation left of the Salon, collect her telescope, and clear the available virtual-room conversations before sleeping.
- Day 7: Complete Chloro's Ponderation, revisit his laboratory through Block Side, and invite him to the virtual room. Then speak to Amane beyond the Factory; Tot outside his shop; Eebie outside the Salon; Sona inside the Salon; Mari, Pivlof, and Poppy in the Garden; and Nora and Heine in the Warehouse.
Day 7 Cleanup Route
Once Chloro gives you the Master Key, use this travel-saving loop: Number 47's laboratory → home virtual room → Factory → Central Hall → Salon → Garden → Warehouse. Talk to every resident, including Eebie outside the Salon, even if you do not plan to accept that person's afternoon invitation. In the Warehouse, stop before Heine, watch for Nora's red lights, and enter Block Side to speak with her. Use Block Side again for Heine's final conversation.
The afternoon invitation is a personal scene, not a universal best pick, and choosing one resident does not block maximum affinity with the others. If the all-residents achievement has not appeared by the end of the Warehouse route, check the usual cheerful-bureaucracy traps: Nora outside the Salon on Day 6, Eebie outside the Salon on Day 7, an unfinished virtual-room topic, or Chloro's second laboratory conversation. That is the humane fixer's real endgame: one last look behind Paradise's polished wall, clipboard in hand, making sure nobody was optimized out of the schedule.
Comments will load when you reach this part of the walkthrough.