
Chapter Six: The Cemetery

- Click on the table and use the UTILITY KNIFE on the package to get NOTH AMERICA and the DRAGON STATUETTE.
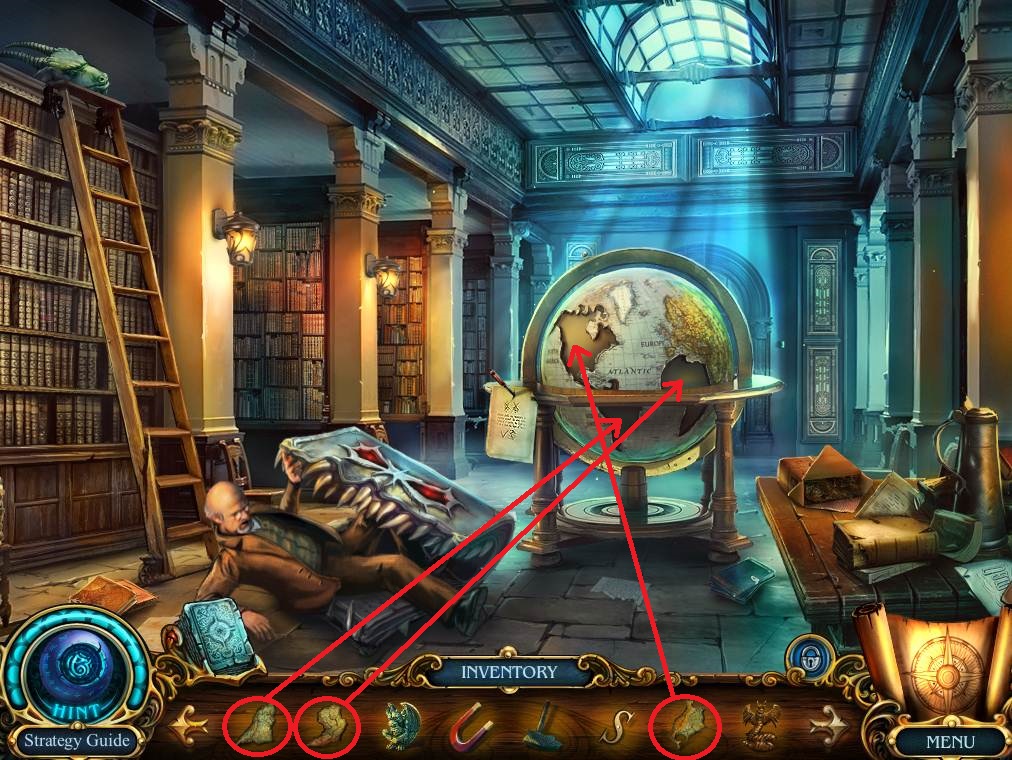
- Put NORTH AMERICA, SOUTH AMERICA, and AFRICA on the globe.
- Click on the globe to activate a hidden object area.
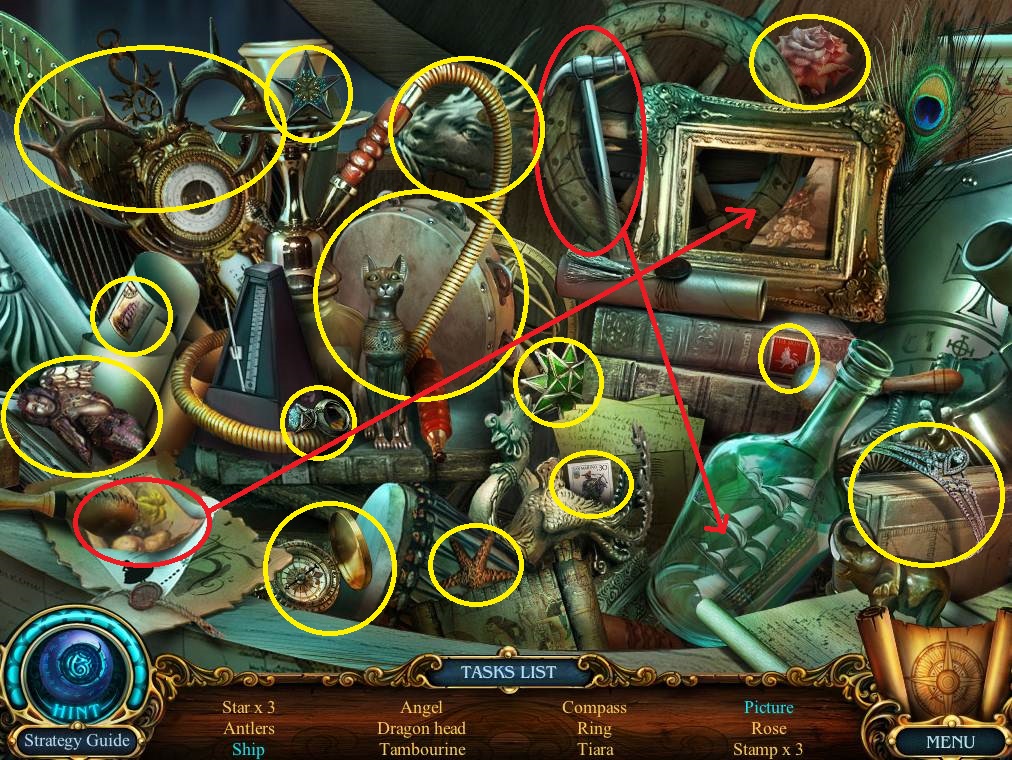
- Use the hammer on the bottle to get the ship.
- Put the picture in the frame to get the picture.
- Collect the remaining items listed to get the CHIMERA’S LEFT HEAD.
- Go to the mansion hall.

- Put the GARGOYLE and the DRAGON STATUE on the bas-relief to trigger a puzzle.
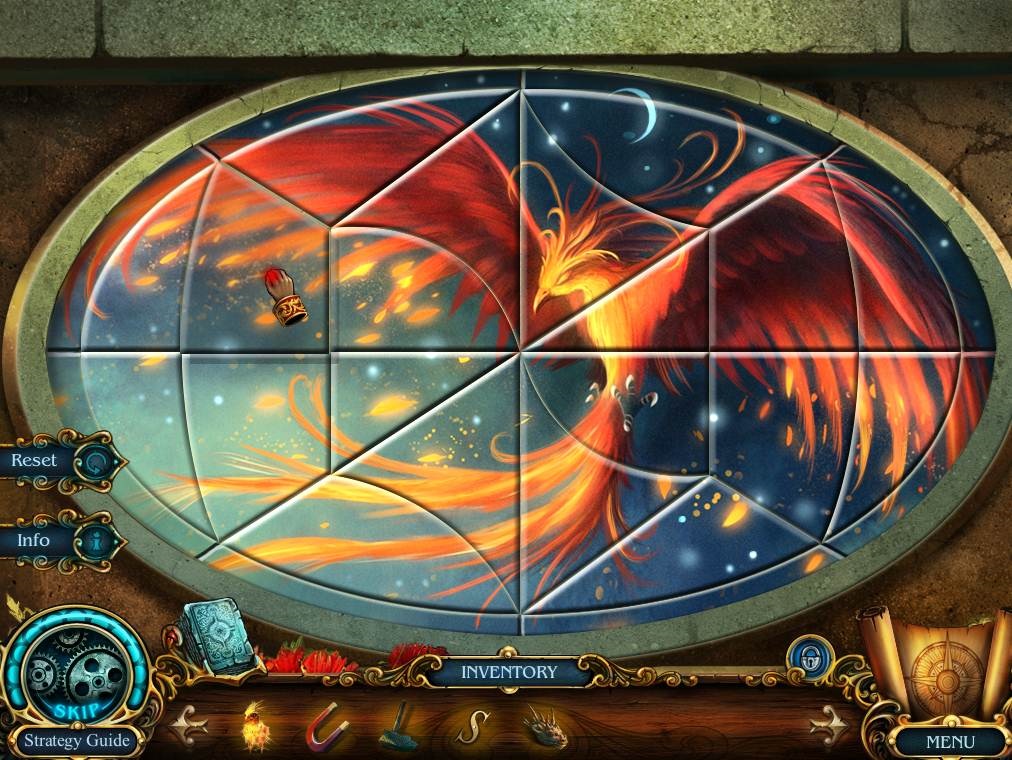
- Assemble the pieces according to the screenshot.
- Take the ROPE.
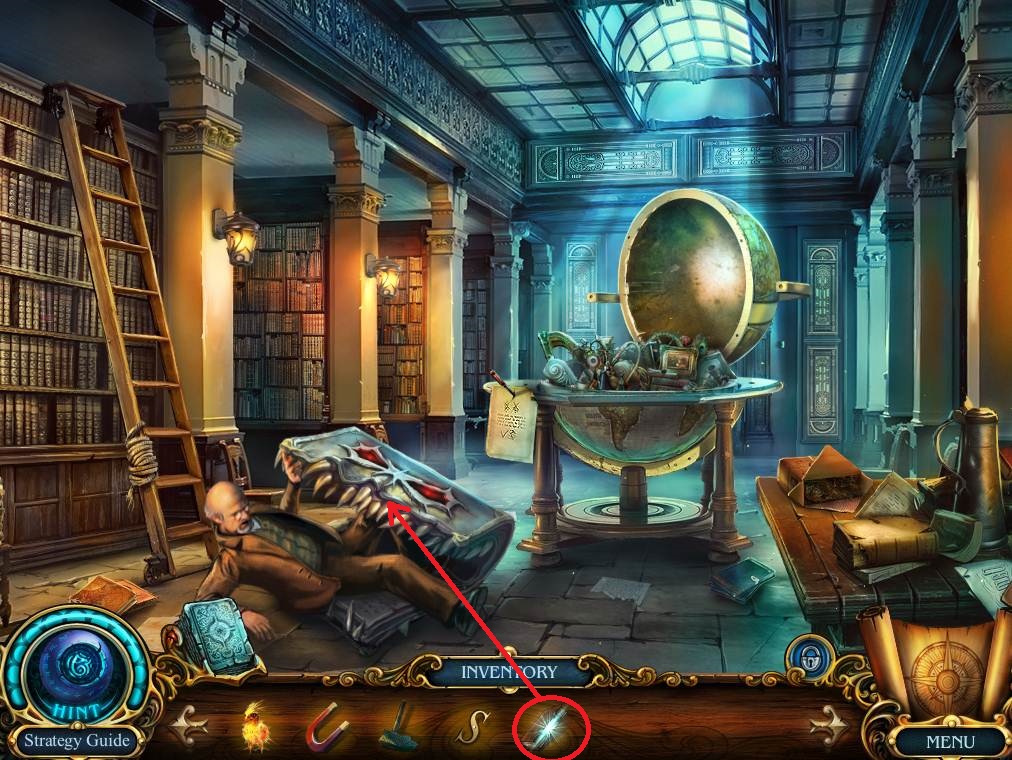
- Go to the archive.
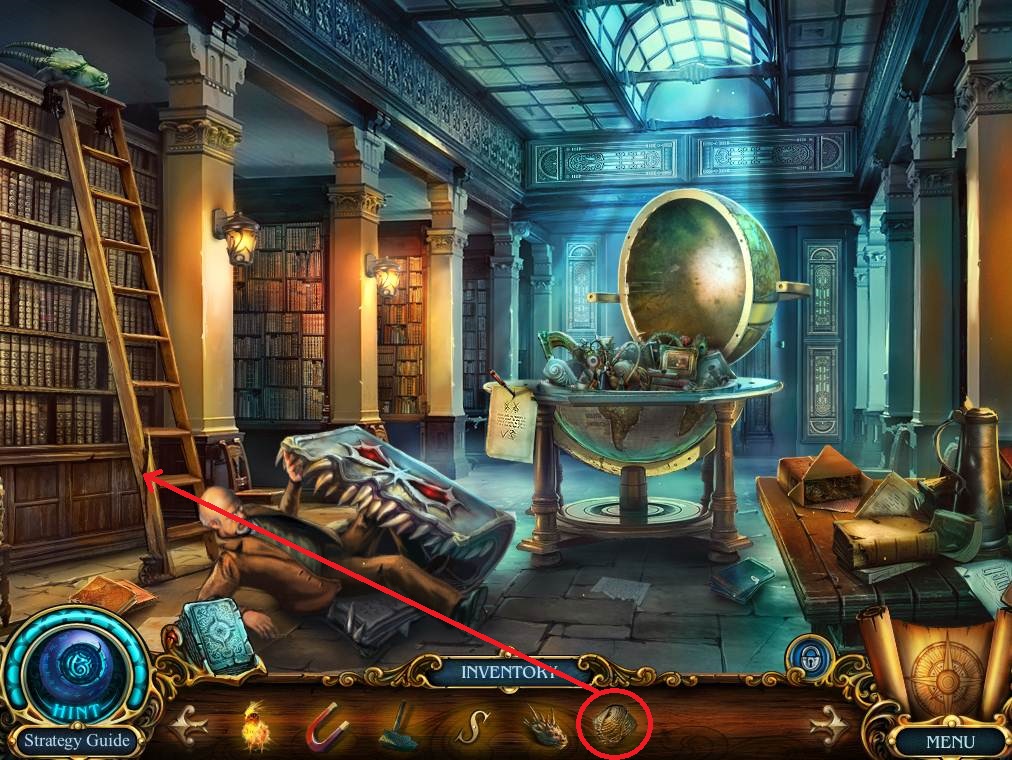
- Use the ROPE on the broken ladder.
- Click on the top of the ladder to get the CHIMERA’S RIGHT HEAD.
- Go back twice to get to the fountain.
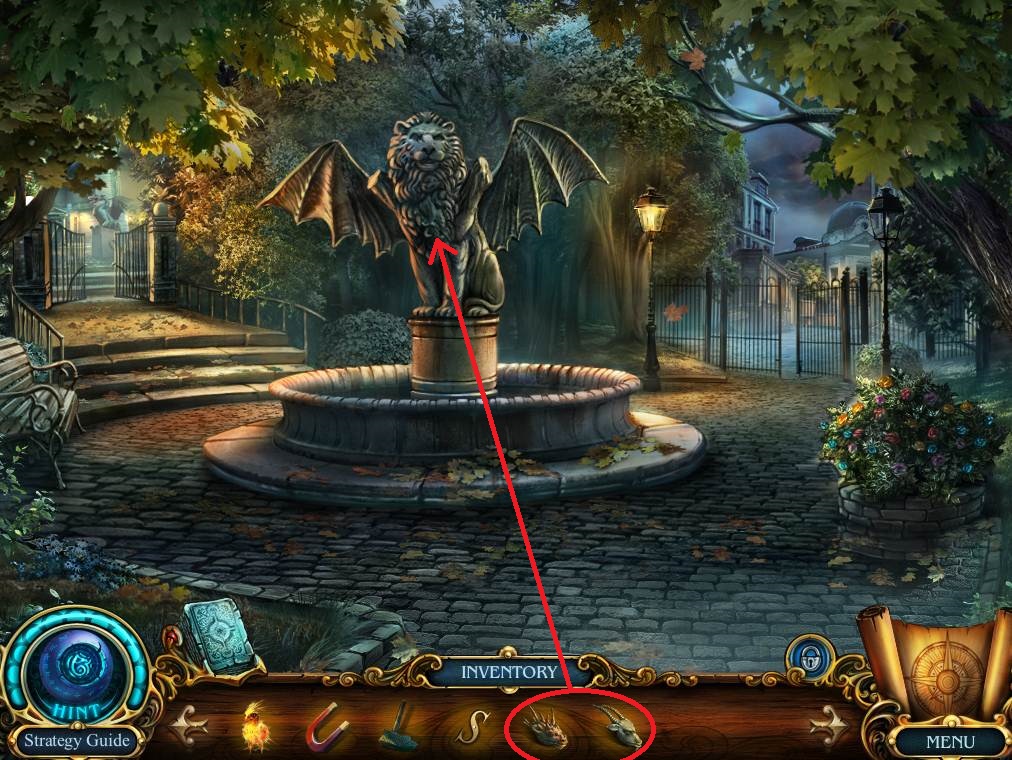
- Put the CHIMERA’S LEFT HEAD and the CHIMERA’S RIGHT HEAD on the chimera statue to get the GLOWING BOOK.
- Return to the archives
- Use the GLOWING BOOK on the evil book.
- Speak to the archivist.
- Take the cursed card and the VALVE from the archivist.
- Go to the mansion.
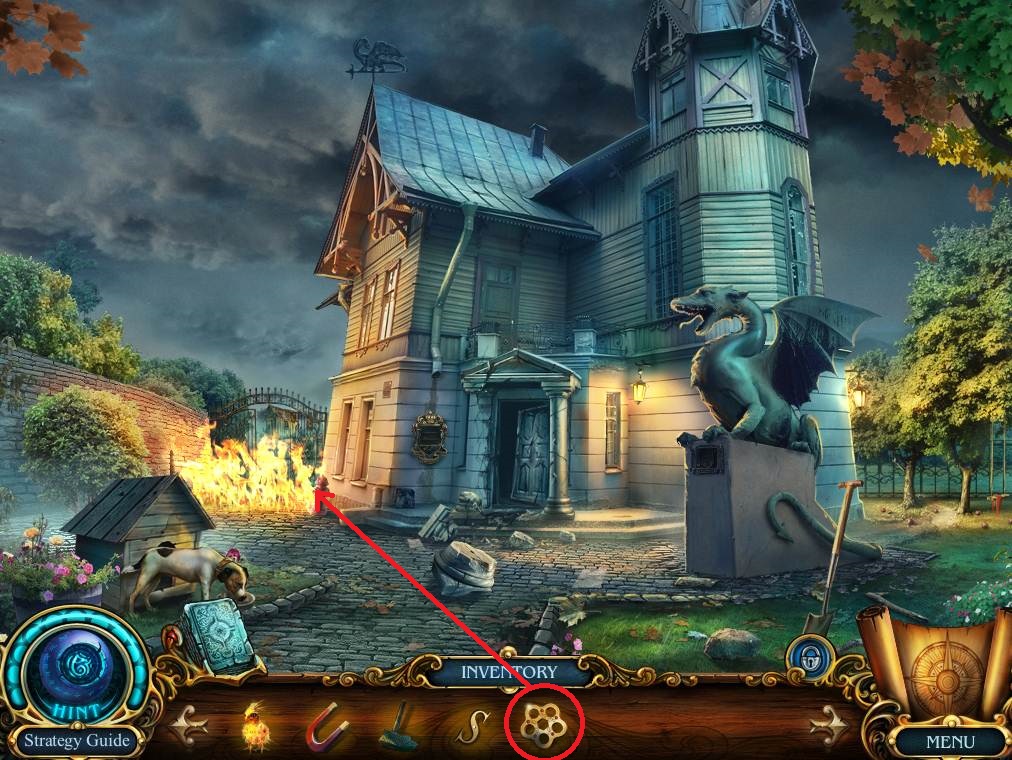
- Click on the fire and use the VALVE on the fire hydrant.
- Go through the newly opened path to get to the lake.
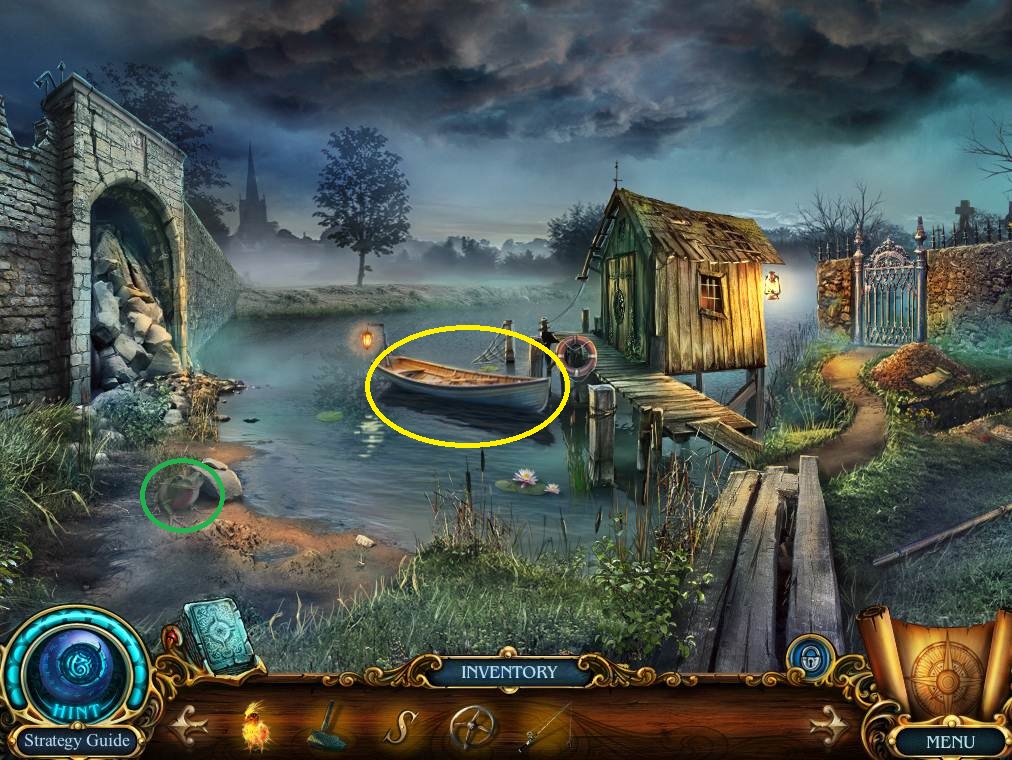
- If you’re collecting the lost pets you can find the Princess Frog by the rock on the left side of the lake.
- Click on the boat to find the third CANNON WHEEL PART and the VALVE WHEEL.
- Put the MAGNET on the fishing pole.
- Take the FISHING ROD.
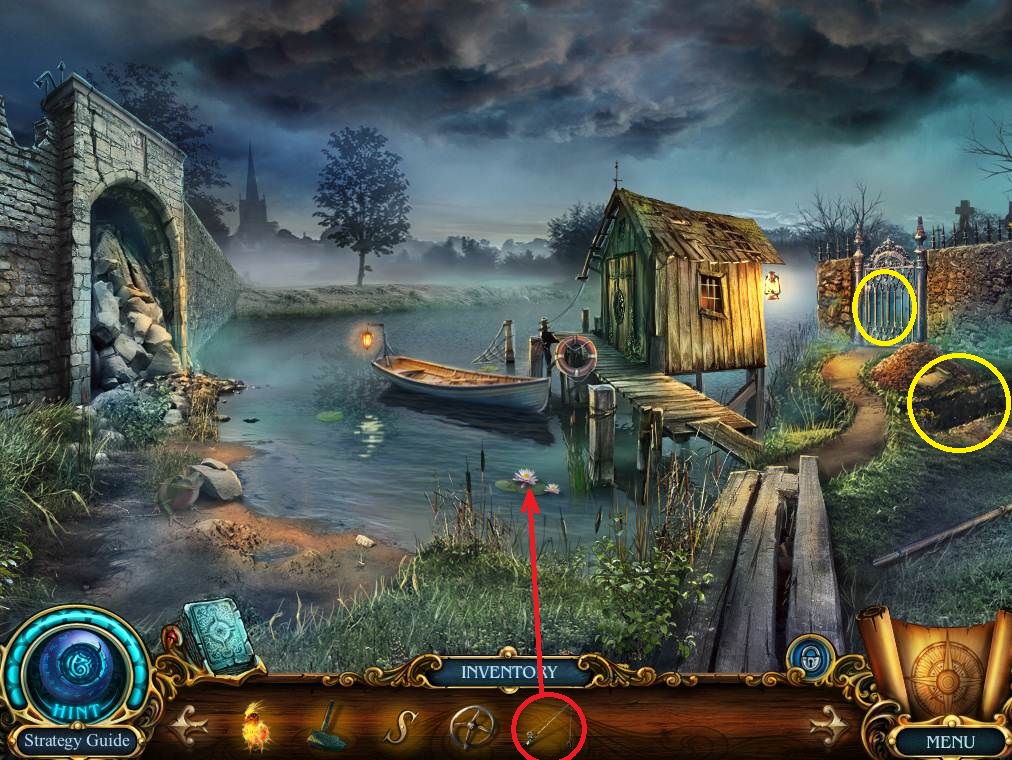
- Click on the lily pad and use the FISHING ROD in the water to get the SHARK.
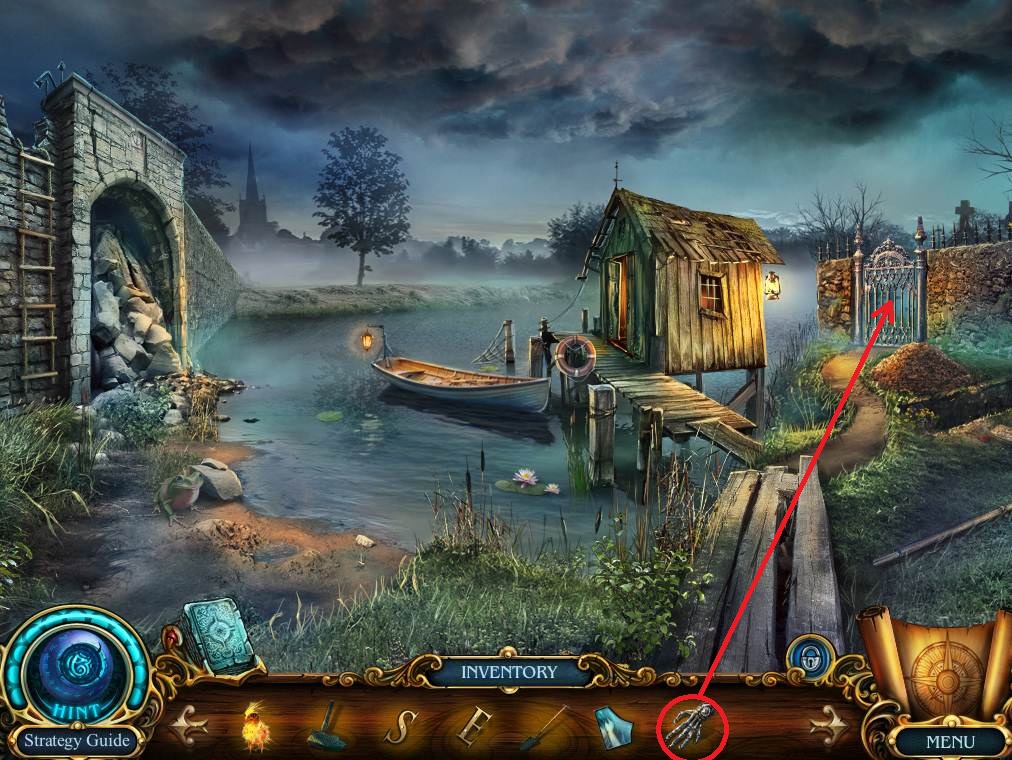
- Click on the gate to get the SHIP.
- Click on the grave, then read the note and take the LETTER E.
- Go back to the mansion hall.
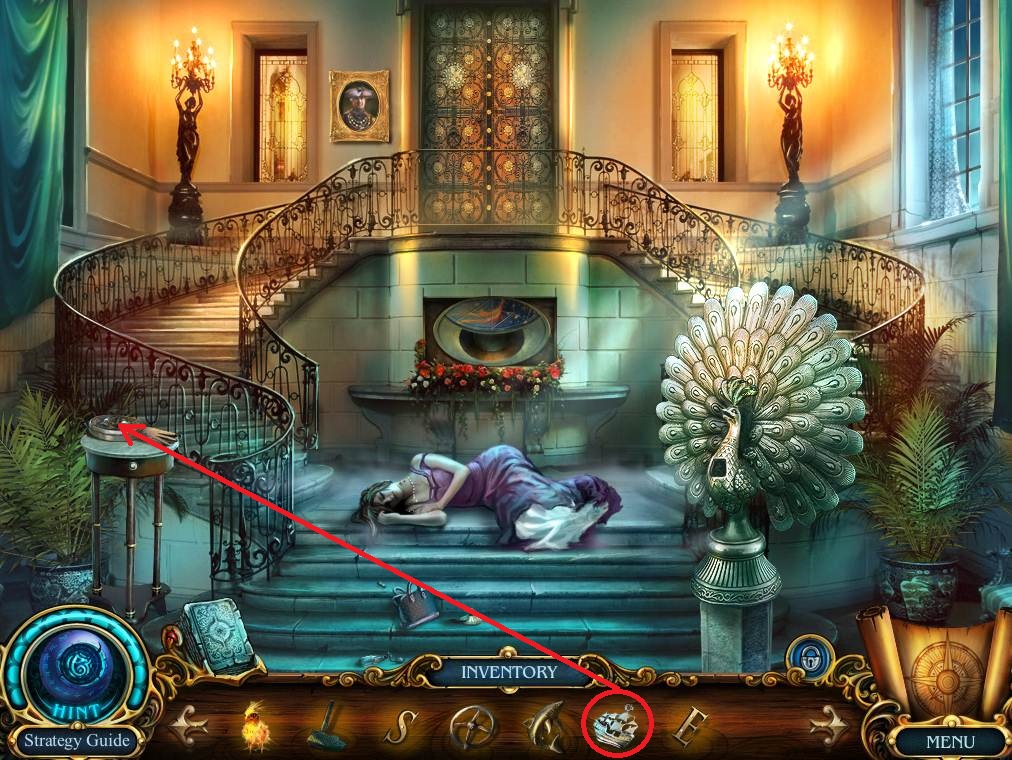
- Click on the table and use the SHIP on the trinket box to get the OCTOPUS.
- Go back to the lake.
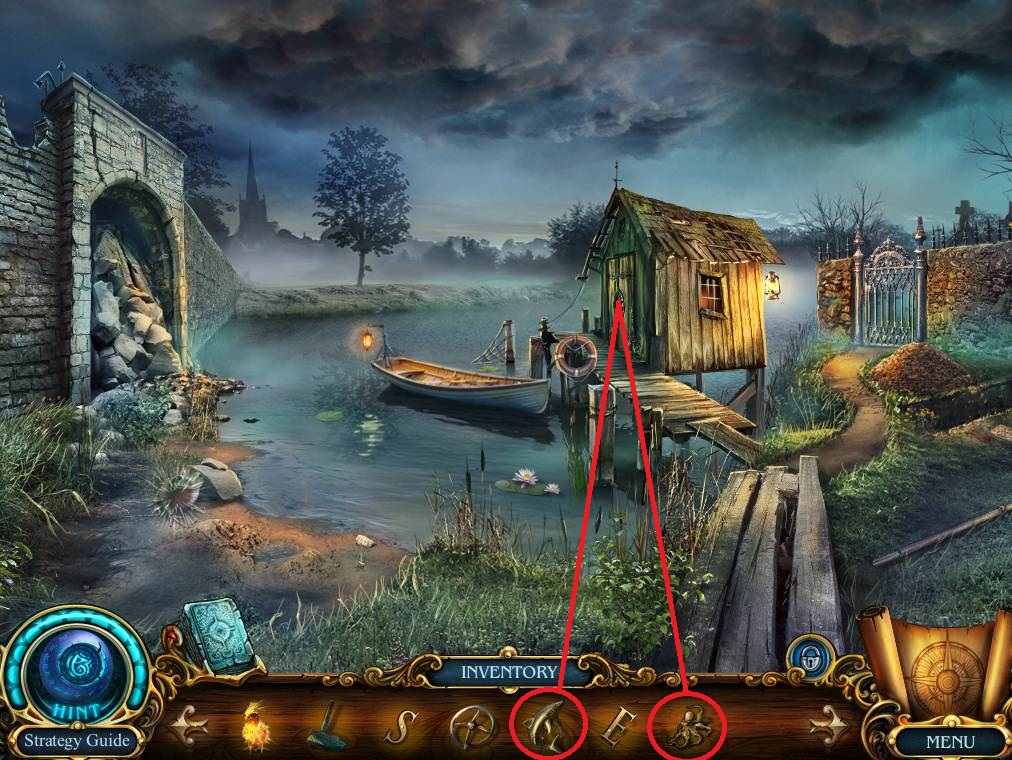
- Put the OCTOPUS and the SHARK on the shed lock, then click on the lock to open the shed and activate a hidden object area.
- Chapter-6-14-Shed-HOA
- Use the knife on the shell to get the pearl.
- Put the fin on the shark to get the shark.
- Collect the remaining items to get the ROPE LADDER.
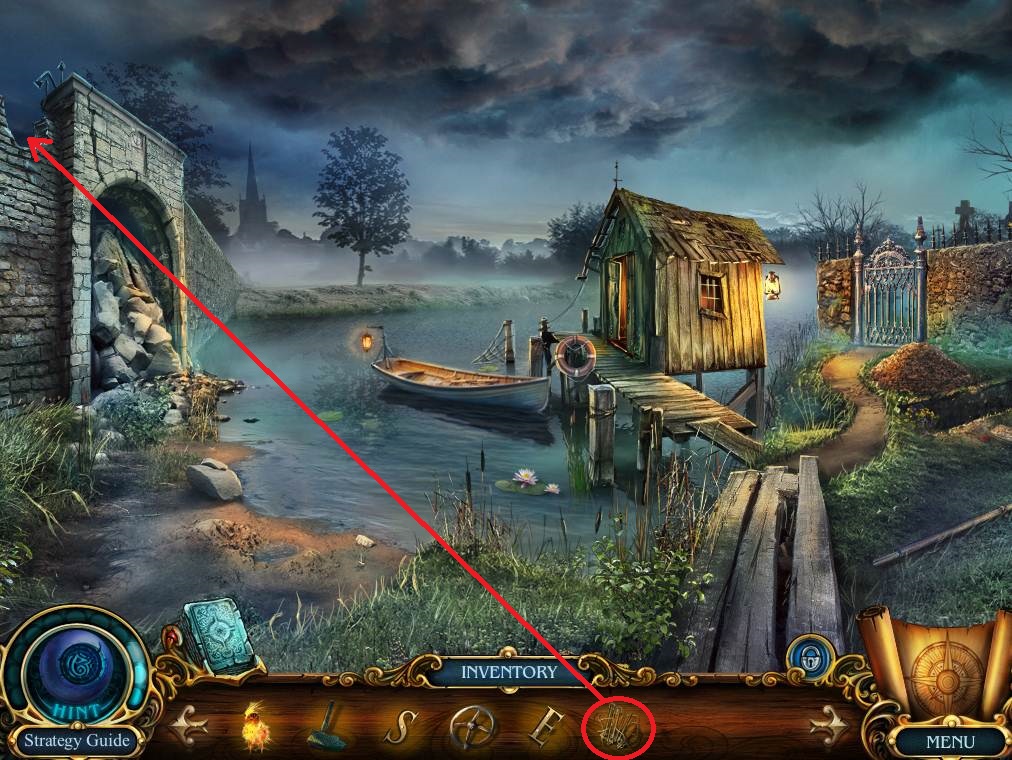
- Use the ROPE LADDER on the wall.
- Use the ROPE LADDER to get over the wall and access the ruined street.
- If you’re collecting the lost pets the Scholar’s Owl can be found on the wall above the safe.
- Click on the collapsed facade to find the WOODEN MALLET.
- Use the VALVE WHEEL on the safe and turn it.
- Take the SPADE and the STAINED-GLASS PART.
- Go to the park.
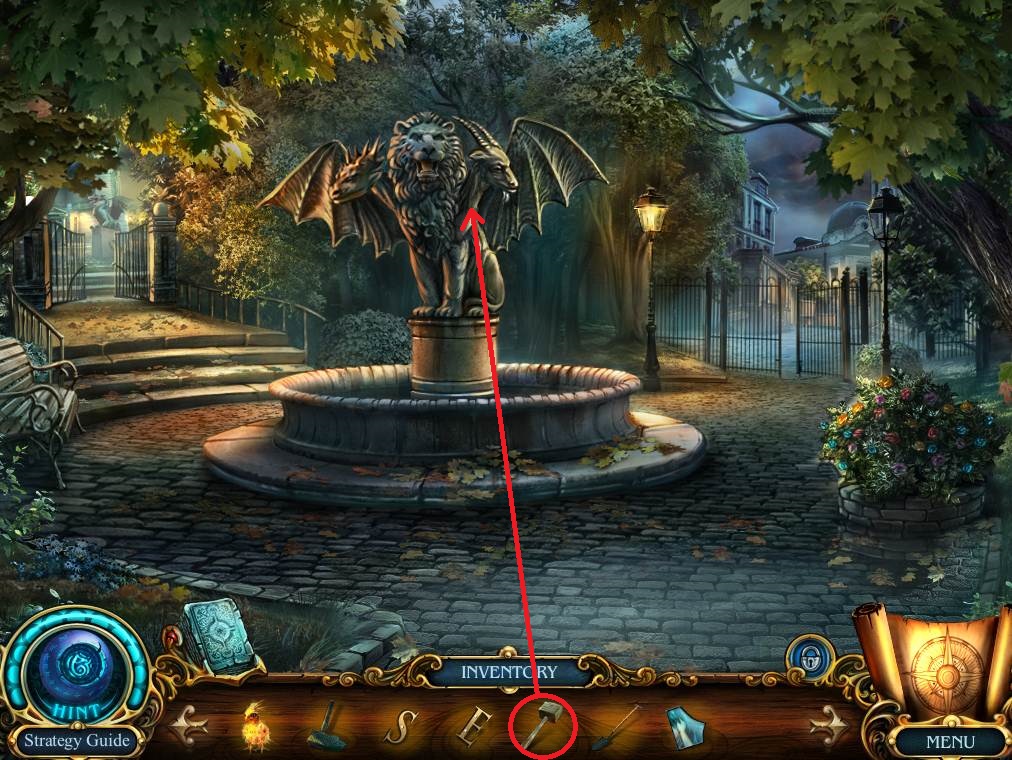
- Use the WOODEN MALLET on the statue to get the WEDGE.
- Return to the ruined street.
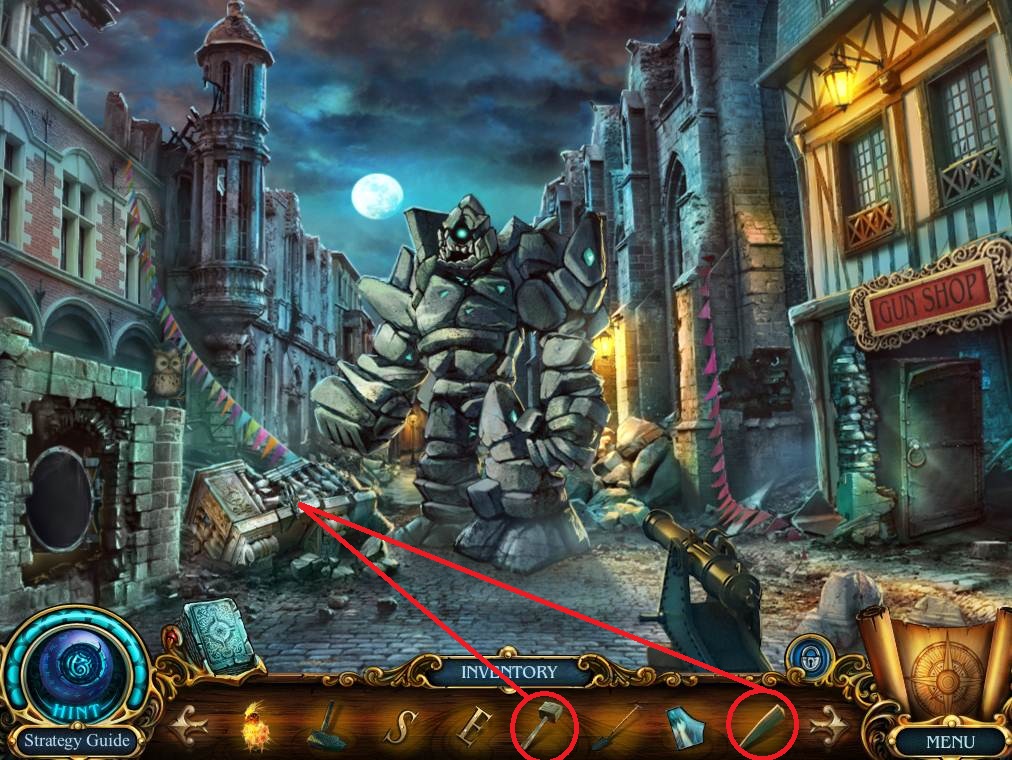
- Use the WEDGE and the WOODEN MALLET on the collapsed façade to get the GATE HANDLE.
- Go back once.
- Use the GATE HANDLE on the gate and then open it.
- Go through to the cemetery.
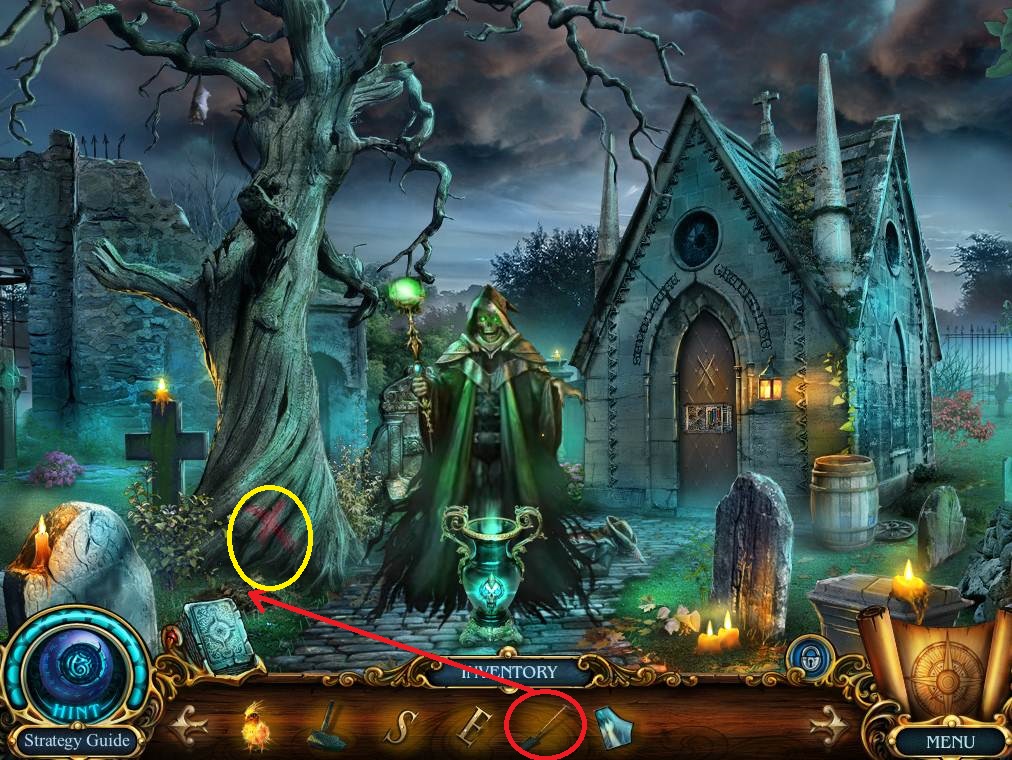
- Click on the tree trunk and use the SPADE on the freshly turned dirt three times.
- Take the LANTERN, the second STAINED-GLASS PART, and the MUSIC NOTE.
- Go back once.
- Click on the grave and use the MUSIC NOTE on the box.
- Open the box and take the BLUE SKULL.
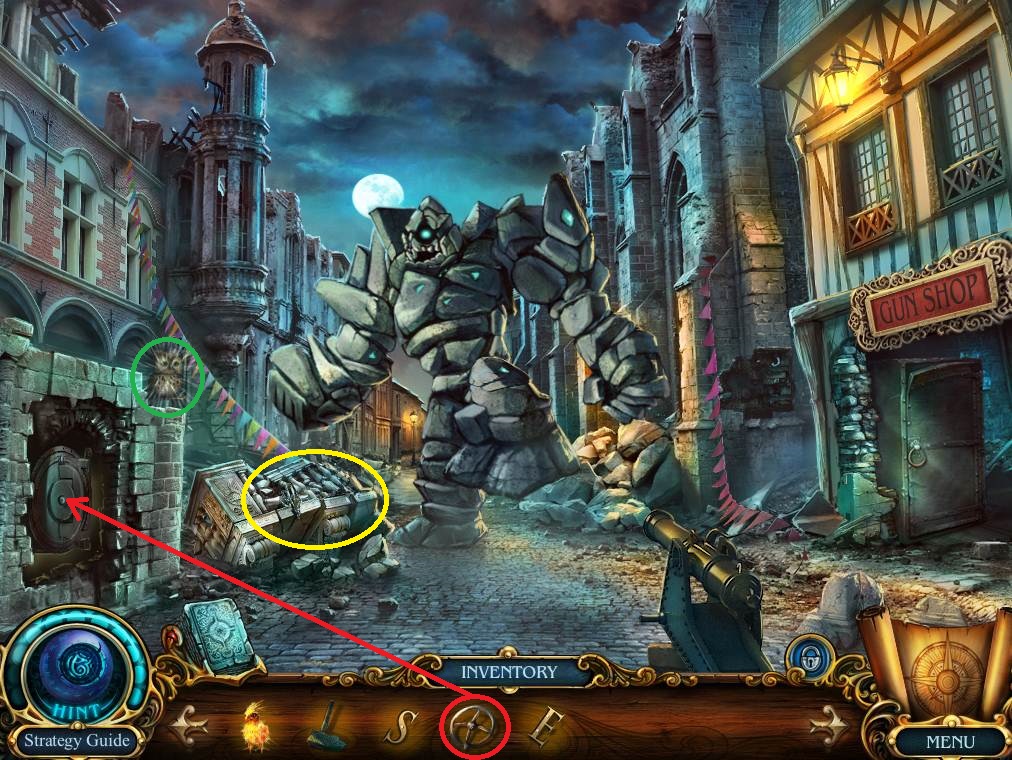
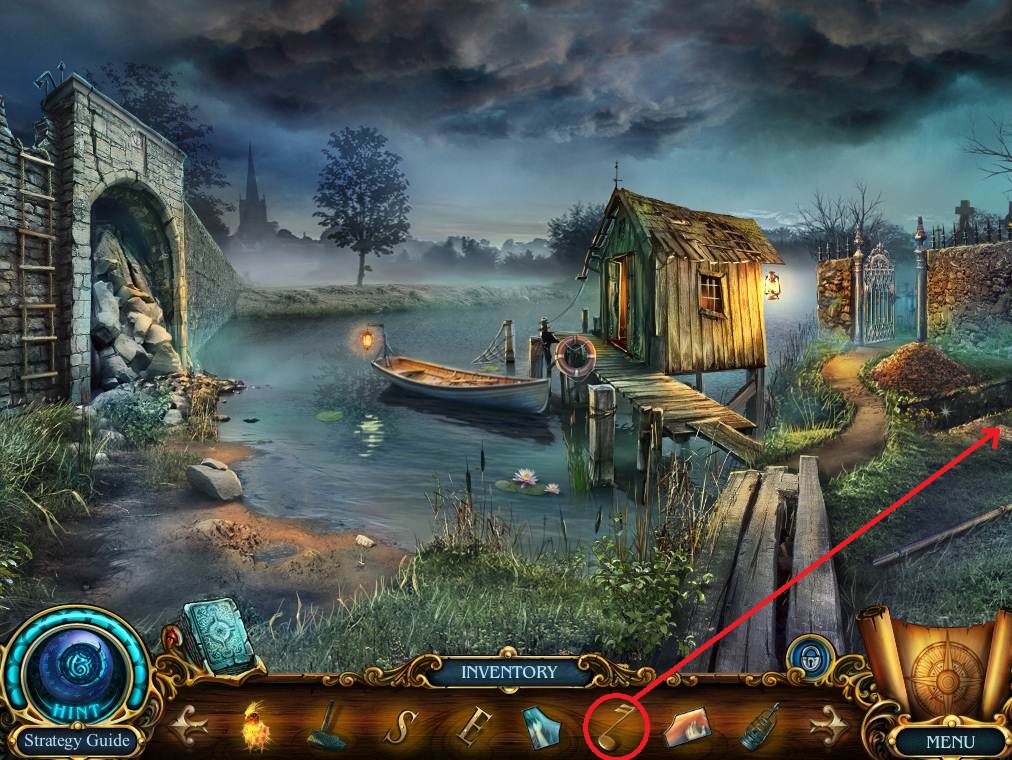
- Take a left to the ruined street.
- Use the LANTERN on the hole; light the LANTERN using TERRANCE.
- Take the GOLDEN FISH and the third STAINED-GLASS PART.
- Go back once.
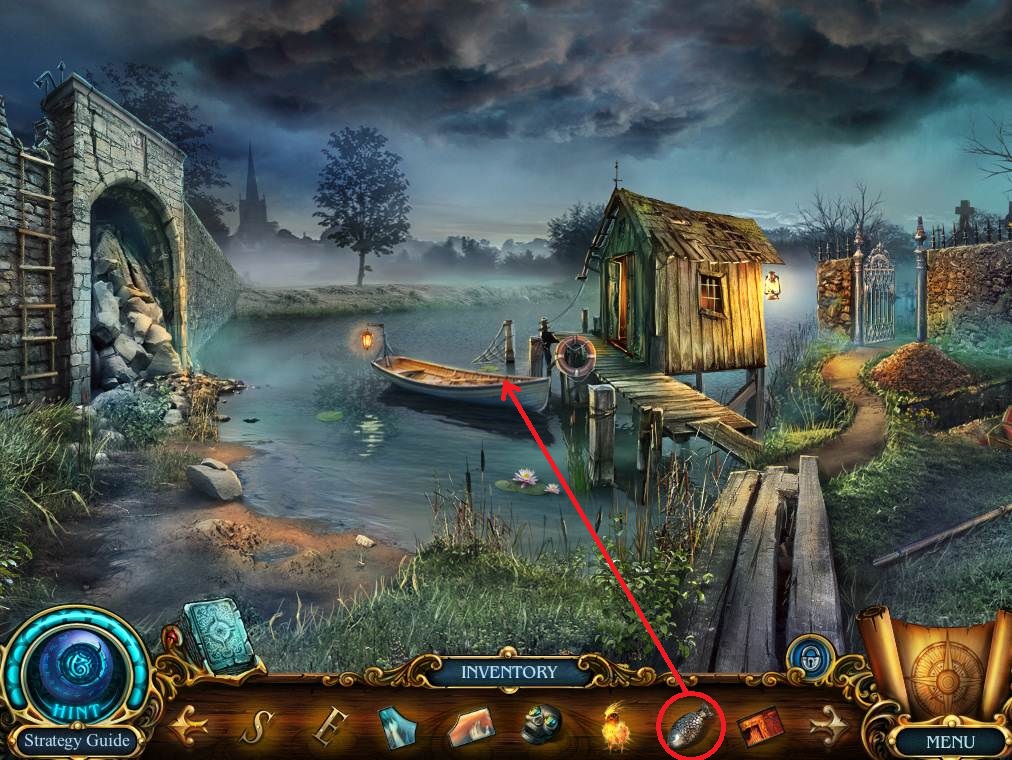
- Click on the boat and use the GOLDEN FISH on the box to get the YIN-YANG and the fourth STAINED-GLASS.
- Return to the cemetery.
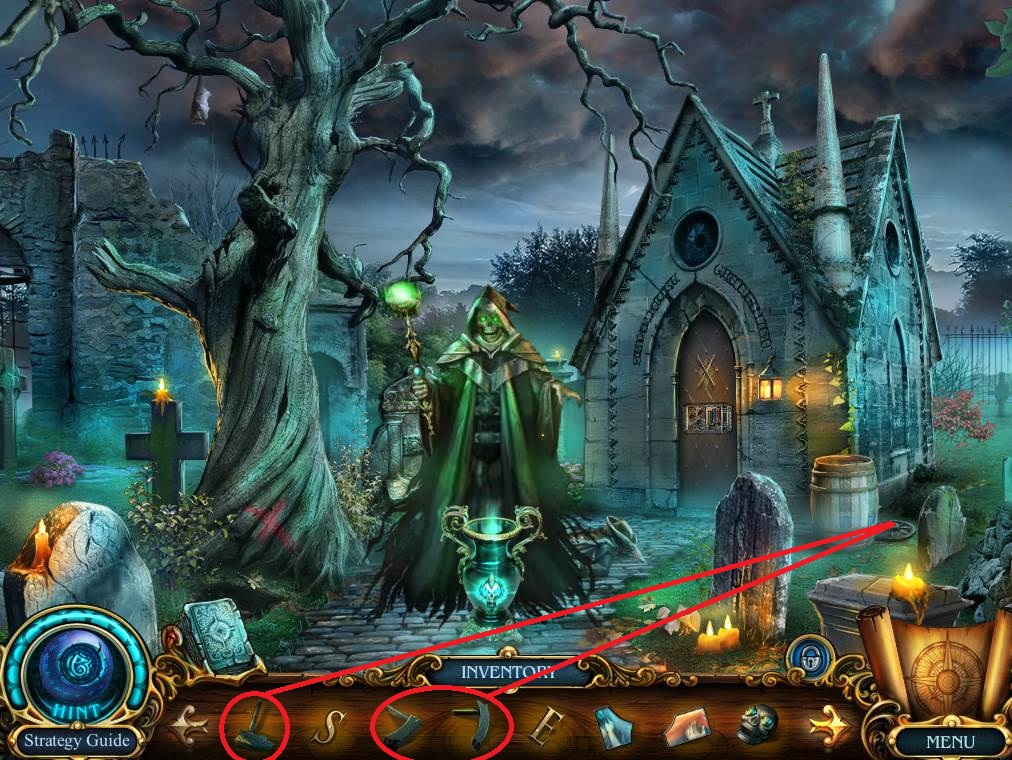
- Click on the barrel and use the three CANNON WHEEL PARTS on the wheel to get the CANNON WHEEL.
- Go to the ruined street.
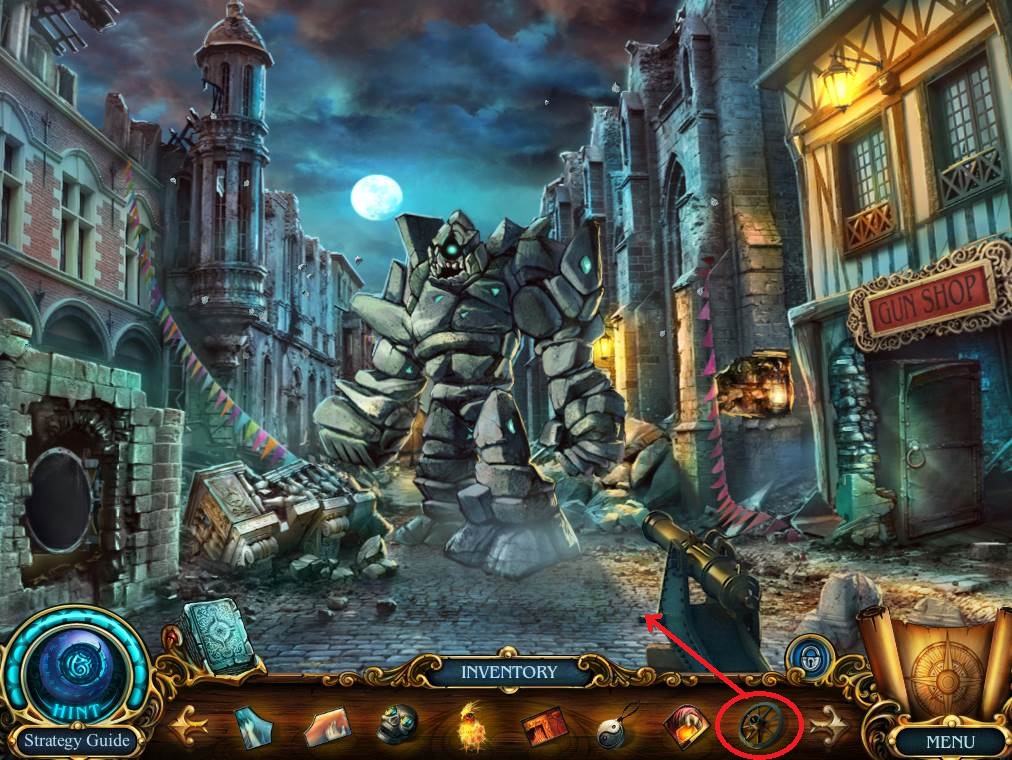
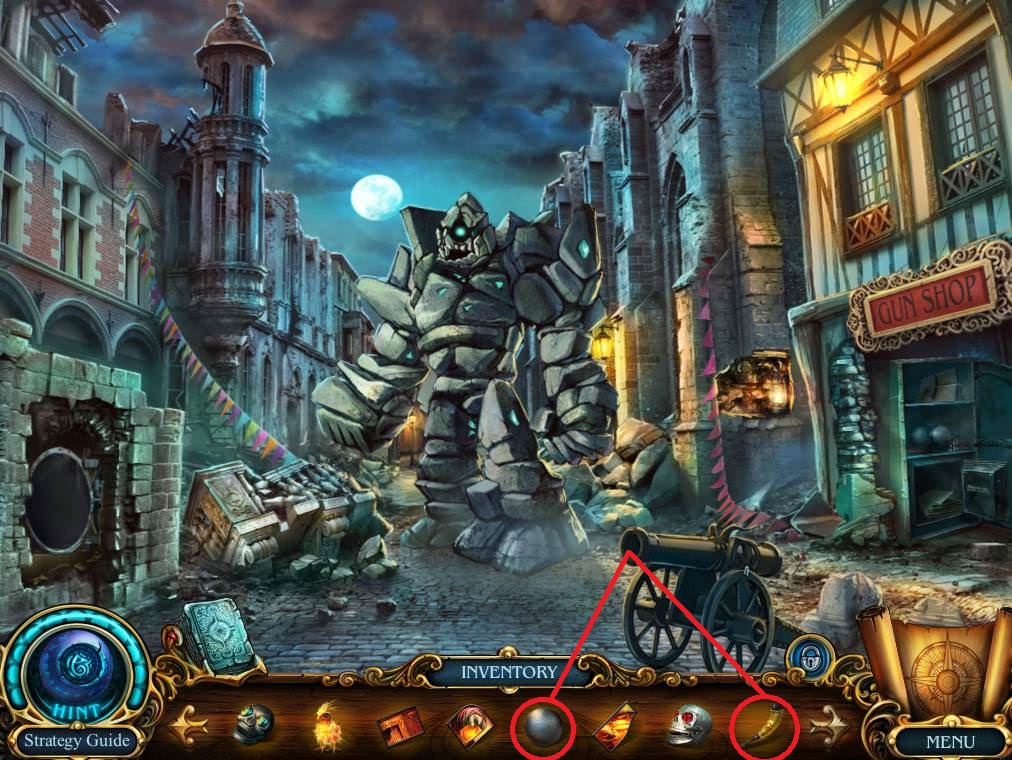
- Use the CANNON WHEEL on the cannon and then turn the cannon twice to get the CROWBAR.
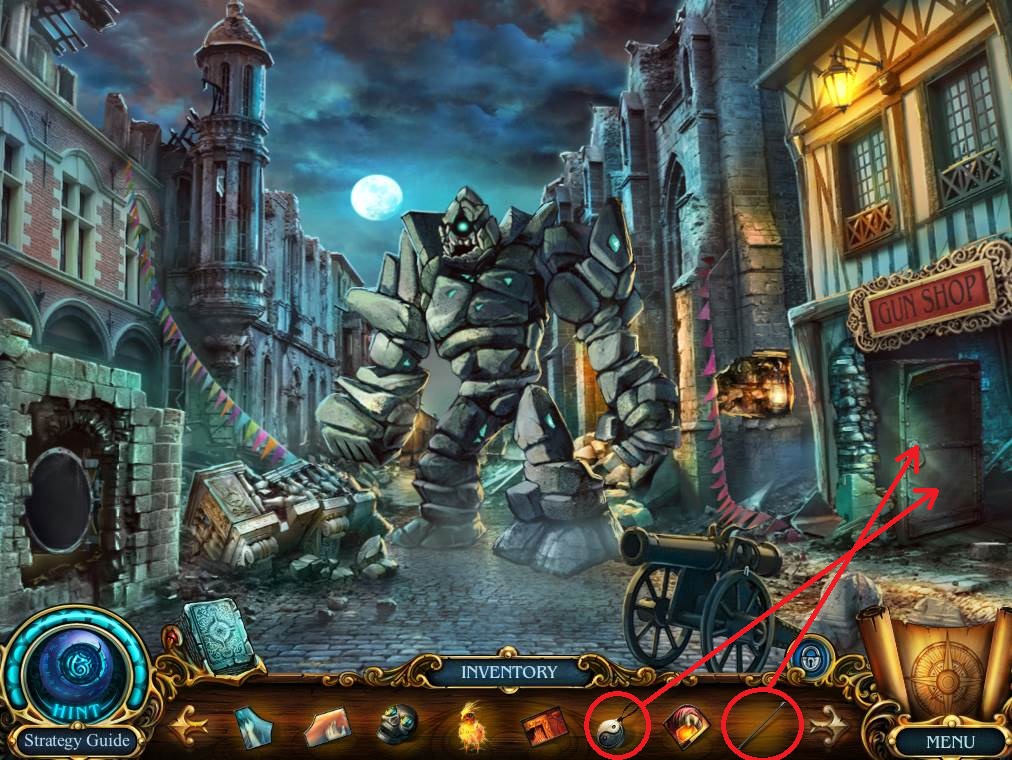
- Use the CROWBAR on the gun shop door.
- Take the ENPTY HORN and the CANNON BALL.
- Put the YIN-YANG on the safe to get the fifth STAINED-GLASS PART.
- Return to the cemetery.
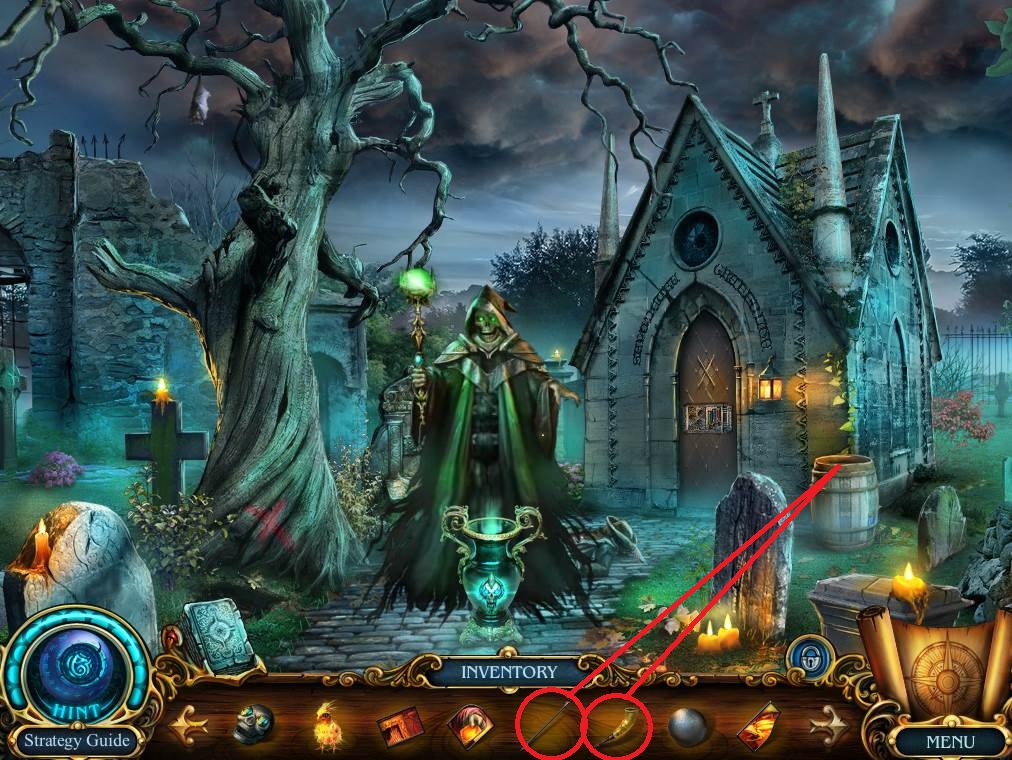
- Use the CROWBAR on the barrel to get the RED SKULL.
- Use the EMPTY HORN on the opened barrel to get a HORN WITH GUNPOWDER.
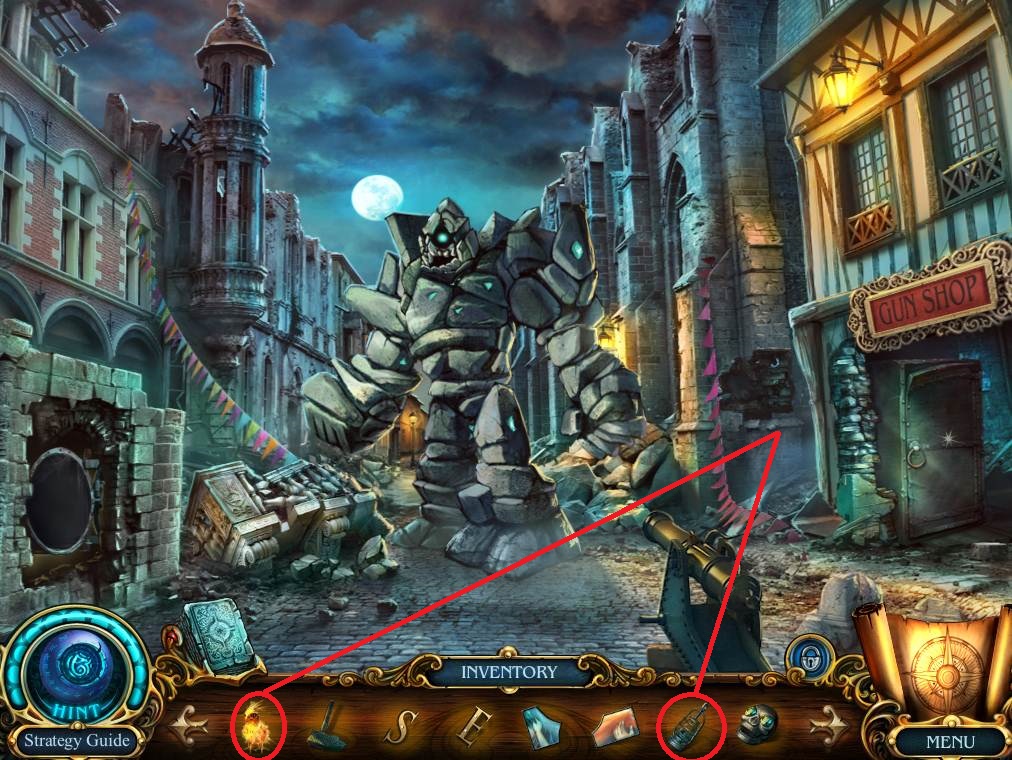
- Go to the ruined street.
- Use the HORN WITH GUNPOWDER and the CANNONBALL on the cannon.
- Turn it twice and then use TERRANCE to light it.
Comments will load when you reach this part of the walkthrough.