

Chapter Two: The Monster House
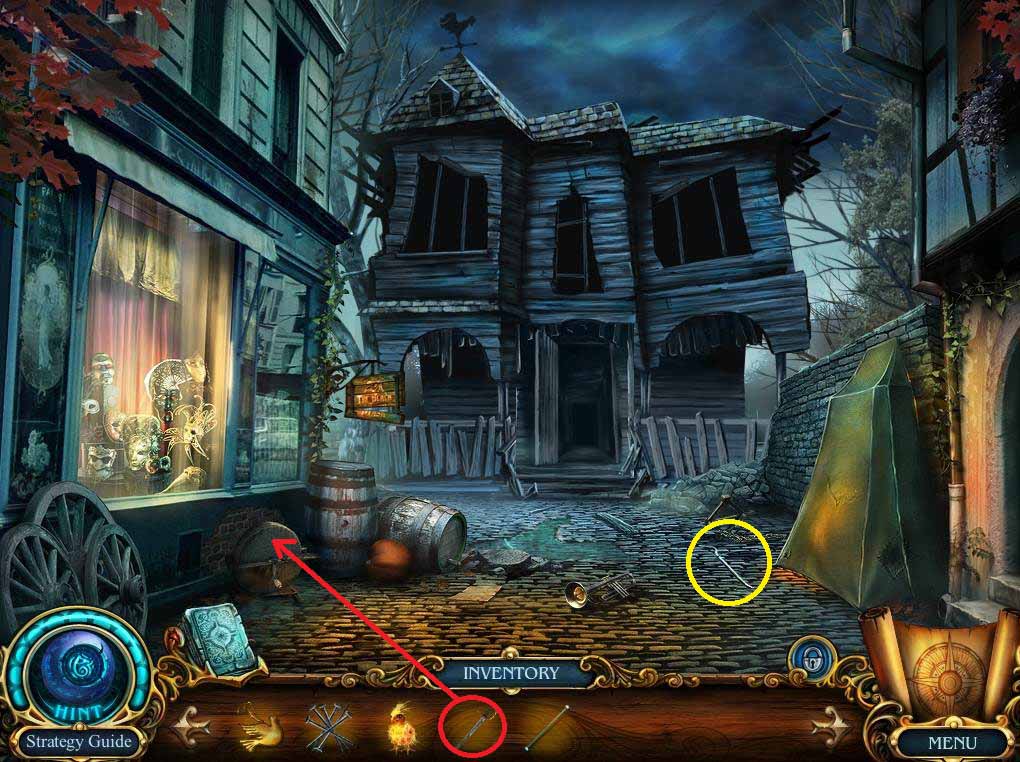
- Use the BLUNT SWORD on the grindstone to receive the SHARP SWORD.
- Click on the jack and take the NAIL PULLER.
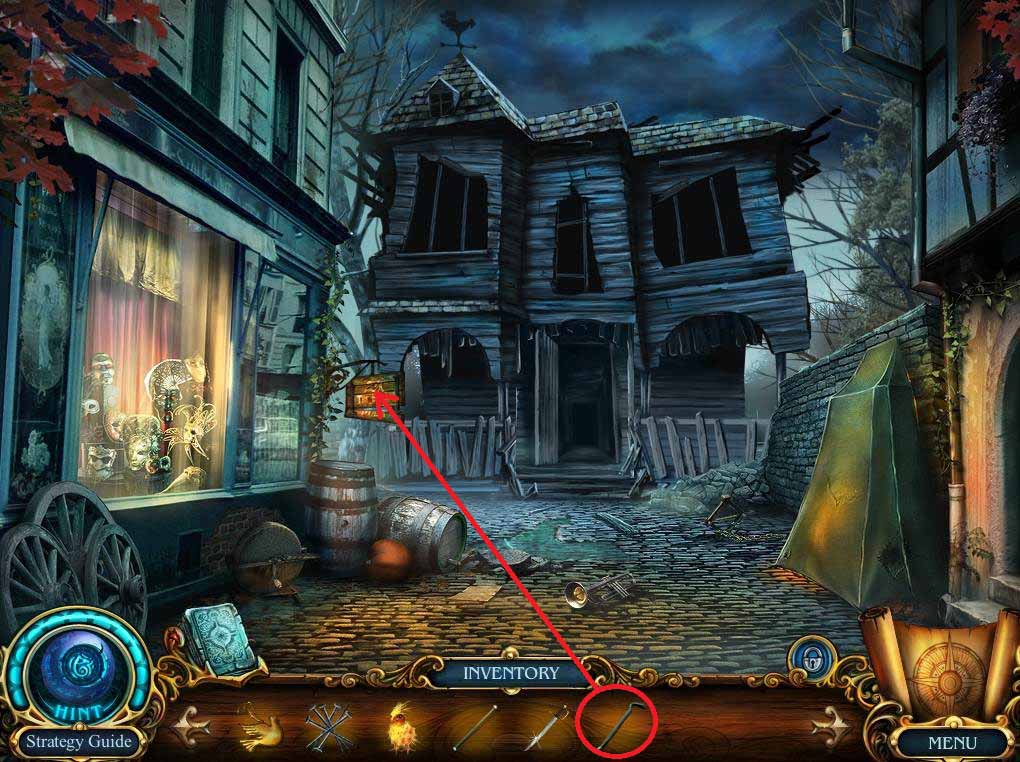
- Use the NAIL PULLER on the sign to get the first BOARD.
- Take the first SILVER ROSE.
- Try to go to the house.
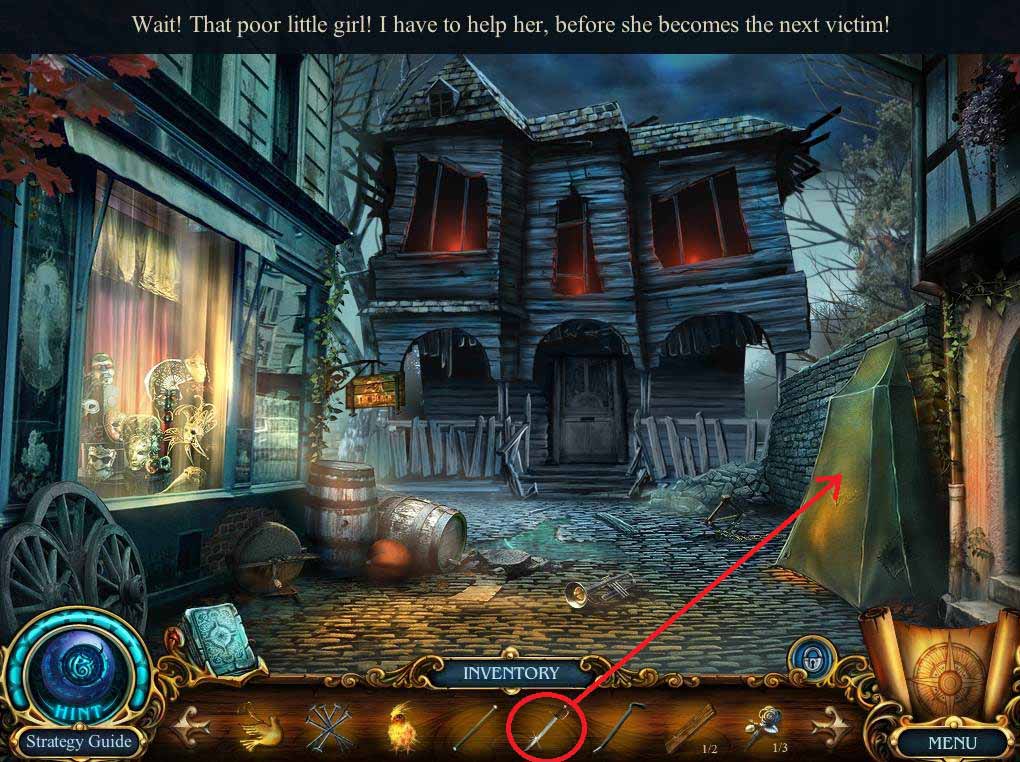
- Use the SHARP SWORD to open the tent.
- Click on the tent again to start a hidden object area.
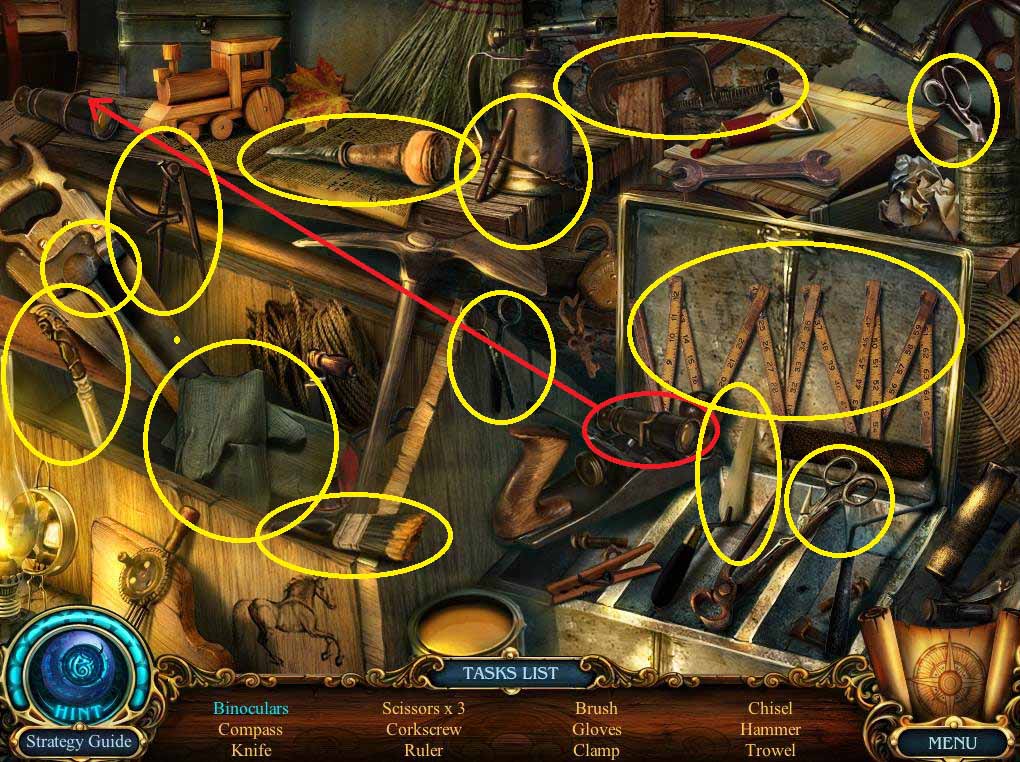
- Put the binoculars together.
- Gather the remaining items on the list.
- Take the HAMMER.
- Go back once.
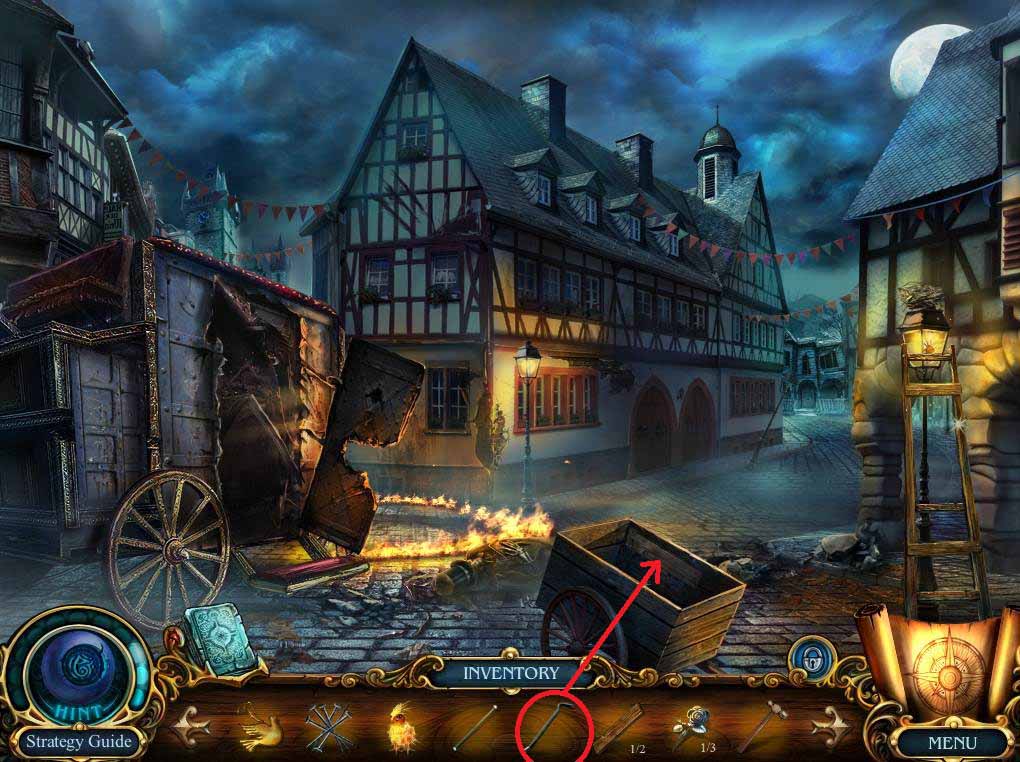
- Click on the cart and use the NAIL PULLER to remove the nails.
- Take the second BOARD.
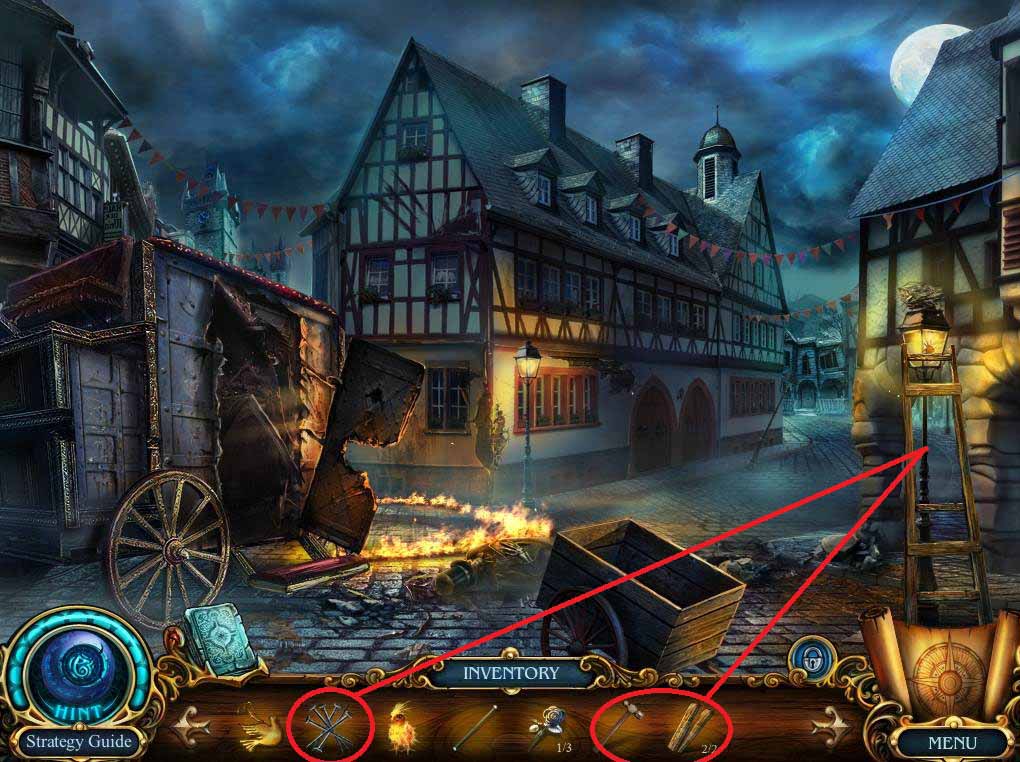
- Use the two BOARDS, the NAILS, and the HAMMER on the broken ladder.
- Click on the lantern and take the GLASS CUTTER and the SCREWDRIVER.
- Go back twice to get to the narrow street.
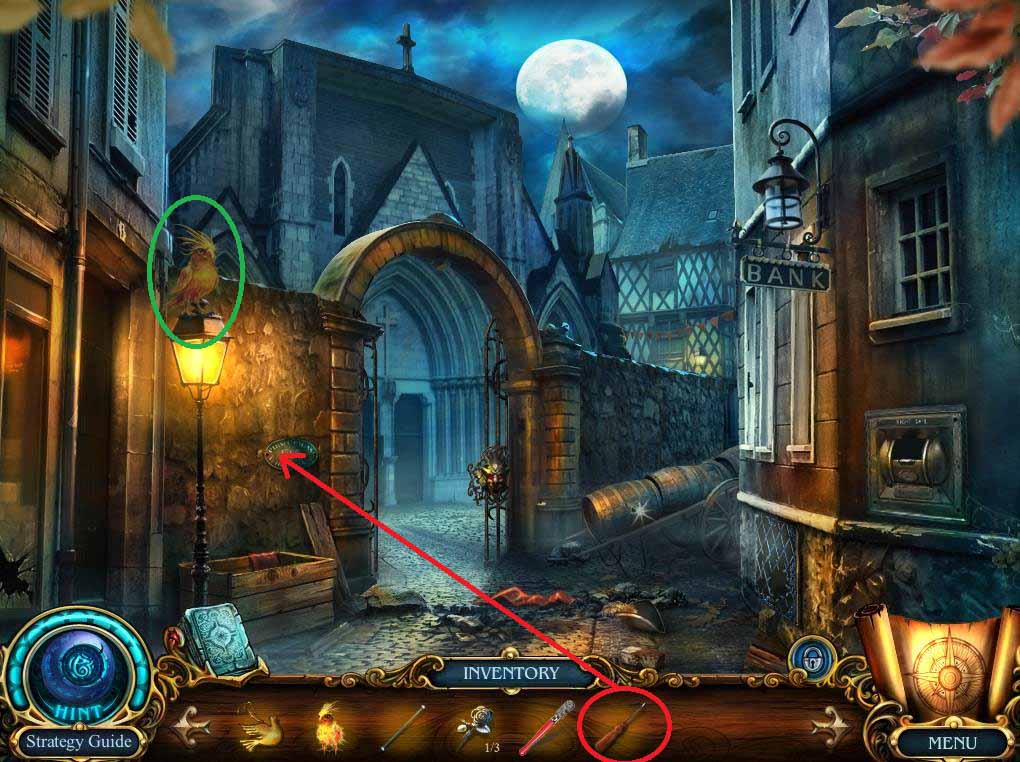
- Use the SCREWDRIVER on the plaque to receive the second SILVER ROSE.
- If you’re collecting the Lost Pets, the Phoenix is located on the lamppost.
- Go back to the monster house.
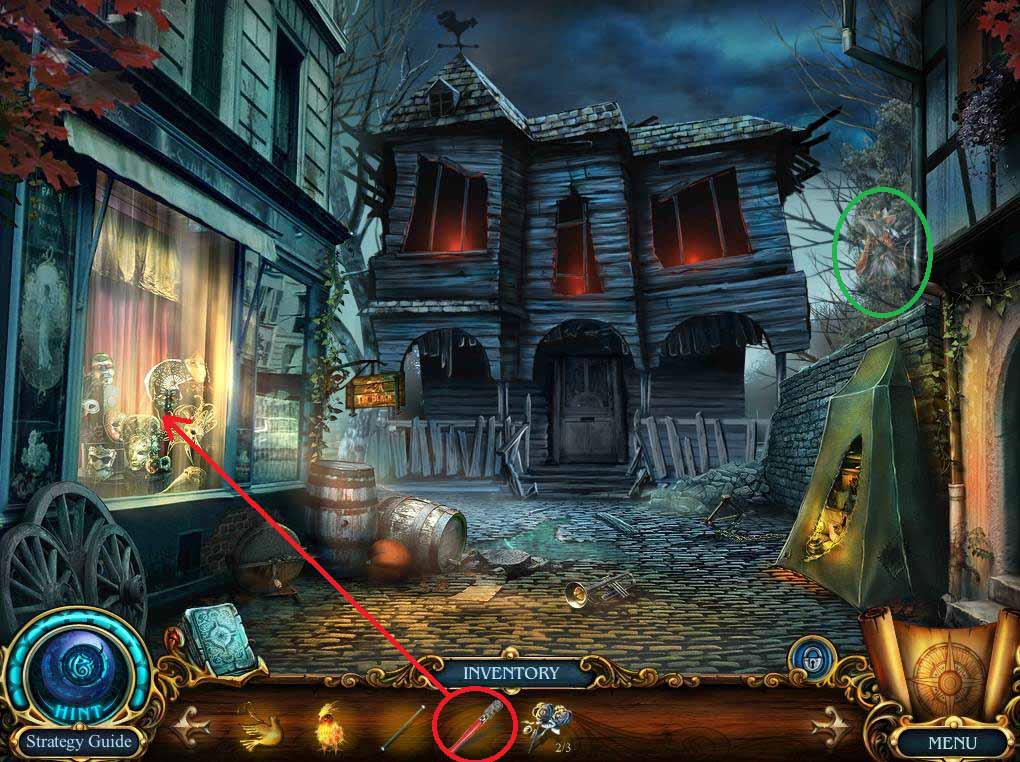
- If you’re collecting the Lost Pets the Mouse King is located on the branch above the tent.
- Use the GLASS CUTTER on the window.
- Click on the window to begin a puzzle.
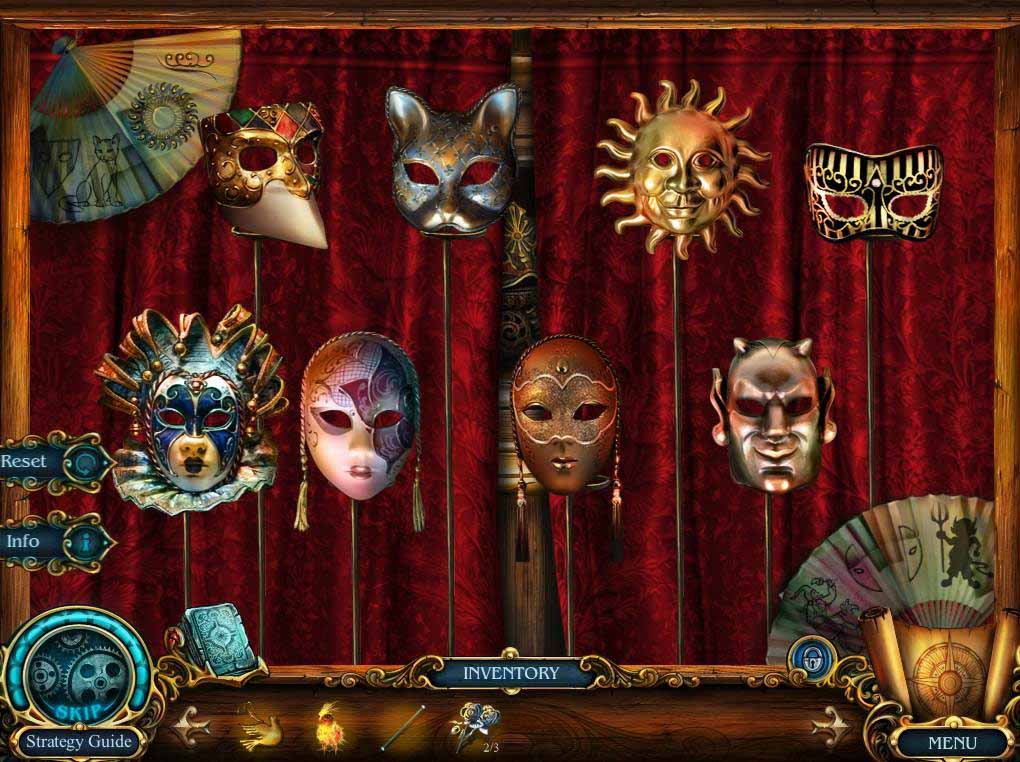
- Arrange the masks according to the screenshot.
- Take the MASK.
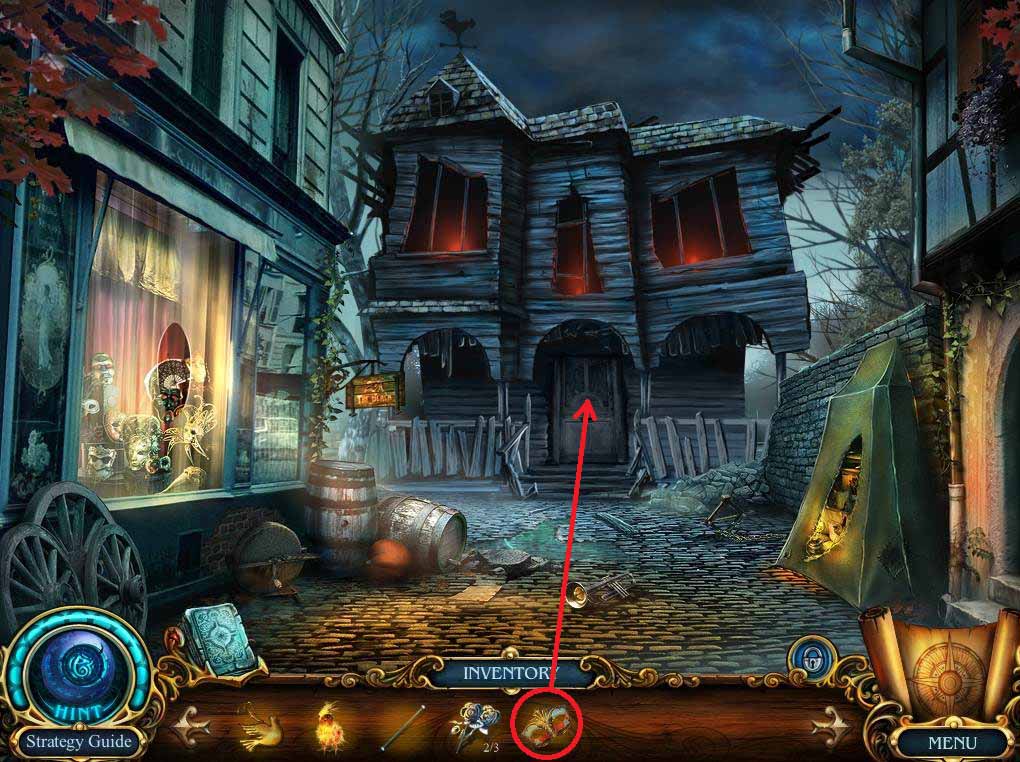
- Click on the door and put the MASK in the lock.
- Enter the house.
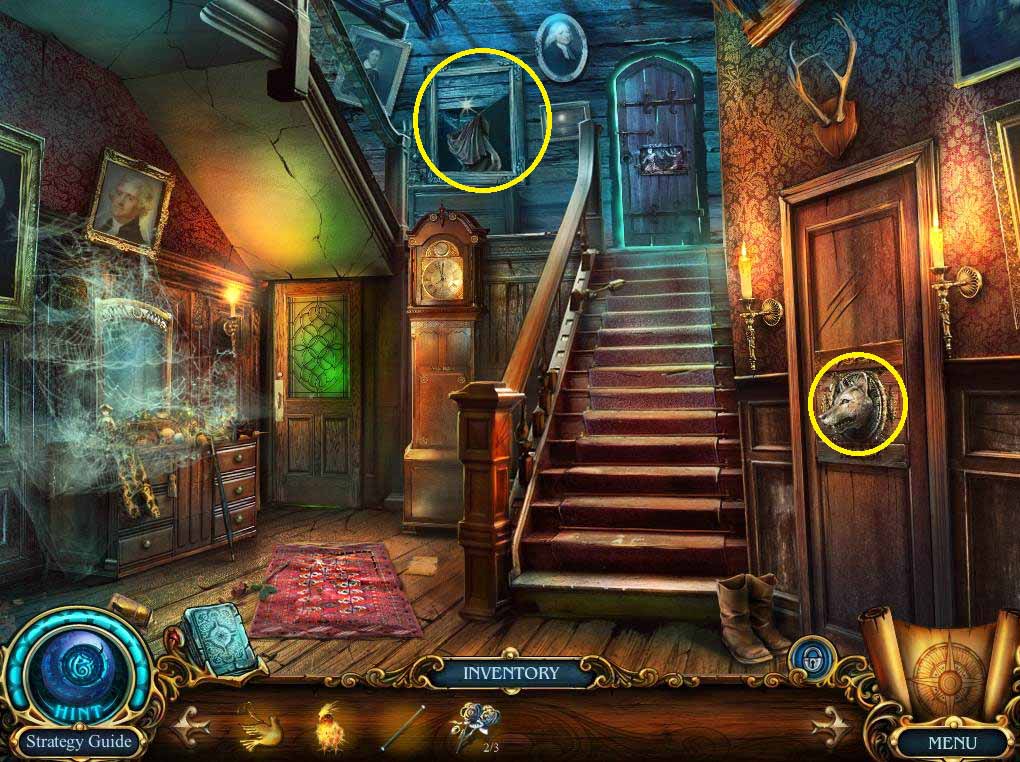
- Click on the door on the right and take the second DOVE MEDALLION.
- Click on the painting to get the COIN.
- Return to the church.
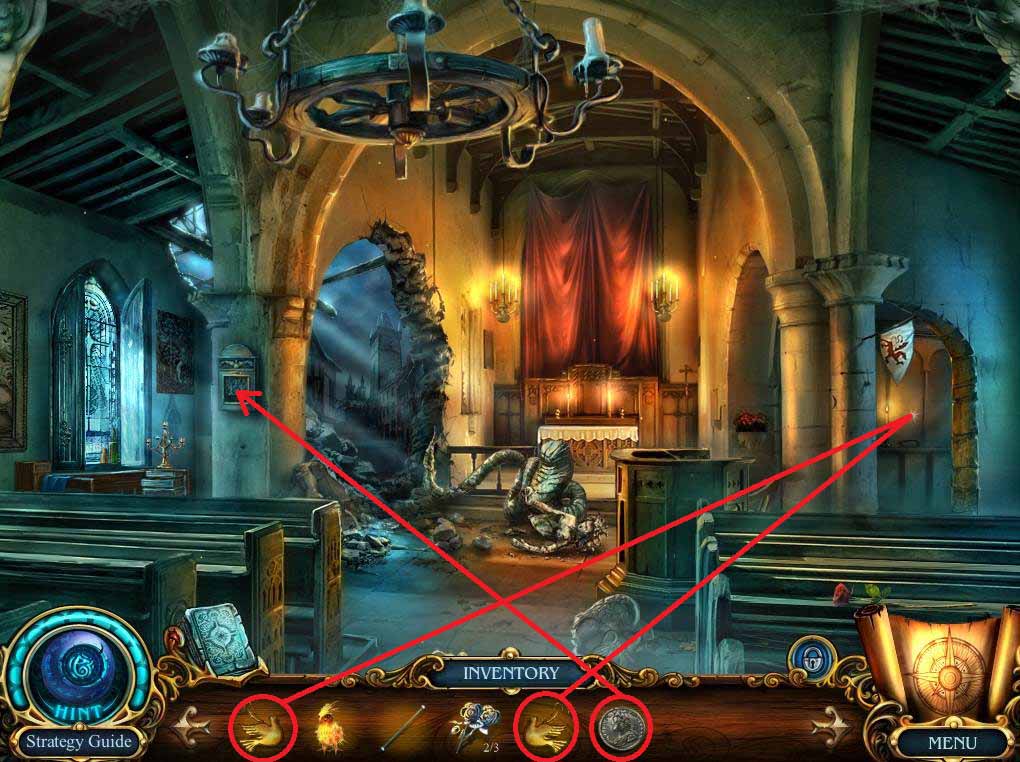
- Click on the alcove and put the two DOVE MEDALLIONS on the cabinet door. Open the door and take the BROOM.
- Put the COIN in the DONATION BOX to get the TWEEZERS.
- Go back once to the narrow street.
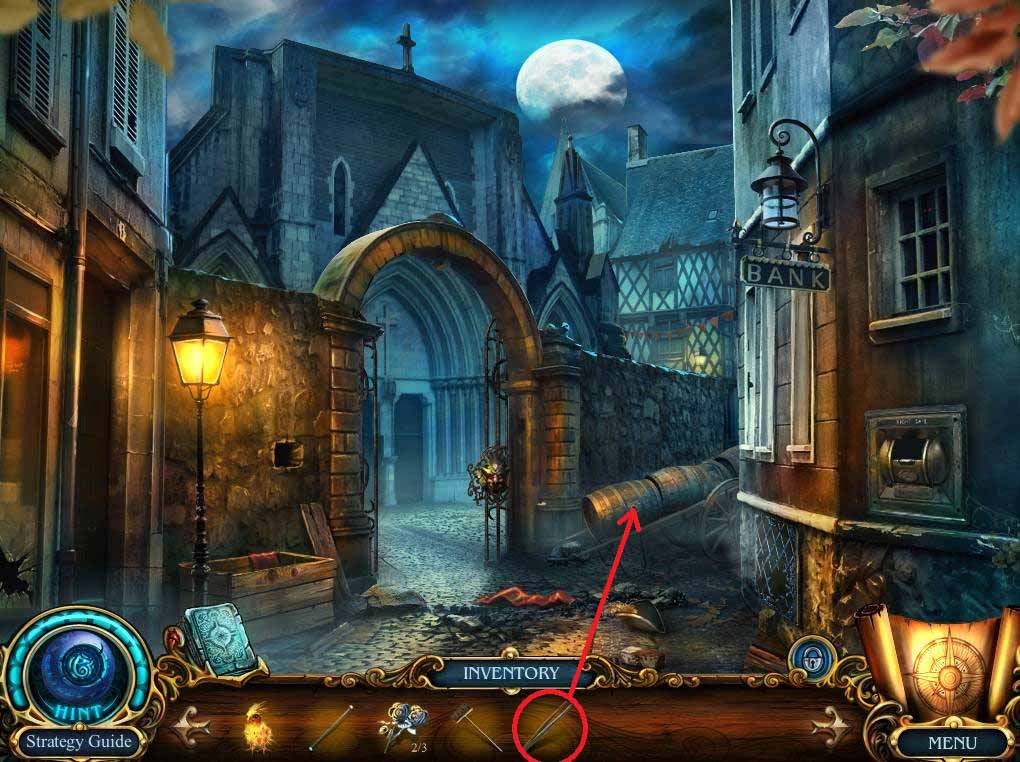
- Use the TWEEZERS to get the WIND-UP KEY from the barrel.
- Go back to the hall in the monster house.
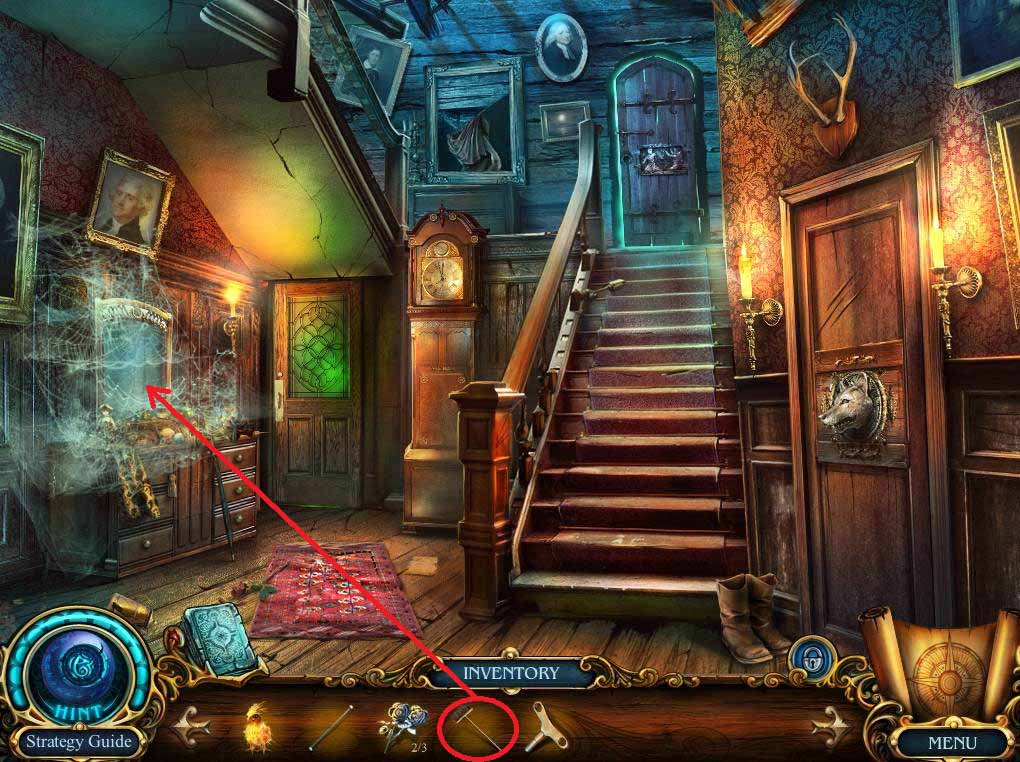
- Use the BROOM on the vanity cobwebs.
- Click on the clean vanity to begin a hidden object area.
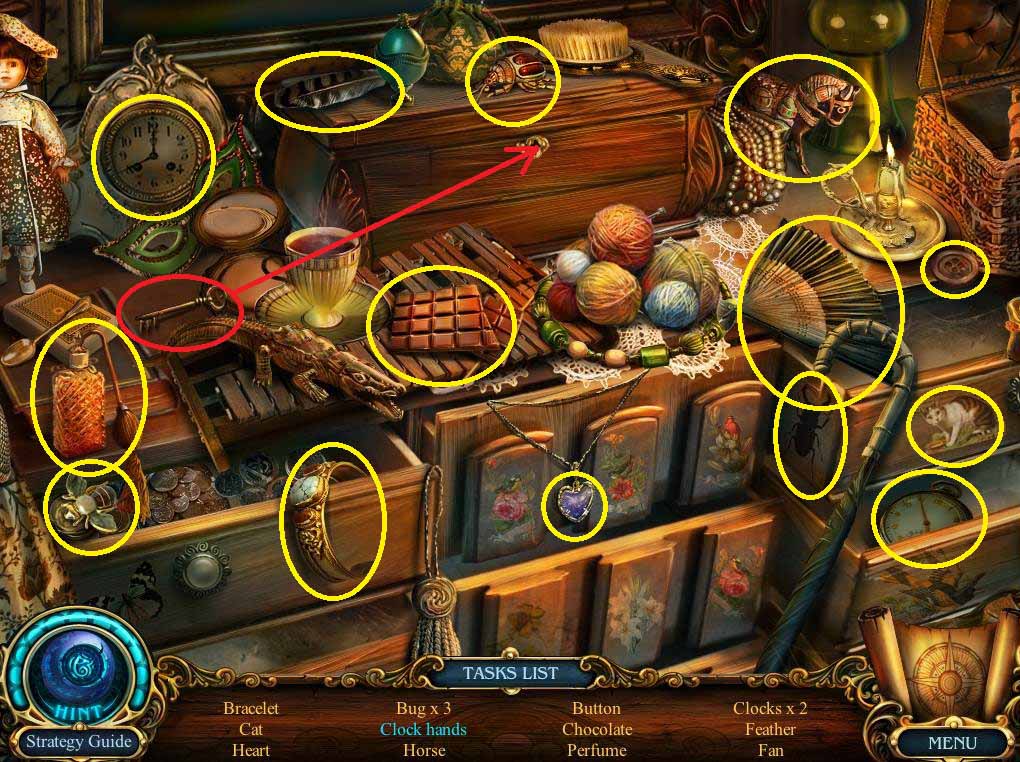
- Use the key on the drawer to fund the clock hands.
- Collect the remaining items on the list.
- Take the CLOCK HANDS.
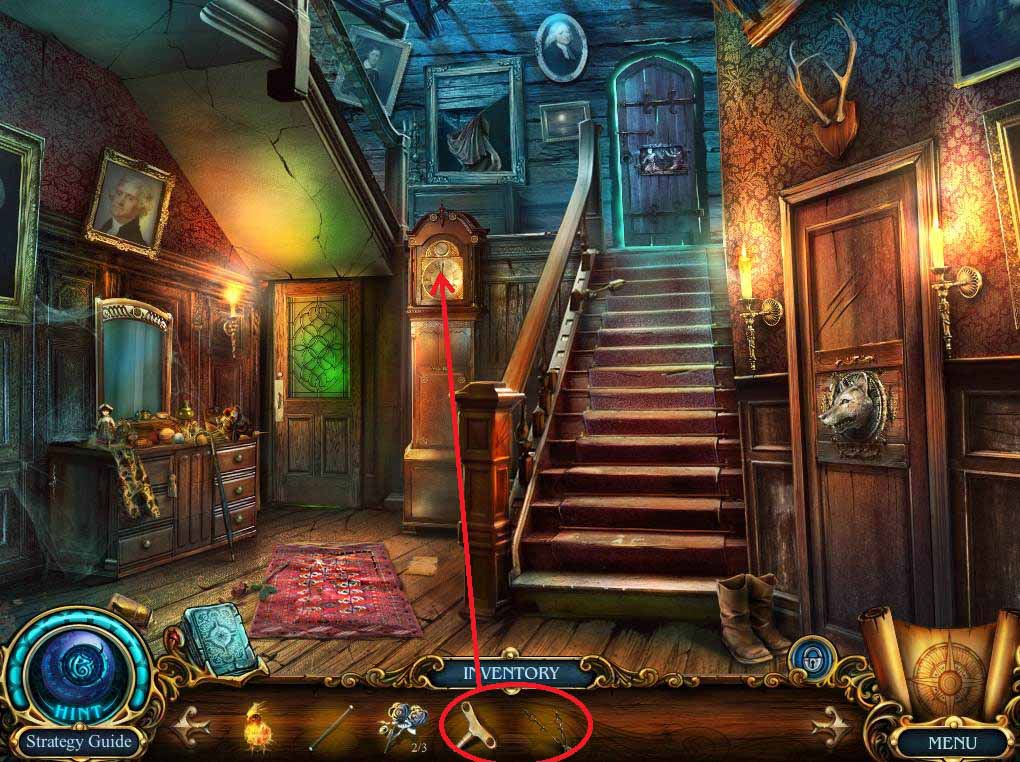
- Use the CLOCK HANDS and the WIND-UP KEY on the clock to begin a puzzle.
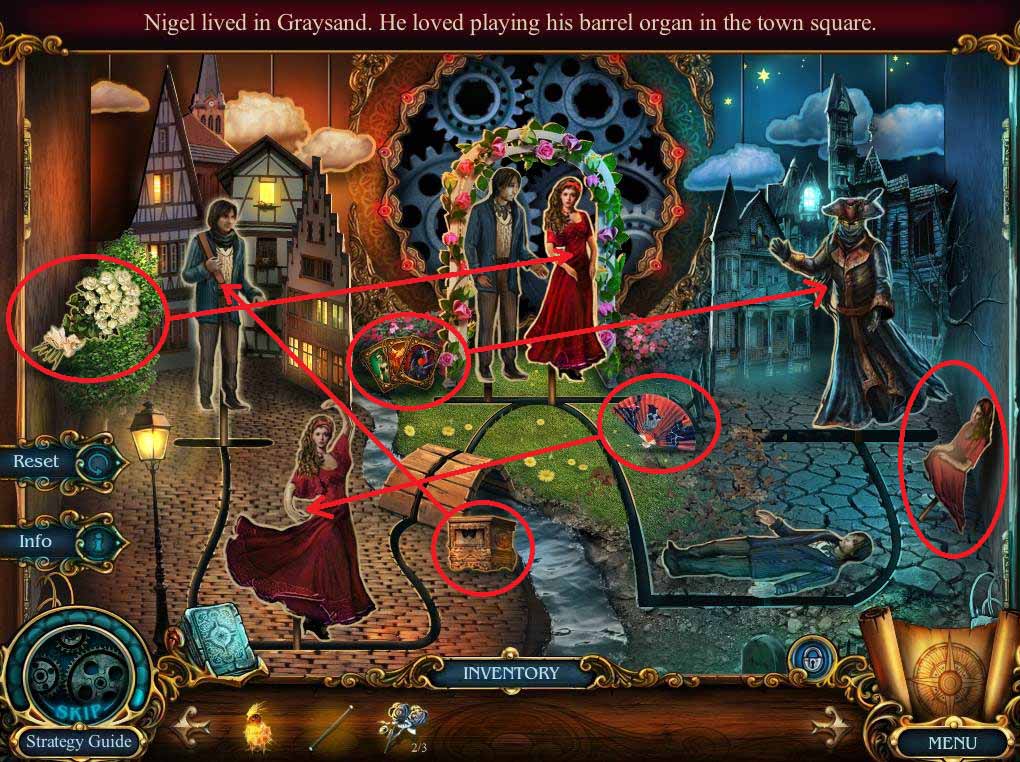
- Solve the puzzle according to the screenshot.
- Take the SMALL SPEAR.
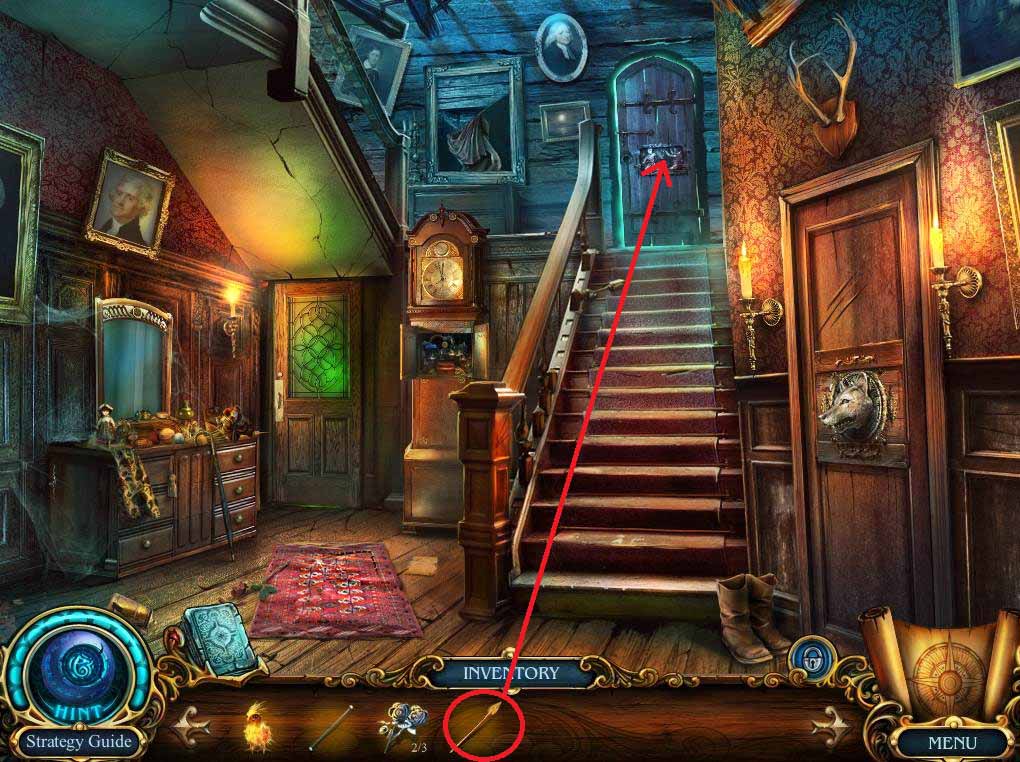
- Use the SMALL SPEAR on the attic door.
- Enter the attic
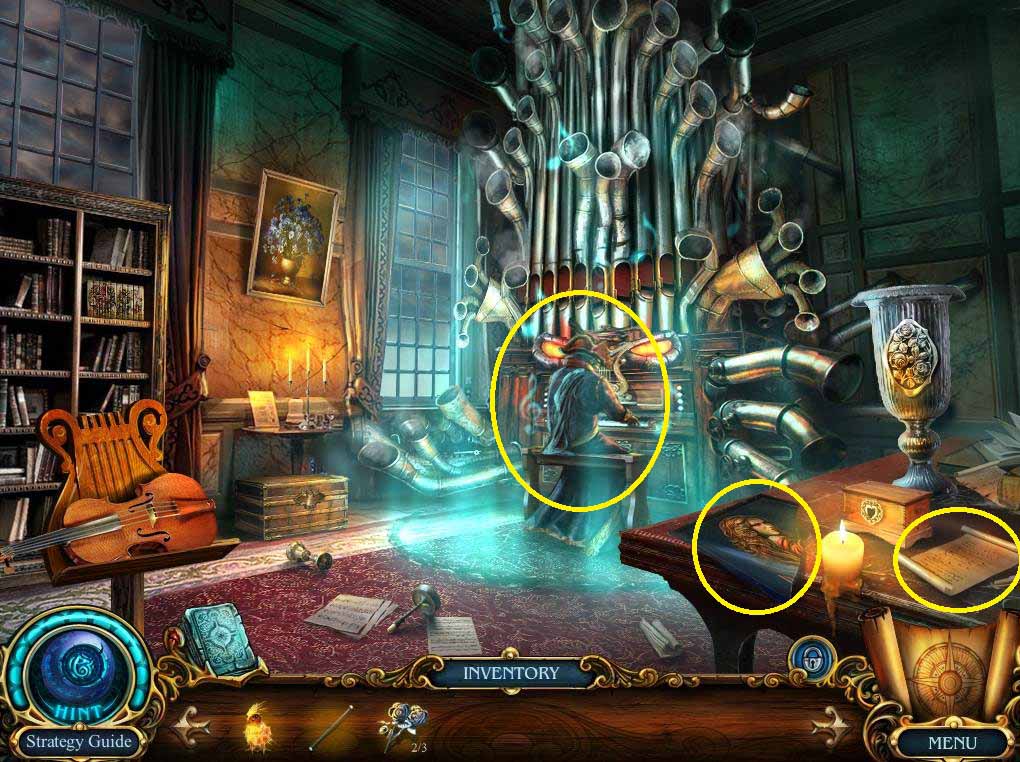
- Click on the organ grinder.
- Click on the table, take the PART OF A PICTURE, and read the note.
- Go back once.
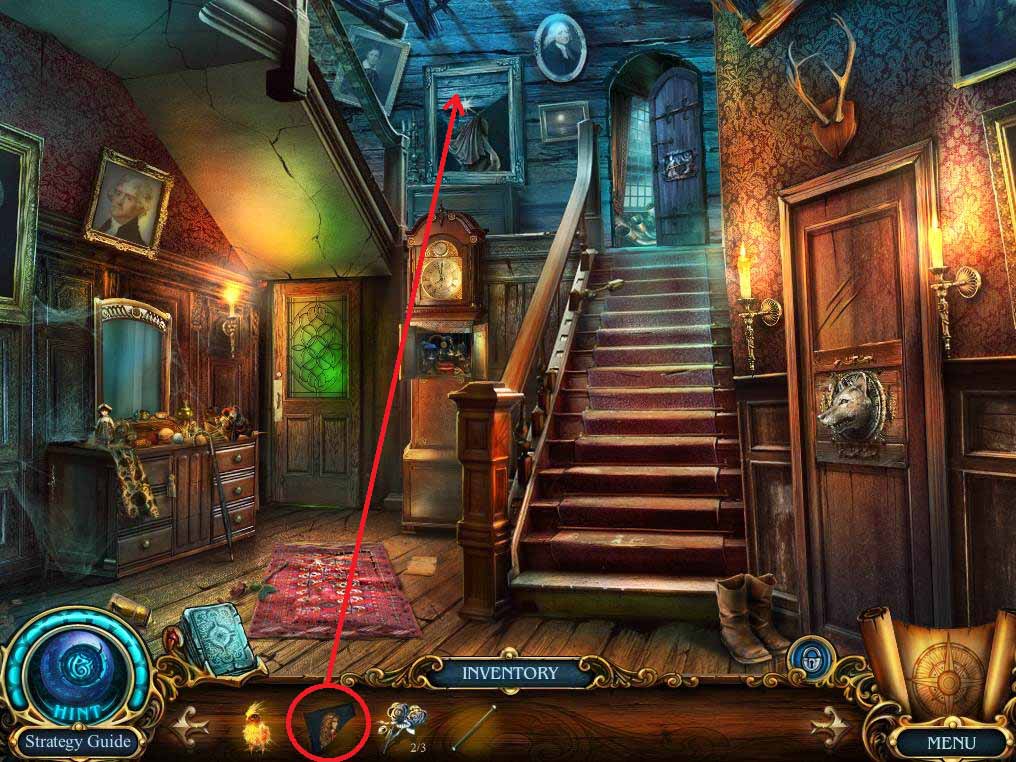
- Put the PART OF A PICTURE on the painting.
-
Take the HEART MEDALLION and the first STAR FRAGMENT.
Go back to the attic.
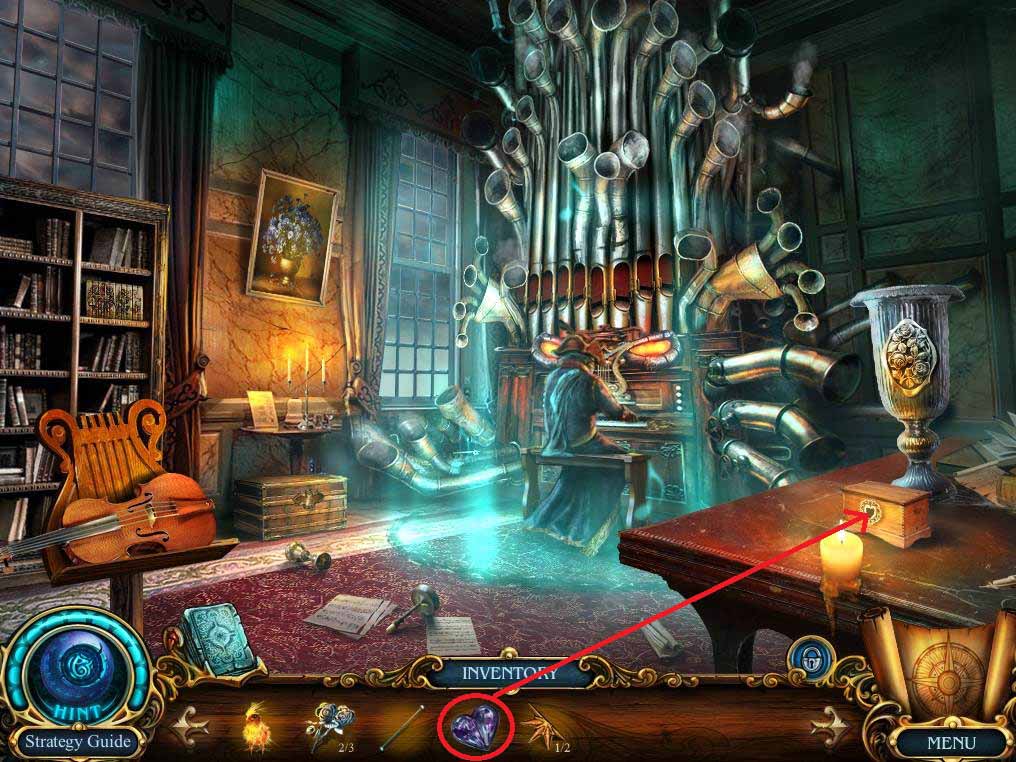
- Click on the table and use the HEART MEDALLION on the box.
- Take the third SILVER ROSE.
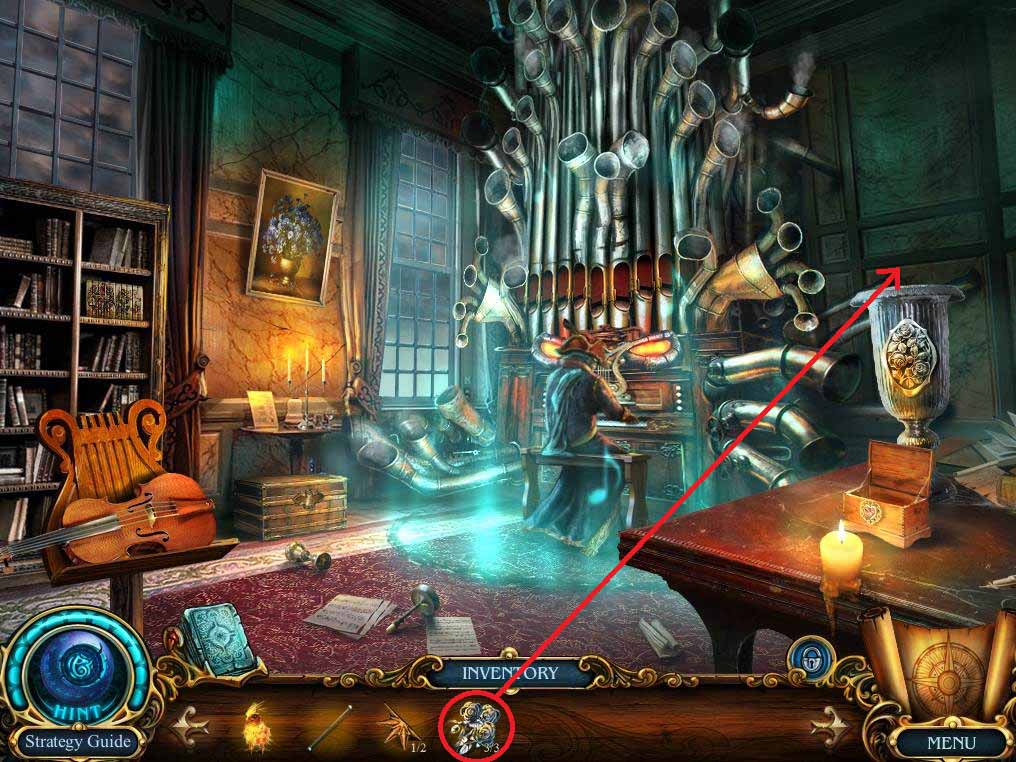
- Put the three SILVER ROSES in the vase.
- Click on the roses to open the rosebuds.
- Take the ANGEL STATUE and the KITCHEN KEY, and read the note.
- Go back to the church.
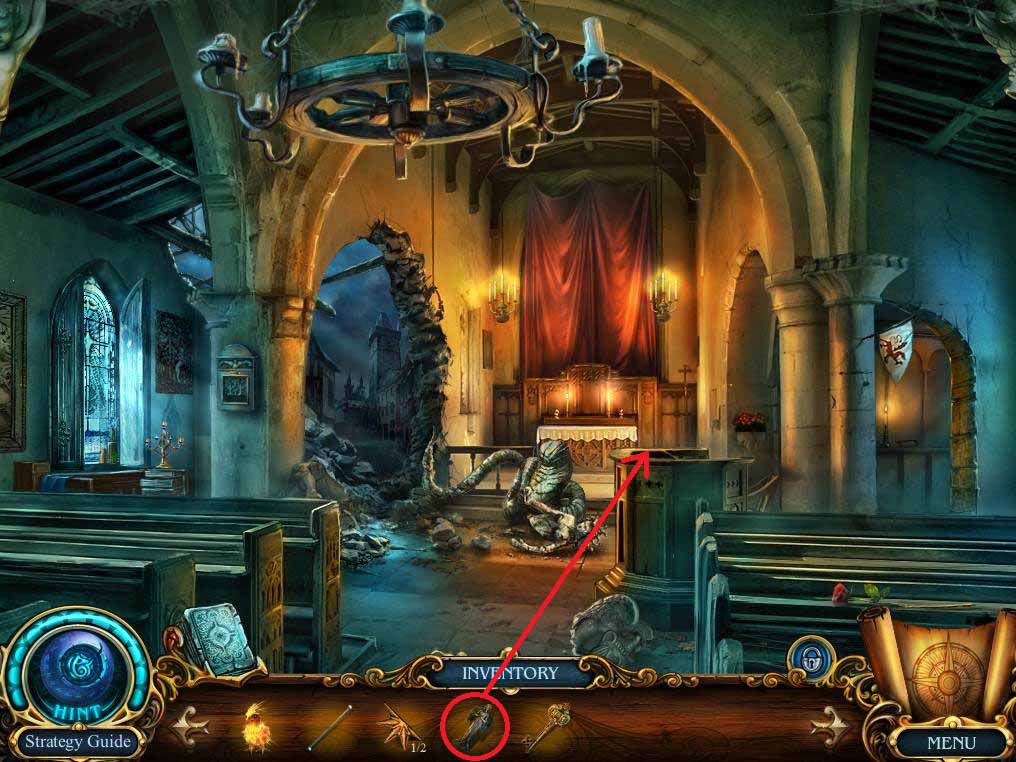
- Place the ANGEL STATUE on the altar.
- Take the first CABINET HANDLE.
- Go to the hall in the monster house.
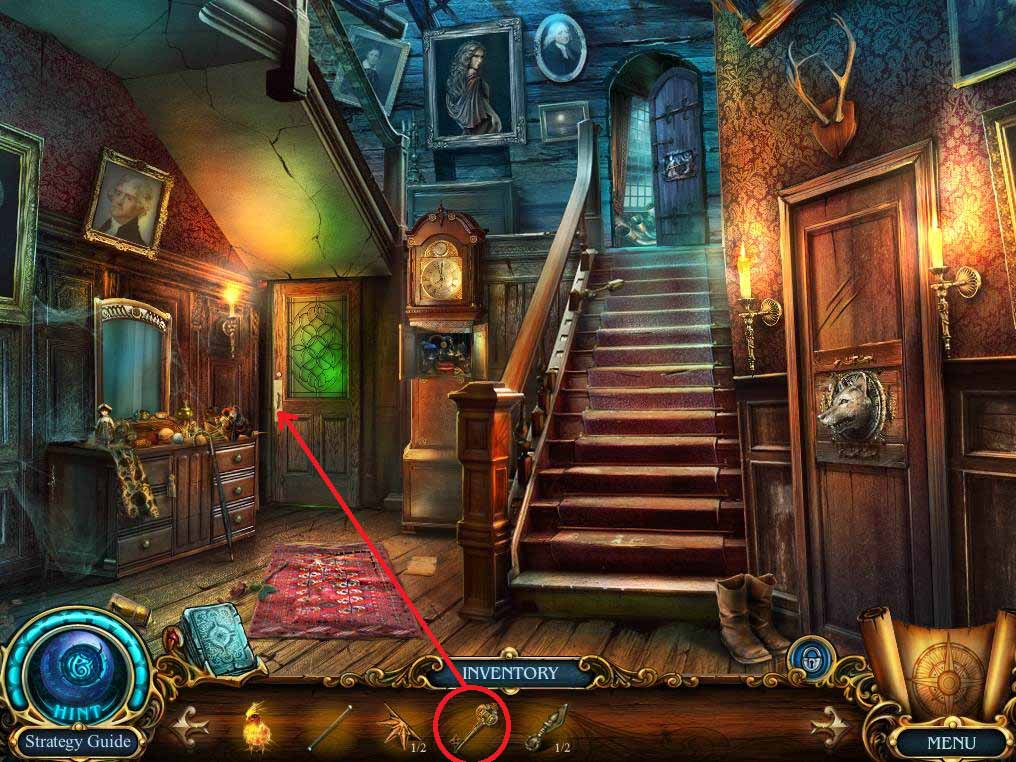
- Use the KITCHEN KEY to open the kitchen.
- Go into the kitchen.
Comments will load when you reach this part of the walkthrough.