

Chapter One: Welcome to Graysand
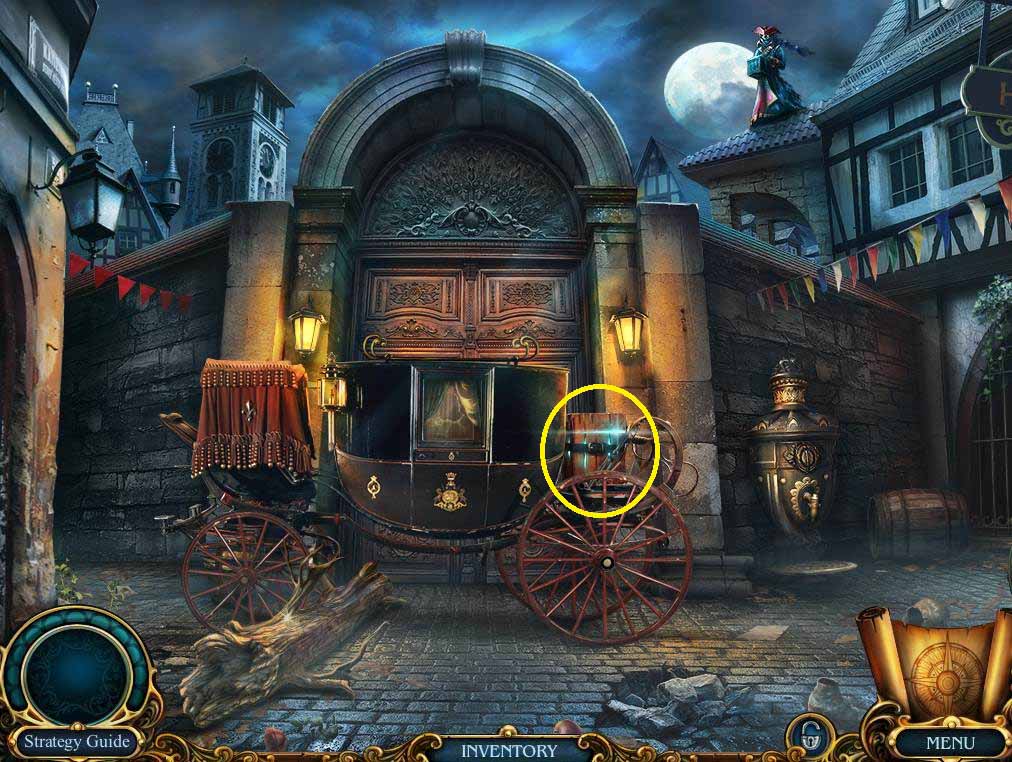
- Click on the trunk and take the amulet (which becomes your hint button) and the HANDLE.
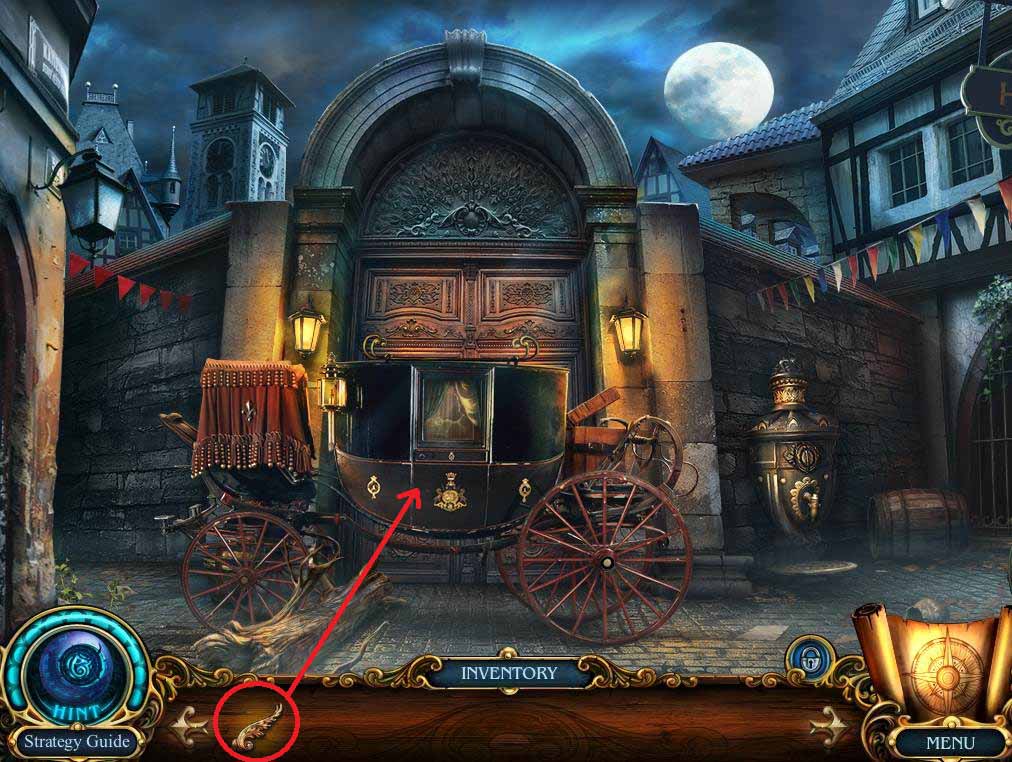
- Put the HANDLE on the carriage door.
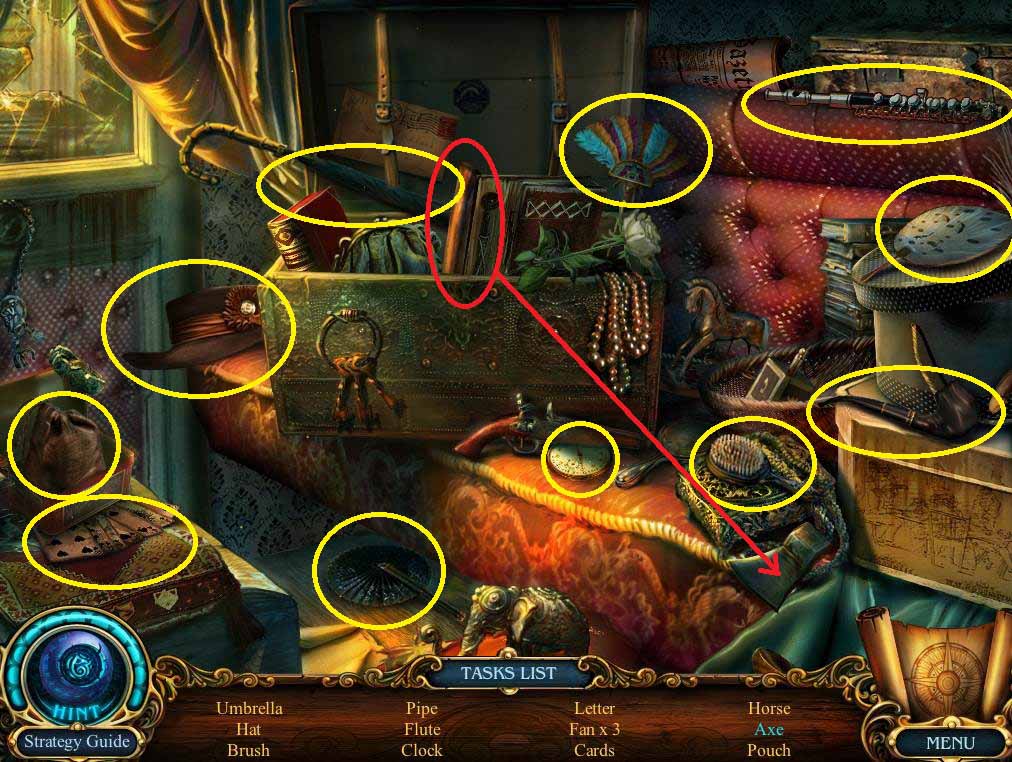
- Put the handle on the axe.
- Collect the remaining items to receive the AXE.
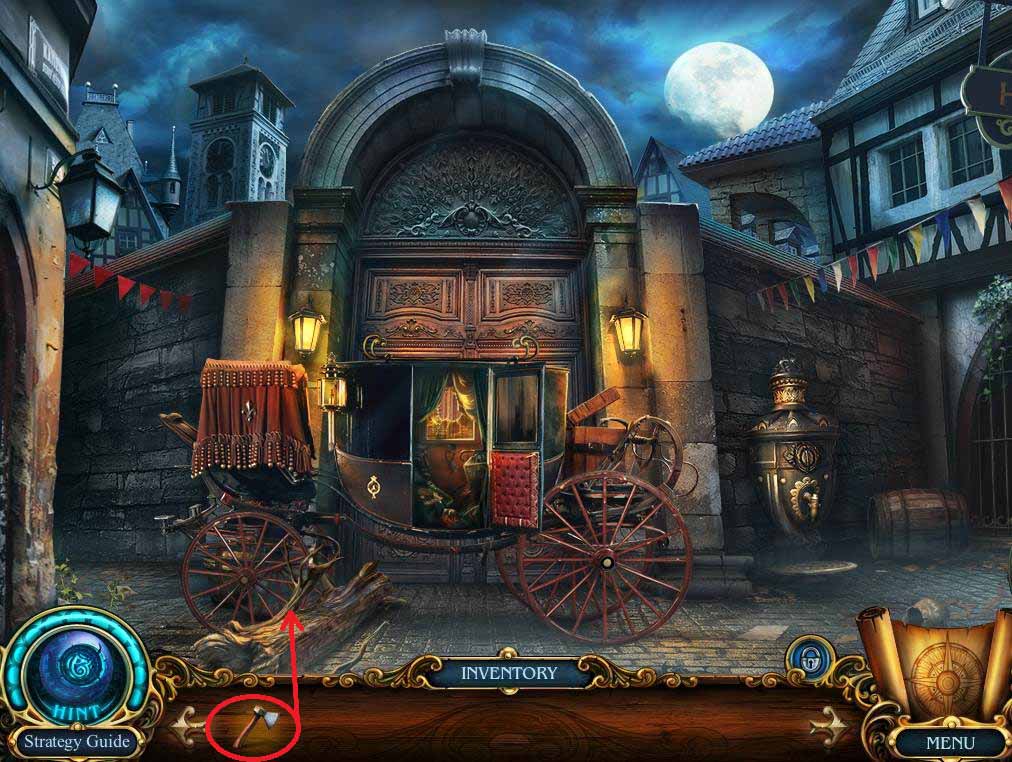
- Use the AXE on the branch to free the carriage.
- Click on the carriage to move it out of the way.
- Open the gates.
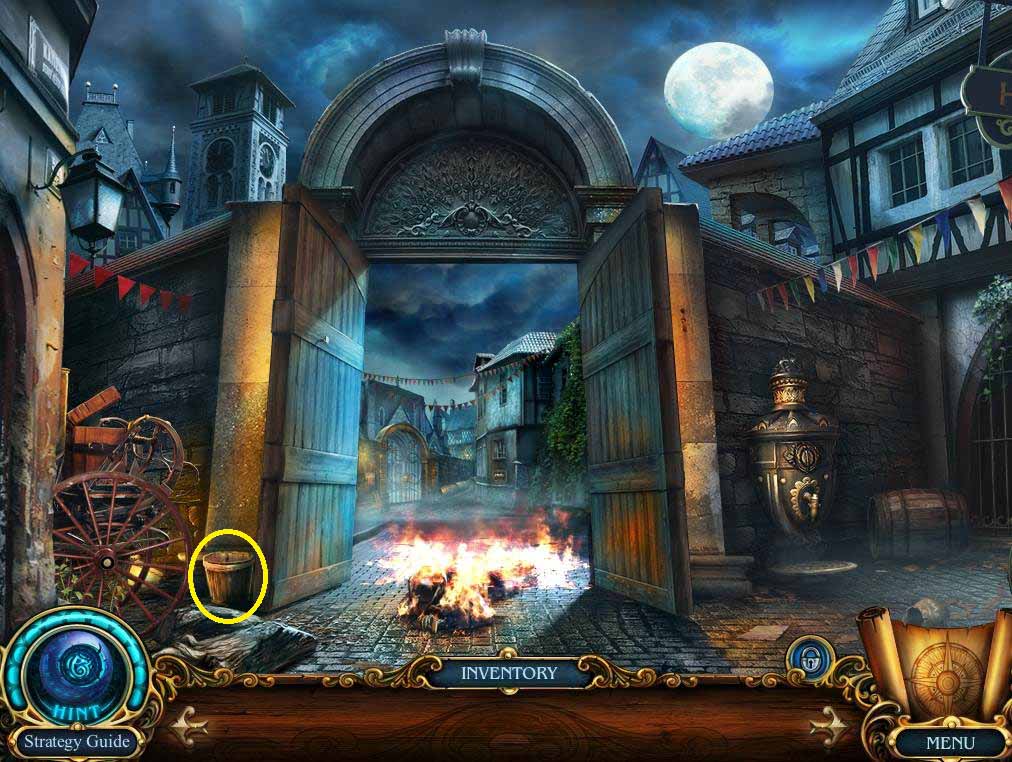
- Examine the bucket.
- Take the BUCKET and the PIECE OF PAPER.
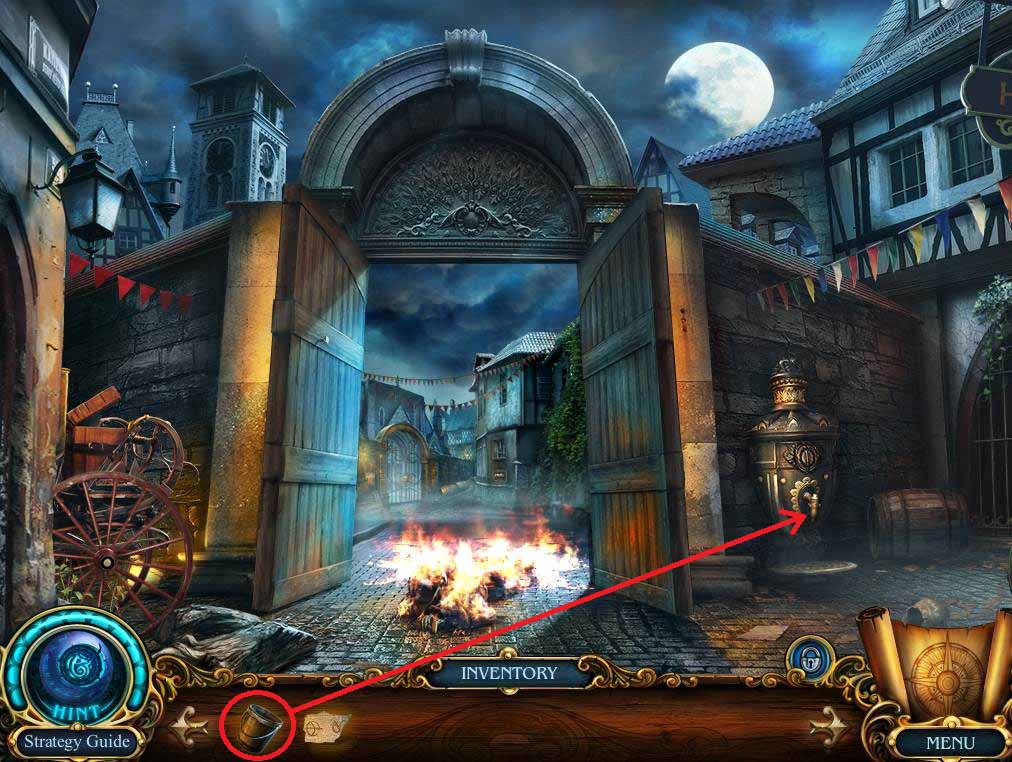
- Use the BUCKET on the vat to get the BUCKET OF WATER.
- Use the BUCKET OF WATER on the burning man.
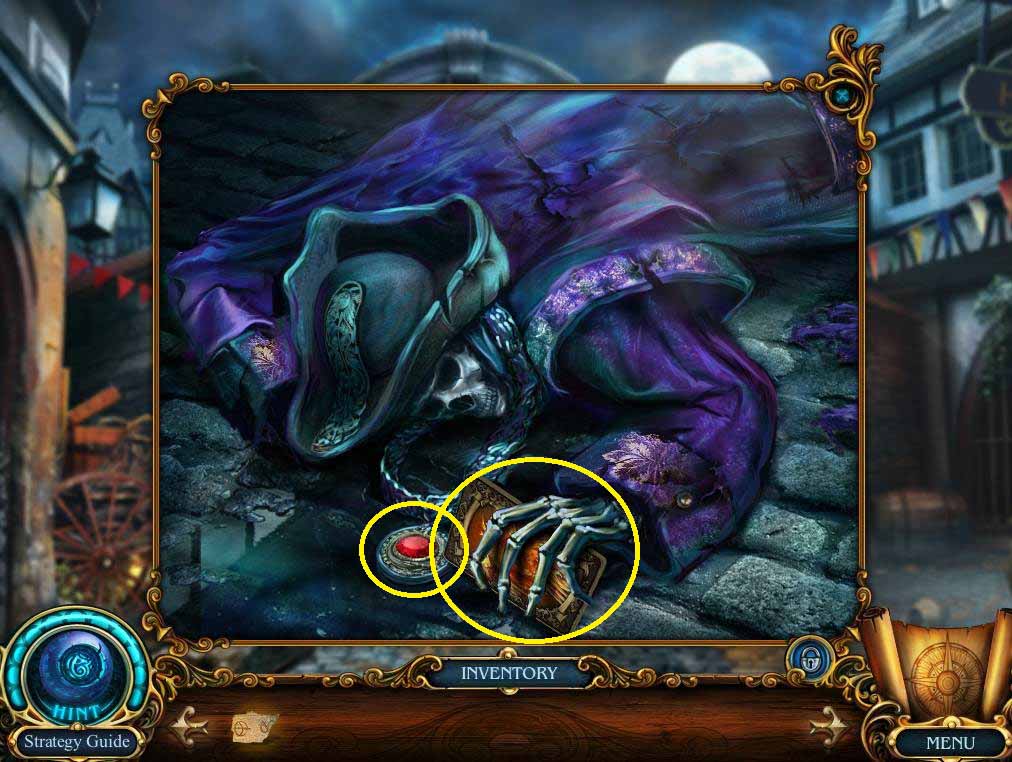
- Examine the man and take the first RUBY and the cursed card
- Move forward to the narrow street.
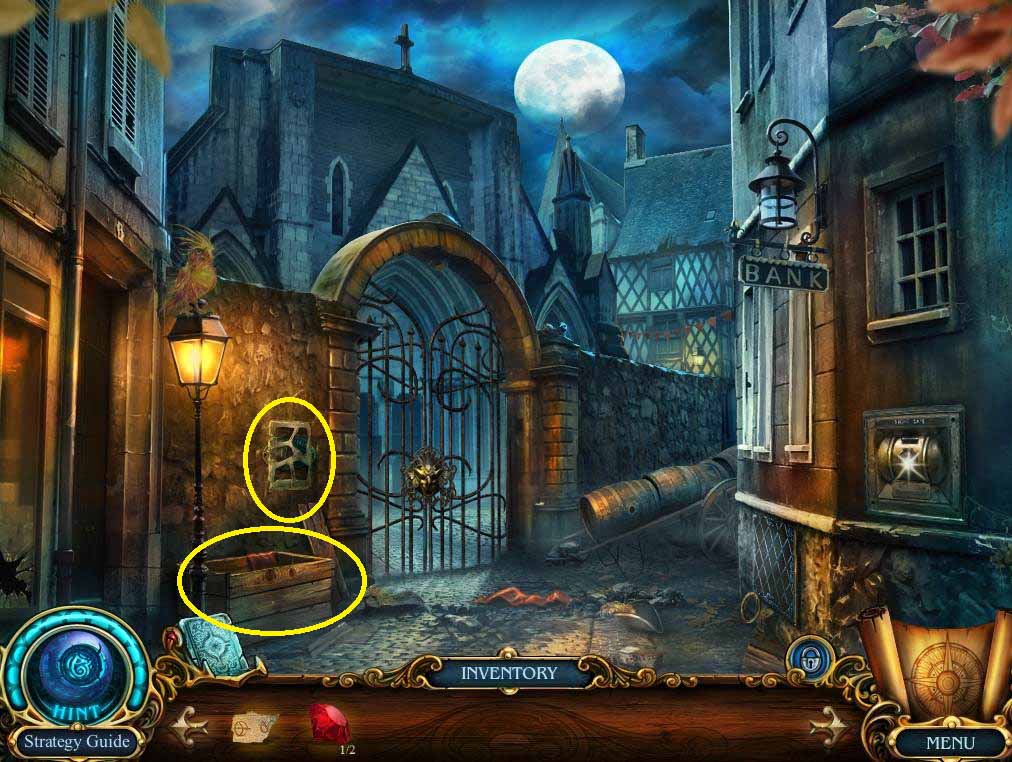
- Click on the wall to find the DOVE MEDALLION.
- Examine the crate to find the second PIECE OF PAPER and the NIPPERS.
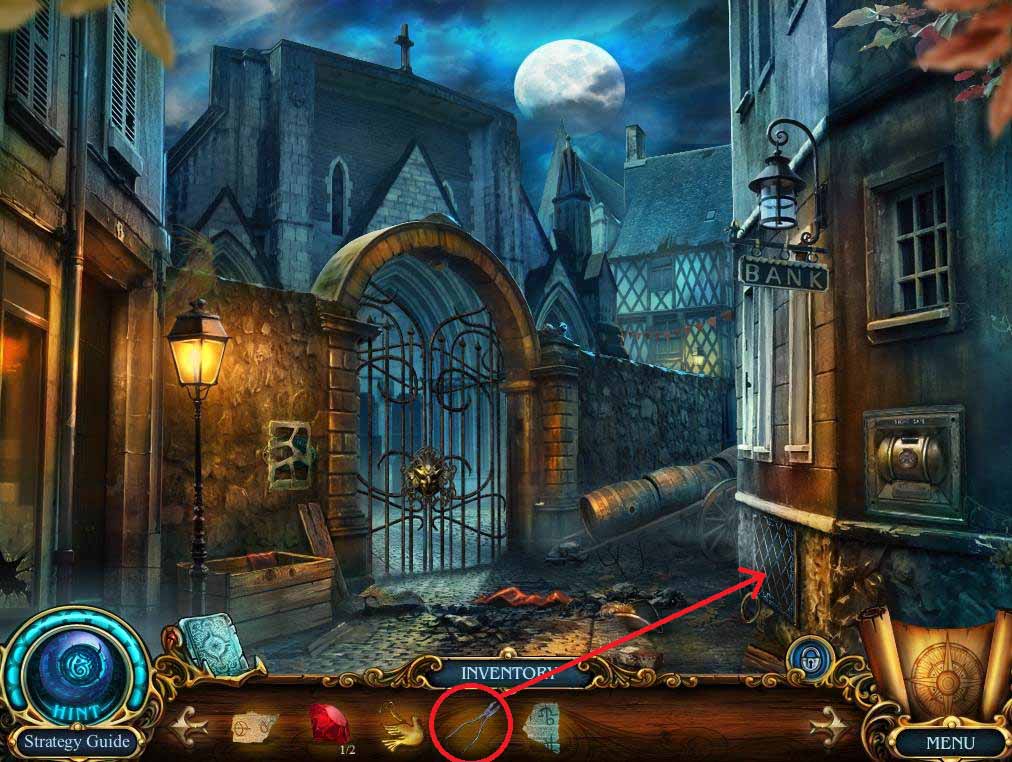
- Use the NIPPERS on the grate and take the second RUBY and the BIG BRONZE RING.
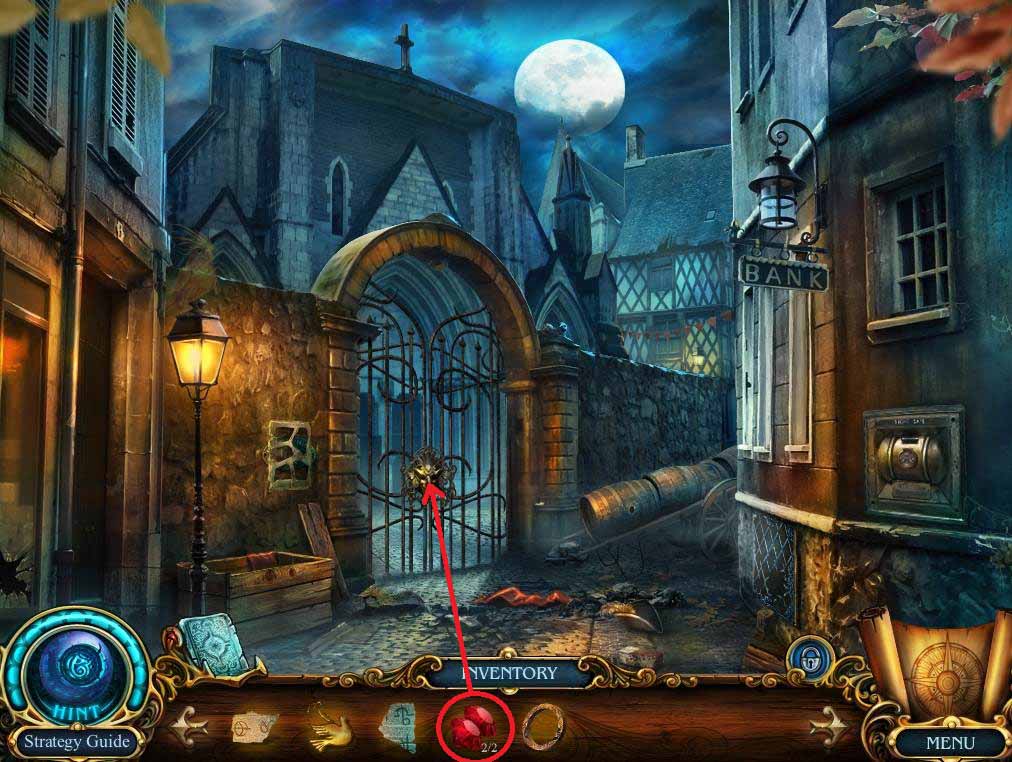
- Click on the gate and put the two RUBIES in the eye sockets to unlock it.
- Go through the gates.
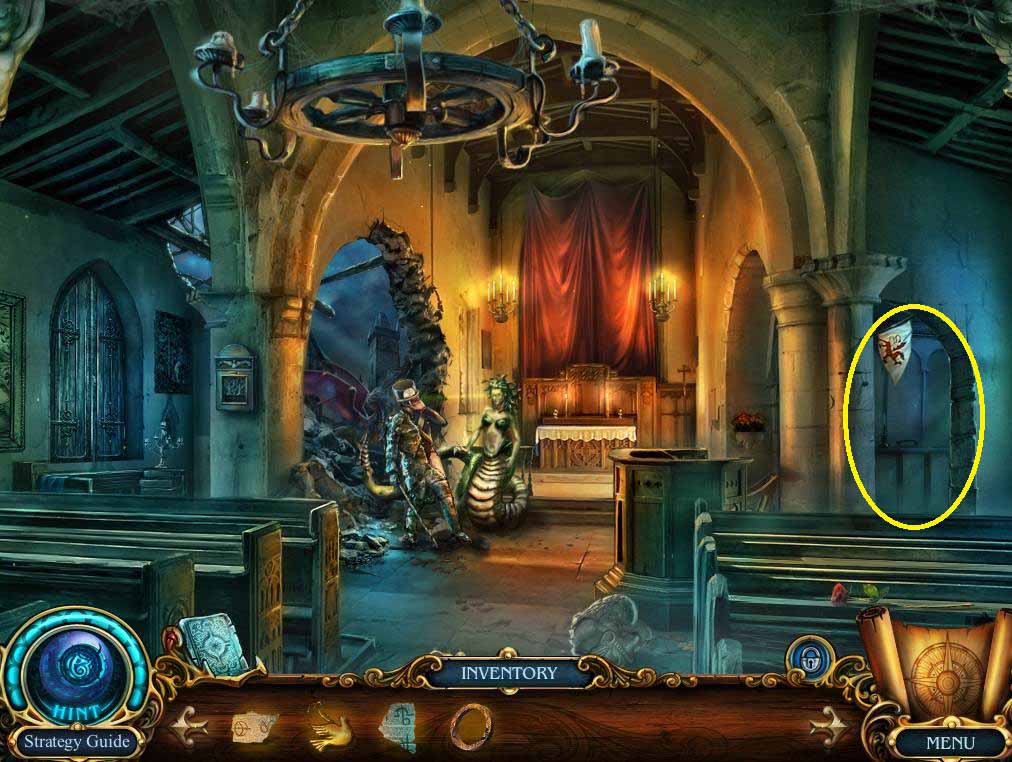
- Click on the alcove and click on the egg twice to receive TERRANCE. TERRANCE can be used to light things or to retrieve things so you don’t get burned,.
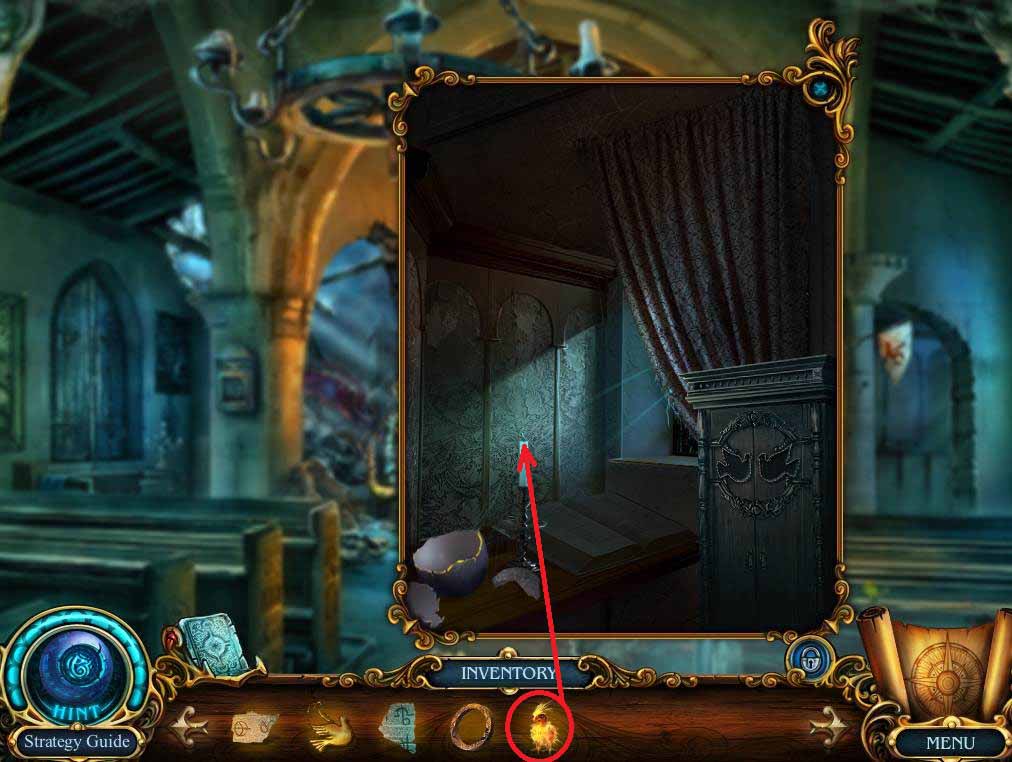
- Use TERRANCE to like the candle.
- Take the PRAYER BOOK.
- Use the PRAYER BOOK on the pulpit to find the third PIECE OF PAPER, the SMALL BRONZE RING, and the HOIST HANDLE.
- Go back once to return to the narrow street.
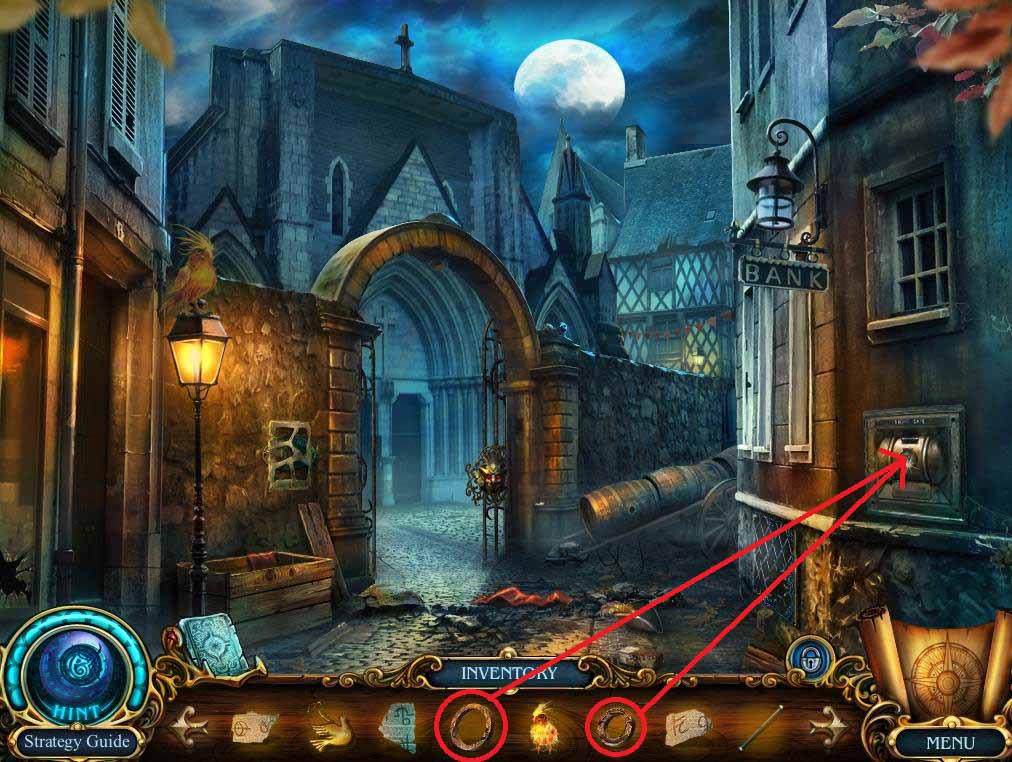
- Click on the safe and put the BIG BRONZE RING and the SMALL BRONZE RING on it to activate a puzzle.
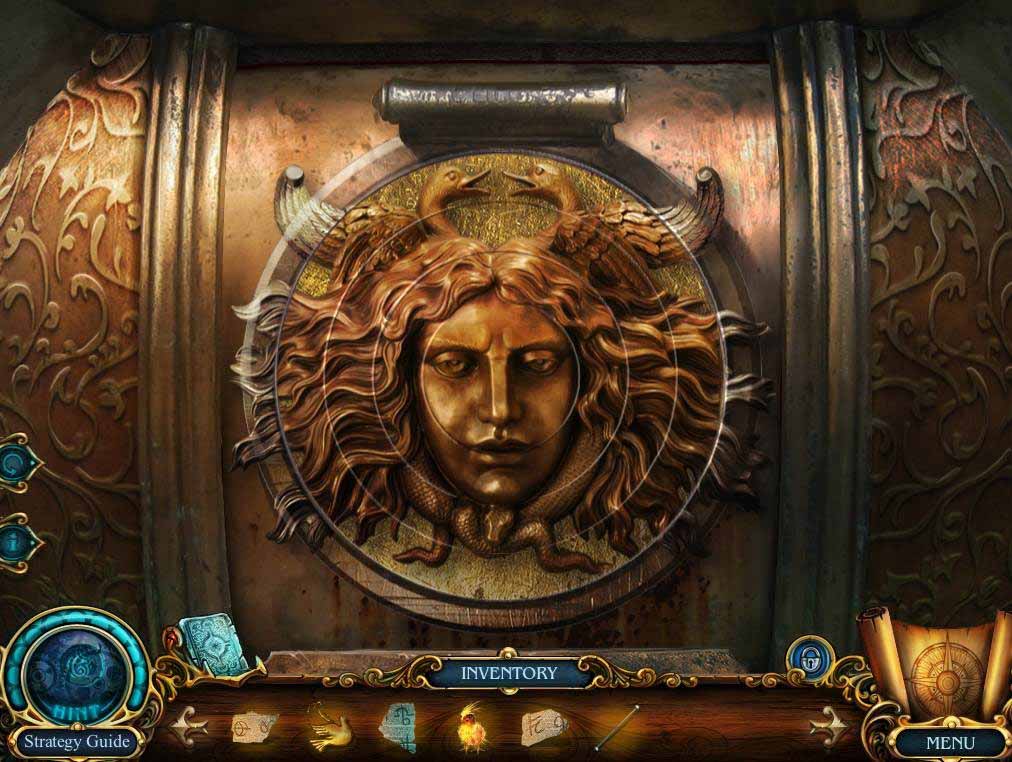
- Rotate the rings so they match the screenshot above.
- Take the DAGGER.
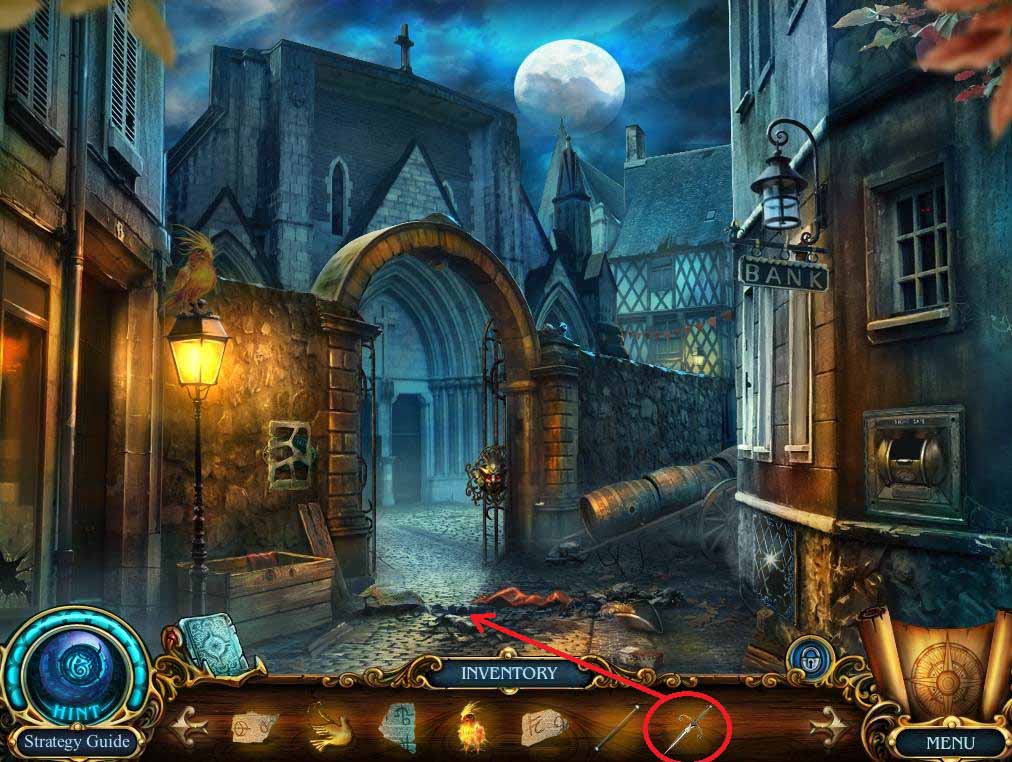
- Use the DAGGER on the crack to find the SILVER KEY.
- Go forward once.
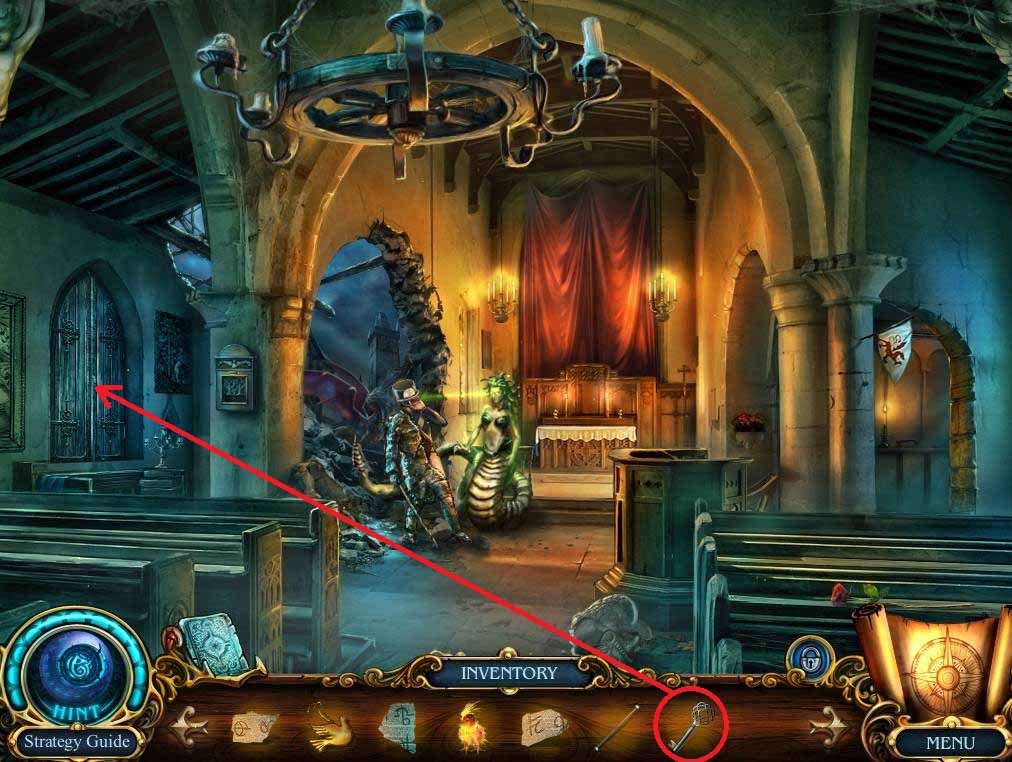
- Use the SILVER KEY on the shutters.
- Click on the stained glass to activate a hidden object area.
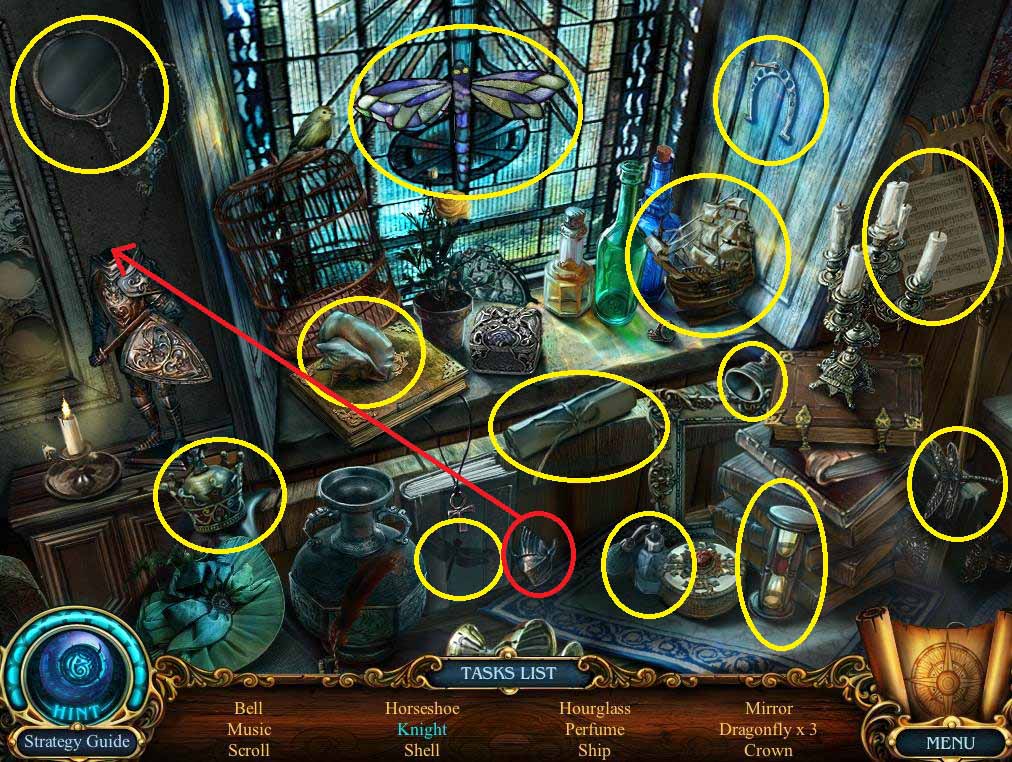
- Put the helmet on the armor to get the knight.
- Collect the rest of the items listed to earn the MIRROR.
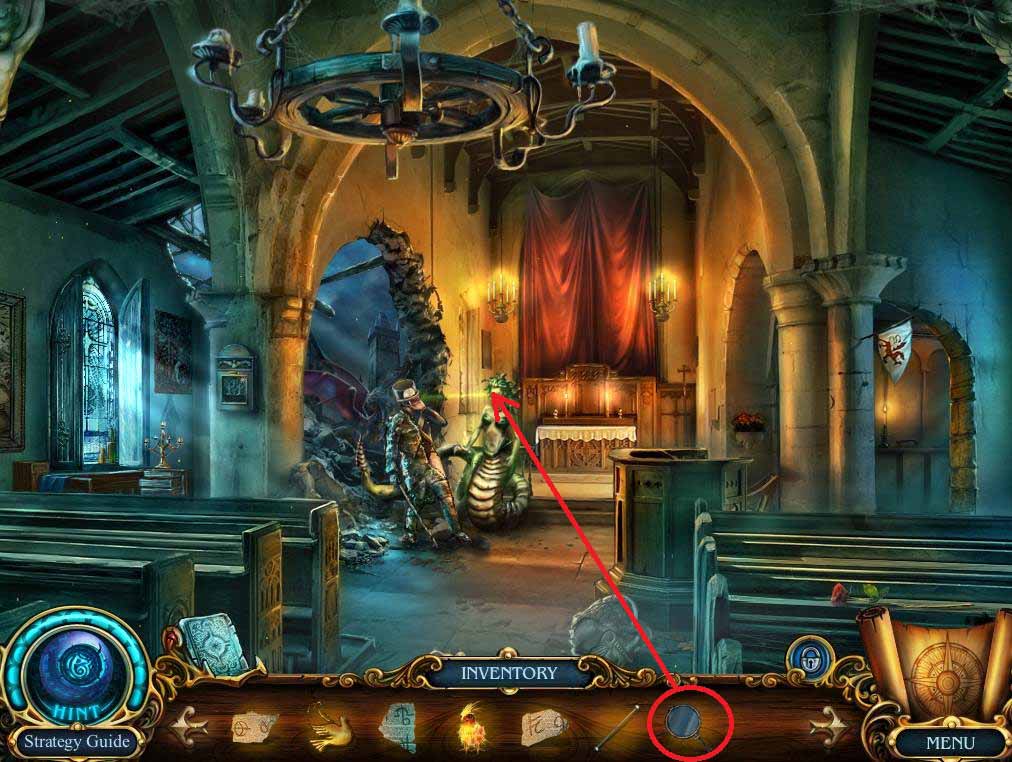
- Use the MIRROR on the gorgon to defeat her.
- Talk to the gendarme to get the BOMB and a cursed card.
- Go through the hole in the wall.
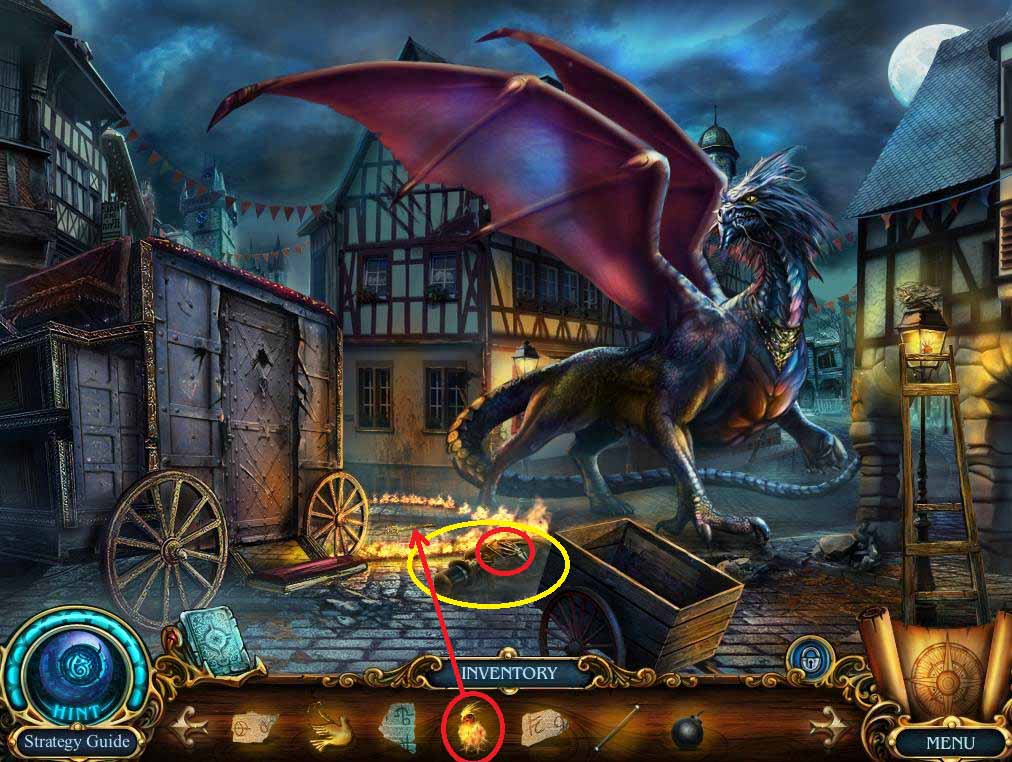
- Click on the banker.
- Use TERRANCE to get the BLUNT SWORD from the circle of fire.
- Take the cursed card from the banker’s cold, dead, skeleton hand.
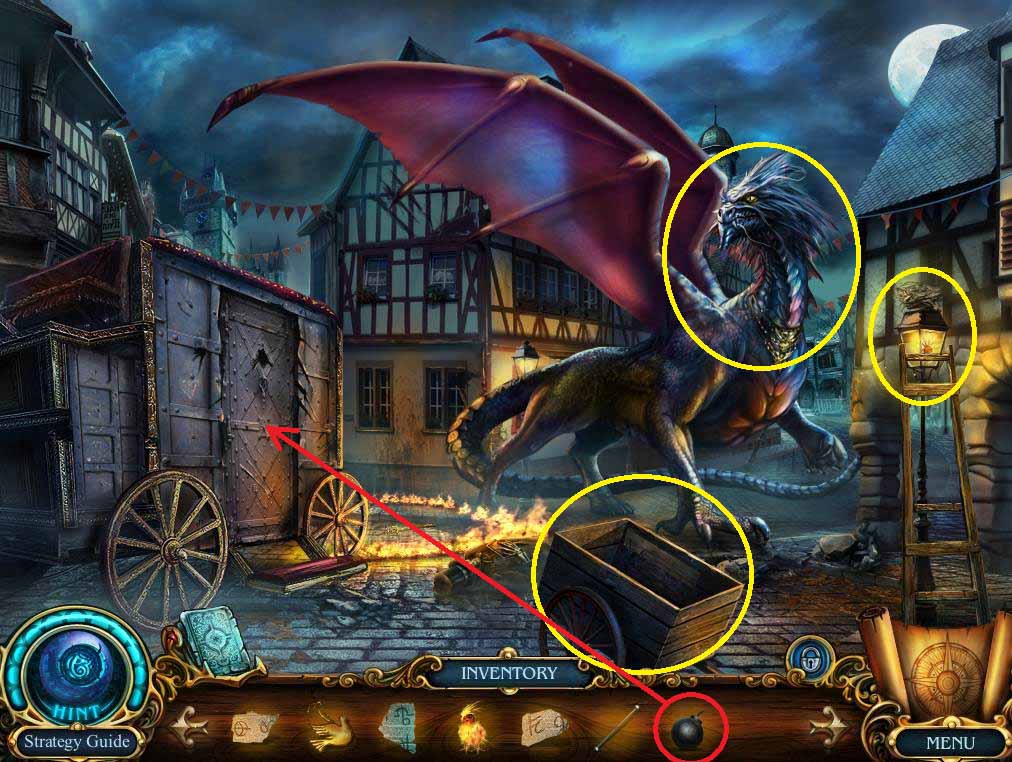
- Talk to the dragon.
- Click on the lantern to get the fourth PIECE OF PAPER.
- Examine the cart to find the fifth PIECE OF PAPER and the NAILS.
- Use the BOMB on the carriage door.
- Return to the narrow street by going back twice.
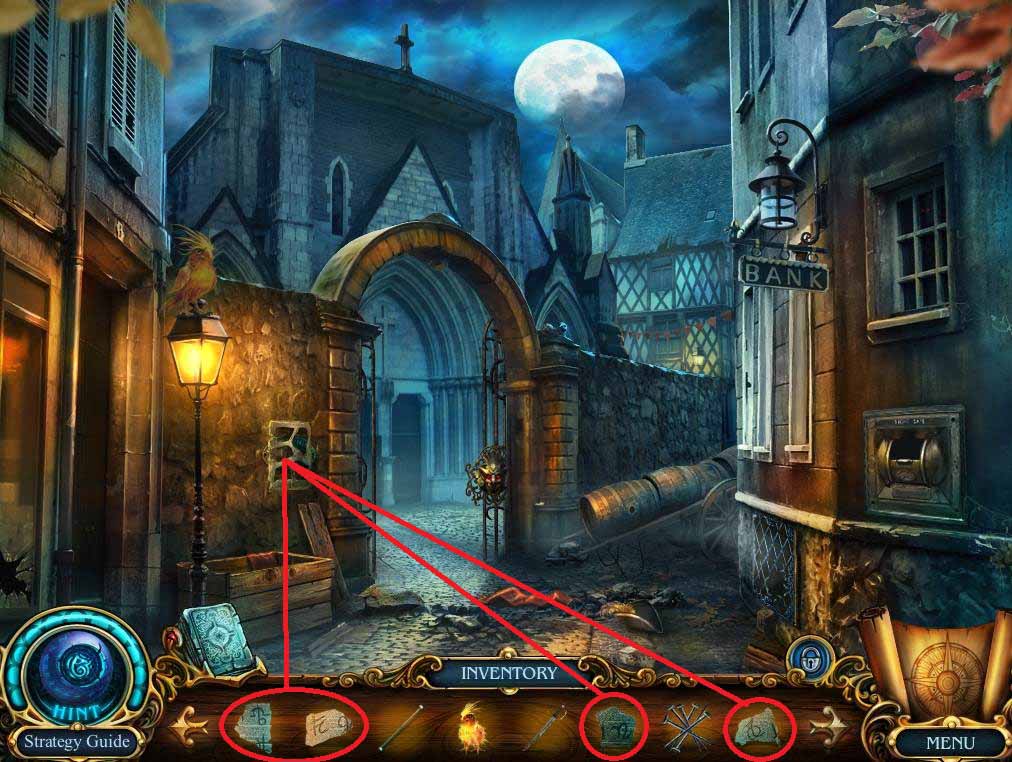
- Use the five PIECES OF PAPER on the poster (one of mine is off screen in the inventory, but you should have all five by now).
- Take the POSTER WITH A CODE.
- Go forward twice to get back to the city square.
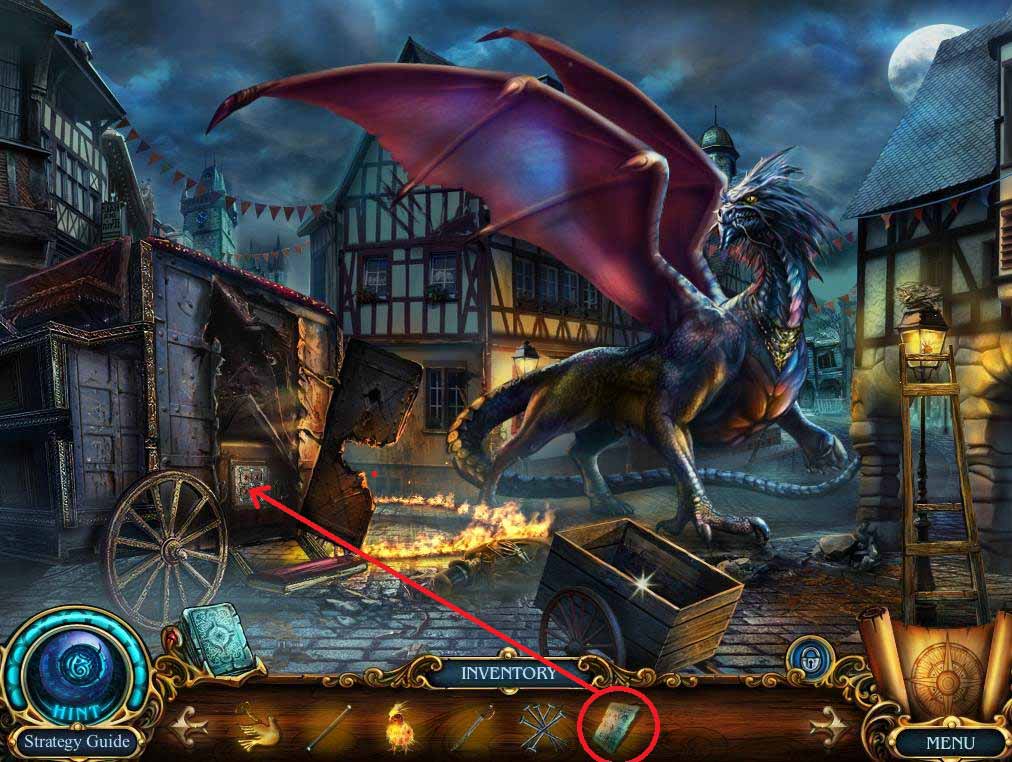
- Use the POSTER WITH A CODE on the carriage to trigger a puzzle.
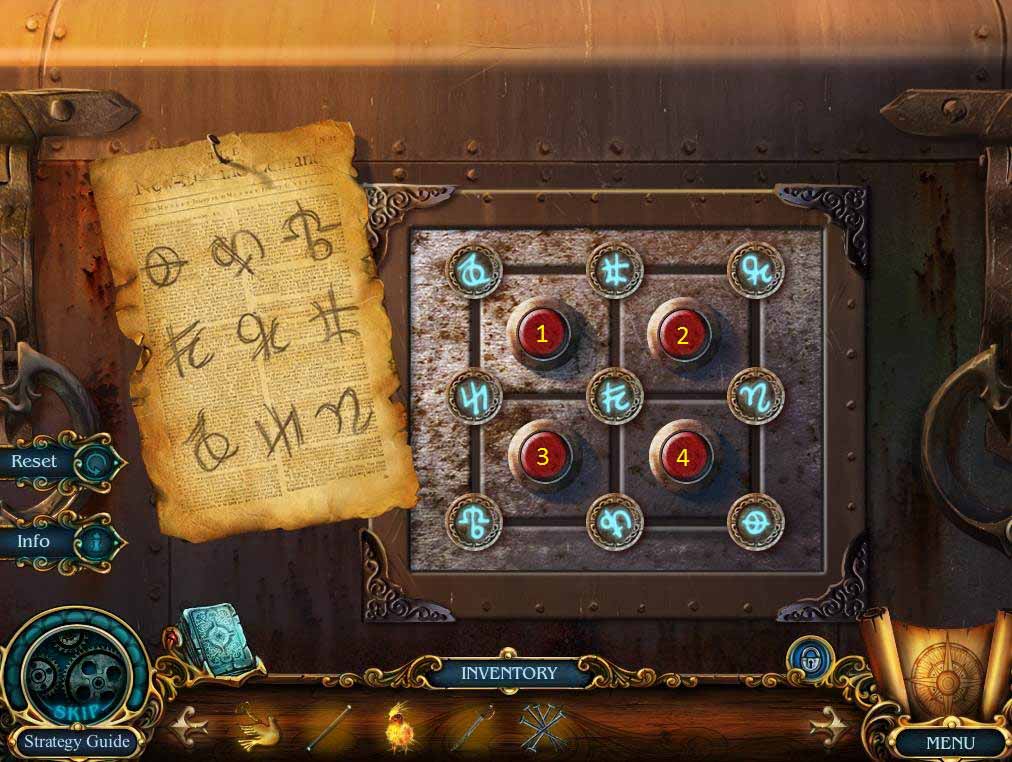
- Solve the puzzle using the following code and the above screenshot: 4, 3, 3, 2, 1, 3, 3, 2, 2, 2, 3, 3, 2, and 2.
- Take the TREASURE.
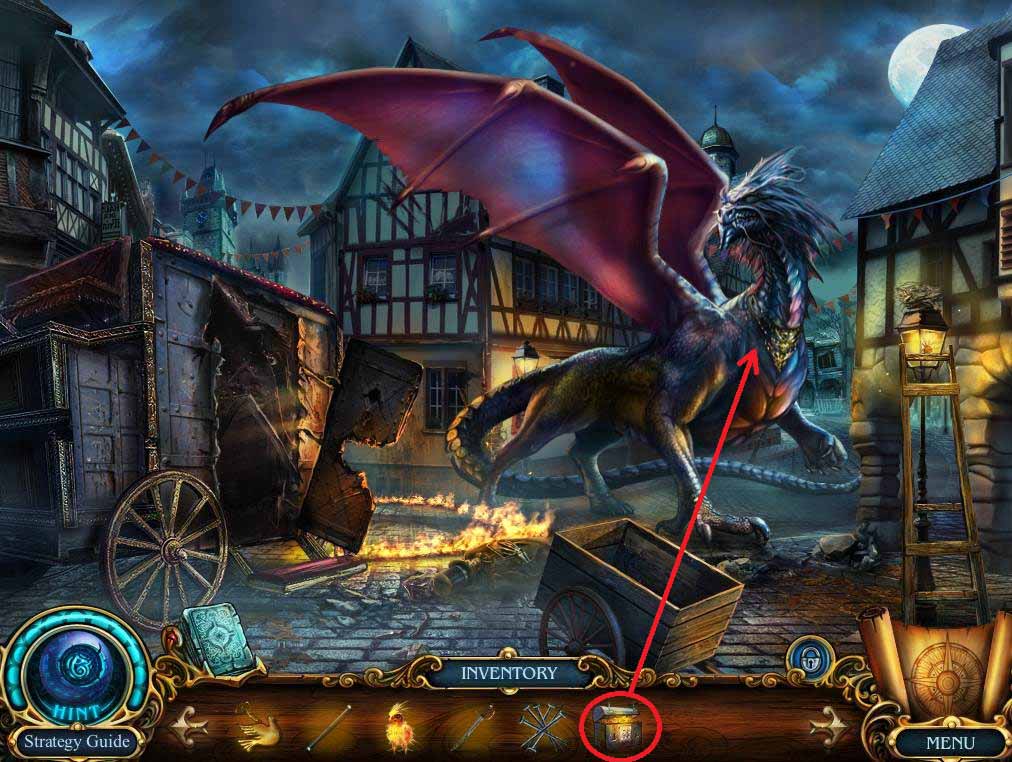
- Give the TREASURE to the DRAGON.
- Go up the path to find the Monster House.
Comments will load when you reach this part of the walkthrough.