

Chapter Seven: Lakeside
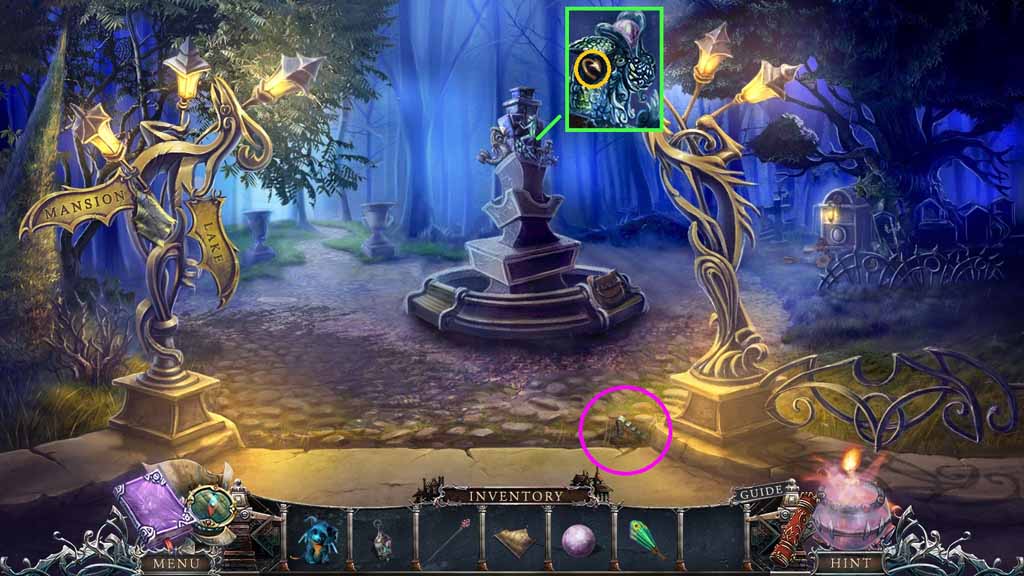
- Insert the marble ball into the fish’s mouth; collect the fish hook.
- Collect the iron handle.
- Move down once.
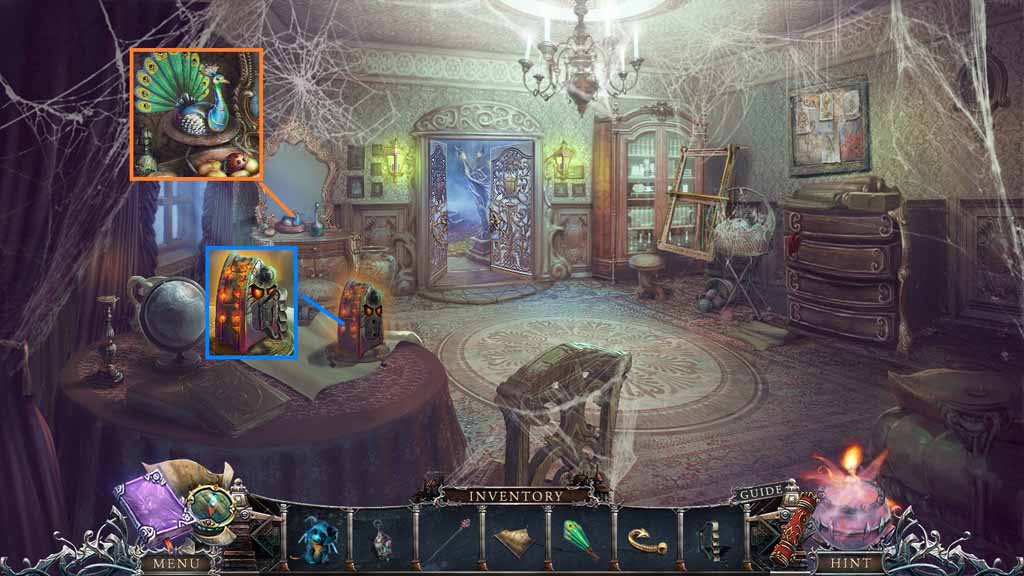
- Place the fan onto the peacock; collect the ladybug wing.
- Attach the iron handle; collect the handle.
- Move ahead 2 times.
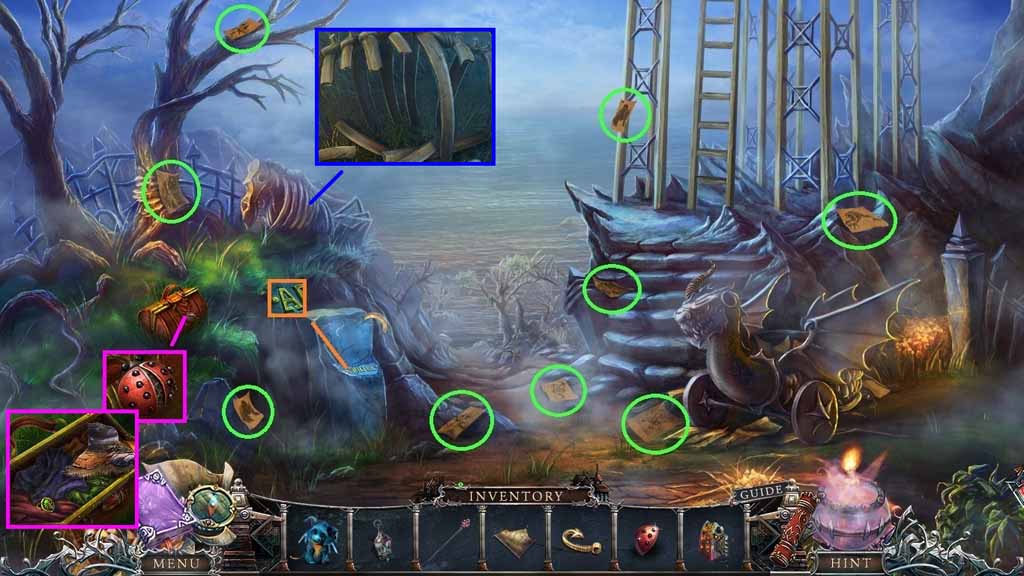
- Collect the drawings.
- Collect the letter A using the knitting needle.
- Attach the ladybug wing; collect the signet and the painting piece.
- Collect the bone.
- Move ahead.
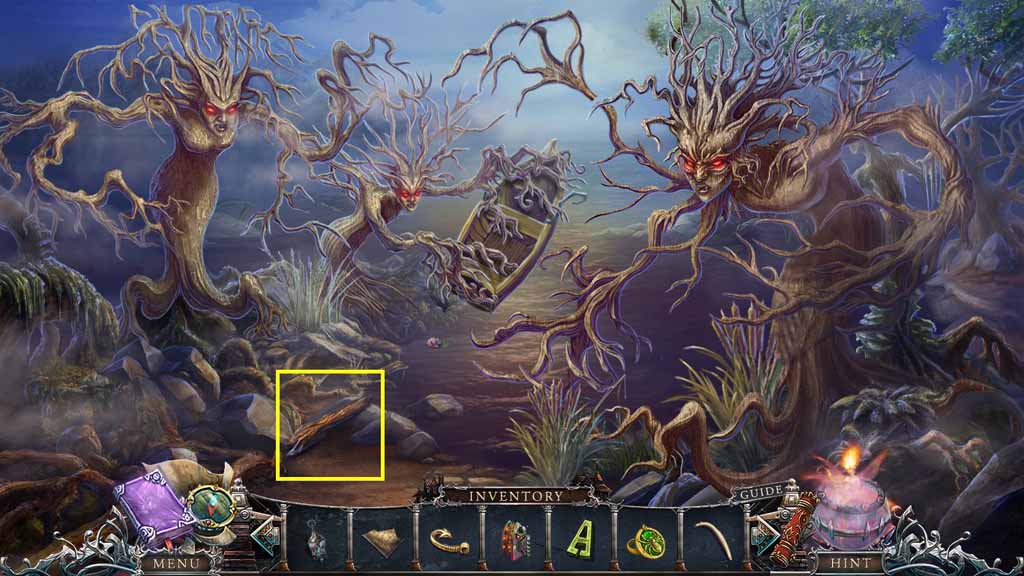
- Collect the branch.
- Move down once and go up the ladder.
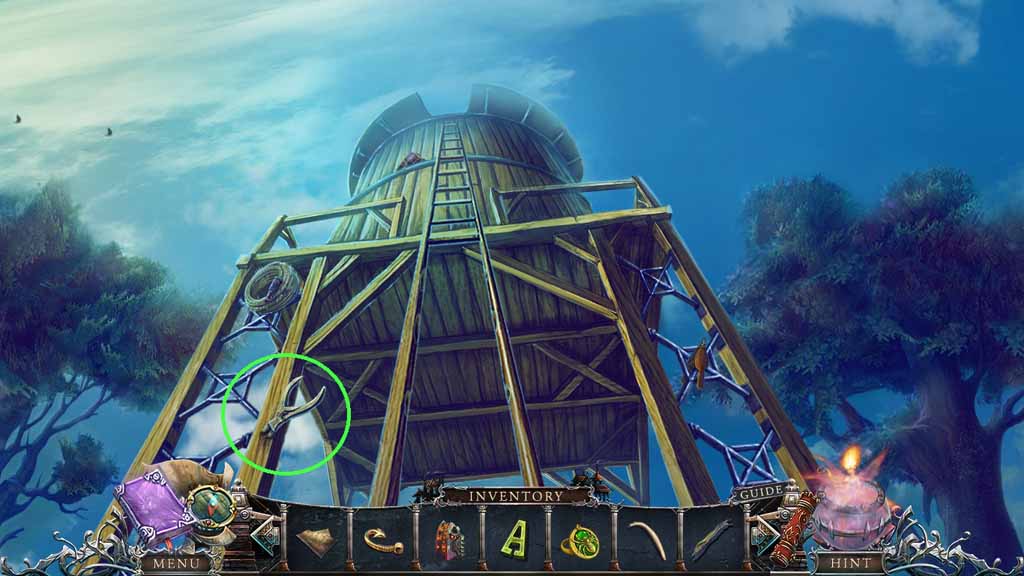
- Collect the pliers.
- Move down 2 times.
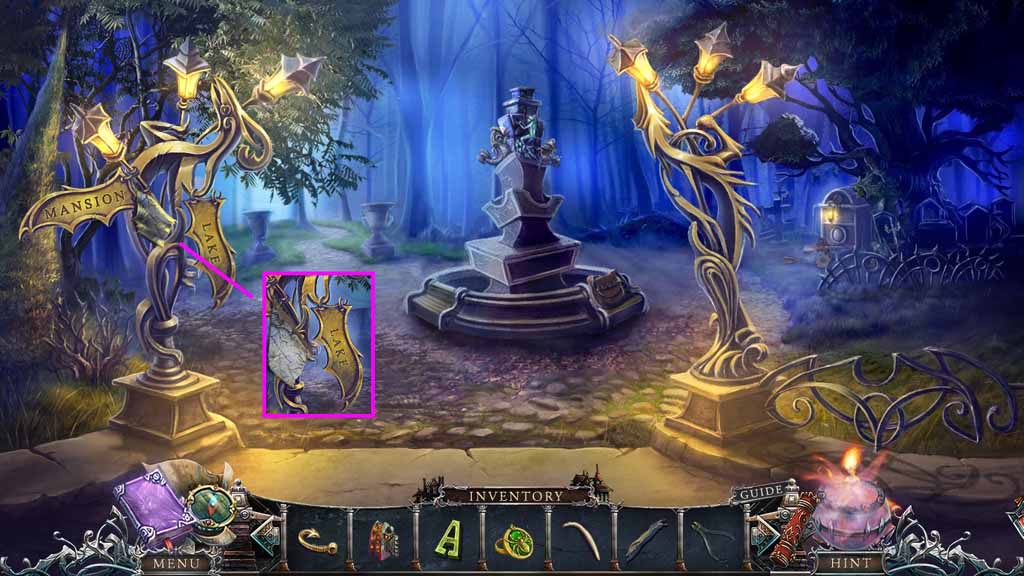
- Collect the sign board using the pliers.
- Collect the painting piece.
- Move down once.
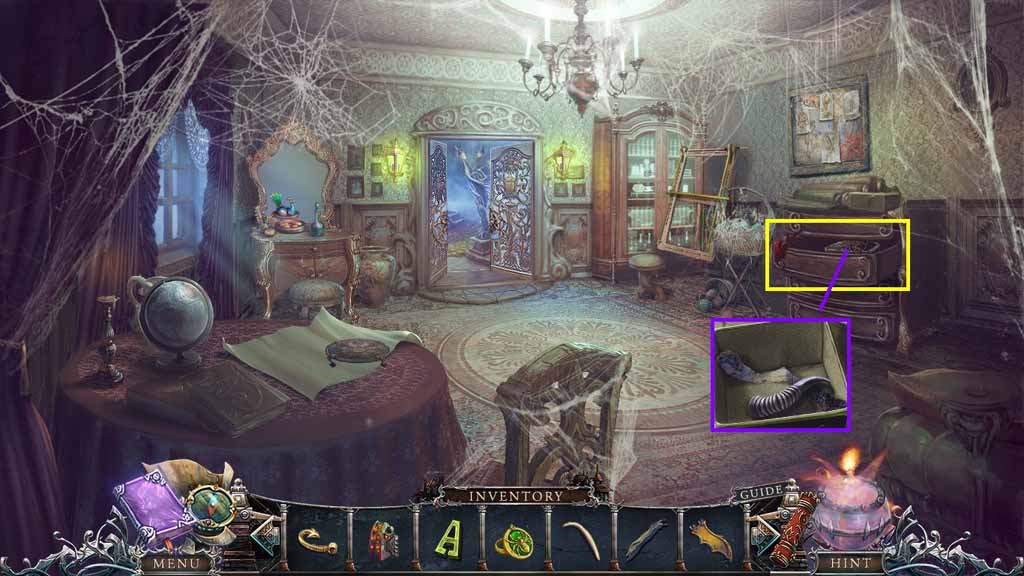
- Click the drawer; place the signet onto the box.
- Collect the horn and the painting piece.
- Move down once.
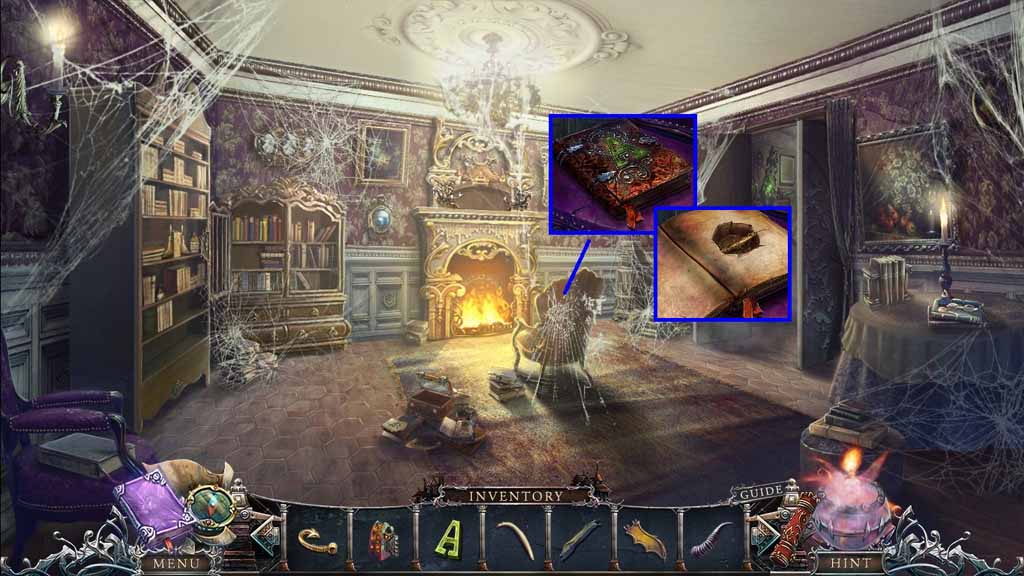
- Insert the letter A; read the note.
- Collect Bryan’s key.
- Move to the Water Tower.
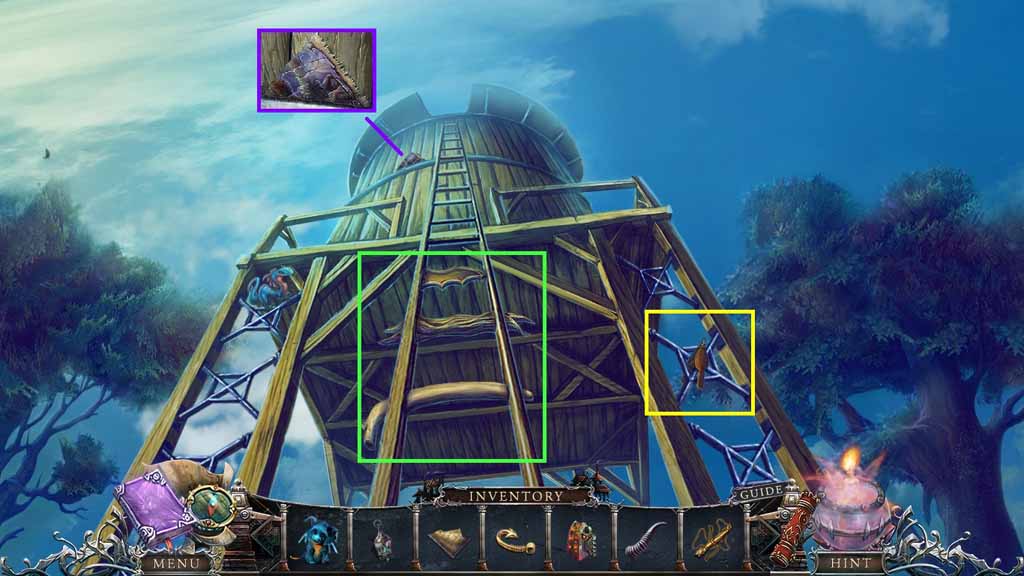
- Place the bone, the branch and the sign board onto the ladder.
- Collect the bellows.
- Collect the painting piece.
- Move to the Boy’s Room.
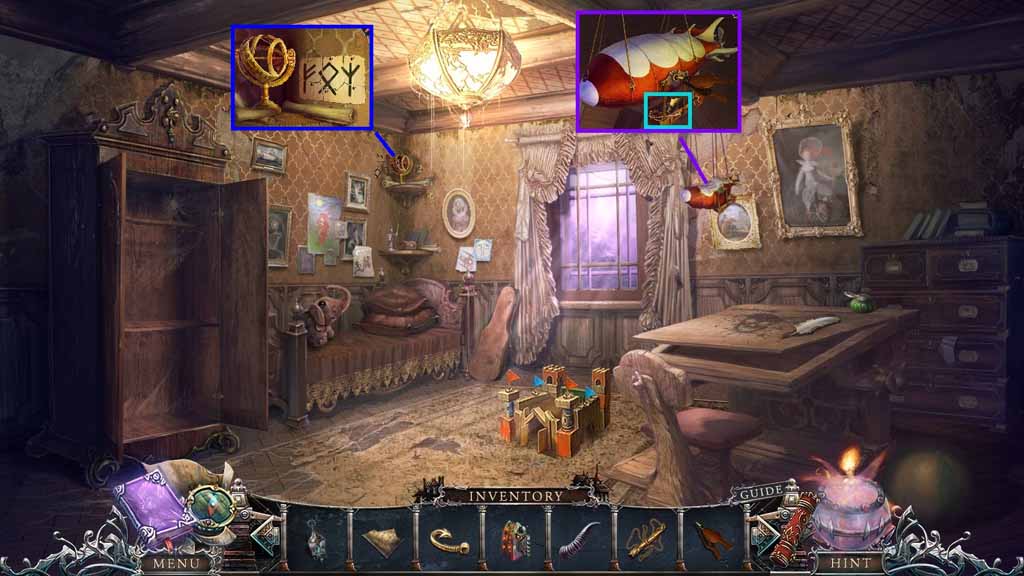
- Select the bellows to use on the blimp; collect the runic code piece and the painting piece.
- Click the paper scraps; insert the runic code piece.
- Move to the Library.
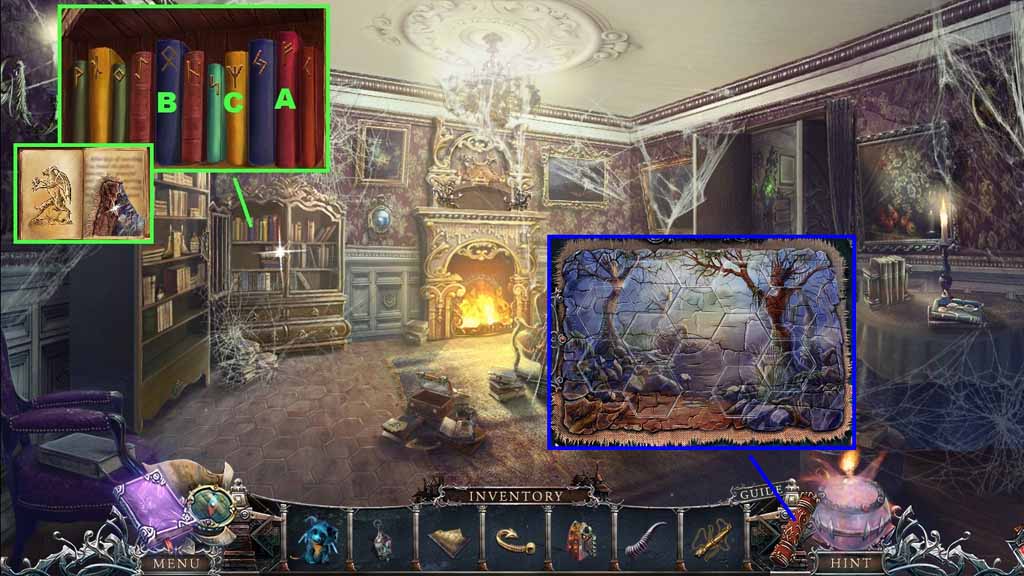
- Zoom into the bookshelf to trigger a mini game.
- Solve the game by clicking the books in the correct sequence.
- Collect the painting piece.
- Click the canister to trigger a mini game.
- Solve the game by restoring the image.
- Collect the lake shore painting.
- Move to the Lake Shore.
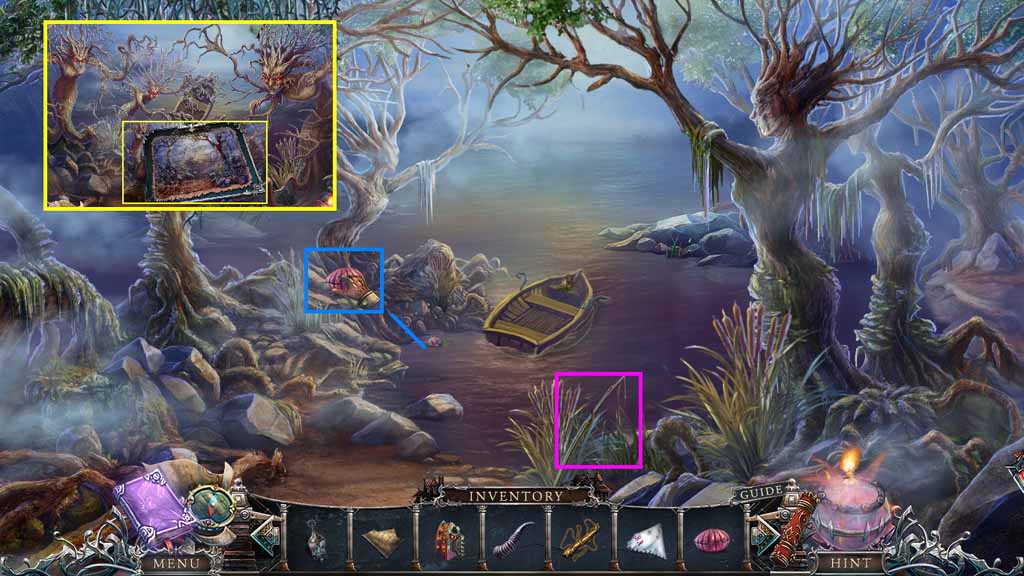
- Select the lake shore painting to use on the trees.
- Select the dragon to use on the water; collect the shell.
- Attach the fishing hook onto the fishing pole; collect the handkerchief.
- Move down once.

- Place the handkerchief onto the sickle; collect the sickle.
- Move down once.
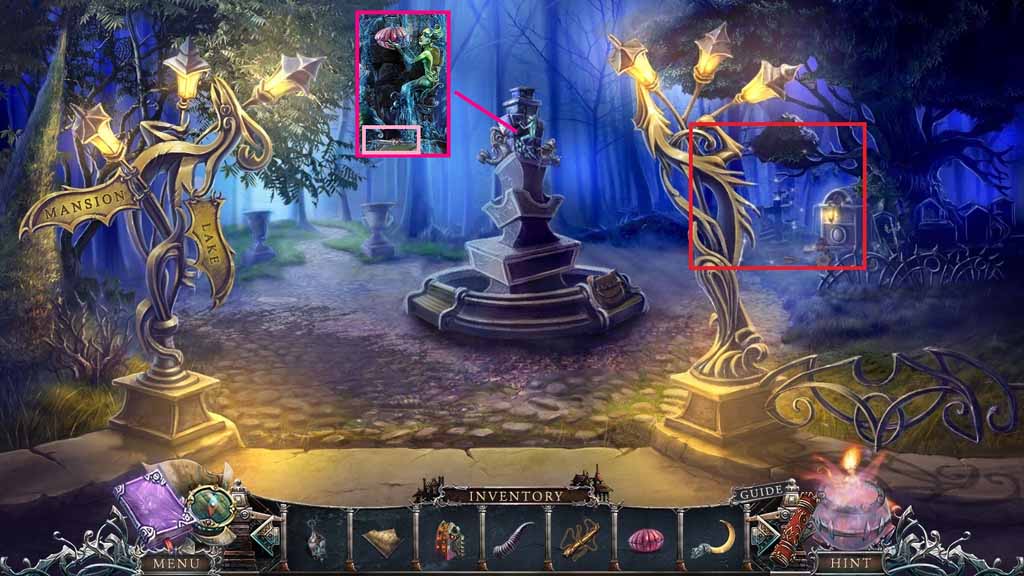
- Give the statue the shell; collect the eye dropper.
- Click the hidden objects area.
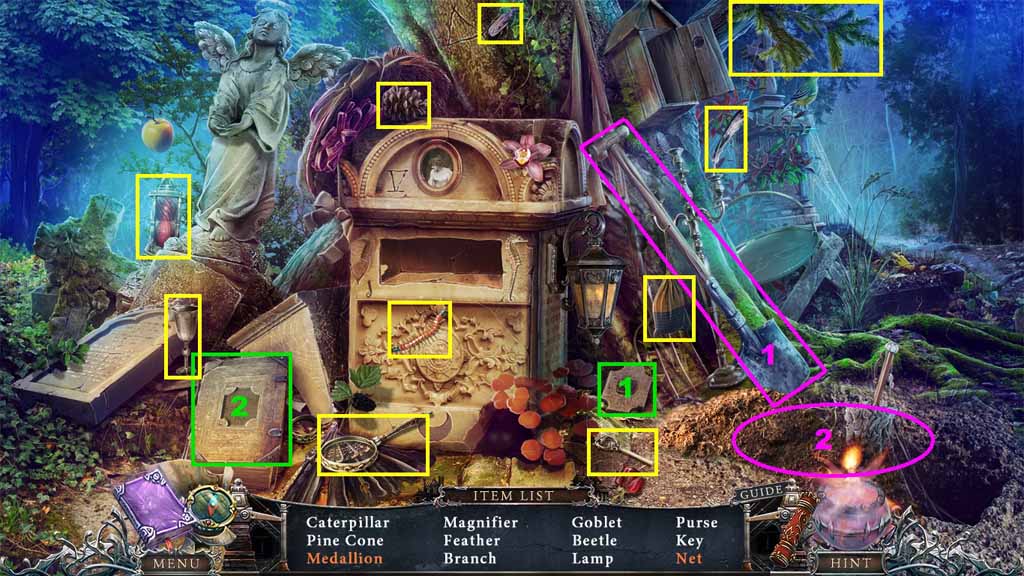
- Find the listed items.
- Select the shovel to scoop away the dirt; collect the net.
- Place the symbol into the book; collect the medallion.
- Collect the net gun.
- Move ahead 2 times.
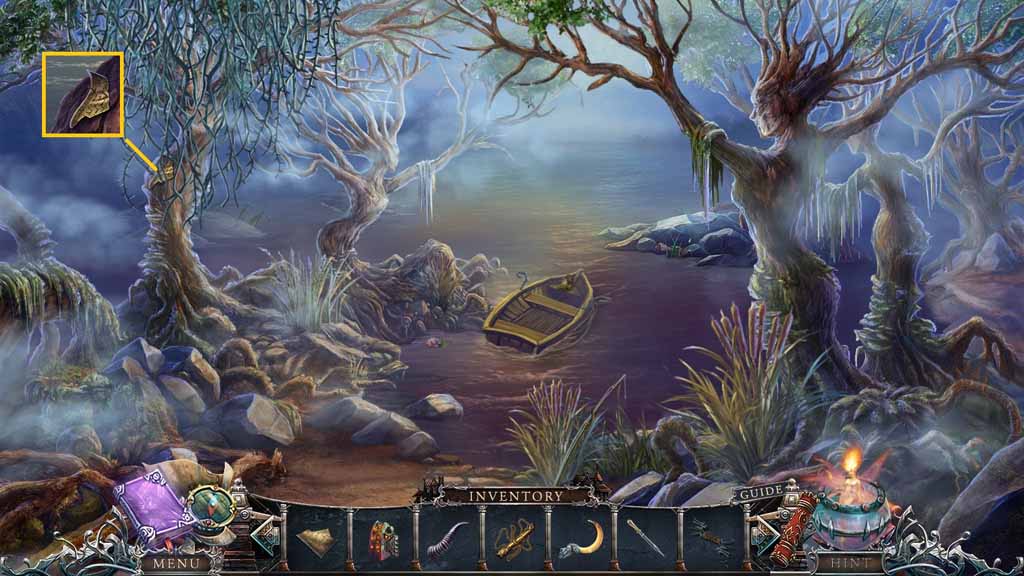
- Select the sickle to cut the vines; collect the map piece.
- Move ahead.
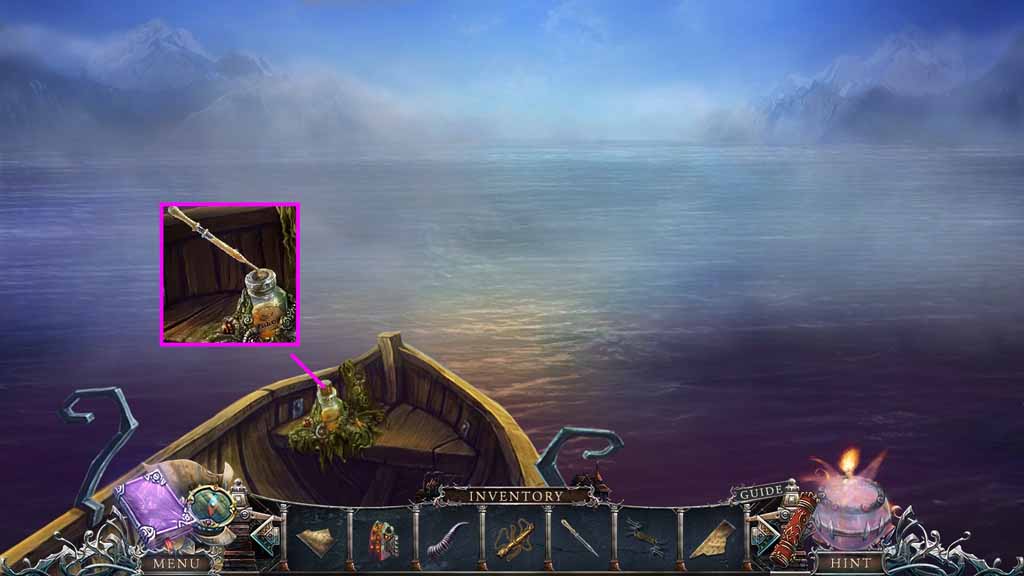
- Click the bottle; dip the eye dropper.
- Collect the fish oil.
- Move down 2 times.
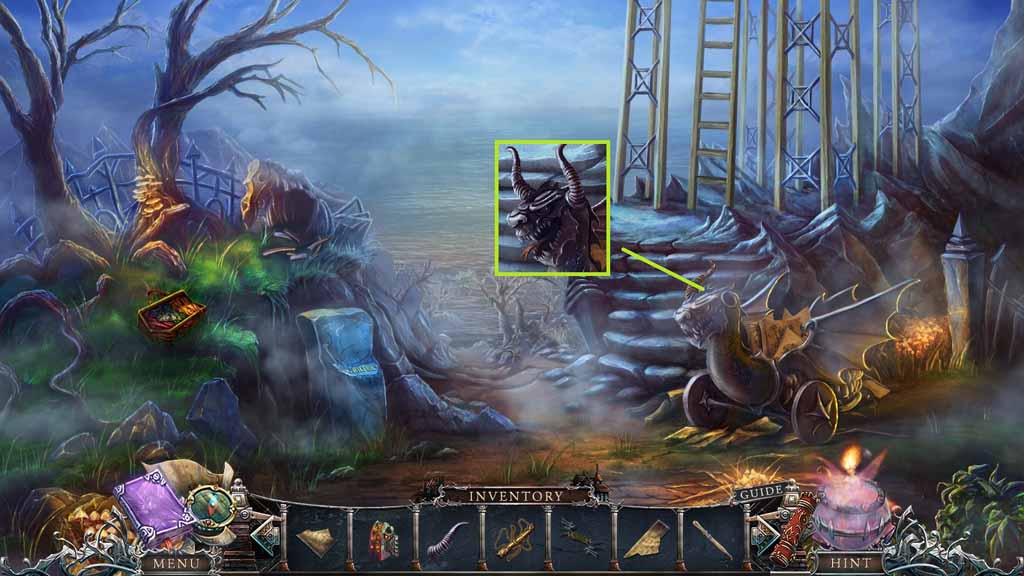
- Select the fish oil to use on the dragon horn.
- Attach the dragon horn onto the dragon.
- Click the dragon’s mouth; collect the rubber patch.
- Move down 2 times.
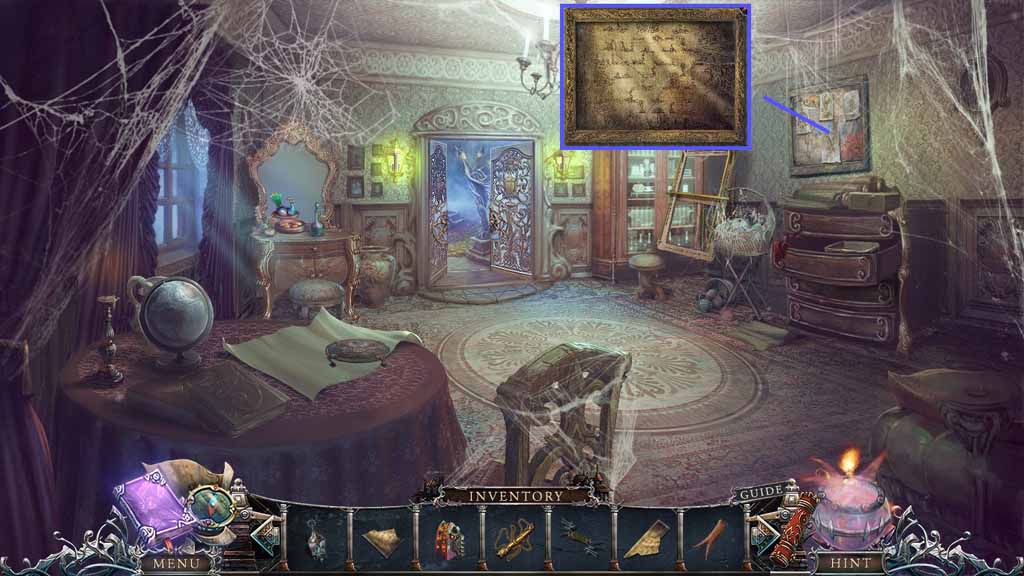
- Click the poster.
- Insert the map pieces into the frame; collect the map.
- Move to the Boat.
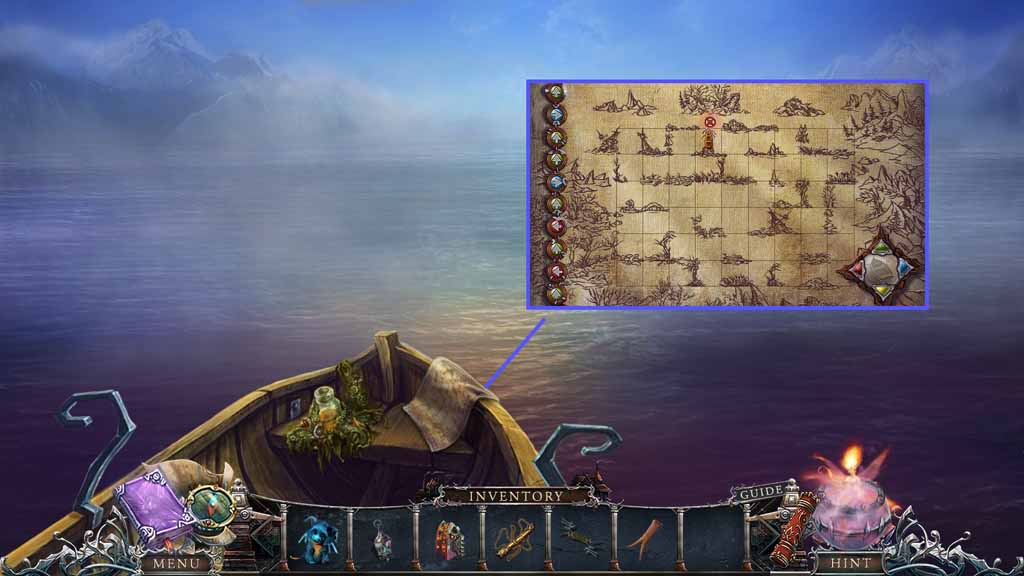
- Place the map onto the boat and zoom in to trigger a mini game.
- Solve the game by guiding the boat to the shore while avoiding the obstacles.
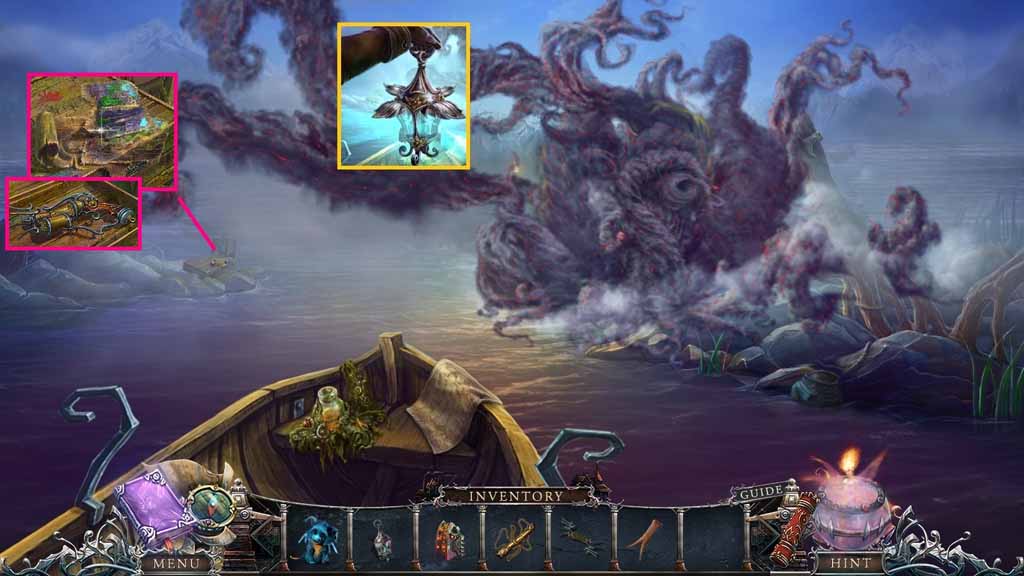
- Select Bryan’s lantern to remove the mist.
- Click the drawings.
- Insert Bryan’s key; read the note.
- Insert the net gun; collect the loaded gun.
- Move ahead.
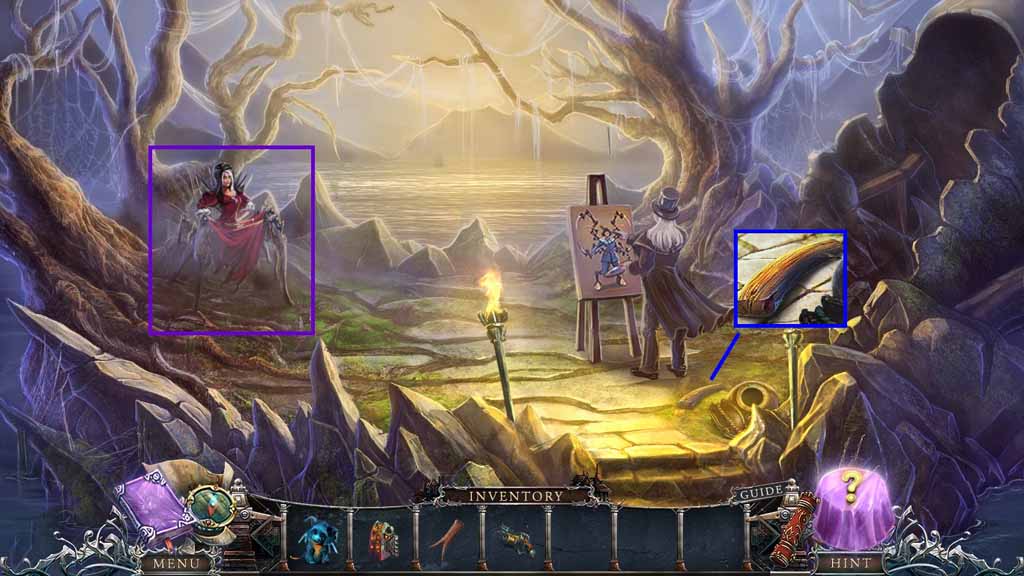
- Speak to Abilene.
- Collect the axe handle.
- Move down once.
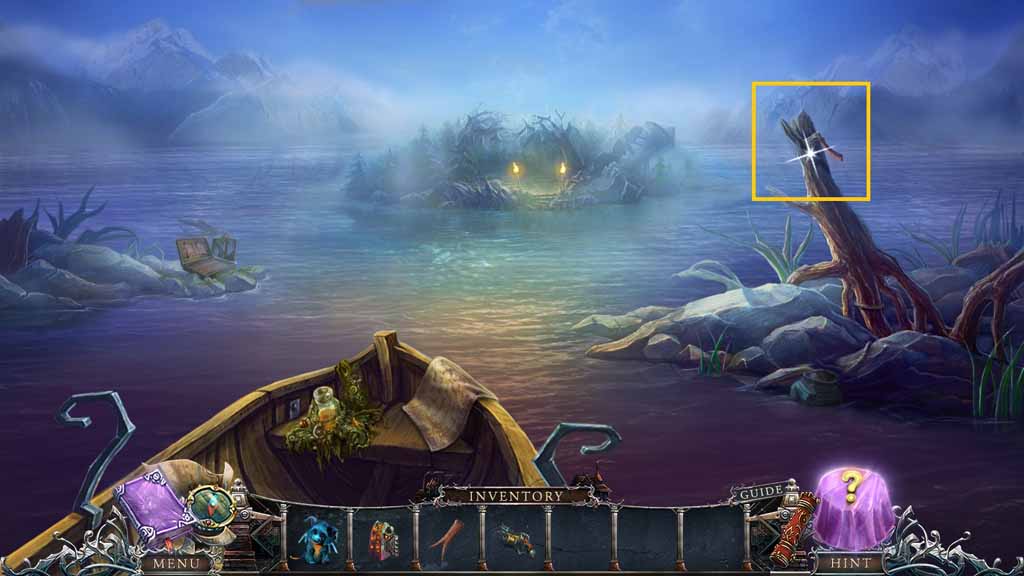
- Attach the axe handle; collect the axe.
- Move to the Water Tower.
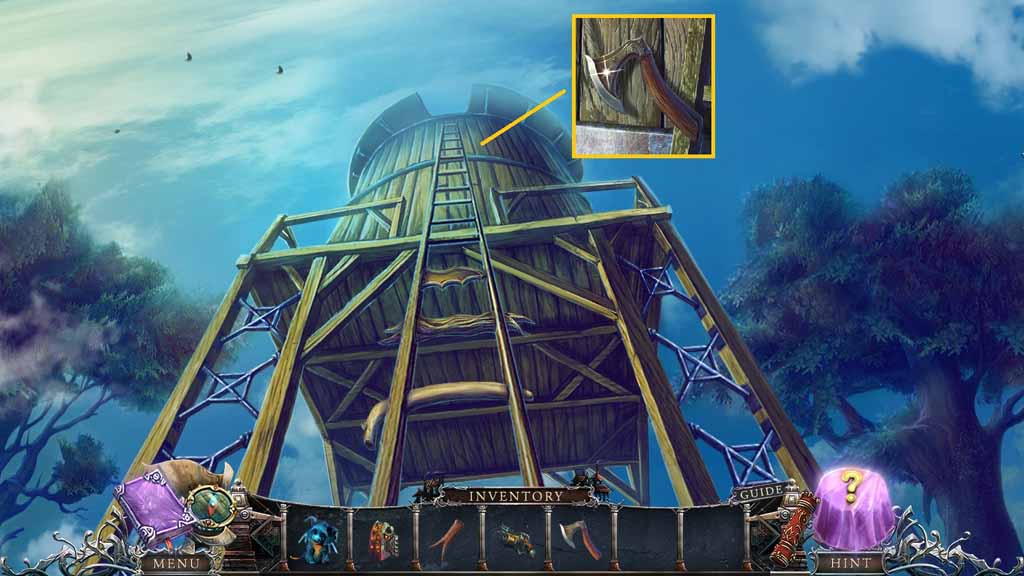
- Select the axe to cut a hole into the tower.
- Move down once.
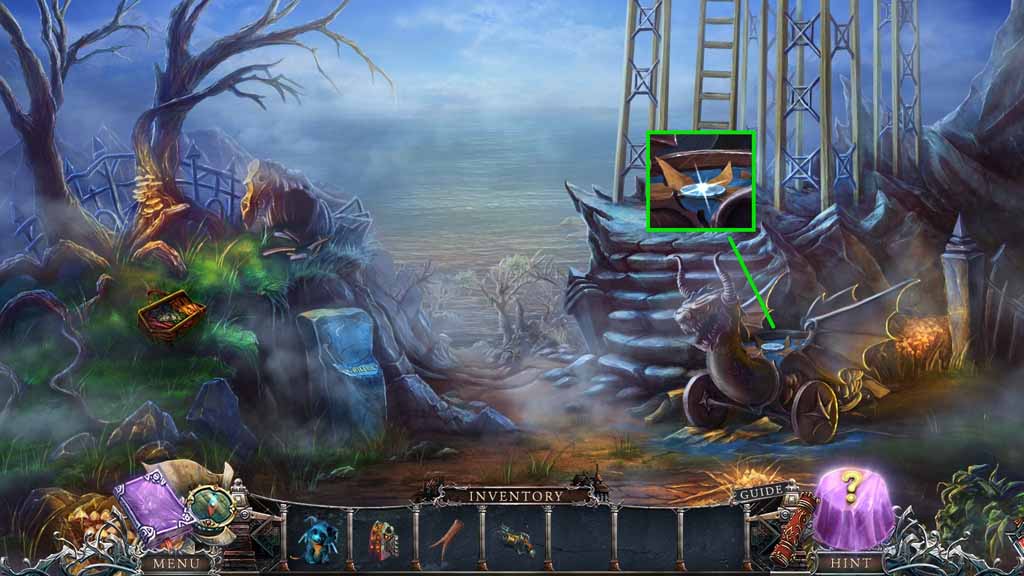
- Collect the glass.
- Move to the Island.
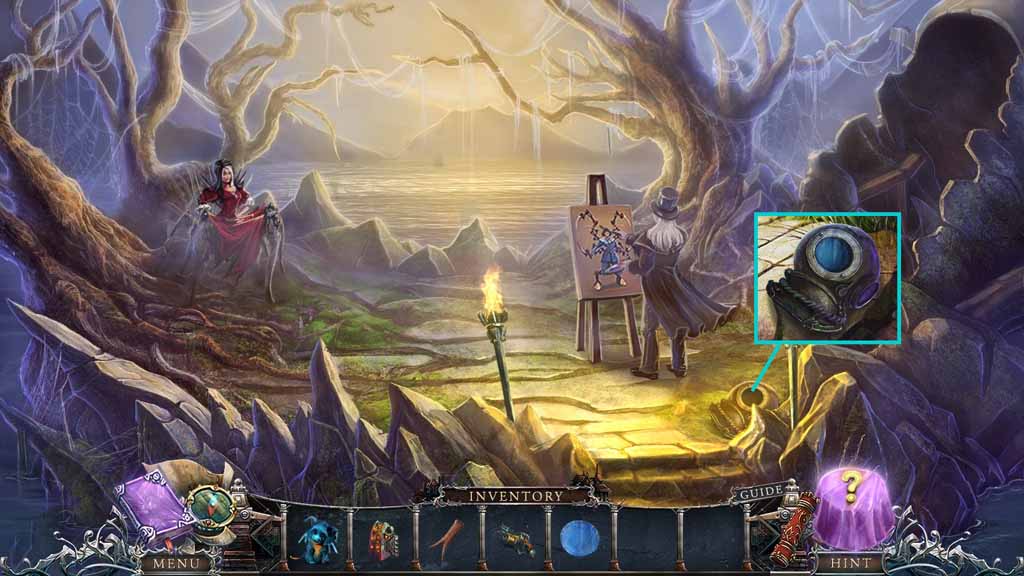
- Insert the glass.
- Collect the diving helmet.
- Move down once.
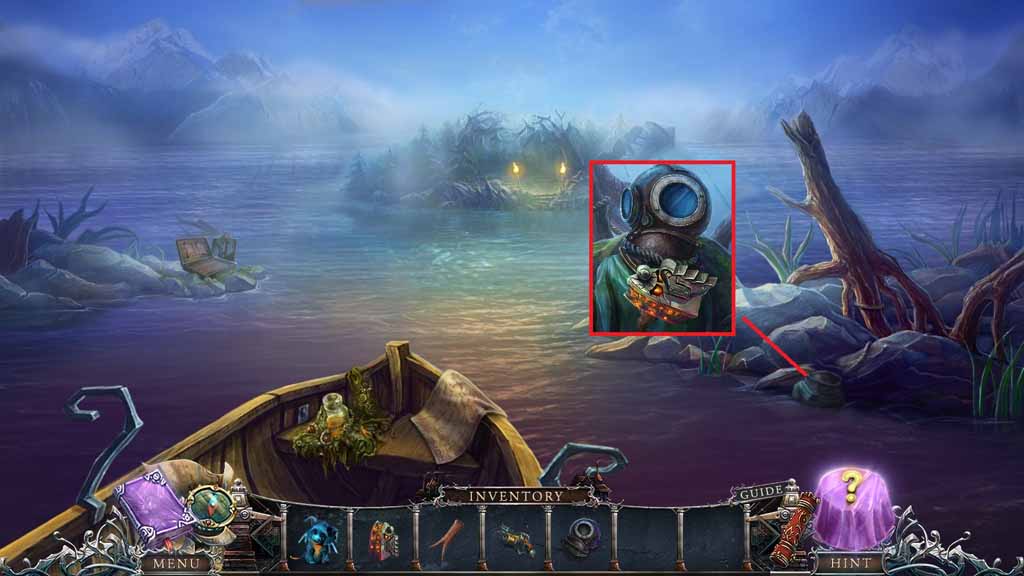
- Attach the rubber patch.
- Secure it using the iron.
- Attach the diving helmet onto the suit to trigger a hidden objects area.
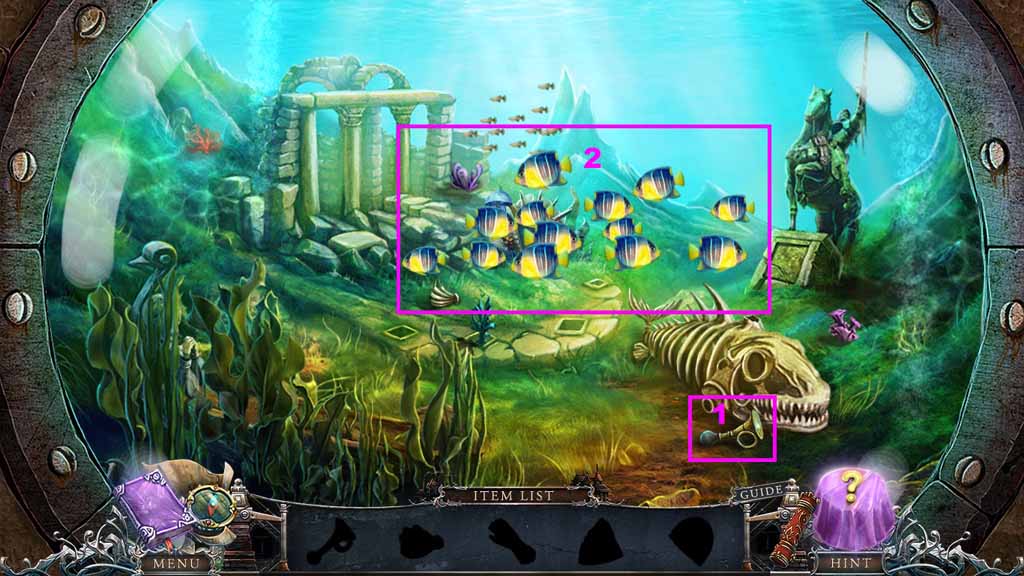
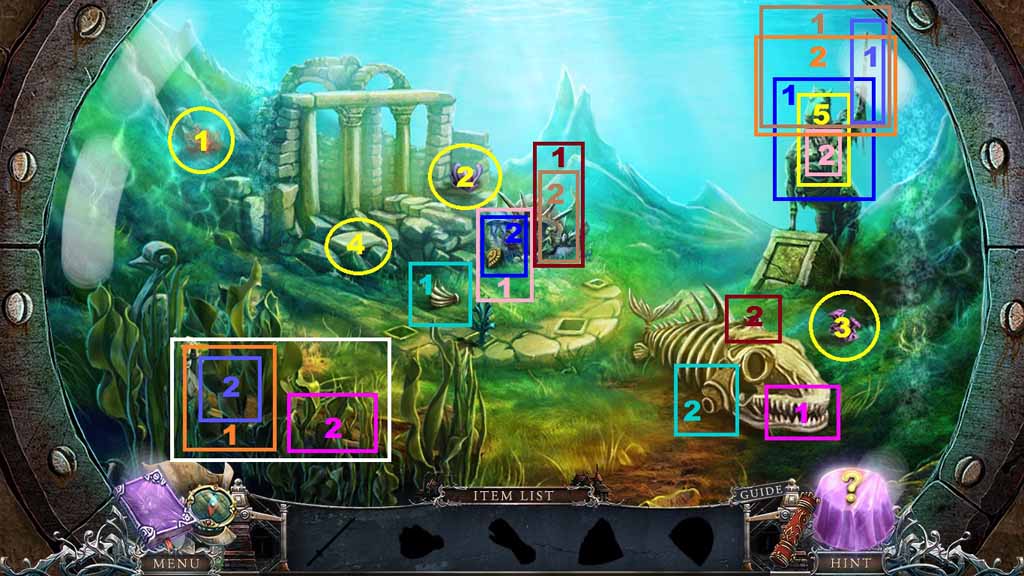
- Find the silhouetted items.
- Select the fog horn and use it to clear the school of fish.
- Select the fish bone and attach it onto the skeleton.
- Click the 3 pieces of coral to collect the metal piece.
- Zoom into the statue; collect the metal glove.
- Use the metal glove to collect the metal piece.
- Zoom into the statue and insert the 2 metal pieces; collect the sword.
- Use the sword to cut the greenery; collect the starfish.
- Place the starfish into the horse; collect the coin.
- Give the coin to the mermaid; collect the fin bone.
- Attach the fin bone onto the skeleton; collect the sieve.
- Place the sieve into the dirt and click it 3 times.
- Collect Bryan’s Portrait.
- Move ahead.
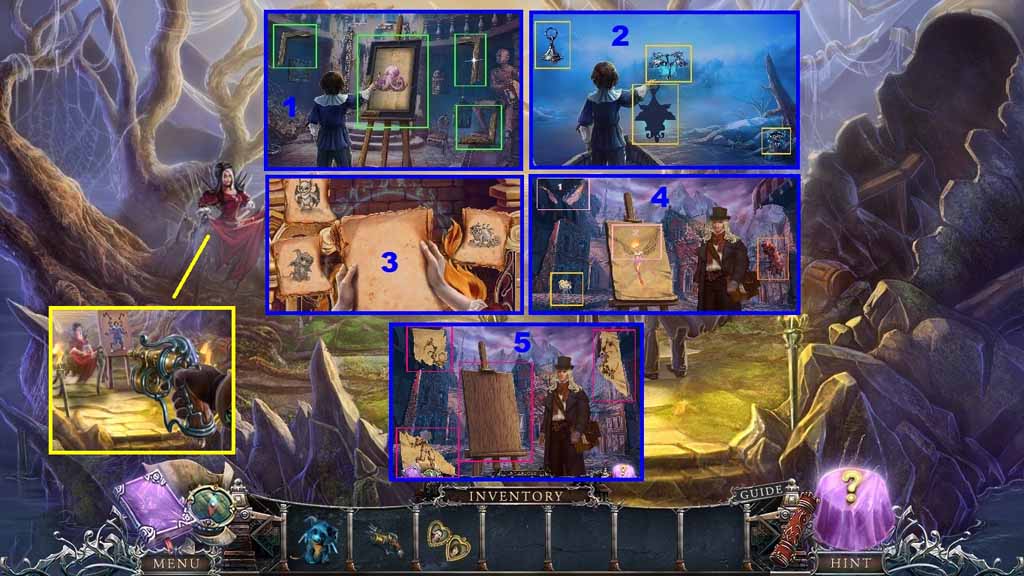
- Give Abilene Bryan’s portrait to trigger a mini game.
- Solve the game by attaching the frame pieces, then attach the pieces of the lamp, then place all 3 drawings onto the blank sheet, then find the missing parts of the drawings on the canvas, then piece together the sons’ portrait.
- Select the loaded gun to shoot toward Abilene.
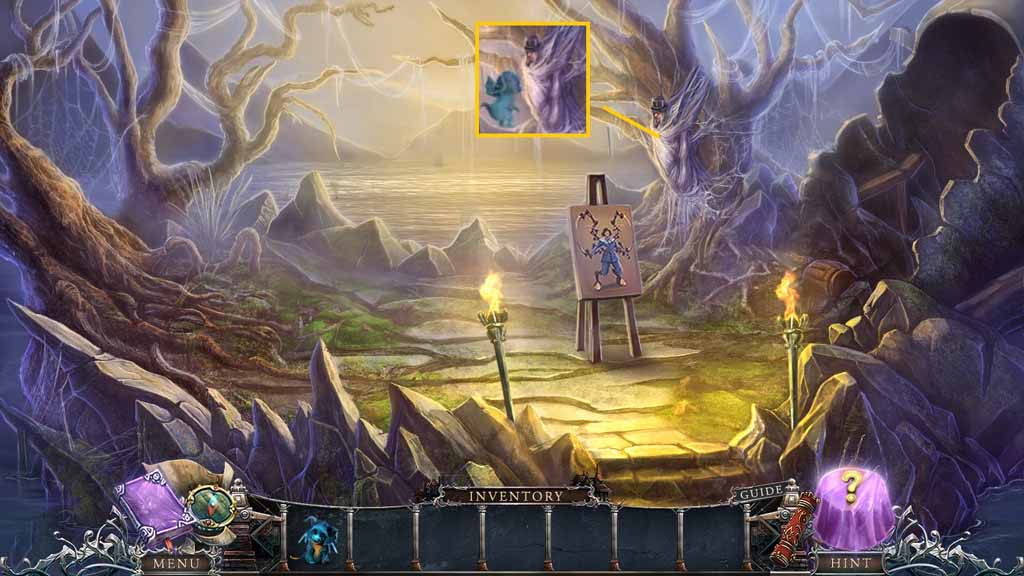
- Select the dragon to use on the web.
- Congratulations! You have successfully completed the main game of Bridge to Another World: Burnt Dreams
Comments will load when you reach this part of the walkthrough.