

Chapter Six: On the Estate
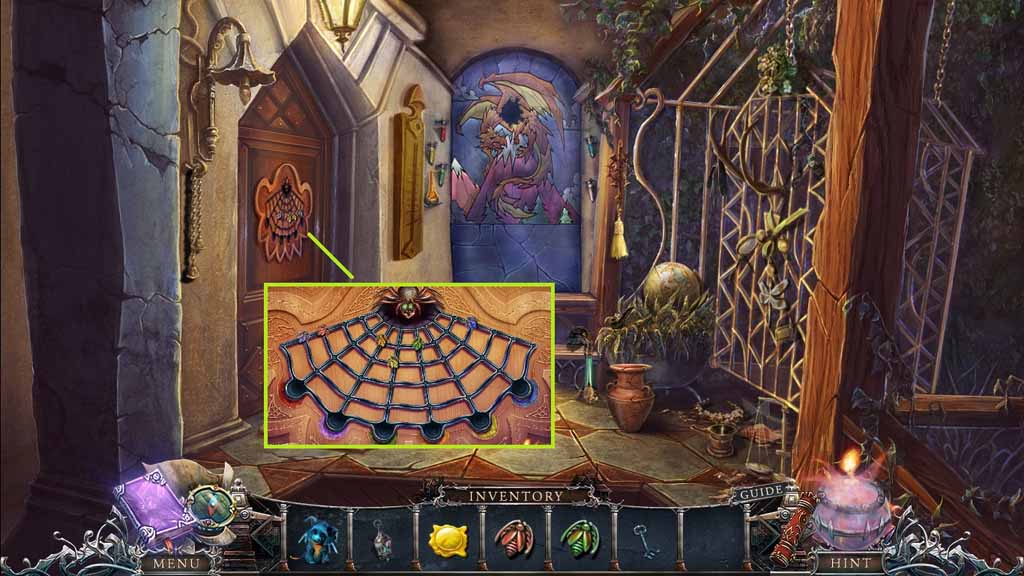
- Insert the 2 fireflies into the web to trigger a mini game.
- Solve the game by guiding the fireflies into their matching colored holes.
- Move to the left.
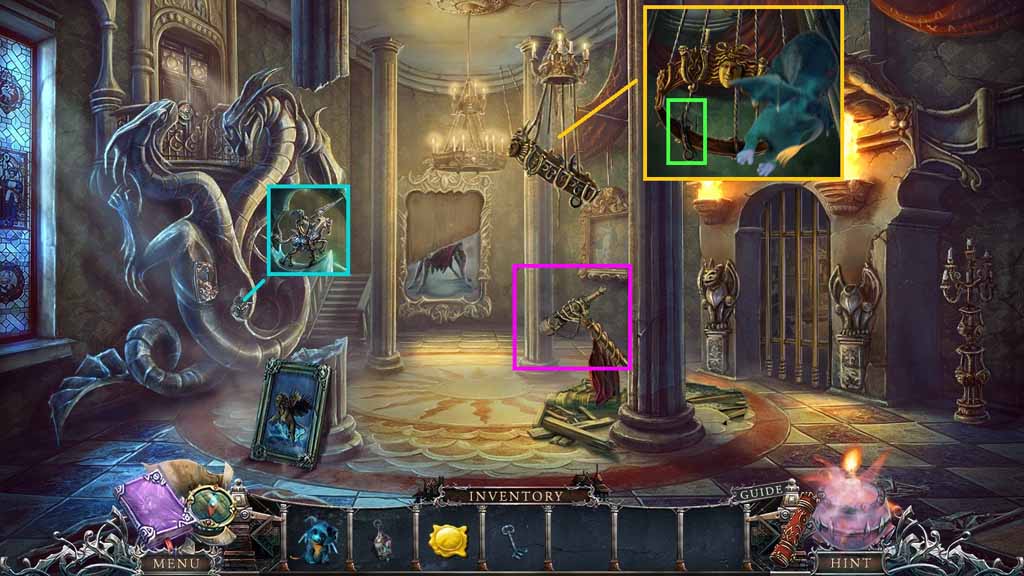
- Collect the knight.
- Select the dragon to move the chandelier; collect the hook.
- Click the skeleton fingers; collect the spyglass.
- Move down 3 times.
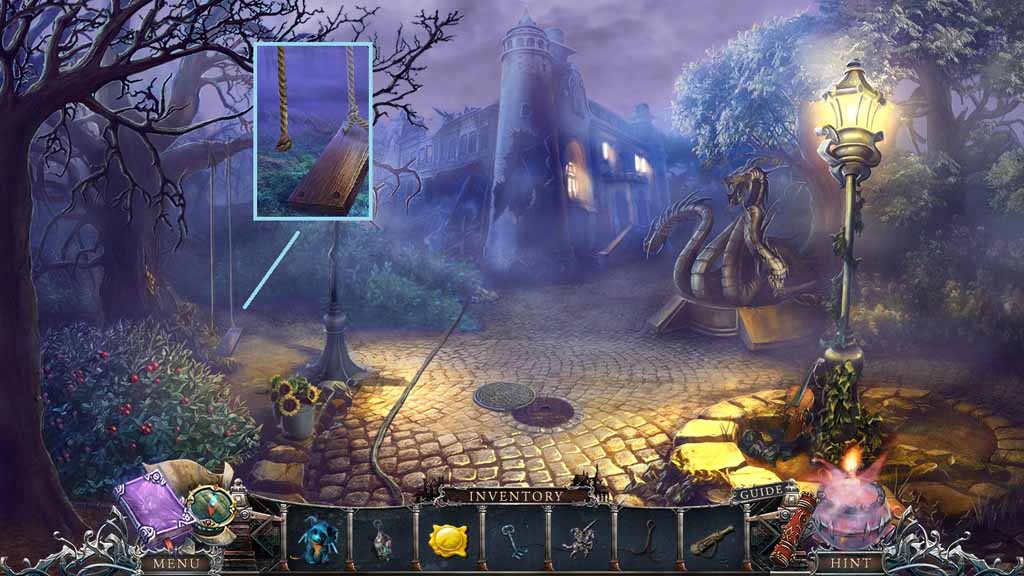
- Place the hook onto the swing; receive the rope with hook.
- Move ahead.
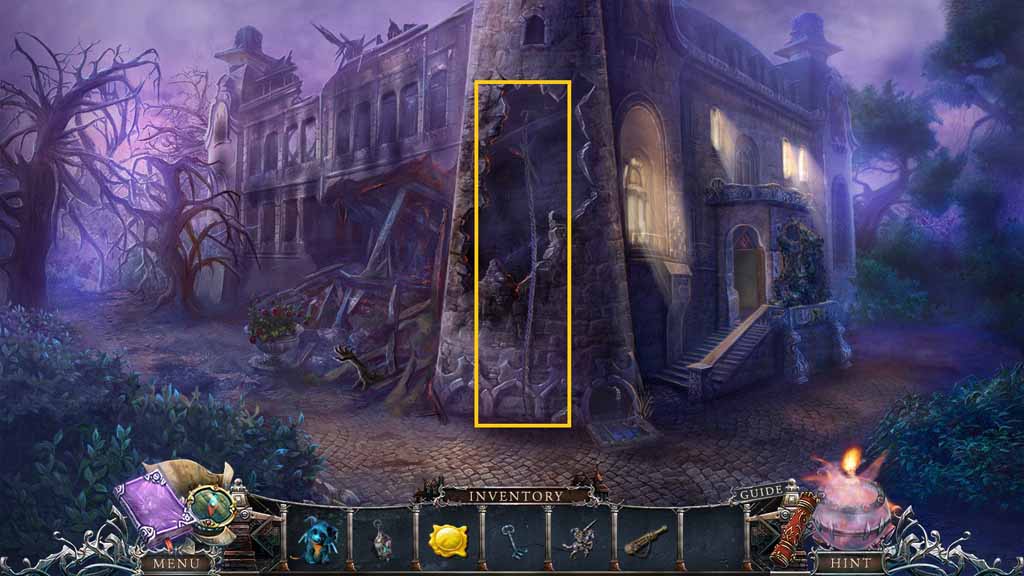
- Toss the rope with hook onto the tower.
- Move up.
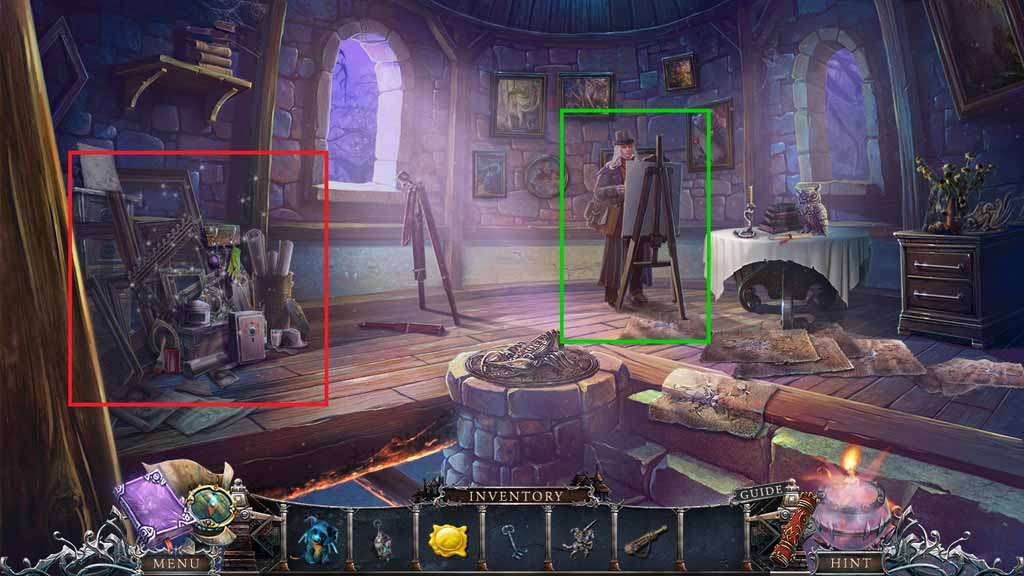
- Speak to Dorian.
- Click the hidden objects area.
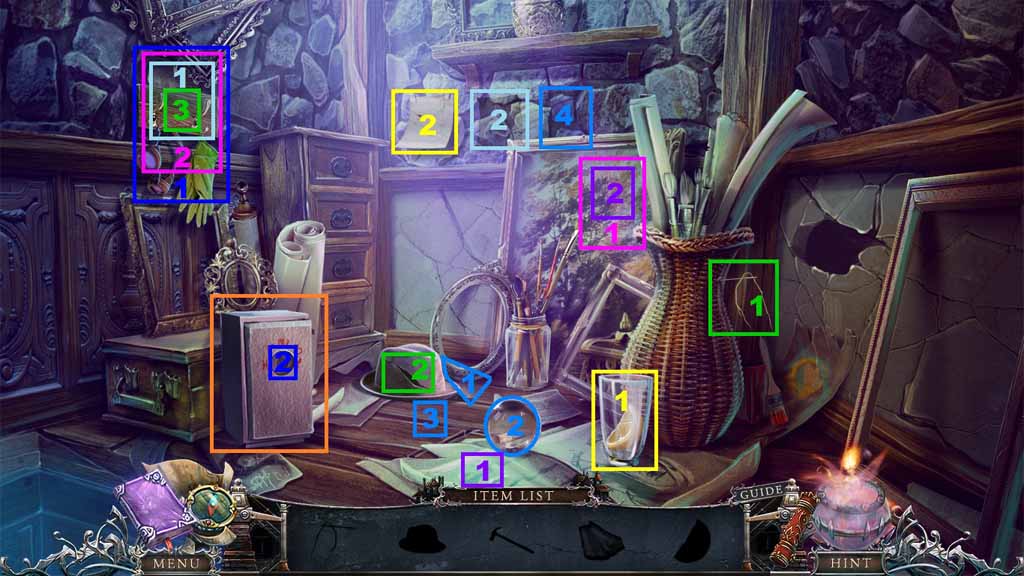
- Find the silhouetted items.
- Select the needle and use it to mend and collect the hat.
- Click the glass; collect the lemon.
- Select the hammer and use it to smash the orb; collect the code symbol.
- Select the lemon wedge to use on the paper and reveal the code symbol.
- Select the hat and place it onto the hook; collect the code symbol.
- Hang the code symbols onto the wall.
- Select the glass splinter to slice the painting; collect the wind rose.
- Place the wind rose into the groove; collect the handle.
- Attach the handle to the safe; use the code symbols to open the safe.
- Collect the lion pin.
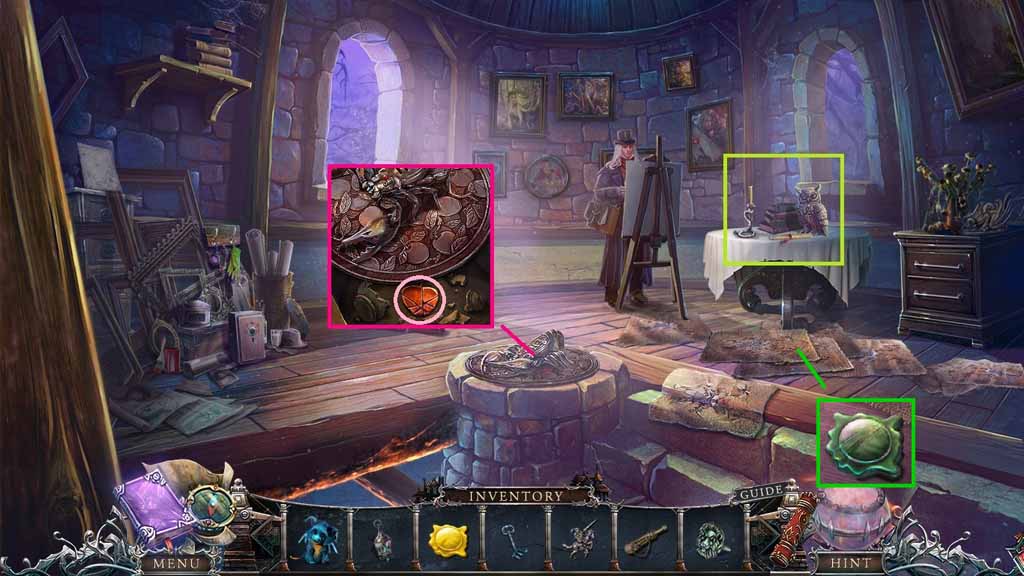
- Read the scroll; collect the candle.
- Insert the scorpion key into the scorpion.
- Collect the red pieces; collect the apple symbol.
- Click the paintings; collect the stained glass.
- Move to the Hall.
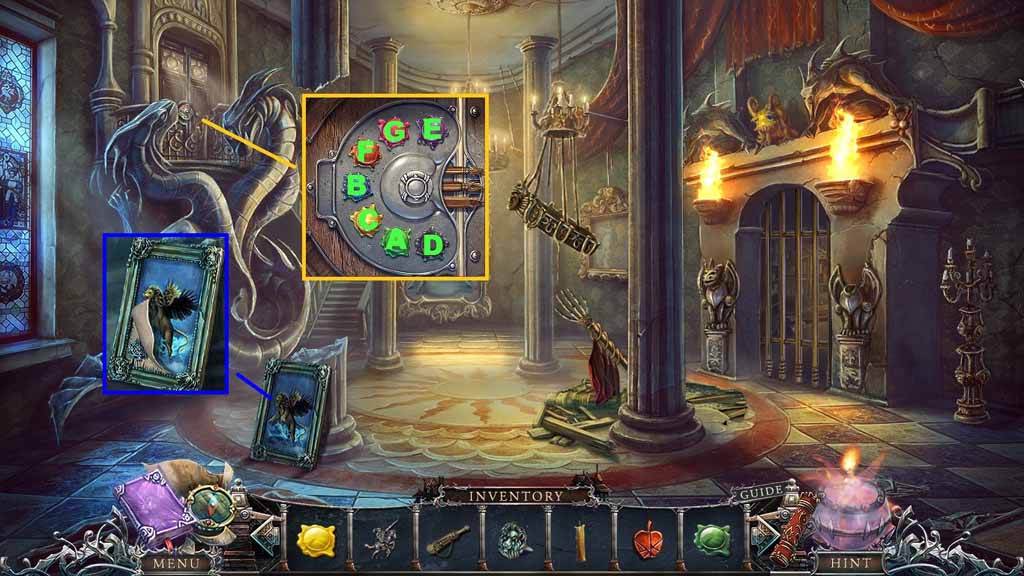
- Insert the 2 stained glass pieces into the door to trigger a mini game.
- Solve the game by clicking the paints in the correct sequence.
- Insert the lion pin; collect the snowflake symbol.
- Move ahead.
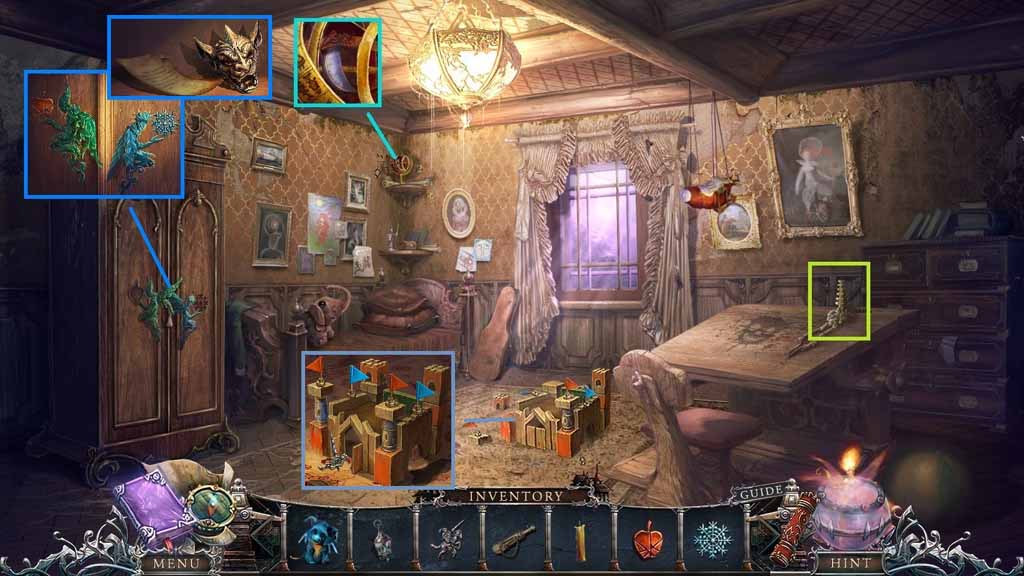
- Collect the moon symbol.
- Collect the candle.
- Insert the apple and snowflake symbols.
- Read the note; collect the gargoyle head.
- Click the blocks and place them onto the castle; collect the knight.
- Move down once.
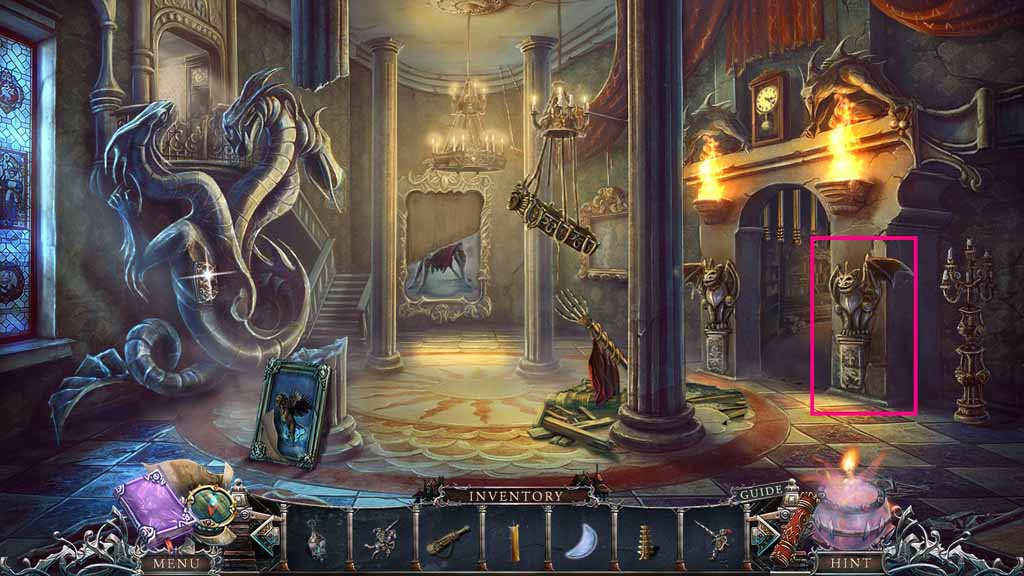
- Attach the gargoyle head.
- Move to the right.
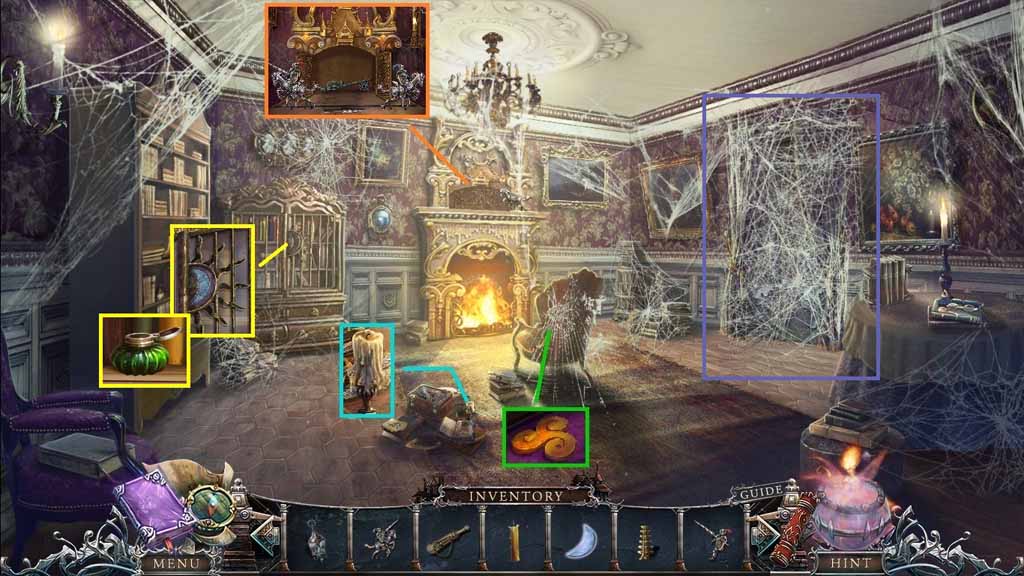
- Collect the amber symbol.
- Collect the candle.
- Place the 2 knights onto the mantle; collect the dragon key.
- Insert the moon symbol; collect the ink pot.
- Select the dragon to use on the door.
- Click the door and move ahead.
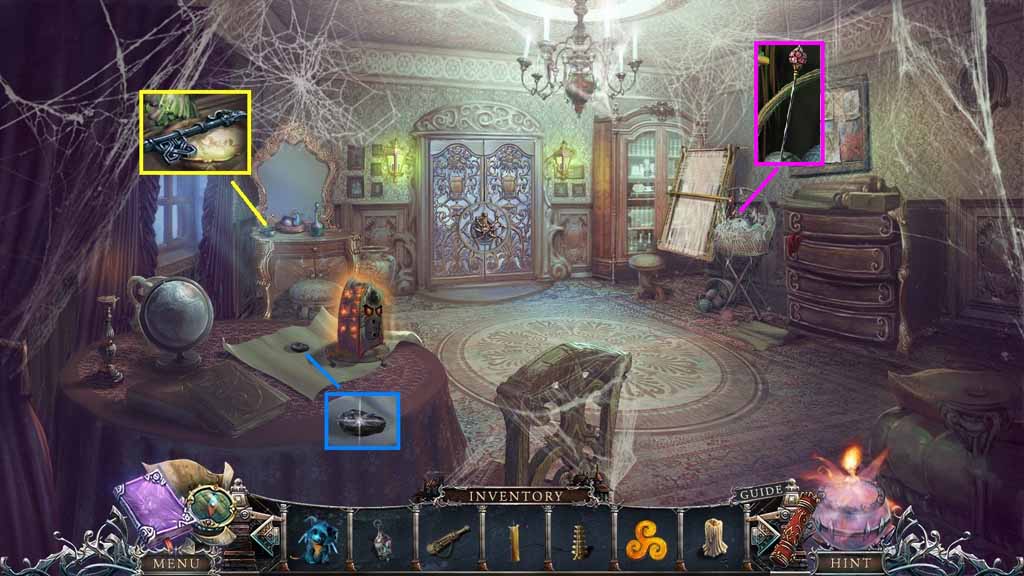
- Collect the dragon key.
- Collect the coal.
- Collect the knitting needle.
- Move down 2 times.
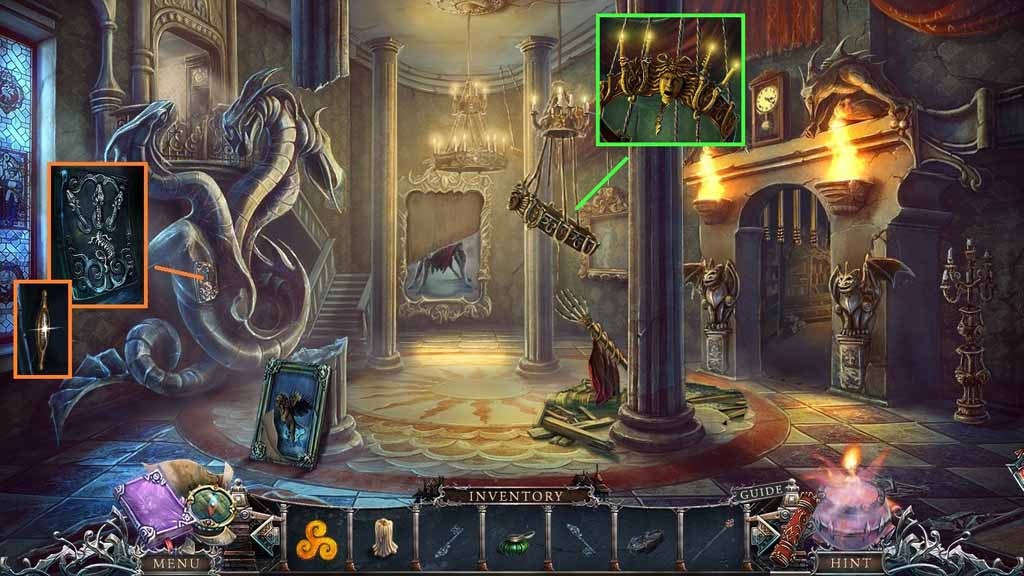
- Insert the 2 dragon keys; collect the shuttle.
- Insert the 3 candles; collect the spider key.
- Move to the Countess Room.
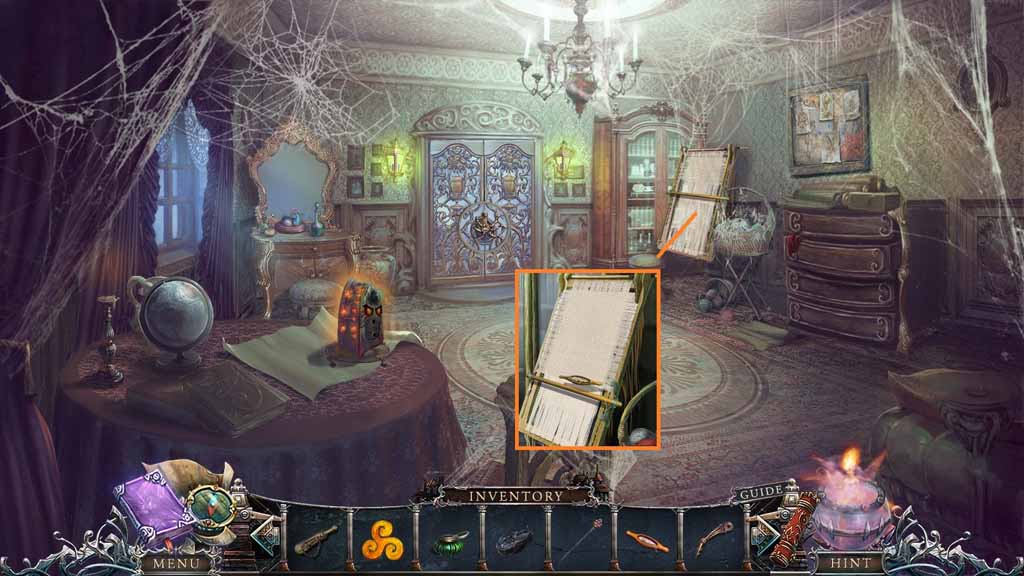
- Attach the shuttle onto the loom; collect the canvas.
- Move to the Painters Tower click the hidden objects area.
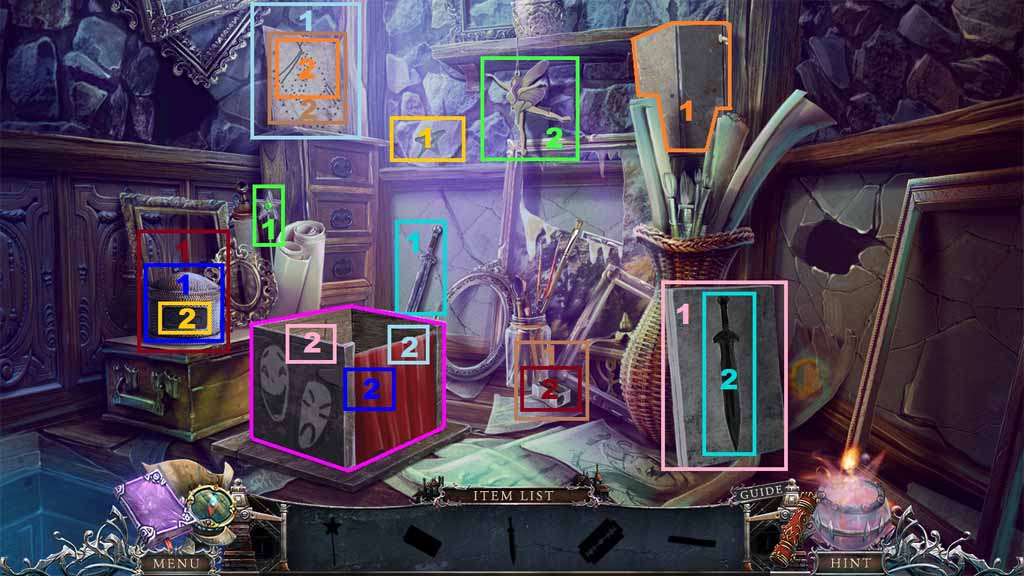
- Find the silhouetted items.
- Select the wand, give it to the fairy; collect the domino.
- Select the sword and place it into the groove; collect the knight figurine.
- Click the cardboard; collect the blade.
- Insert the domino into the basket; collect the egg figurine and the pencil.
- Place the pencil into the sharpener; collect the sharpened pencil.
- Use the sharp pencil to connect the dots; select the blade to collect the ship figurine.
- Click the theatre curtain and place down the knight, egg and ship figurines down.
- Collect the skull button.
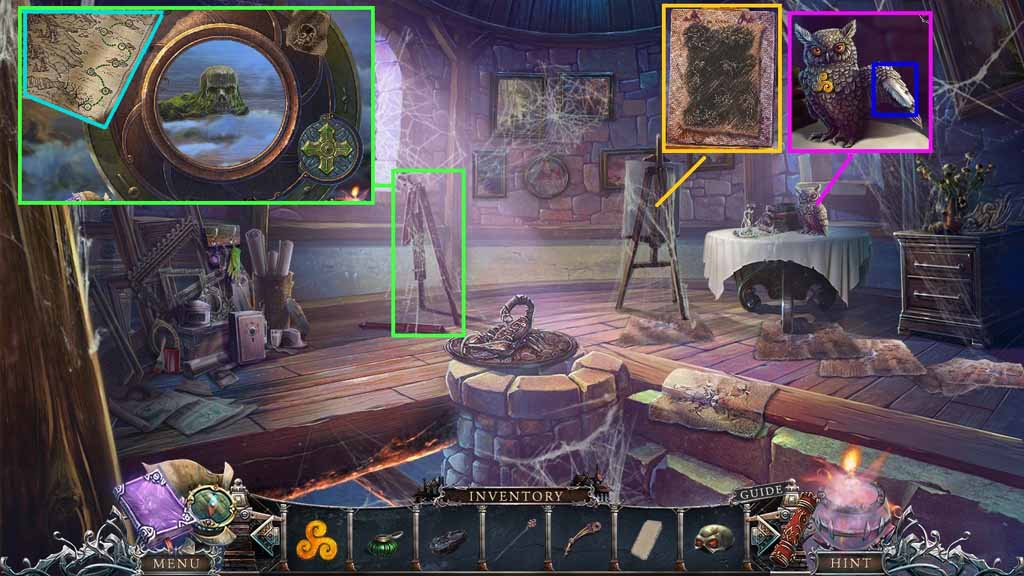
- Insert the amber; collect the feather.
- Click the canvas scrap; place the canvas onto the easel.
- Select the coal to collect Dorian’s clue.
- Click the stand; place the spyglass down.
- Attach Dorian’s clue onto the lens to trigger a mini game.
- Solve the game by adjusting the lens to find the image shown on the right.
- Collect the map piece.
- Move to the Boy’s Room.
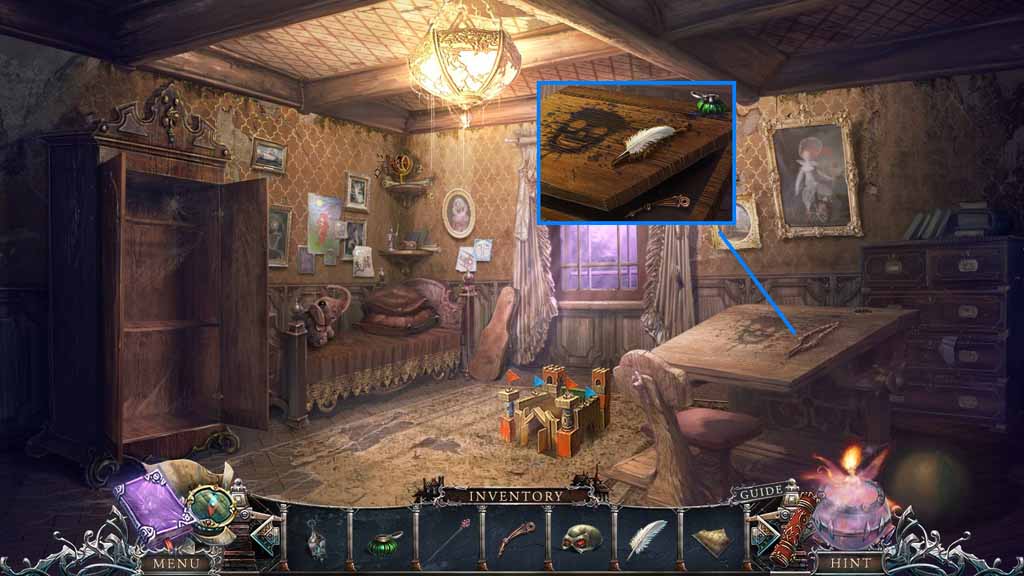
- Place down the ink pot and the feather; collect the spider key.
- Move to the Library.
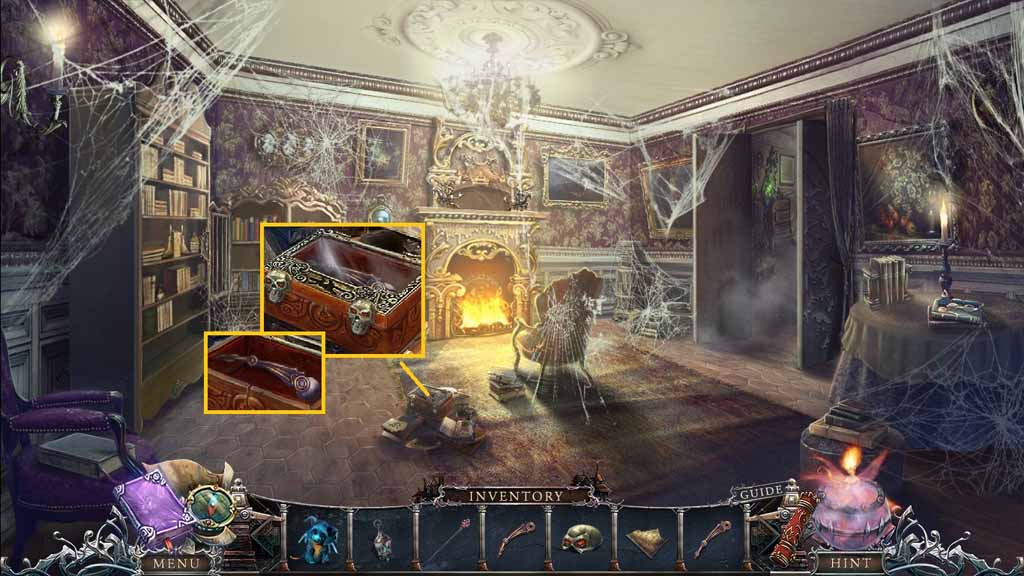
- Place the skull button onto the box; collect the spider key and the marble ball.
- Move ahead.
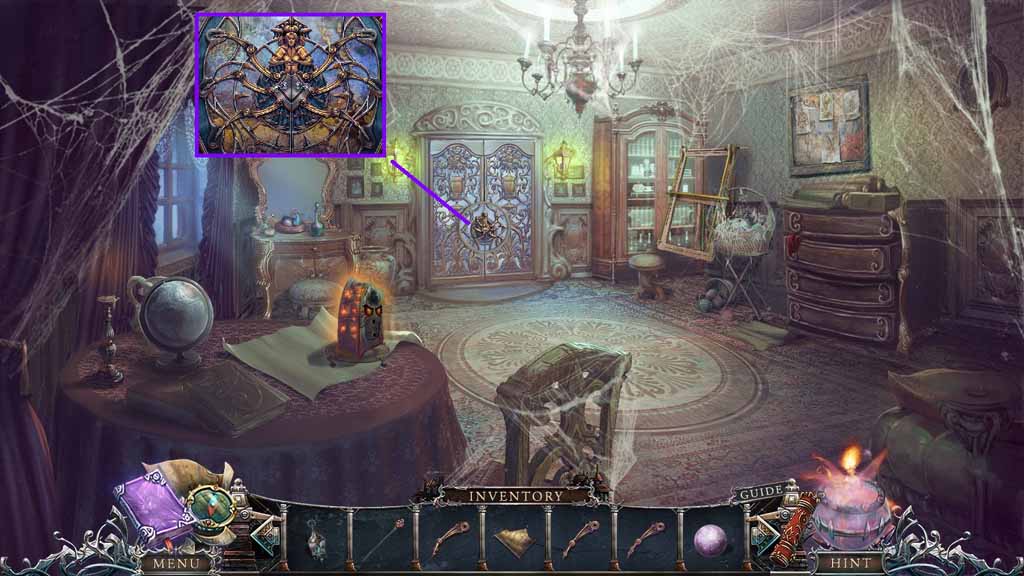
- Insert the 3 spider keys.
- Enter the doorway click the hidden objects area.
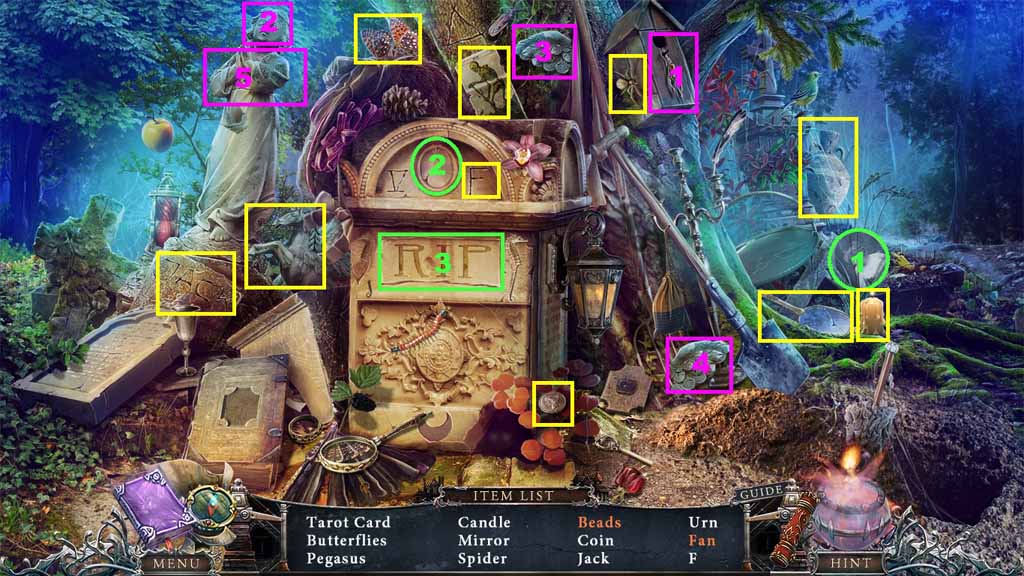
- Find the listed items.
- Click the bird house to collect the halo; place the halo onto the statues head.
- Select the wings and place them onto the statue; collect the fan.
- Select the photo and place it onto the tomb; collect the beads.
- Collect the fan.
Comments will load when you reach this part of the walkthrough.