

Chapter Three: In Town
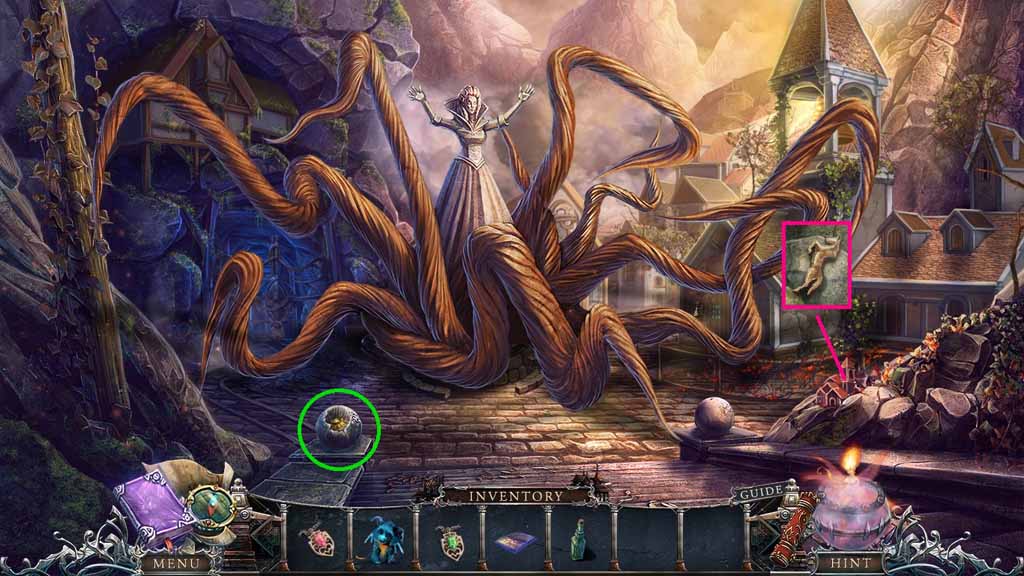
- Collect the horse.
- Collect the sulfur.
- Move to the Broken Raft.
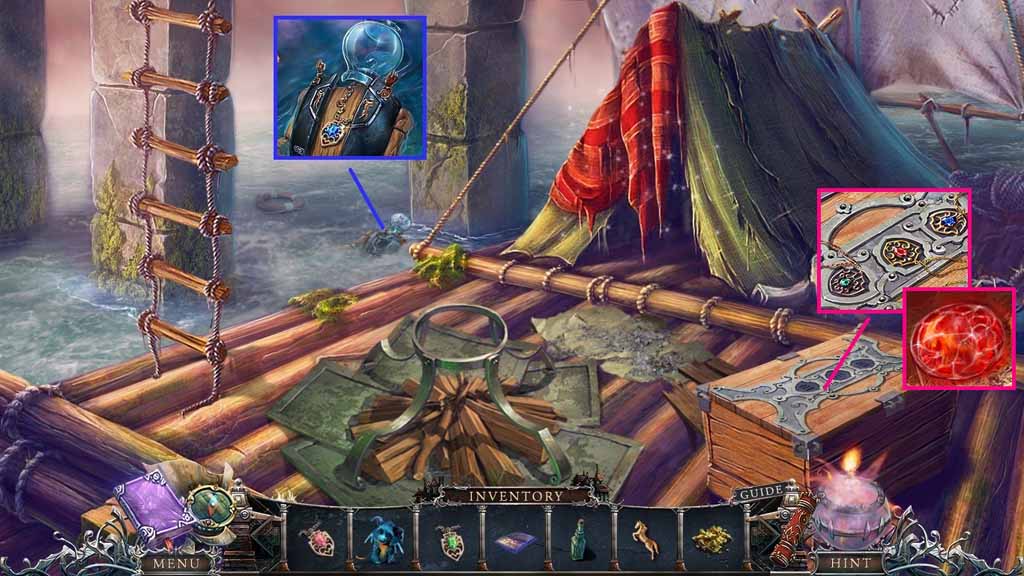
- Place the horse onto the mannequin; collect the blue medallion and the glass cauldron.
- Insert the red, the green and the blue medallions into the chest; collect the red gem.
- Click the hidden objects area.
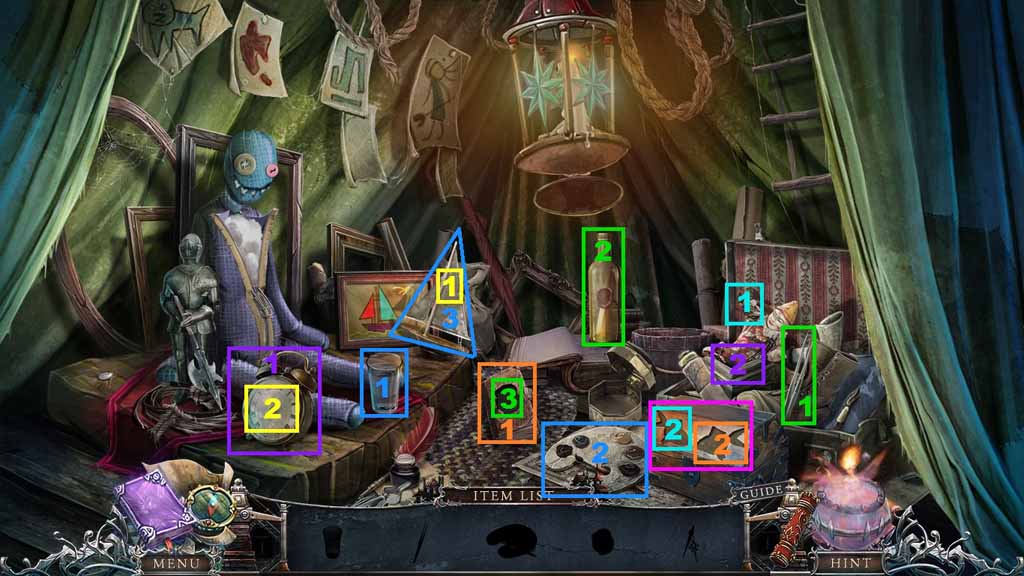
- Find the silhouetted items.
- Select the glass of water and pour it onto the palette.
- Use the paint palette to paint the ship as shown on the picture; collect the clock hands.
- Place the clock hands onto the clock; collect the spring.
- Place the spring onto the jack in the box; collect the fish.
- Select the tweezers and use them to collect the print; place it onto the book to collect the fish.
- Insert both fish into the box.
- Collect the flower.
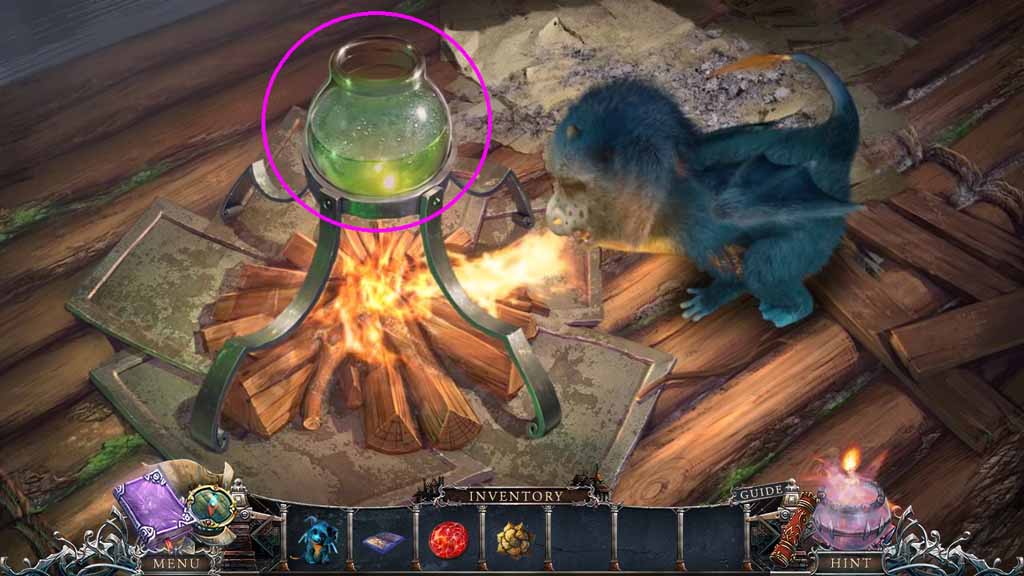
- Place the glass cauldron onto the fire and place the sulfur and the solvent into it.
- Select the dragon to light the wood; collect the acid.
- Move up and walk forward.
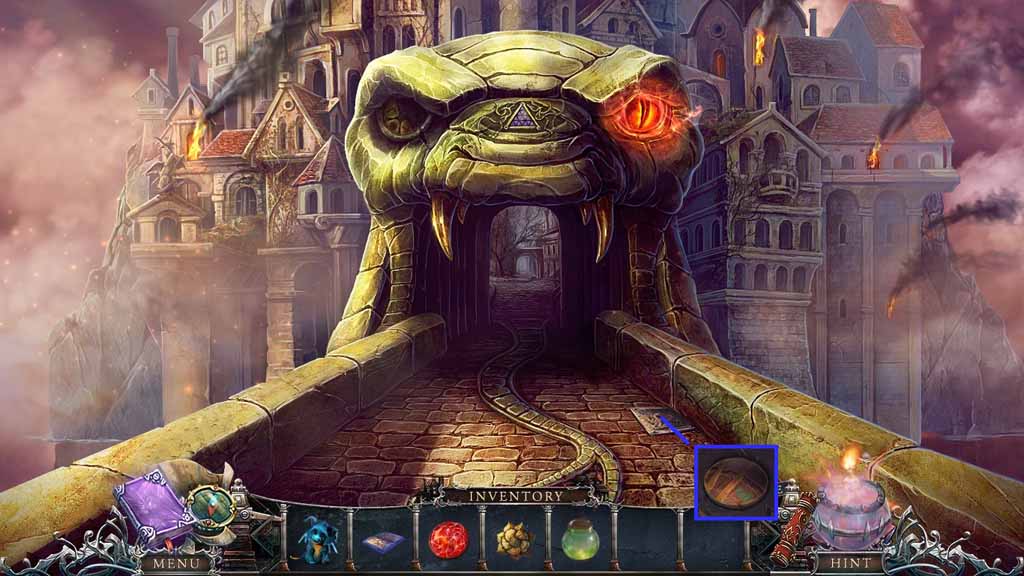
- Select the acid to pour onto the grate; collect the lock part.
- Move to the Gallery.
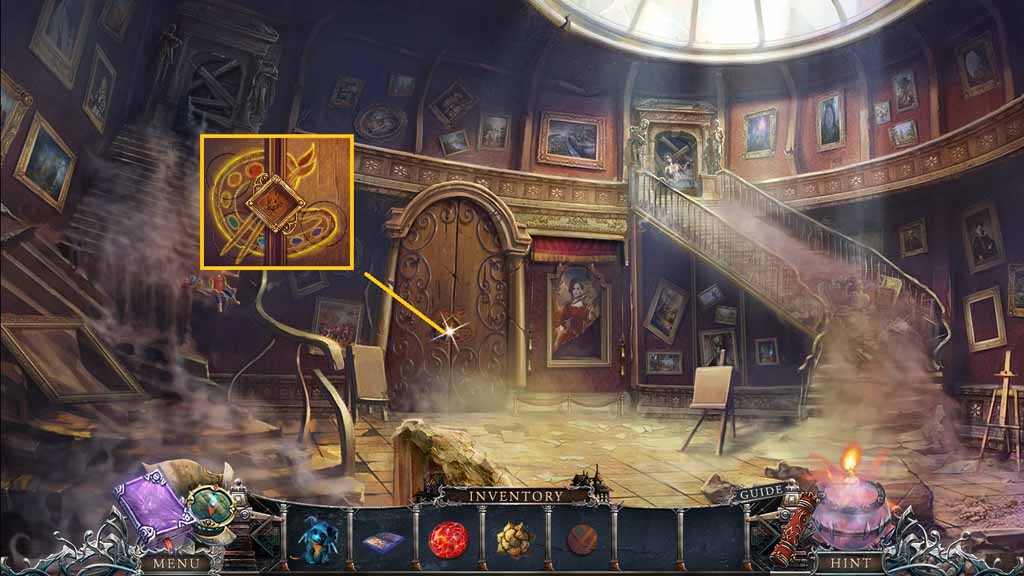
- Insert the lock part into the lock to trigger a mini game.
- Solve the game by turning the discs to create the picture.
- Move ahead.
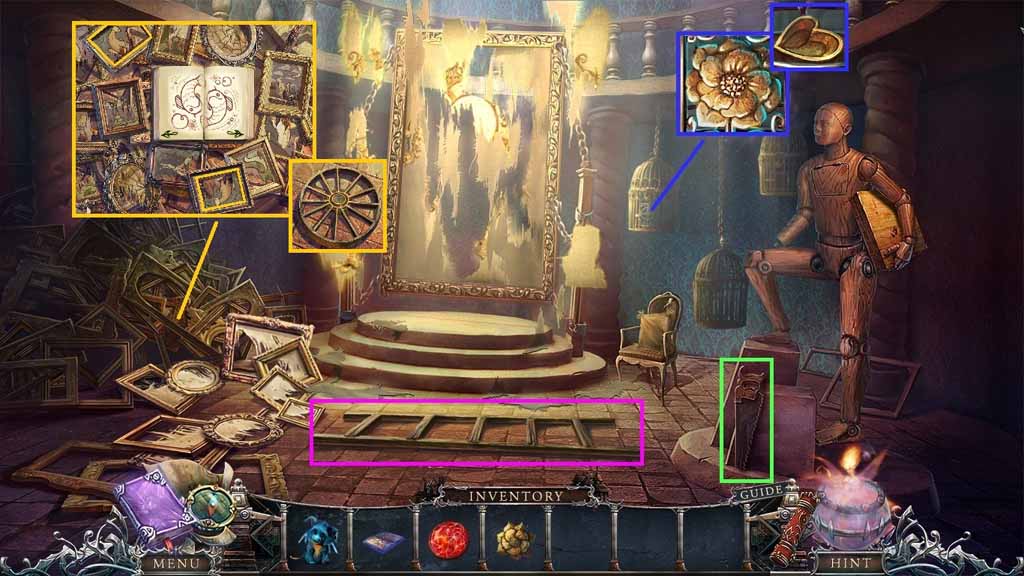
- Collect the saw and the ladder.
- Insert the flower; collect the heart mold.
- Place the sketchbook with the paintings to trigger a mini game.
- Solve the game by clicking the paintings to match the pictures shown in the sketchbook.
- Collect the carriage wheel.
- Move down 2 times.
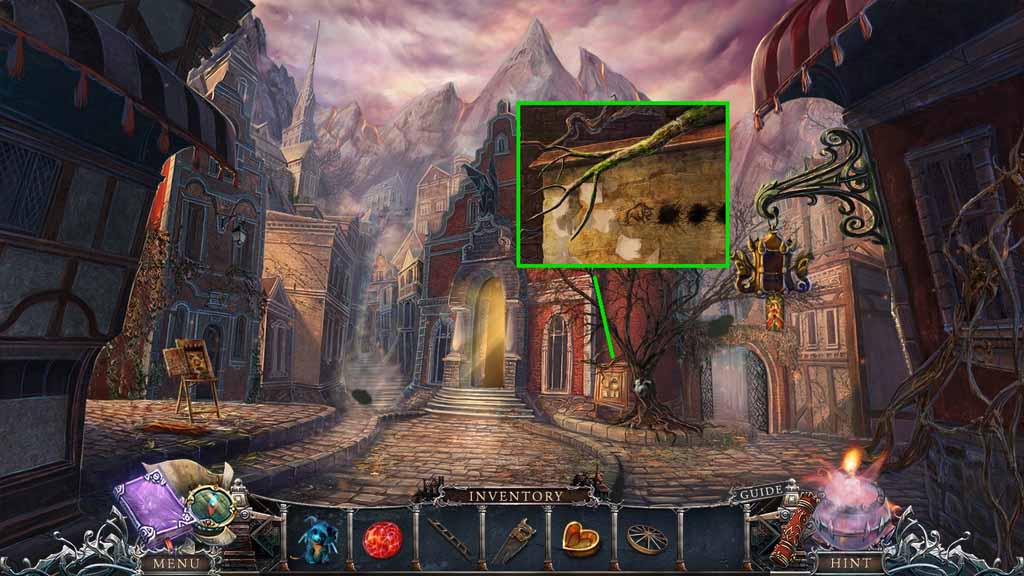
- Select the saw to cut and receive the branch.
- Move to the Stairs.
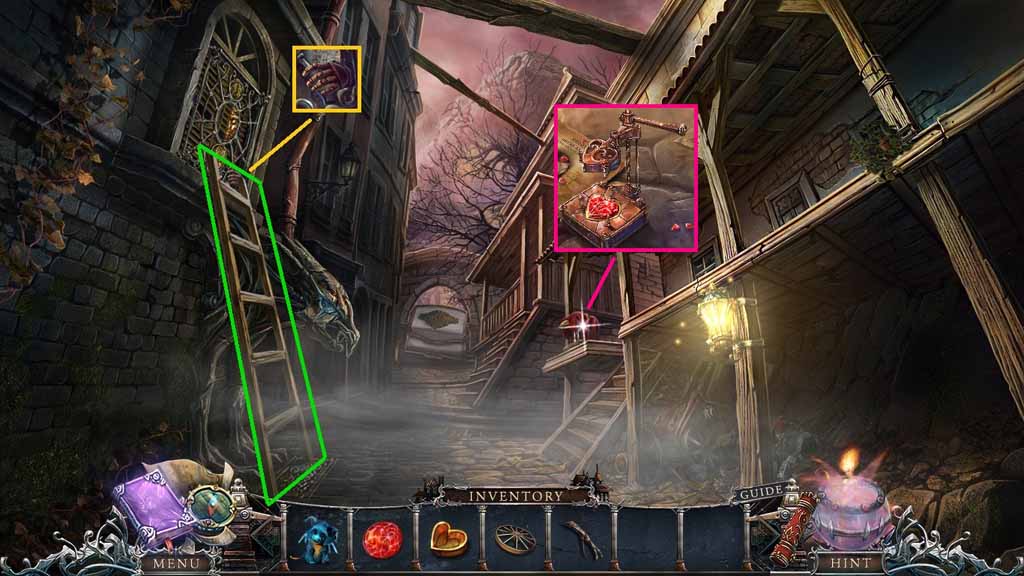
- Place the ladder down; collect the arm.
- Click the cloth; place the heart mold down.
- Insert the red gem; collect the heart.
- Move to the Inner Gallery.
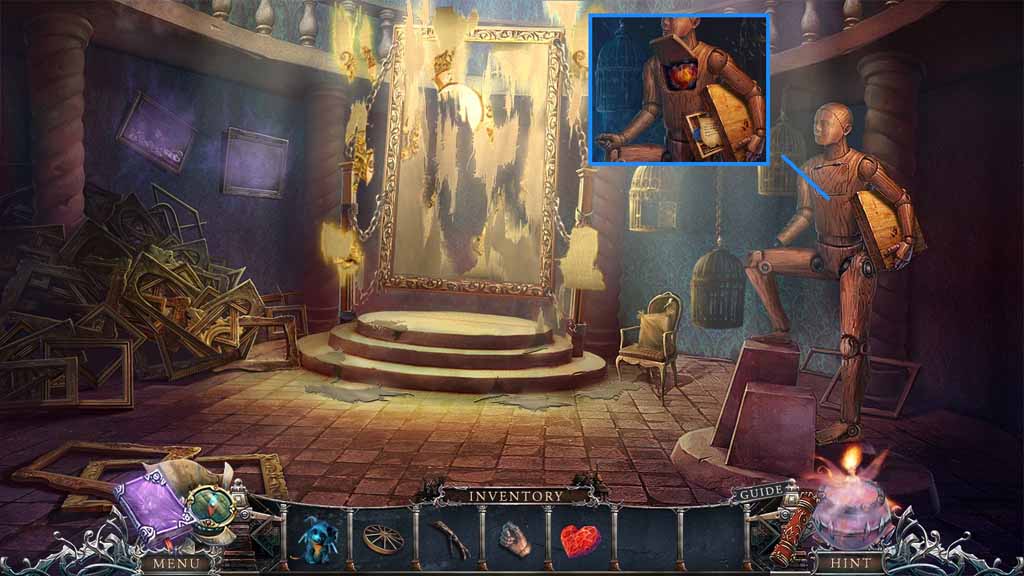
- Click the mannequin.
- Attach the heart and the arm.
- Read the note; collect the drawing piece.
- Move to the Stairs.
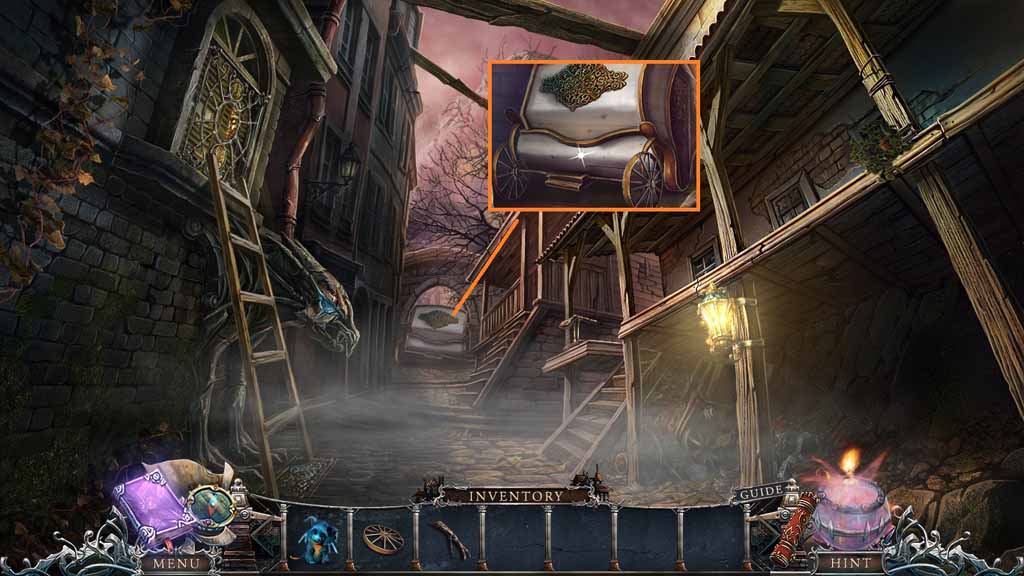
- Attach the carriage wheel; click it once.
- Move ahead.
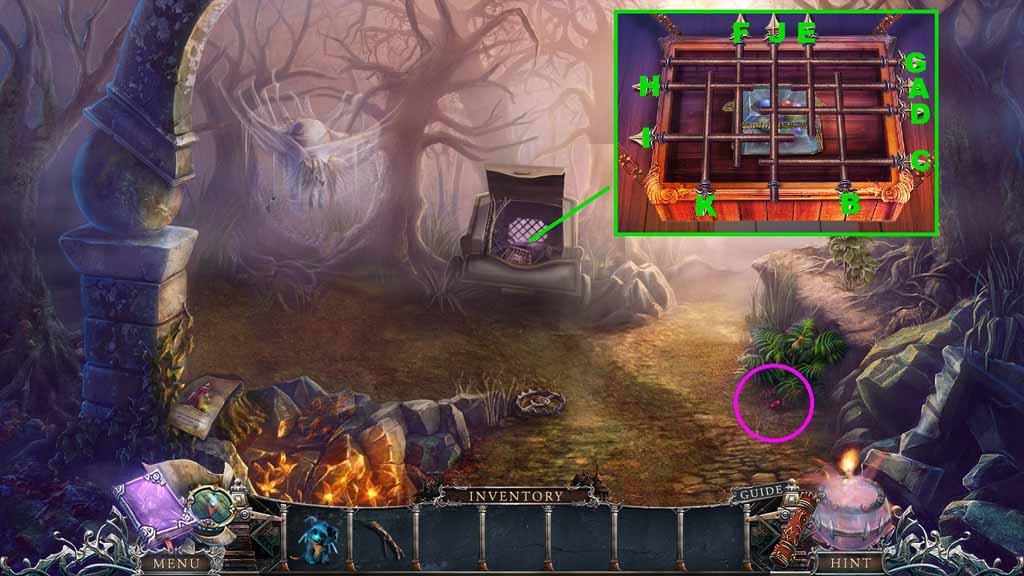
- Collect the ruby eye.
- Select the branch to use on the carriage door.
- Zoom into the box to trigger a mini game.
- Solve the game by removing the bars in the correct order.
- Collect the marbles.
- Move ahead.
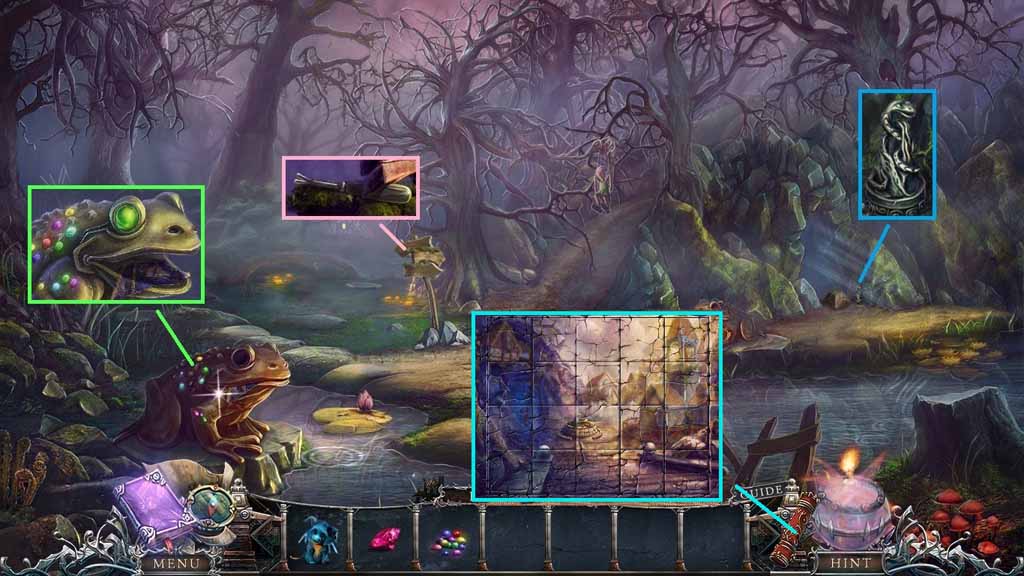
- Collect the nail puller.
- Collect the statuette.
- Place the marbles onto the frog; collect the painting piece.
- Click the canister to trigger a mini game.
- Solve the game by restoring the image.
- Receive the statue square picture.
- Move to the Square.
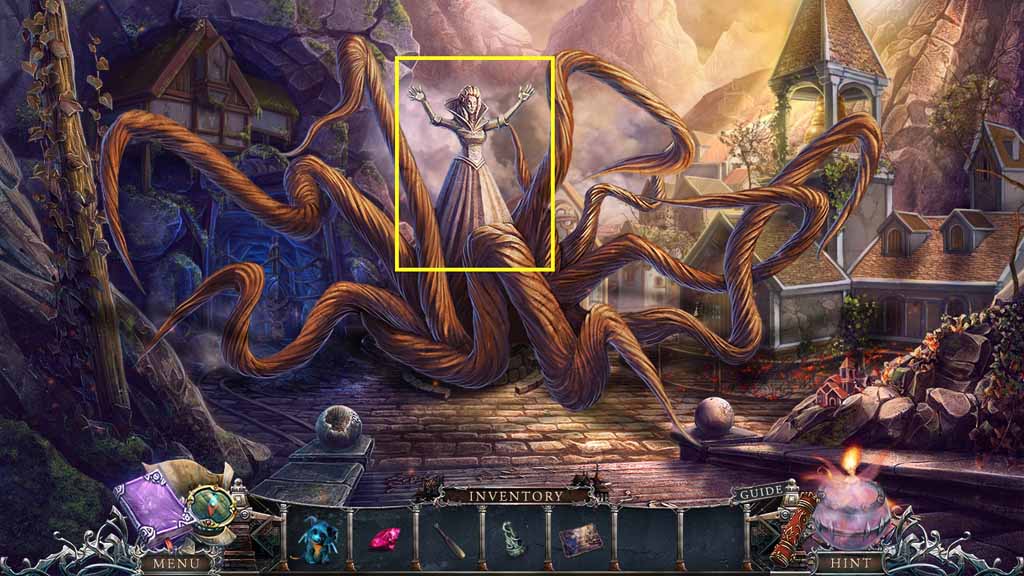
- Select the statue square picture to use on the statue.
- Move ahead.
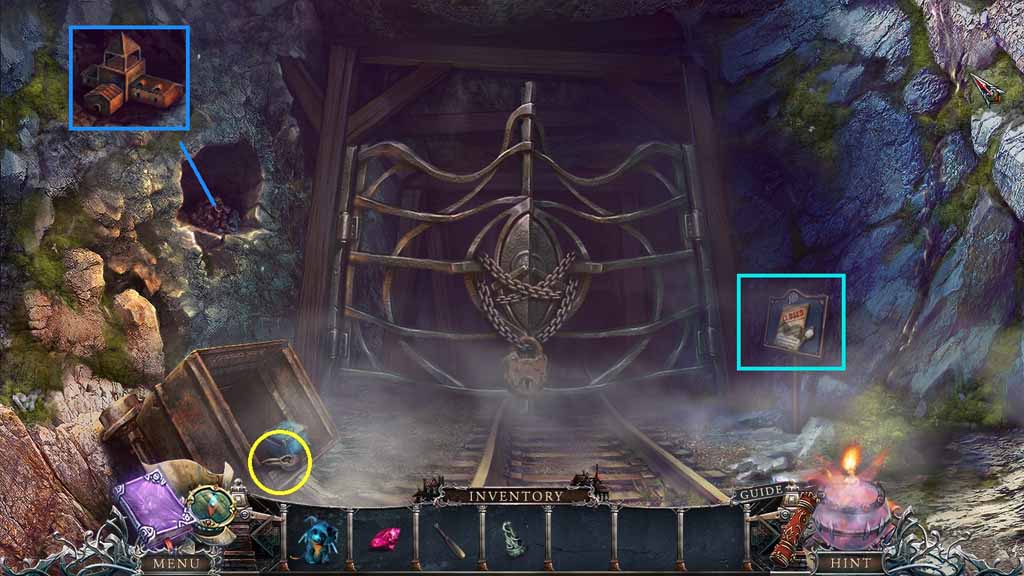
- Collect the bird skull.
- Click the coal; collect the church layout.
- Collect the mirror.
- Move down once.
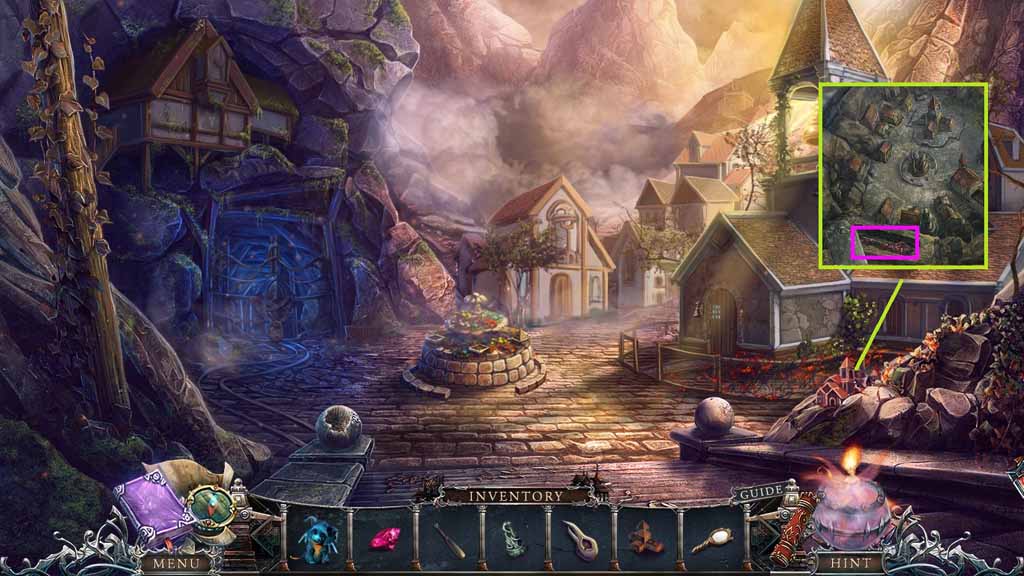
- Place down the church layout; collect the key.
- Move ahead.
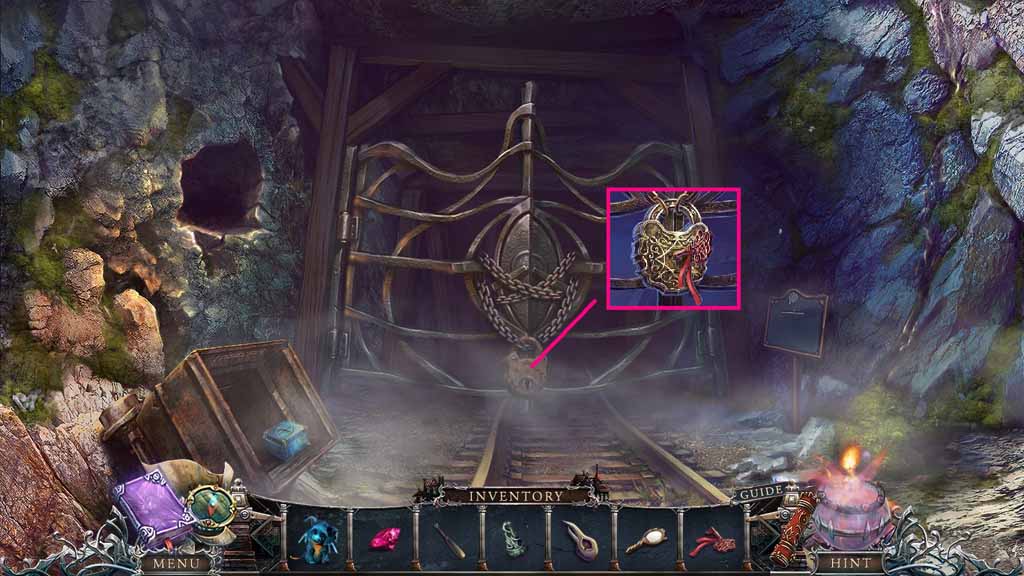
- Insert the key; click it once.
- Move ahead.
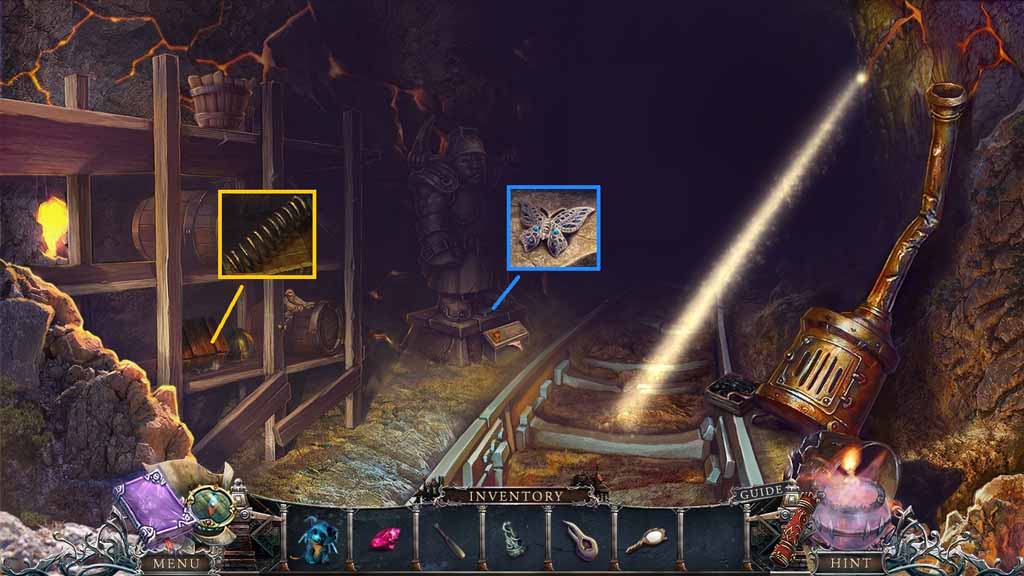
- Collect the butterfly.
- Use the nail puller to open the crate; collect the spring.
- Move to the Forest.
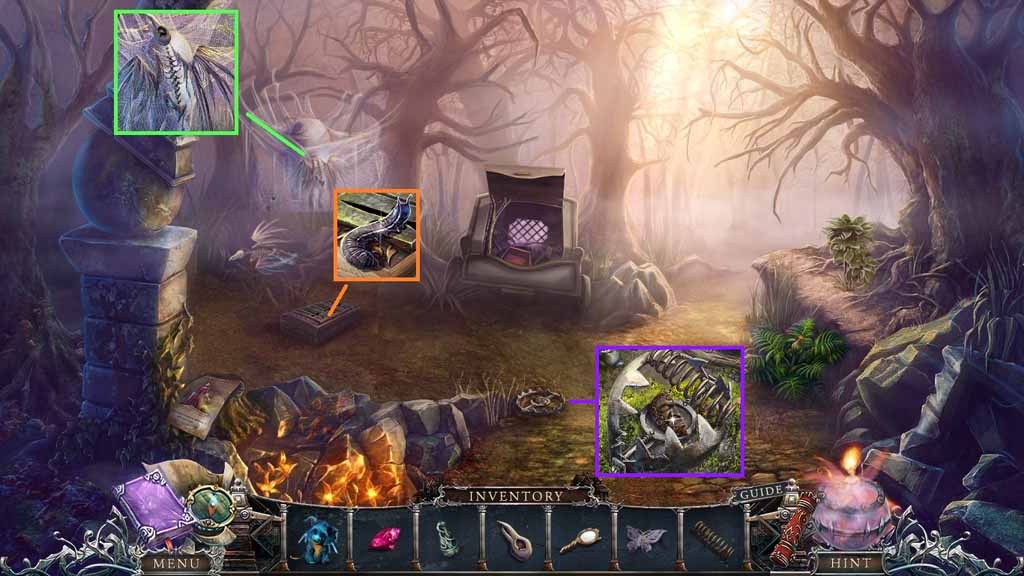
- Place the bird skull onto the skeleton.
- Collect the caterpillar.
- Insert the spring into the trap; collect the face part.
- Move ahead.
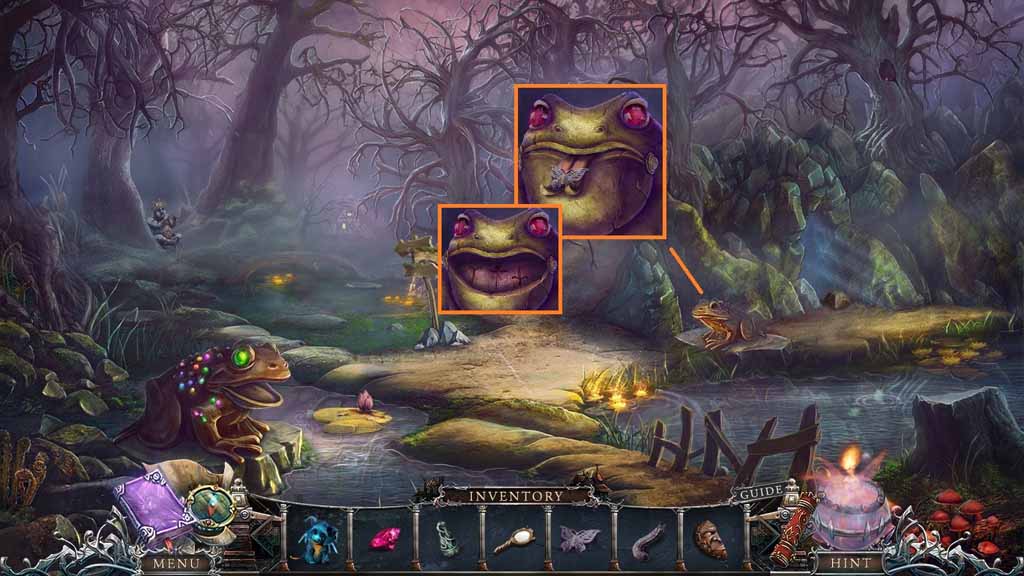
- Insert the ruby into the eye; insert the butterfly into the tongue.
- Notice the symbols.
- Move down.
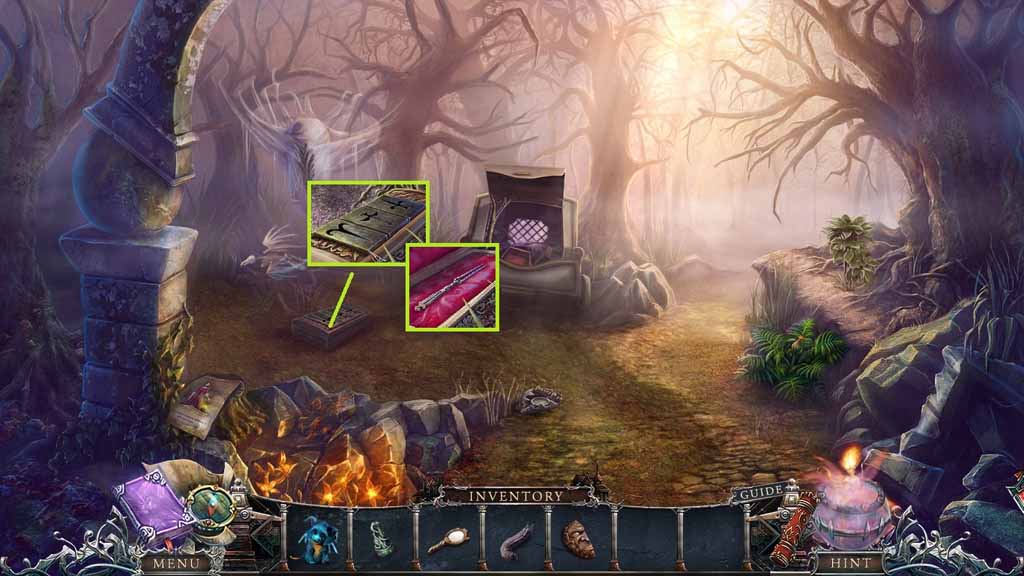
- Align the symbols as seen previously.
- Collect the fork.
- Move down once and click the hidden objects area.
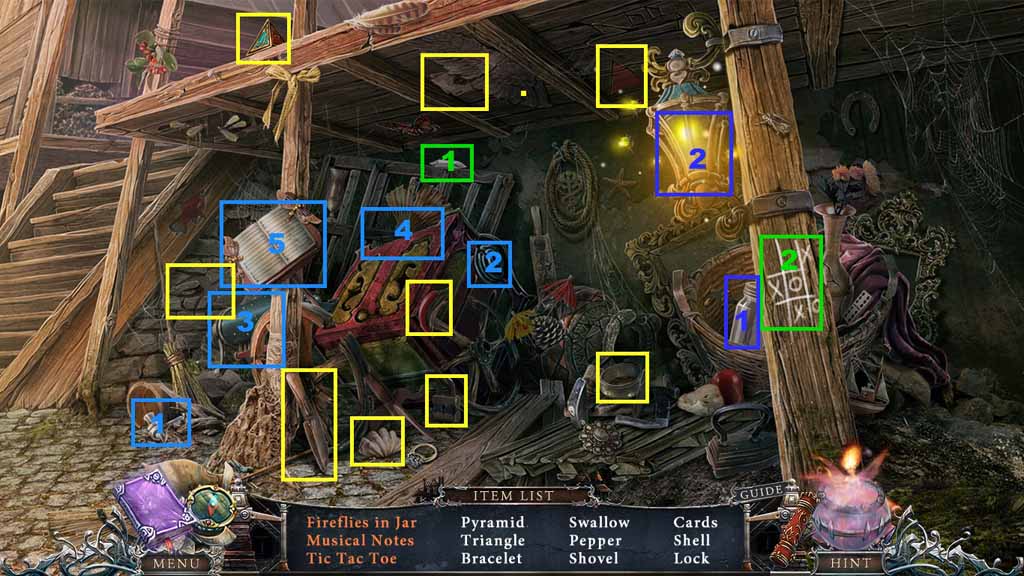
- Find the listed items.
- Select the jar to collect the fireflies; collect the fireflies in jar.
- Click the debris away to uncover the handle.
- Select the music box part and place it onto the music box and attach the handle; click it once.
- Select the notes and place it onto the book; collect the musical notes.
- Select the chalk to use on and collect the tic-tac-toe.
- Collect the pyramid.
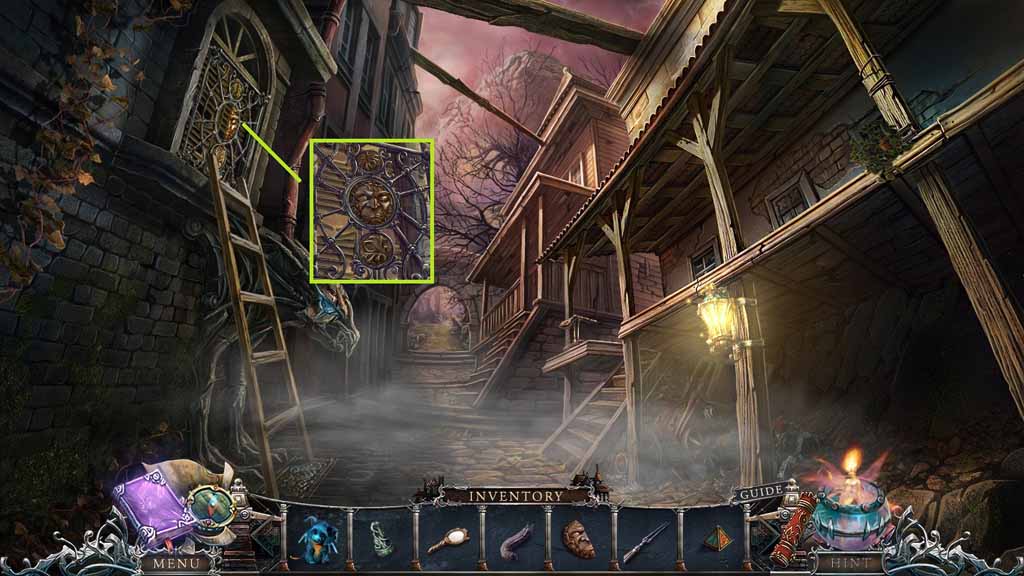
- Insert the face part into the grate.
- Enter the window.
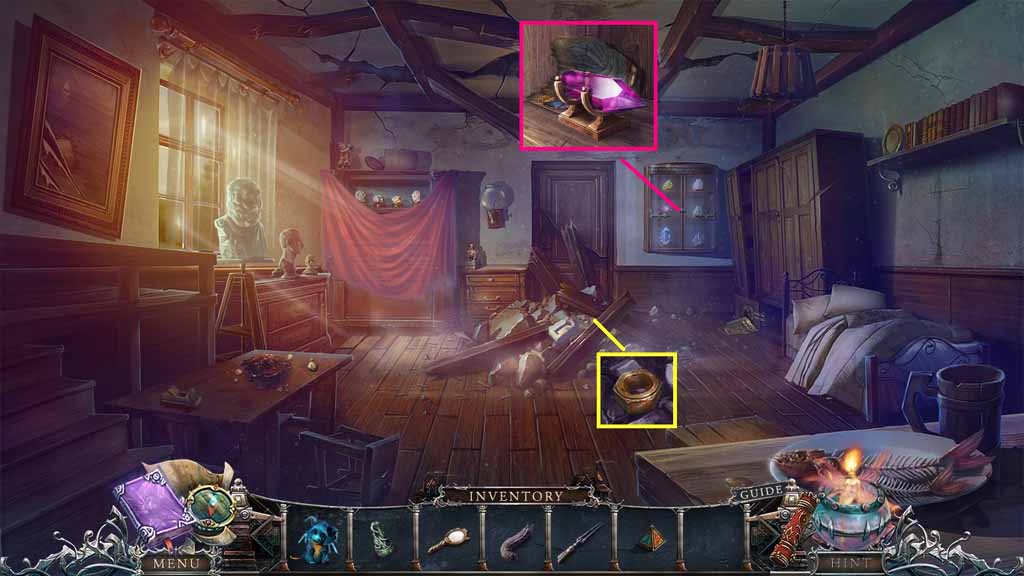
- Collect the nut.
- Select the fork to open the cabinet; collect the crystal and the painting piece.
- Move to the Gallery and click the hidden objects area.
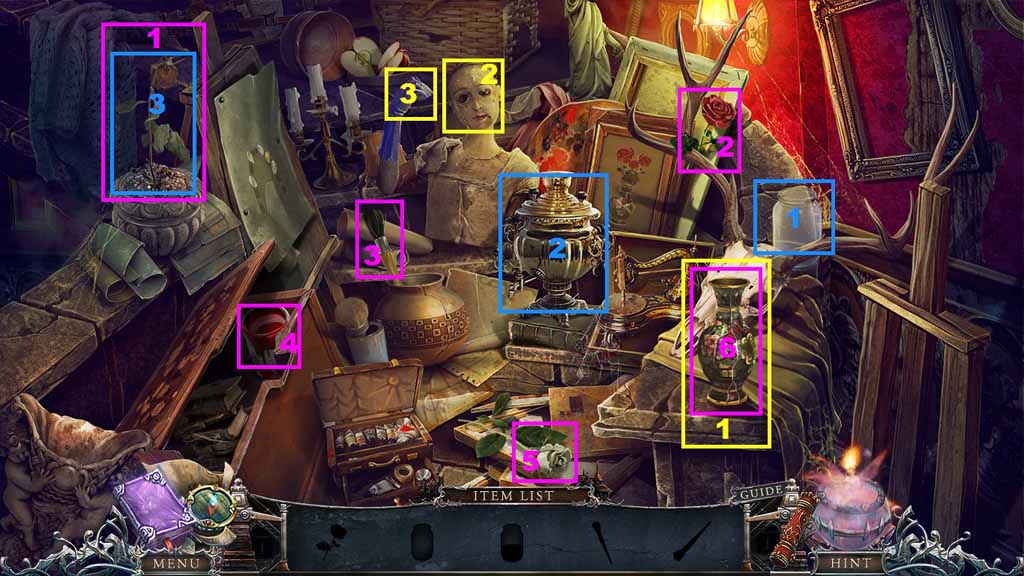
- Find the silhouetted items.
- Select the pot and use it to collect the water.
- Pour the water onto the plant; collect the rose.
- Collect the other rose.
- Select the paintbrush and dip it into the paint; use it to paint the white rose.
- Select all of the roses and place them into the vase; collect the pearl.
- Insert the pearl into the eye.
- Collect the bell.
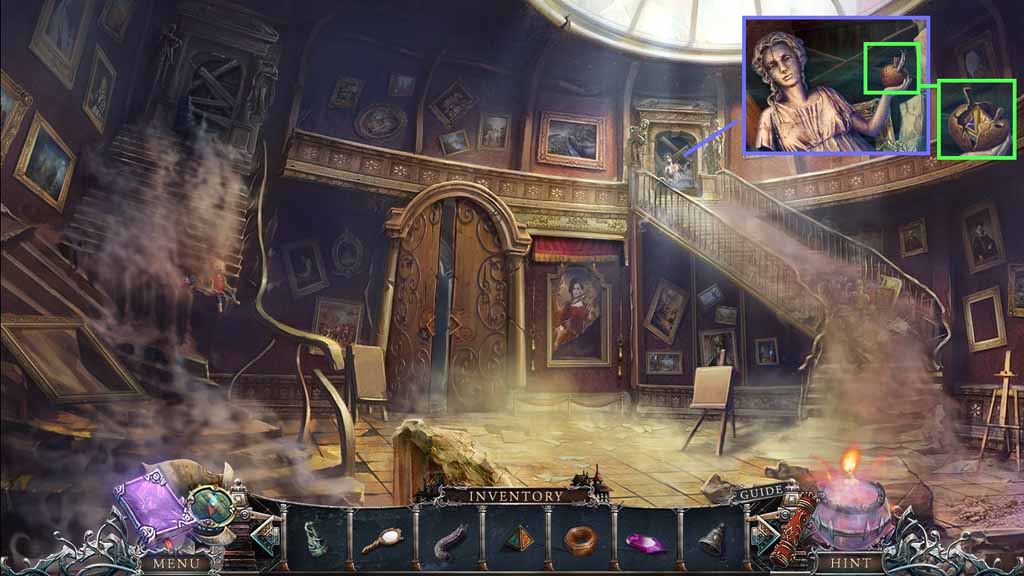
- Place the caterpillar into the apple.
- Collect the pyramid.
- Move to the Square.
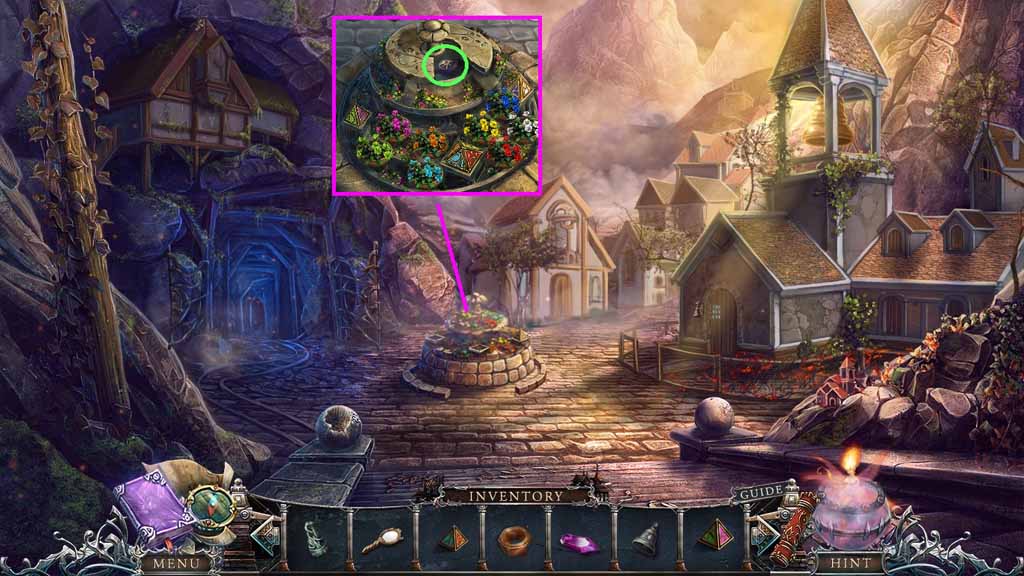
- Insert the 2 pyramids into the planter to trigger a mini game.
- Solve the game by arranging the flowers to match the color pattern on the pyramids.
- Collect the prism.
- Move ahead 2 times.
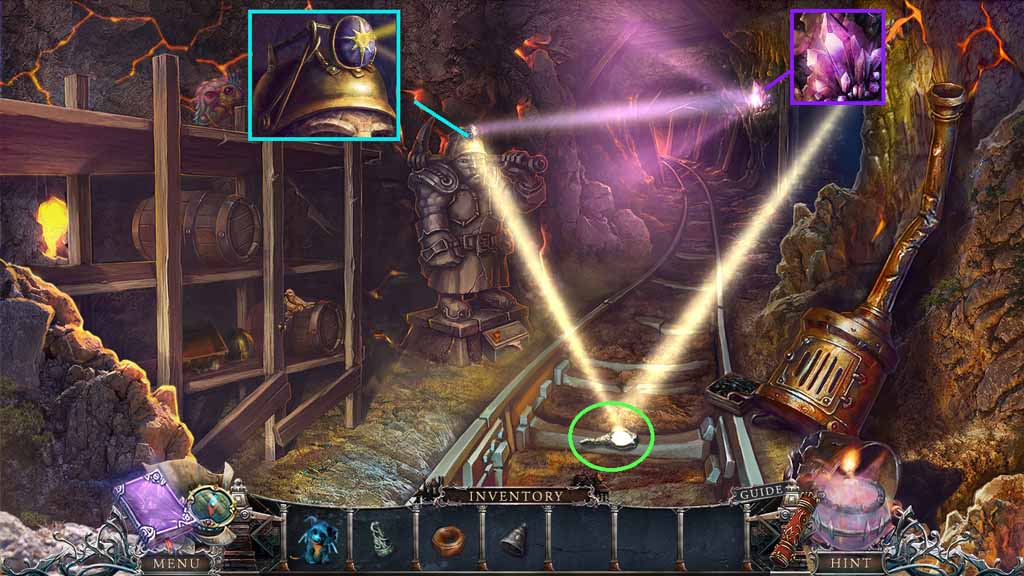
- Place the mirror into the light stream.
- Assemble the metal pieces; insert the prism into the ring.
- Insert the crystal into the crevice.
- Move ahead.
Comments will load when you reach this part of the walkthrough.