

Chapter Two: Into the Mist
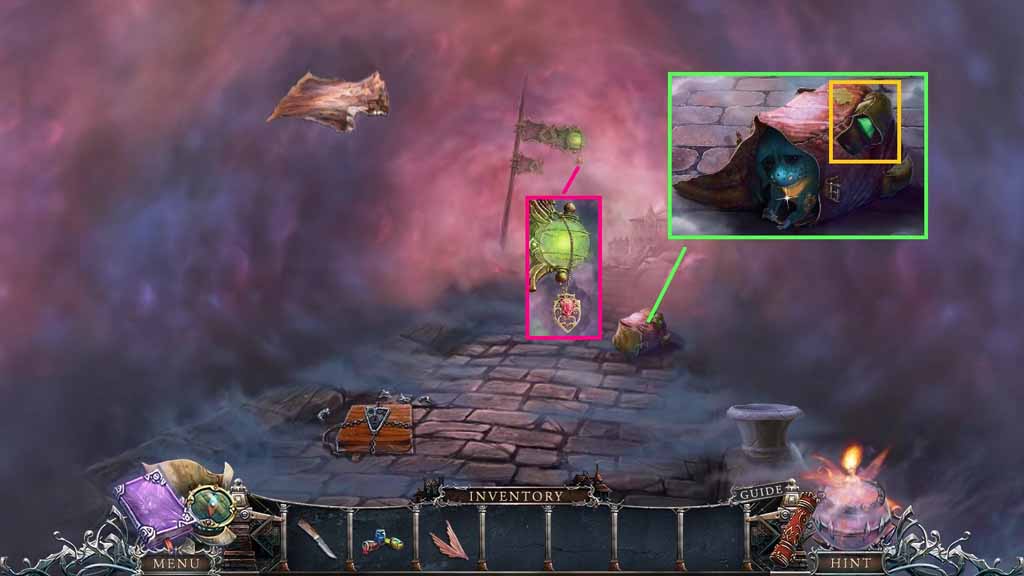
- Click the bag; collect the button and the brush.
- Collect the red medallion.
- Move ahead.
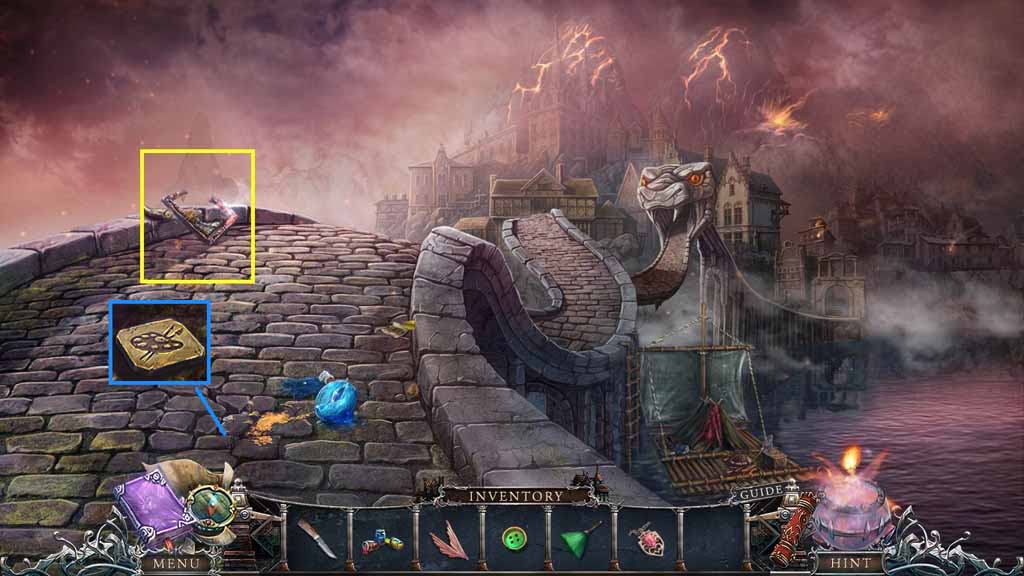
- Select the knife to slice the painting.
- Collect the painting pieces.
- Attempt to move ahead.
- Click the stones aside.
- Collect the element.
- Move down once.
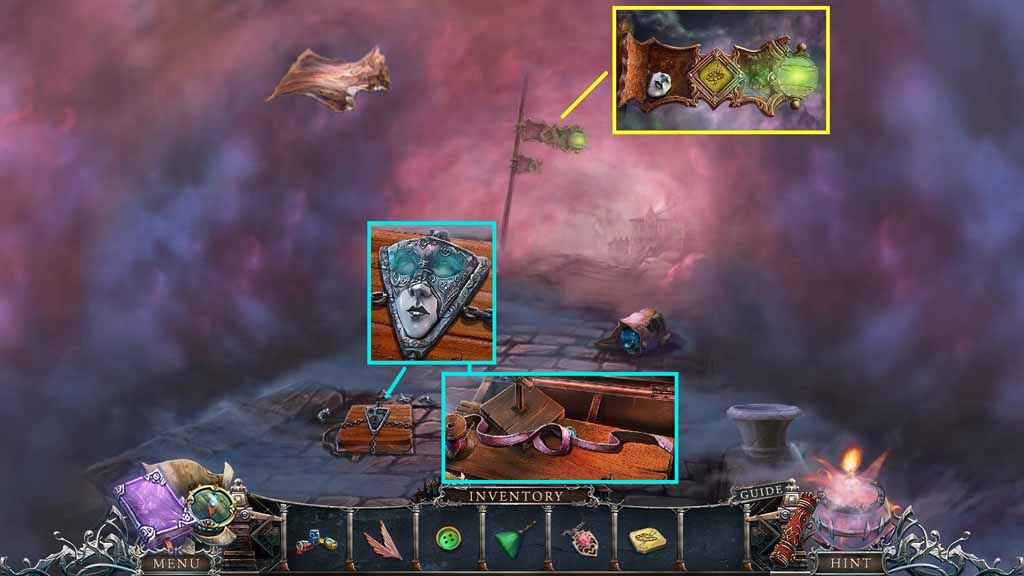
- Place the element onto the sign; collect the mask part.
- Insert the mask part into the lock along with the other parts on the lock scattered around.
- Collect the strap.
- Move ahead.
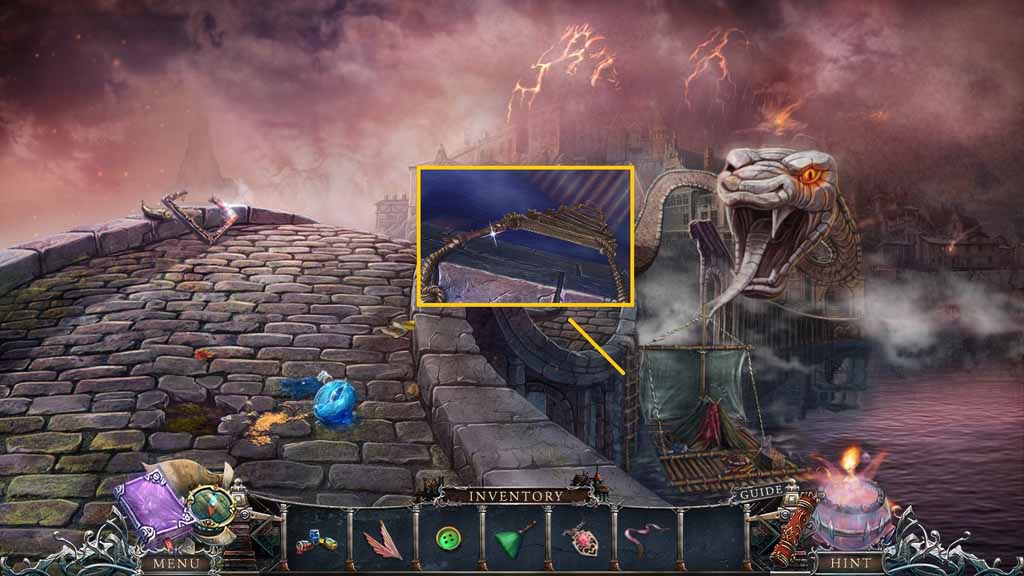
- Select the strap to fix the ladder.
- Move down.
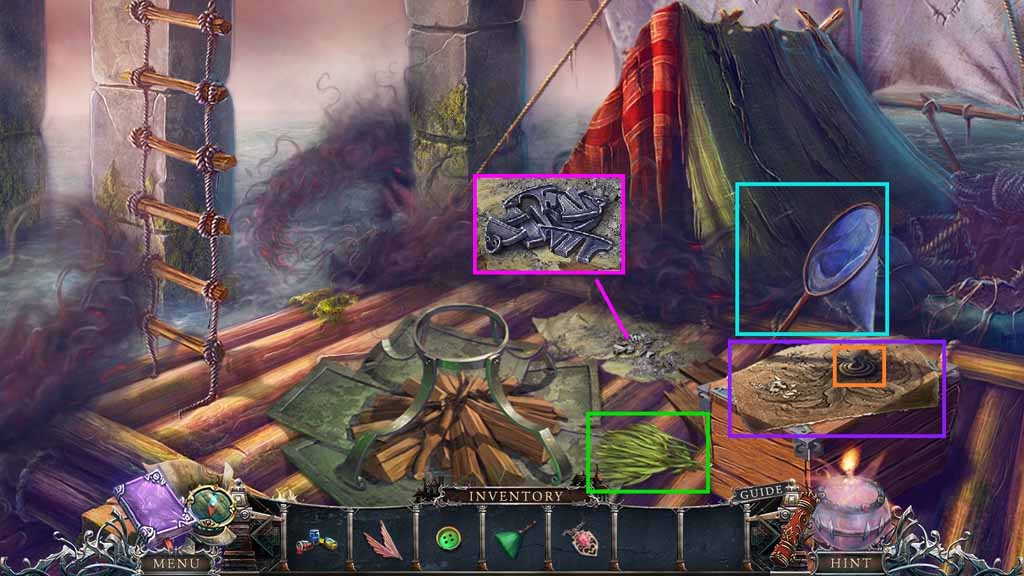
- Collect the net.
- Collect the lantern wick; examine the drawing.
- Collect the grass.
- Select the brush to clear the ashes.
- Collect the broken key chain pieces.
- Move to the Portal.
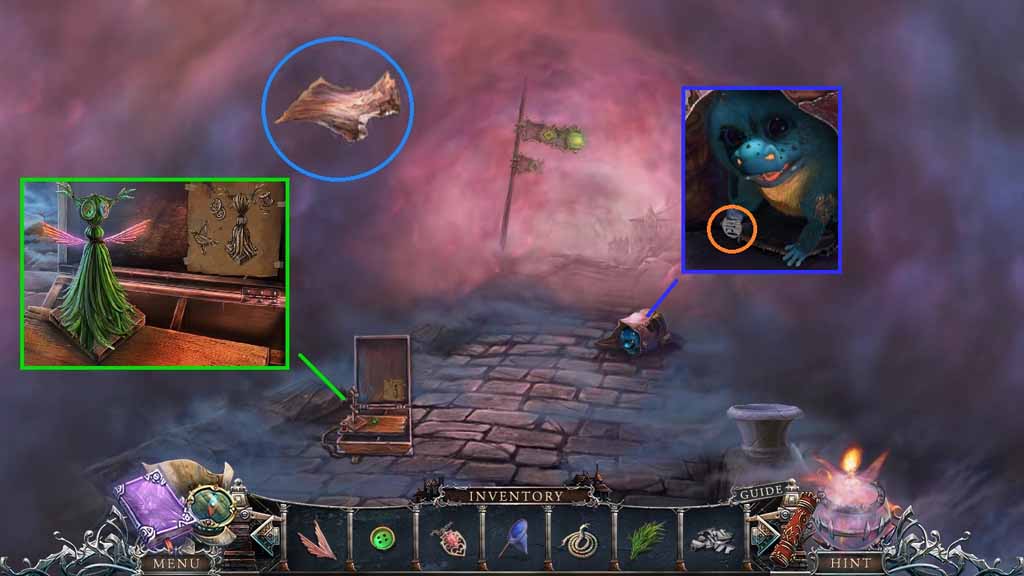
- Select the net to collect the painting pieces.
- Place the grass, the button and the fairy wings onto the stand to trigger a mini game.
- Solve the game by creating the fairy as shown on the diagram.
- Collect the fairy figure.
- Give the dragon the broken chain pieces.
- Complete the key chain; collect the dragon.
- Move ahead.
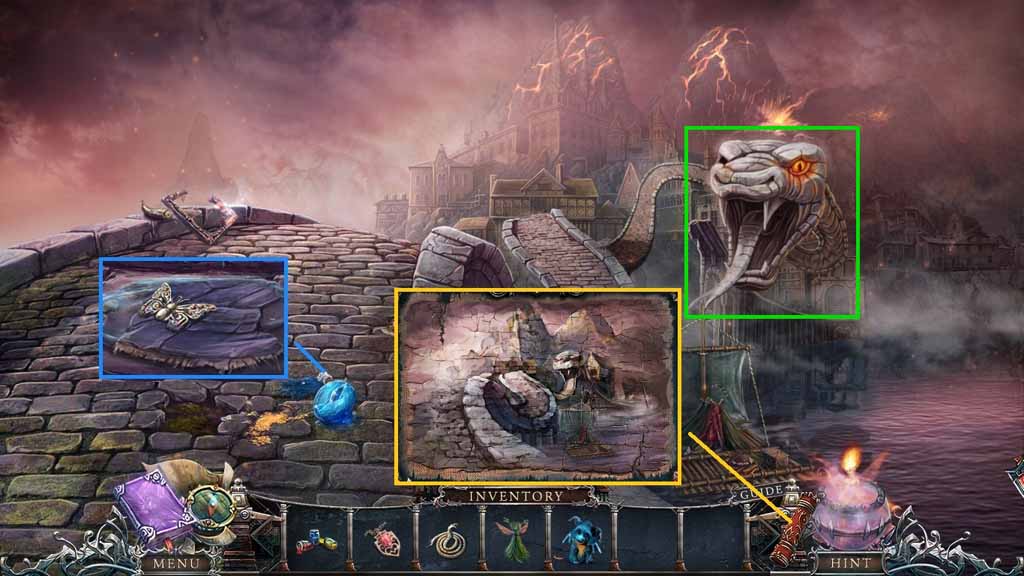
- Select the dragon to use on the ice; collect the butterfly and the drawing piece.
- Click the canister to trigger a mini game.
- Solve the game by restoring the image.
- Collect the snake bridge picture and use it on the snake.
- Move to the Broken Raft.
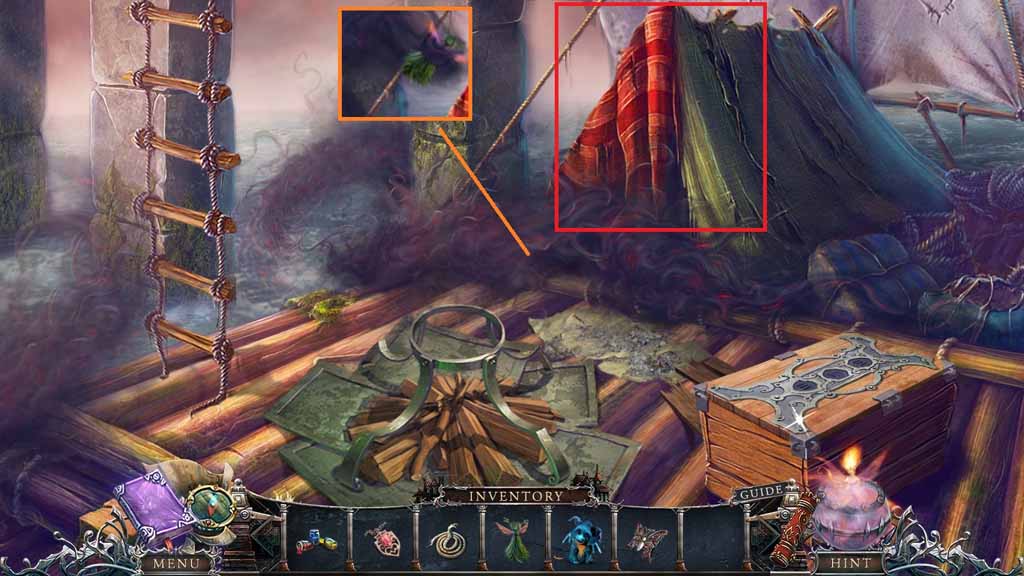
- Select the fairy figurine to use on the mist.
- Click the hidden objects area.
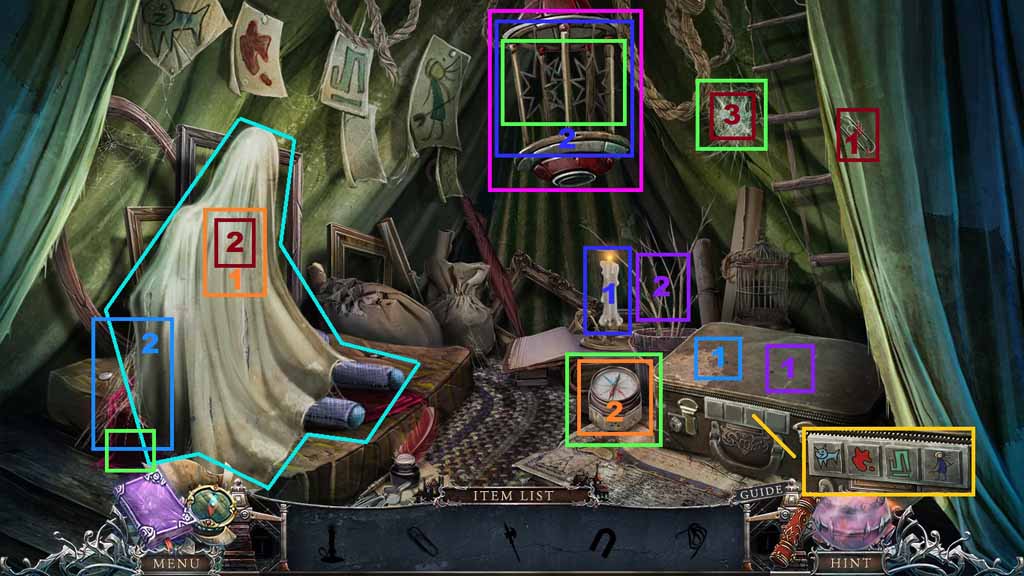
- Find the silhouetted items.
- Collect the paper clip.
- Collect the candle.
- Zoom into the suitcase and use the code as shown.
- Collect the halberd and the lace.
- Use the lace on the twigs; collect the broom.
- Click the cover and use the paper clip on the zipper; collect the magnet.
- Use the magnet on the compass; collect the star.
- Give the halberd to the knight; collect the star.
- Select the broom to clear the cobwebs; collect the star.
- Insert the stars into the cage followed by the candle.
- Collect the butterfly.
- Move up and move ahead.
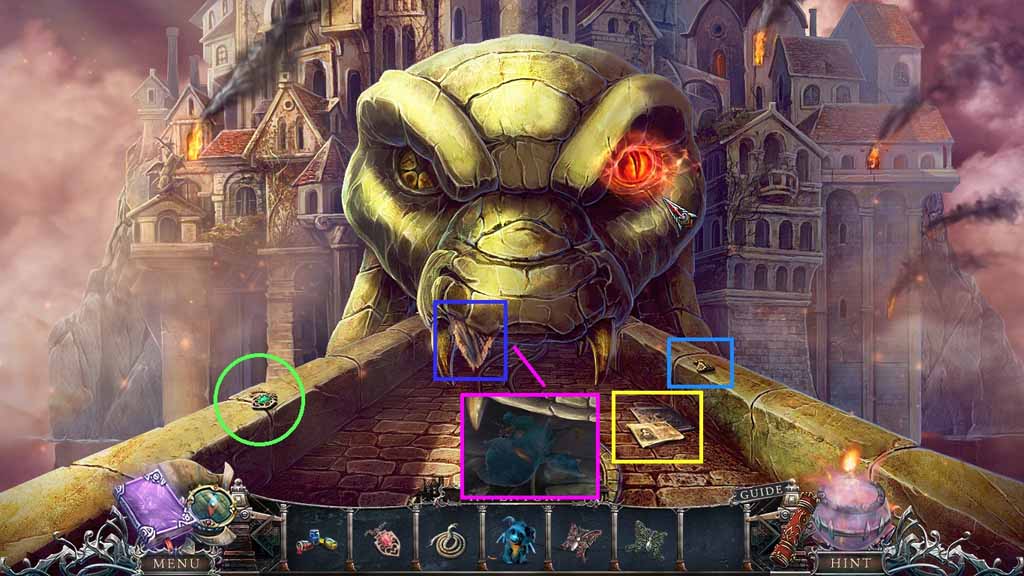
- Collect the green medallion.
- Read the newspaper; collect the gargoyle.
- Collect the painting piece; select the dragon to collect the corkscrew.
- Move down once.
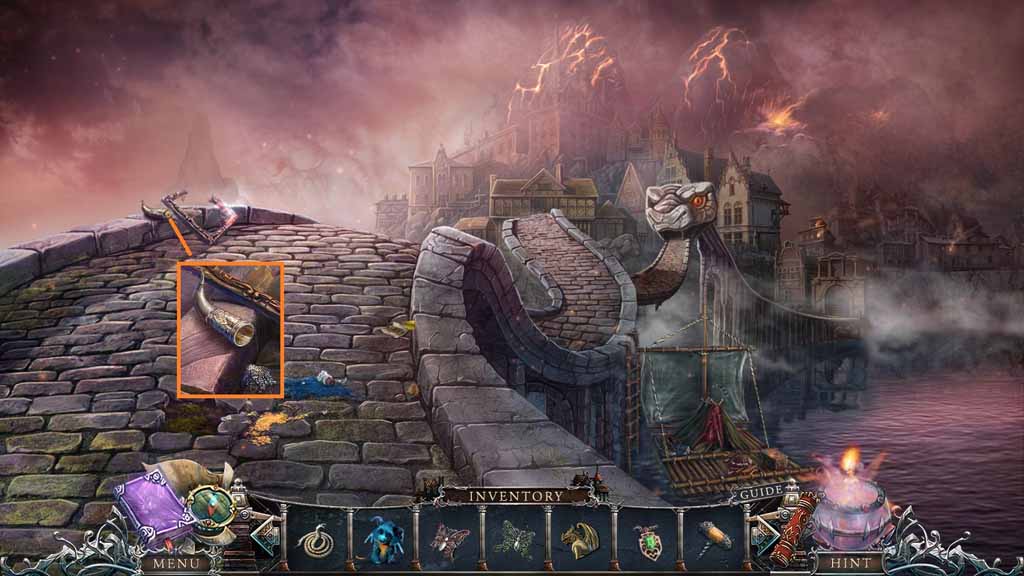
- Select the corkscrew to remove the cork.
- Collect the butterfly.
- Move ahead.
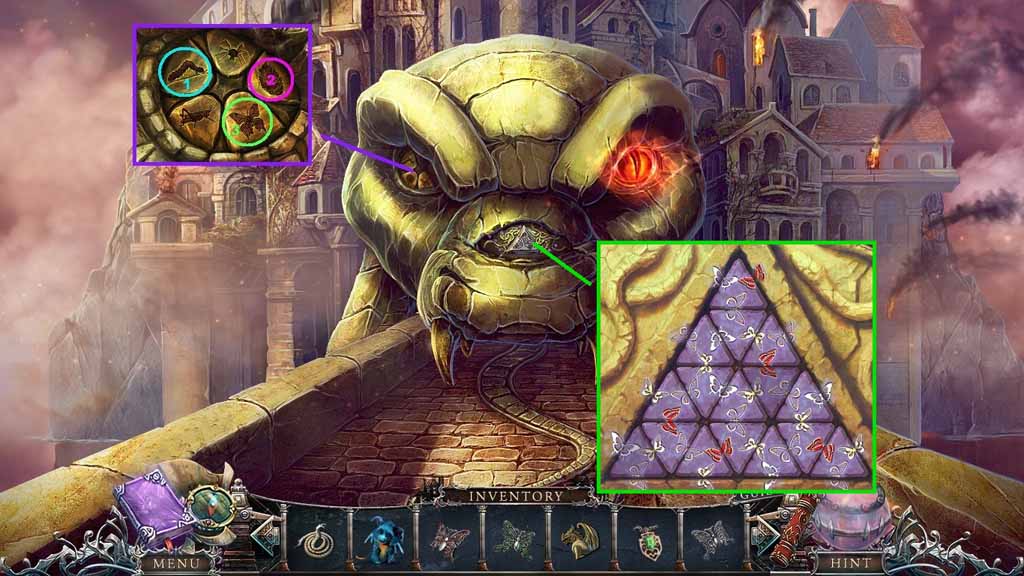
- Zoom into the snake eyes to trigger a mini game.
- Solve the game by clicking the stages of metamorphosis correctly.
- Insert the 3 butterflies to trigger a mini game.
- Solve the game by arranging the butterflies to by matching all sides of the triangles.
- Move ahead.
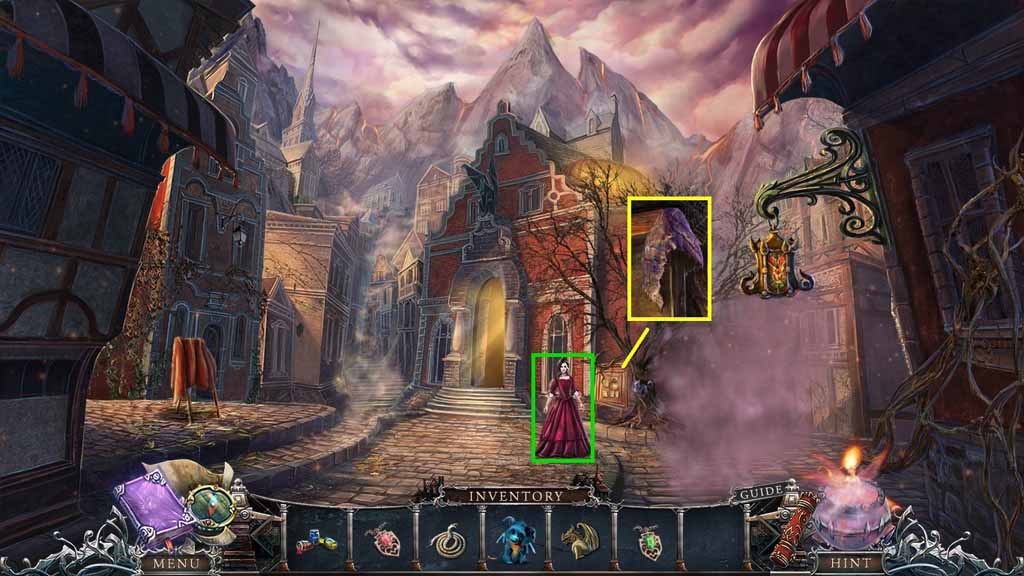
- Speak to the woman.
- Collect the drawing piece.
- Move into the Building.
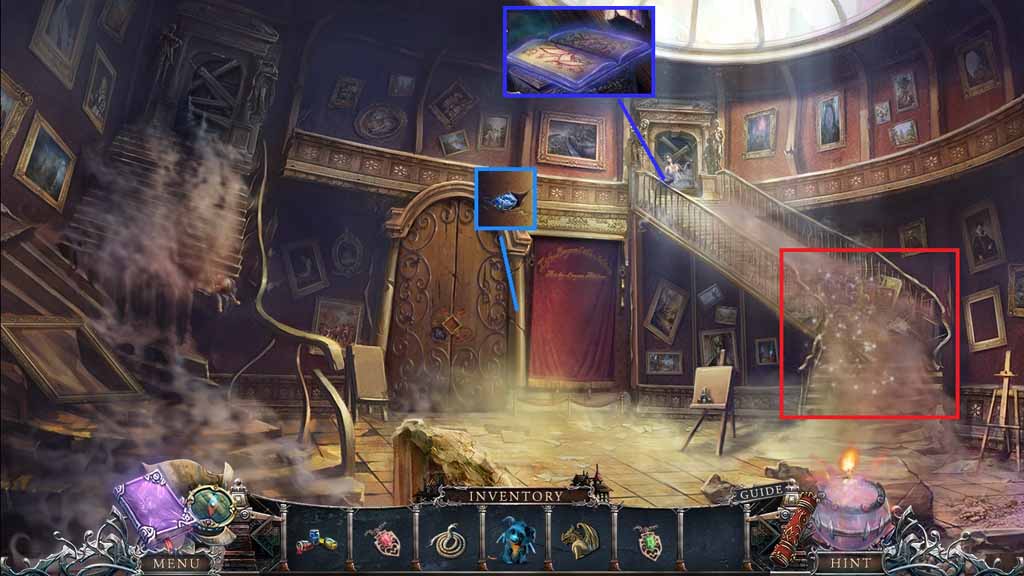
- Collect the chimera eye.
- Collect the sketch book.
- Click the hidden objects area.
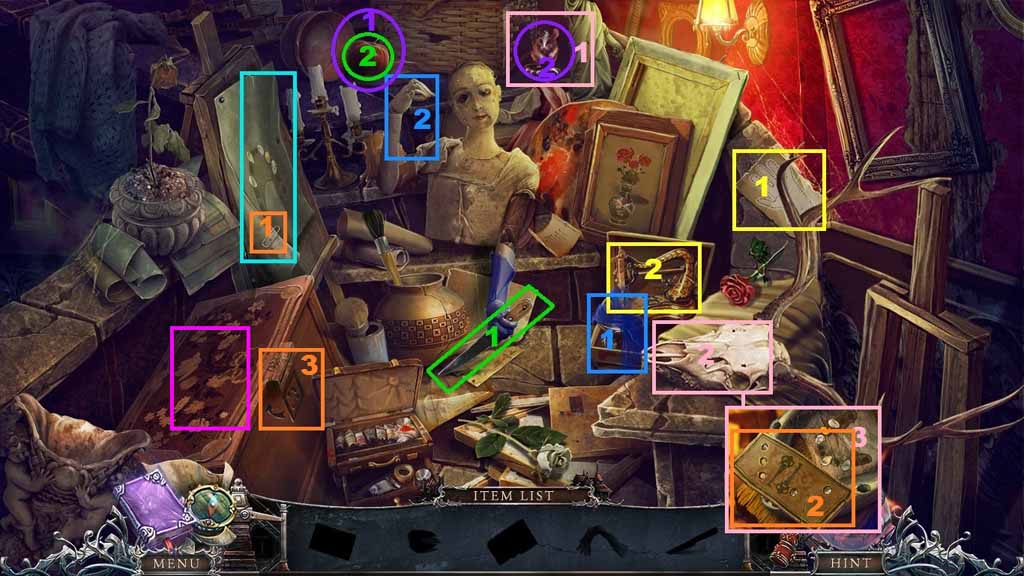
- Find the silhouetted items.
- Collect the pattern and place it onto the sewing machine; collect the dyed glove.
- Place the dyed glove onto the other hand; collect the knife.
- Select the knife to slice the apple; collect the seeds.
- Click the easel then click the clip; collect the card.
- Zoom into the mouse and give him the seeds; collect the gold tooth.
- Zoom into the skull and insert the gold tooth.
- Arrange the teeth as shown in the diagram; place the card onto the teeth.
- Collect the punch card and place it into the chest.
- Collect the token.
- Move down once.
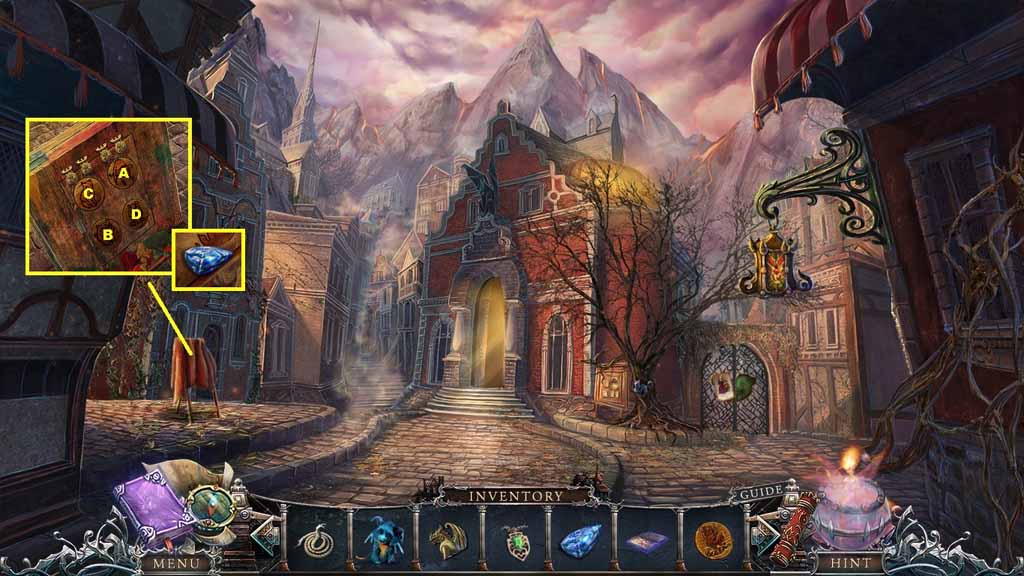
- Select the paint scraper to use on the easel and place the token onto it to trigger a mini game.
- Solve the game by clicking the animals in the correct order.
- Collect the chimera eye.
- Move ahead and go upstairs.
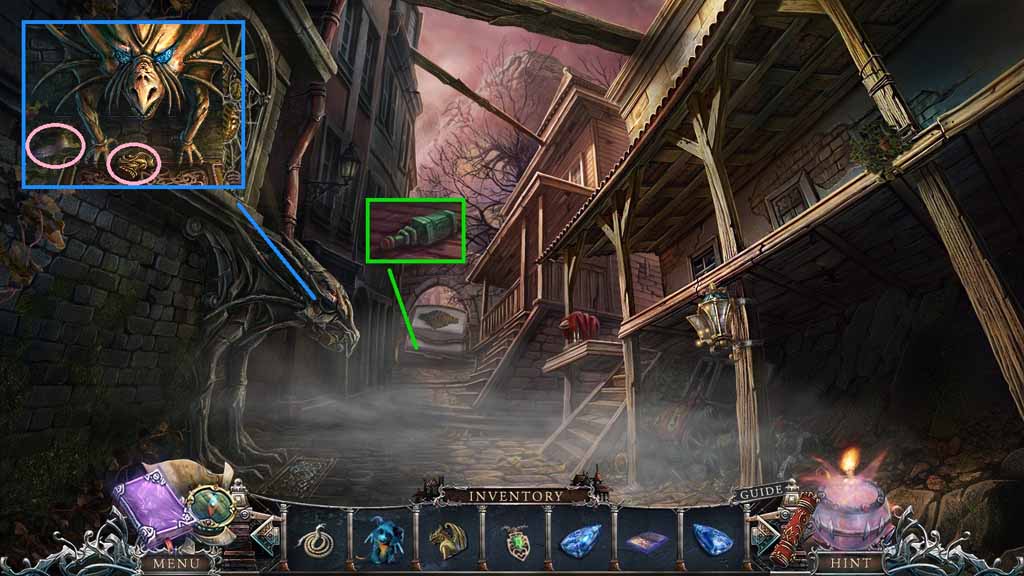
- Collect the solvent.
- Insert the 2 chimera eyes; collect the gargoyle and the drawing piece.
- Move down.
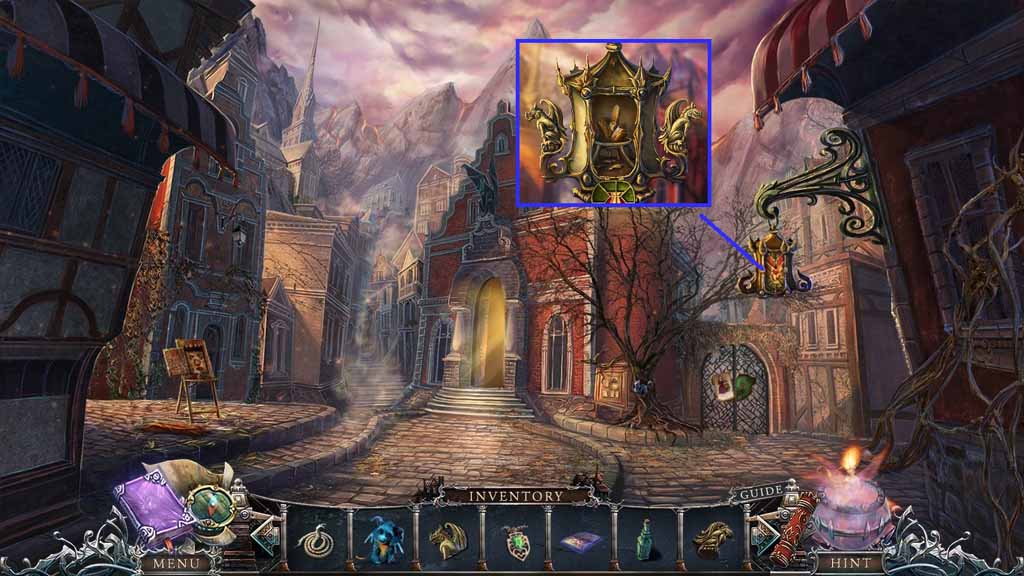
- Place the 2 gargoyles onto the lantern; collect the wax.
- Move to the Gallery.
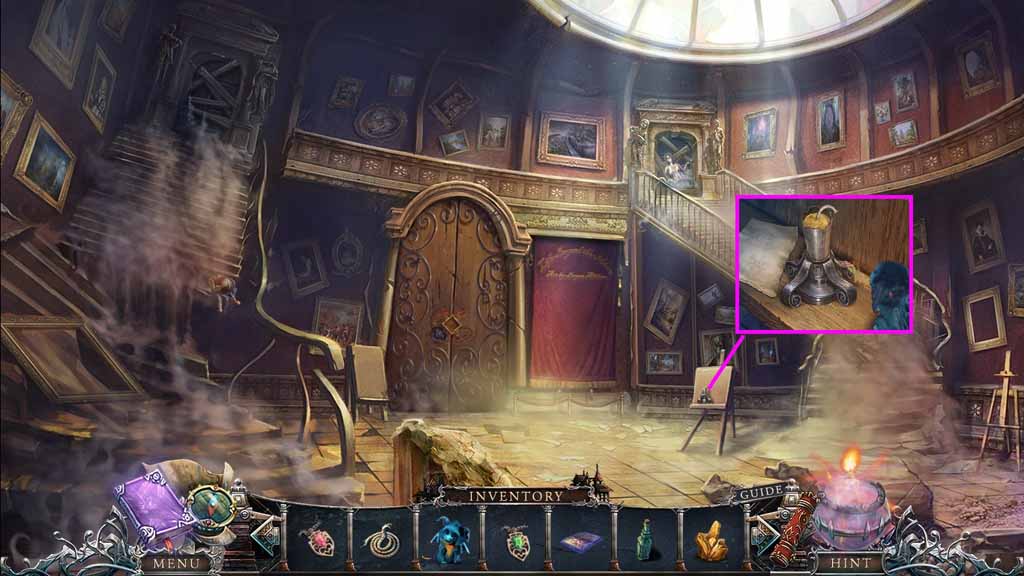
- Insert the lantern wick and the wax into the mold.
- Select the dragon to create and collect the candle.
- Move to the Stairs.
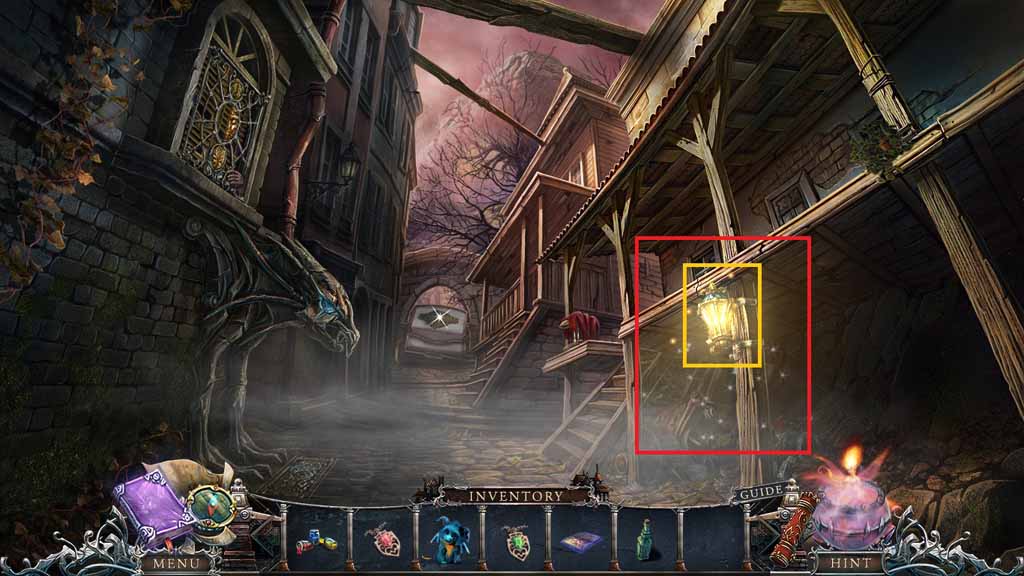
- Insert the candle into the lantern.
- Click the hidden objects area.
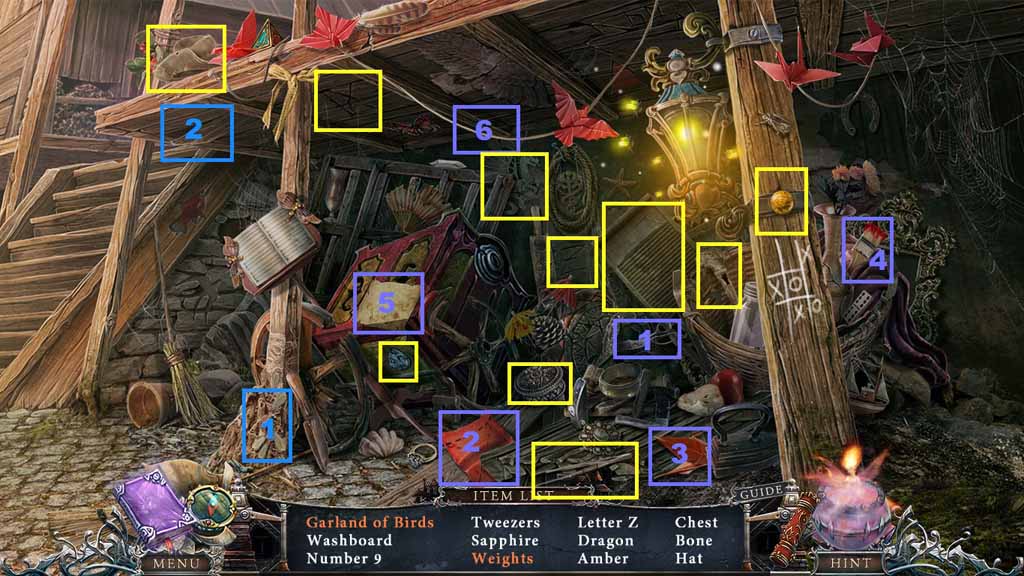
- Find the listed items.
- Select the scissors to cut the pattern and click it once; place the bird onto the wire along with the other birds.
- Select the other bird and place it onto the wire also; select the paintbrush and use it on the paper then click it once and place it onto the wire.
- Collect the garland of birds.
- Select the rope and place it onto the hole in the roof.
- Collect the weights.
- Move to the Gallery.
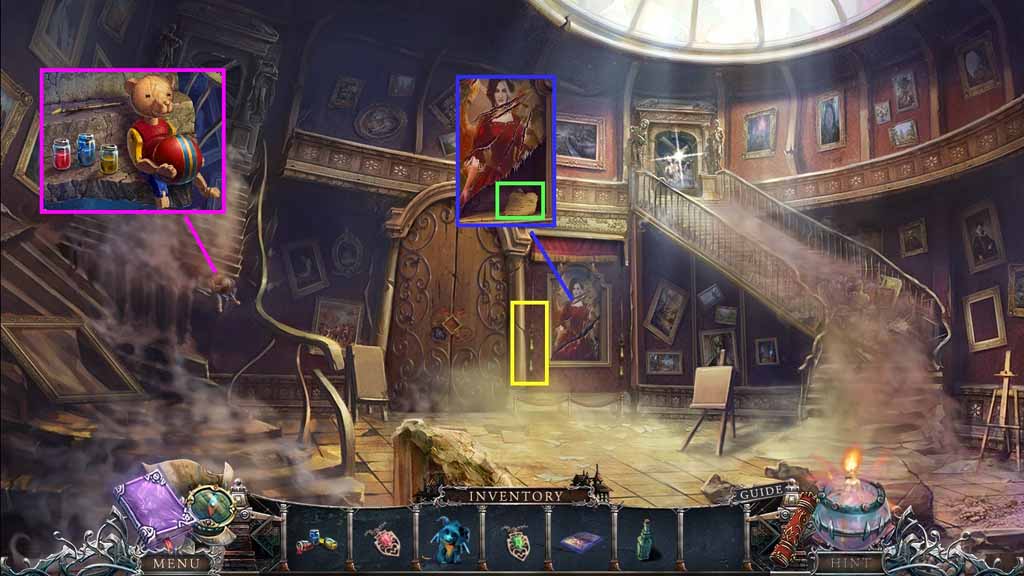
- Place the weights onto the cord.
- Click the painting scraps; read the note.
- Collect the bear head and place it onto the bear.
- Place the paints down and paint the bear; collect the ball.
- Move down once.
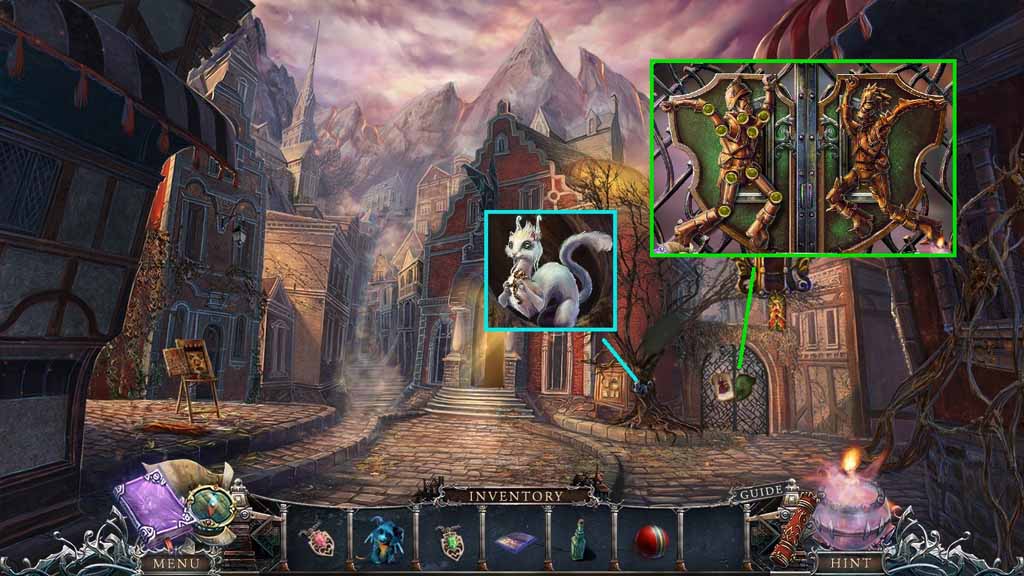
- Attempt to collect the figurine from the creature.
- Give the creature the ball; collect the miner figure.
- Click the poster and insert the miner figure to trigger a mini game.
- Solve the game by adjusting the figurine as shown.
- Enter the Gate.
Comments will load when you reach this part of the walkthrough.