

Chapter Four: Mining
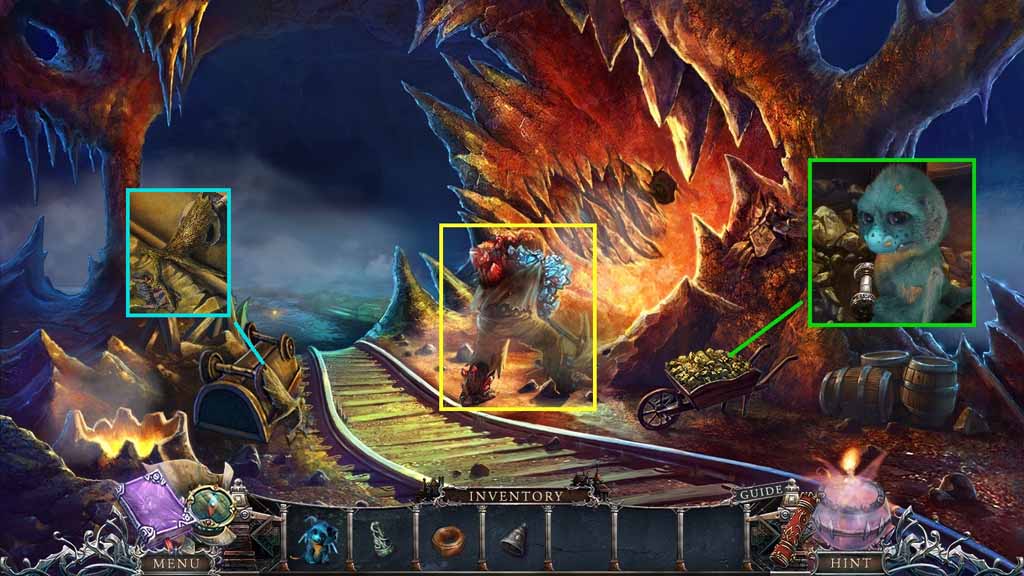
- Speak to the miner; receive the bell.
- Click the cart; select the dragon to move the rocks.
- Collect the spool.
- Collect the painting piece and the antler.
- Move down 3 times.
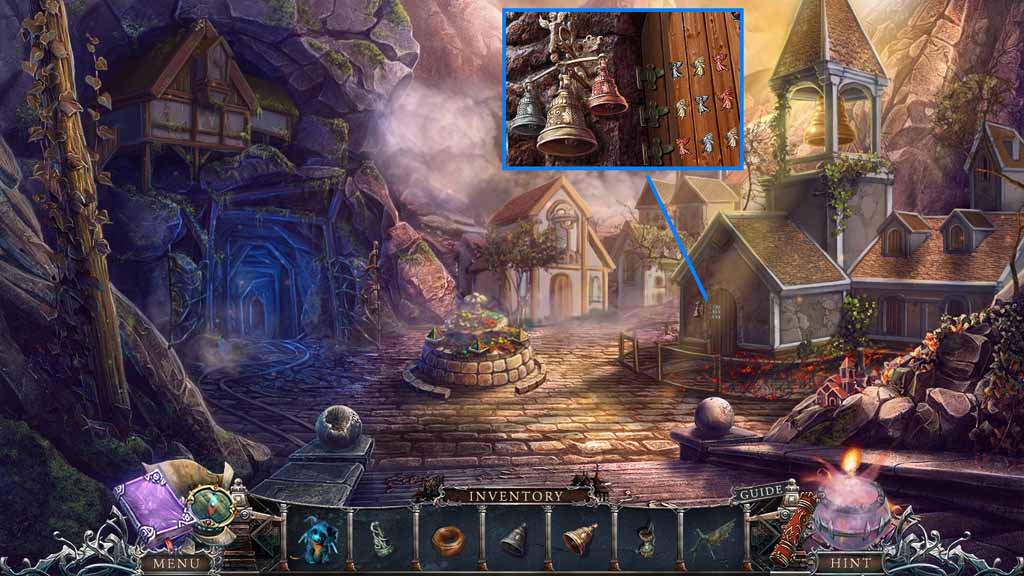
- Place the 3 bells onto the stand to trigger a mini game.
- Solve the game by clicking the bells in the color matched patterns shown on the door.
- Enter the doorway.
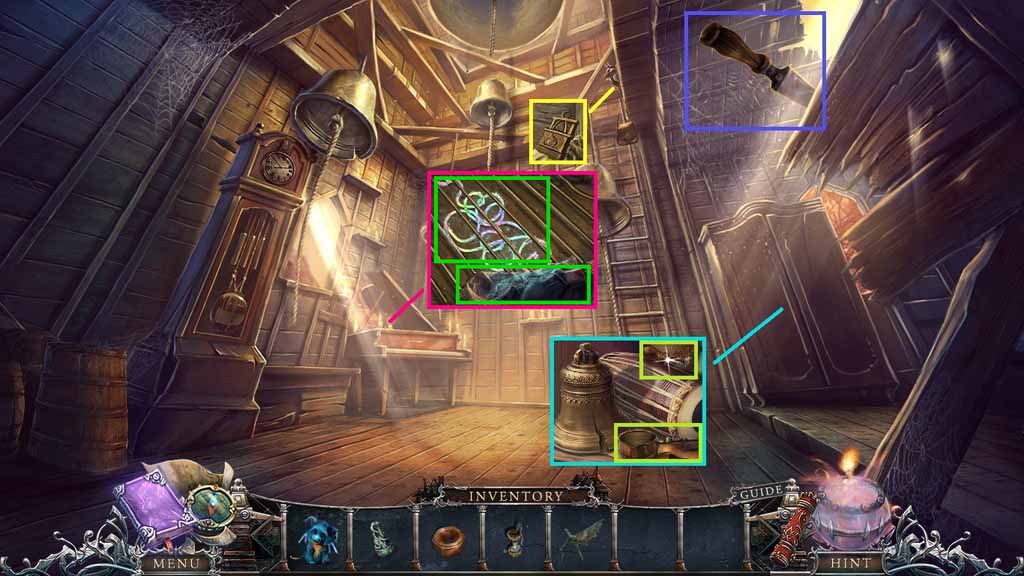
- Collect the chisel.
- Collect the lock part.
- Click the cabinet; collect the coffee pot and the piano key.
- Collect the painting piece and place the piano key onto the piano.
- Select the spool to collect the magic thread.
- Move to the Inner Gallery.
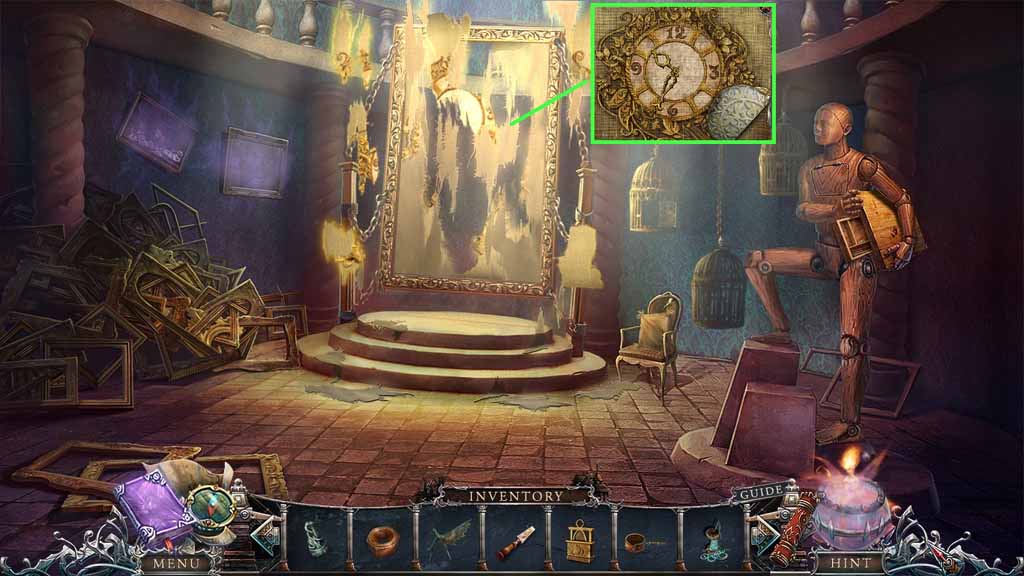
- Select the magic thread to mend the painting.
- Collect the bell figurine piece.
- Move to the Belfry.
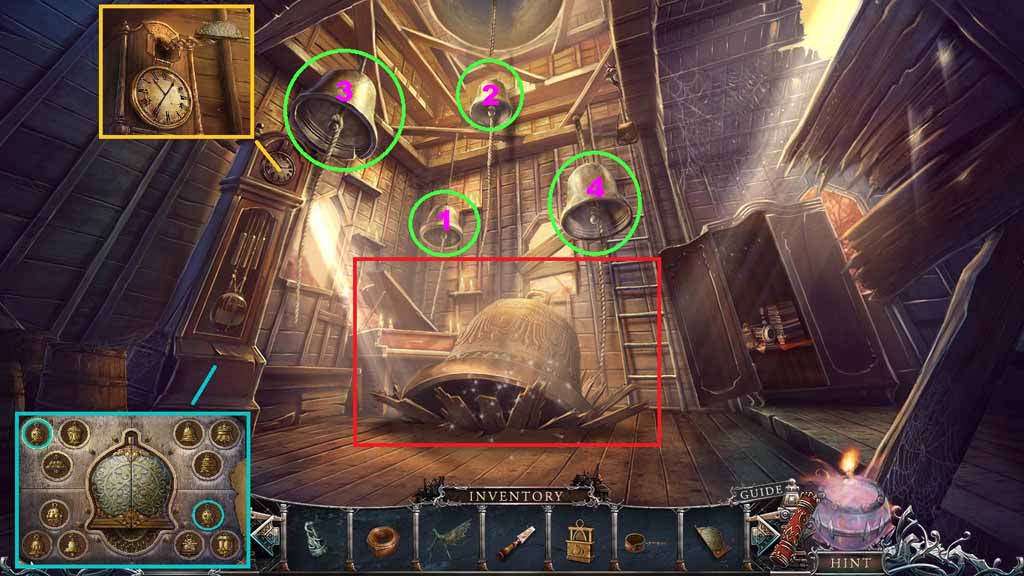
- Click the clock hands; collect the bell figurine piece.
- Click the clock and insert the 2 bell figurine pieces to trigger a mini game.
- Solve the game by matching the bells.
- Click the bells in the correct sequence.
- Click the hidden objects area.
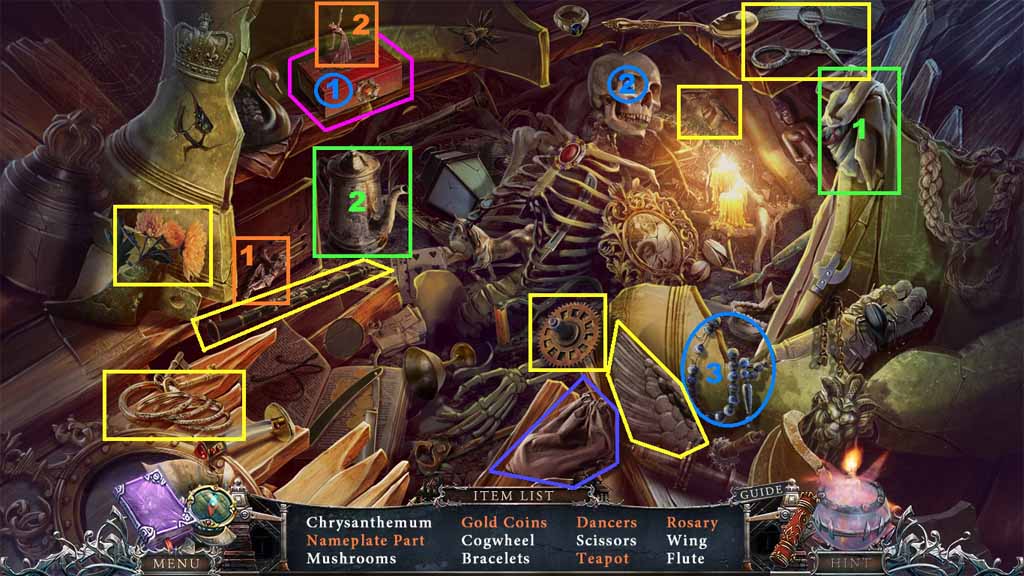
- Find the listed items.
- Select the dancer and place it onto the box; collect the dancers.
- Click the box to reveal the nameplate part and the bead.
- Find the other bead and place both beads onto the rosary; collect the rosary.
- Click the pouch; collect the gold coins.
- Select the rag to clean the dirt; collect the teapot.
- Collect the nameplate part.
- Move to the Mine.
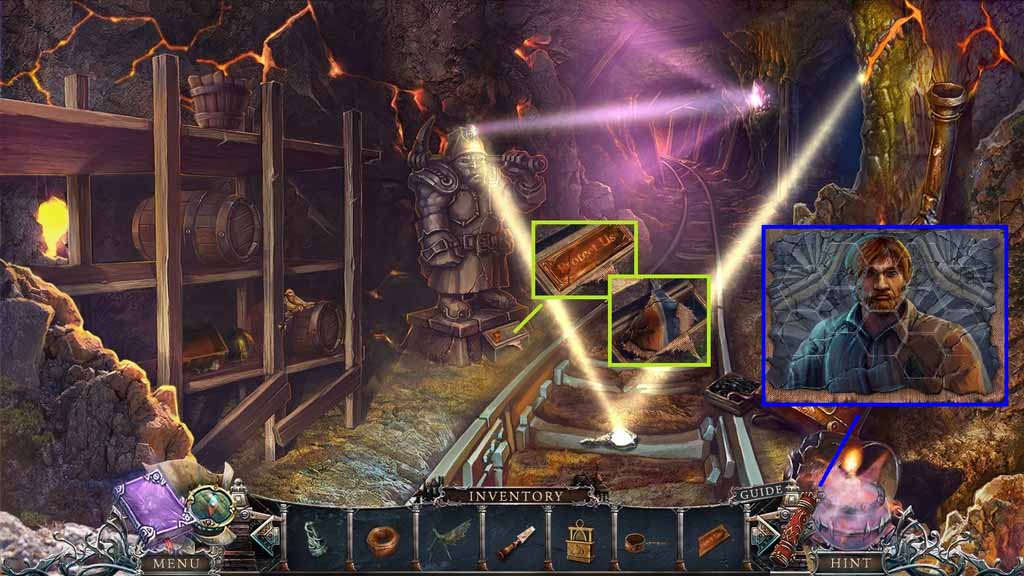
- Place the nameplate down.
- Collect the painting piece and the chalk.
- Click the canister to trigger a mini game.
- Solve the game by restoring the picture.
- Collect the miner picture.
- Move ahead.
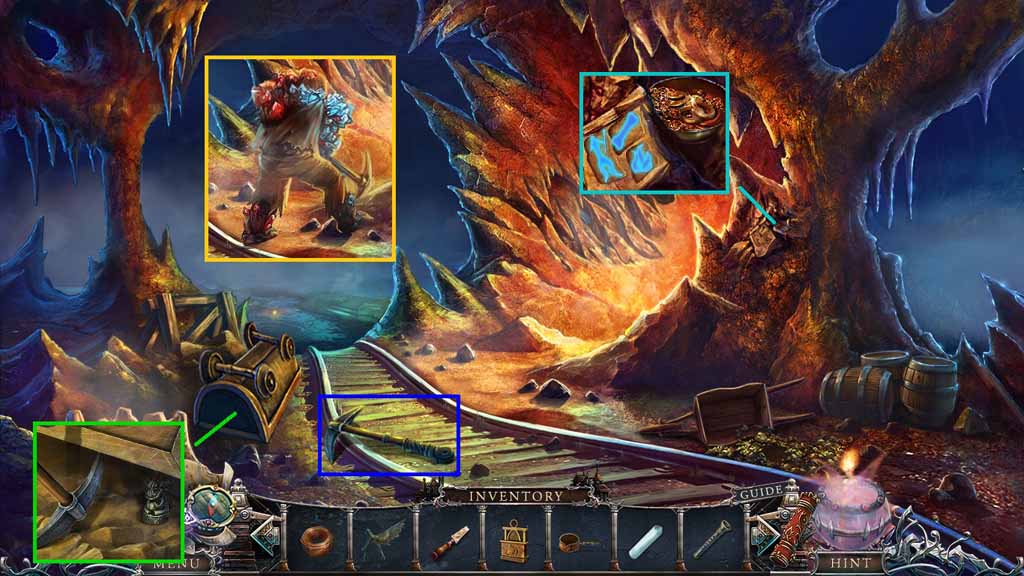
- Select the miner picture to use on the miner; receive the flute.
- Collect the pick, use it on the cart; collect the statuette.
- Select the chalk to use on the symbols; collect the jewelry.
- Move down once.
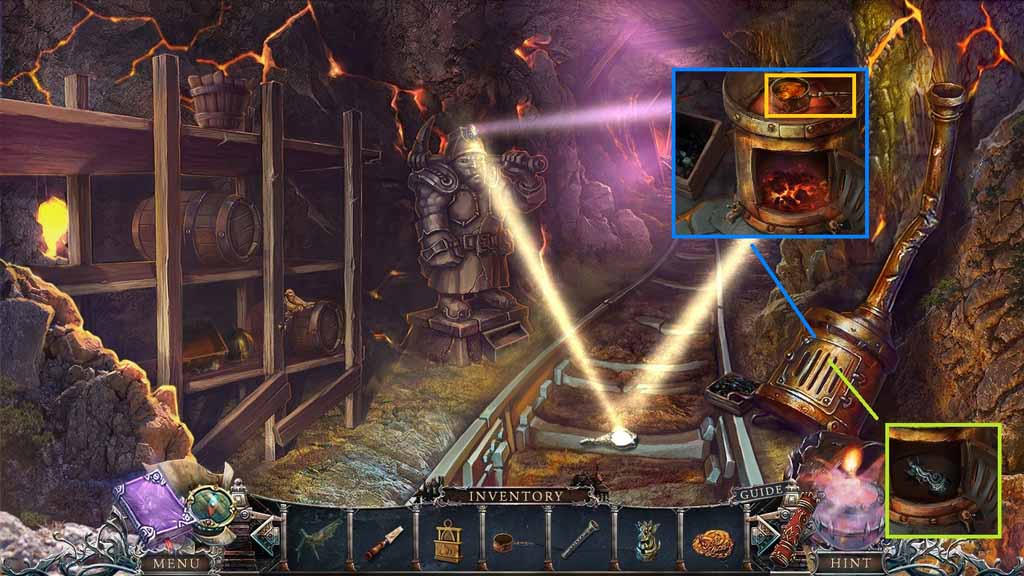
- Select the nut to stabilize the furnace; click it once.
- Collect the statuette.
- Insert the coal and use the dragon to ignite it.
- Place the coffee pot onto it and insert the jewelry into the pot.
- Collect the molten gold.
- Move to the Swamp.
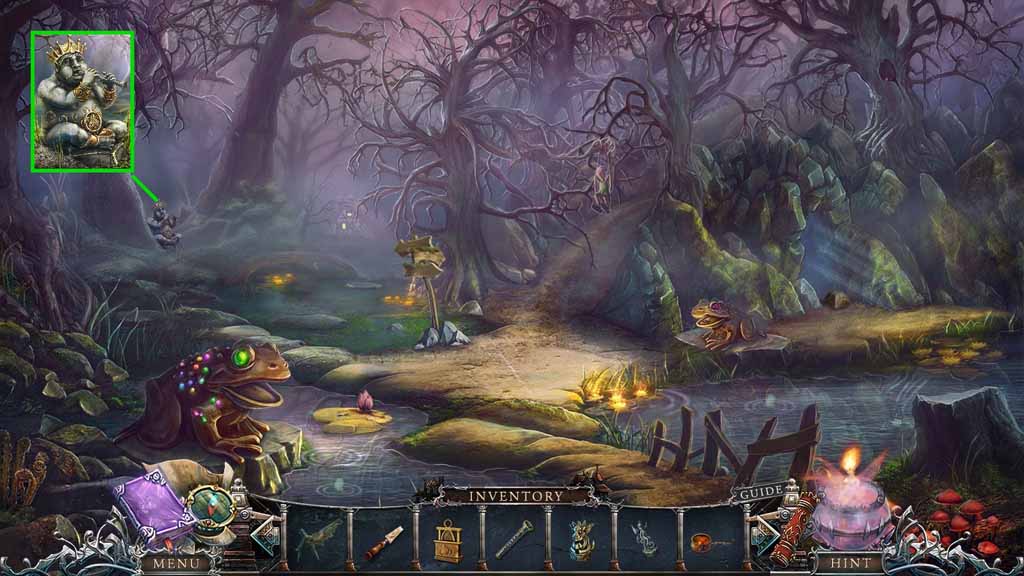
- Give the statue the flute.
- Move ahead.
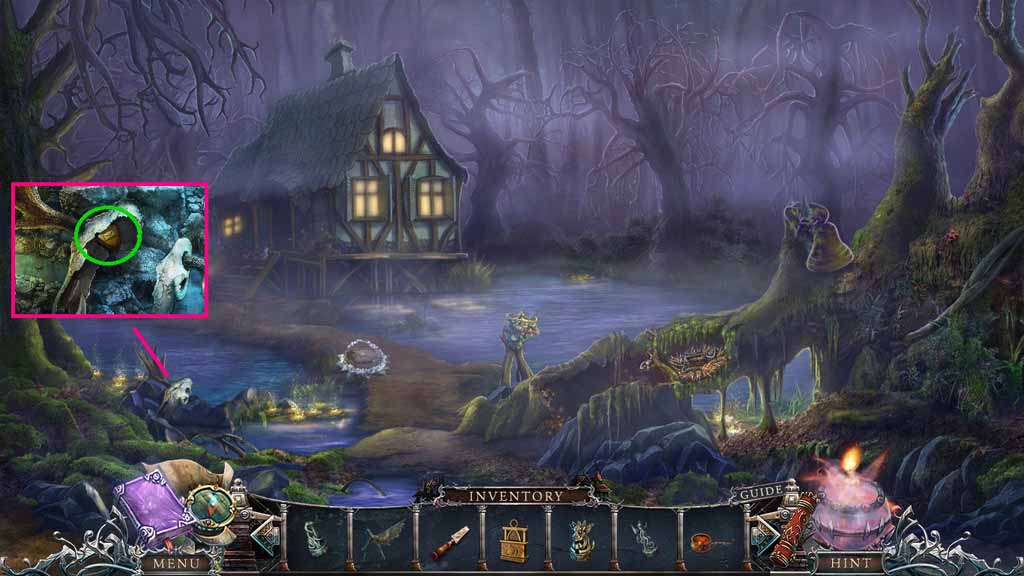
- Attach the antlers onto the skull; collect the postman’s badge.
- Move ahead and click the hidden objects area.
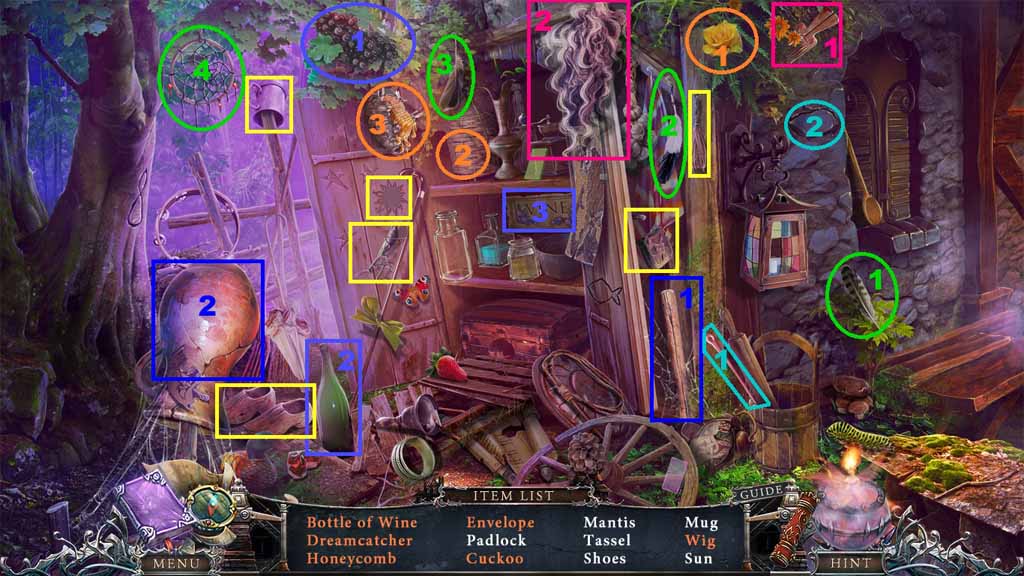
- Find the listed items.
- Select the feathers and place them onto the dream catcher; collect the dream catcher.
- Select the grapes and place them into the bottle and place the label onto the bottle; collect the bottle of wine.
- Select the pick and use it on the wig; collect the wig.
- Select the flower and place it down; collect the honeycomb.
- Select the needle to remove the stone; collect the envelope.
- Select the hammer to smash the jar; collect the cuckoo.
- Collect the cuckoo.
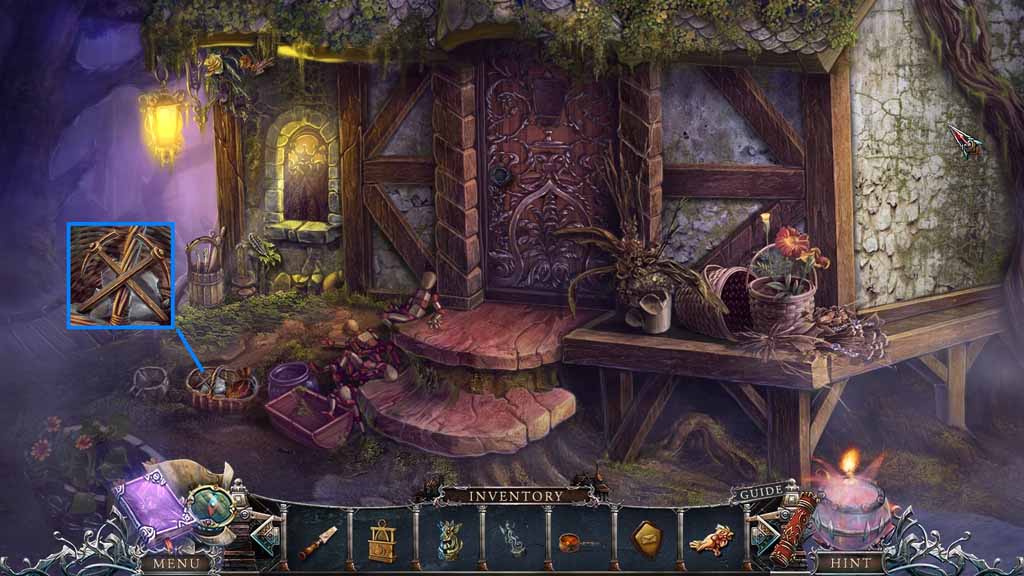
- Collect the lock part.
- Move to the Miners Room.
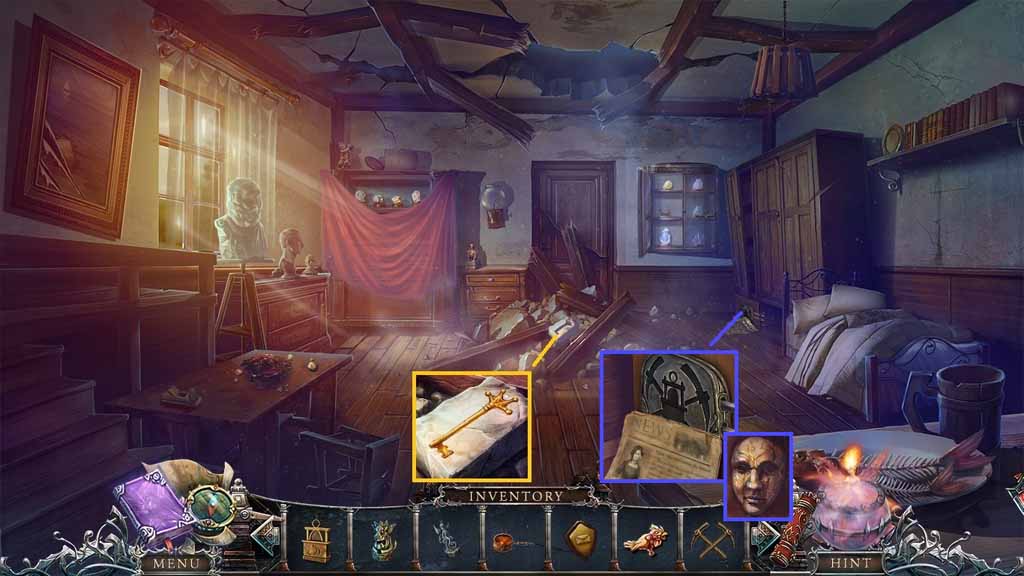
- Pour into the molten gold; collect the golden key.
- Read the newspaper; insert the 2 lock parts into the lock.
- Collect the stone mask.
- Move to the Belfry click the hidden objects area.
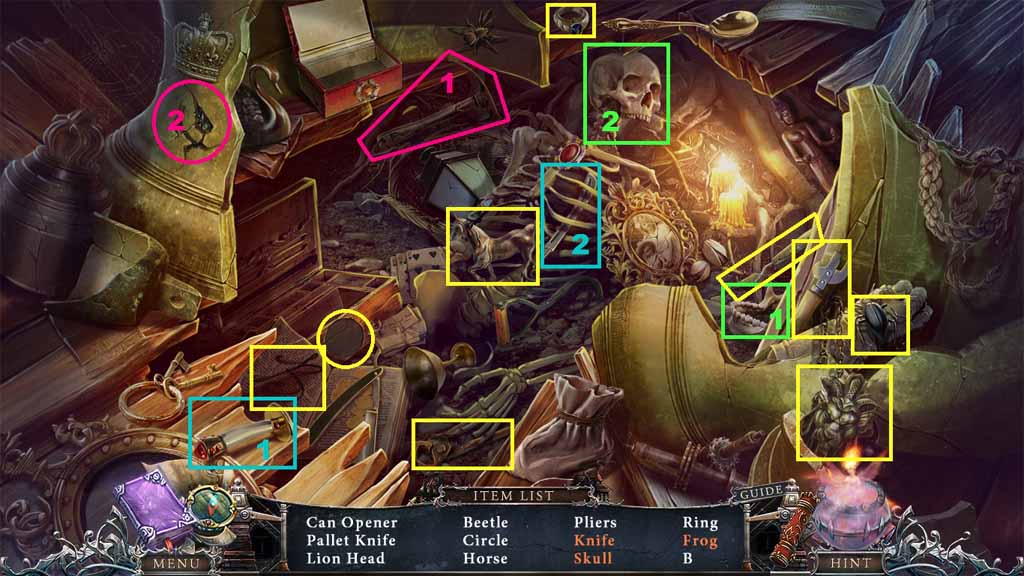
- Find the listed items.
- Select the jaw; attach it to and collect the skull.
- Select the handle and place it onto the blade; collect the knife.
- Select the pick to collect the frog.
- Collect the statuette.
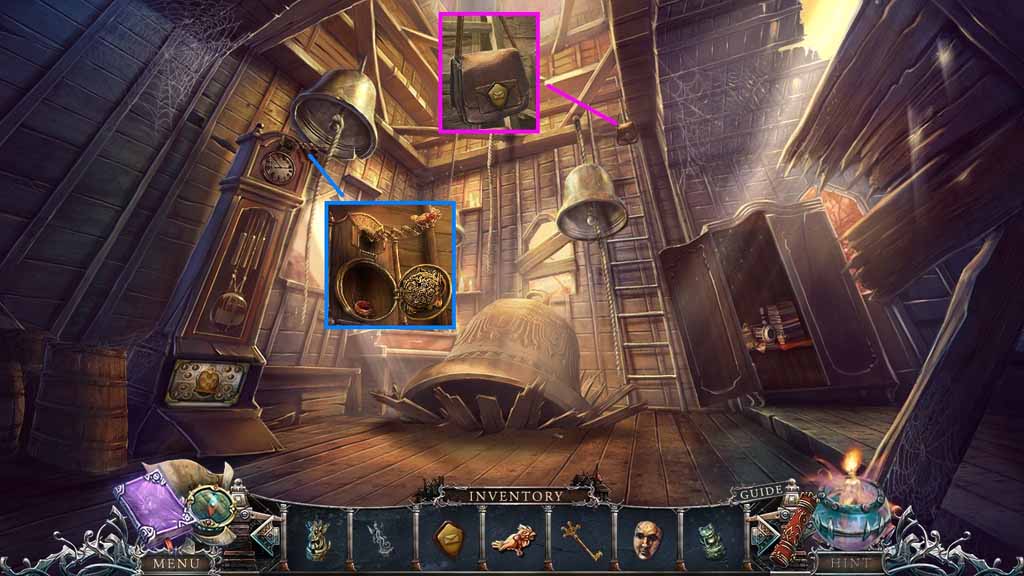
- Place the postman’s badge onto the bag; collect the bread.
- Insert the cuckoo into the clock; collect the bird part.
- Move to the Cave.
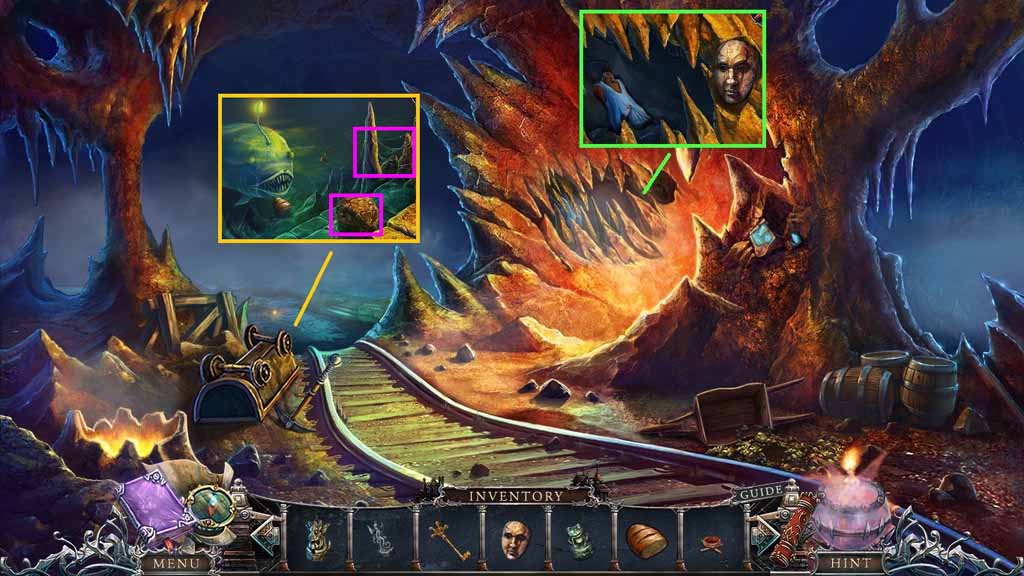
- Insert the stone mask; collect the puppet part.
- Give the bread to the fish; collect the snake stone and the fishing line.
- Move down once.
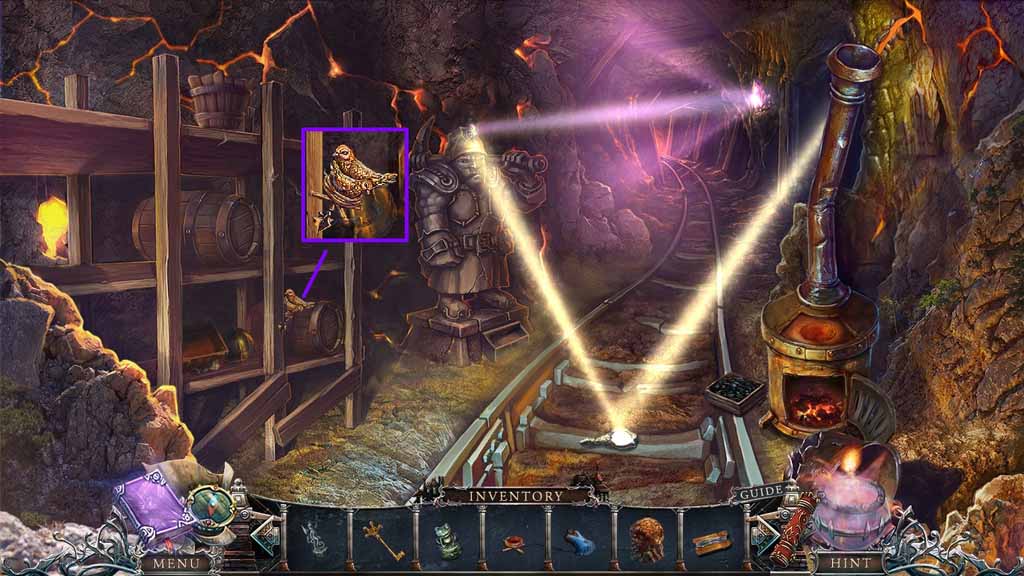
- Attach the bird part; collect the bird.
- Move down once.
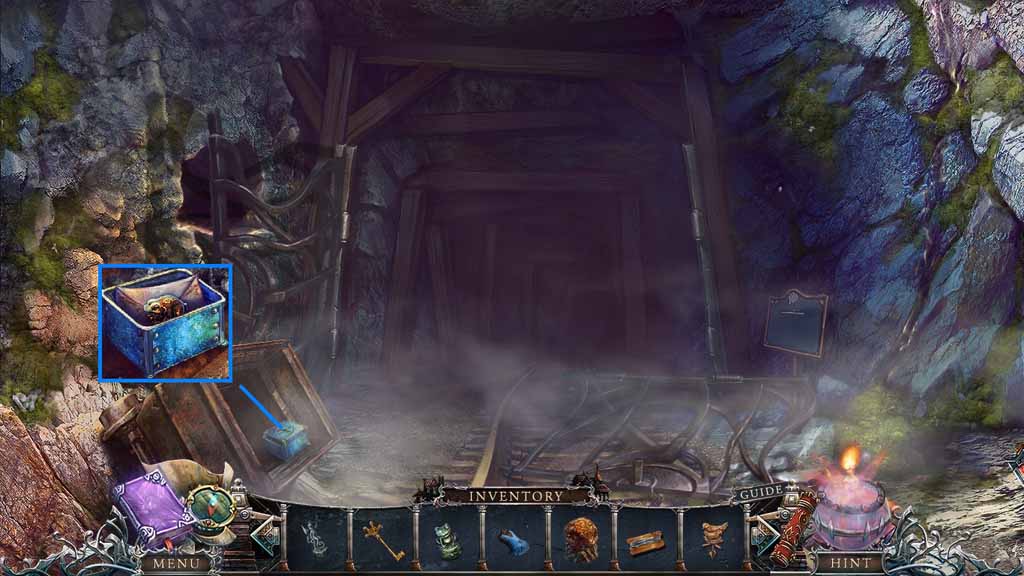
- Place the bird onto the box.
- Collect the frog and the letter.
- Move to the Belfry.
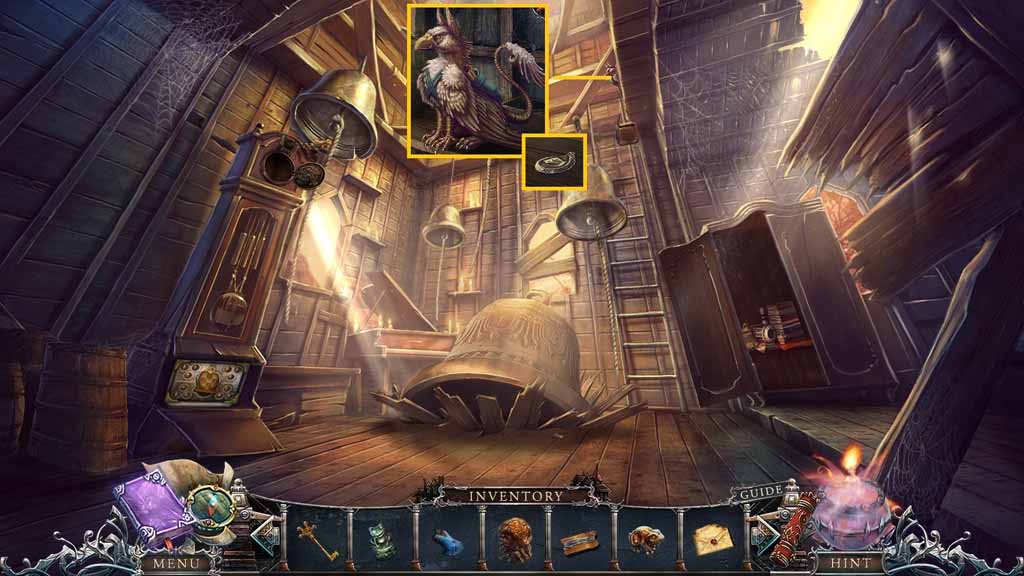
- Give the gryphon the letter.
- Collect the door lock piece.
- Move to the Miner’s Room.
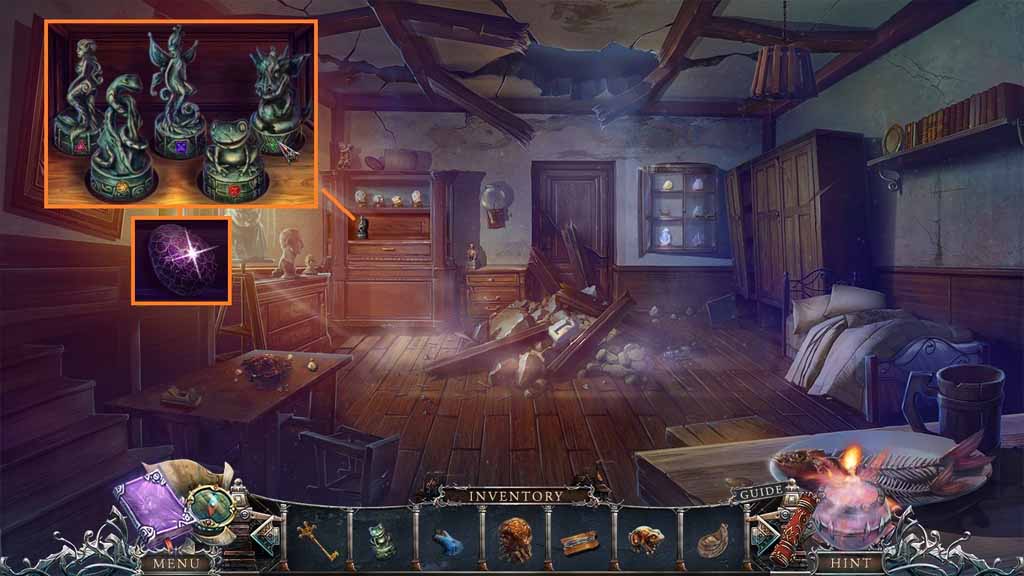
- Place the 4 statuettes onto the stand to trigger a mini game.
- Solve the game by aligning the statues correctly.
- Collect the egg.
- Move down once and go ahead 3 times.
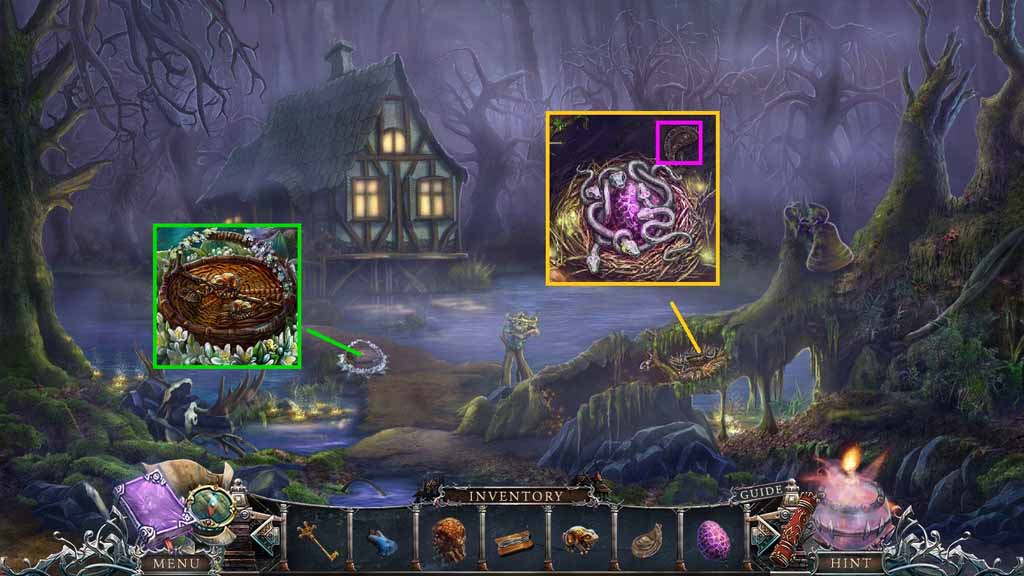
- Insert the egg into the nest; collect the door lock piece.
- Place the frog onto the basket; collect the painting piece and the stencil plate.
- Move ahead.
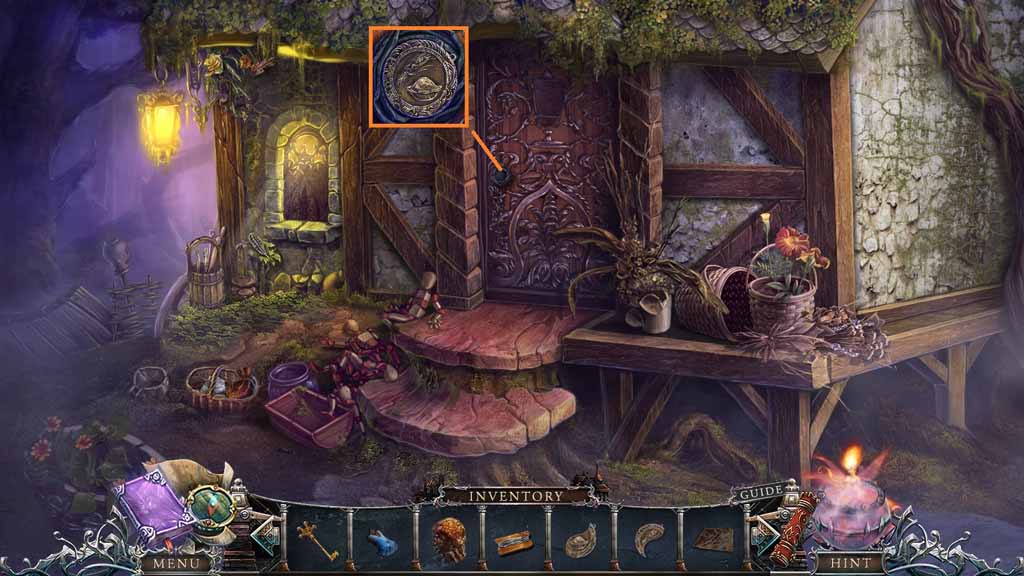
- Insert the 2 door lock pieces into the door.
- Attempt to move ahead.
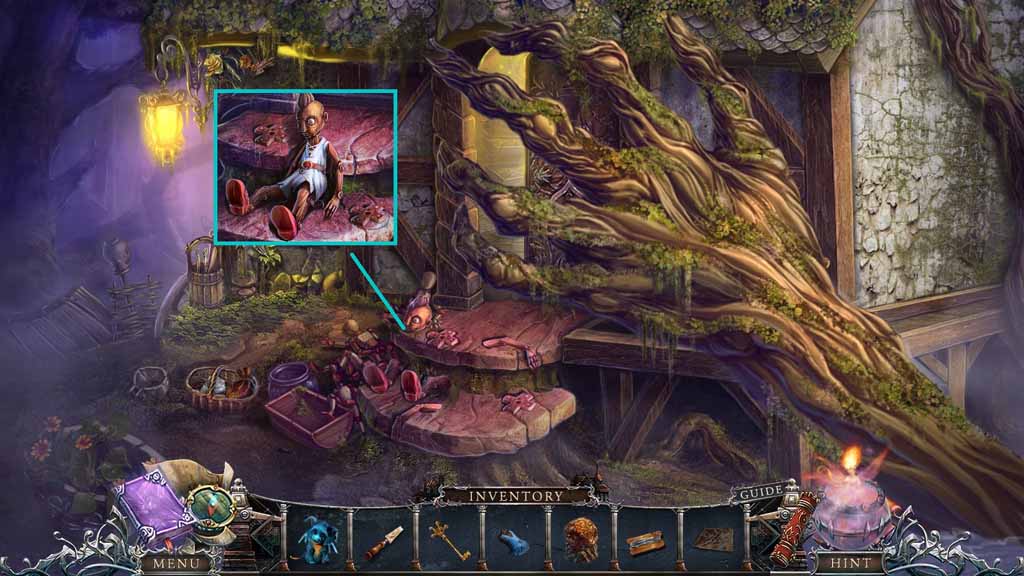
- Attach the puppet part followed by the remaining pieces.
- Select the fishing line to use on the puppet; collect the puppet and the flower symbol.
- Move to the Forest.
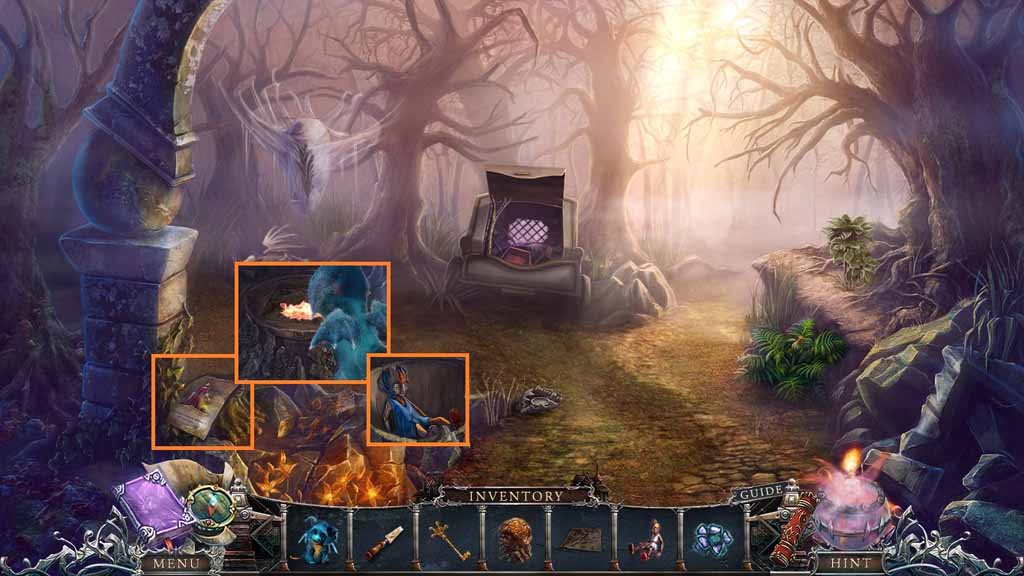
- Collect the poster.
- Place the stencil plate onto the stump; select the dragon to use on the stump.
- Collect the puppet.
- Move ahead.
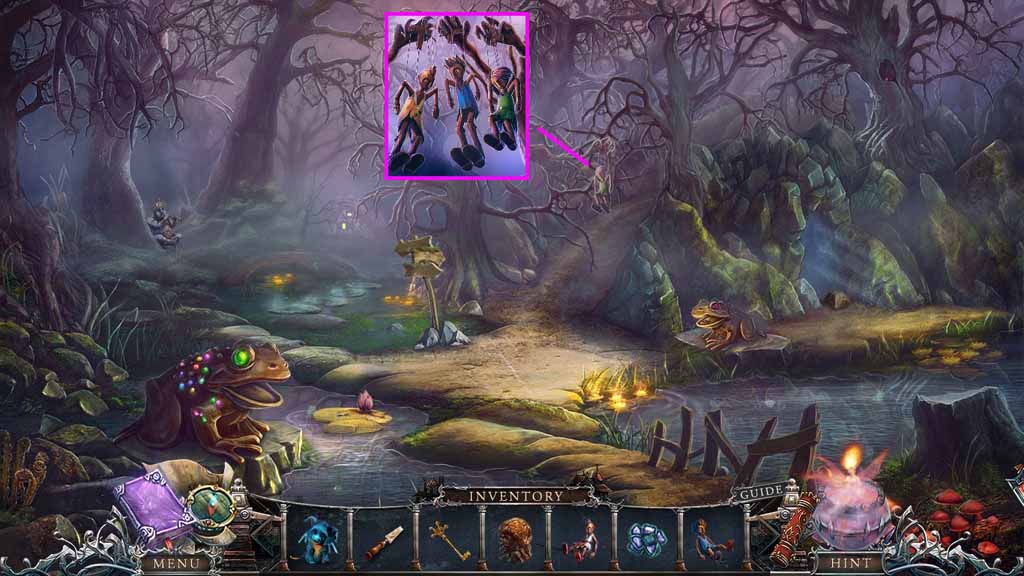
- Place the puppets into the tree.
- Move up the path.
Comments will load when you reach this part of the walkthrough.