
Chapter Six: The Griffins Eyrie
Witches Tower – Middle Floor
- Examine the fireplace
- Put the wood in the fireplace
- Use the pocket dragon to light it
- Put the kettle over the fire
- Use the gloves to take the hot kettle
- Place the herbs in the teapot on the table
- Use the hot kettle on the teapot
- Go up to the rooftop
Witches Tower – Rooftop
- Give the teapot to Mysterious Goblin
- Play a game of Tripeaks
- Take the scythe
Pavilion
-
Use the scythe on the vines
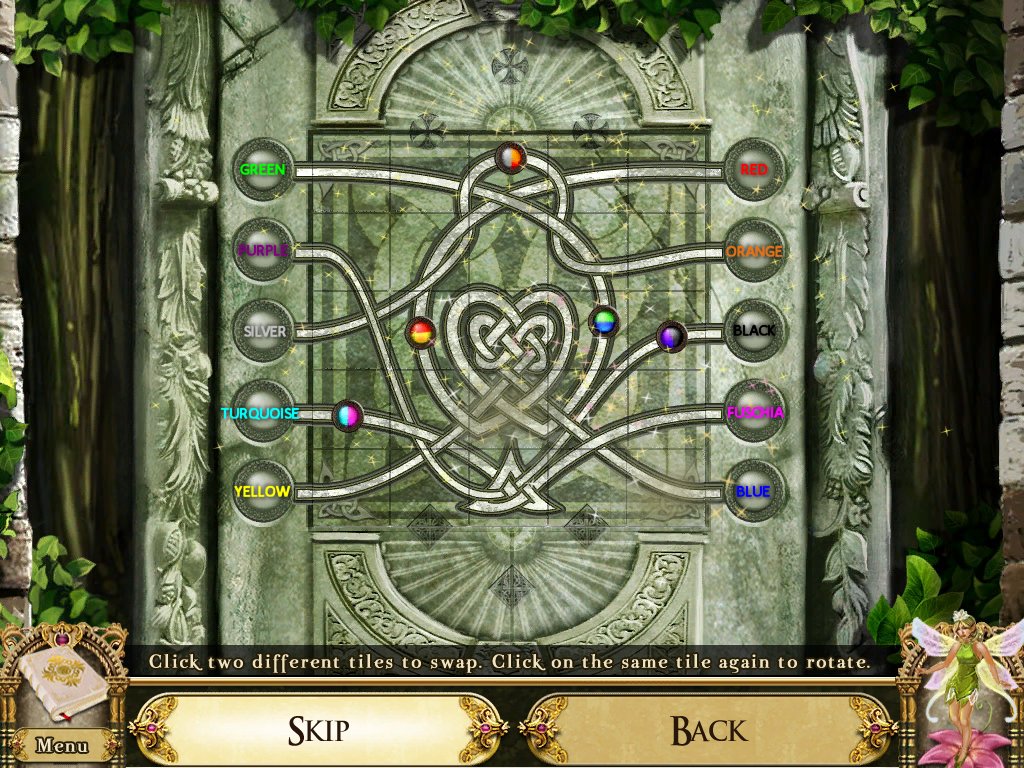
- Examine the door – puzzle
- Swap the tiles to create a pattern
- Click once to rotate
- Arrange the symbols
- Follow the lines from each symbol and make sure the top/bottom colors match
- You need to swap the side colors
- Go through the door
Root Passage
- Go up to root chamber
Root Chamber
- Examine the earthen alcove
- Take the bust
-
Examine the picture on the wall – puzzle
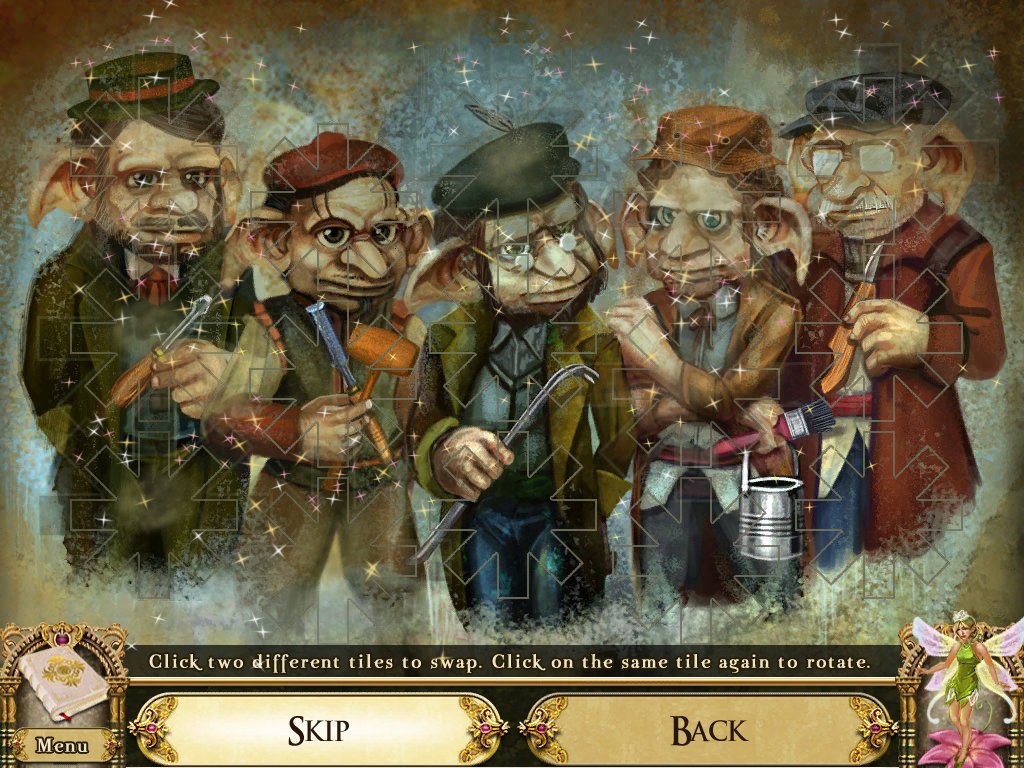
- Rotate and swap the tiles to complete the picture
- Take varnish kit
- Examine the lectern – puzzle
- Find the matches
- Take the symbols
-
Examine the bookshelf – puzzle
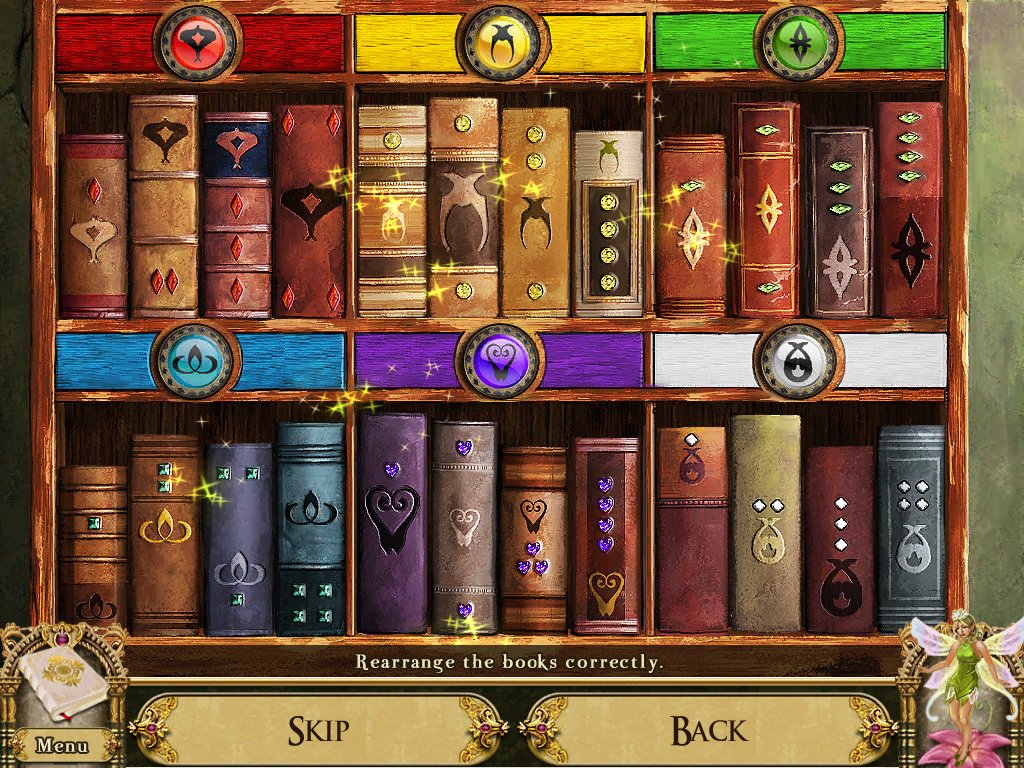
- Place the matching colors in the empty holes
- Arrange the books by matching the symbols on the backs to the symbol above the shelf
- Then arrange the books by the number of gems on the back from 1 – 4
- Examine workbench – hidden object area
- Take woodcarvers guide
- Examine the drawers
- Open the bottom drawer
- Take the wood chisel and screwdriver
- Use chisel and screwdriver on top drawer
- Take wood mallet and knife
- Examine the rug
- Use the screwdriver on the grate
- Use the crowbar on the grate
- Find the objects listed at the bottom
- Go right to the root balcony
Root Balcony
- Examine the overgrown roots
- Use the knife on the roots
- Take the bust
- Examine the workbench
- Take the bust
- Take the sandpaper
-
Place the guide on the stand – puzzle
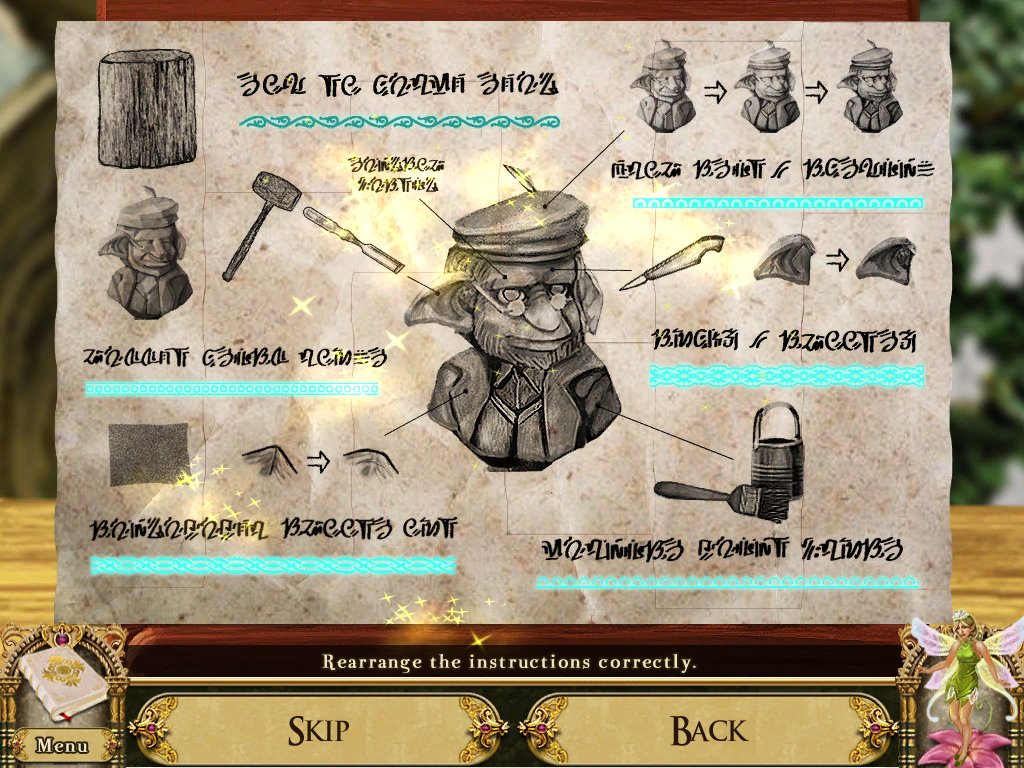
- Swap the pieces to create the guide
- Return to the root chamber
Secret Passage
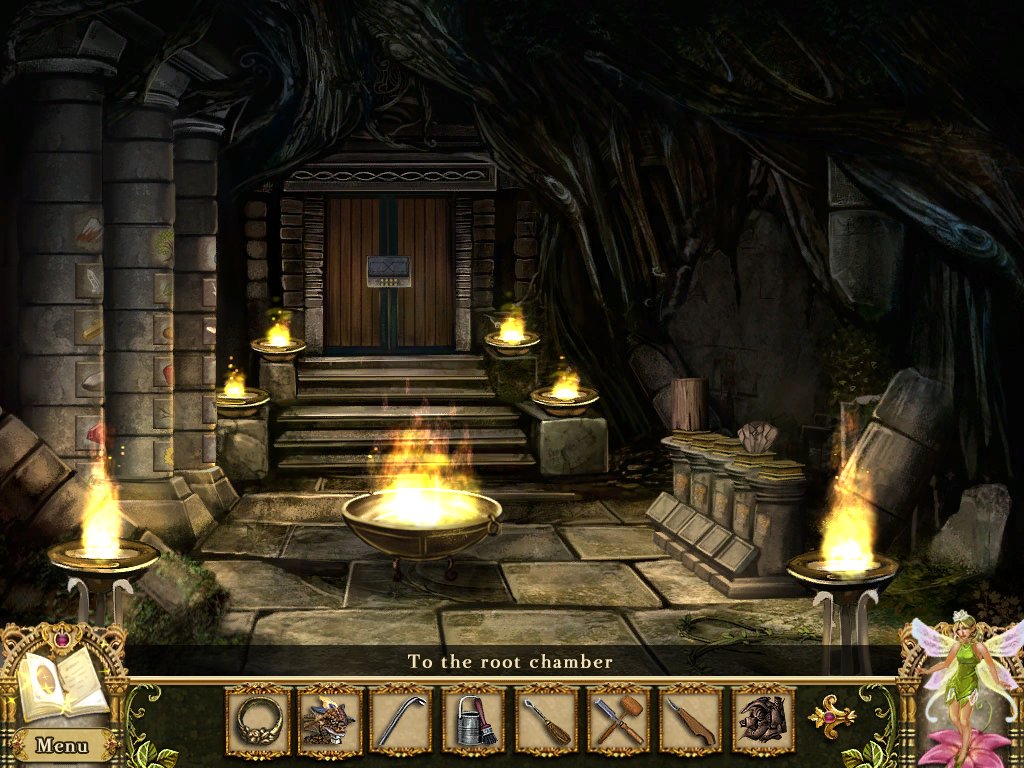
- Use the pocket dragon to light the seven braziers
-
Examine the pillars – puzzle
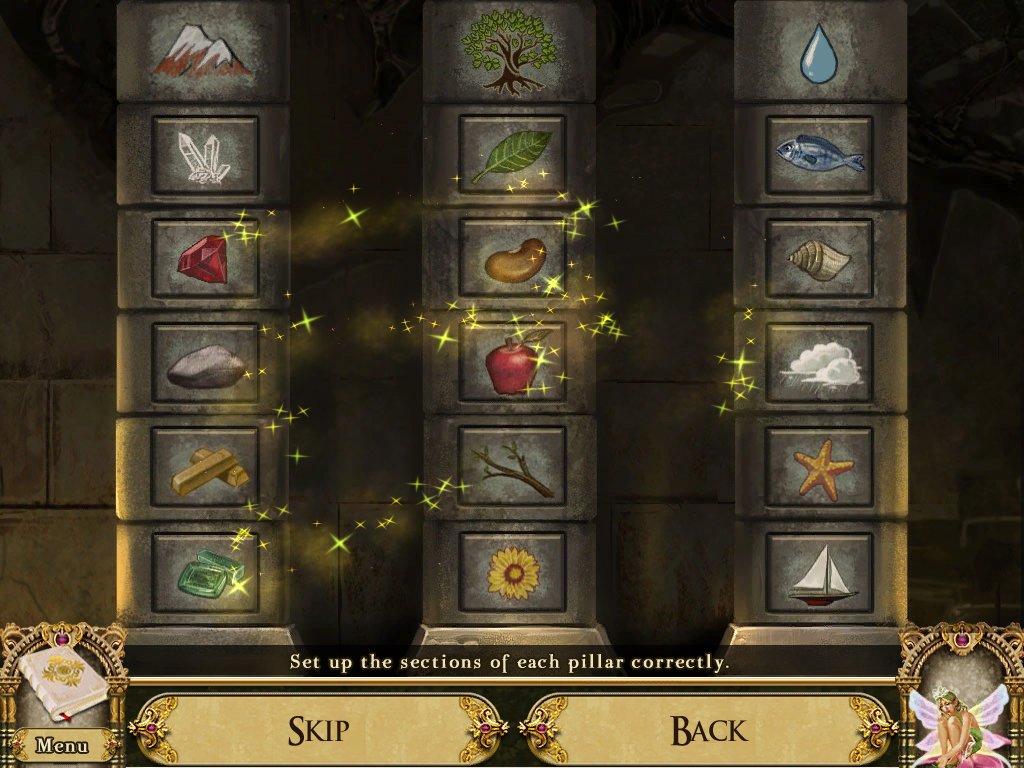
- Click a tile to change the image
- Put the images in the correct order
- Use the image at the top as a clue
- Take the brass pieces
- Examine the stone pedestal
- Take the block of wood
- Return to the root balcony
Root Balcony
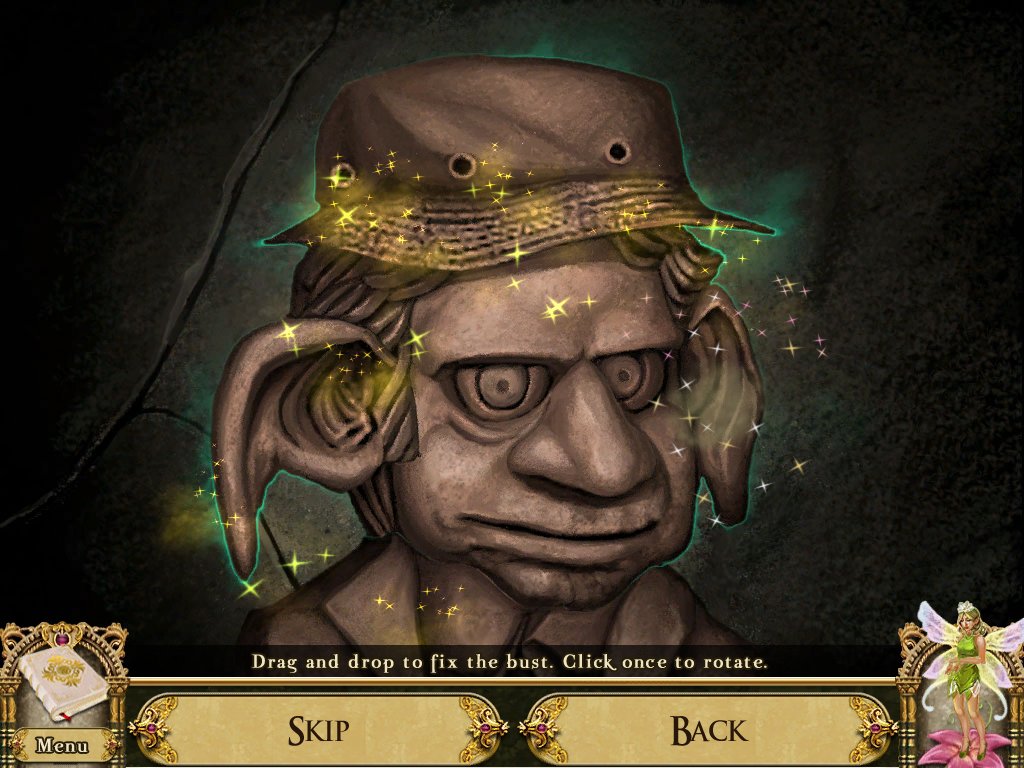
- Examine the workbench
- Place the block of wood on the bench
- Use the hammer and chisel
- Use the knife
- Use the sandpaper
- Use the varnish
- Take the finished bust
- Return to the secret passage
Secret Passage
- Examine the stone pedestal
- Place the bust pieces on the partial bust – puzzle
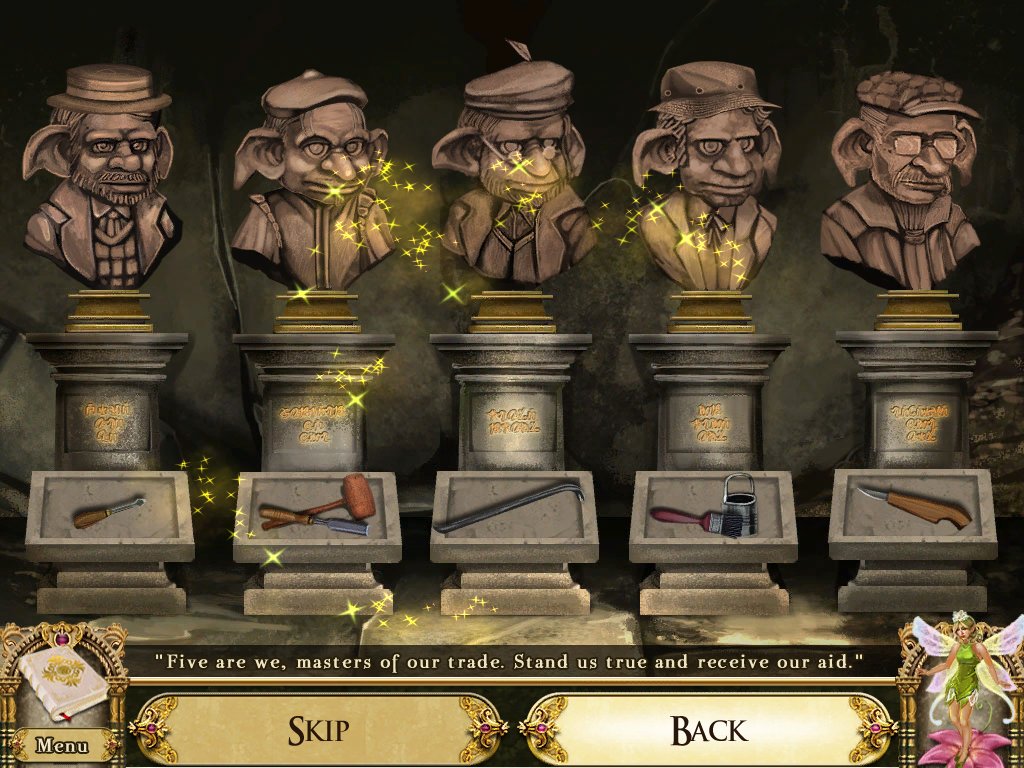
- Reassemble the bust
- Place the busts on the stands
- Place the tools on the stands
- Look in your journal and examine the picture of the goblins
- Rearrange the gobbling heads, bodies, hats and tools to match the picture
- Take the brass pieces
-
Examine the door – puzzle
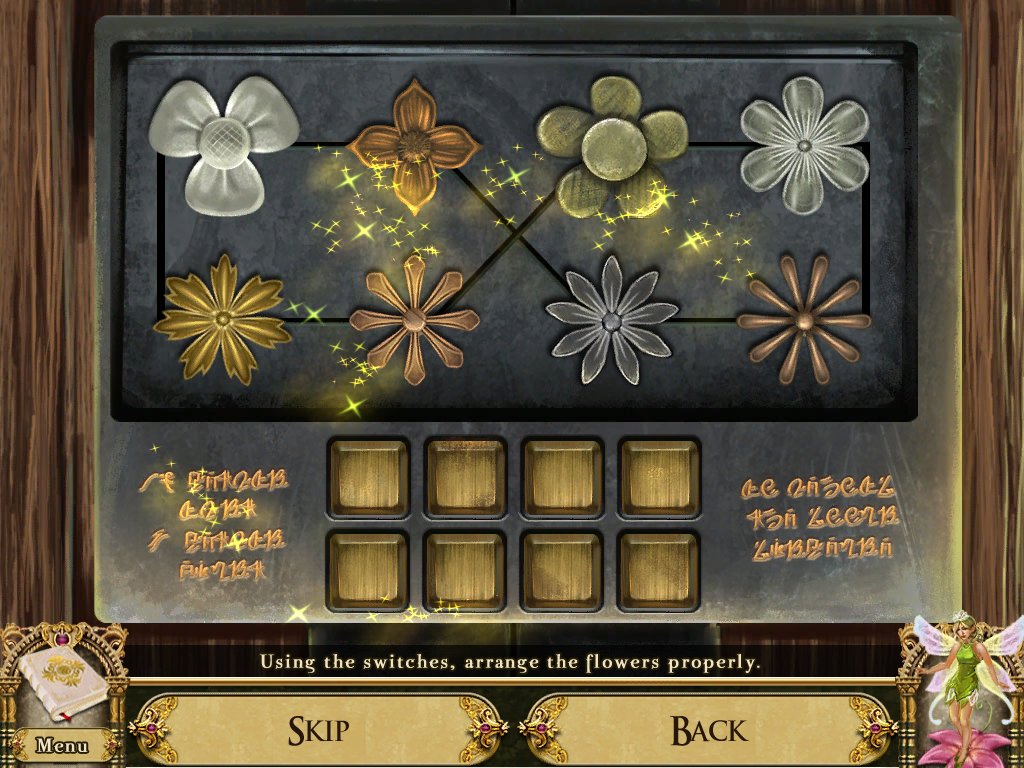
- Use the brass pieces on the door
- Read the writing
- "Ten petals last, three petals first, lo and behold the doors disperse”
- Use the buttons at the bottom to move the flowers
- Line them up from 3 – 10
- Enter the griffins eyrie
Griffins Eyrie
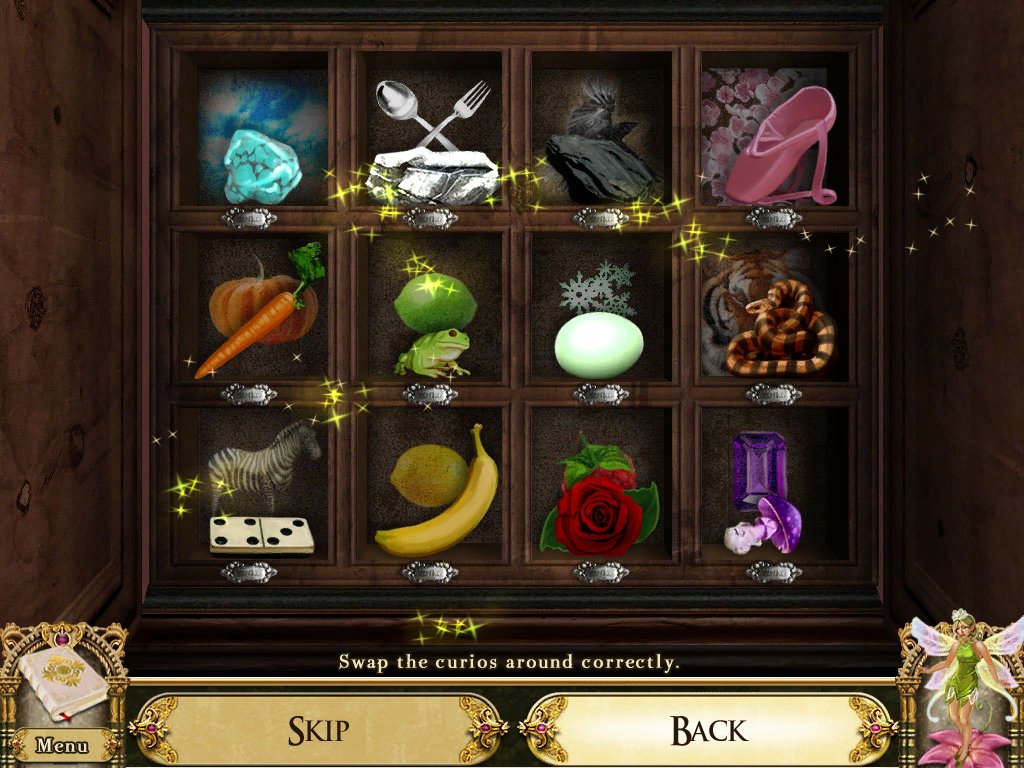
- Examine the chest – puzzle
- Turn over the tiles and match them
- Match the items by color
- Take the silver ingot
-
Examine the armory – puzzle
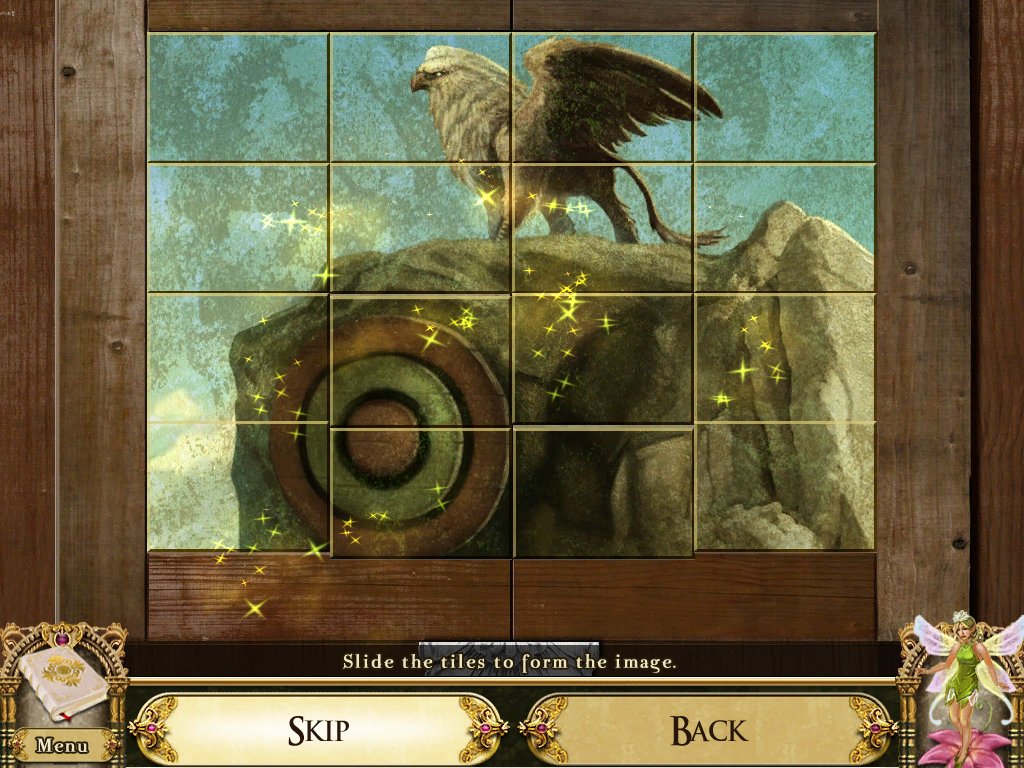
- Slide the tiles to create a picture
- Take the bow and arrow shafts
-
Examine the upper doors – puzzle
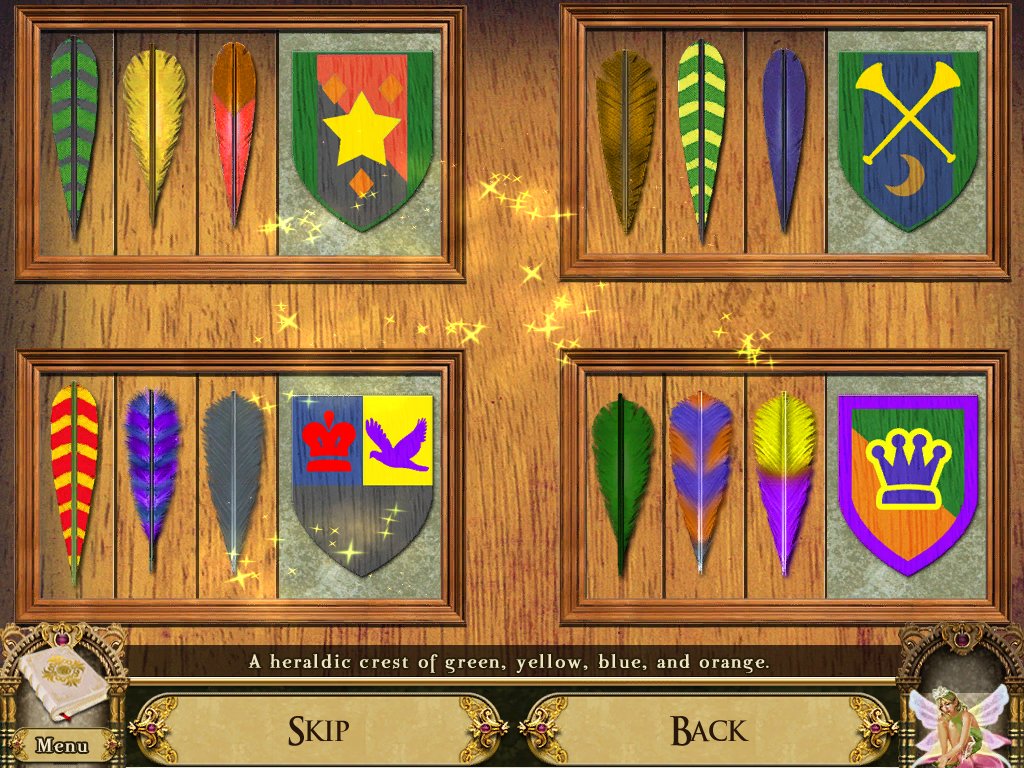
- Swap the feathers so the match the crest
-
Examine the bottom drawers – puzzle
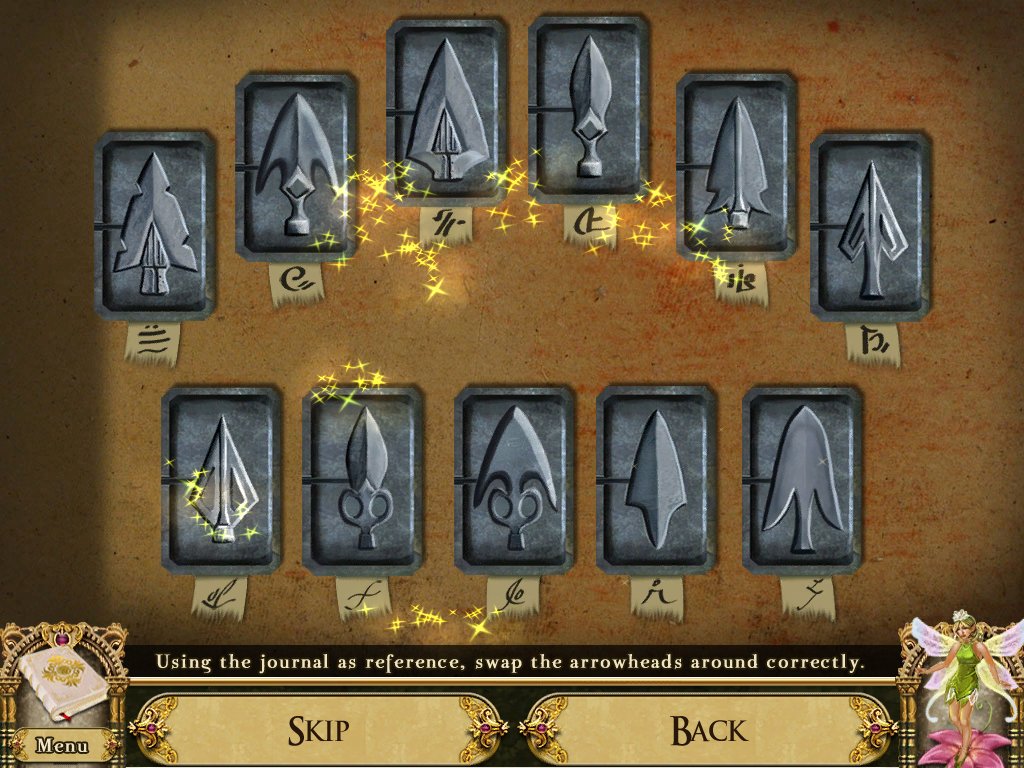
- Look at the etchings in your journal
- Swap the arrow heads to match the order of the symbols
- Examine the griffins mold
- Place the ingot in the top and the arrow mold in the bottom
- Use the pocket dragon to melt the ingot
- Take the arrow head
-
Shoot the arrow at the target on the rock under the Griffin
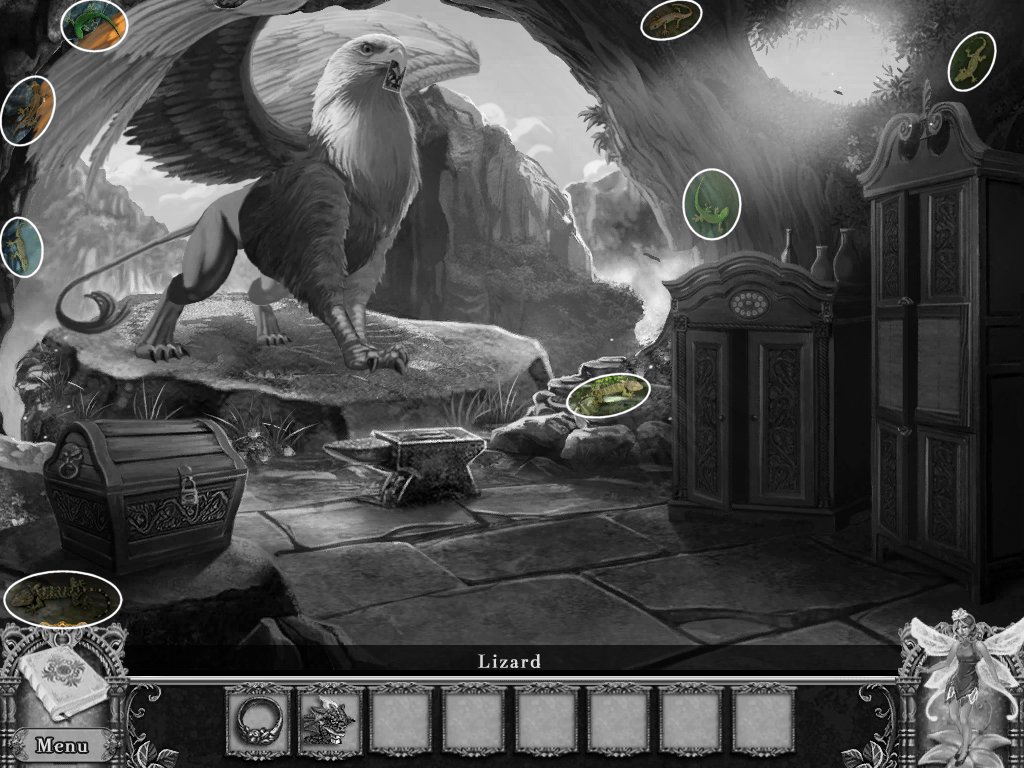
- Find eight lizards
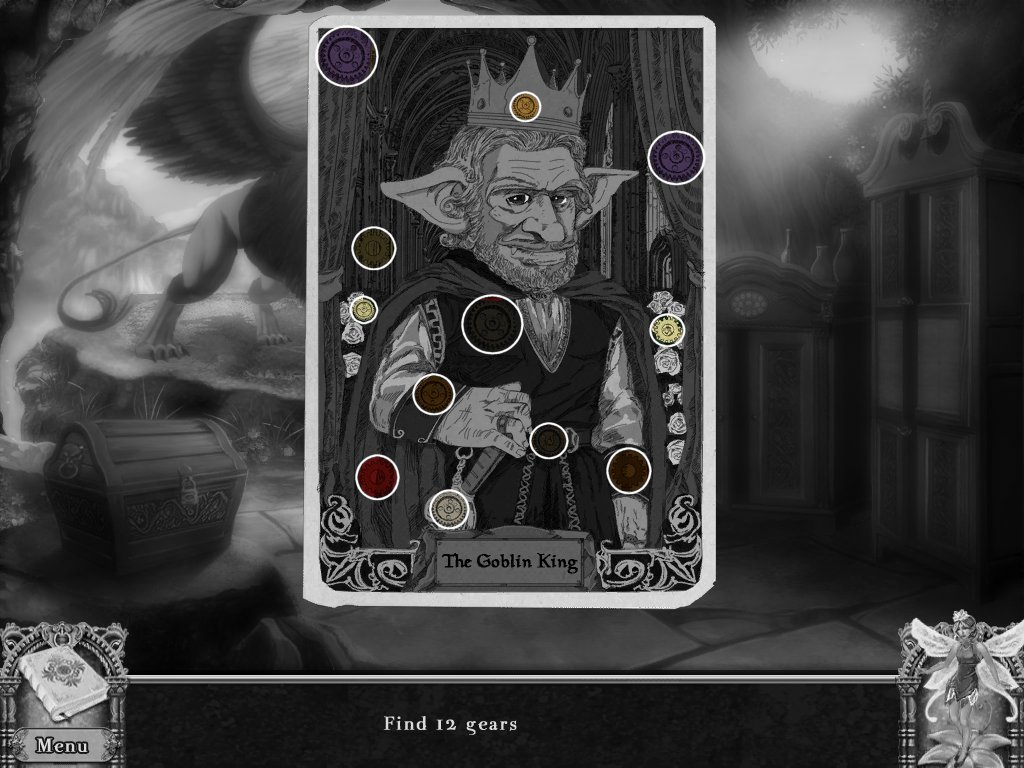
- Find twelve gears (witches card)
- Return to the pavilion
Pavilion
- Place the last card in its spot
- Talk to the witch
- Take the key
- Return to the griffins eyrie
Griffins Eyrie
- Examine the chest
- Use the key on the chest
- Take the griffins saddle
- Examine the map – puzzle
- Match three like symbols
- Clear the board
- Use the saddle on the Griffin
- Show the map to the Griffin
- Read your journal
- Click on the Griffin
- Fly away…
The End?
Comments will load when you reach this part of the walkthrough.