
Chapter One: The River
River Path
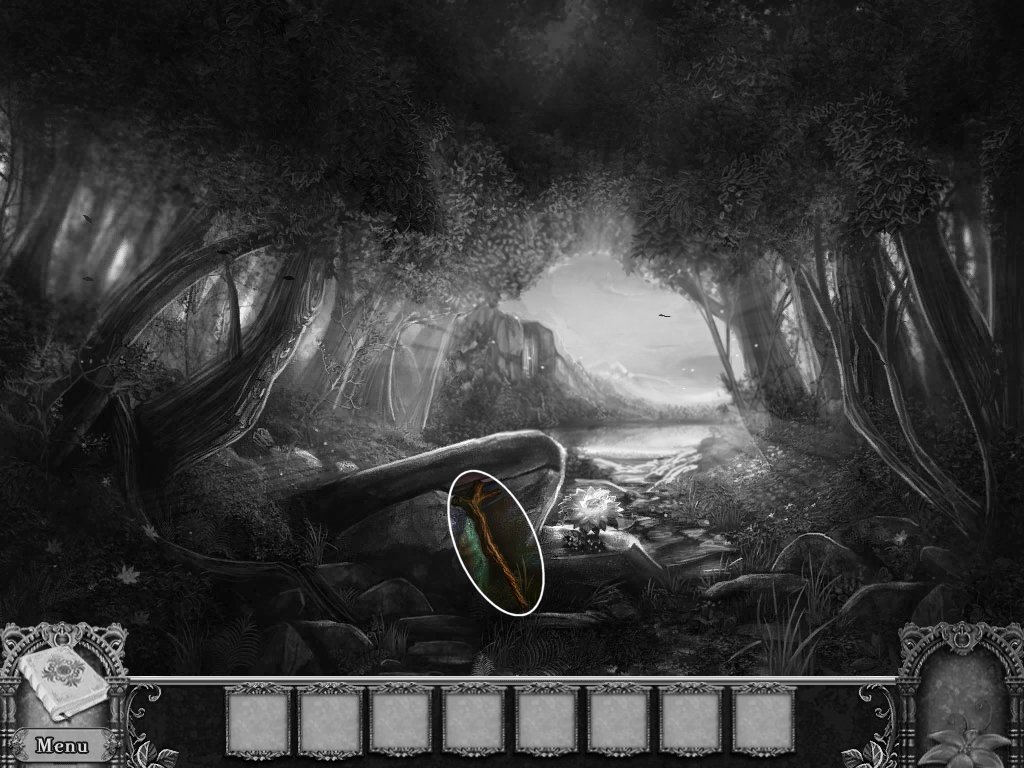
- Examine the flower
- Ring the bell
- Talk to Mira
- Take stick
- Go up to the river
River
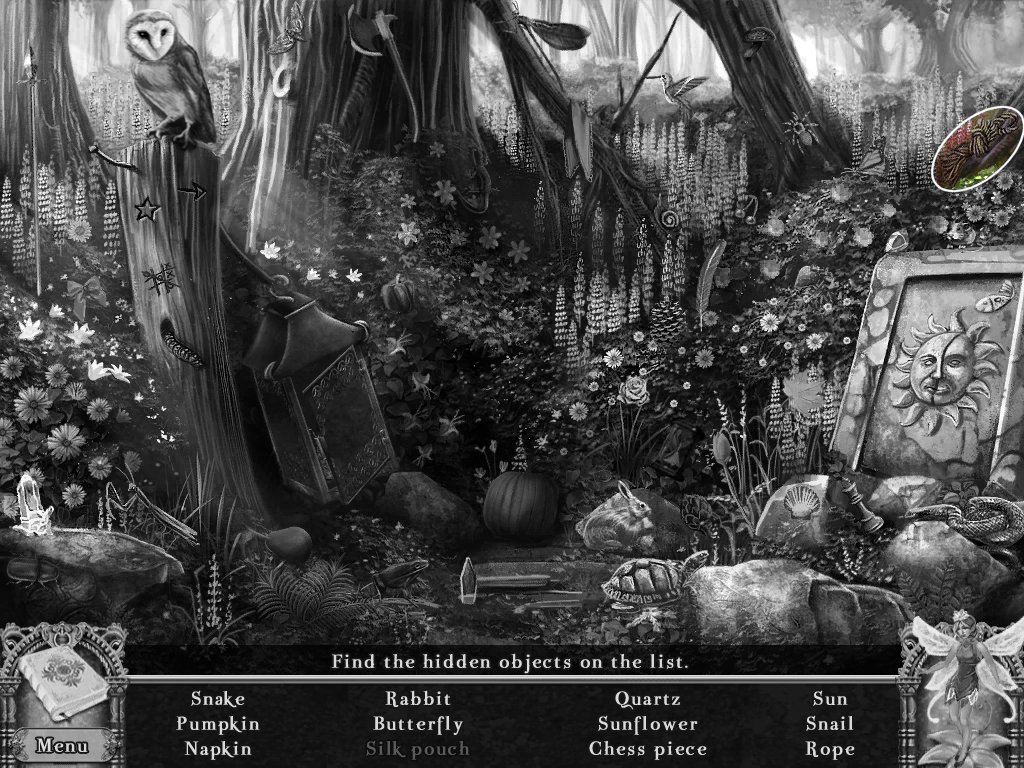
- Examine the flower bush - Hidden Object Area
-
Take rope
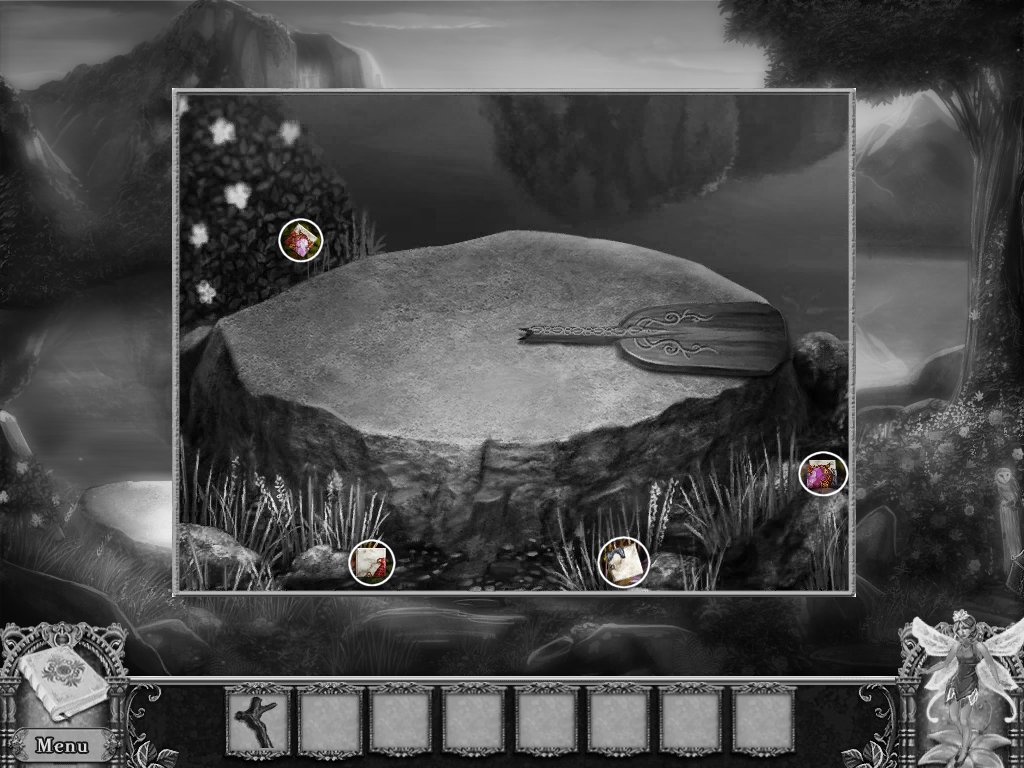
- Examine the rock
- Take the four painted tiles
- Place the stick on the rock
-
Use the rope to tie the stick and paddle together
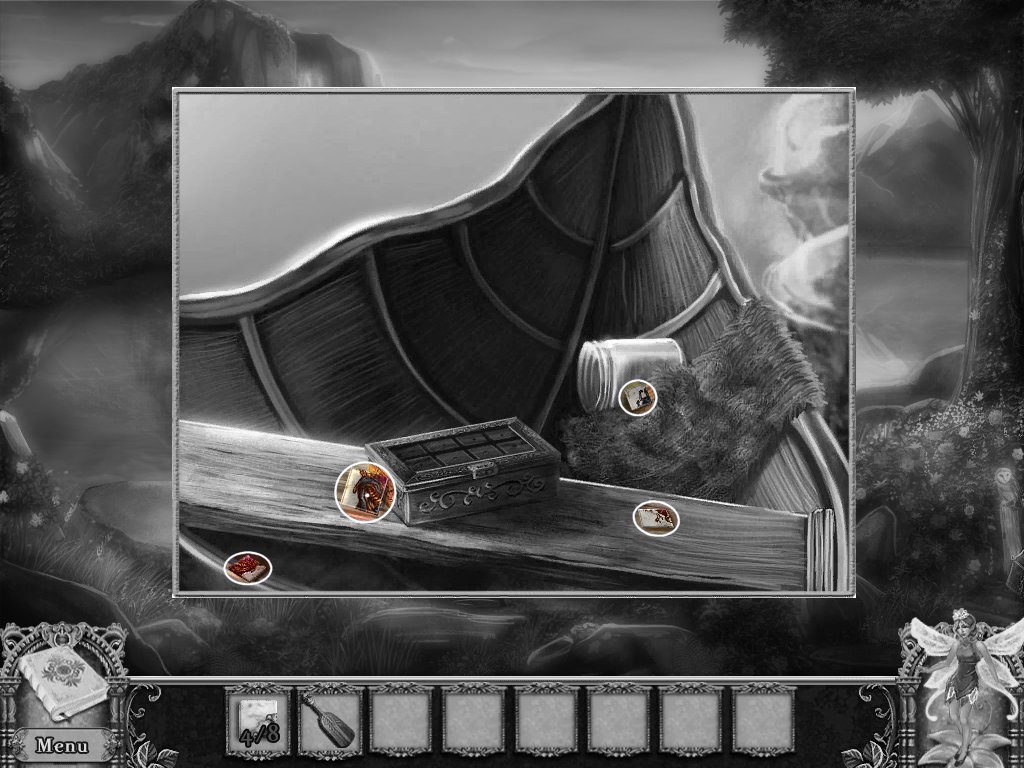
- Examine the fairy boat
- Take the four painted tiles
-
Use the tiles on the box – puzzle
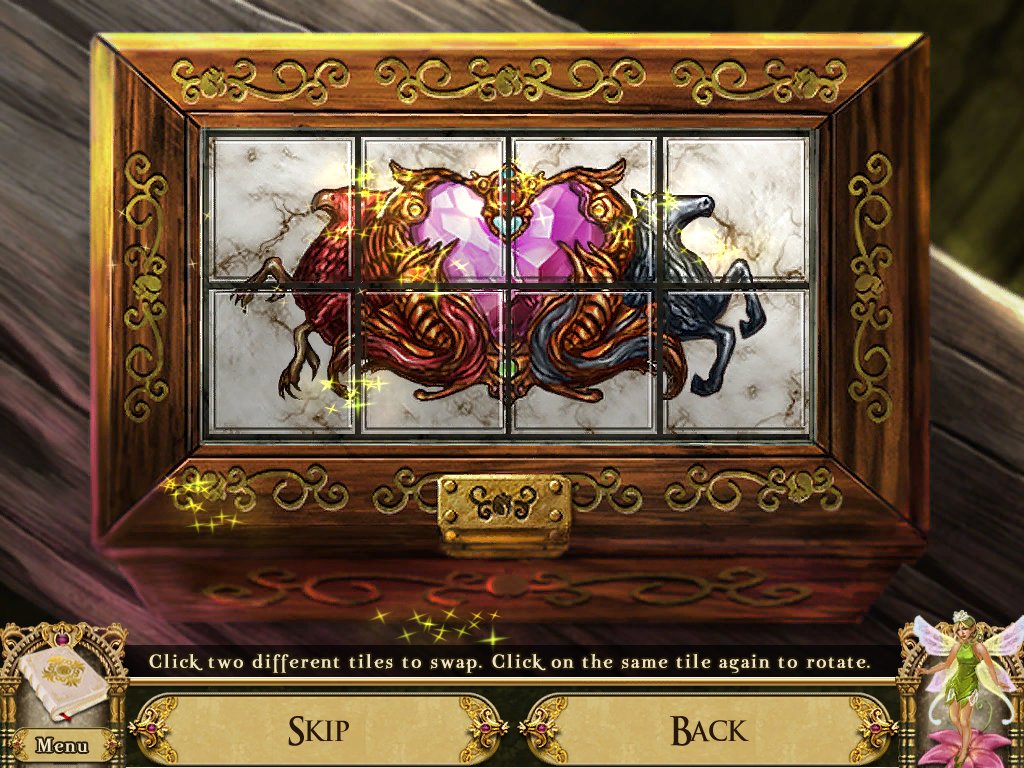
- Swap the tiles to create a picture
- Click a tile to pick it and click again to rotate it
-
Take the signet ring
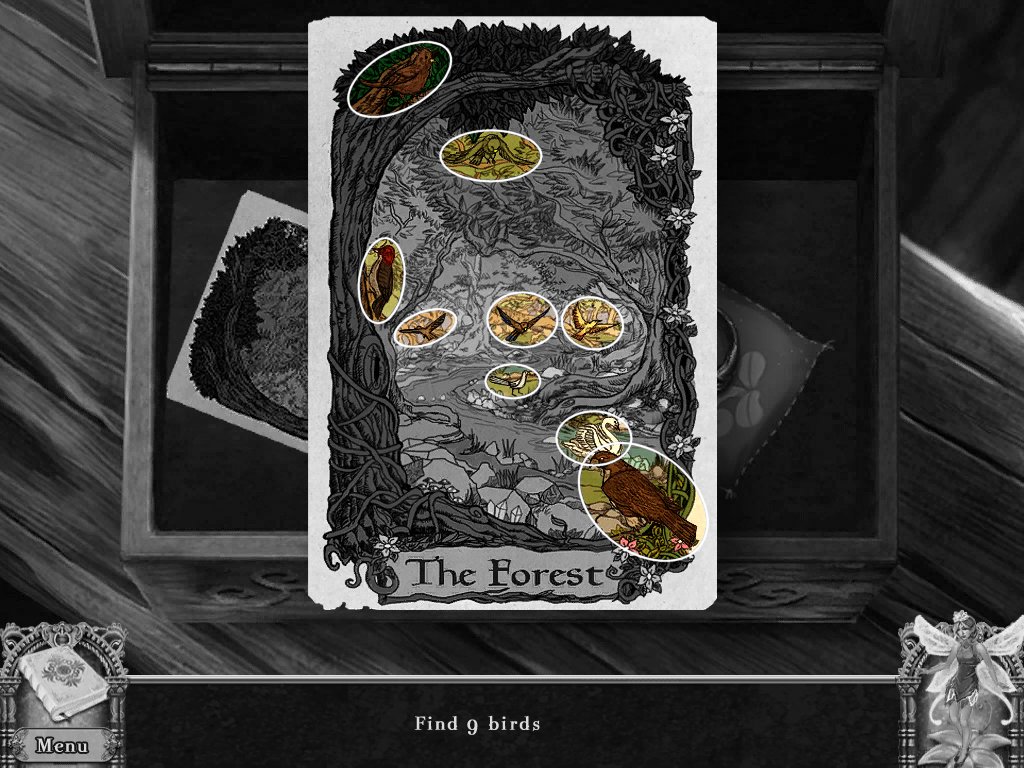
- Examine the witches card
- Find nine birds
- Use the paddle on the boat
Path to the Falls
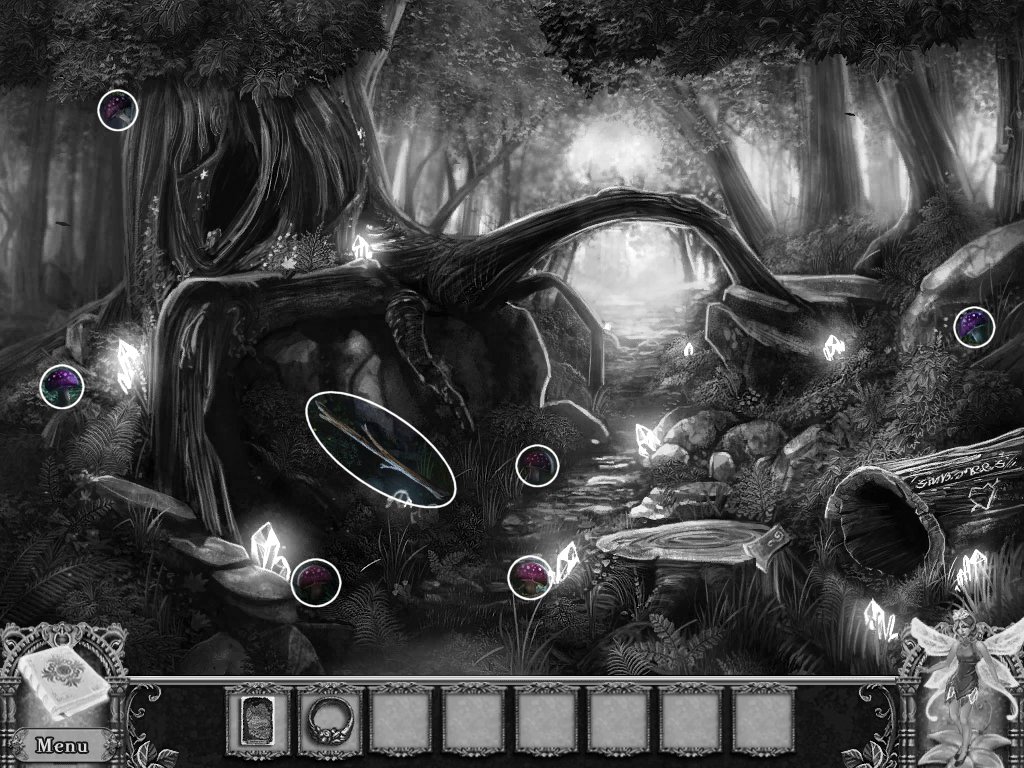
- Find six purple mushrooms
- Take wooden branch
- Examine rotten log
- Take five mushrooms
- Use the wooden branch to reach the sixth mushroom
- Go up to teardrop falls
Teardrop Falls
- Continue up to the path to the cliffside pool
Path to the Cliffside Pool
- Examine the stump
- Use the wooden branch to poke inside
- Feed the pocket dragon the mushrooms
- Go up to the cliffside pool
Cliffside Pool
- Examine the stone lantern
- Examine the stone figurines – puzzle
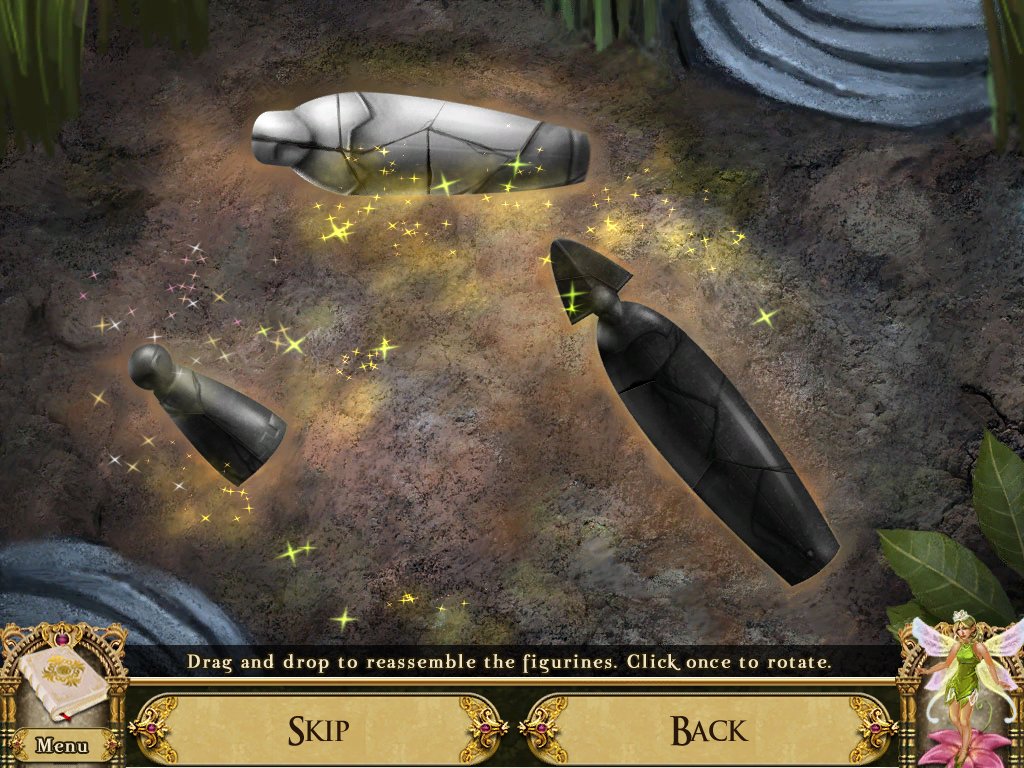
- Drag and drop the pieces to reassemble the figurines
- Click to rotate
-
Place the figurines on the stone lantern – puzzle
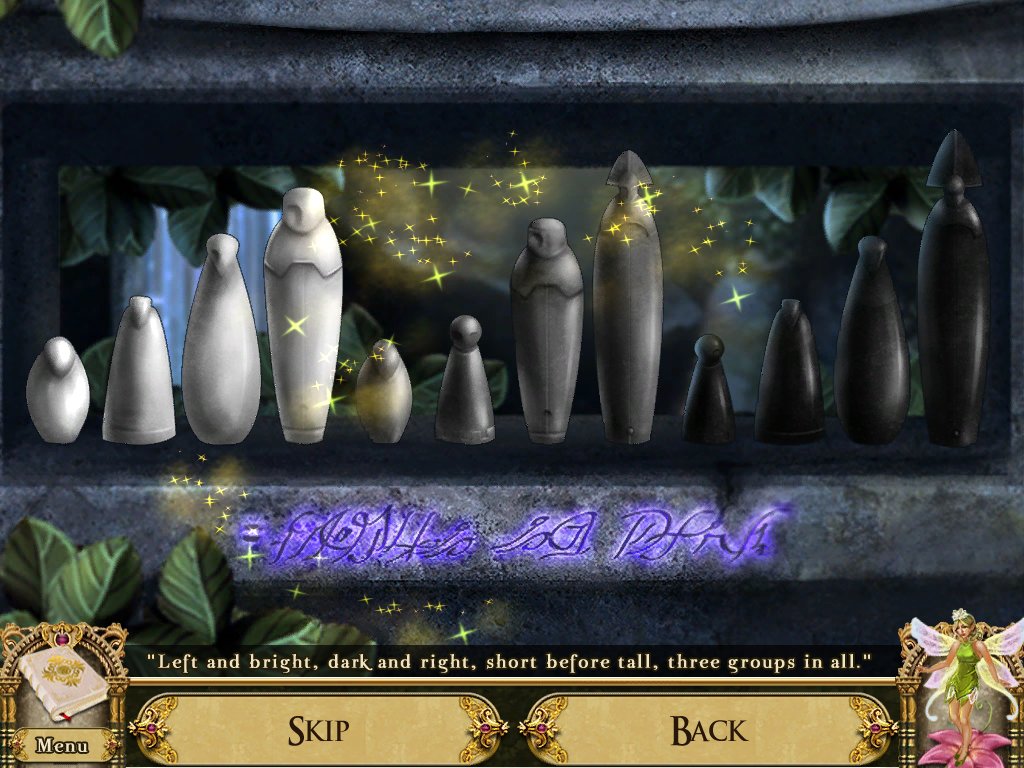
- Examine the writing and read the riddle
- "Left and bright, dark and right, short before tall, three groups in all”
- Assemble the pieces to match that riddle
- Take the “Care and Feeding of Pocket Dragons” – puzzle
- Read the feeding guide on the left
- Using these clues check off what it doesn’t eat on the right
- Solution: check off everything but the mushrooms and moss flowers
- Take the potion moon dew
- Go back to the path to the cliffside pool
Path to the Cliffside Pool
- Use the potion moon dew on the moonflowers – puzzle
- Pull the flowers to untangle them
- You have to solve multiple puzzles to receive the moonflowers
- Feed the moonflowers to the pocket dragon
- Go back to the path to the falls
Path to the Falls
- Examine the hole in the tree
- Use the pocket dragon to light the candle
- The squirrel won’t let us past
-
Go up to teardrop falls
Teardrop Falls
- Examine the gate
- Use the pocket dragon on the lock twice
-
Go through the gate to path to overlook
Path to Overlook
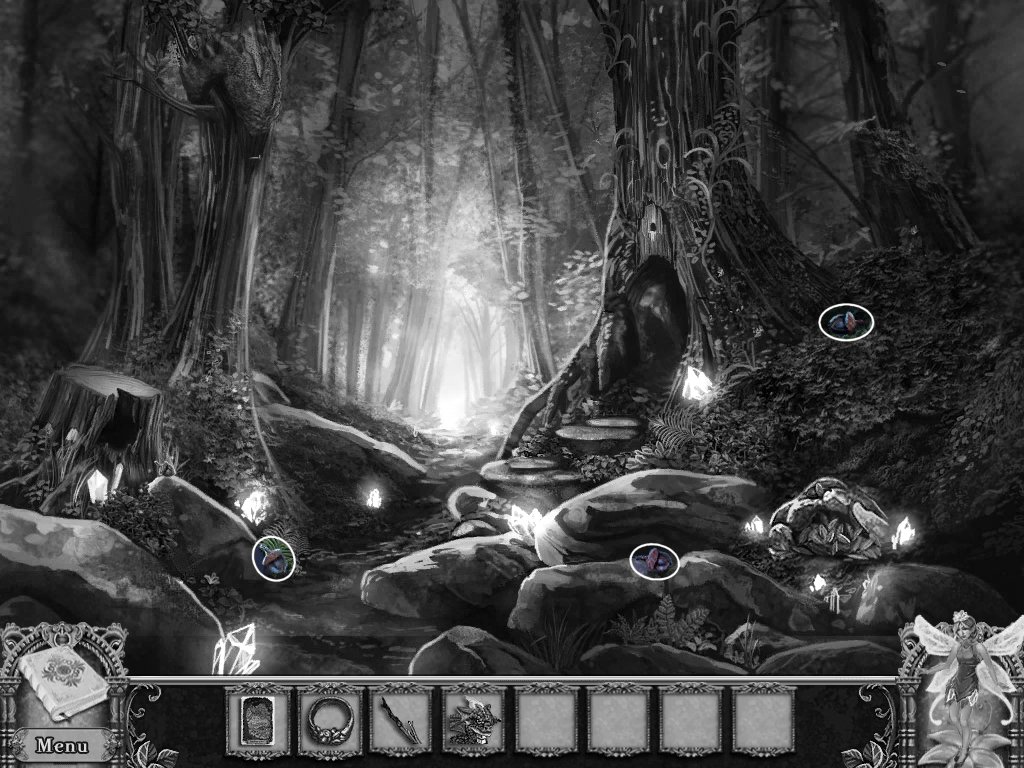
- Collect the three acorns on the ground
- Examine the stump and take the two acorns
- Examine the rock, clear the leaves, and take the three acorns
-
Go back to path to the falls
Path to the Falls
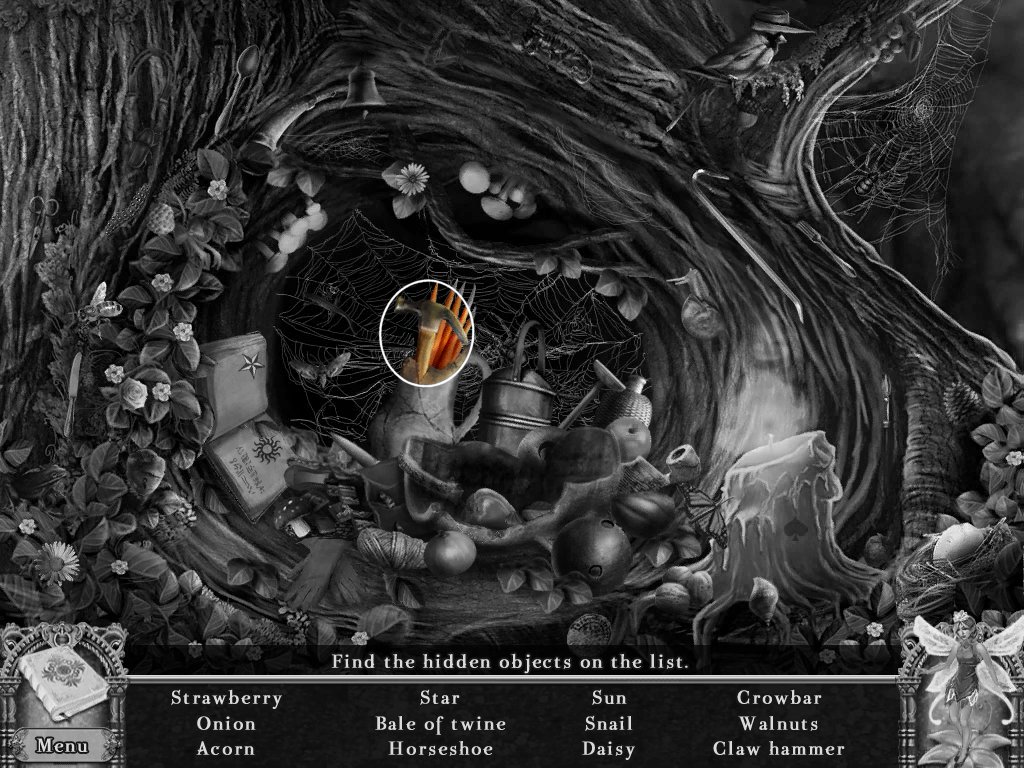
- Examine the hole in the tree – hidden object area
- Feed the squirrel the acorns
- Take claw hammer
- Continue up and through the gate to the overlook
The Overlook
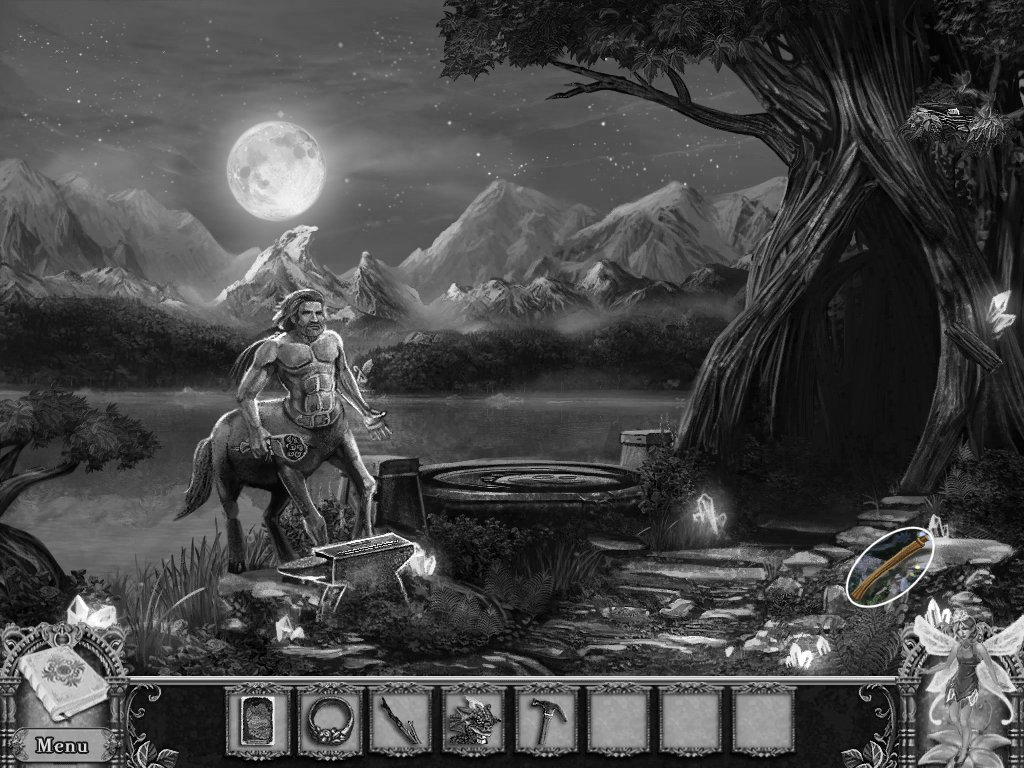
- Take the axe handle
- Return to the path to the falls
Path to the Falls
- Use axe handle on axe head
-
Return to cliffside pool
Cliffside Pool
- Use axe on tree
- Use the hammer to remove the boards
- Examine the stump
- Take the fairy bead
- Return to the overlook
The Overlook
- Use the wooden boards on the tree trunk
- Use the hammer on the wooden boards
- Examine the birds nest
- Take the tin and the gem keystone
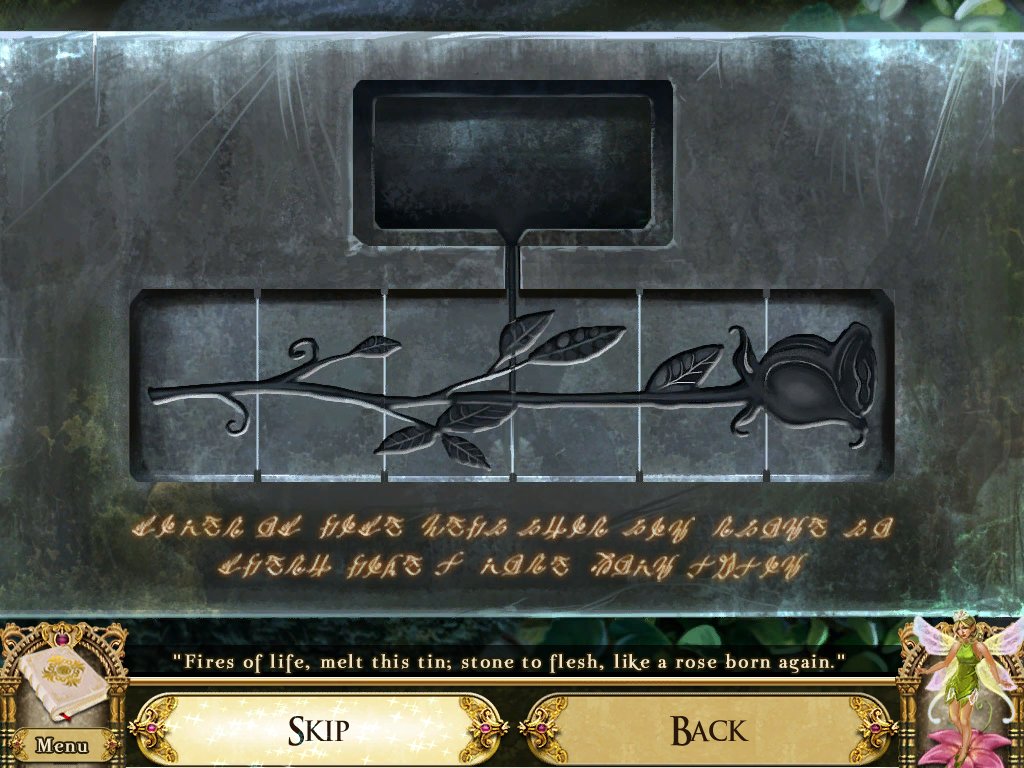
- Examine the anvil – puzzle
- Examine the writing and read the riddle
- "Fires of life, melt this tin, stone to flesh, like a rose born again”
- Rotate the pieces by clicking on them until they form a rose
- Place the tin in the hole
- Use the pocket dragon to melt it
- Take the rose
- Give the rose to the centaur
- Return to teardrop falls
Teardrop Falls
- Examine glittering pool
- Place the gem key in the rock – puzzle
- Match the gems according to the riddles
- Solution: diamonds; squares; circles; hearts; halves
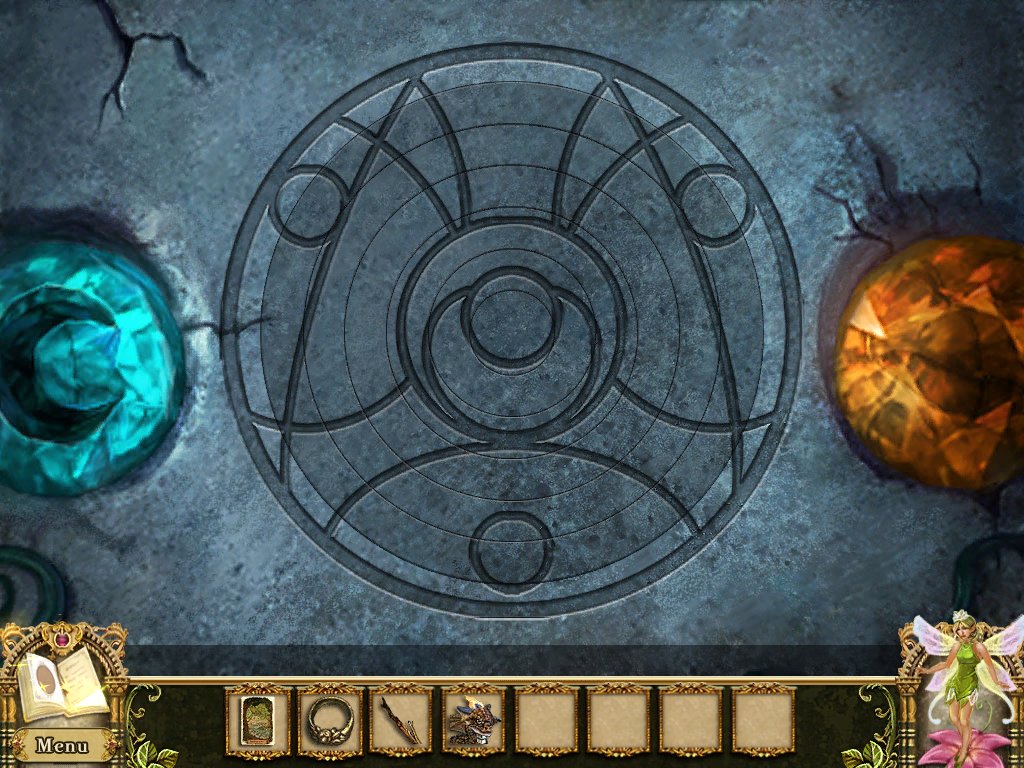
- Examine the stone plinth
- Place the moonstone and the sunstone in the matching holes puzzle
- Rotate the rings so they line up
-
Enter the cave
Waterfall Cave
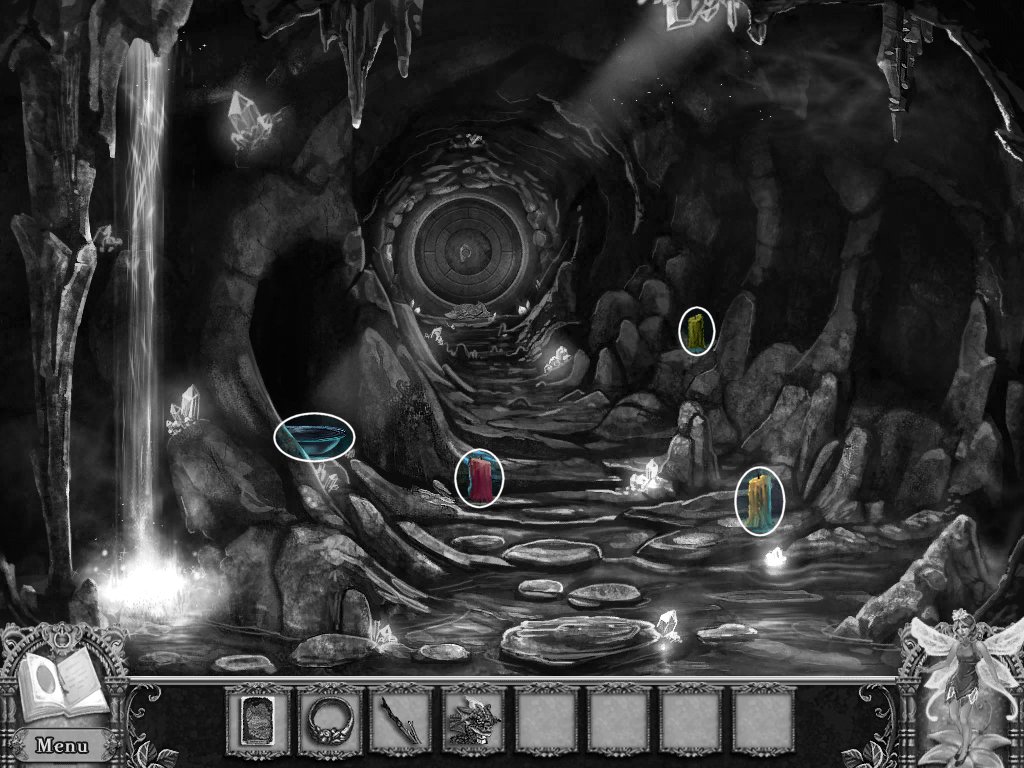
- Examine the basin
- Take the basin
-
Examine the witches card – puzzle
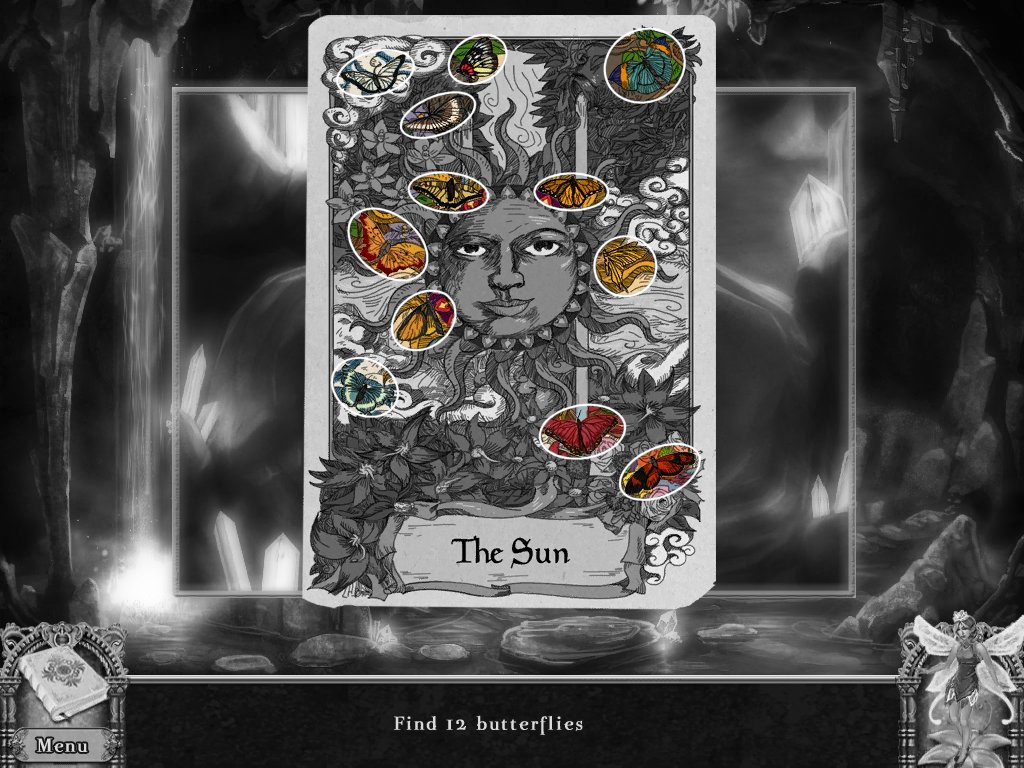
- Find twelve butterflies
- Read the writing
- Use the water basin on the waterfall
-
Place the basin back on the rock – puzzle
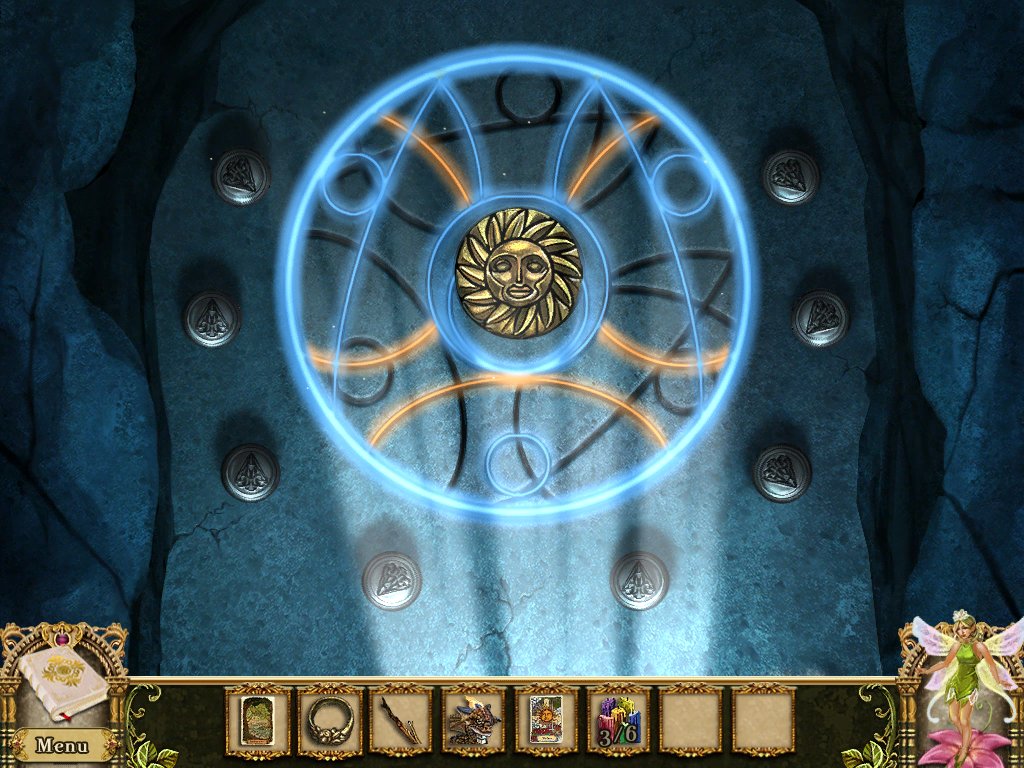
- Push the dials once to turn an area blue
- Push the dials twice to turn an area orange
- Copy the symbol from the stone plinth – you can find a picture in your journal
- Take the medallion
- Take the three candles
- Examine the portal – puzzle
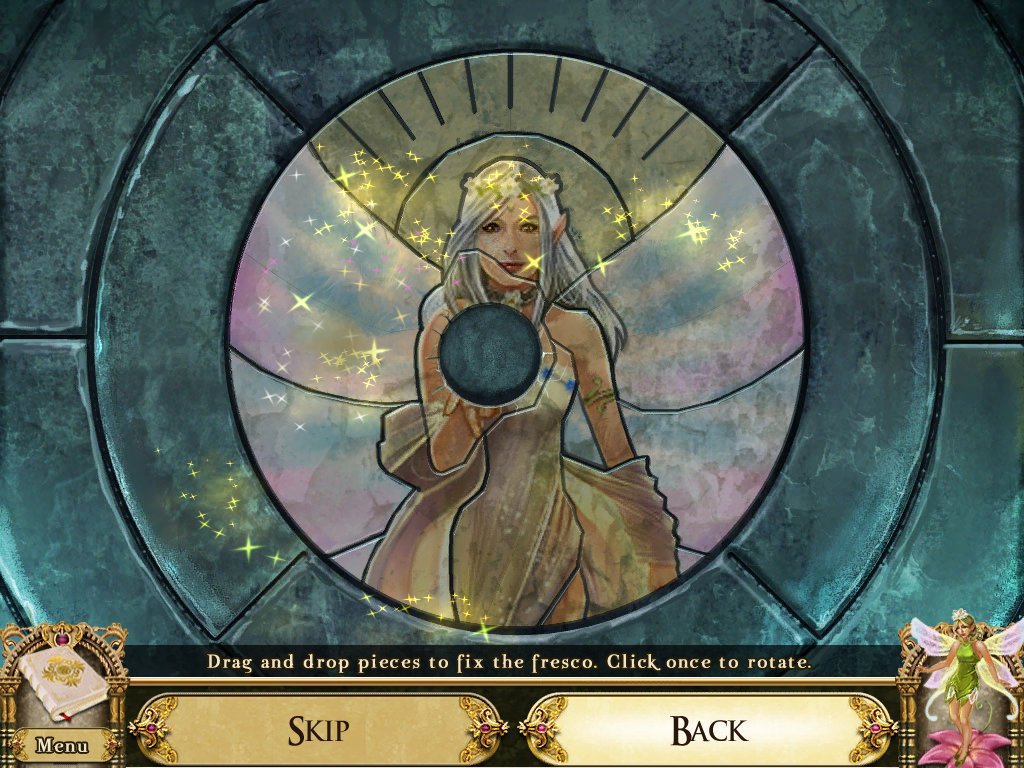
- Replace the pieces to form a picture
- Click the pieces to rotate them
-
Place the medallion in the center – puzzle
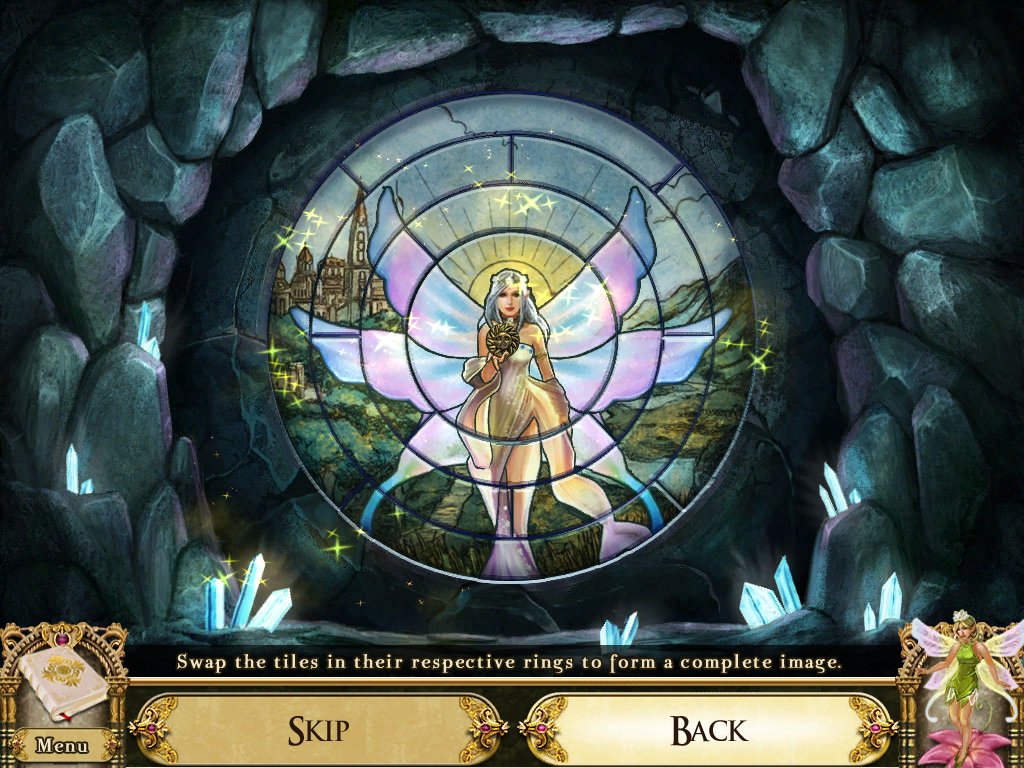
- Swap the tiles to form another picture
- Go up to the gate of sun and moon
Gate of Sun and Moon
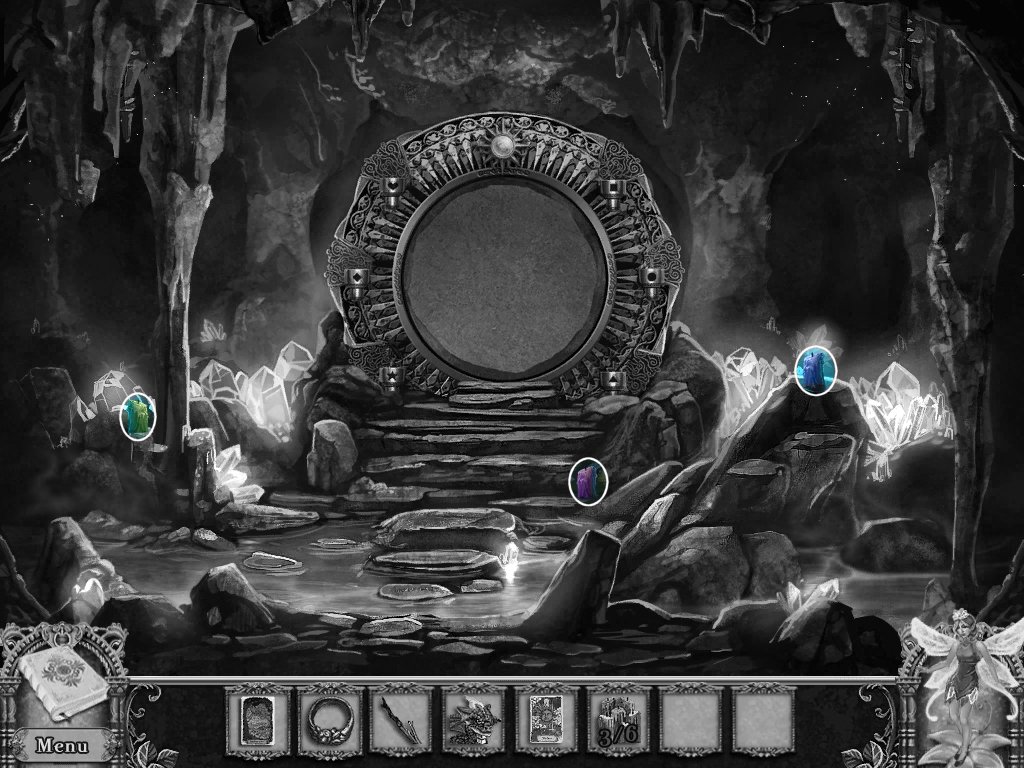
- Take the three candles
- Examine the gate
- Use the candles on the gate
-
Read the writing – puzzle
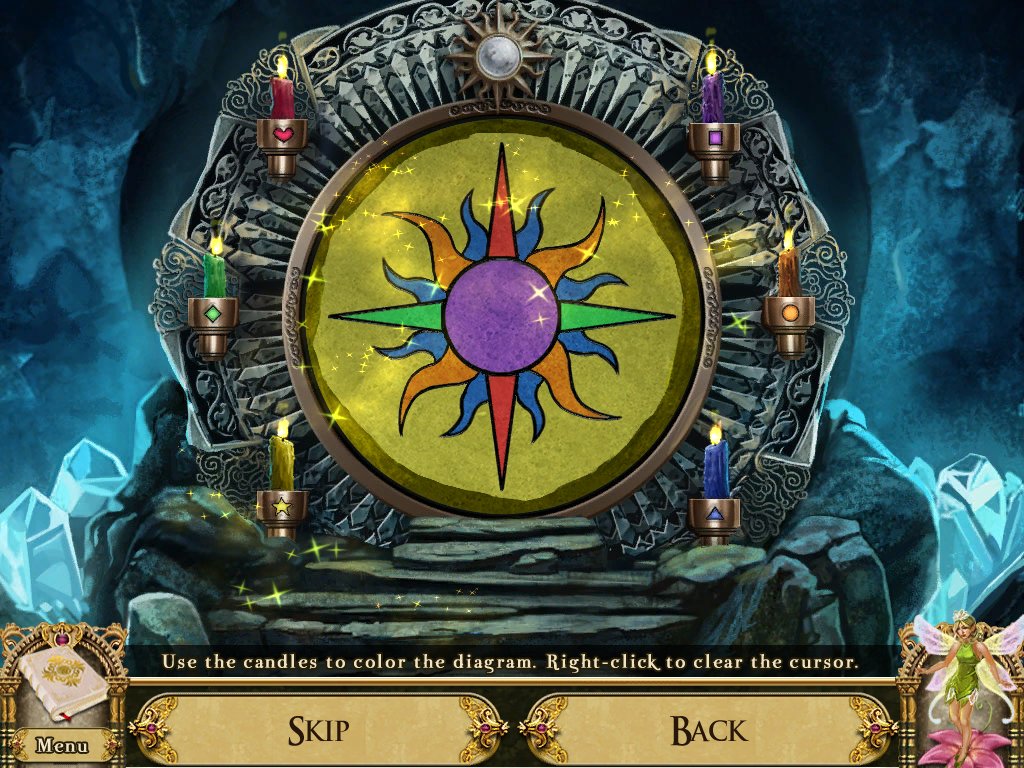
- "Large them small, outside then in, to light the candles, follow the rings”
- Examine the arrows in the rings
- Light the candles according to the riddle
- Solution: purple, yellow, green, orange, blue, red
- Paint the picture by following the symbols
- This is just like a “paint by number” drawing
- Enter the portal into the light
- Return to the path to the overlook
Path to the Overlook
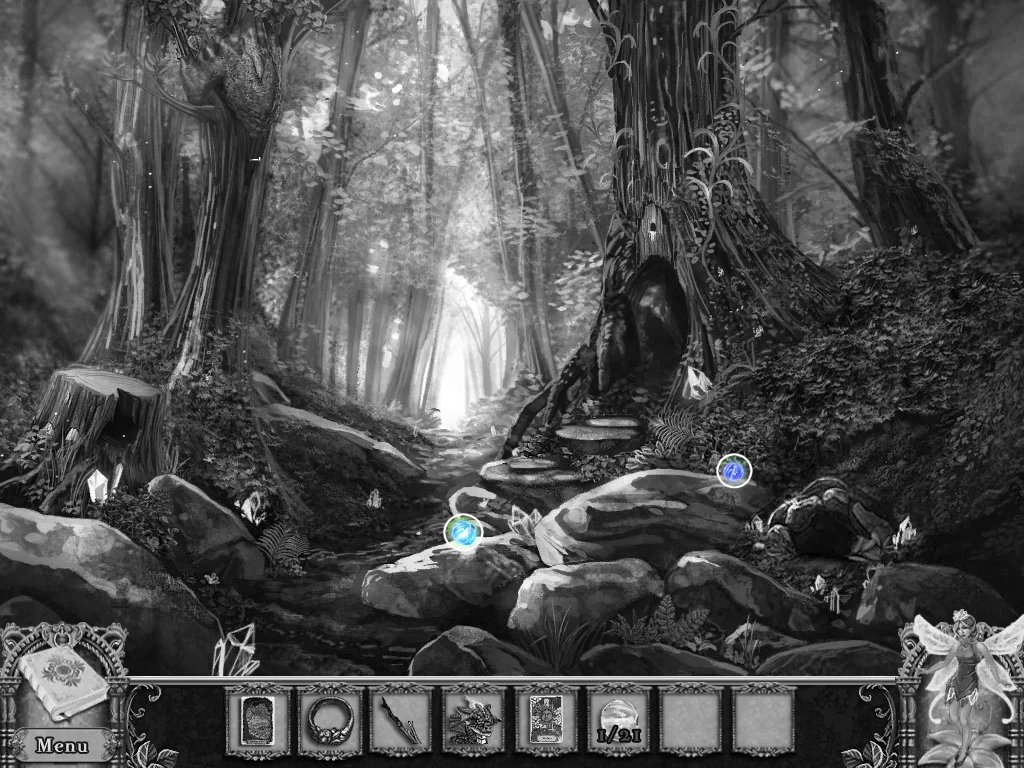
- Examine the stump
- Take the fairy bead
- Take the two fairy beads on the ground
-
Go down to teardrop falls
Teardrop Falls
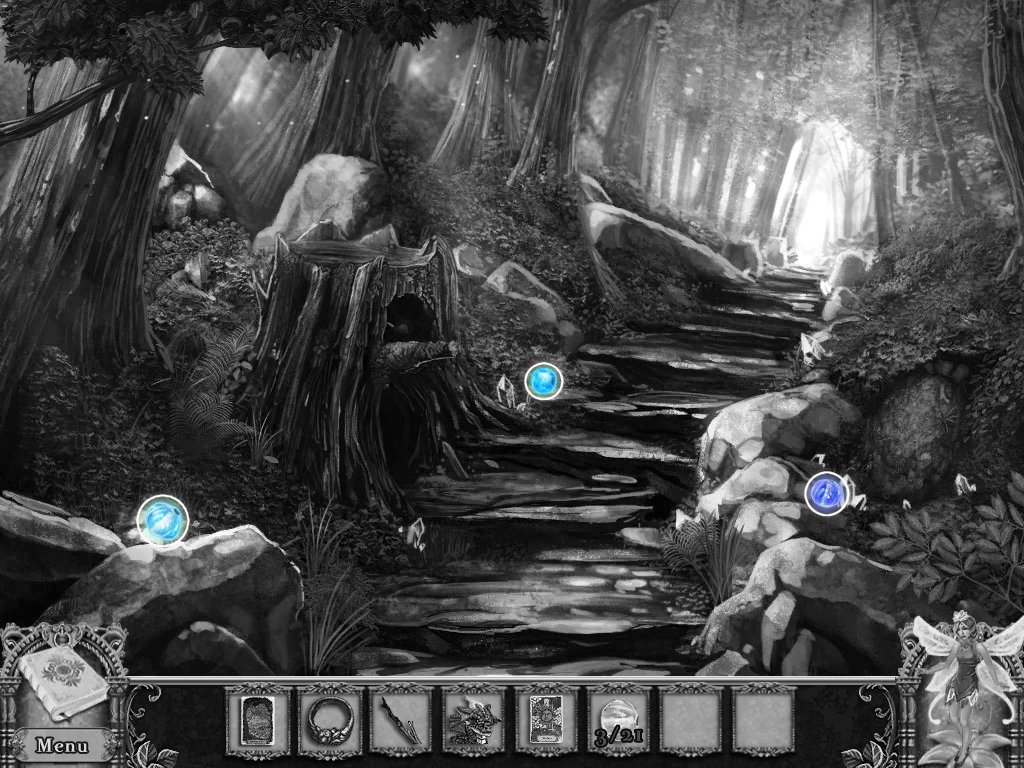
- Talk to the Fairy Queen
- Go up to the path to cliffside pool
- Path to Cliffside Pool
- Examine the stump
- Take the fairy bead
- Pick up the three fairy beads on the ground
-
Go up to the cliffside pool
Cliffside Pool
- Examine the lily pads
- Touch the frog
- Take the fairy bead
- Examine the stone lantern
- Take the fairy bead
- Go down to path to the falls
Path to the Falls
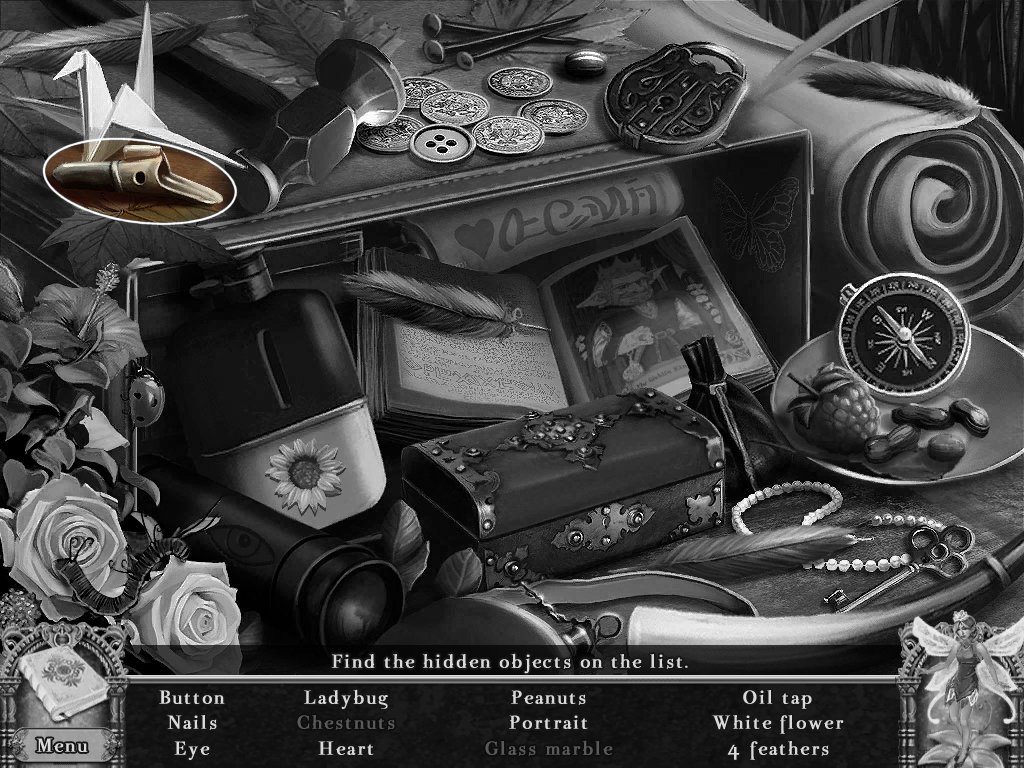
- Talk to the Goblin Woodsman
- Play a game of Tripeaks - puzzle
- Stack cards that are one value up or down
- Example: ace on a two; five on a four, etc.
- Take the basket
- Examine the rucksack – hidden object area
- Take the oil tap
- Take the wooden pole
-
Return to the cliffside pool
Cliffside Pool
- Use the basket on the cherry berry bush – puzzle
- Find the matching pairs
- Return to the path to the falls
Path to the Falls
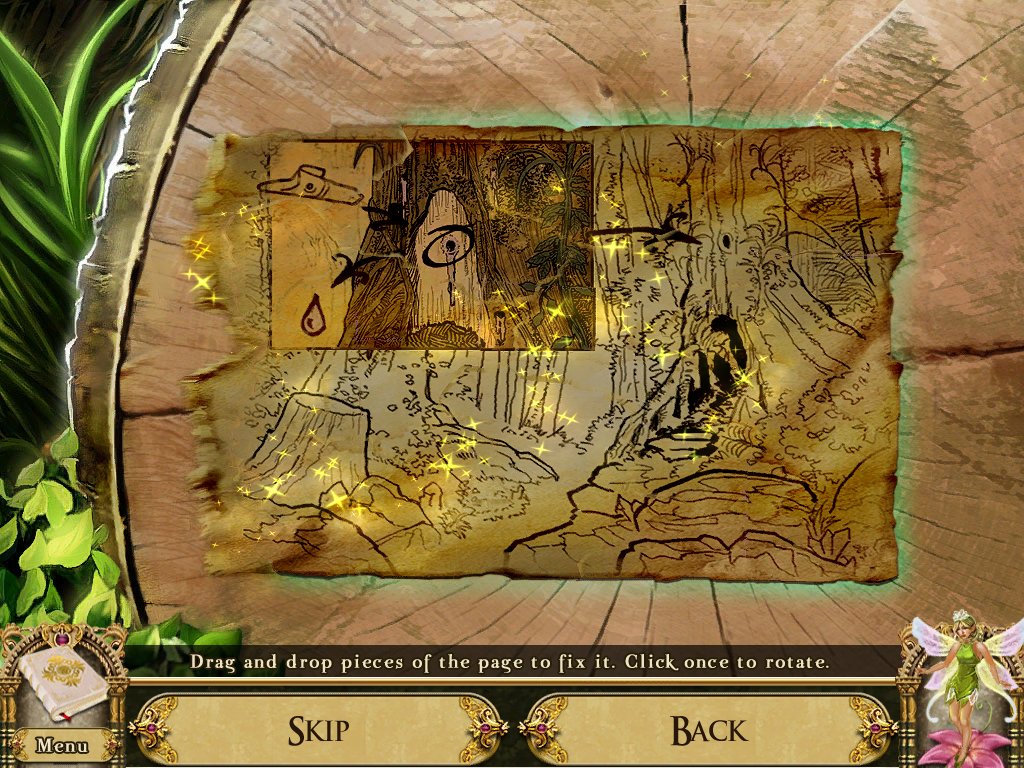
- Give the cherry berries to the Goblin Woodsman
- Take the paper and torn pieces – puzzle
- Reassemble the picture
- Click once to rotate the pieces
-
Return to the path to the overlook
Path to the Overlook
- Use the oil tap on the tree
- We need a container
- Go up to the overlook
The Overlook
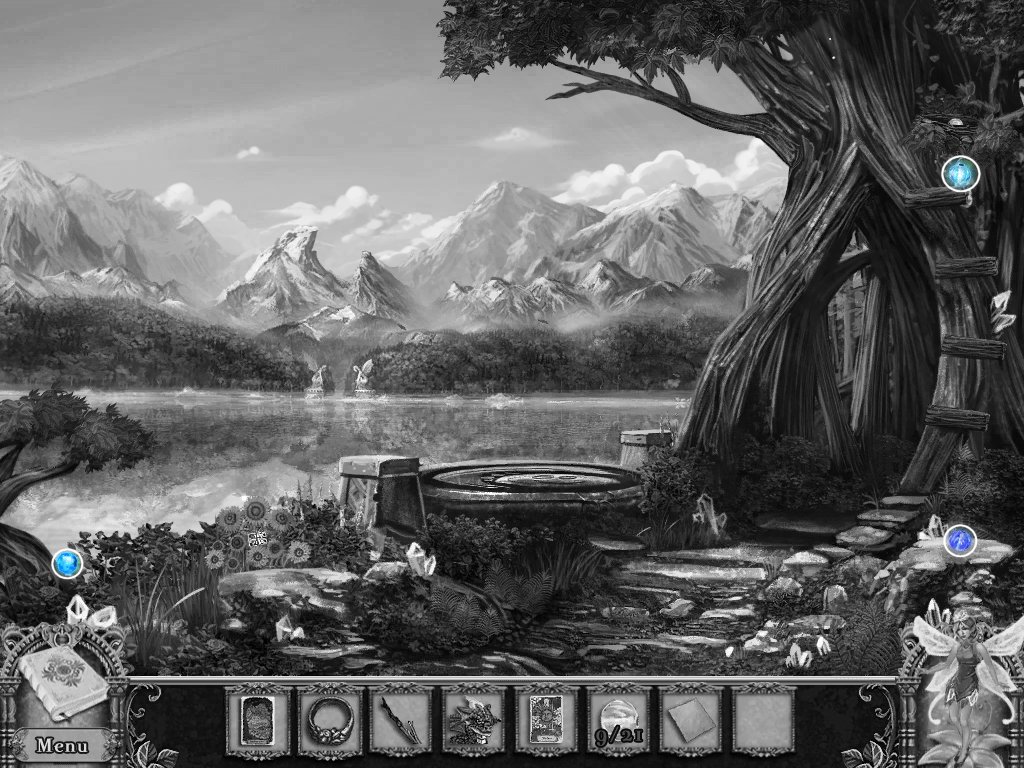
- Examine the birds nest
- Take the fairy bead
- Take the three fairy beads on the ground
- Examine the sunflowers
-
Take the witches card – puzzle
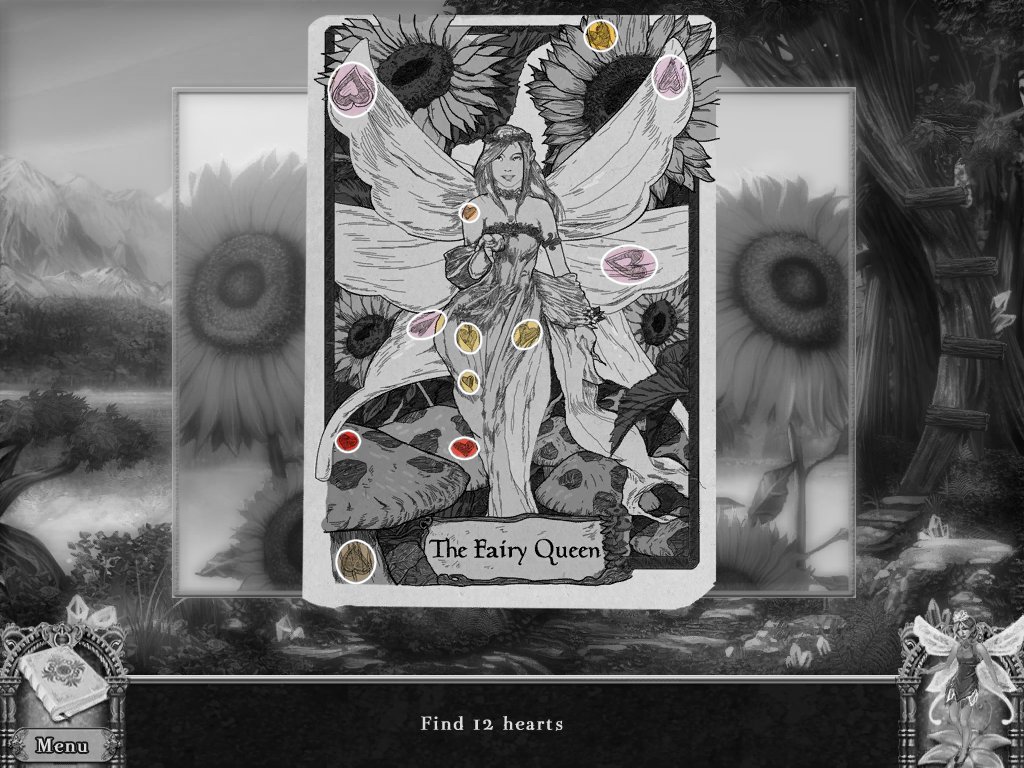
- Find twelve hearts
- Go up to the path to the pavilion
Path to the Pavilion
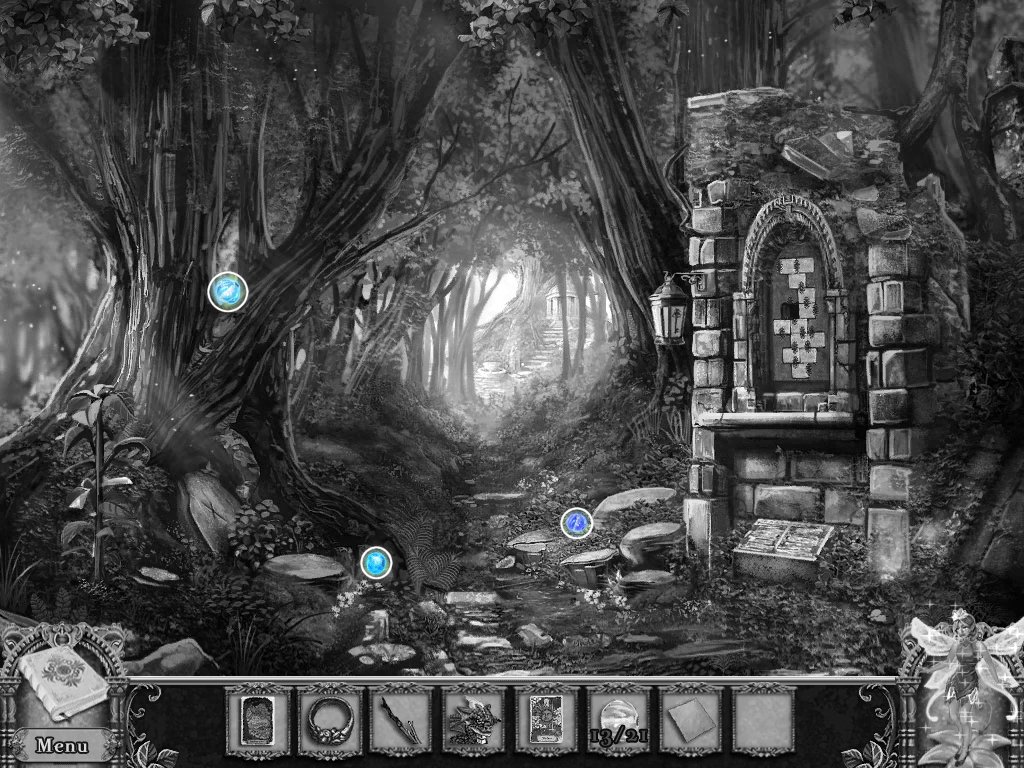
- Take the three fairy beads on the ground
- Use the wooden pool on the lantern
-
Examine the lantern – puzzle
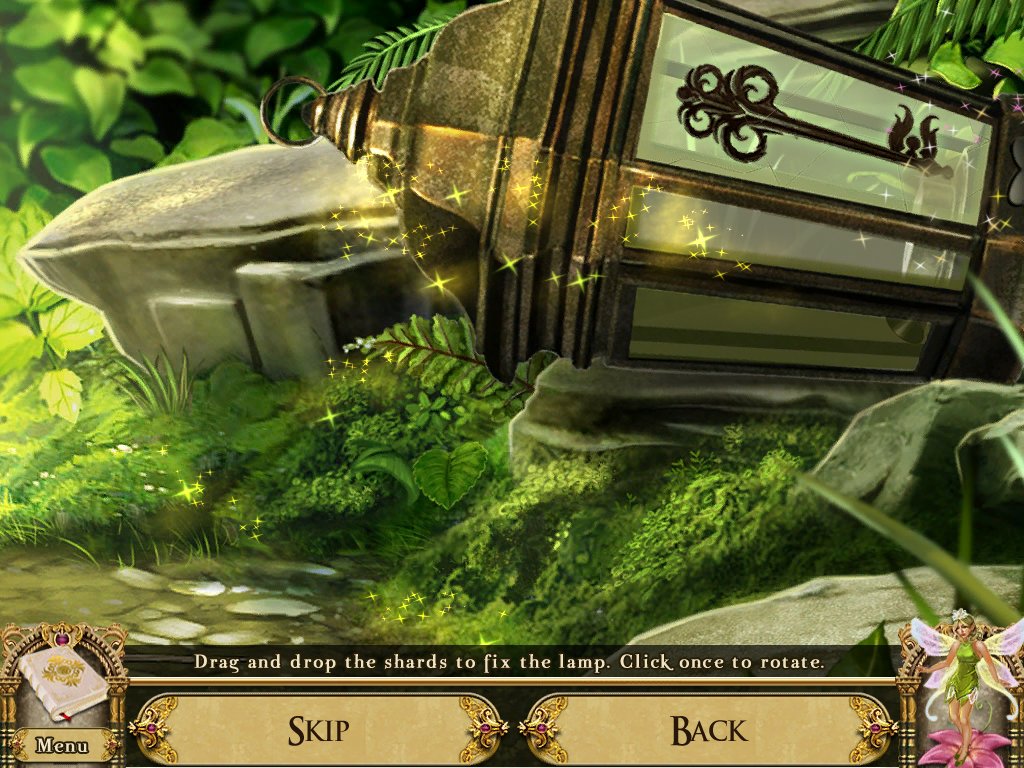
- Replace the broken pieces
- Click once to rotate
- Take the key
- Examine the storage box
- Use the key on the left door
- Take the fishing line and the brick
- Examine the brick alcove – puzzle
- Replace the brick
- Swap the bricks so the pieces match
- Take the fishing lure, empty oil flask, empty spider jar, and empty honey jar
- Go up to outside of the pavilion
Comments will load when you reach this part of the walkthrough.