
Chapter Three: The Moonbridge
Overlook
- Talk to Forgetful Goblin
- Play a game of Tripeaks
- Take the potion of rapid growth
-
Go up to the path to the pavilion
Path to the Pavilion
- Examine the brick alcove – puzzle
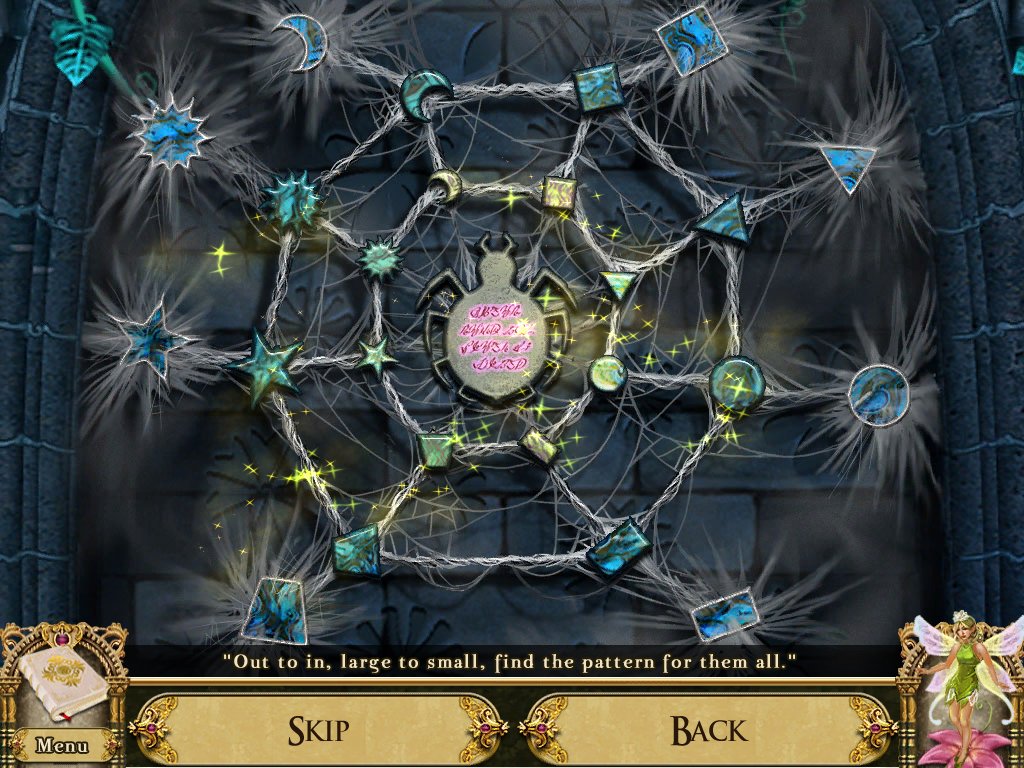
- Read the writing
- "Out to in, large to small, find the pattern for them all”
- Swap the beads according to the riddle
- You have to click the web in-between the beads to swap them
- Swap the bricks so the patterns match
- Take grappling hook head and black orb
-
Examine the storage box
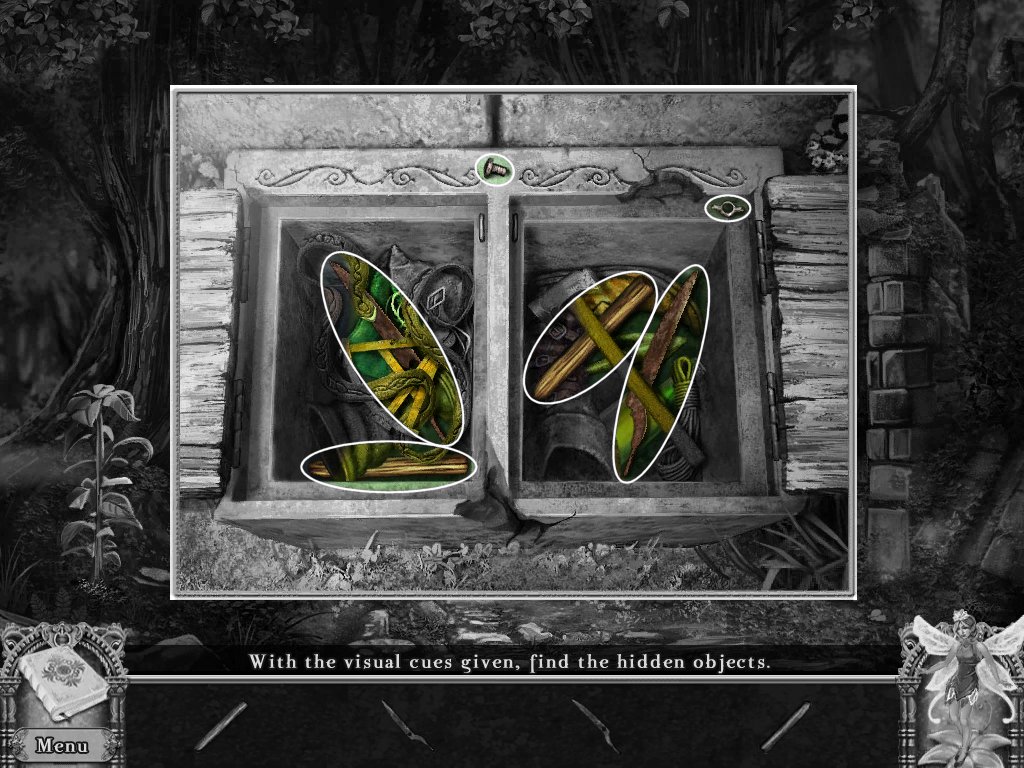
- Find the pieces shown at the bottom
- Put the pieces together to create shears
- Use the shears on the rope
- Go up to outside the pavilion
Outside the Pavilion
- Use shears on thorny creepers
- Take axe handle
- Examine the moonflowers – puzzle
- Find the one that doesn’t match
- Go up to the foot of moonbridge
Foot of Moonbridge
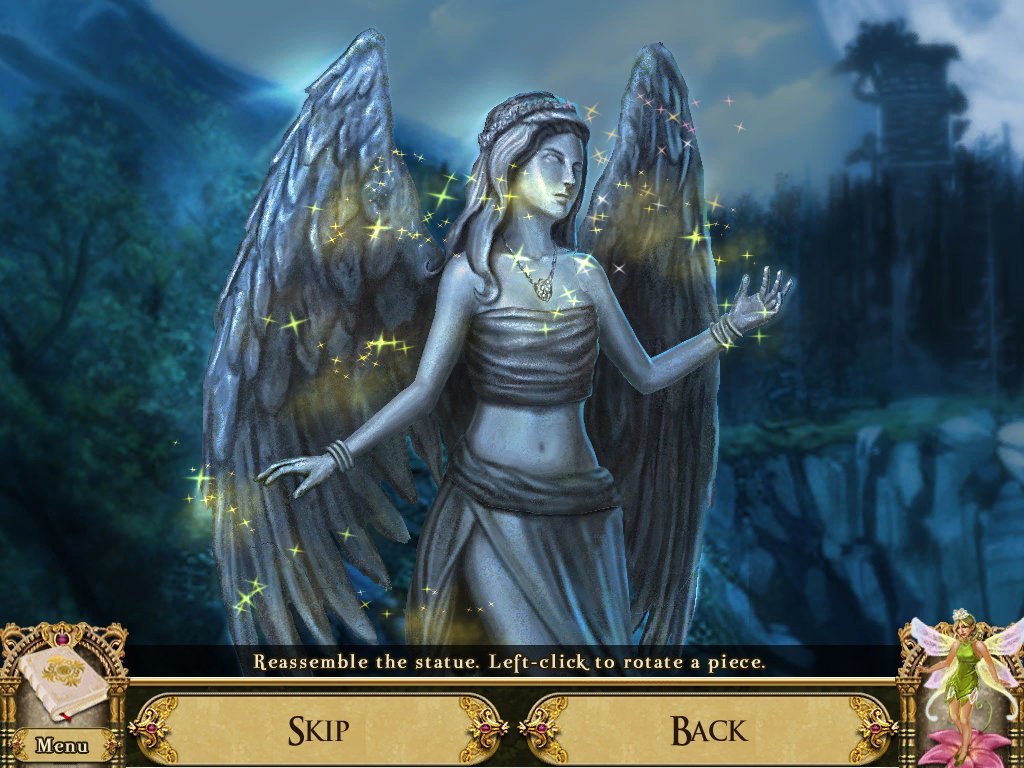
- Examine the statues – puzzle
- Put them back together
- Click a piece once to rotate it
-
Go down to the path to the pavilion
Path to the Pavilion
- Use the pickaxe handle on the pickaxe head
- Take the pickaxe
- Go up to the pavilion
Pavilion
- Examine the tangled rope board – puzzle
- Move the knots to untangle the ropes
- Solve several puzzles
- Take the hemp rope
- Examine the ivory box – puzzle
- Use the moonflowers on the box
- Drop the flowers in the correct spots
- Click once to rotate
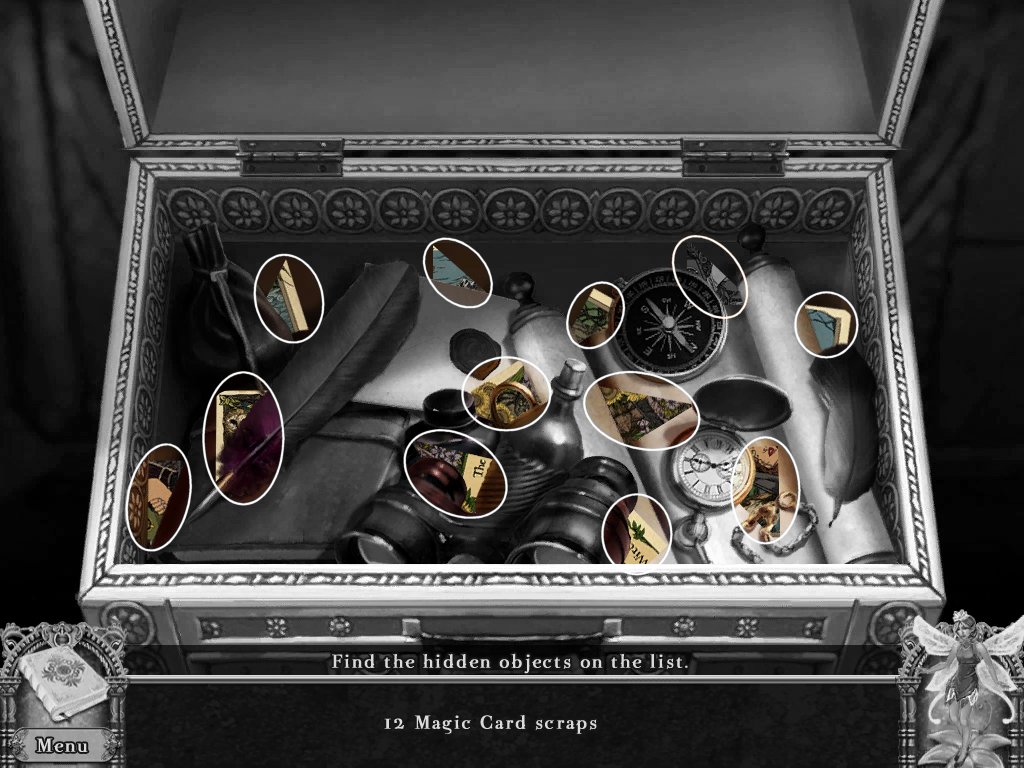
-
Find twelve magic card scraps
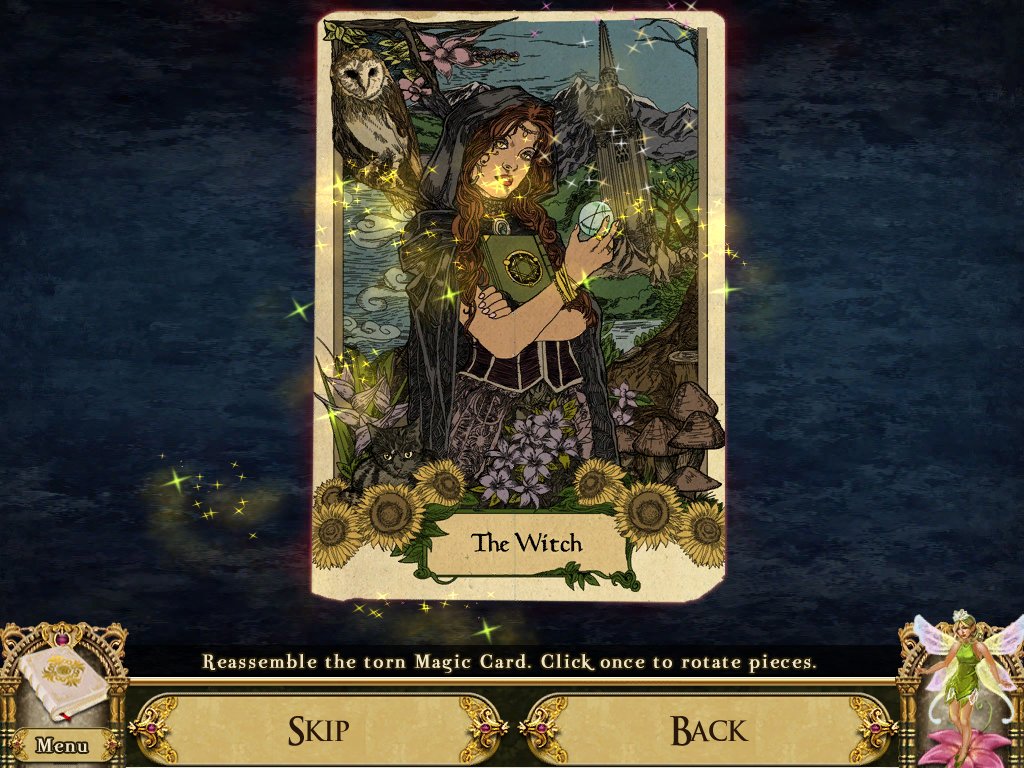
-
Reassemble the card
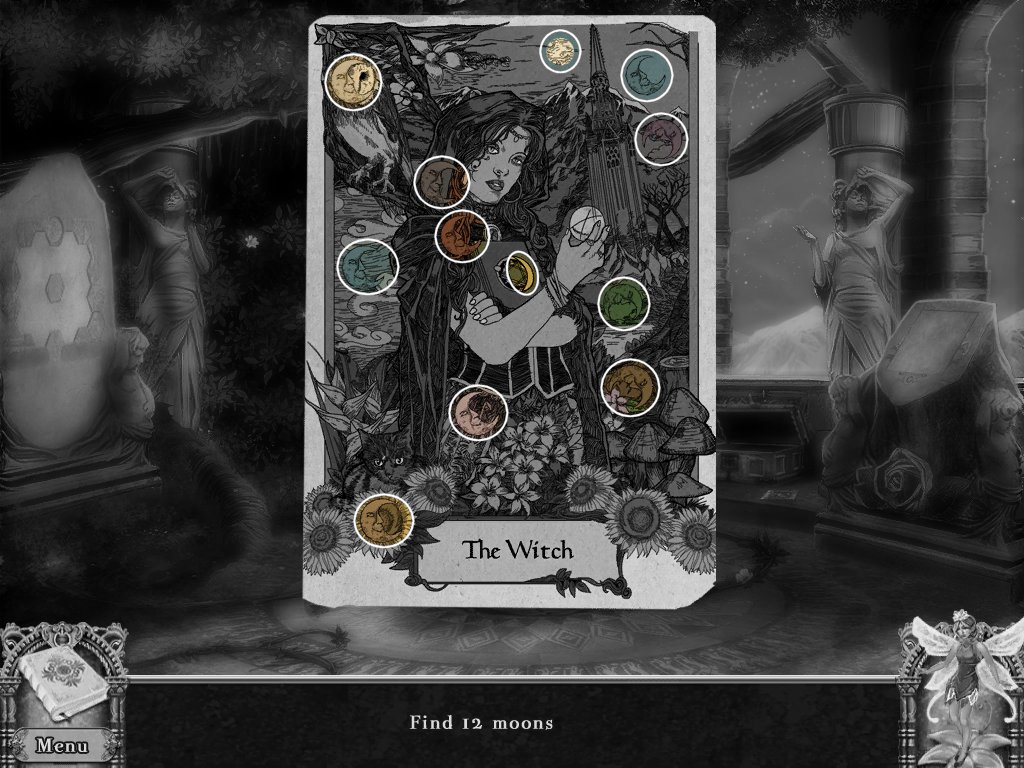
- Find twelve moons
- Examine the stone table
- Place the witches card in one of the slots
-
Take the key
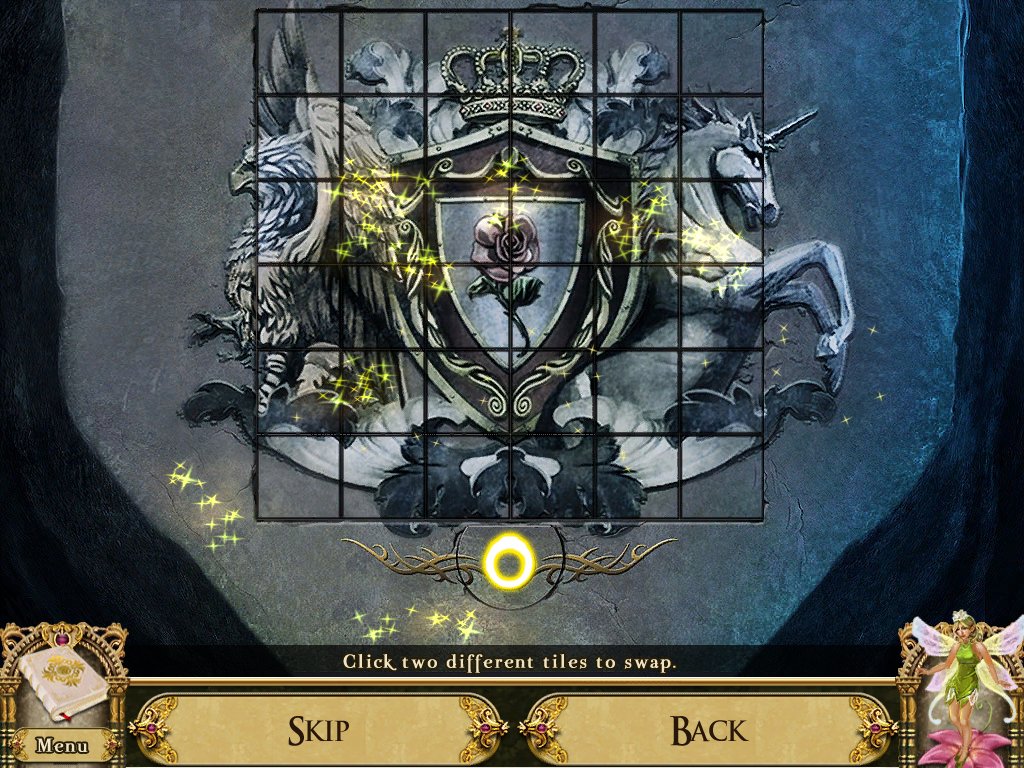
- Examine the stone slab – puzzle
- Place the signet ring around the button on the bottom
- Swap the pieces so they create a picture
- Examine the treasure map
- Return to the path to the pavilion
Path to the Pavilion
- Use the pickaxe to break the rock with the “X” under the tree
- Examine the chest
- Use the grabbling hook on the chest
- Use the rope on sapling
- Use the potion on the sapling
- Examine the chest – puzzle
- Arrange each of the components until the crest matches the one in your journal
- Find the hidden objects it lists at the bottom
- Return to the foot of moonbridge
Foot of Moonbridge
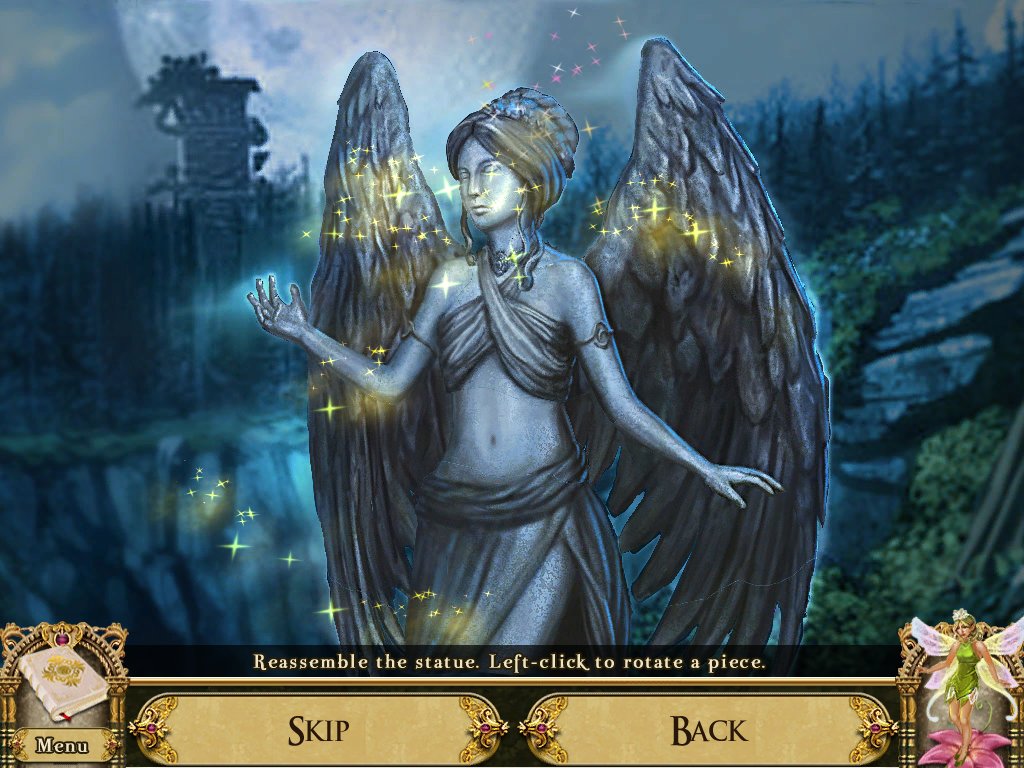
- Examine the right statue
- Use the pieces to reassemble it
- Place the white orb in her hand
- Take the medallion
- Examine the left statue
- Place the black orb in her hand
- Take the key
- Return to the pavilion
Pavilion
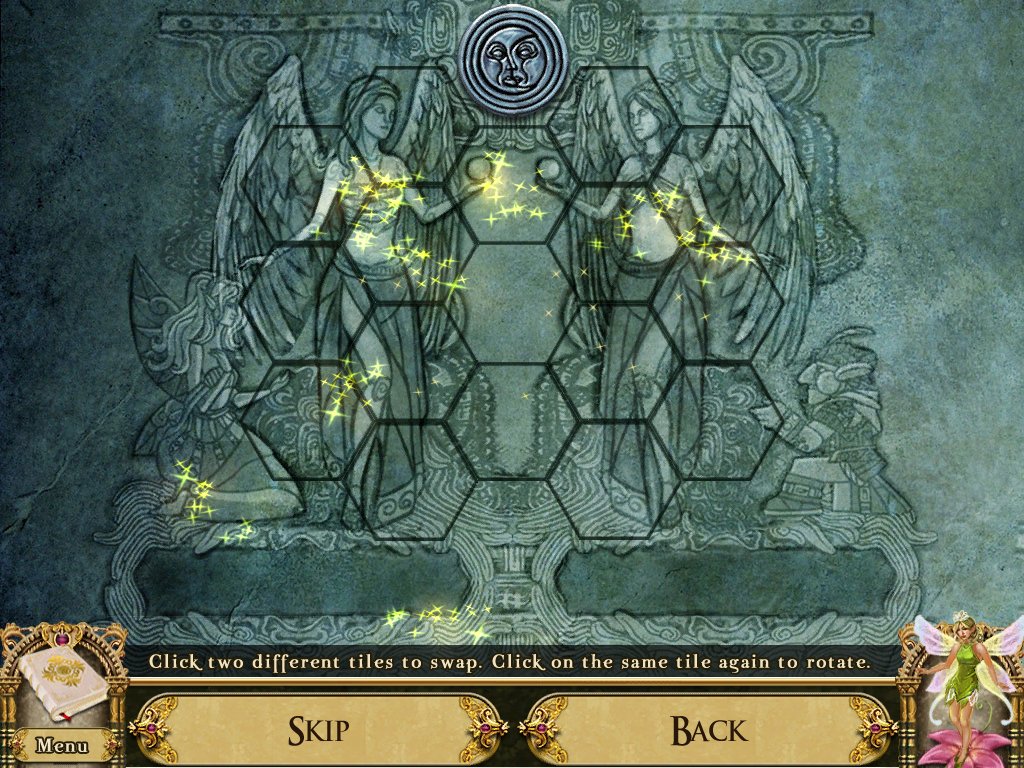
- Examine the marble slab – puzzle
- Place the medallion in the top center
- Swap the tiles to create a picture
- Click once to rotate
- Return to the foot of moonbridge
Foot of Moonbridge
- Examine the base of the left statue – puzzle
- Look at the runes in your journal
- Click the runes on the base in order
- Use the top runes for reference
- You won’t use all the rows
- Use the silver key
- Examine the base of the right statue – puzzle
- Repeat the process with the runes on the bottom
- Use the gold key
- Cross the moon bridge
Path to the Crossroads
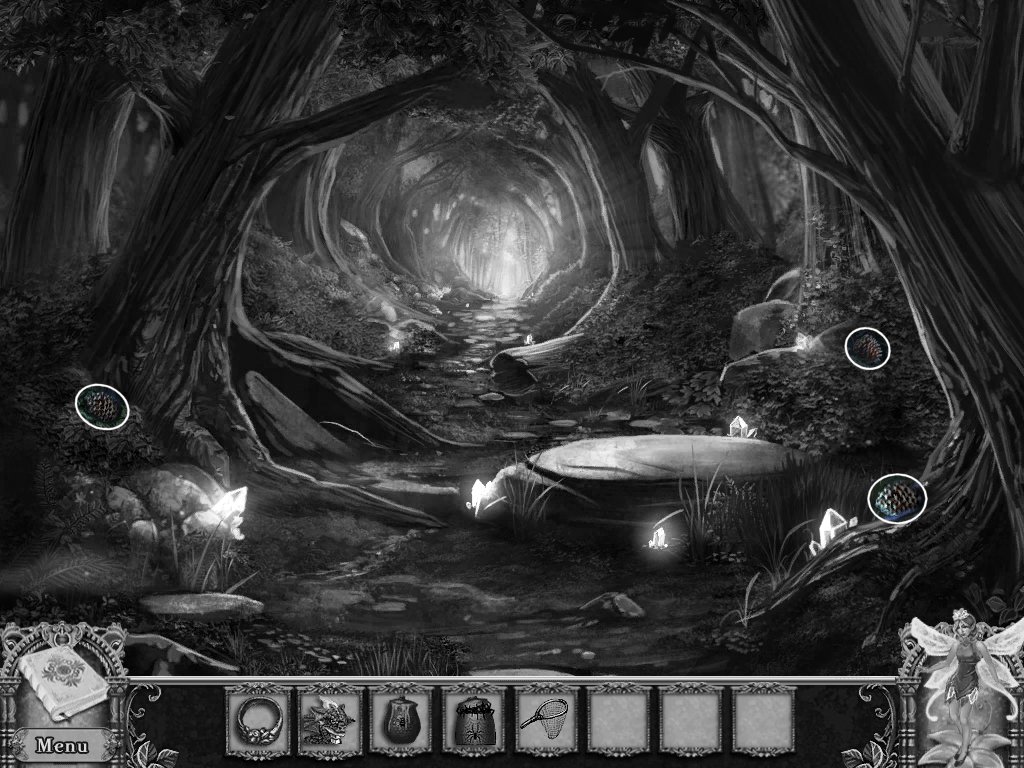
- Talk to the Well-Dressed Goblin
- Play a game of Tripeaks
- Take the butterfly net
- Take the three pinecones
- Go up to the crossroads
Crossroads
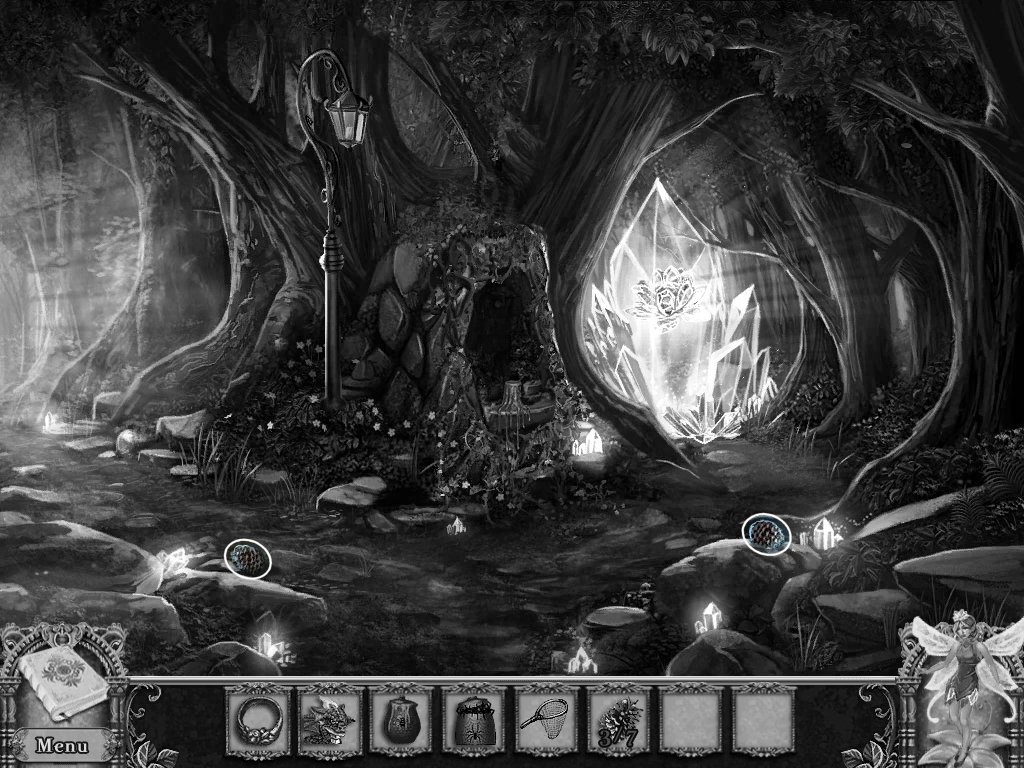
- Take the two pinecones
- Examine the vine covered mural – puzzle
- Use the pocket dragon to light the candle
- Match three like symbols
- Clear the board
-
Take the empty snail pot
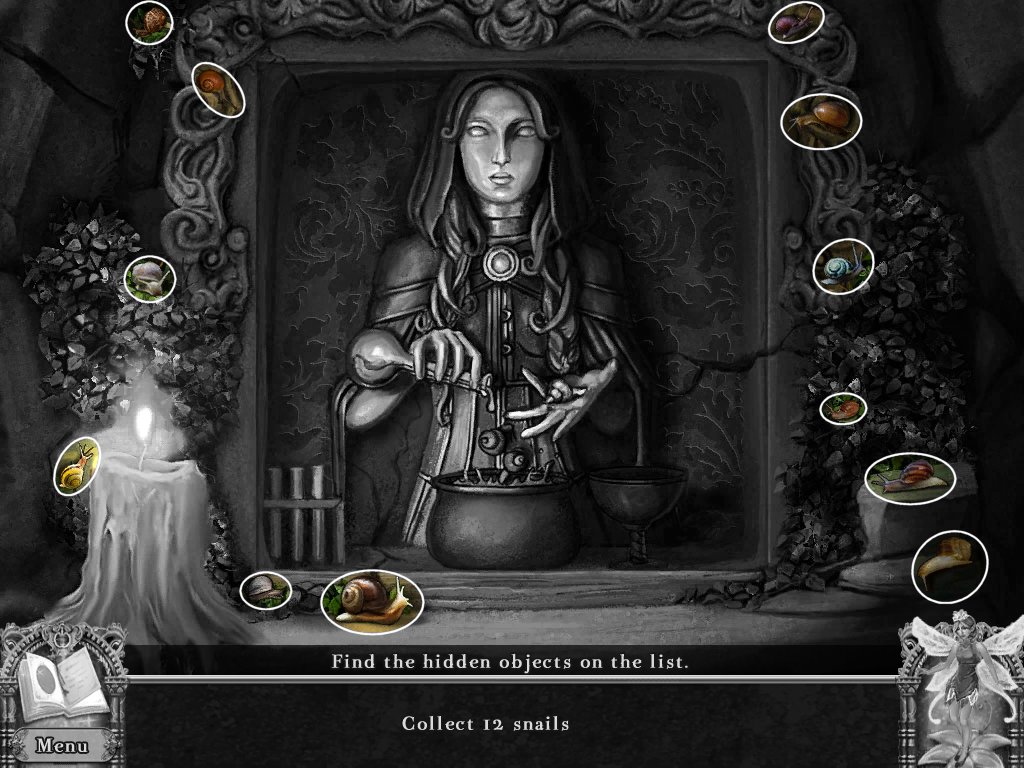
- Find the twelve snails
- Examine the lamp
- Open the lamp
- Use the pocket dragon to light the candle – puzzle
- Catch the matching moths
- Catch the last moth
- Go left to the root gate
Root Gate
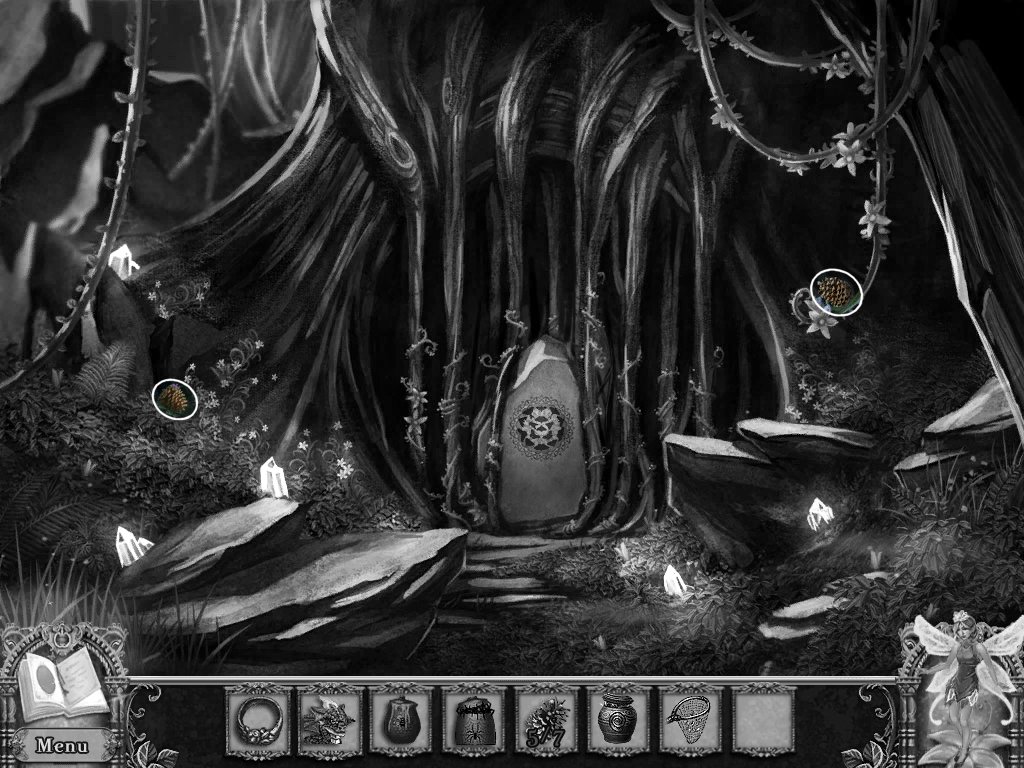
- Take the two pinecones
- Examine the root gate – puzzle
- Use the moths on the door
- Place each moth in its matching spot
- Click once to rotate
- Go up to the herb garden
Comments will load when you reach this part of the walkthrough.