

Chapter Four: Herb Garden
Herb Garden
- Examine the patch of gourds – puzzle
- Find the matching pairs
-
Take the giant gourd
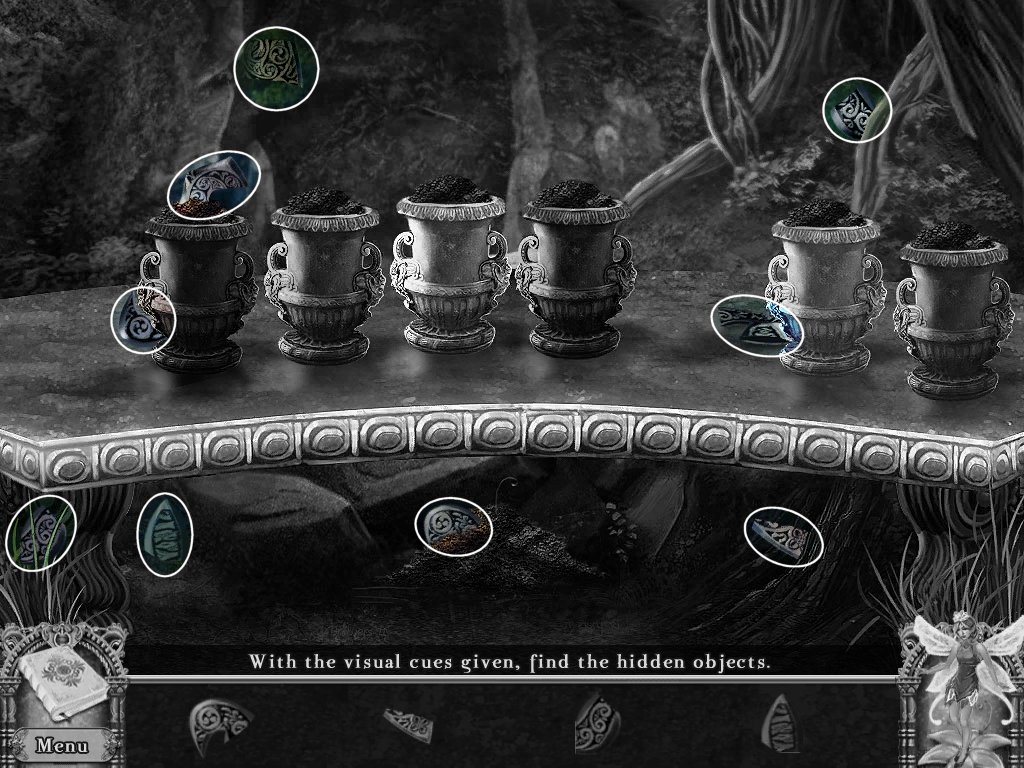
- Examine the flower pots
- Find the pieces shown across the bottom
-
Examine the door – puzzle
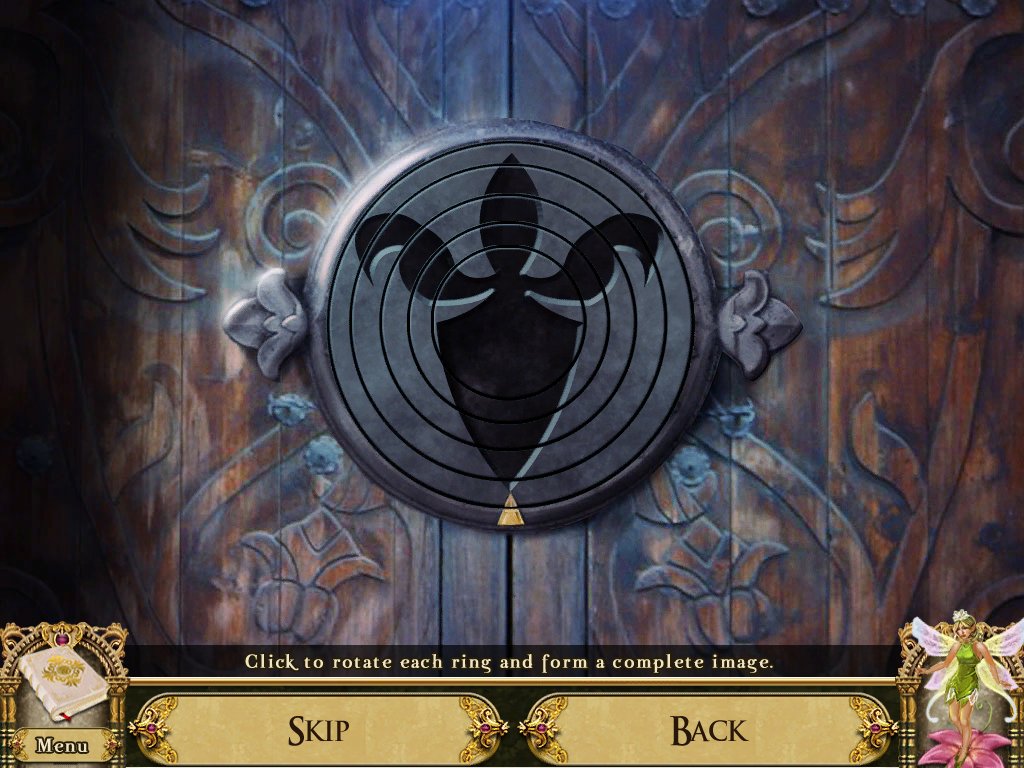
- Rotate the rings to create a picture
-
Use the key pieces on the door
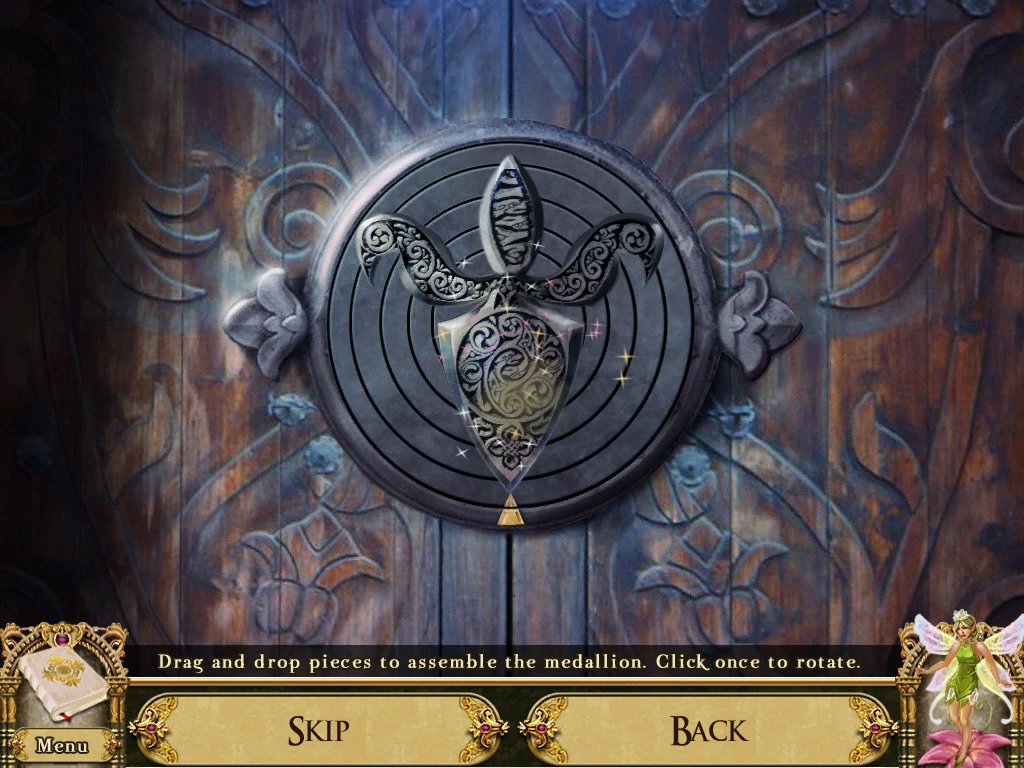
- Use the pieces to fill in the picture
- Enter the tower
Witches Tower – Lower Floor
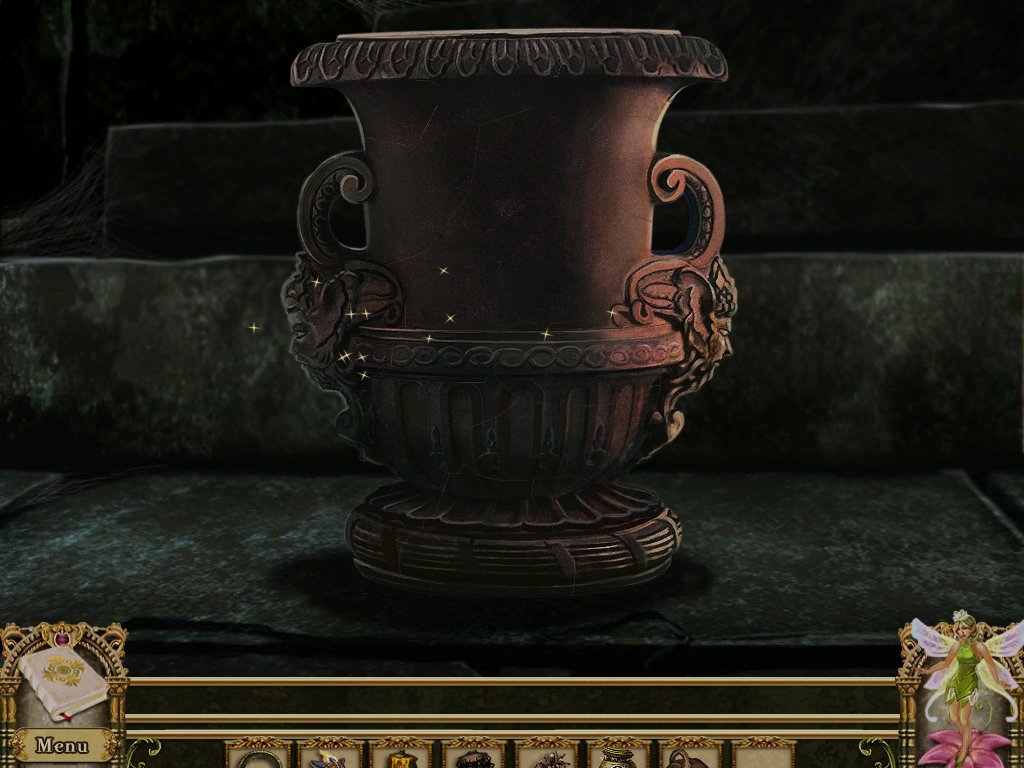
- Examine the broken clay pot - puzzle
- Reassemble the clay pot
-
Click once to rotate
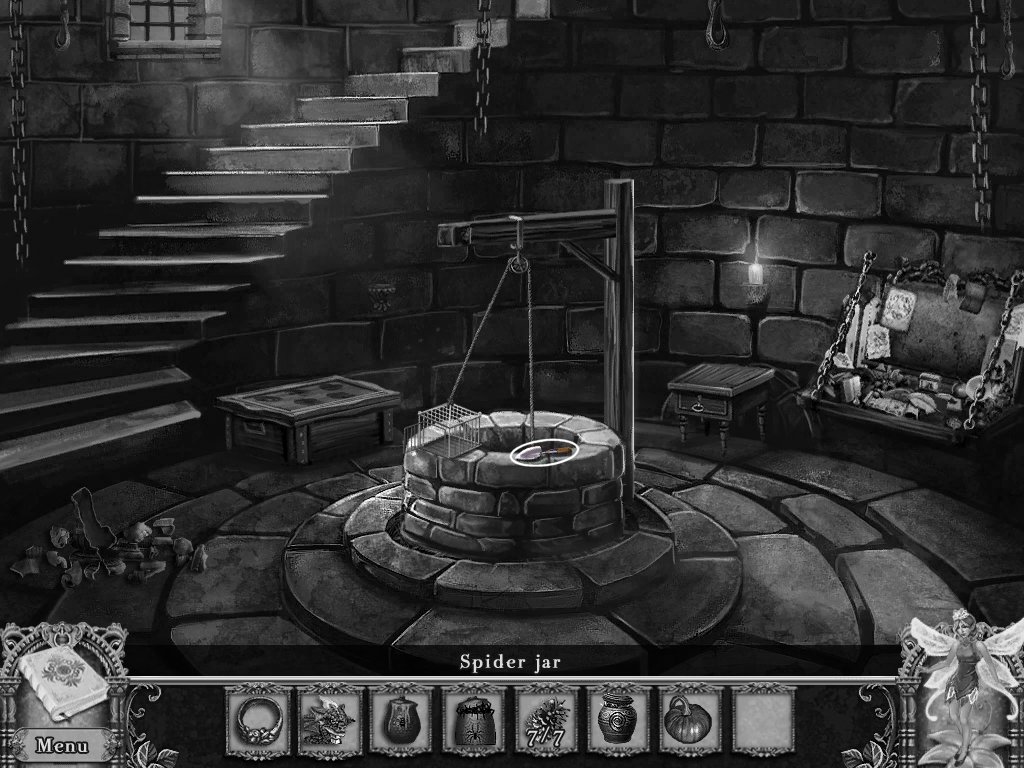
- Take the shovel
- Examine the open chest – hidden object area
- Take the book
- Go down to herb garden
Herb Garden
- Examine the flower pots
- Place the clay pot with the others
- Use the shovel to dig dirt from mound underneath the bench
- Put the dirt in the empty pot
- Continue until it’s full
- Go up to the witches tower and ascend the stairs
Witches Tower – Middle Floor
- Examine the plant
- Take the doorknob
- Examine the bookshelf
- Place the book on the shelf – puzzle
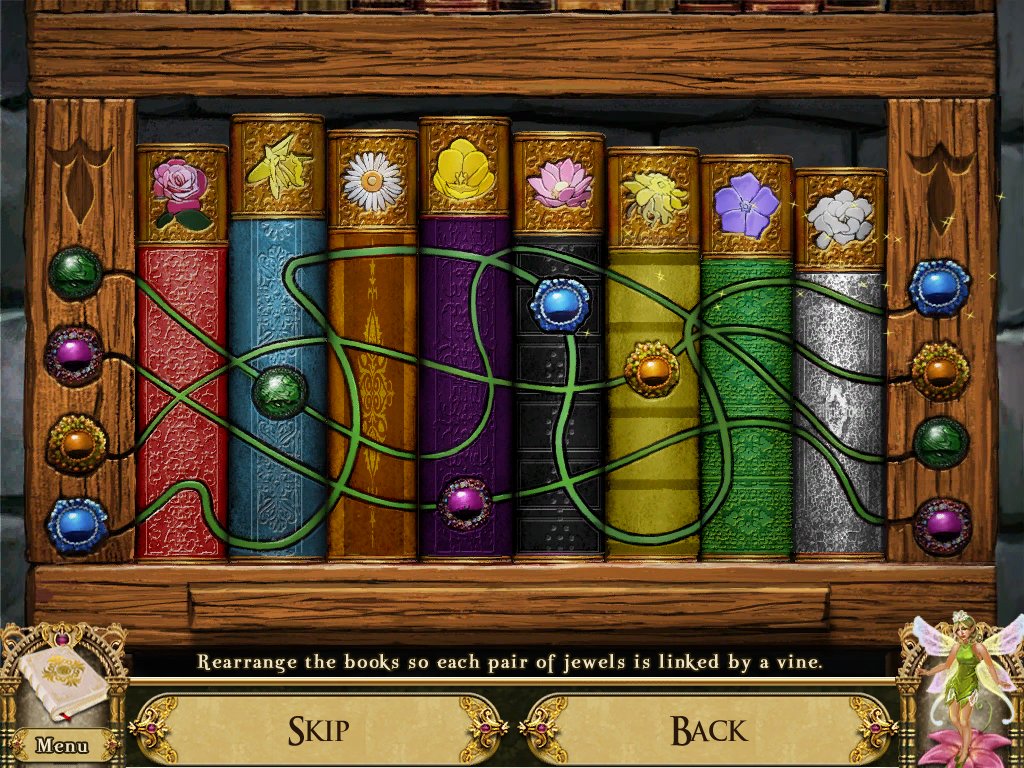
- Rearrange the books so the vines line up
- Return to the herb garden
Herb Garden
- Examine the shed
- Replace the doorknob
-
Open the door – hidden object area
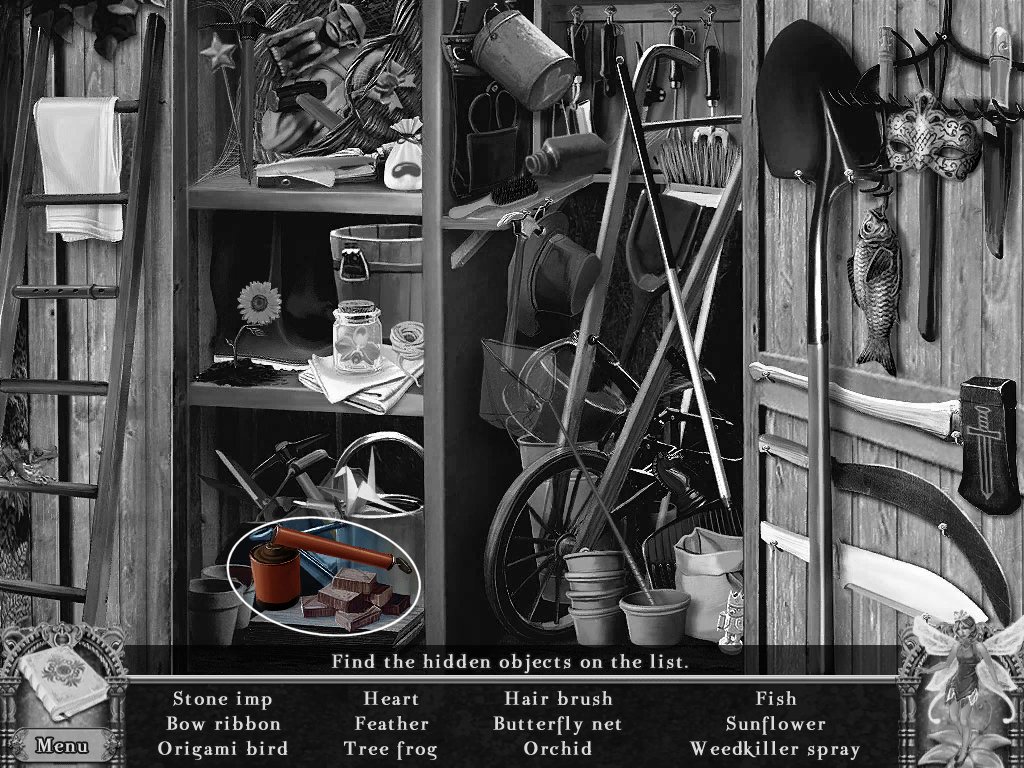
- Take weed killer spray
- Go up to the middle floor
Witches Tower – Middle Floor
- Examine the plant
- Use the weed killer on the plant
- Take the pot
-
Take the witches card
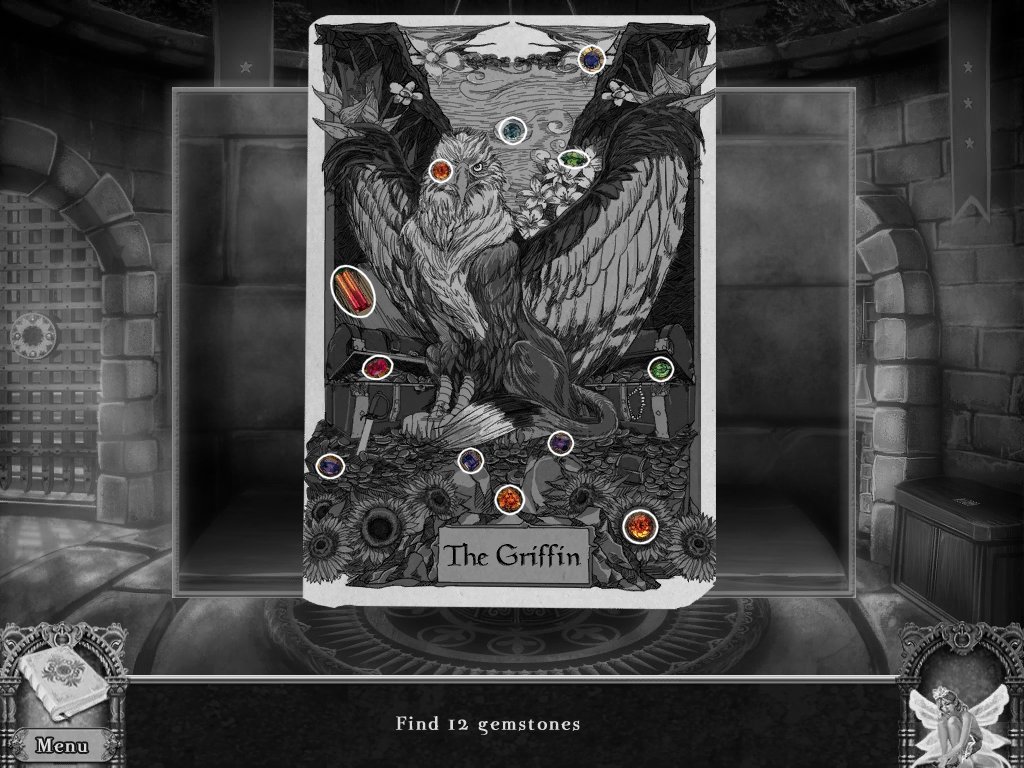
- Find twelve gemstones
- Take the magical beans
- Return to the herb garden
Herb Garden
- Examine the flower pots
- Place the flower pot on the bench
-
Place the magical beans in the flower pots – puzzle
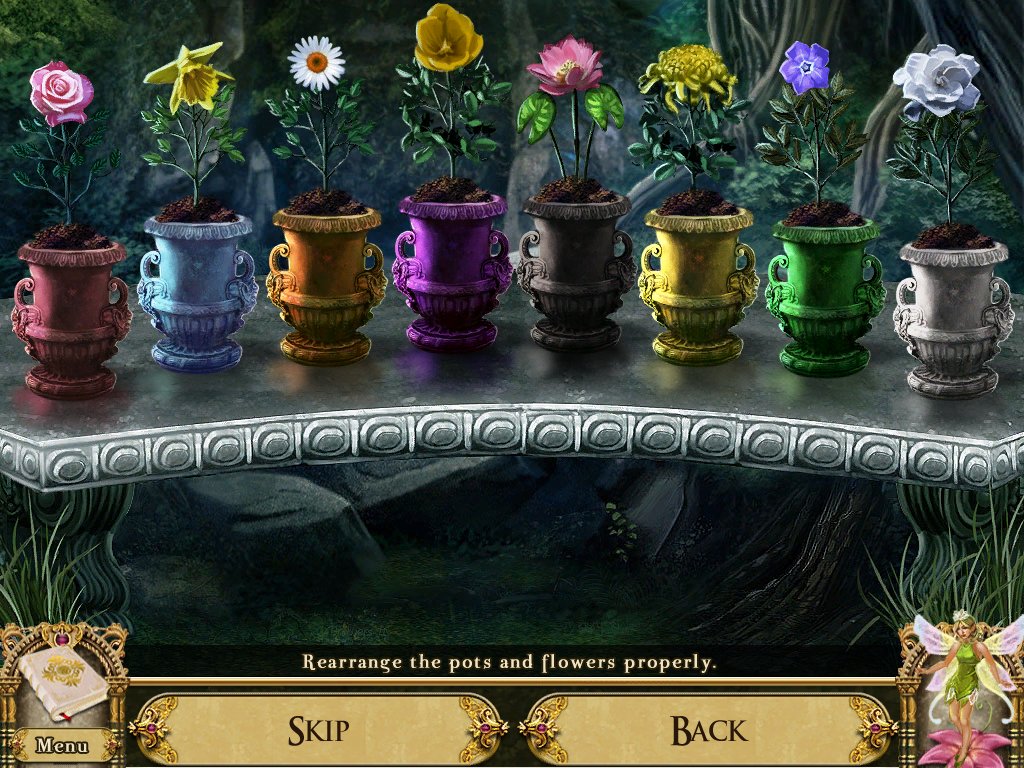
- Look in your journal
- Make a note of the order of the books colors
- Arrange the pots in the same order
- Make a note of the order of the flowers on the top of the books
- Arrange the pots according to the order of those flowers
- Take the gems
- Go up to the middle floor
Witches Tower – Middle Floor
- Examine the left picture
-
Place the rose gem in the top – puzzle
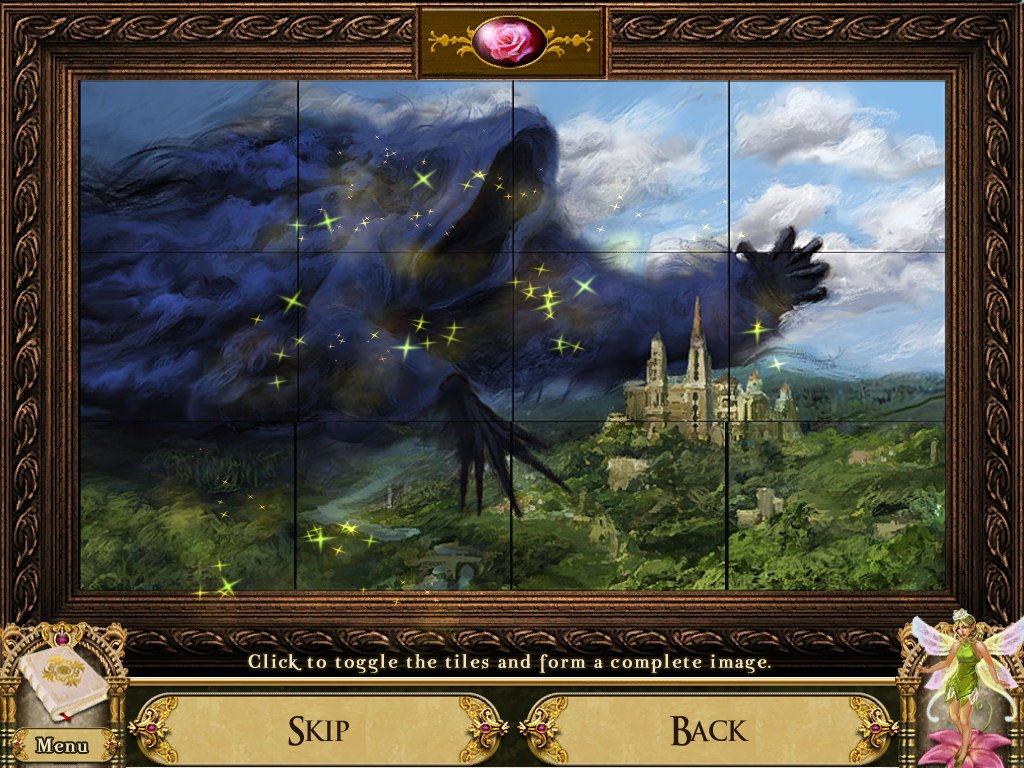
- Click the tiles to toggle them
- Toggle each tile until you complete the picture
- Take the rotary dials
- Push the red button
- Examine the next picture
-
Place the amethyst gem in the top – puzzle
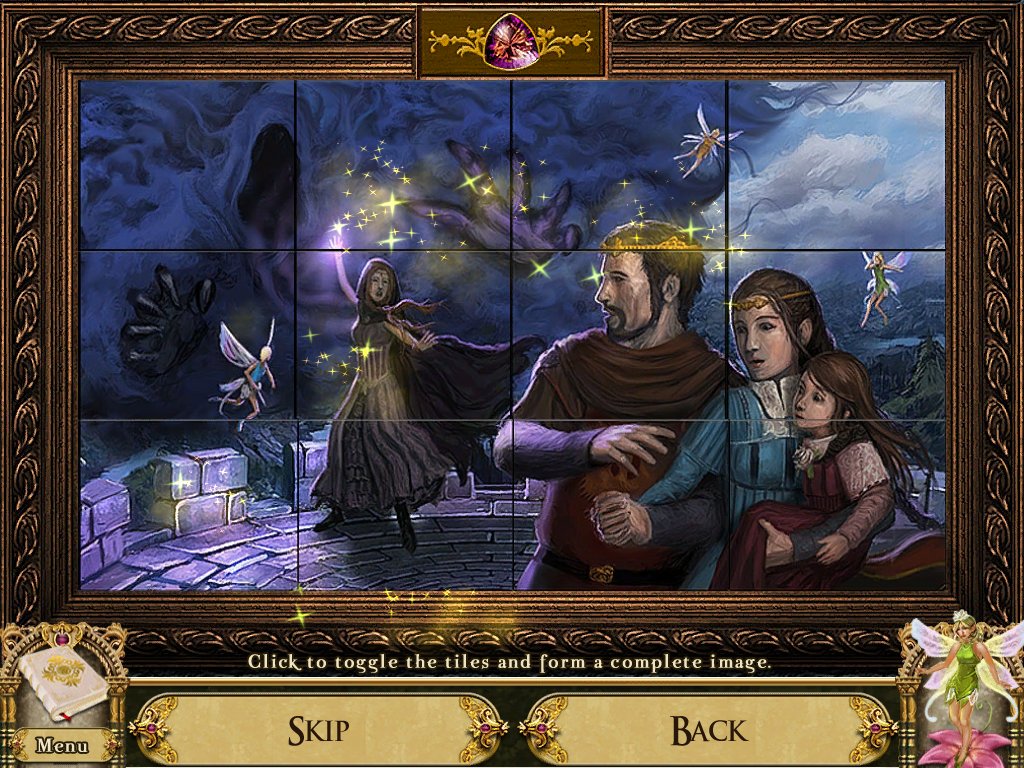
- Click the tiles to toggle them
- Toggle each tile until you complete the picture
- Take the rotary dials
- Push the blue button
- Examine the next picture
-
Place the citrine gem in the top – puzzle
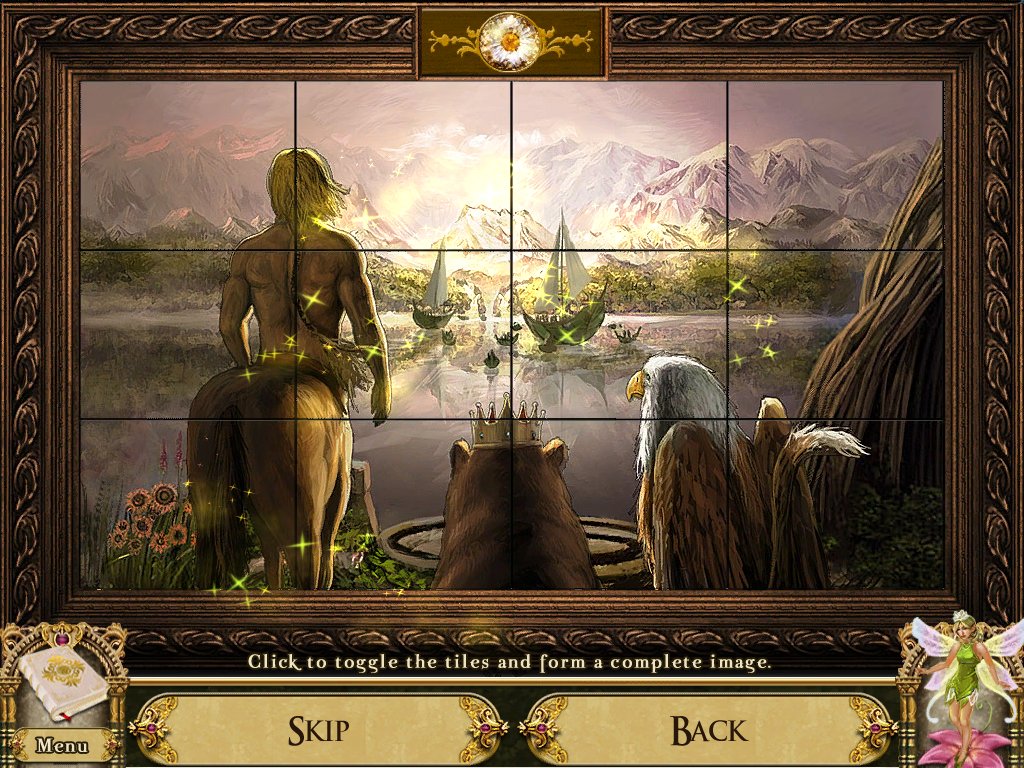
- Click the tiles to toggle them
- Toggle each tile until you complete the picture
- Take the rotary dials
- Push the yellow button
- Examine the last picture
-
Place the sapphire gem in the top – puzzle
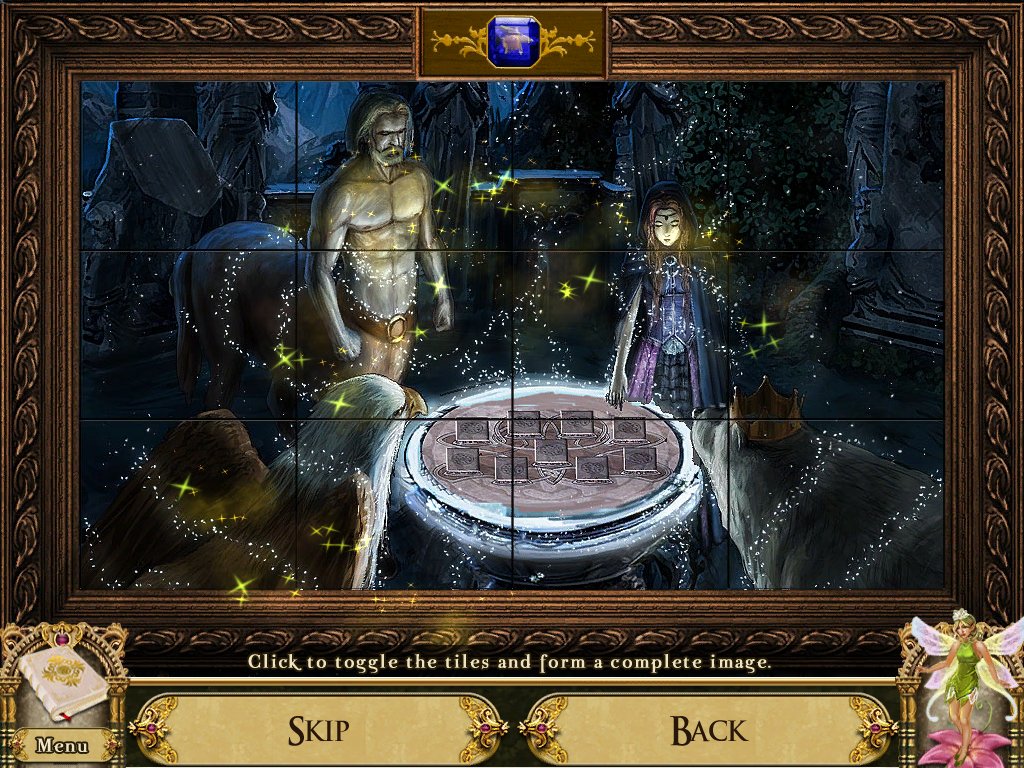
- Click the tiles to toggle them
- Toggle each tile until you complete the picture
- Take the rotary dials
- Push the green button
- Return to the pavilion
Pavilion
- Examine the stone table
- Place the card in the slot
- Take the disc of sun and moon
- Go up to the middle floor
Witches Tower – Middle Floor
- Examine the wrought gate
- Place the disc in the middle
- Push the disc
- Go up to the upper floor
Witches Tower – Upper Floor
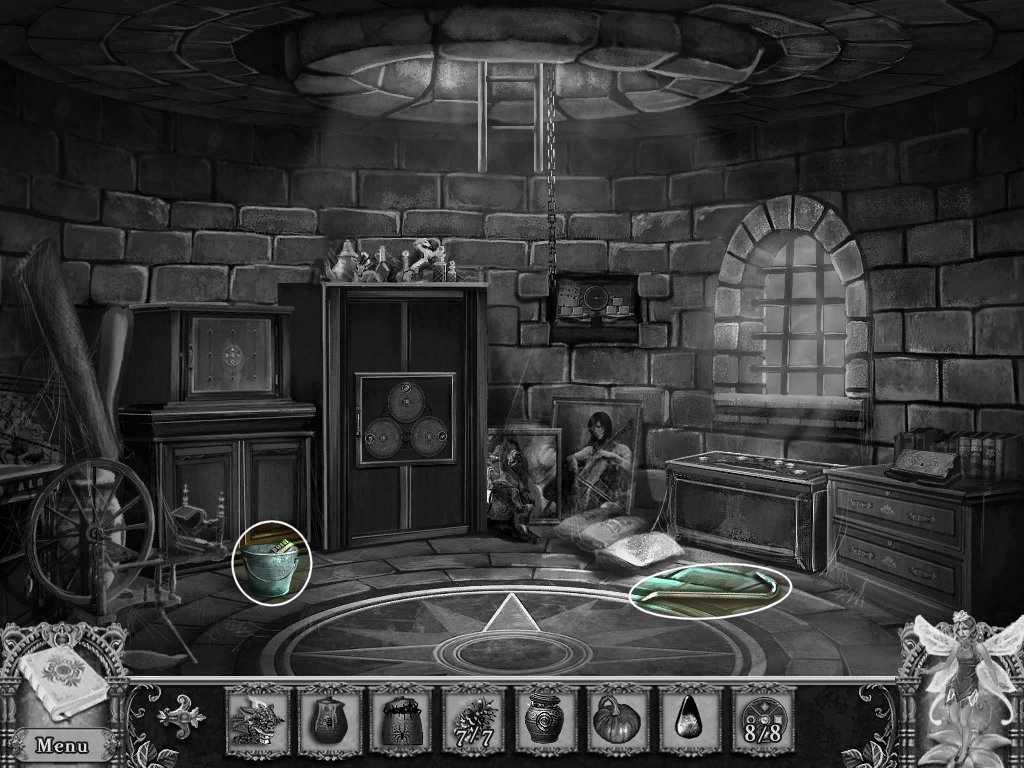
- Take the crowbar
- Examine the bucket
- Take the wire brush and oil can
- Examine the cabinet
-
Open the cabinet door - puzzle
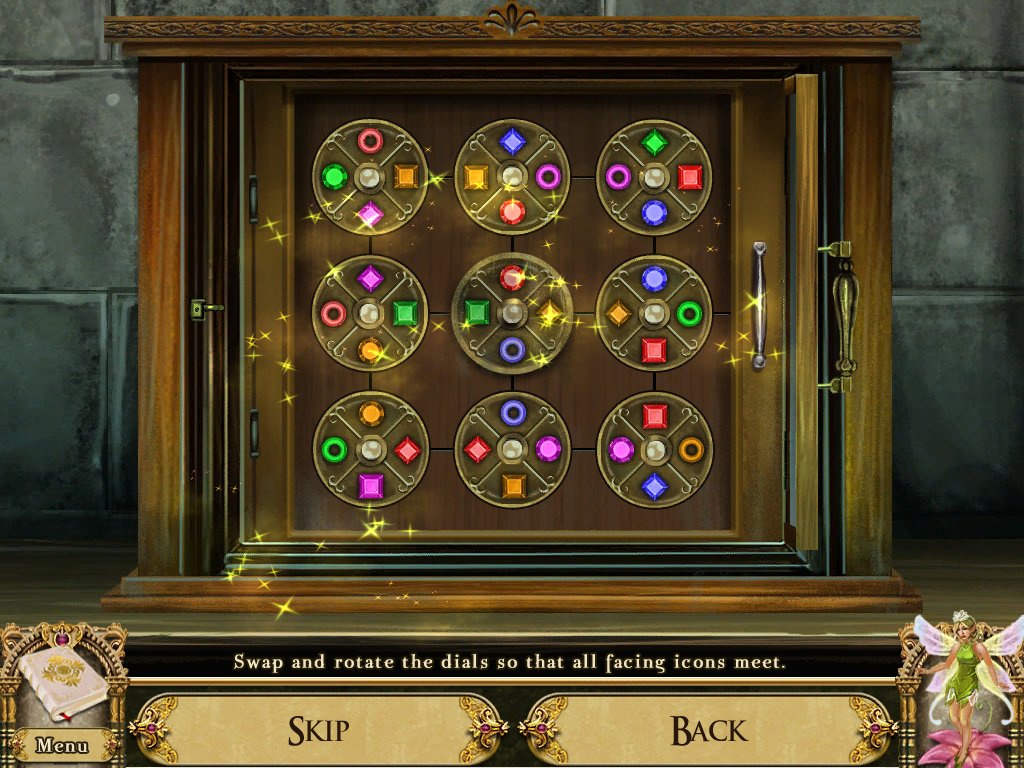
- Place the rotary dials on the door
-
Swap and rotate the dials so the symbols match each other
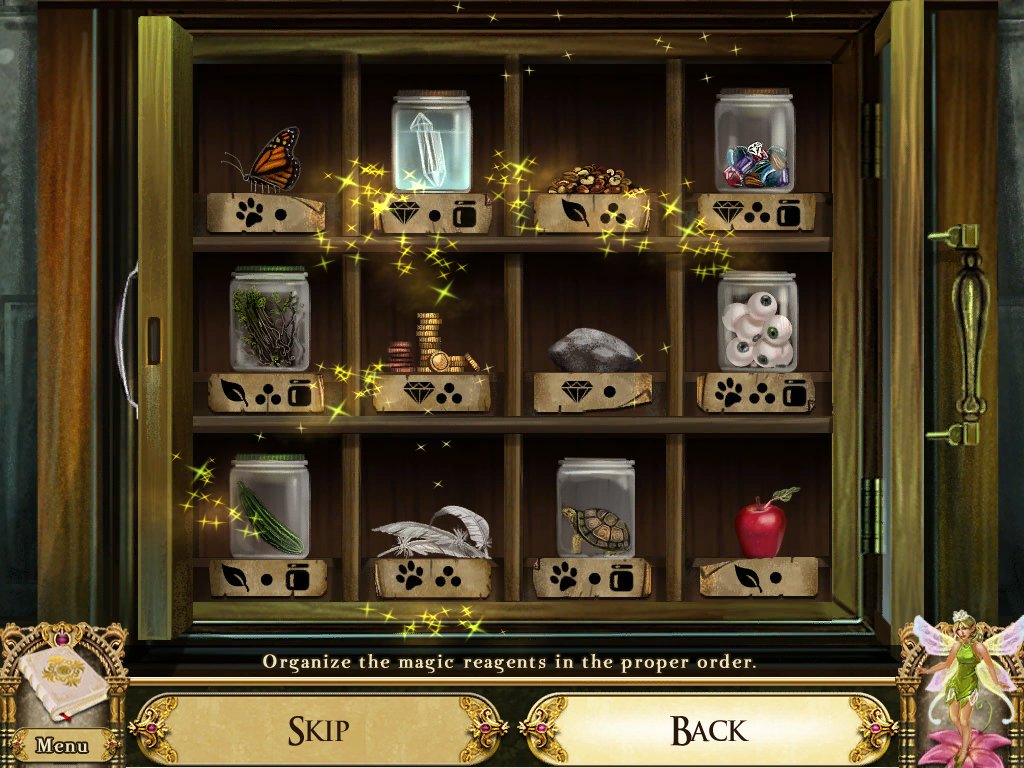
- Organize the magical elements
- Use the symbols beneath them as clues
- Guide: paw = animal/insect; gem = gem/rocks; leaf = plant/food; one dot = single item; three dots = multiple items; jar = item is in a jar
- Take jar of eyes
-
Examine the weights – puzzle
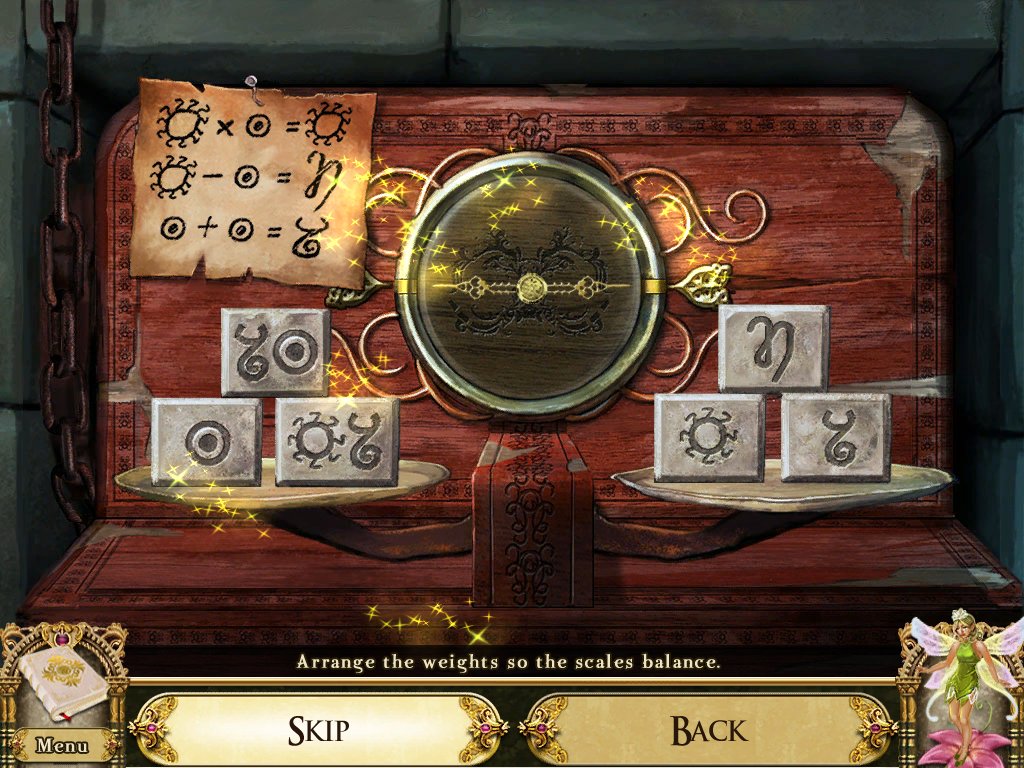
- Arrange the weights so the scales balance
-
Examine the grimoire – puzzle
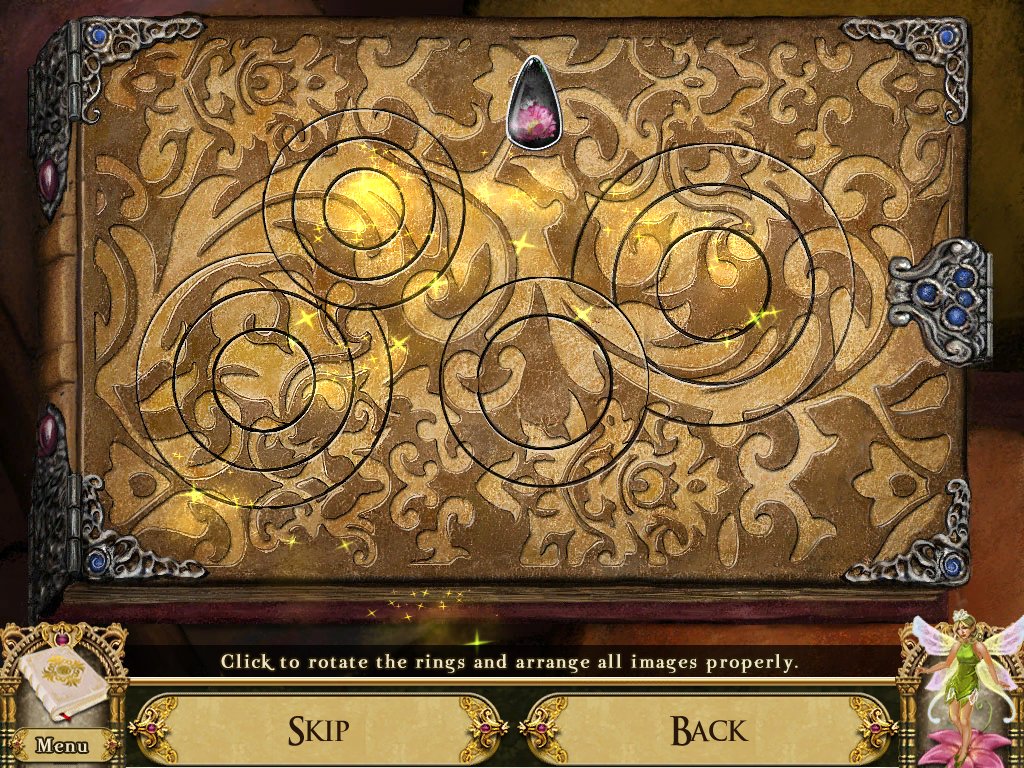
- Place the black gem in the top
-
Rotate the dials to create the pattern
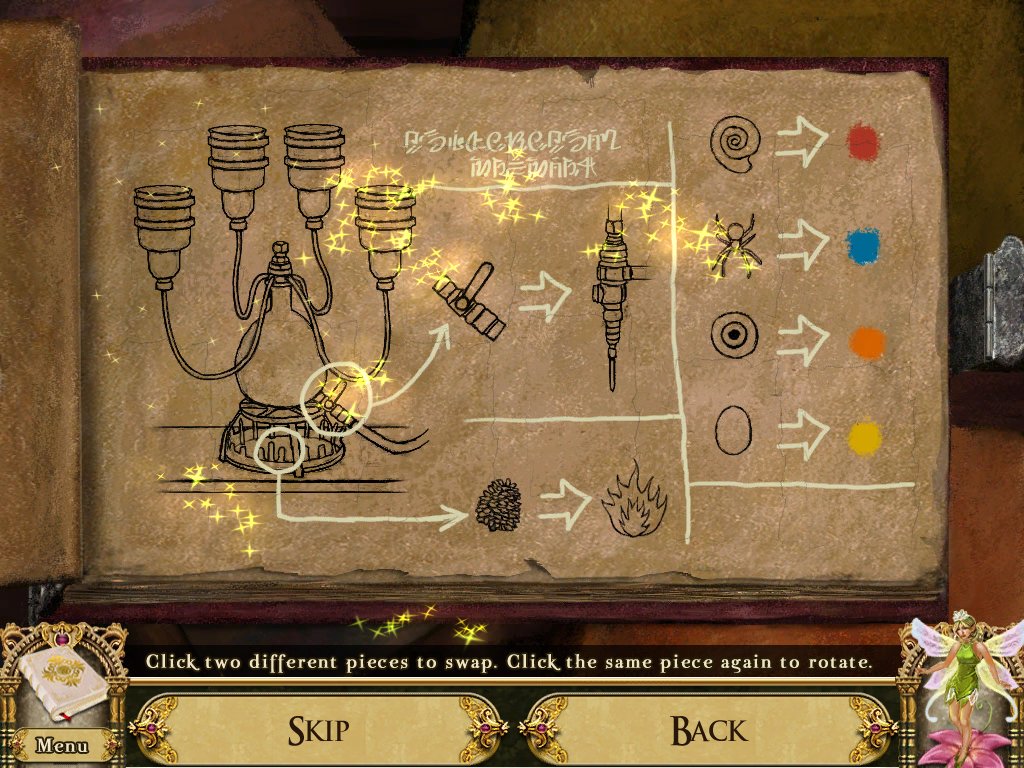
- Swap and rotate the pieces to complete the diagram
- Go up into the ventilation shaft
Ventilation Shaft
- Examine the birds nest
- Take the birdseed and birds egg
- Examine the window
- Use the crowbar on the boards
- Enter the rooftop
Witches Tower – Rooftop
- Talk to the Mysterious Goblin
- Take the twilight gem
- Examine the towers edge
- Drop the giant gourd off the edge
- Go down to the herb garden
Comments will load when you reach this part of the walkthrough.