

Chapter Five: The Witches Tower
Herb Garden
- Examine the smashed gourd
- Take the key
- Examine the bird house
- Feed the birdseed to the bird
- Open the birdhouse door
- Take the three birds eggs
- Return to the lower floor
Witches Tower – Lower Floor
- Examine the side table
- Use the key to open it – puzzle
- Find the matches
- Take the key
- Go up to the upper floor
Witches Tower – Upper Floor
- Examine the alchemy chest – puzzle
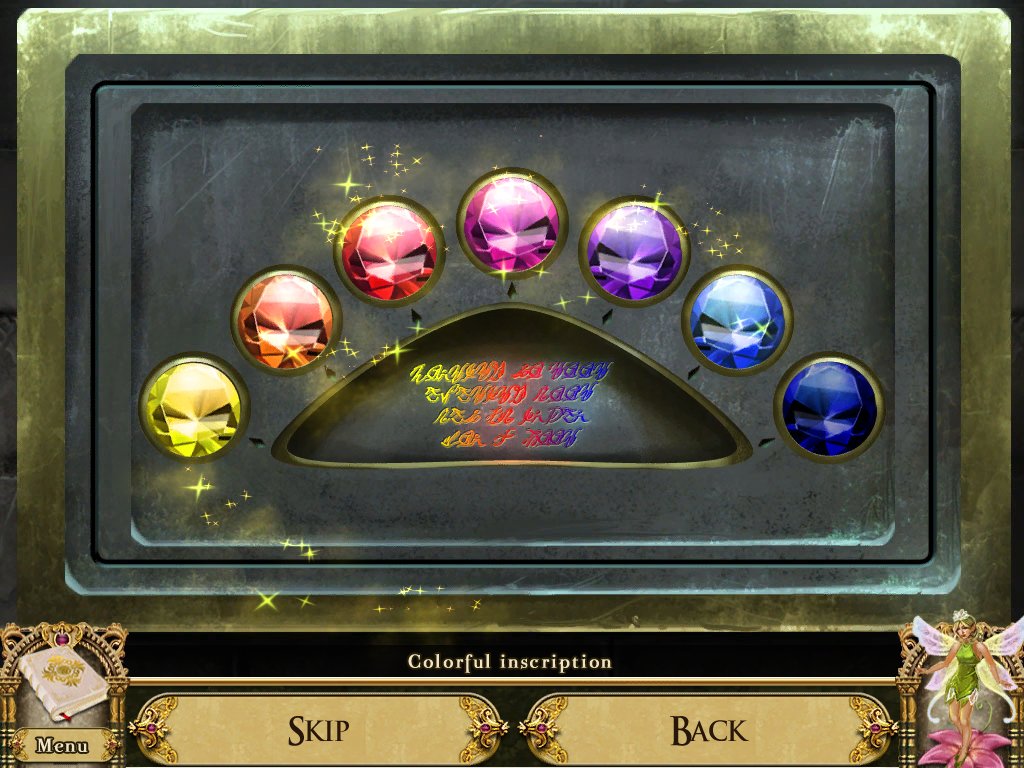
- Place the gem in the empty spot
- Read the writing
- "Morning to noon, evening soon, set us in order for a boon”
- Arrange the gems in the correct order according to the riddle
- Hint: arrange them to match the colors in the inscription
-
Click on the broken flask – puzzle
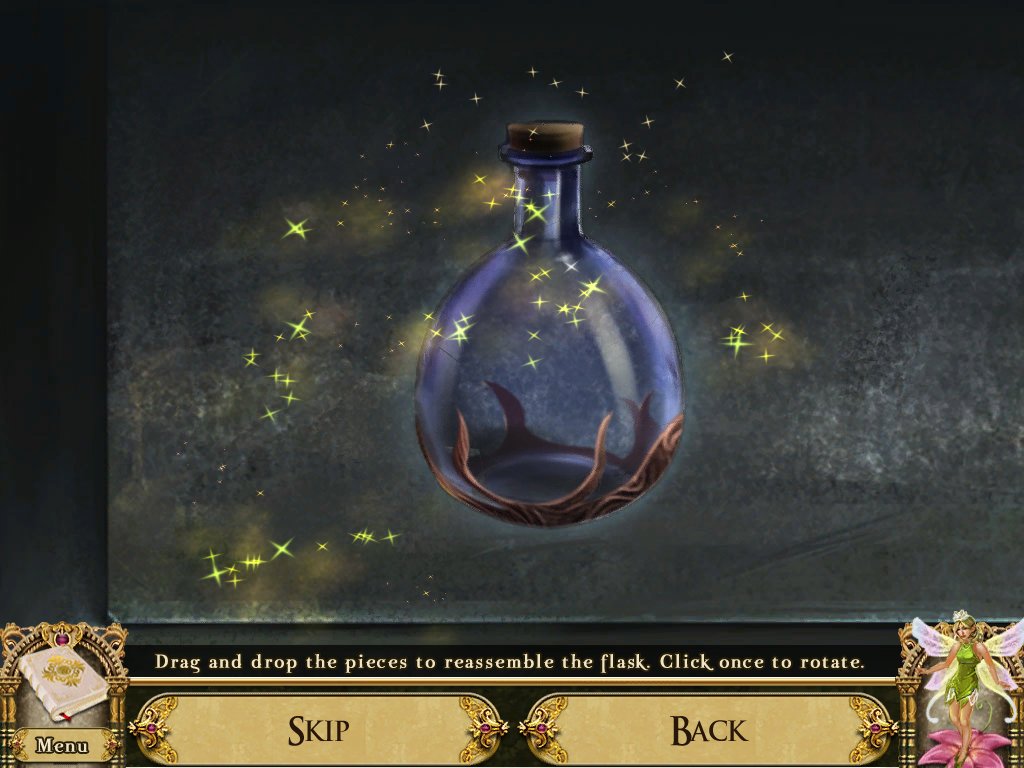
- Reassemble the flask
- Click once to rotate
- Take the steel weights
- Go down to the middle floor
Witches Tower – Middle Floor
-
Examine the alchemy set – puzzle
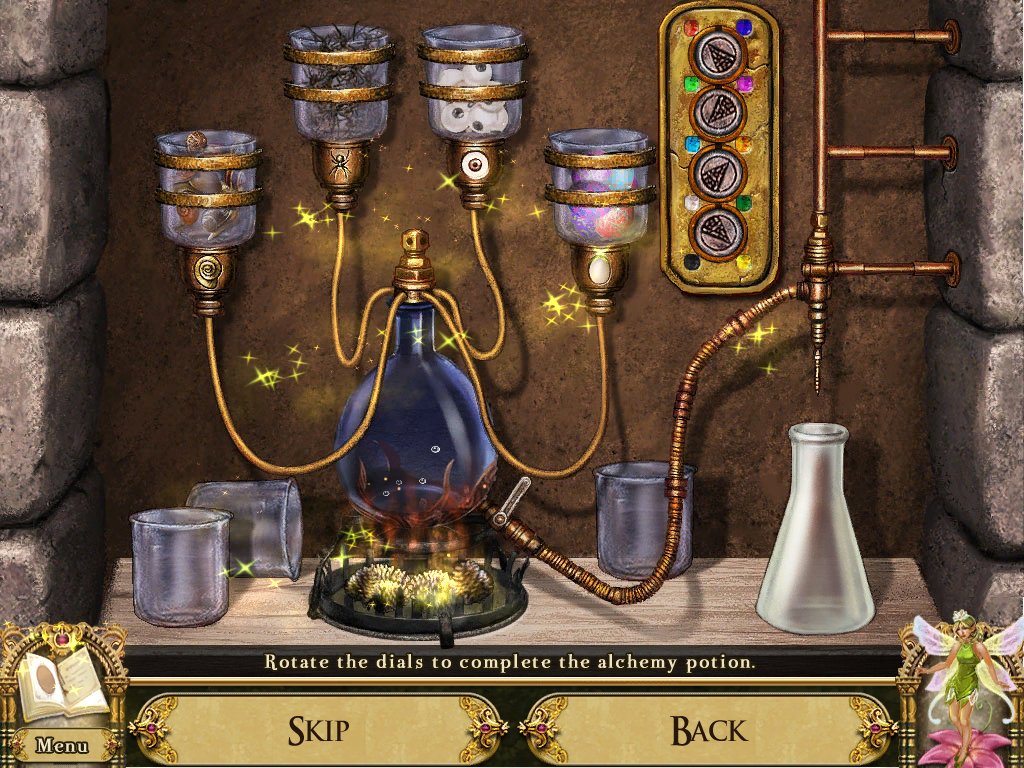
- Place the jar of snails in the far left flask
- Place the jar of eyeballs in the next flask
- Place the pinecones in the burner
- Use the pocket dragon to light the pinecones
- Solution (from top to bottom): red, blue, orange, yellow3.
- Take the crystal key
Witches Tower – Lower Floor
- Examine the stone well
- Put the weights in the cage
- Use the crowbar on the cage
- Use the oil on the cage
- Use the wire brush on the cage
- Use the iron key on the cage
- Take the lead block
- Go down to the crossroads
Crossroads
- Use the crystal key on the crystal
- Go right to the bear king’s clearing
Bear King’s Clearing
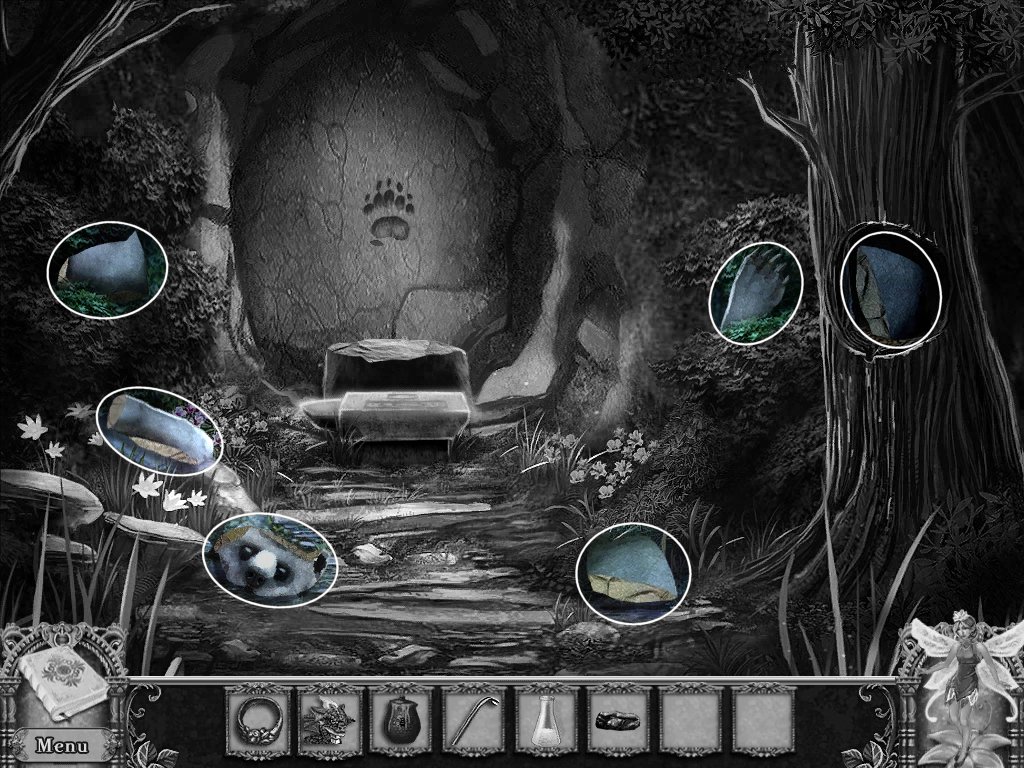
- Pick up the six bear pieces
-
Examine the bear king’s mold – puzzle
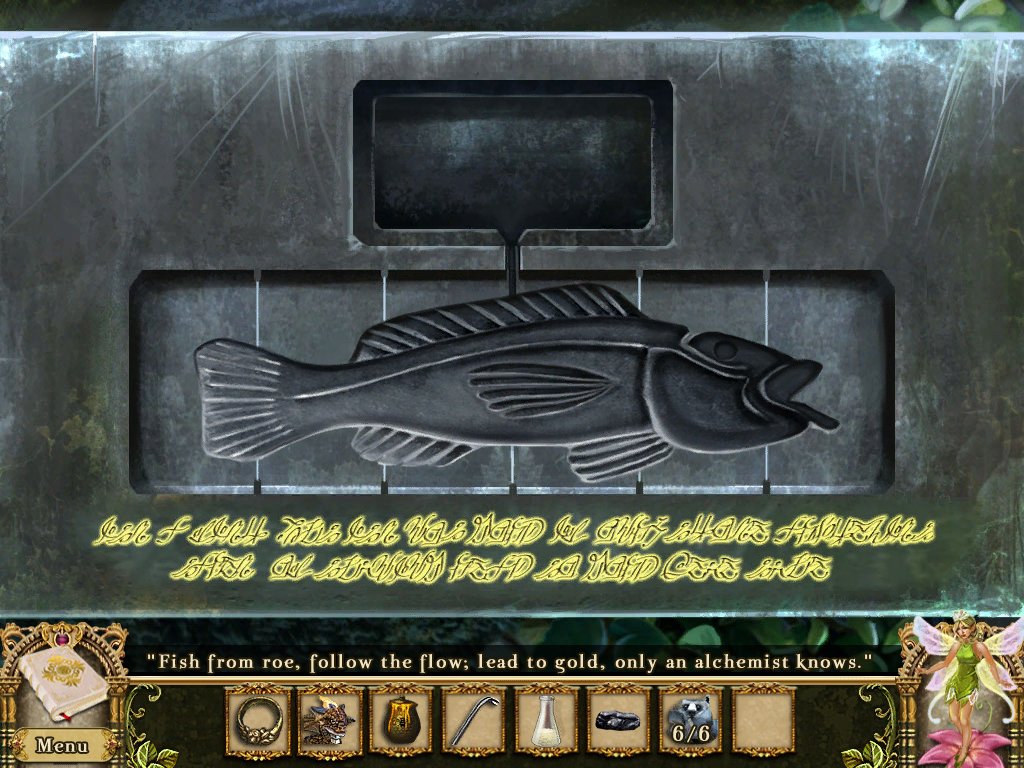
- Rotate the pieces to form a fish
- Place the lead block in the hole
- Use the pocket dragon to melt the lead
- Pour the philosophers balm on the fish
- Take the gold fish
- Place the bear pieces in front of the door – puzzle
- Reassemble the statue
- Click once to rotate
- Give the bear statue the gold fish
- Give the bear the jar of honey
- Take the crown
-
Return to the rooftop
Witches Tower - Rooftop
- Give the crown to the Mysterious Goblin
- Take the flowers and the key
- Examine the chest
- Use the key on the chest
- Take the firewood
- Go down to the upper floor
Witches Tower – Upper Floor
-
Examine the utility cupboard – puzzle
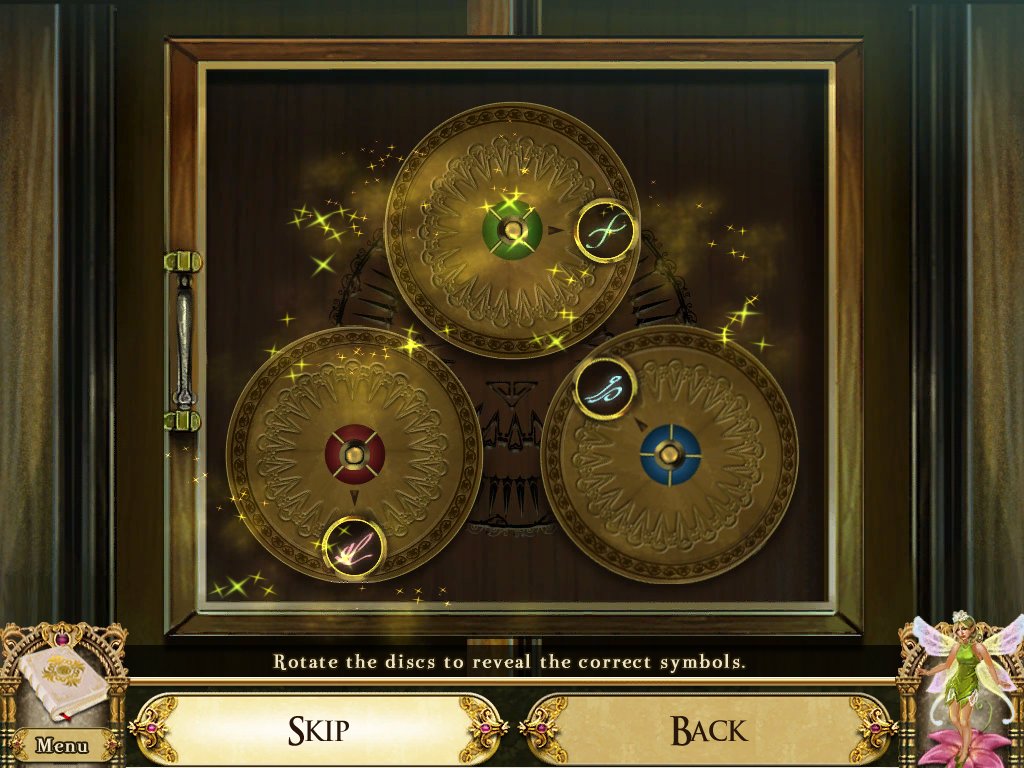
- Look in your journal
- Make note of the symbols and their color
- Rotate the wheels so the symbols match
- Find the hidden objects listed at the bottom
- Go down to the middle floor
Witches Tower – Middle Floor
- Use the tongs on the fireplace
- Find the objects listed at the bottom
- Examine the broken teapot
-
Use the pieces on the teapot – puzzle
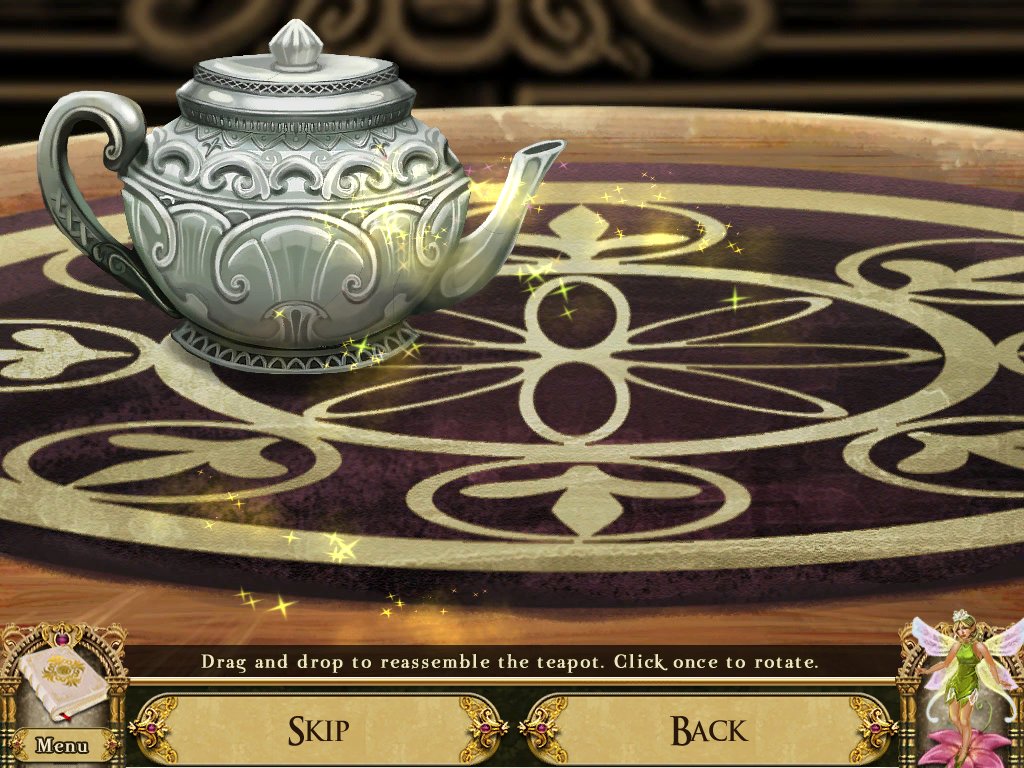
- Reassemble the teapot
- Click once to rotate
- Go down to lower floor
Witches Tower – Lower Floor
-
Examine the herb chest – puzzle
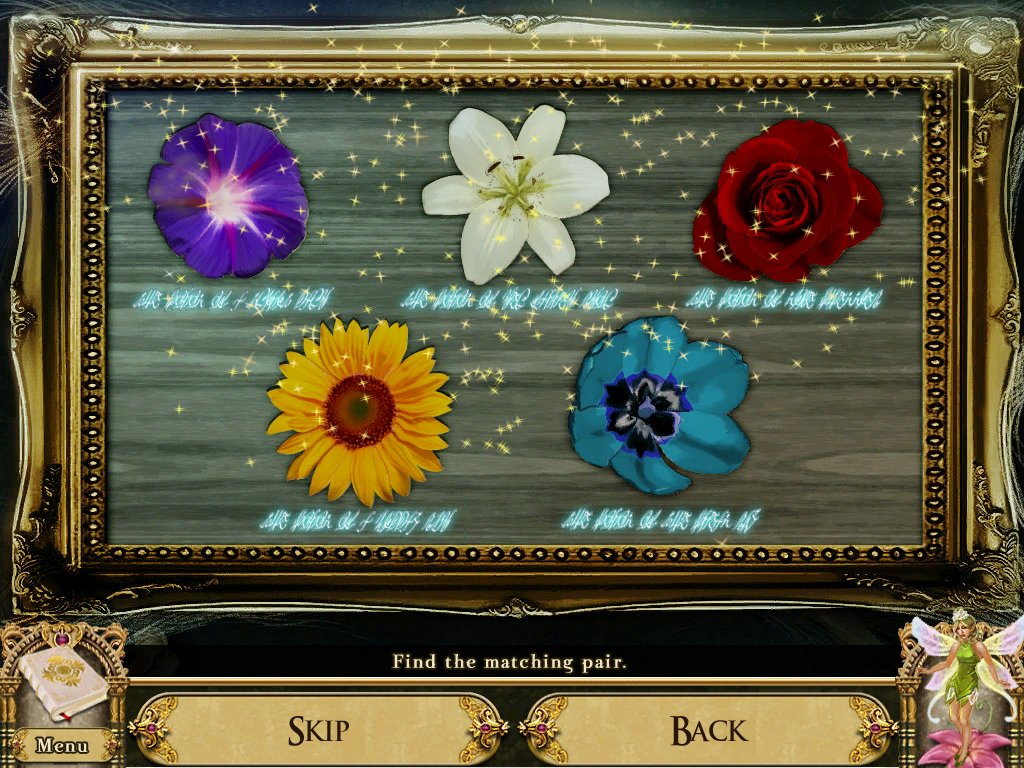
- Use the flower pieces on the chest
- Use the petals to assemble the flowers in the correct spots
- Click once to rotate
- Find the matching pairs
- Take the iron kettle and the her guide
- Go down to the herb garden
Herb Garden
- Examine the herb garden
- Find the flowers shown at the bottom
- Return to outside the pavilion
Outside the Pavilion
- Use the iron kettle on the fountain
- Return to the middle floor
Comments will load when you reach this part of the walkthrough.