

Chapter Nine: Shaft 3
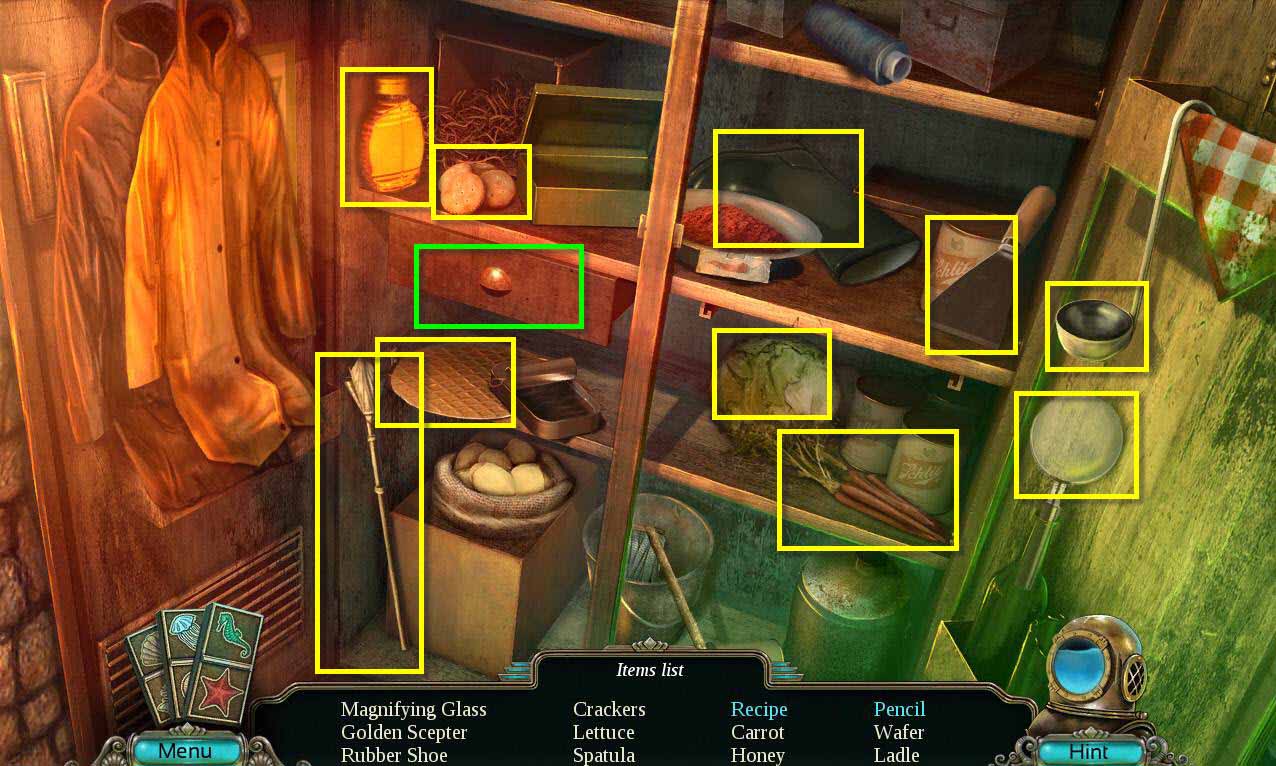
- Click on the sparkles to start the hidden object scene.
- Find all the items on the list.
- You will receive the GOLDEN KEY.
- Go to the outside of the Albion Hotel.
- Click to talk to Gregory.
- He will give you the LAB KEY.
-
Return to the hideout.
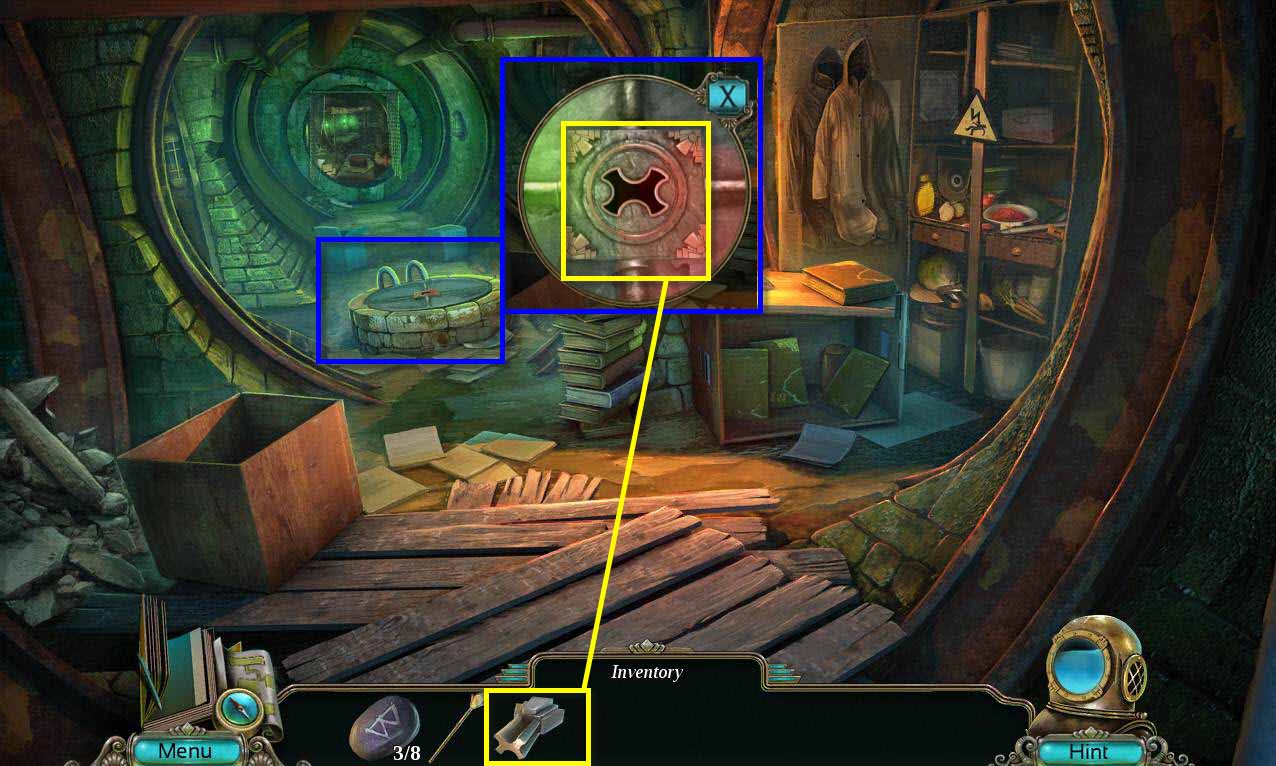
- Click on the hatch to zoom in.
- Use the LAB KEY on the lock.
-
Go down to the lab.
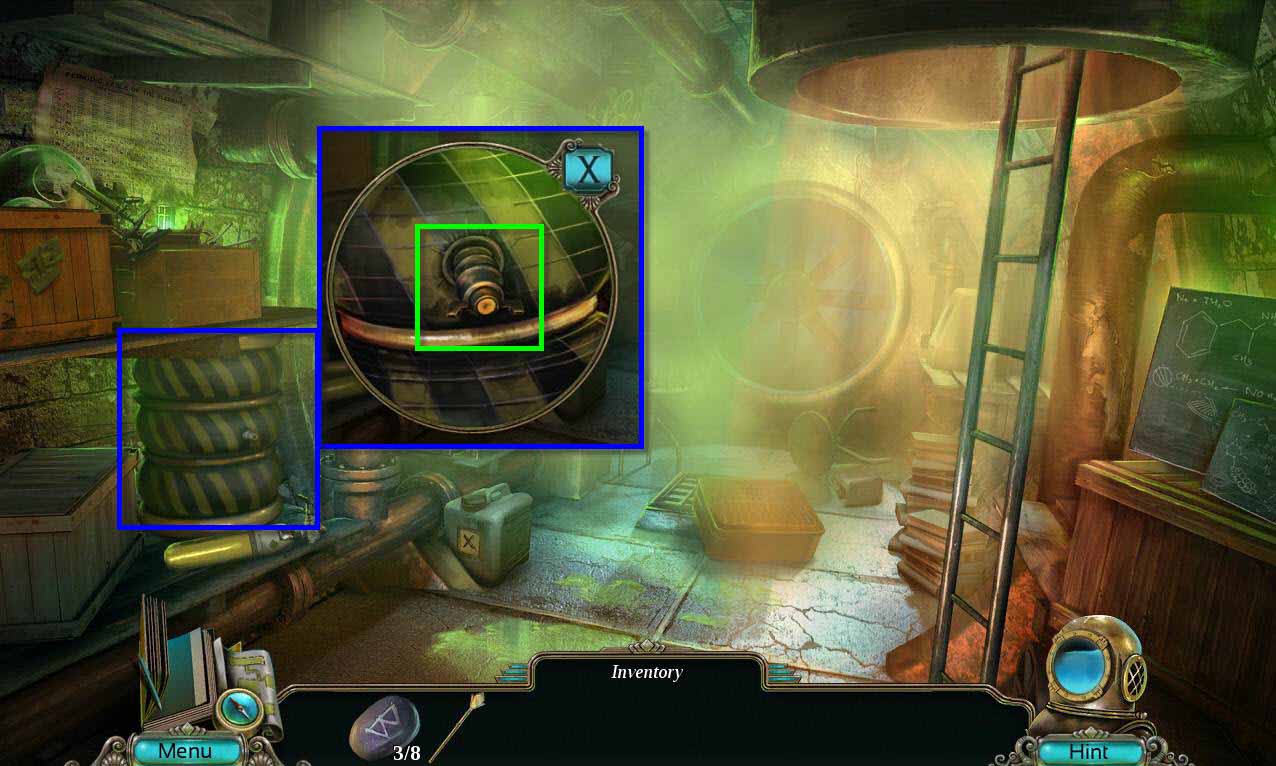
- Click on the air jack on the left to zoom in.
- Click on the nozzle to let the air out.
- Take the AIR JACK.
-
Go back to the bottom floor to the reception room.
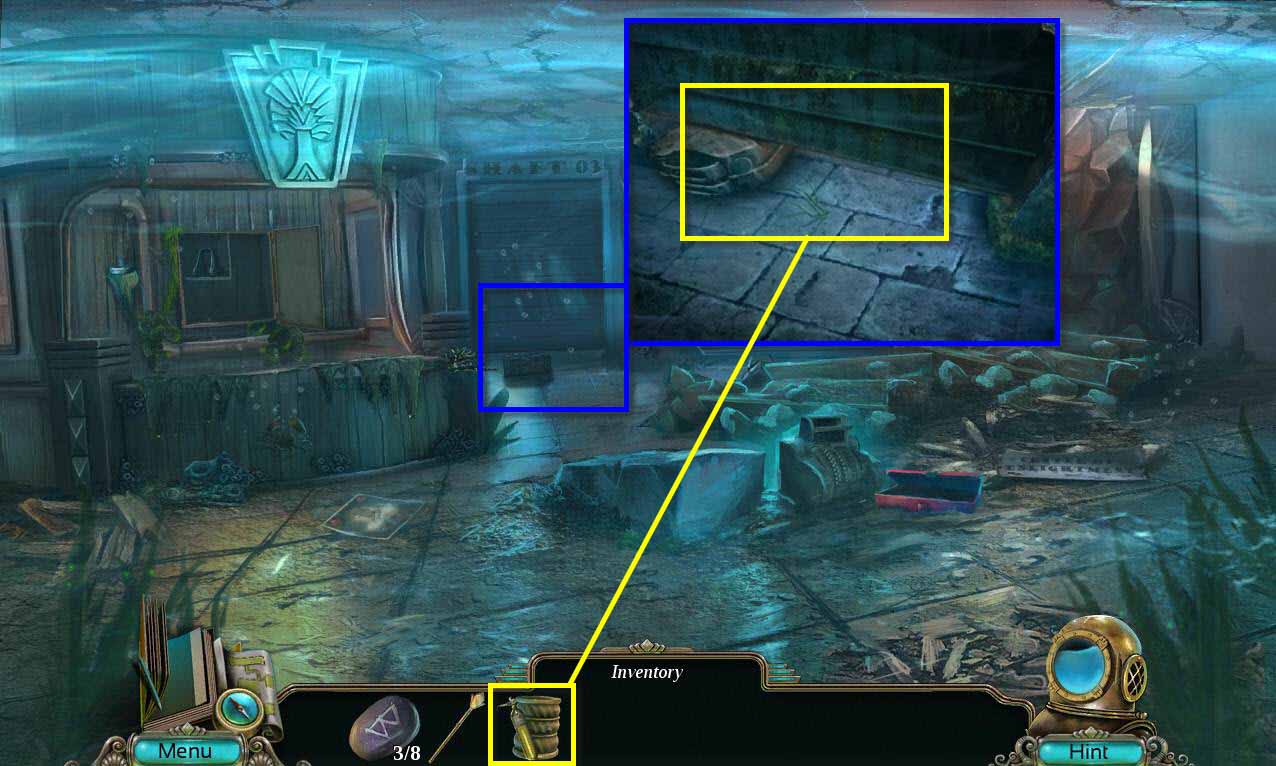
- Click on the door to shaft 3 to zoom in.
- Use the AIR JACK on the door.
- Click on the jack to start it.
- Take the FUEL CANISTER.
-
Go through the door.
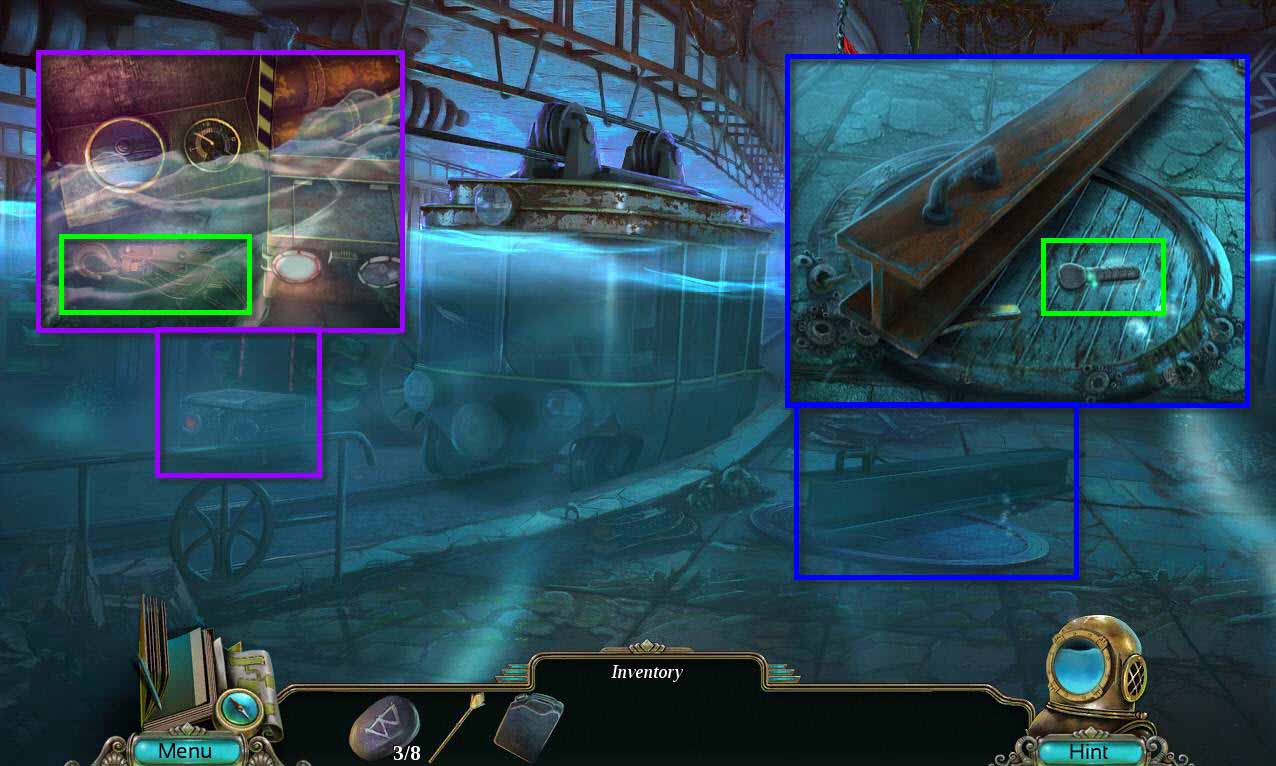
- Click on the ground in front of you to zoom in.
- Take the SHACKLE PIN.
- Click on the controls on the left to zoom in.
- Take the TACKLE.
-
Go back one screen.
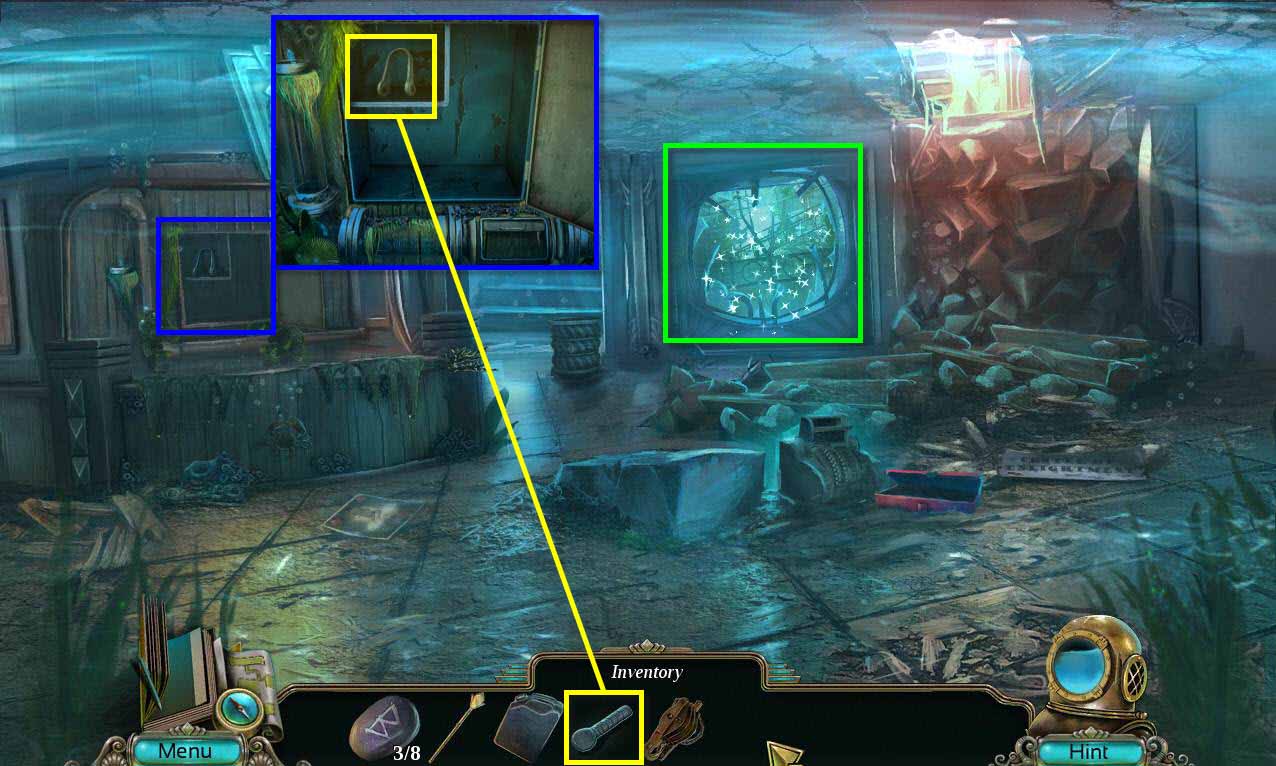
- Click to zoom in on the shelf on the left.
- Use the SHACKLE PIN on the shackle.
- Take the SHACKLE.
-
Click on the sparkles to start the hidden object scene.
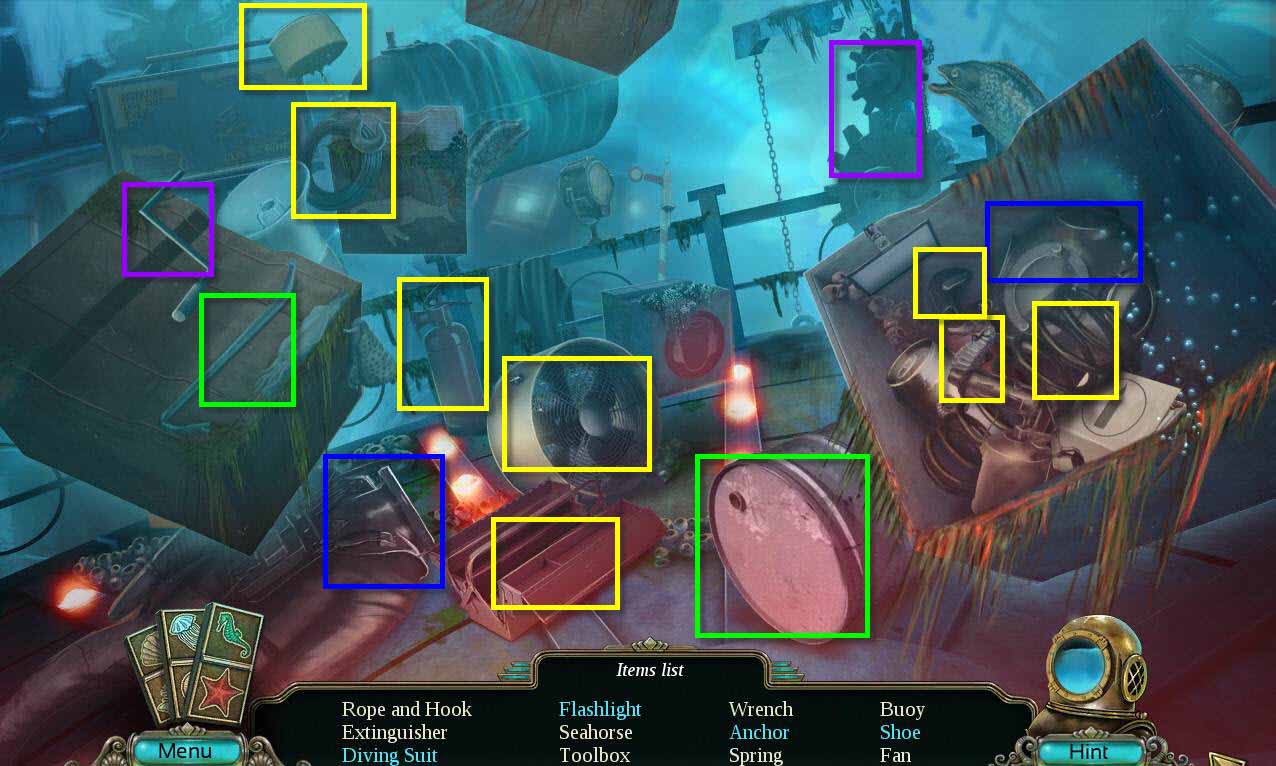
- Find all the items in the scene.
- You will receive a HOOK and ROPE.
-
Go forward to the station.
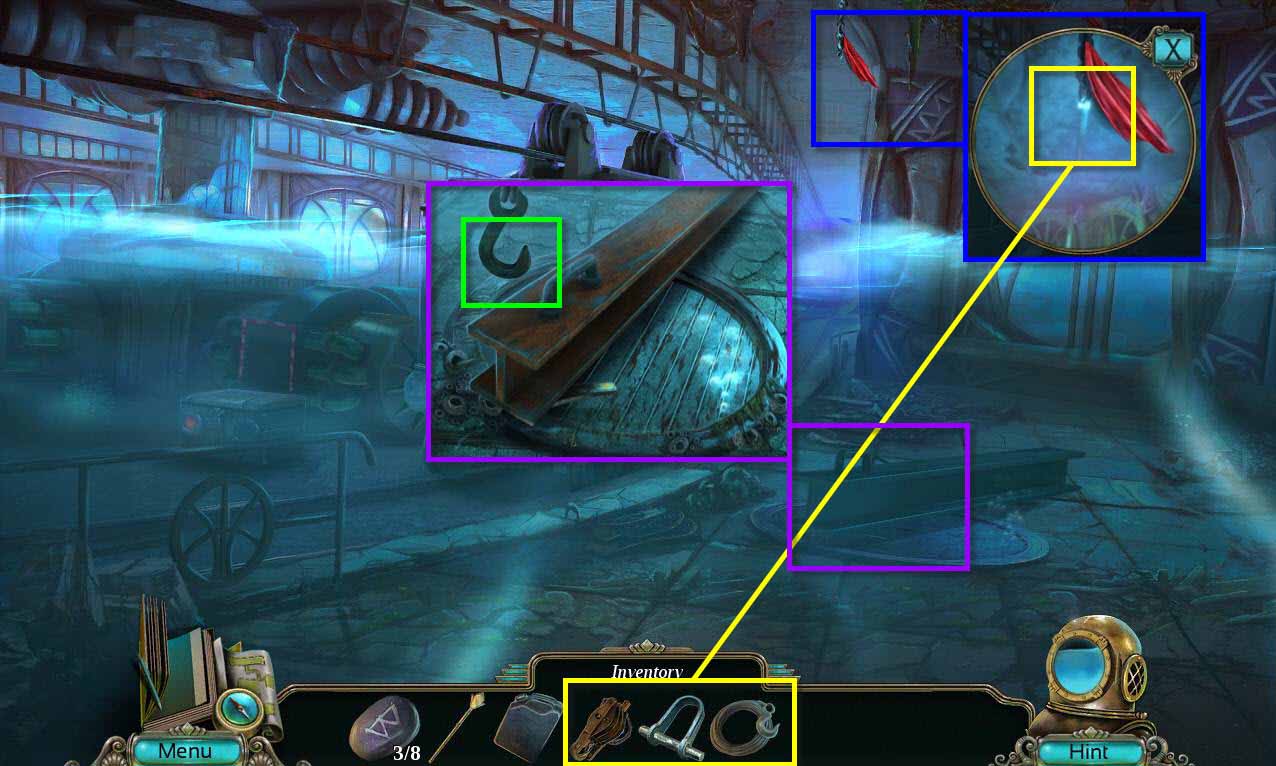
- Click on the chain that is hanging above to zoom in.
- Use the SHACKLE on the chain.
- Use the TACKLE on the chain.
- Use the HOOK AND ROPE on the chain.
- Click on the beam to zoom in.
-
Click on the hook to move it.
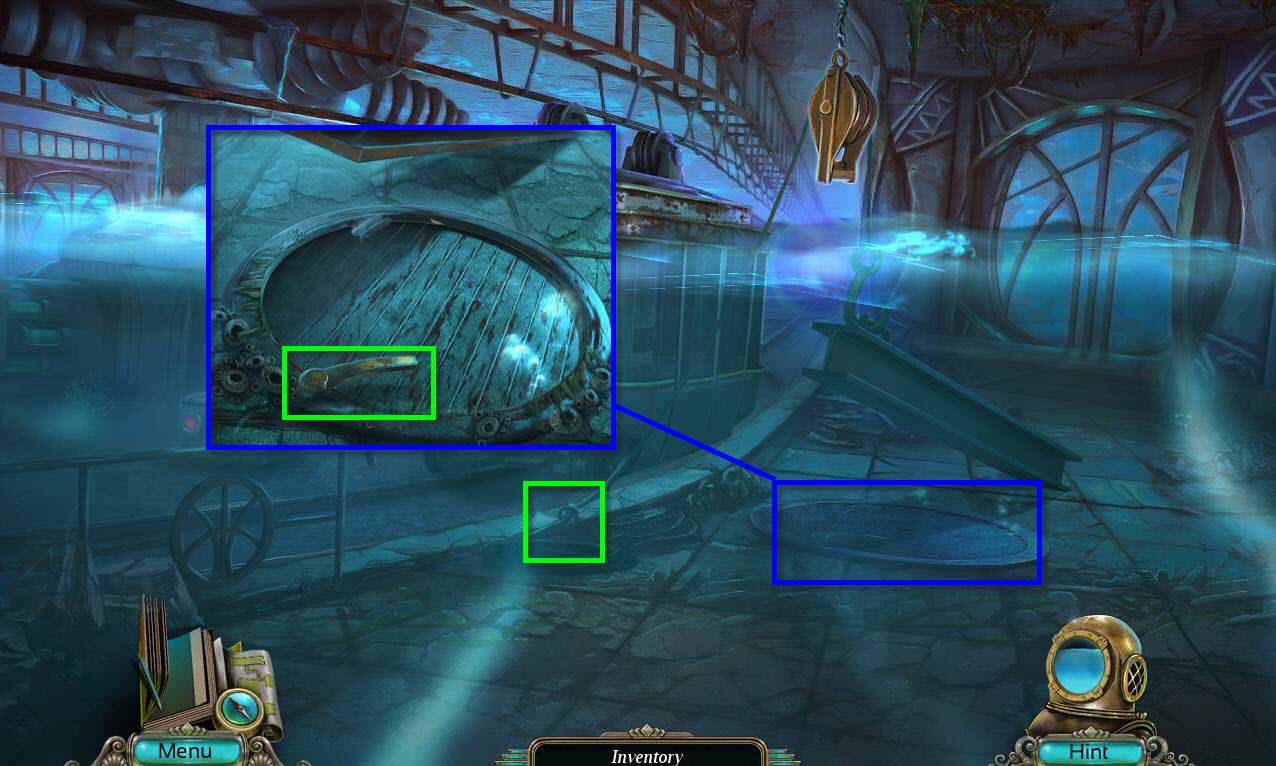
- Click on the rope to secure it and lift the beam.
- Click on the hatch to zoom in.
-
Click on the handle to open the hatch and drain the water from the room.
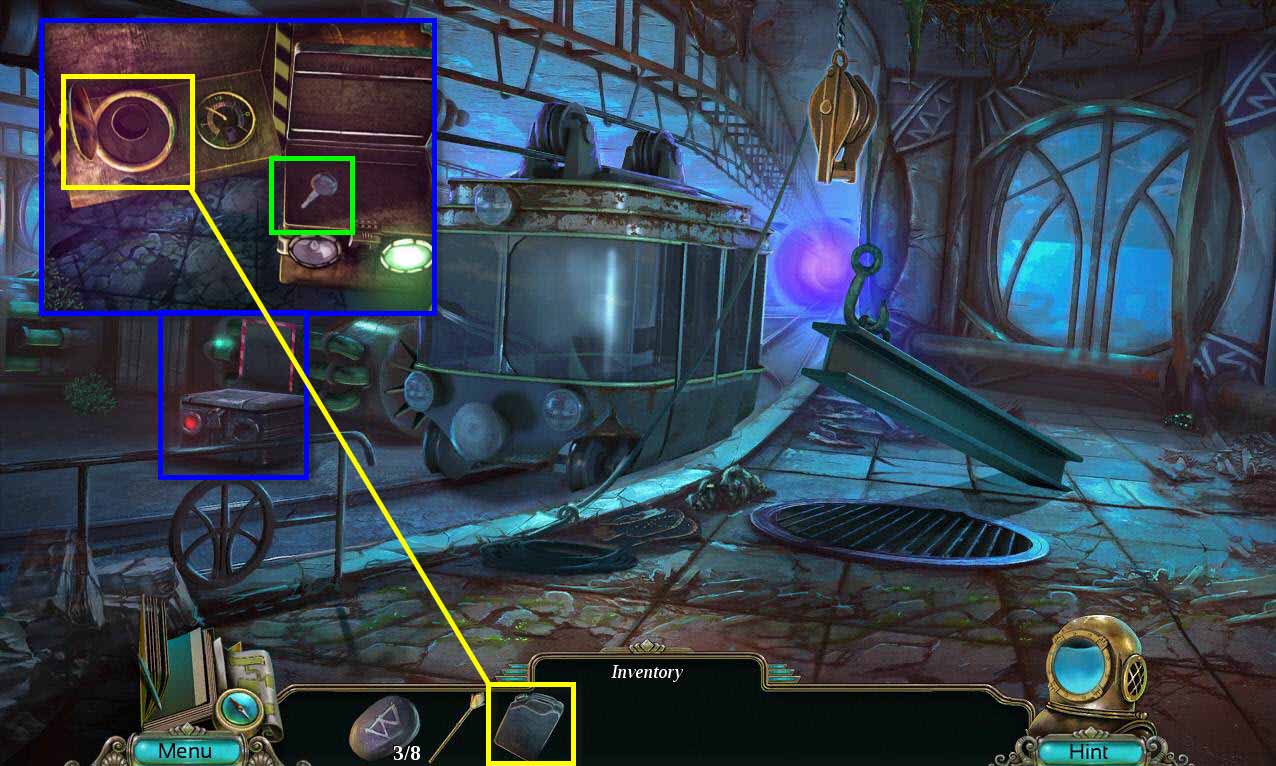
- Click on the controls on the left to zoom in.
- Click the box to open it.
- Take the TRAIN KEY.
-
Use the FUEL CANISTER on the controls.
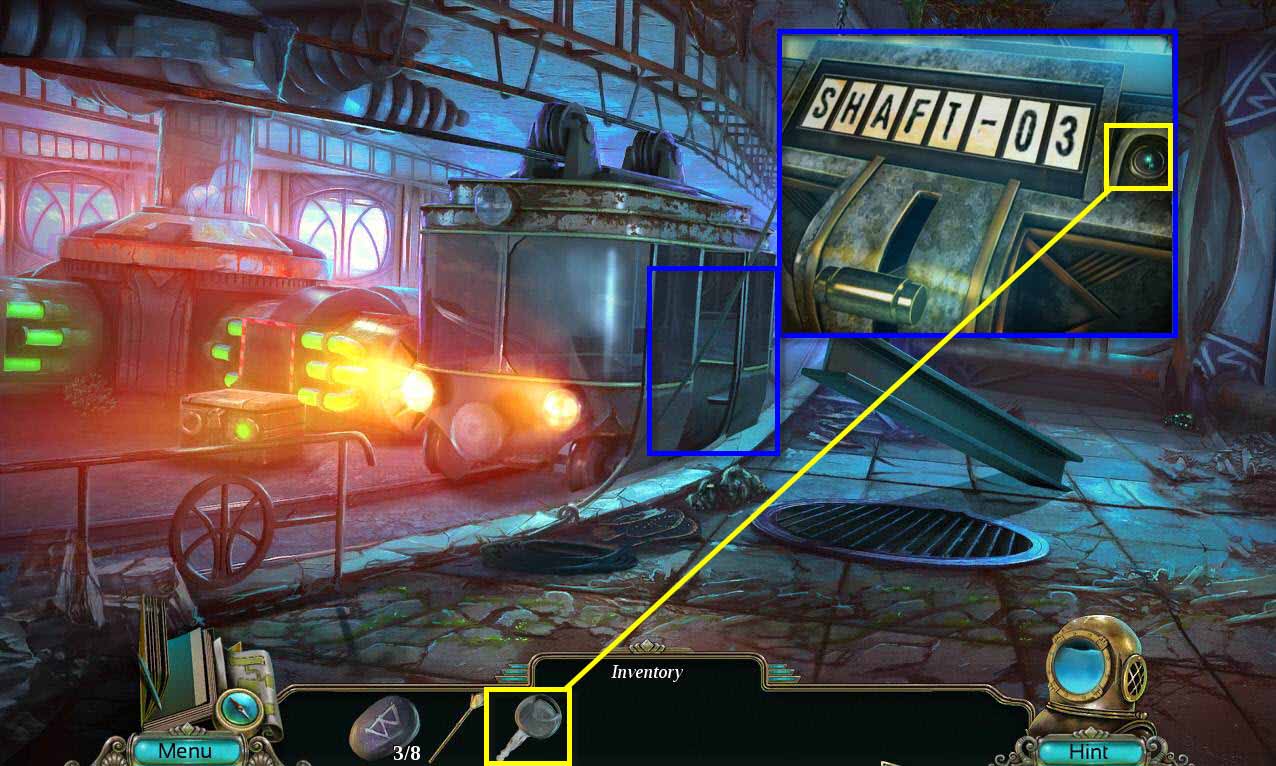
- Click on the train to zoom in.
- Use the TRAIN KEY on the ignition.
- Click to turn the key.
- Click on the lever.
-
Go to Shaft 3.
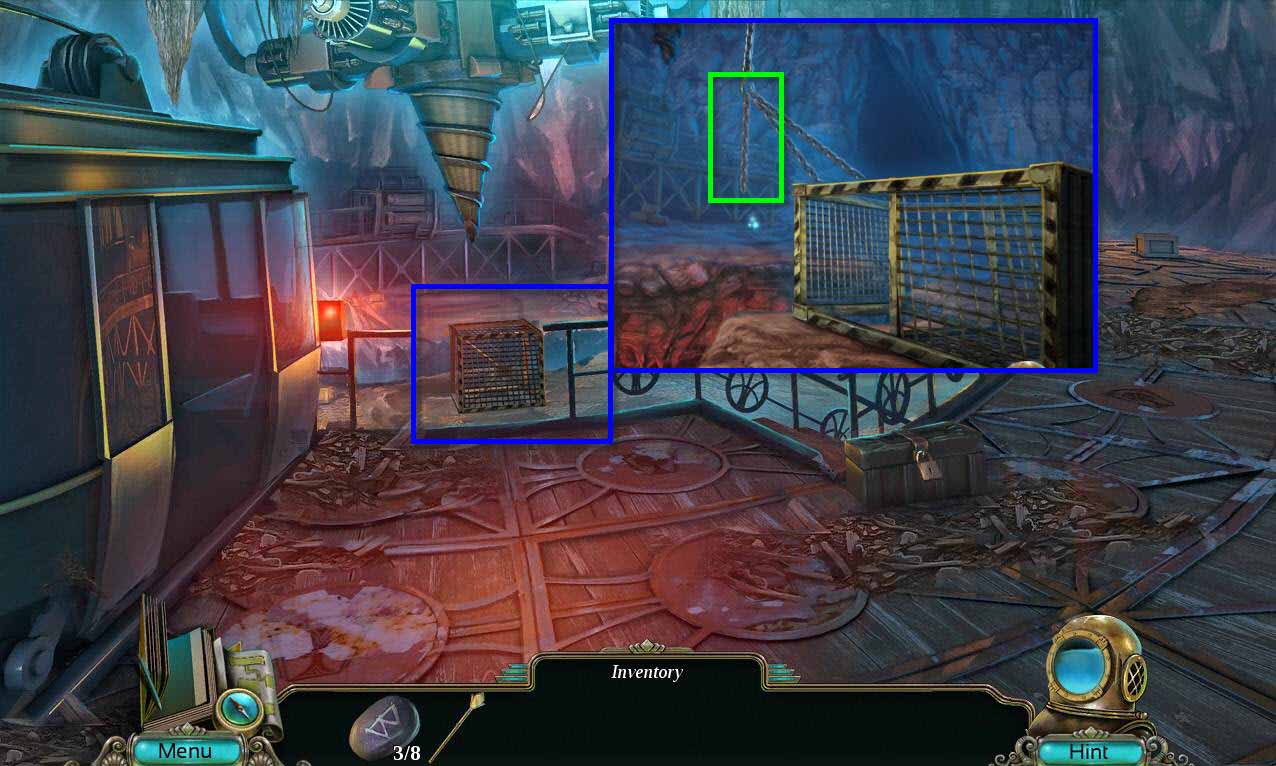
- Click on the cage to zoom in.
-
Click on the chains to secure them to the cage.
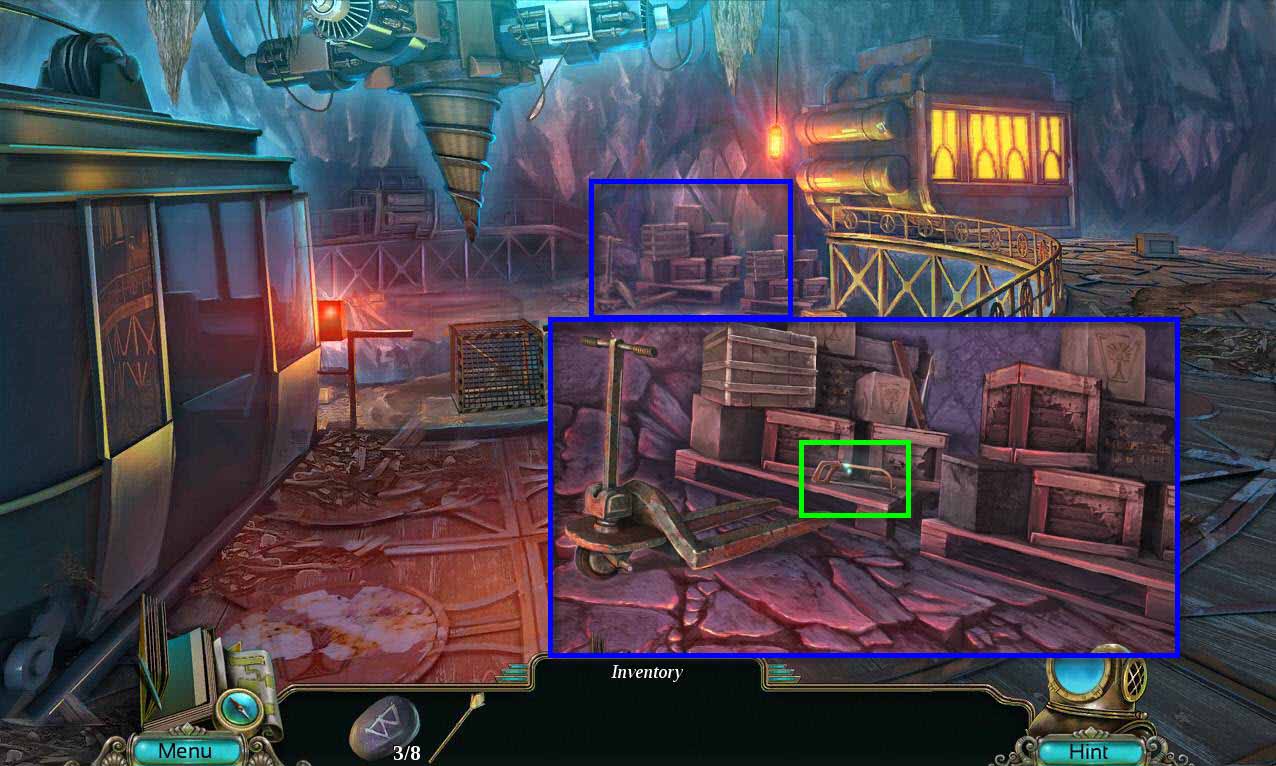
- Click to zoom in on the boxes.
- Take the HACK SAW.
-
Zoom back out.
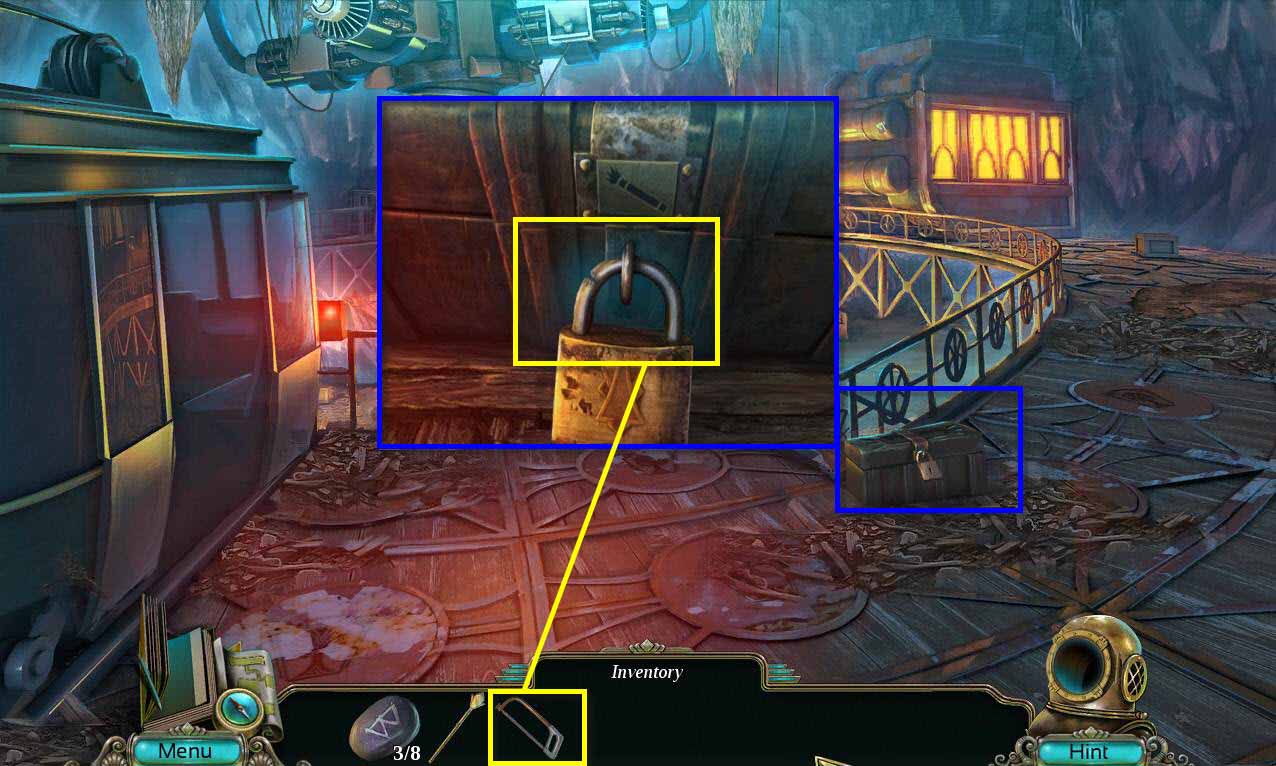
- Click to zoom in on the chest.
- Use the HACK SAW on the padlock.
- Click to open it.
- Take the FLARE.
-
Click on the cage again to zoom in.
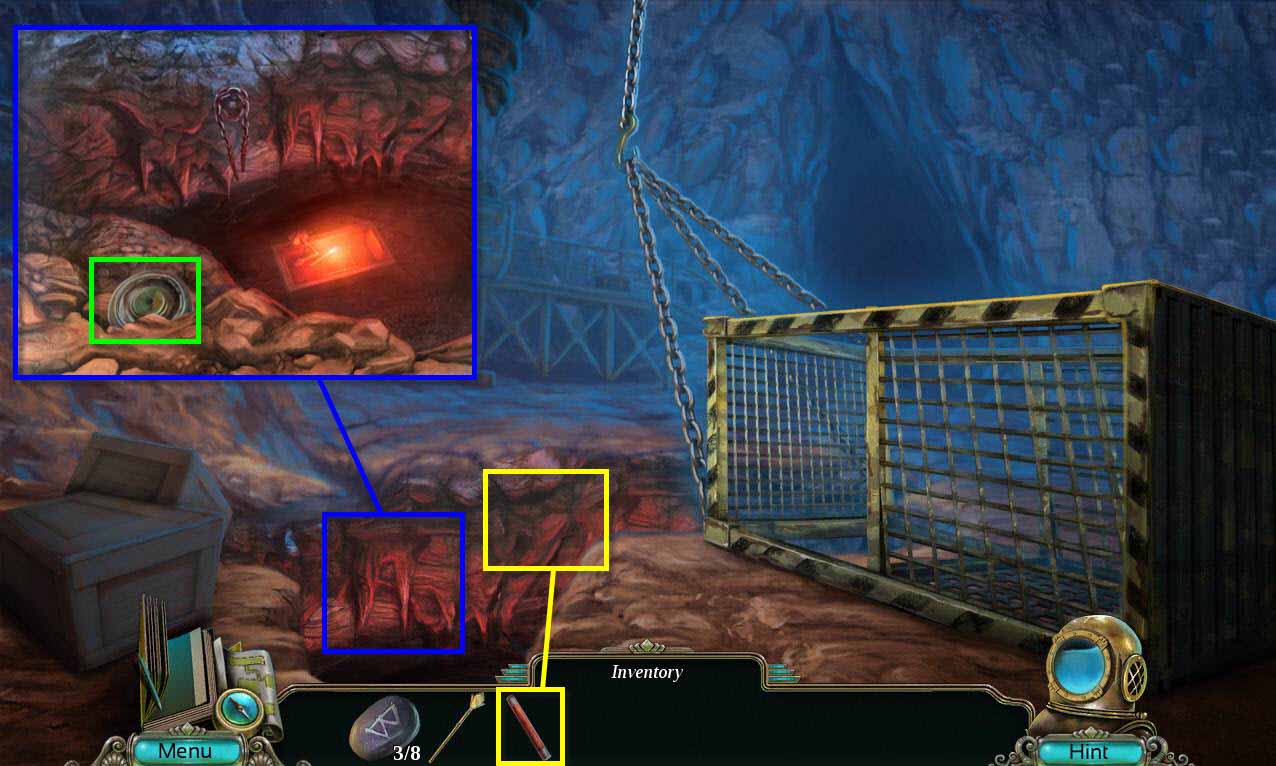
- Use the FLARE on the pit.
- Click to zoom in on the pit.
- Take the WHEEL.
-
Zoom out and click on the boxes again.
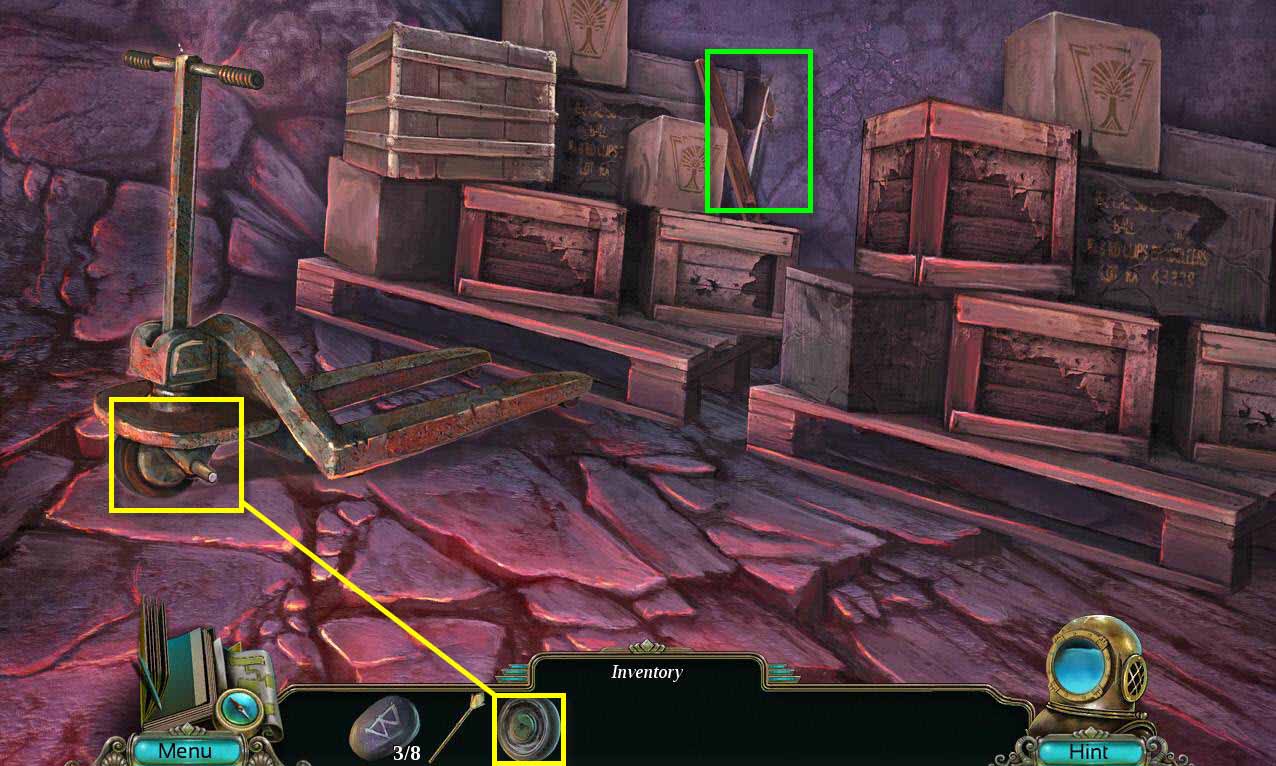
- Use the WHEEL on the dolly.
- Click on the dolly to move the boxes.
- Take the BOAT HOOK.
-
Go back and click on the cage again.
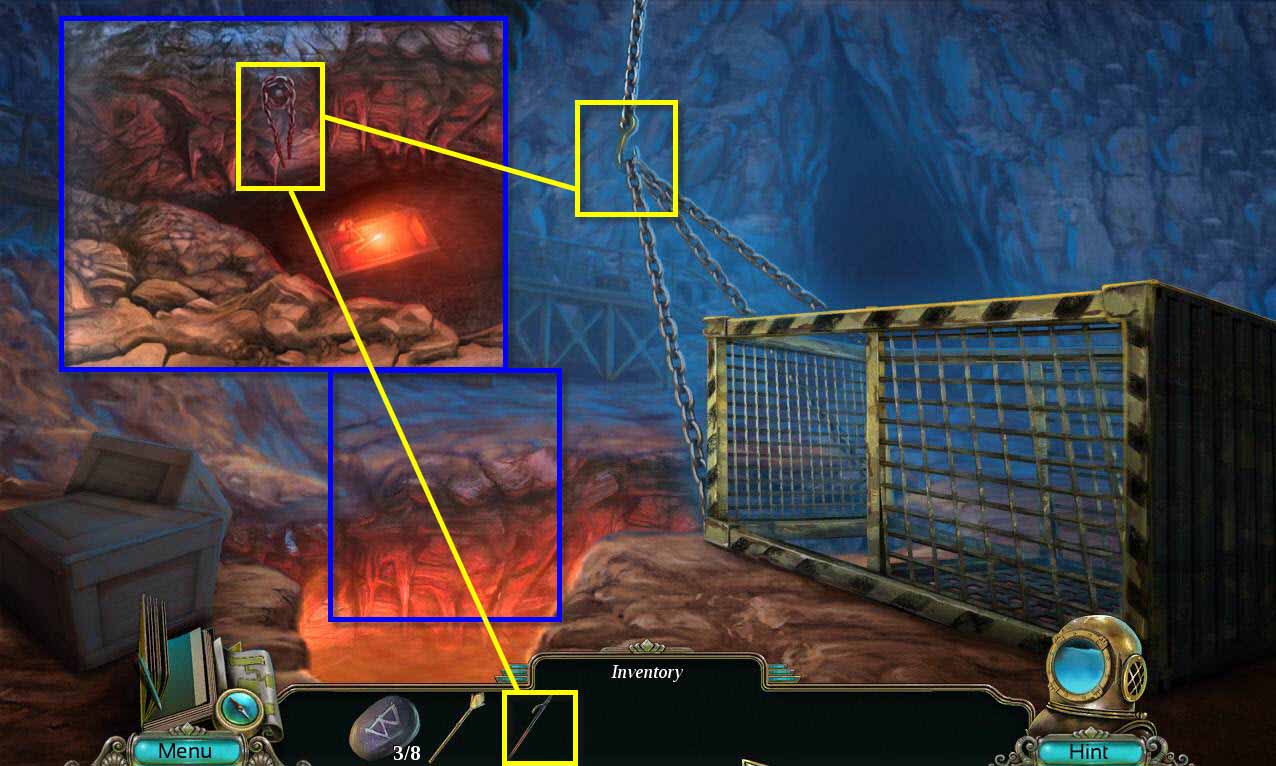
- Click on the pit to zoom in.
- Use the BOAT HOOK to get the CHAIN.
- Use the CHAIN on the rest of the chains to secure the cage.
- Click once more to set the elevator cage right.
-
Go down to the excavation site.
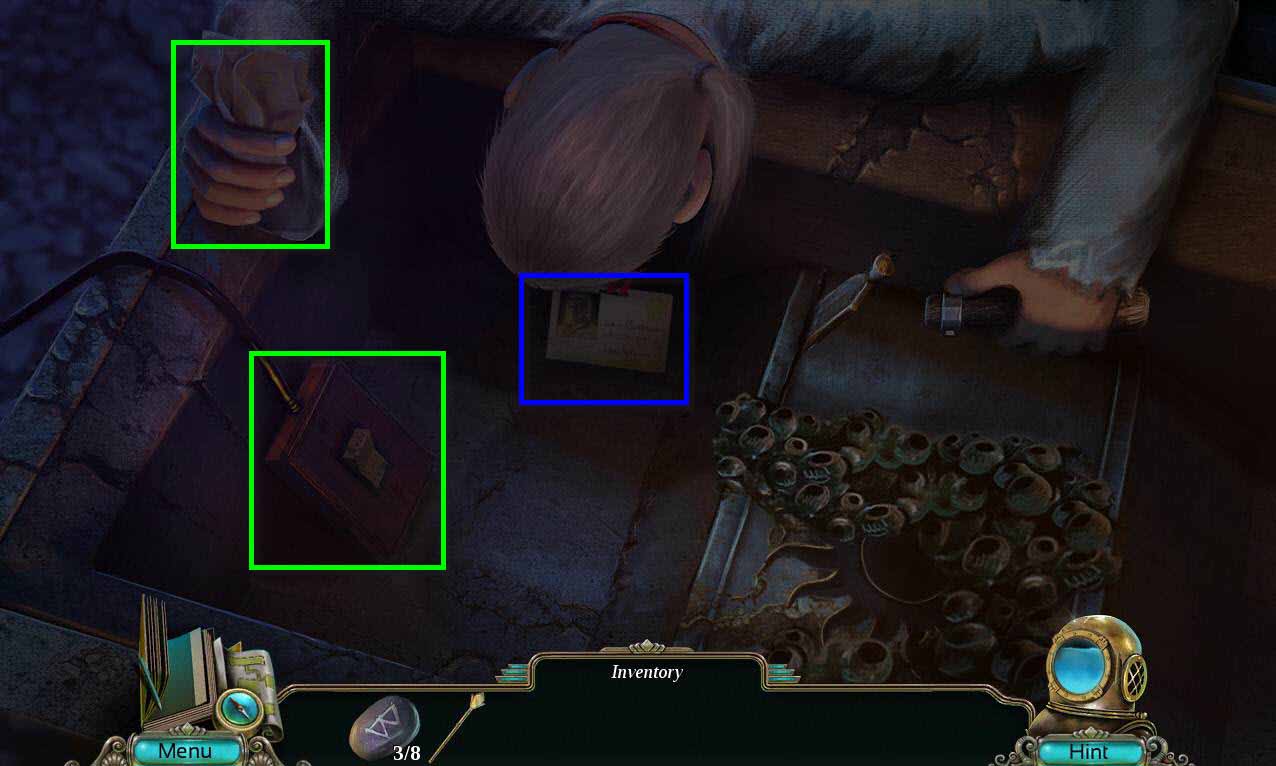
- Click on the glowing ahead to zoom in.
- Click on the switch to turn the lights on.
- Click on the professor's hand twice to get the RUNE 4/8.
-
Go back one screen.
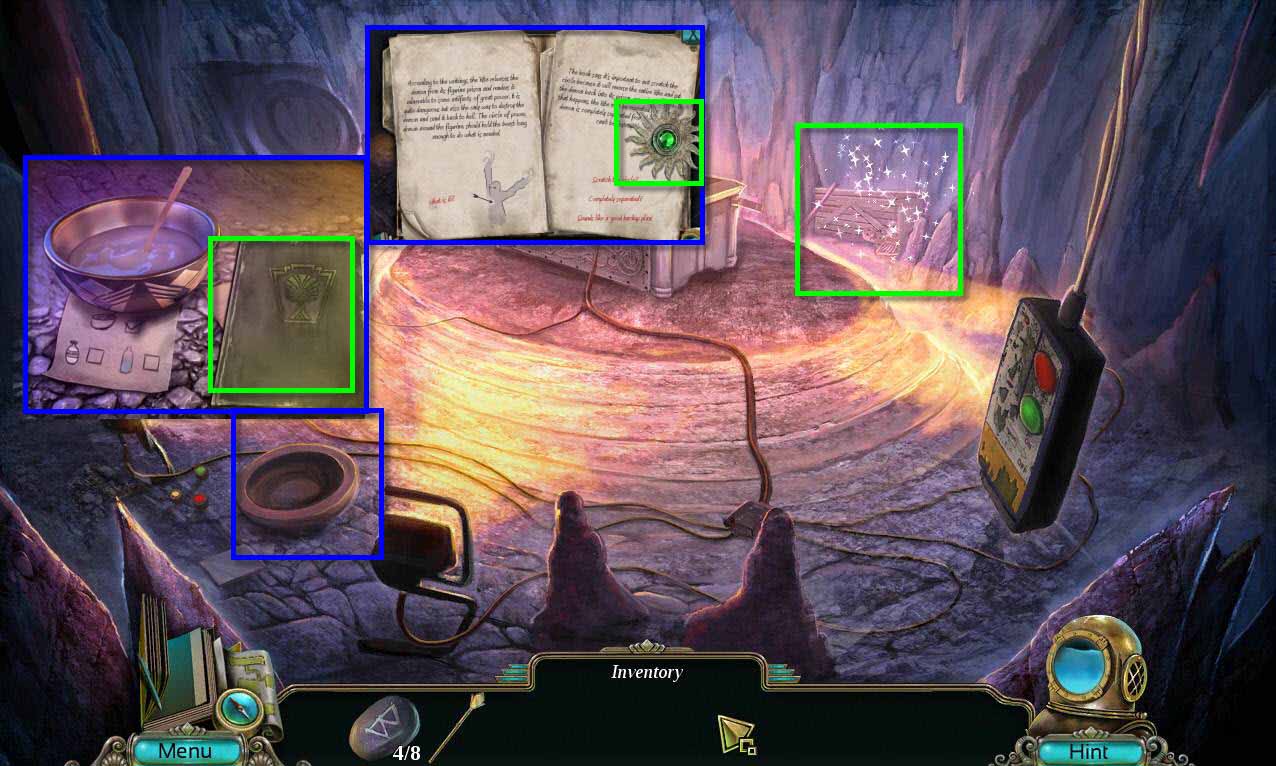
- Click on the bowl on the left to zoom in.
- Click on the file to open it.
- Turn the pages until you get to the page with the pendant.
- Take the SUN PENDANT.
-
Click on the sparkles to access the hidden object area.
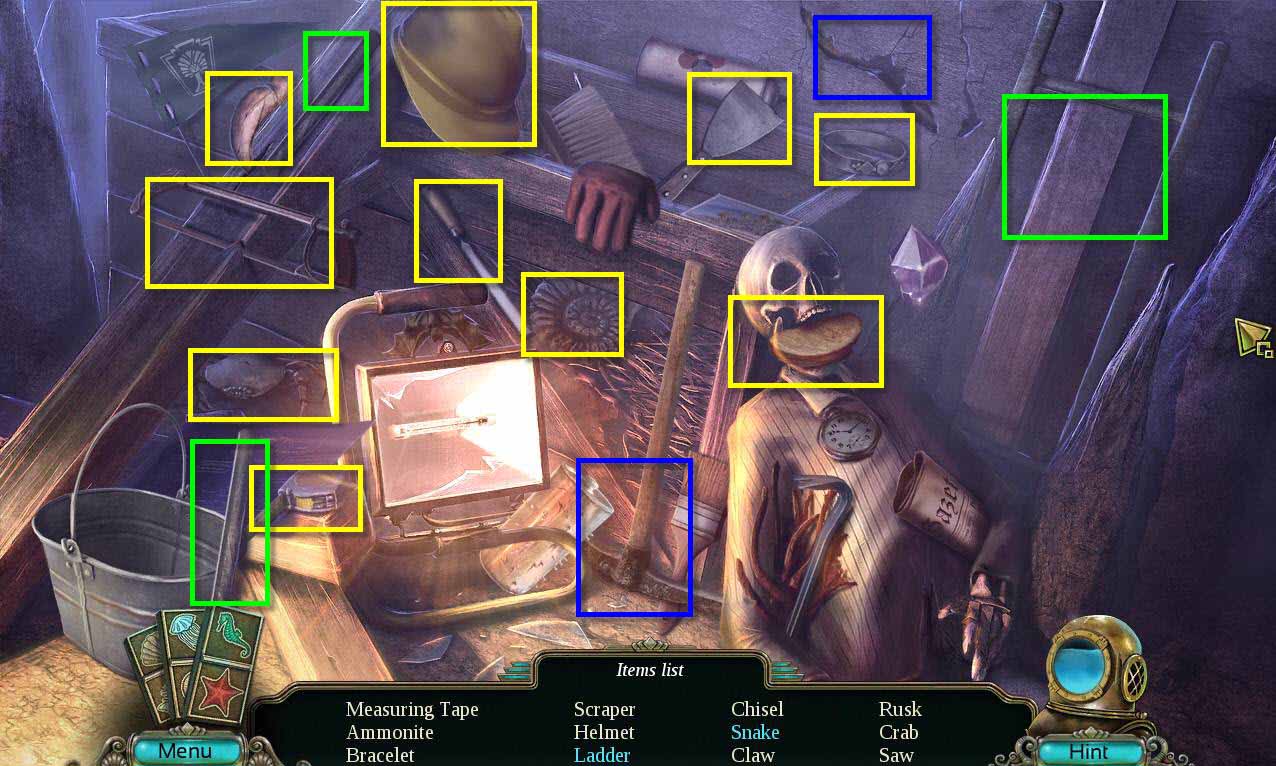
- Find all the items on the list.
- You will receive the SCRAPER.
-
Click on where the professor's body is again to zoom in.
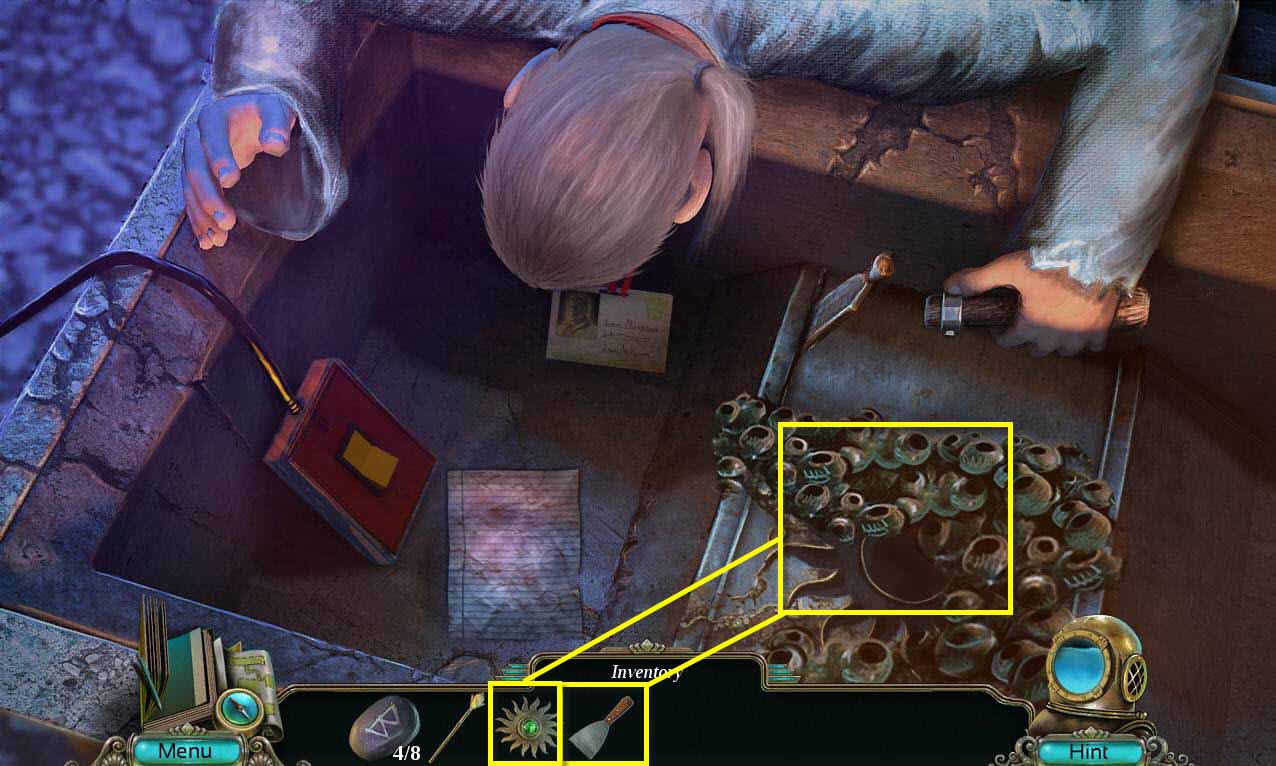
- Use the SCRAPER on the barnacles on the right to get rid of them.
- This will reveal the Sun indentation.
- Use the SUN PENDANT on the sun indentation.
- Take the GOLDEN ARROW and the BINOCULARS.
-
Zoom back out.
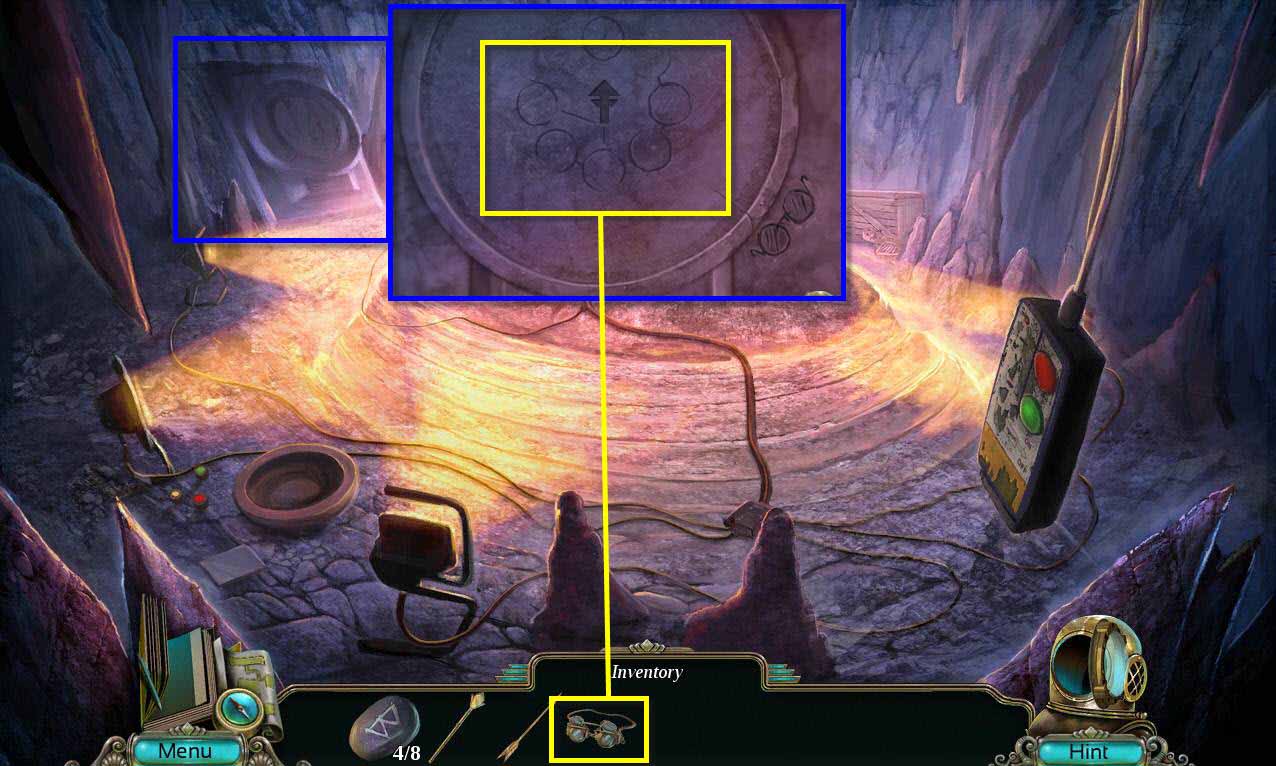
- Click on the wall to the left to zoom in.
- Use the BINOCULARS on the wall.
-
This will start a mini-game.
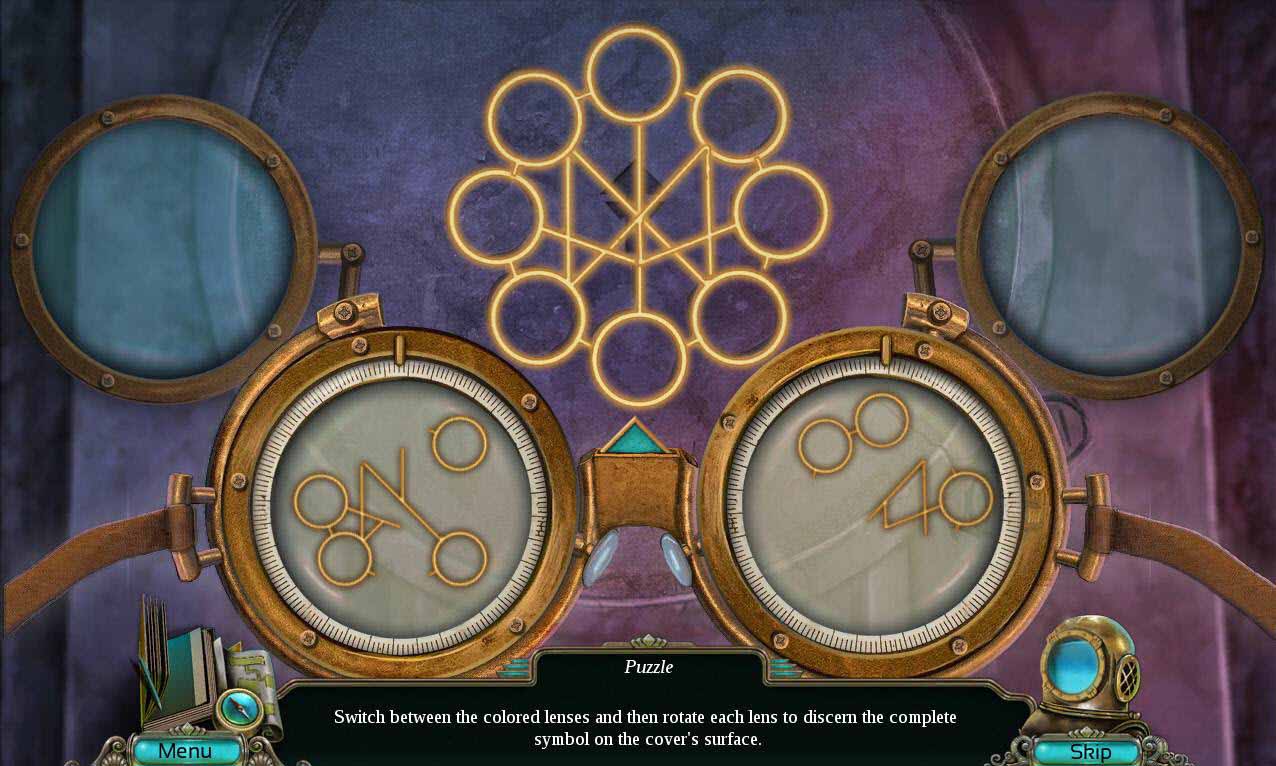
- The goal of the game is to line up the symbols so that they completely cover the wall.
- Click on the lenses to move each set of symbols.
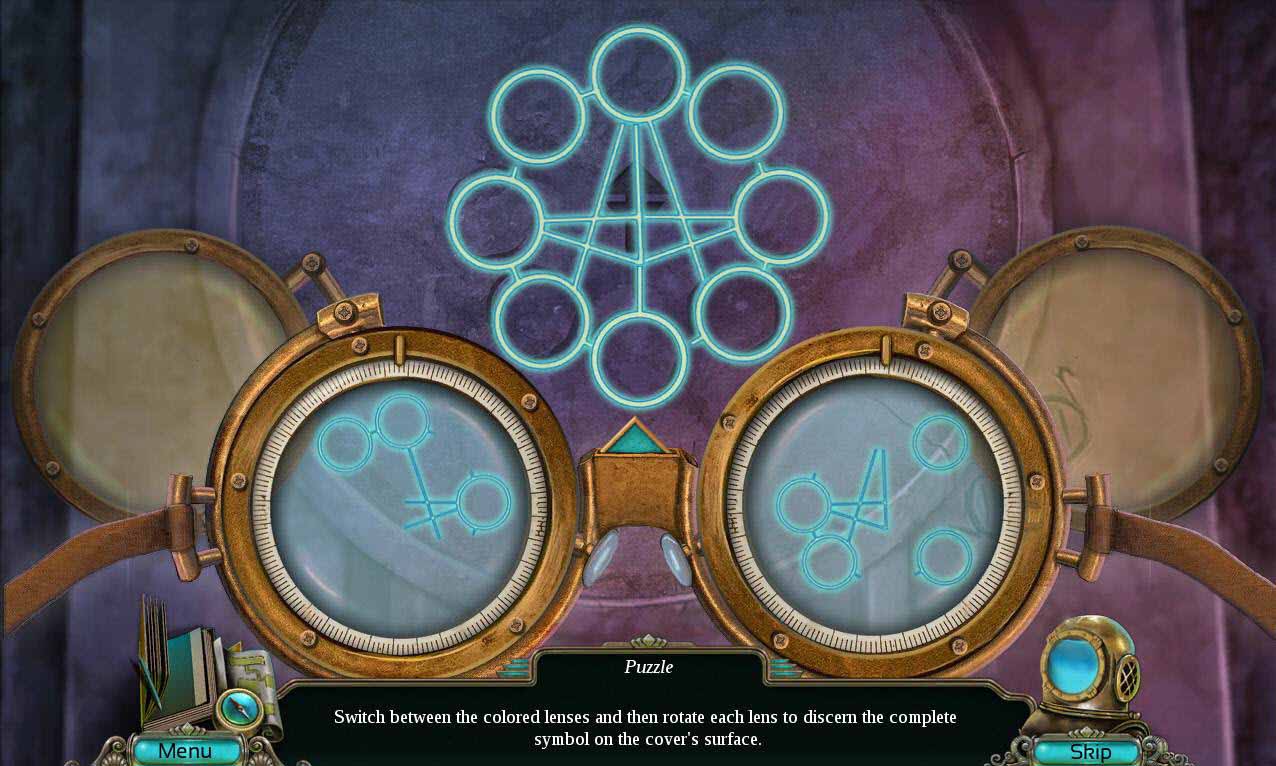
- There are two rounds to this puzzle
-
See the screenshot for the solution to the first round.
-
See the screenshot for the solution to the second round of the puzzle.
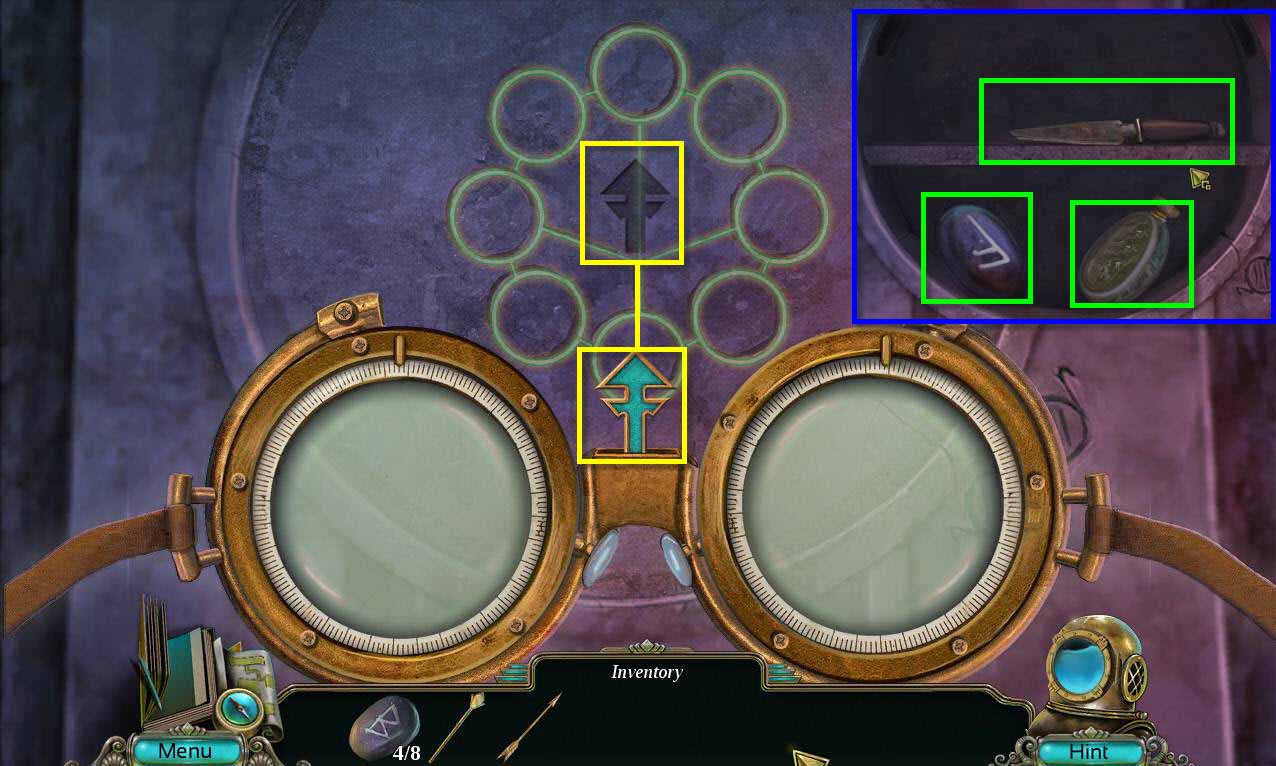
- When you are done, grab the arrow symbol and place it in the wall reveal the compartment hidden behind it.
- Take the RUNE STONE 5/8.
- Take the TRUE SILVER.
- Take the BROKEN DAGGER.
-
Go back up the elevator to Shaft 3.
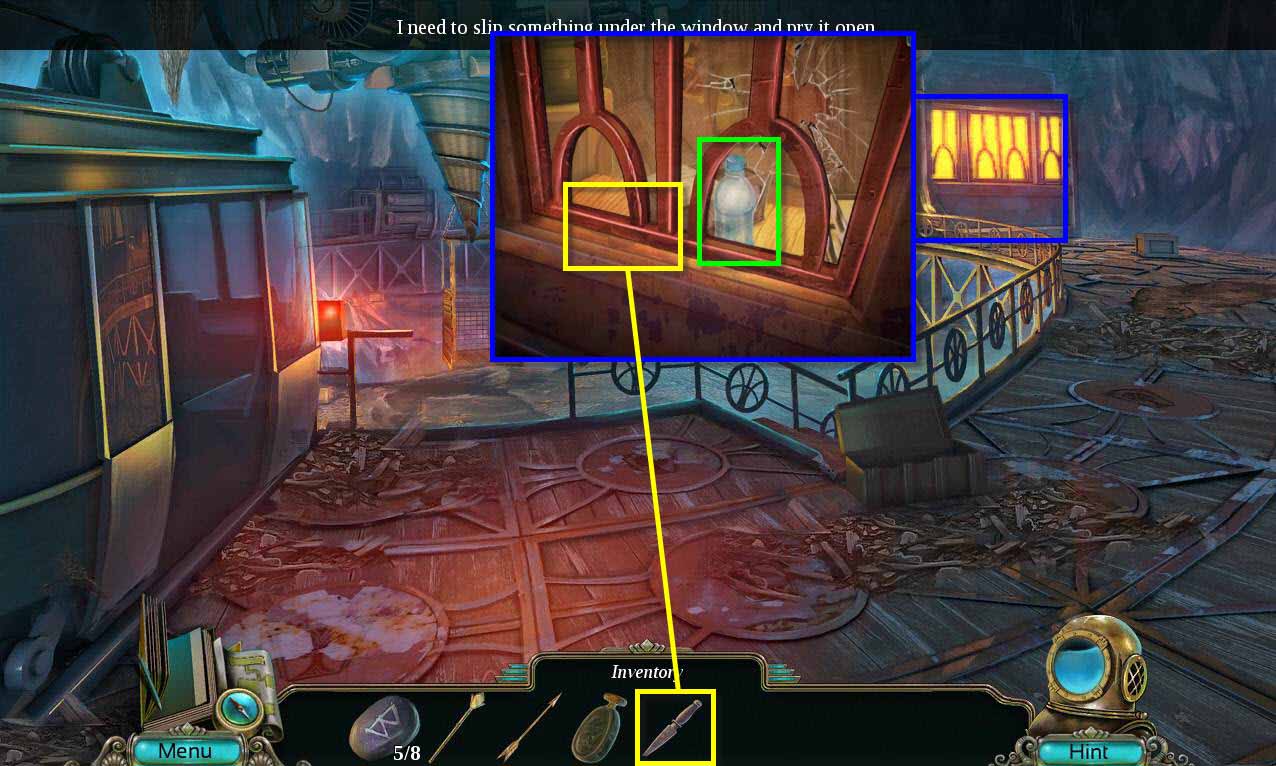
- Click on the window on the right to zoom in.
- Use the BROKEN DAGGER on the window to lift it.
- Take the WATER.
-
Go back down to the excavation.
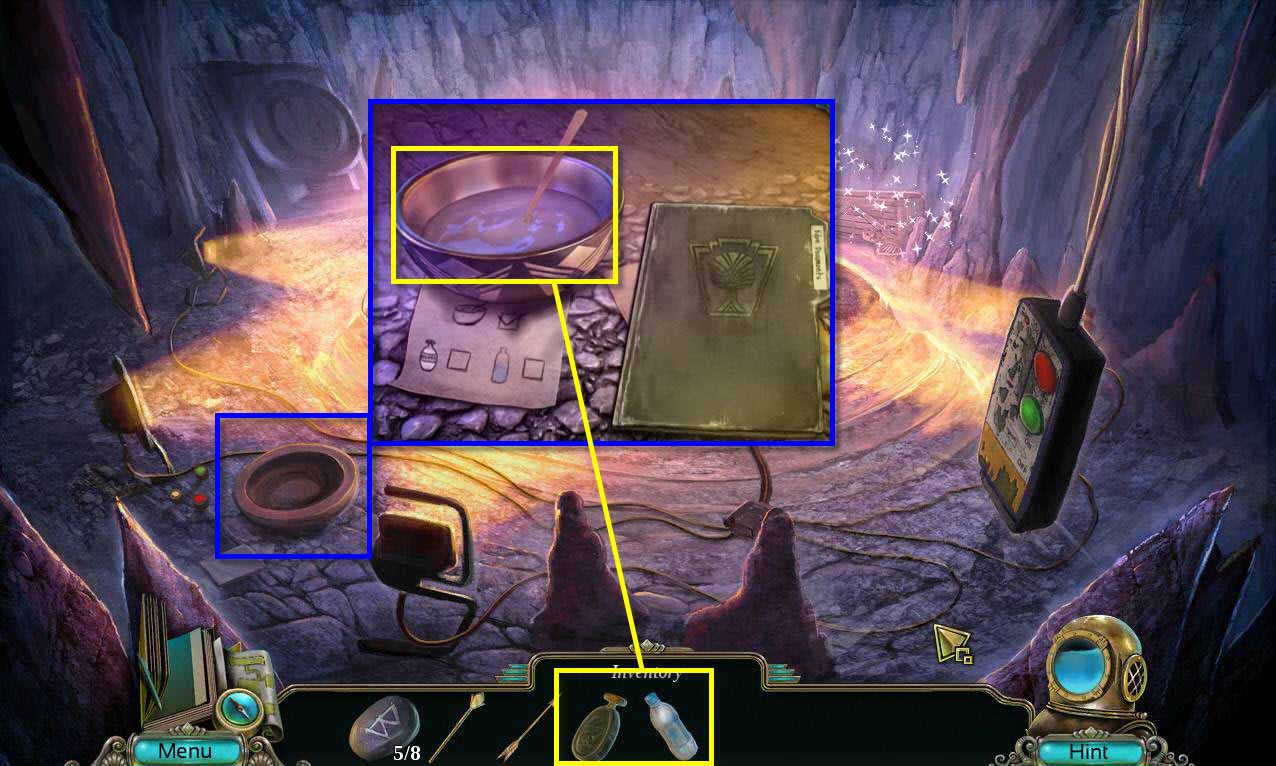
- Click on the bowl to zoom in.
- Use the WATER and the TRUE SILVER on the bowl.
- Click on the spoon to stir it.
- Take the SILVER PAINT.
- Take the MUSIC BOX KEY.
-
Click on the sparkles to start the hidden object scene.
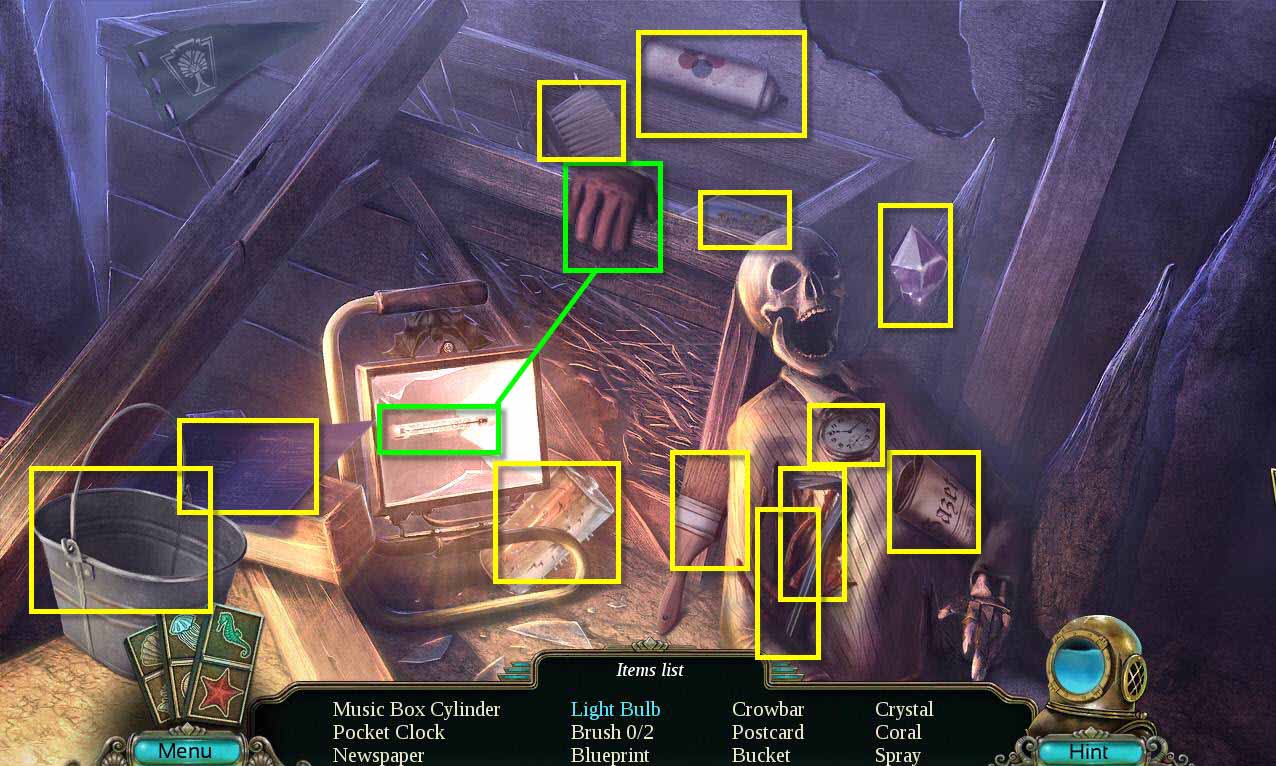
- Find all the items on the list.
- You will receive the MUSIC BOX CYLINDER.
-
Go back up the elevator to shaft 3.
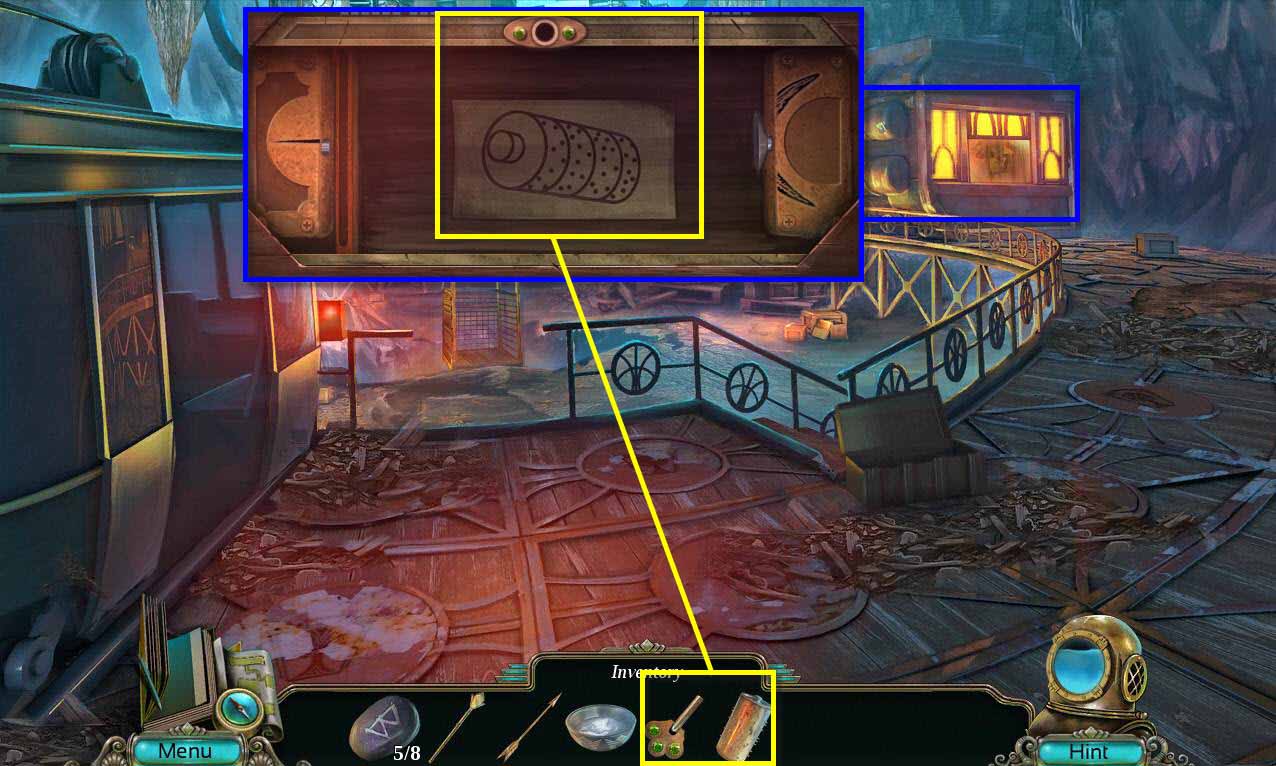
- Click on the window again.
- Click on the note on the music box.
- Click on the music box to zoom in.
- Use the MUSIC BOX CYLINDER on the music box.
- Use the MUSIC BOX KEY on the top of the box.
-
This will start a puzzle.
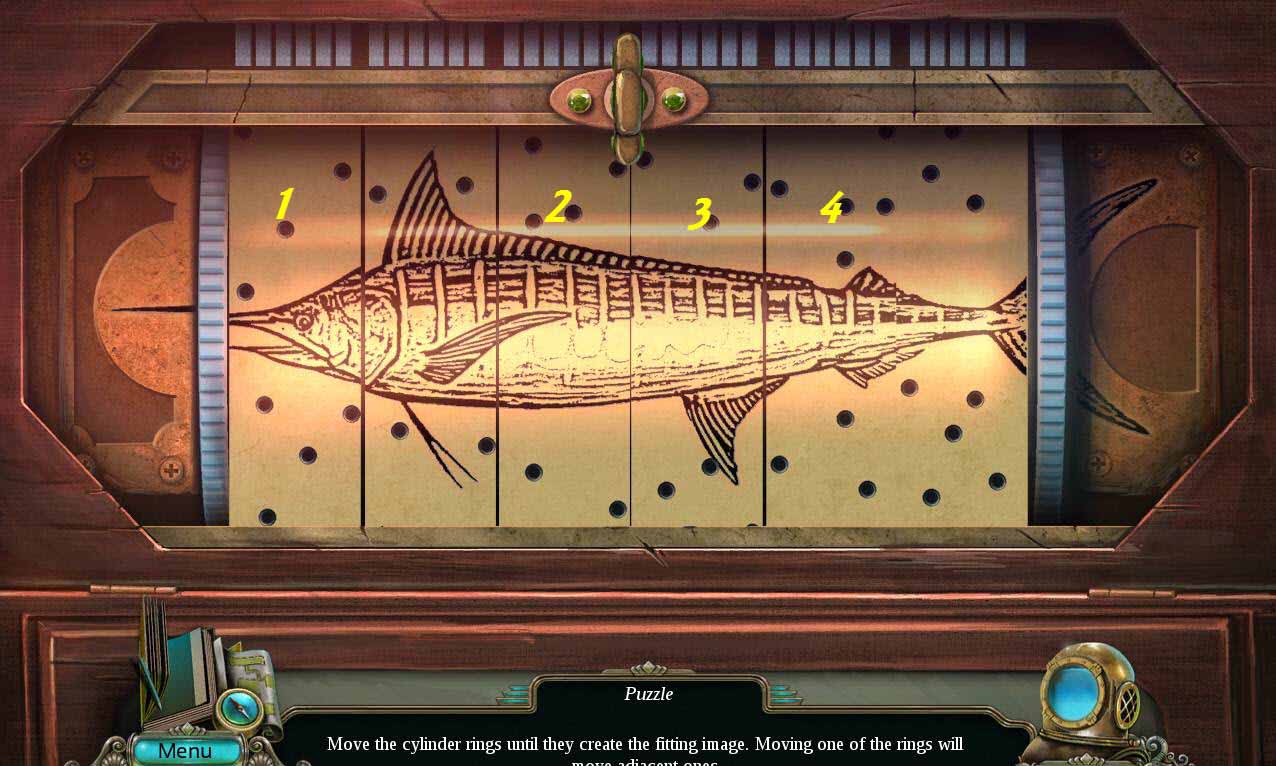
- The goal of the puzzle is to move the rings so that it forms the picture of a fish.
- Start with the very first ring on the left and move that to the correct position for the head.
- Then skip the next ring and move the 3rd ring. Make sure rind 2 is positioned correctly.
- Then just move on down the line.
- Take the RUNE STONE 6/8.
- Click on the note to read it.
- Take the GLOBE TOKEN.
- Go back to the Reception room.
-
Click on the sparkles to access the hidden object area.
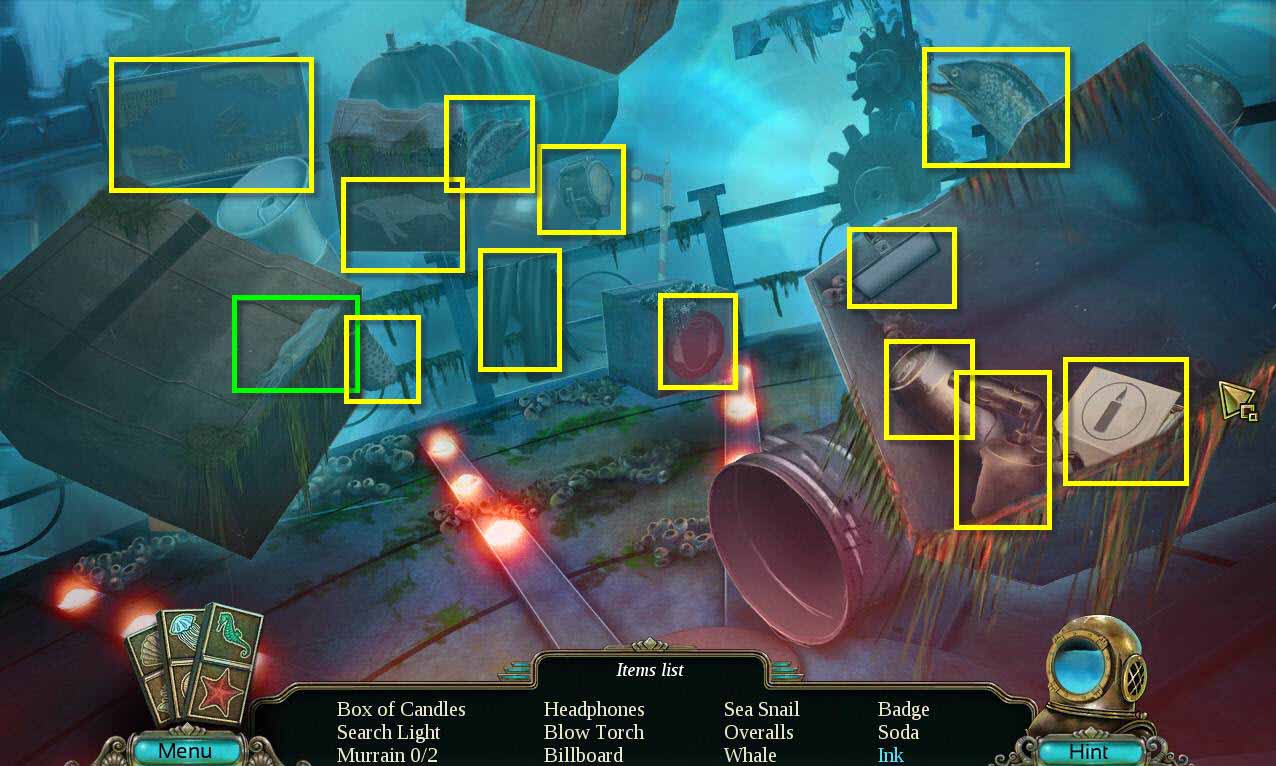
- Find all the items on the list.
- You will receive the WAX.
-
Go to the observatory.
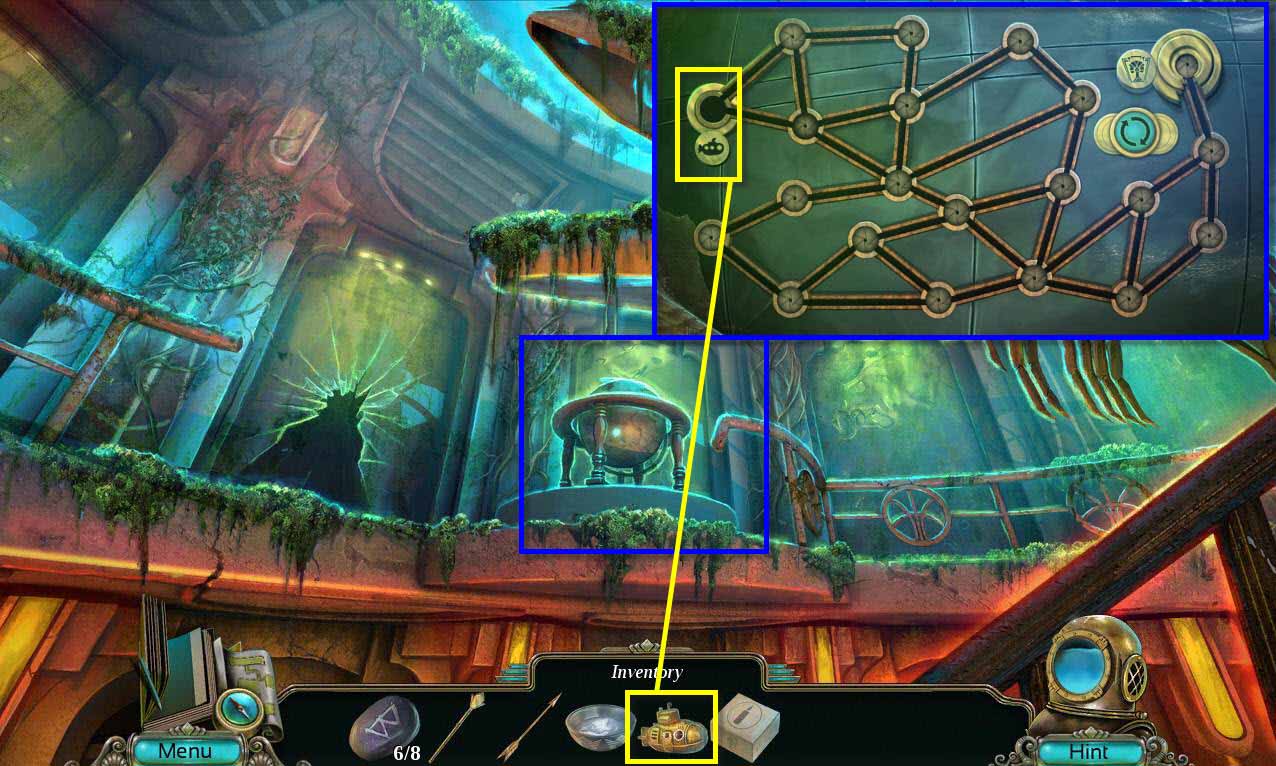
- Click on the globe to zoom in.
- Use the GLOBE TOKEN on the globe.
-
This will start a mini-game.
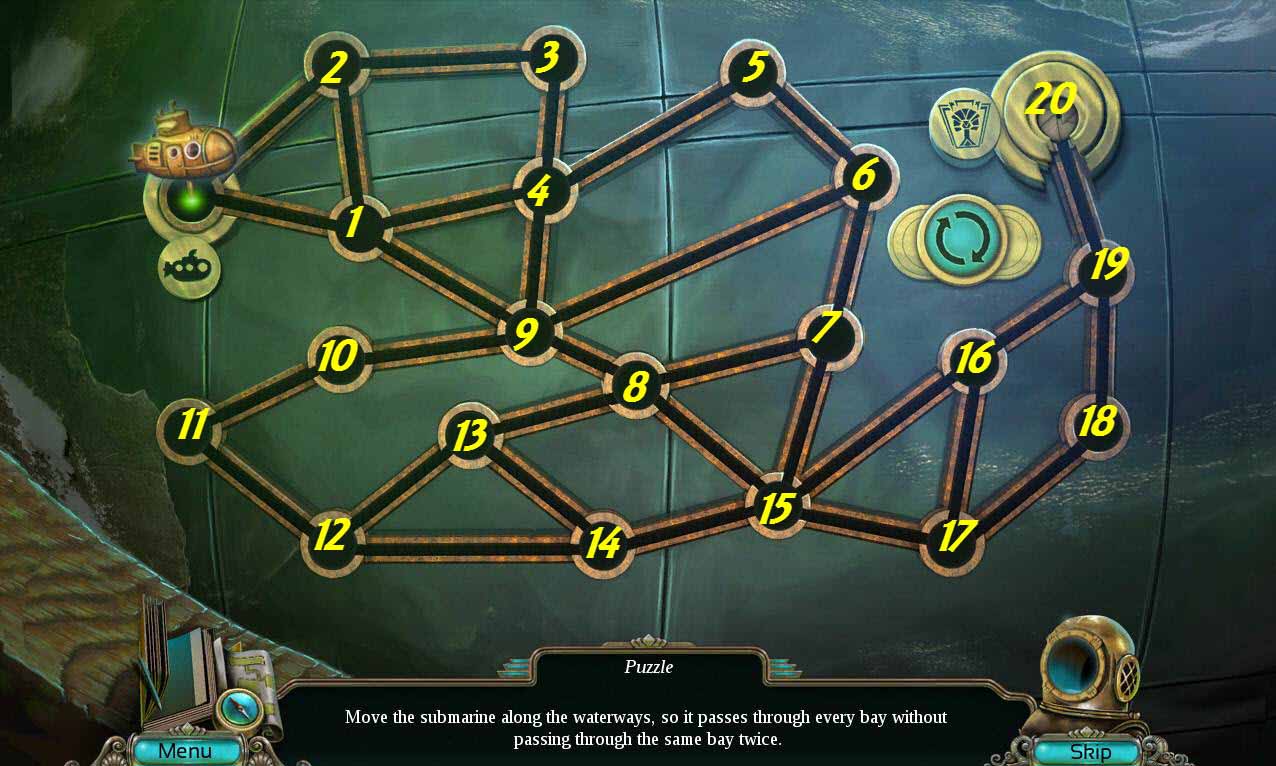
- The goal of the mini-game is to move the submarine through the lines so that it goes through every one without hitting one twice.
- See the screenshot above for help. Move the submarine 1 - 20.
- Take the RUNE STONE 7/8.
- Take the CANDLE MOLD.
- Click on the note to read it.
- Take the FRIDGE TOKEN.
- Return to the hideout.
- Talk to the little girl.
-
Go down to the lab.
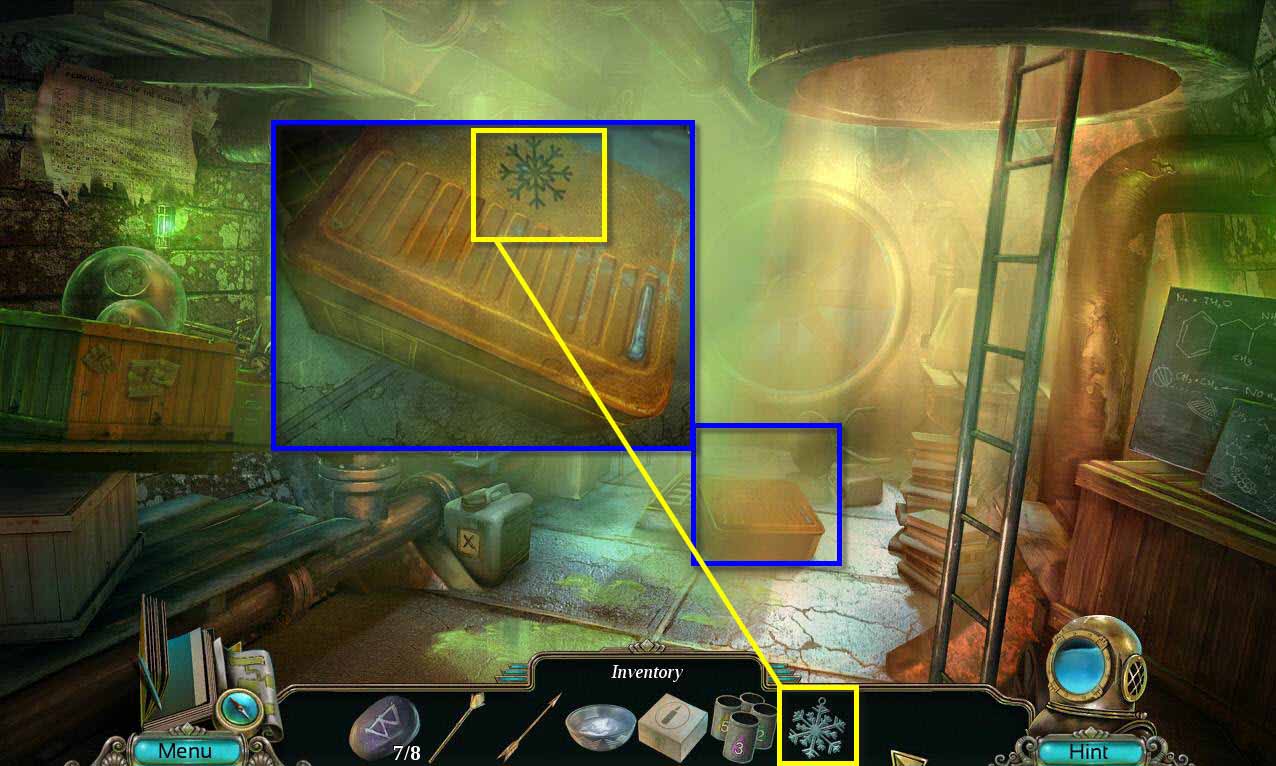
- Click to zoom in on the orange bin.
- Use the FRIDGE TOKEN on the bin.
- Click to open it.
- Take the DRAGON FIGURINE.
-
Go back upstairs and to the dormitory.
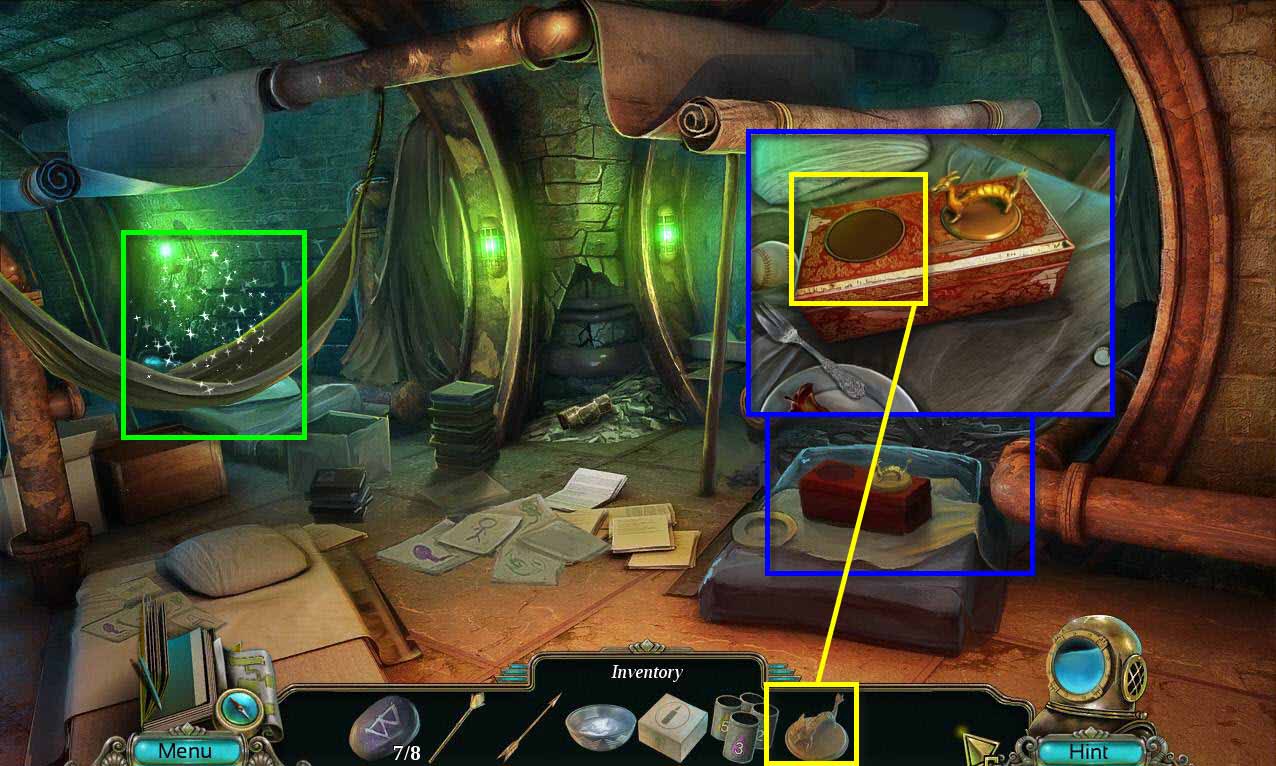
- Click on the dragon box to zoom in.
- Use the DRAGON FIGURINE on the box.
- Click to open it.
- Take the RUNE STONE 8/8 and the PIGMENTS.
-
Click on the sparkles to start the hidden object scene.
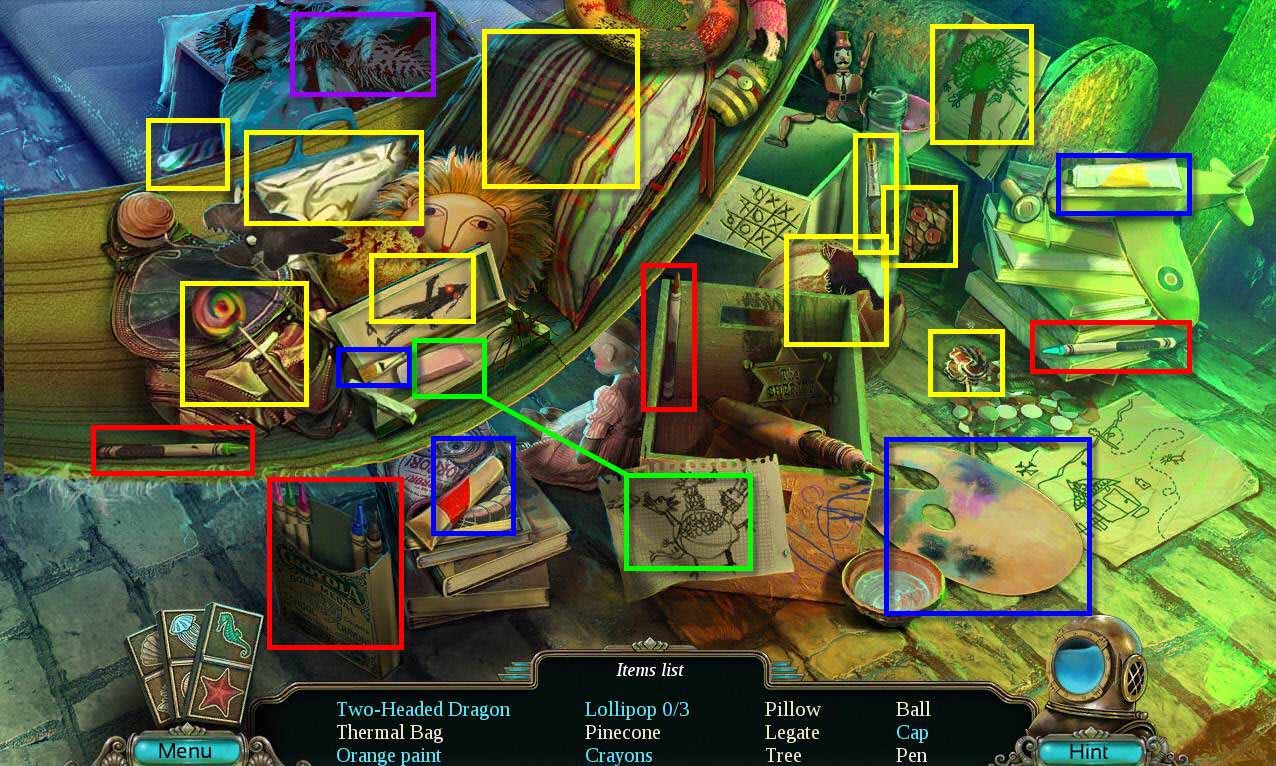
- Find all the items on the list.
- You will receive a THERMAL BAG.
-
Return to the orangery.
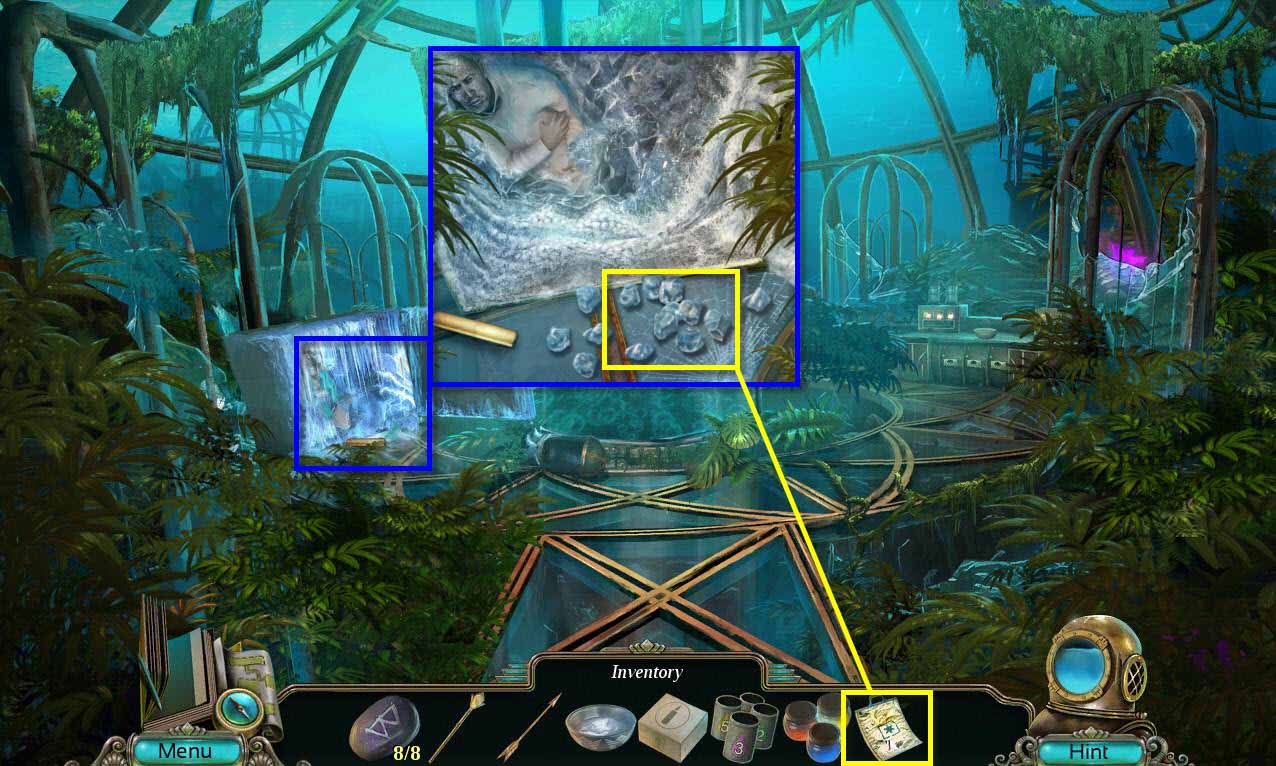
- Click on the fridge to zoom in.
- Use the THERMAL BAG on the ice.
- You will receive the BAG OF ICE.
-
Go back to the lab in the hideout.
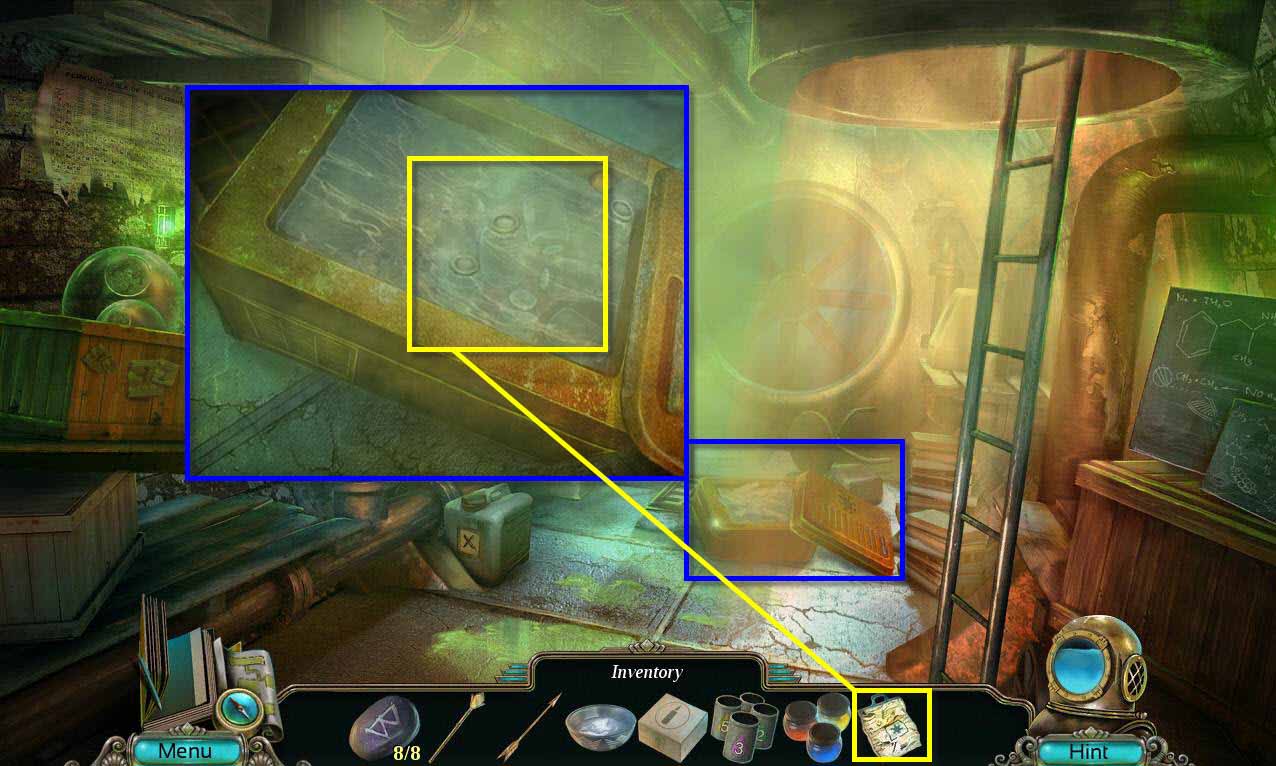
- Click on the bin to zoom in.
-
Use the BAG OF ICE on the hot water.
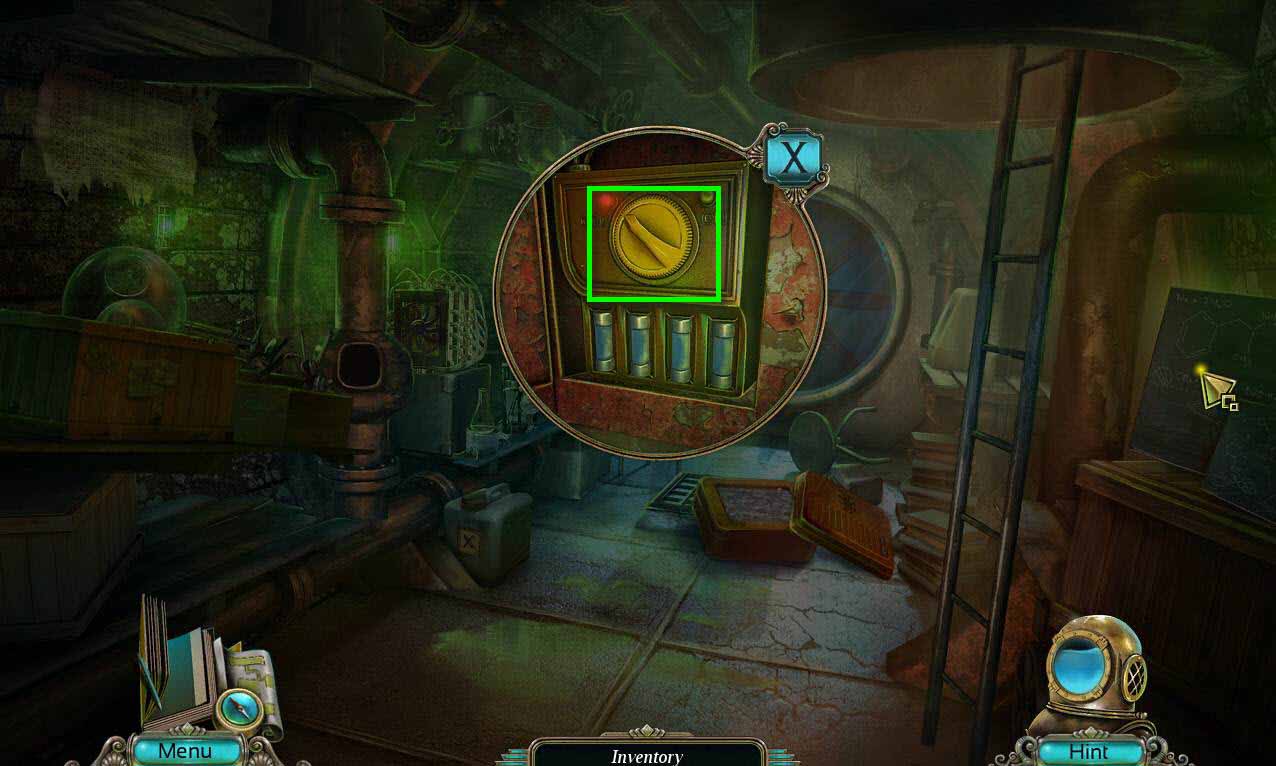
- Click on the red box on the left of the fan to zoom in.
- Click to open the panel.
- Switch the fan on to clear the rest of the room.
-
Click to zoom in on the lab counter.
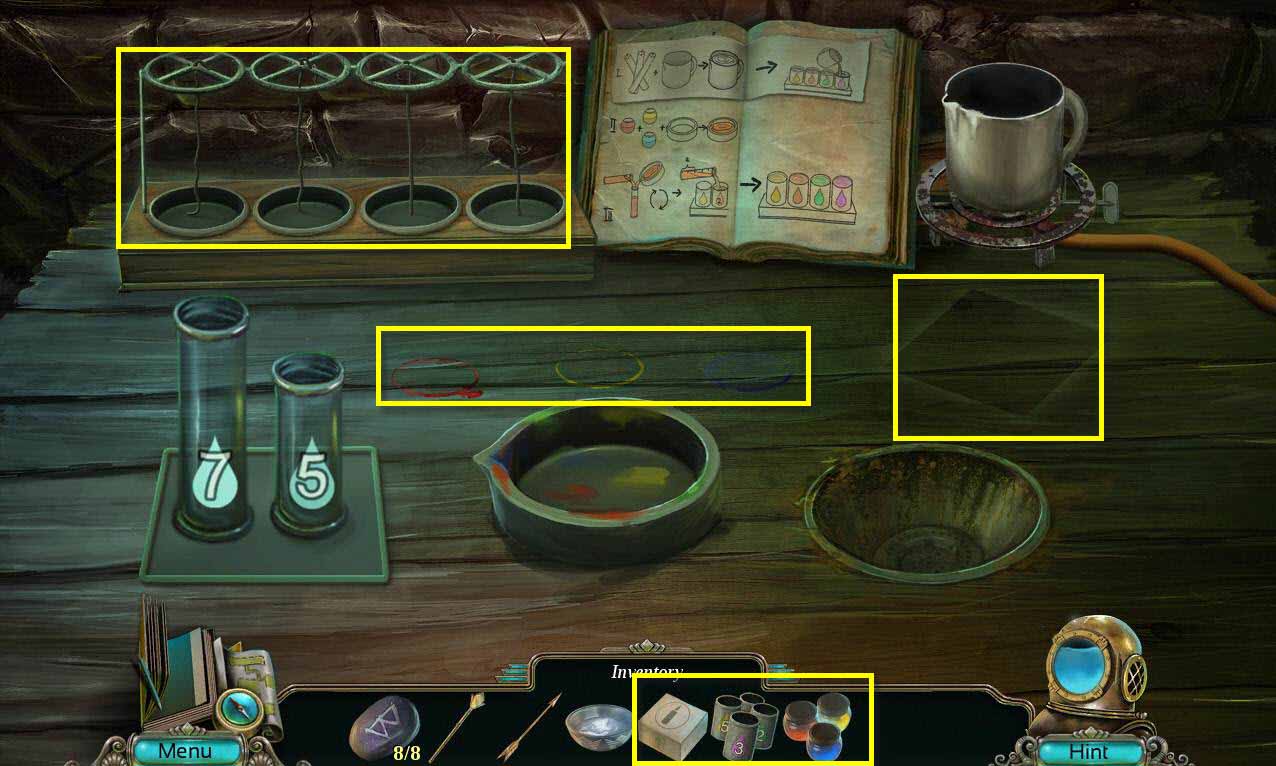
- Use the WAX, the PIGMENTS, and the CANDLE MOLDS on the table.
-
This will start a mini-game.
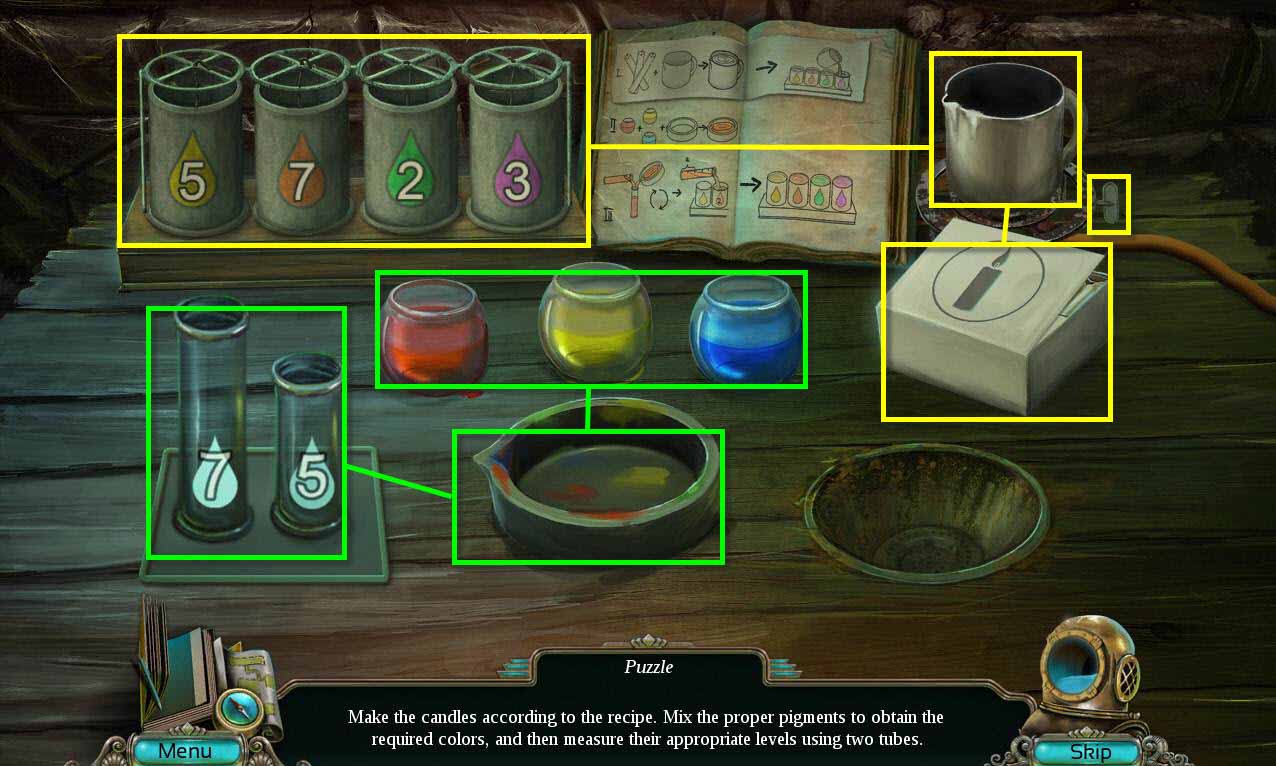
-
Follow these steps to solve the puzzle.
- Take the candles from the box and put them in the cup right above them.
- Click on the handle on the burner to melt the candles.
- Place the melted candles in the candle molds.
- Take the yellow pigment and pour it in the middle bowl.
- Then pour the yellow pigment into the number 5 test tube.
- Pour that test tube into the yellow candle.
- Pour the blue pigment into the middle bowl with the yellow in order to create green.
- Fill the test tube labeled 7 up with green.
- Pour the green into the five. You are left with 2 in the test tube.
- Use the 2 left on the green candle.
- Dump the 5 green and the green pigment in the bowl in the drain on the right.
- Pour the red and yellow pigments into the bowl to make orange.
- Pour the orange into the 7 test tube and then into the orange candle.
- Dump the orange pigment.
- Pour the red and blue pigments in the bowl to make purple.
- Pour the purple into the 5 test tube.
- Then pour the 5 test tube into the 7 test tube.
- Fill the 5 test tube back up with purple.
- Again pour it into the 7 test tube.
- What's left in the 5 test tube is 3, which you can fill the purple candle with.
- Take the MYSTIC CANDLES when you are done.
- Try to go back up the ladder.
Comments will load when you reach this part of the walkthrough.