
Chapter Three: The Girl
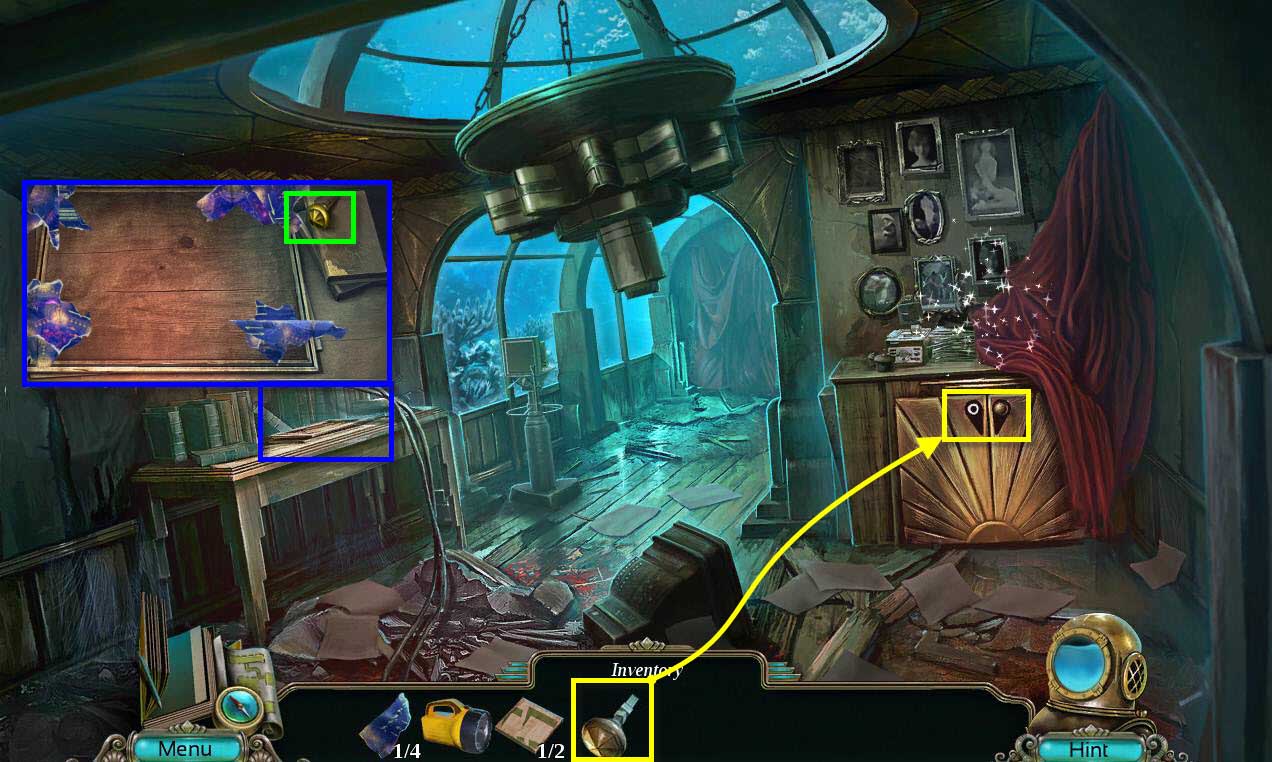
- Click on the desk on the left to zoom in.
- Take the note.
- Take the KNOB.
- Click on the cabinet on the right to zoom in.
- Use the KNOB on the cabinet.
- Open the cabinet door.
-
Click on the safe to start a mini-game.
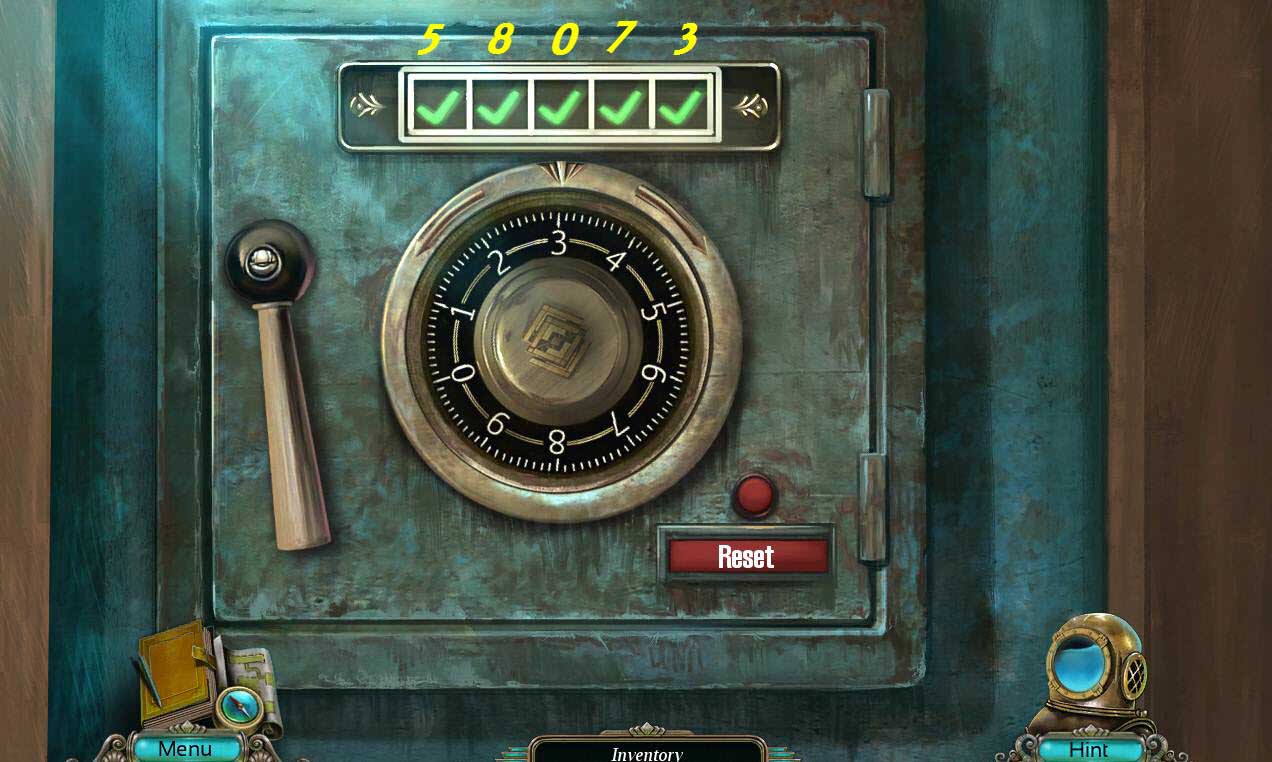
- The goal of the game is to enter the correct safe combination using the hint on the paper we found, but it's not as easy as entering the numbers. The paper is a code.
- The first number is 5, then 3 spots to the right, then 8 spots to the left, and so on.
- The solution is : 5, 8, 0, 7, 3.
- Once you are done, click the handle to open the safe.
- Take the GRATE KEY and the DETONATOR PART.
- Take the blue print.
- Click on the note on the side of the safe to read it.
-
Click on the sparkles to play the hidden object scene.
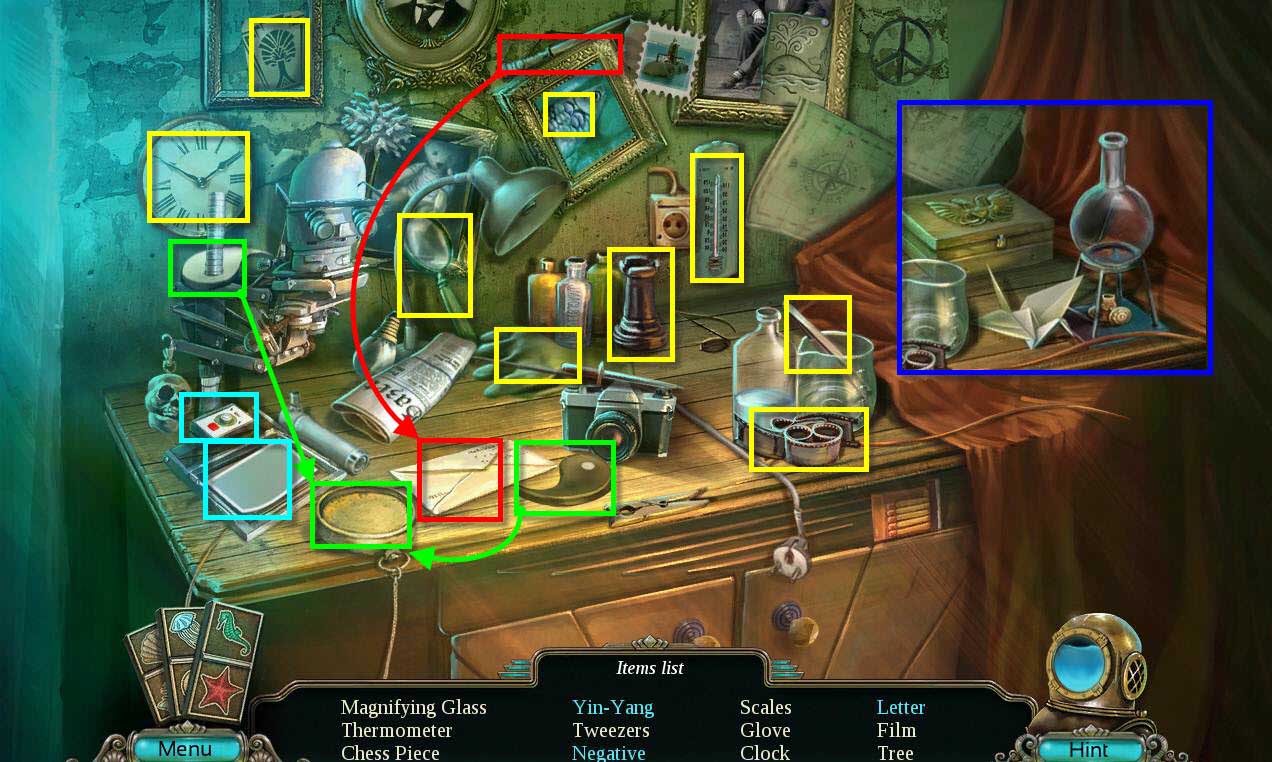
- Find all the items on the list.
- You will receive the TWEEZERS.
-
Go back one screen.
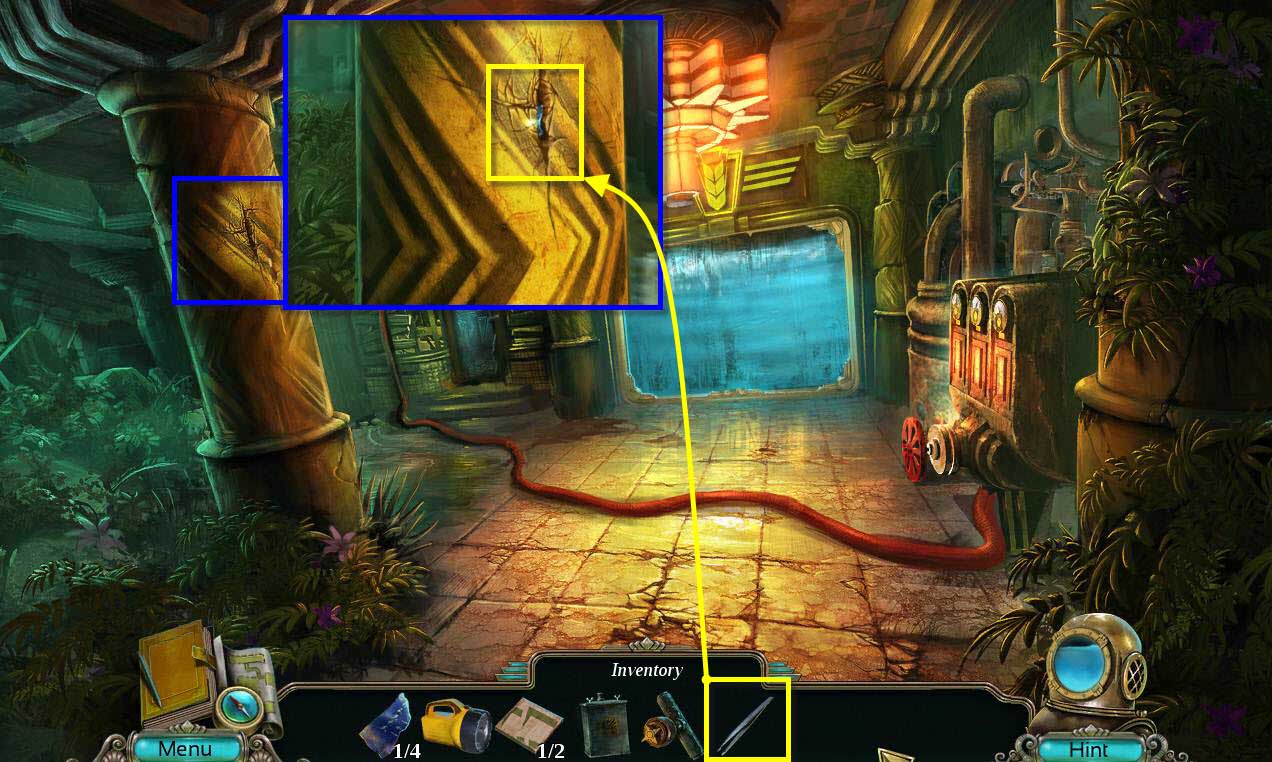
- Click on the column to zoom in.
- Use the TWEEZERS on the column.
- You will receive MAP PIECE 2/4.
-
Go back two screens.
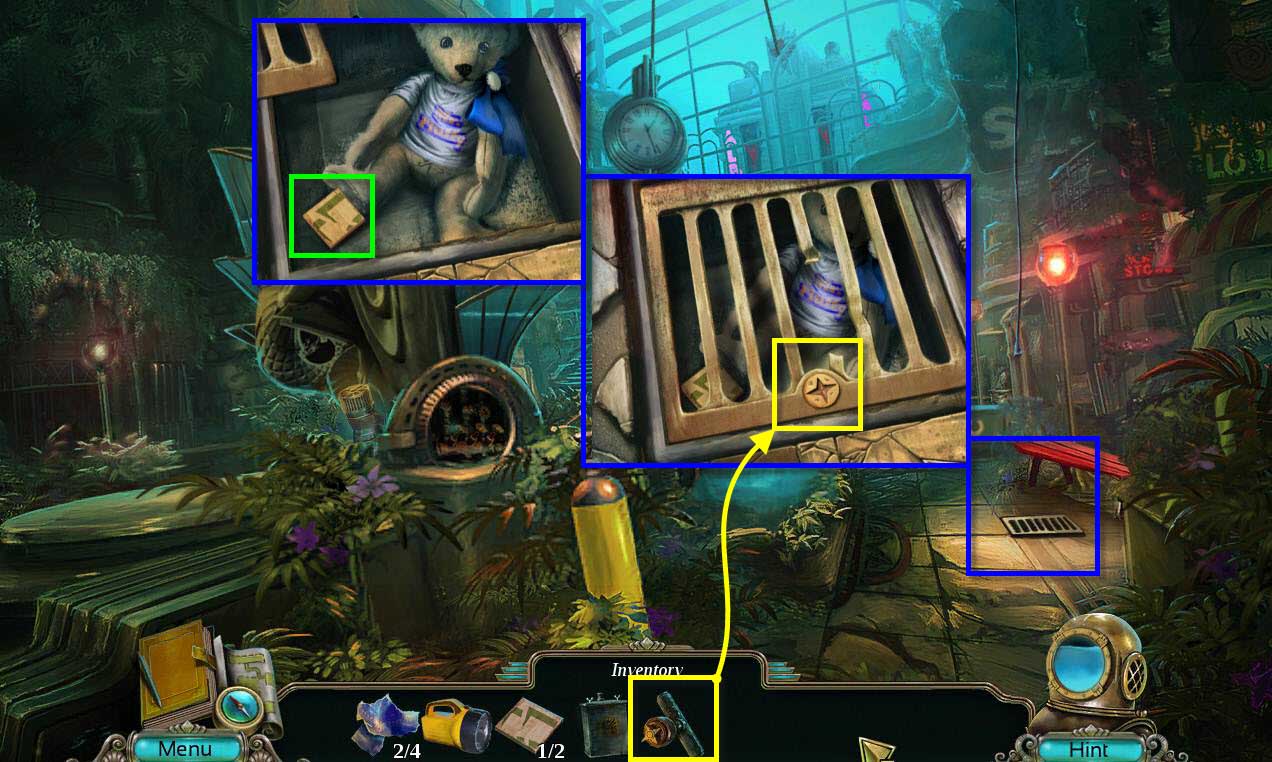
- Click to zoom in on the grate.
- Use the GRATE KEY on the grate.
- Click on the GRATE KEY to open the grate.
- Take the PUZZLE PIECE 2/2.
- Click on Mr. Fluffy's shirt to reveal there's something inside him.
-
Go back one screen.
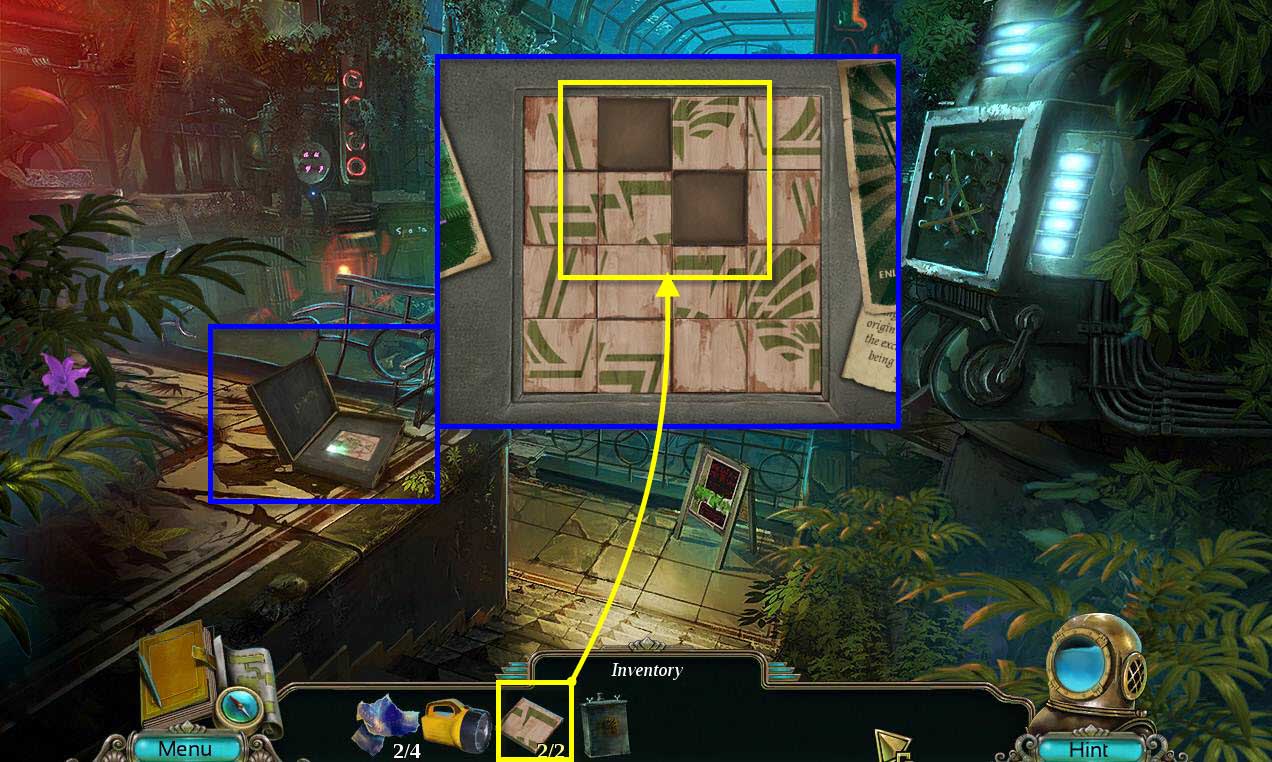
- Click on the briefcase to zoom in.
- Use the two PUZZLE PIECES on it.
-
This will start a mini-game.
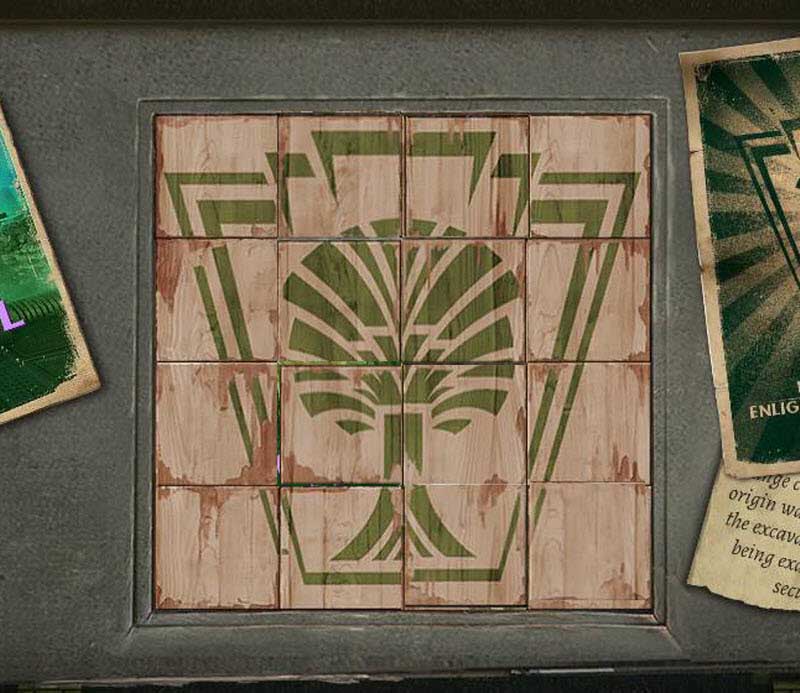
- The goal of the game is to form the picture of Eden's logo by swapping the tiles.
- See the screenshot for the solution.
- Take the ELEVATOR KEYCARD.
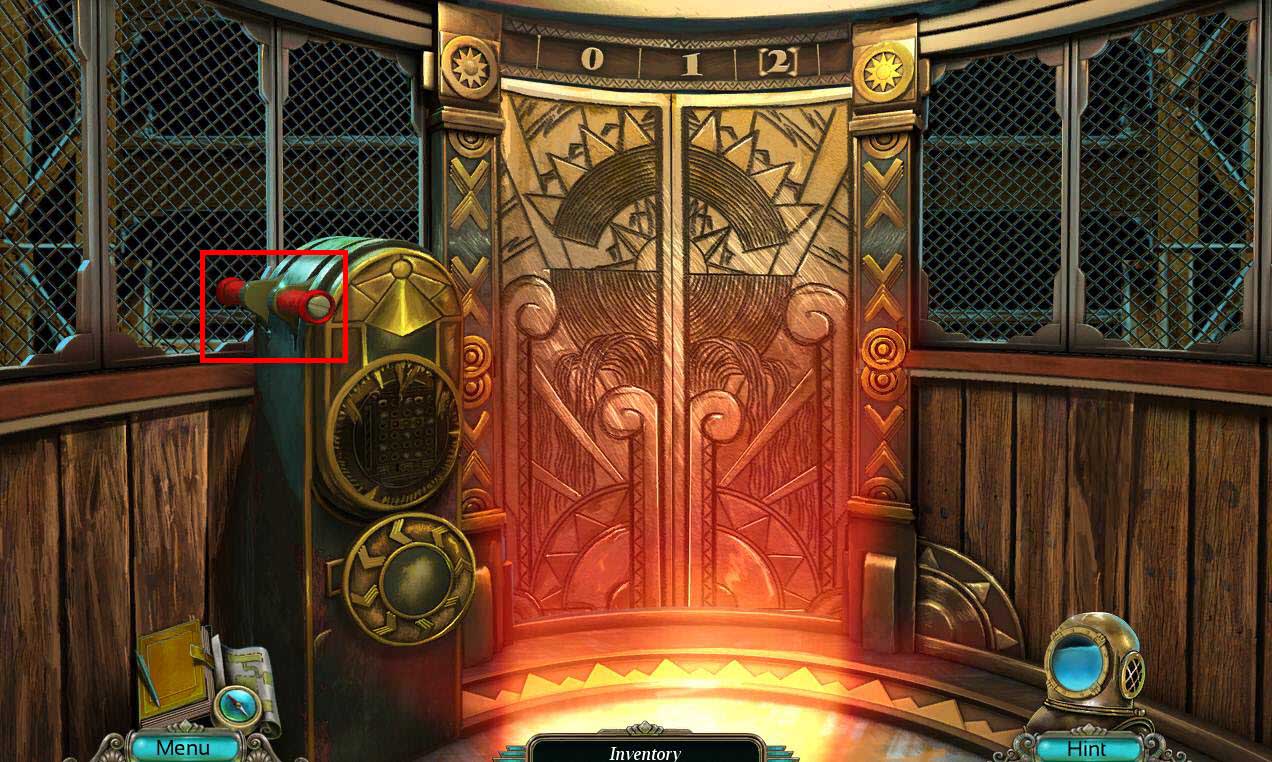
- Go forward two screens and click to zoom in on the elevator.
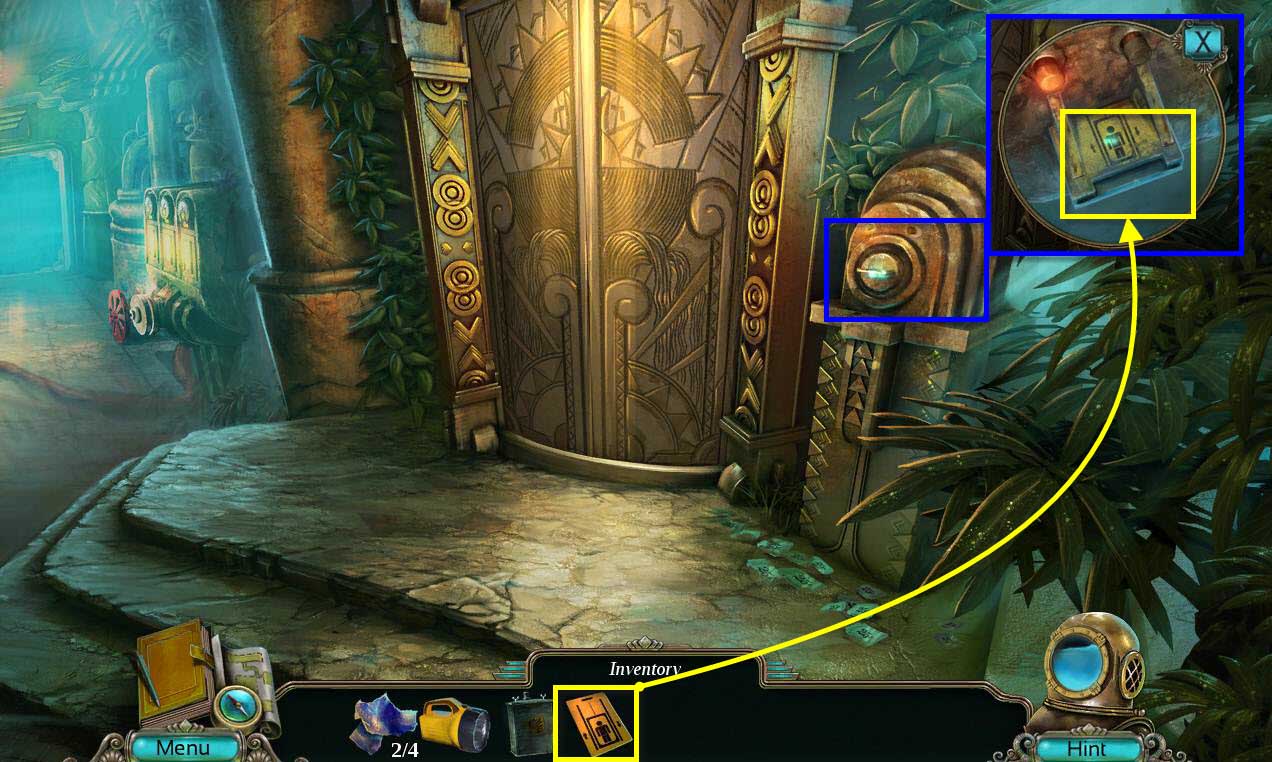
- Click to zoom in on the access area on the elevator.
- Use the ELEVATOR KEYCARD on the access point.
- Did you jump? It's ok. I did too. That was creepy.
-
Go inside the elevator.
- Click on the handle on the left to go to the first floor.
-
Move forward to the Drawbridge.
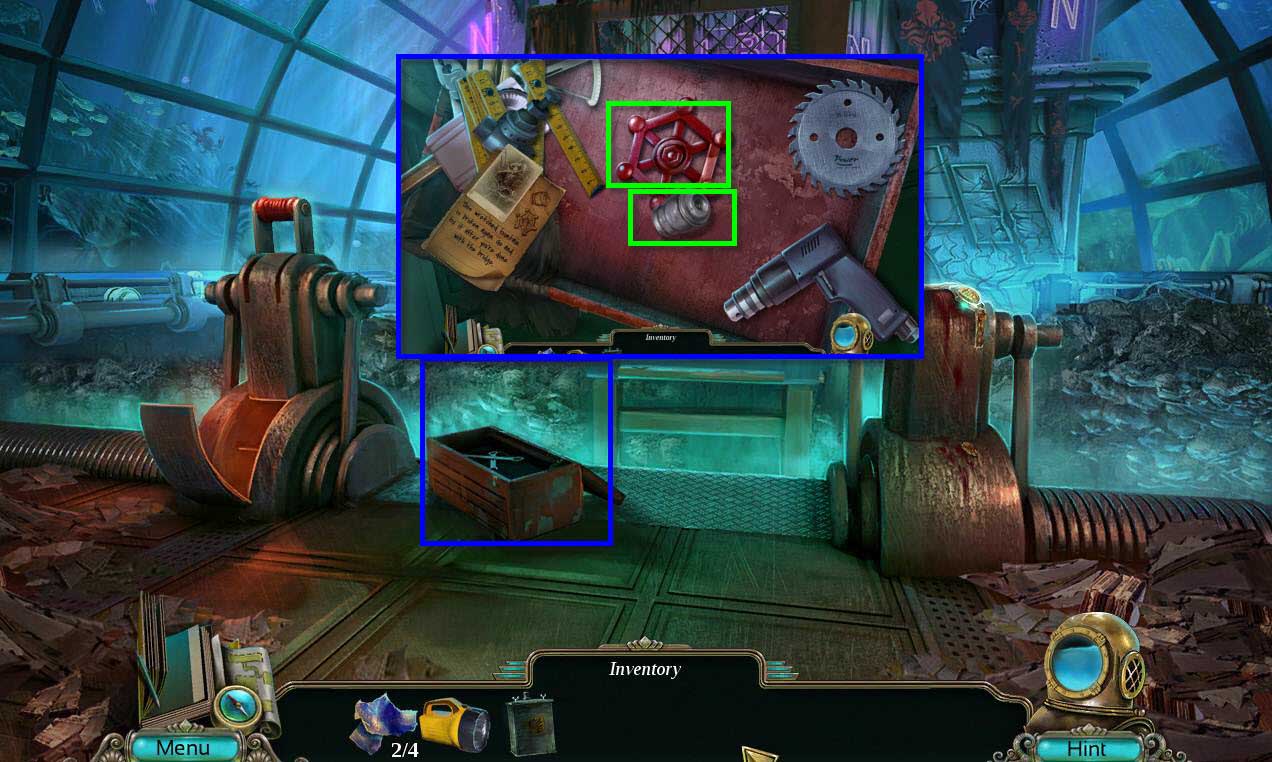
- Click on the toolbox to zoom in.
- Move all the objects out of the way until you can take the VALVE and the FUSE.
- Go back in the elevator and click on the handle to go back to floor 2.
- Again... yes I jumped.
-
Go back to the Fountain.
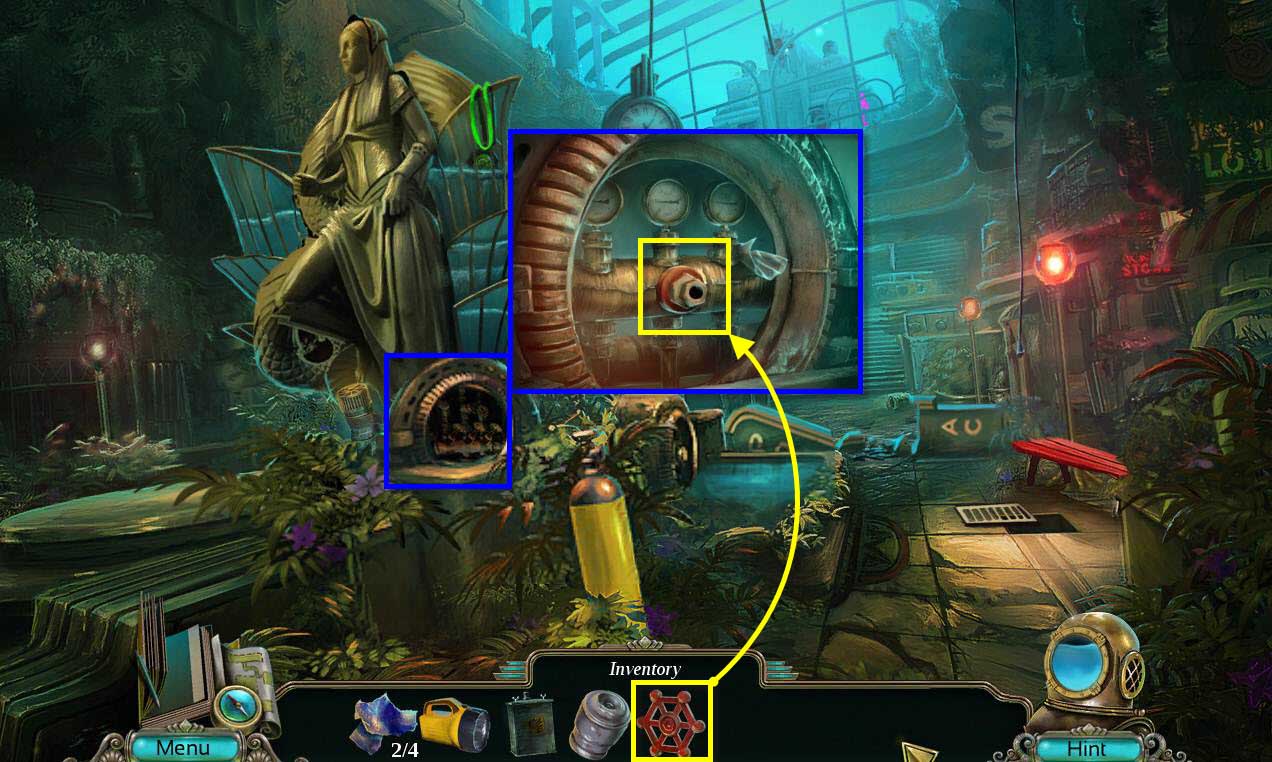
- Click on the base of the statue to zoom in.
- Use the VALVE on the area that's missing one.
- Click on the valve to turn it.
- Take the MEDALLION.
-
Click on the sparkles to play the Hidden Object Game.
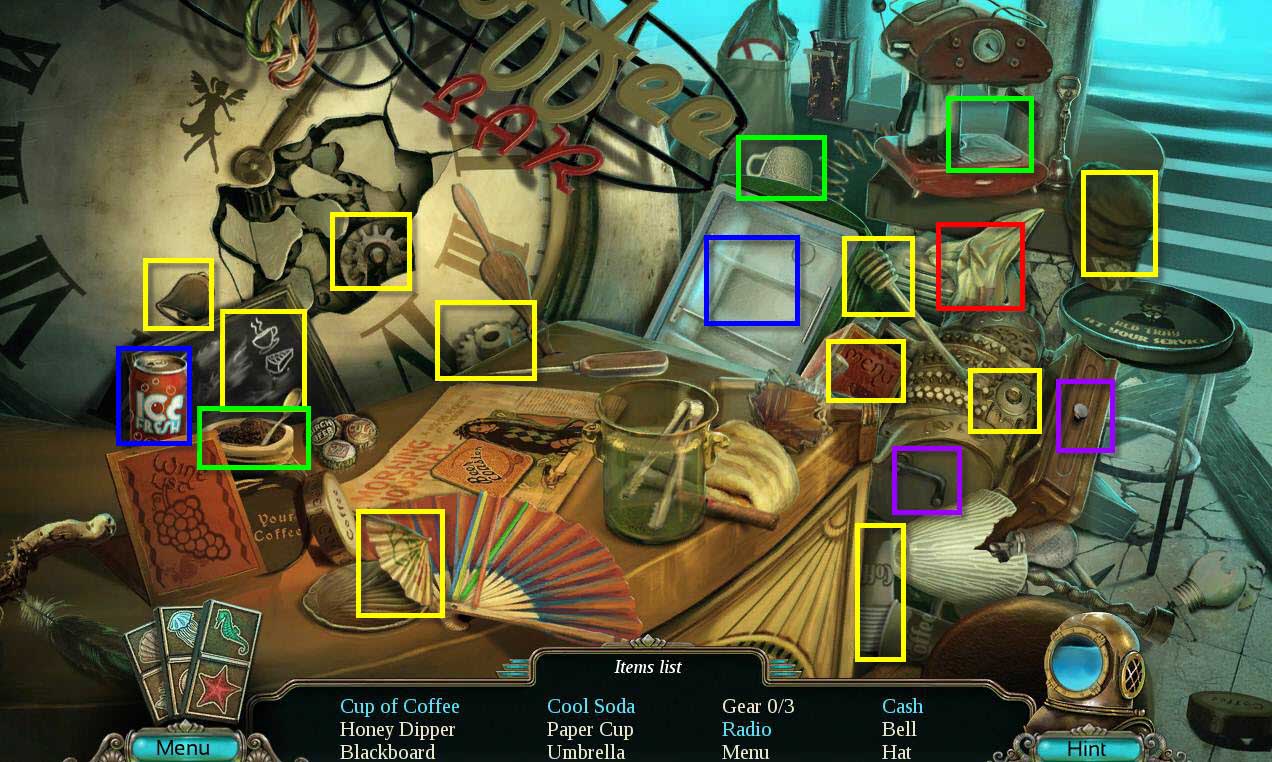
- Find all the items on the list.
- You will receive the GEAR.
-
Go forward three screens, back to the Photographer's Studio.
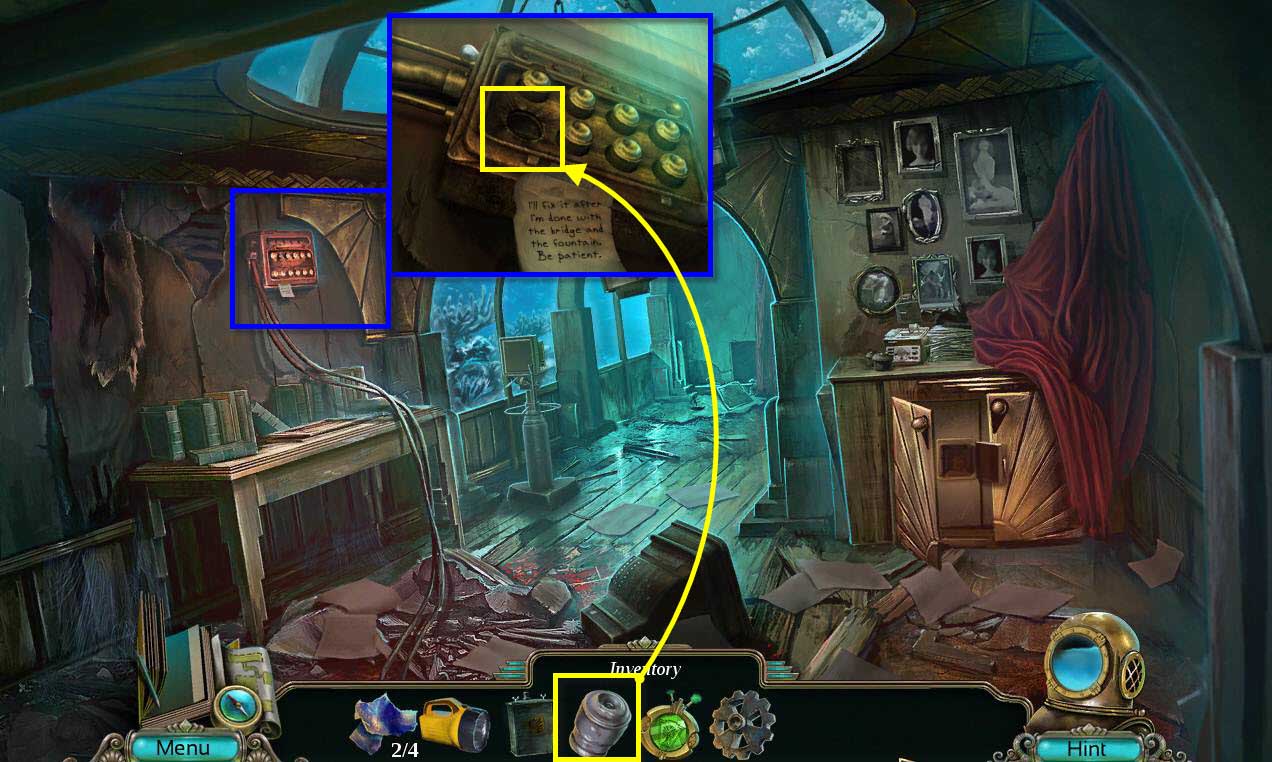
- Click on the fuse panel on the wall to zoom in.
- Use the FUSE on the area where the one was broken.
-
Go back one screen and then into the elevator to the first floor again.
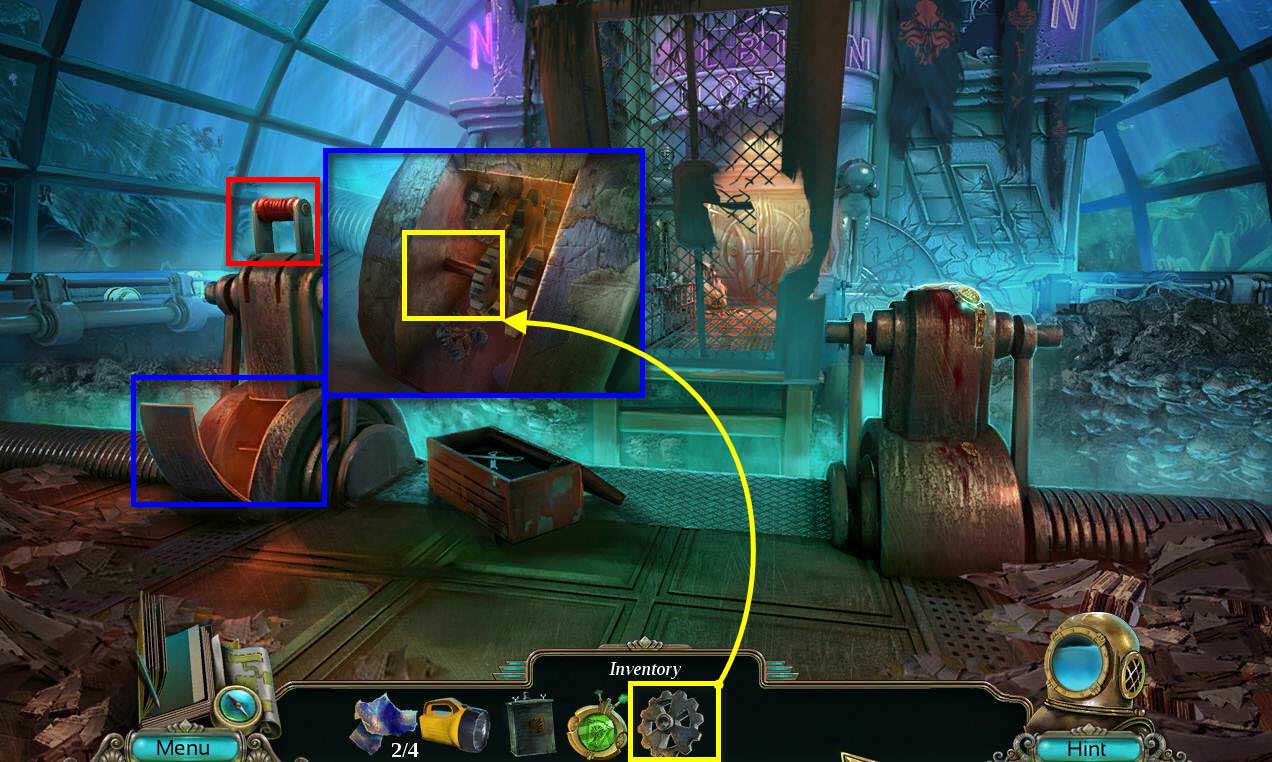
- Click on the controls on the left to zoom in.
- Use the GEAR on the controls.
- Pull the lever to lower the drawbridge.
Comments will load when you reach this part of the walkthrough.