
Chapter Seven: The Bottom Floor
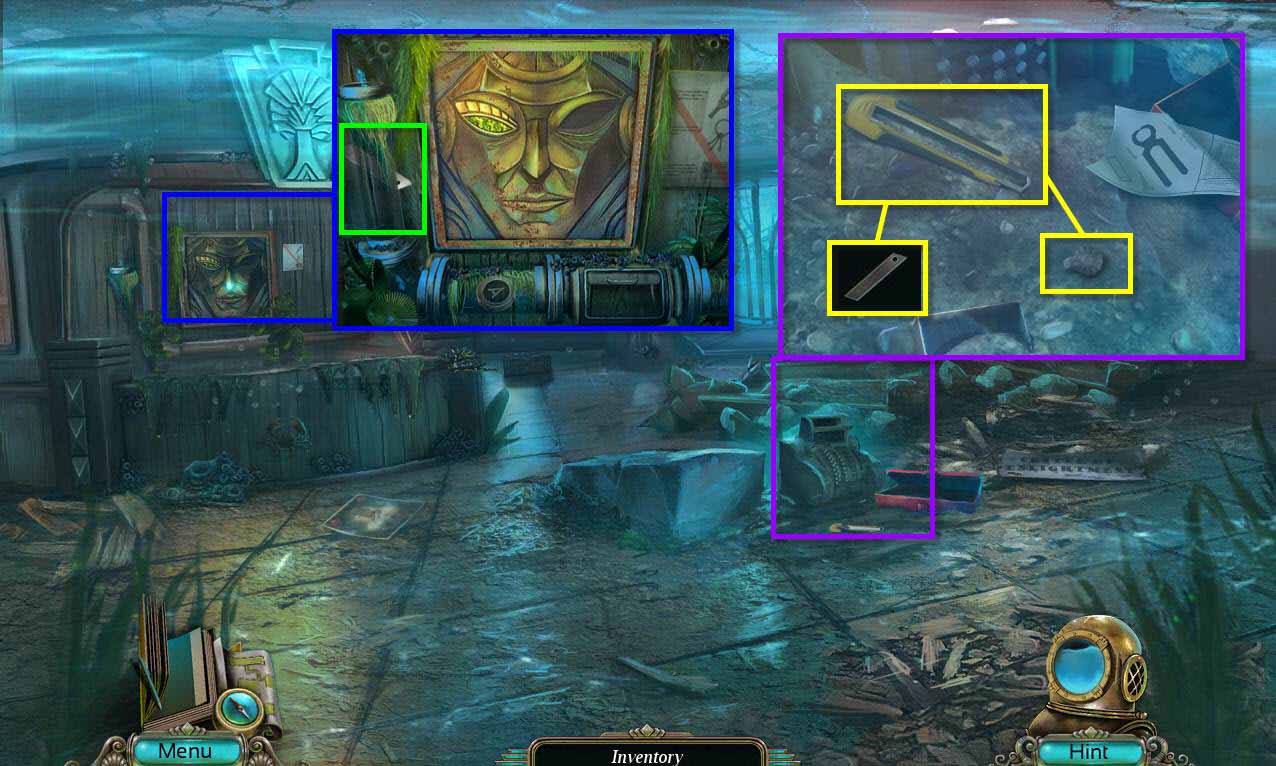
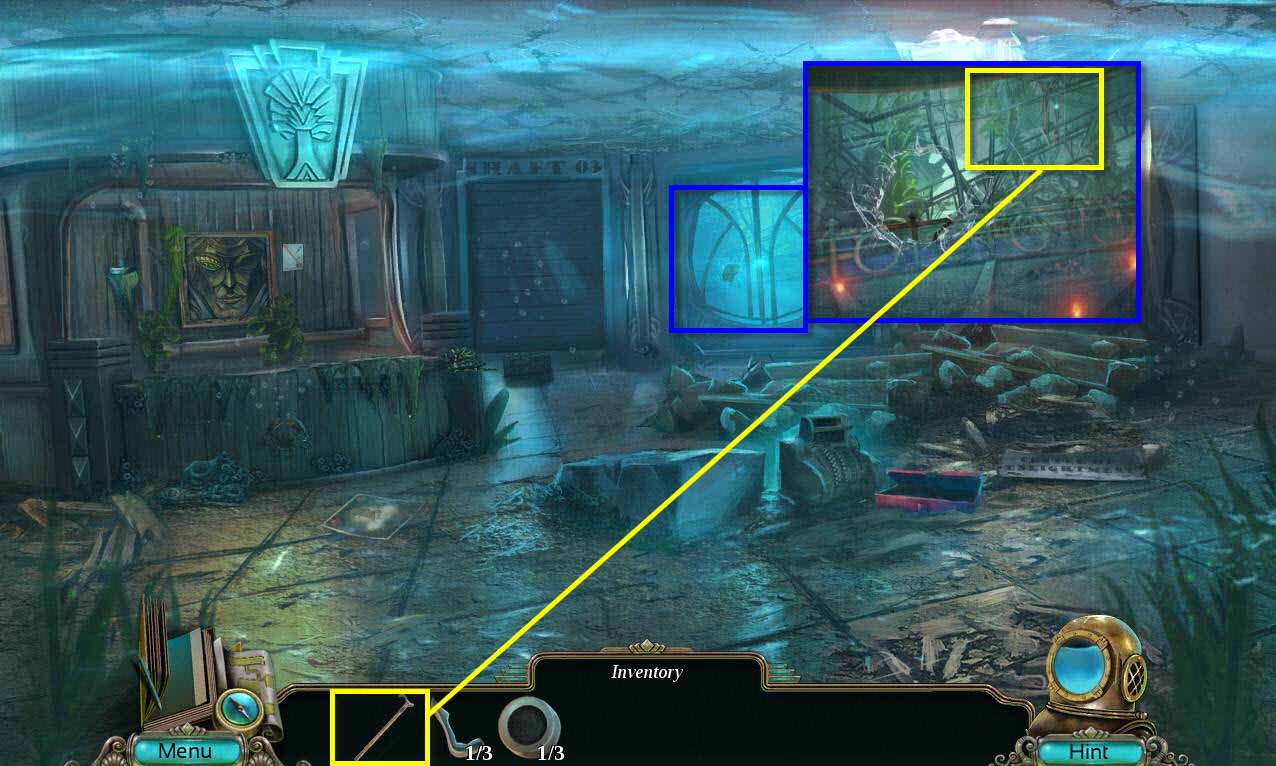
- Click on the artwork on the wall on the left to zoom in.
- Take the PAPER KNIFE BLADE.
- Click on the cash register on the ground on the right to zoom in.
- Use the PAPER KNIFE BLADE on the knife.
- Click on the screw next to it to secure it.
-
Take the PAPER KNIFE.
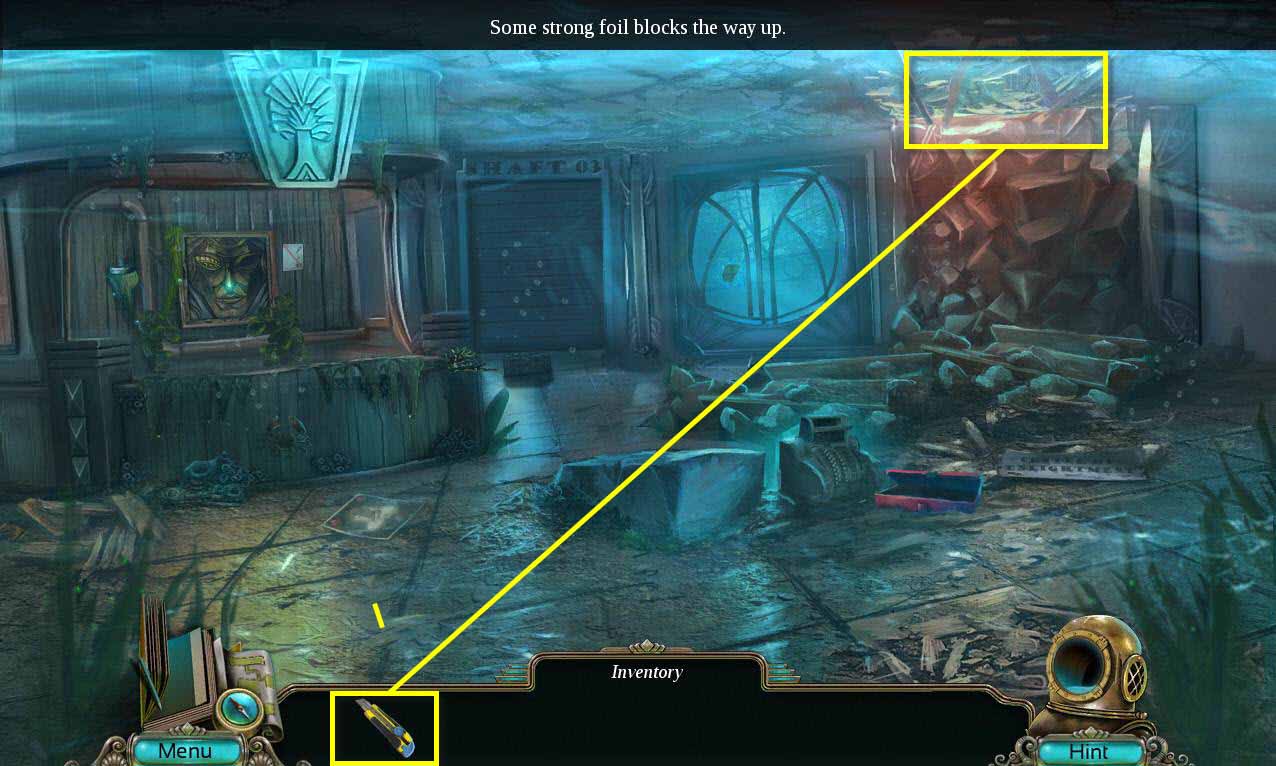
- Use the PAPER KNIFE on the foil on the roof of the ceiling.
-
Go forward to the Library.
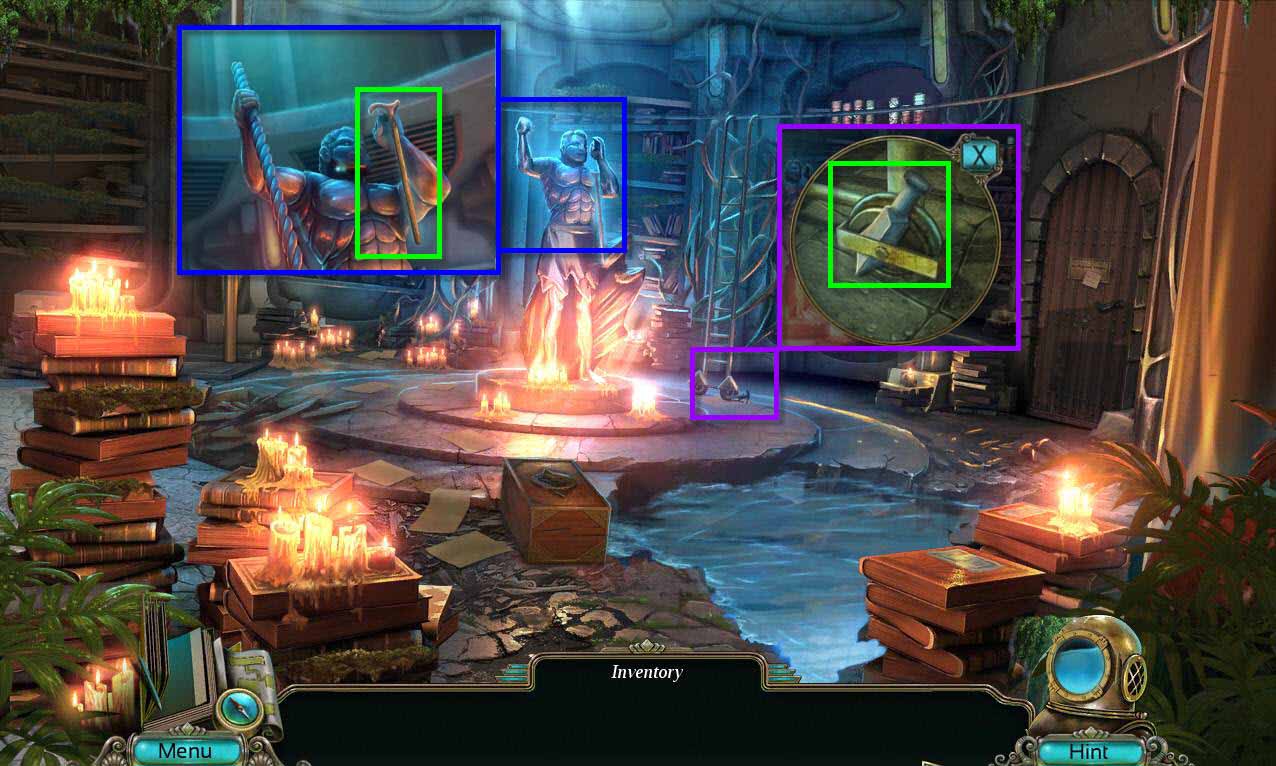
- Click on the statue to zoom in.
- Take the CANE.
- Click on the ladder base.
-
Take the TRIDENT PART 1/3.
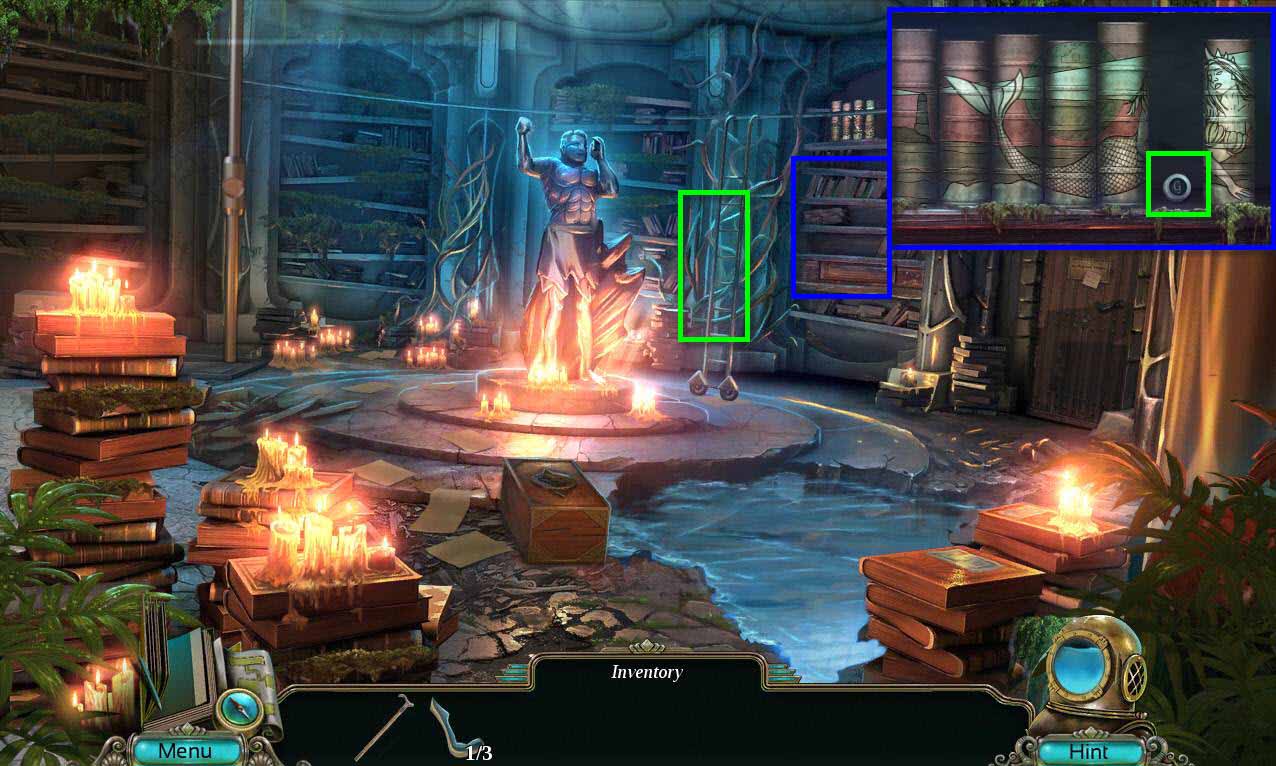
- Click on the ladder to move it.
- Click on the shelf to zoom in.
- Take the TYPEWRITER KEY 1/3.
-
Go back one screen.
- Click on the window to zoom in.
- Use the CANE on the keys to get them.
- You will receive the STUDY KEYS.
-
Go back to the library.
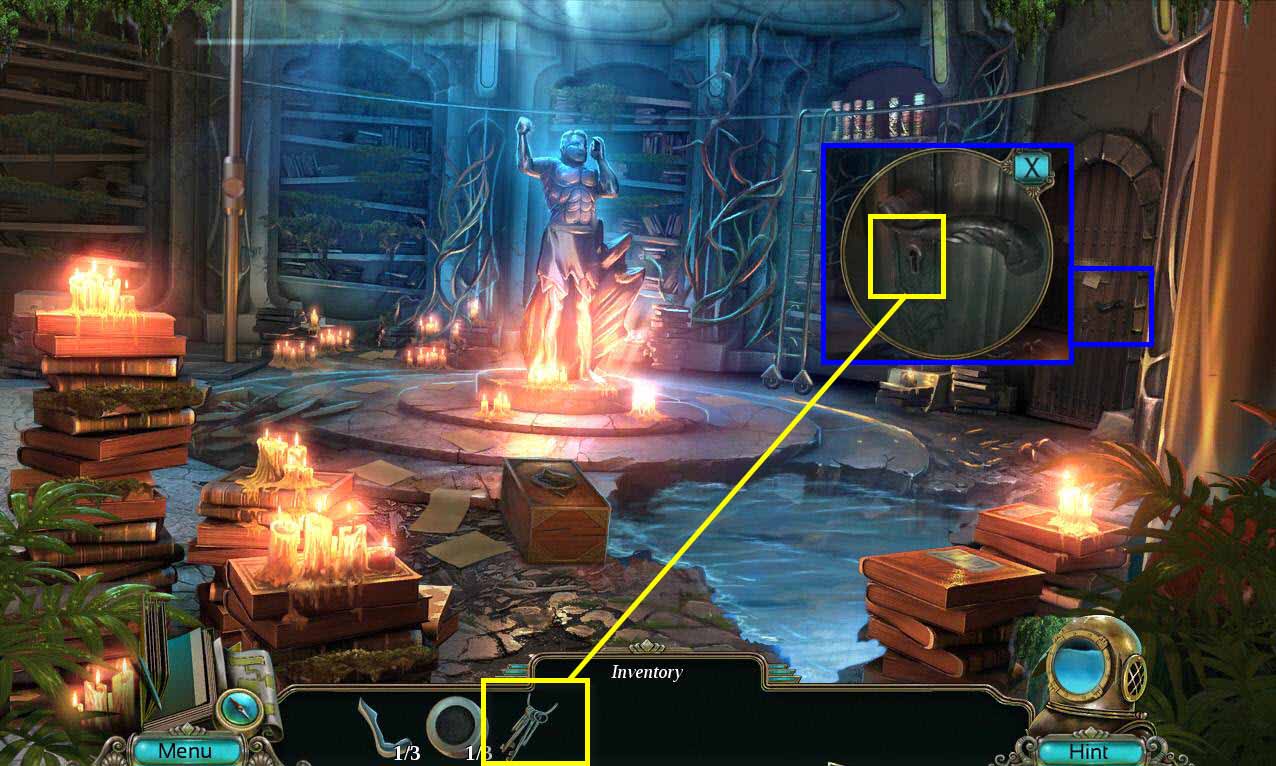
- Click on the door handle of the study to zoom in.
- Use the STUDY KEYS on the door.
- Click on the key to turn it.
- Click on the handle to open the door.
-
Go into the study.
-
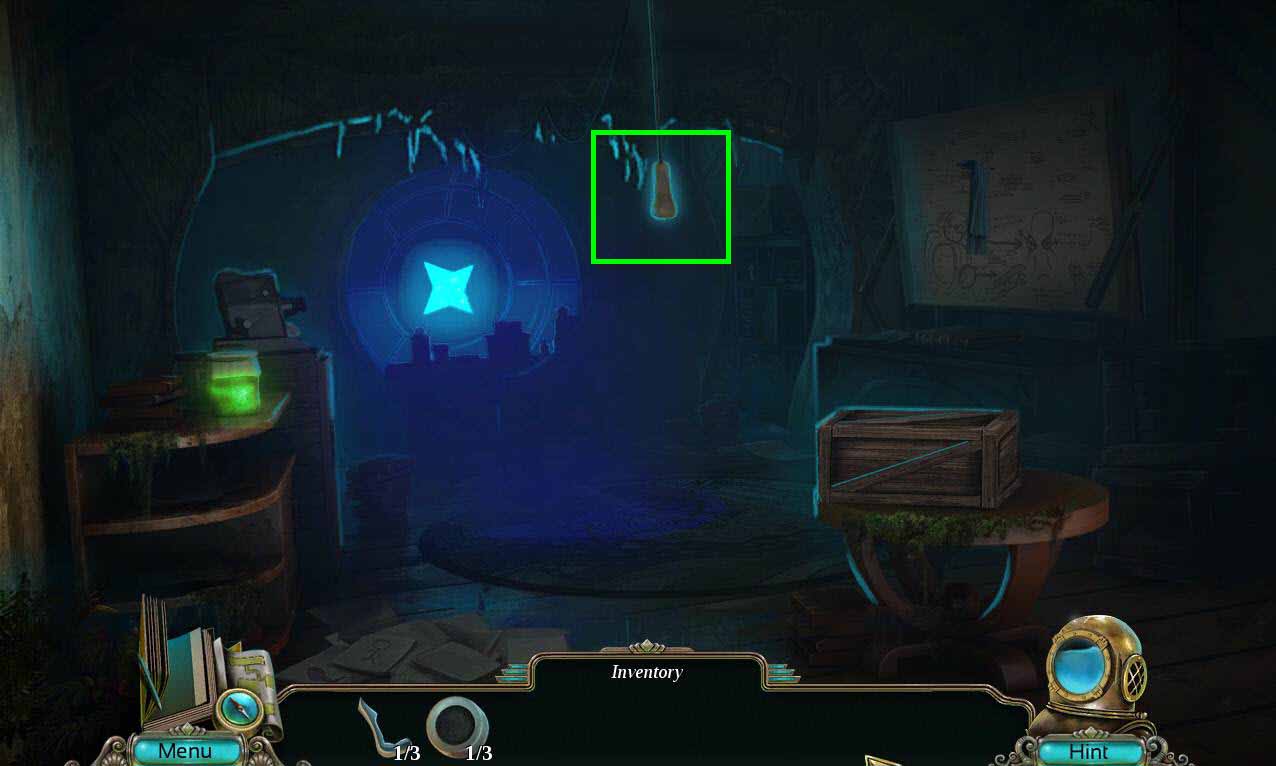
Click on the cord to open the window and let light into the study.
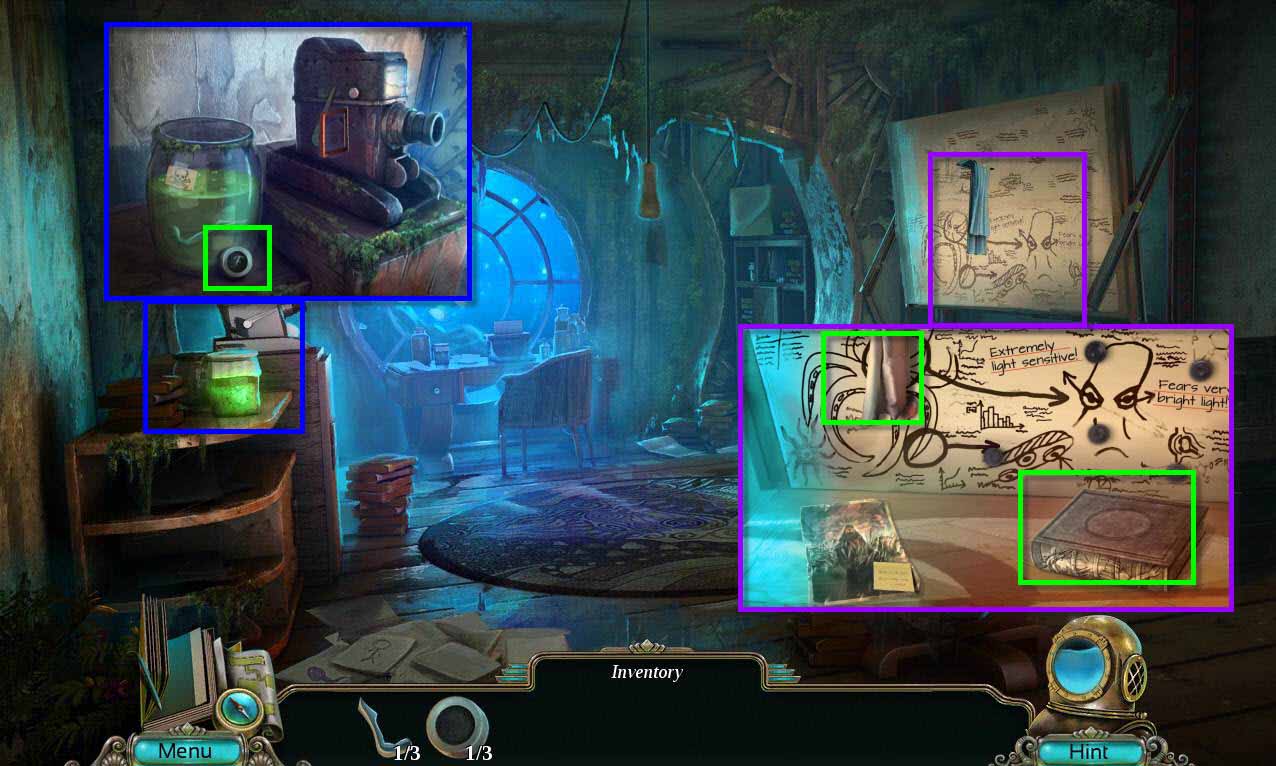
- Click on the poison on the left to zoom in.
- Take the TYPEWRITER KEY 2/3.
- Click on the desk on the right.
- Take the DUMMY BOOK.
- Click on the cloth to remove it and take the RED MAGNET.
-
Go back one screen to the Library.
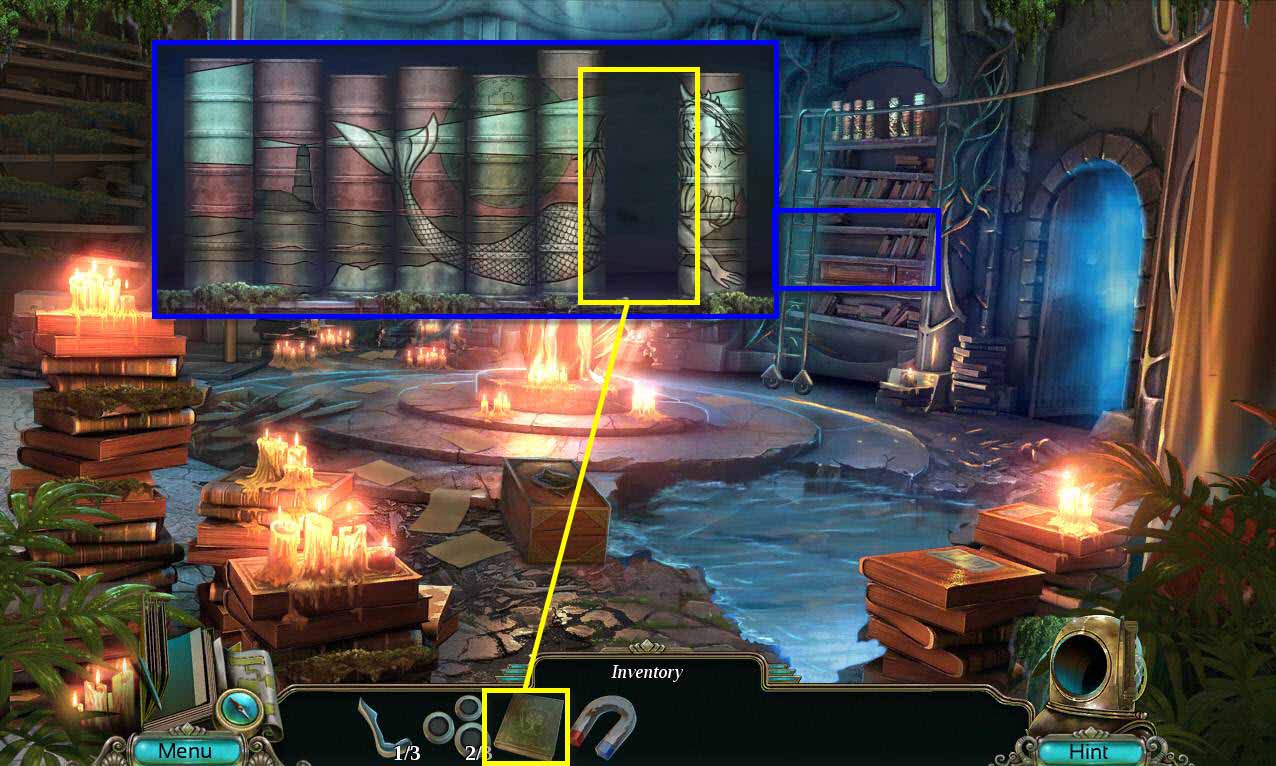
- Click on the shelf by the ladder to zoom in.
- Use the DUMMY BOOK on the shelf.
-
This will start a mini-game.
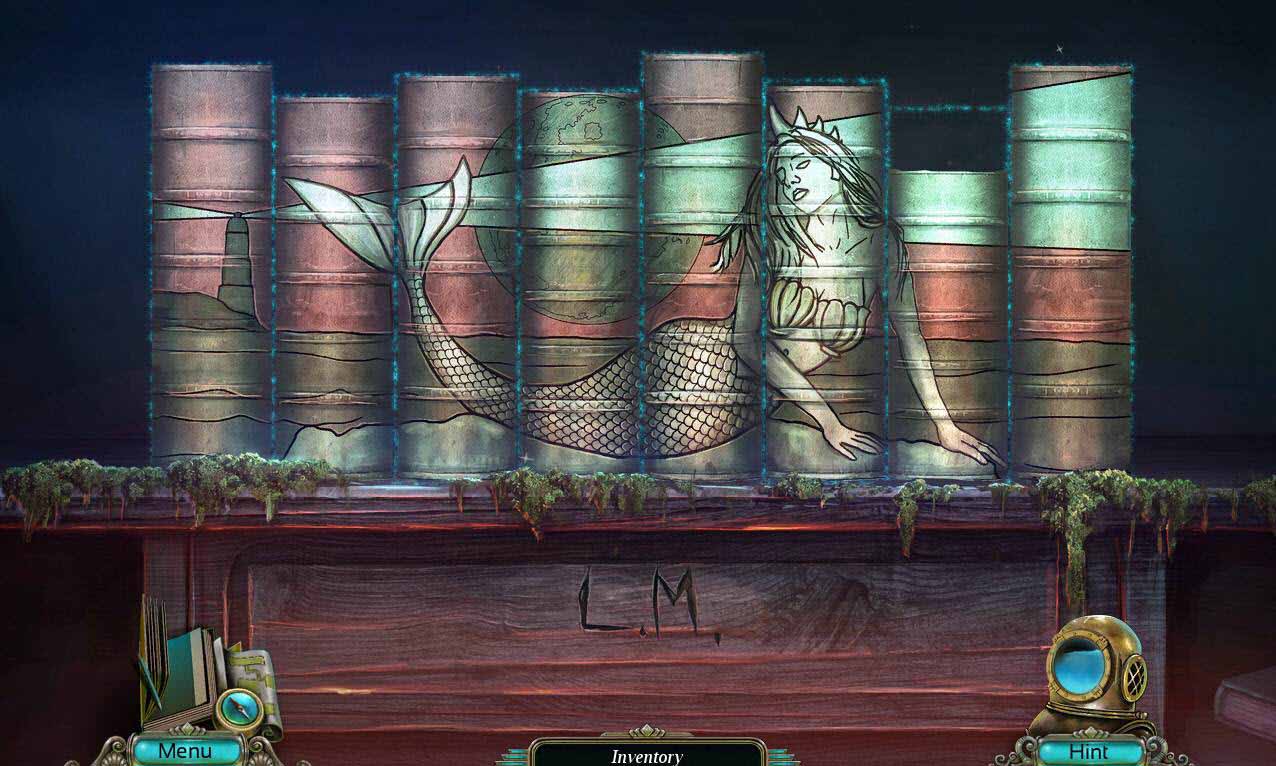
- The goal of the mini-game is to swap the books and line them up so they complete an image.
- See the screenshot above for the solution.
- Take the CROWN.
-
Go back one screen.
- Click on the artwork to zoom in.
- Use the RED MAGNET on the typewriter key to pull it out.
- Take the TYPEWRITER KEY 3/3.
-
Return to the study.
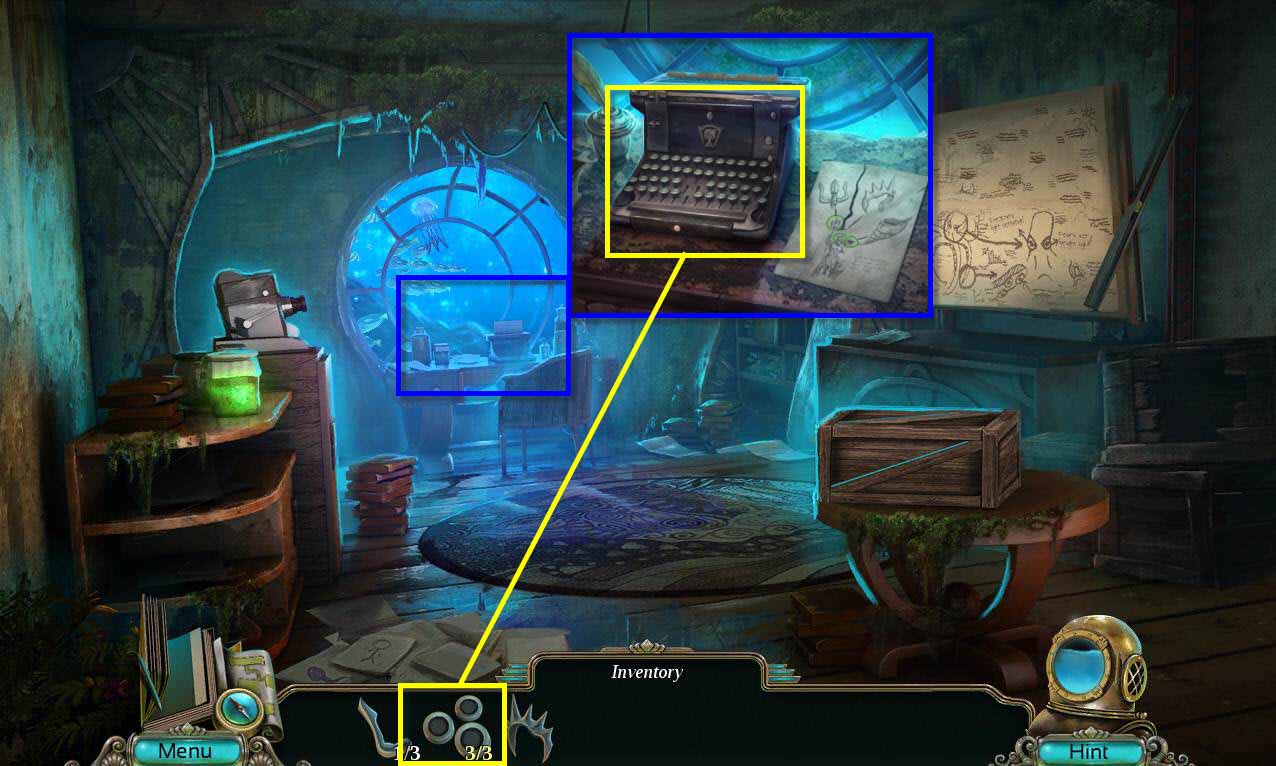
- Click on the desk to zoom in.
- Click on the paper on the right twice to put it together.
- Use the TYPEWRITER KEY 3/3 on the typewriter.
- Look at the note.
- Take the RUNE STONE 1/8 and the LIBRARY CHEST KEY.
-
Go back to the library.
- Click on the chest to zoom in.
- Use the LIBRARY CHEST KEY on the empty slot.
- Click to open the chest.
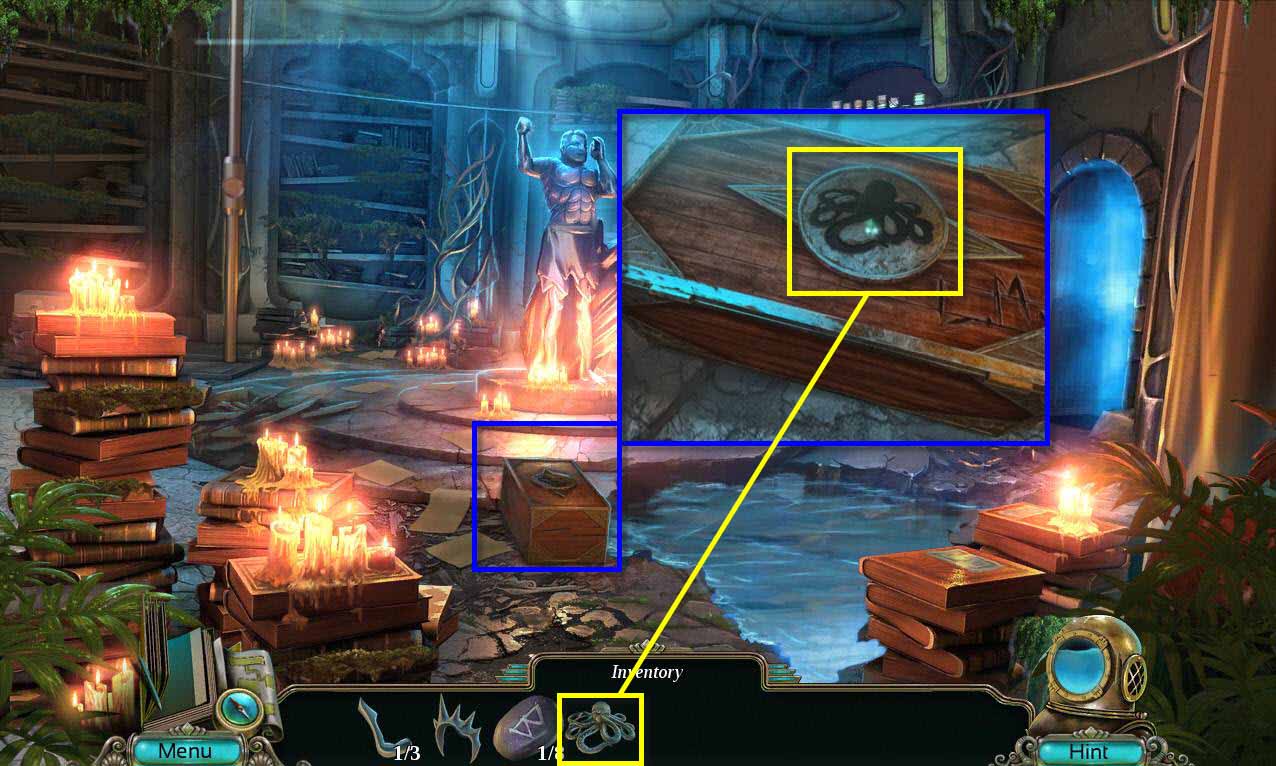
- Take the EMERALD EYE and the SHELL.
-
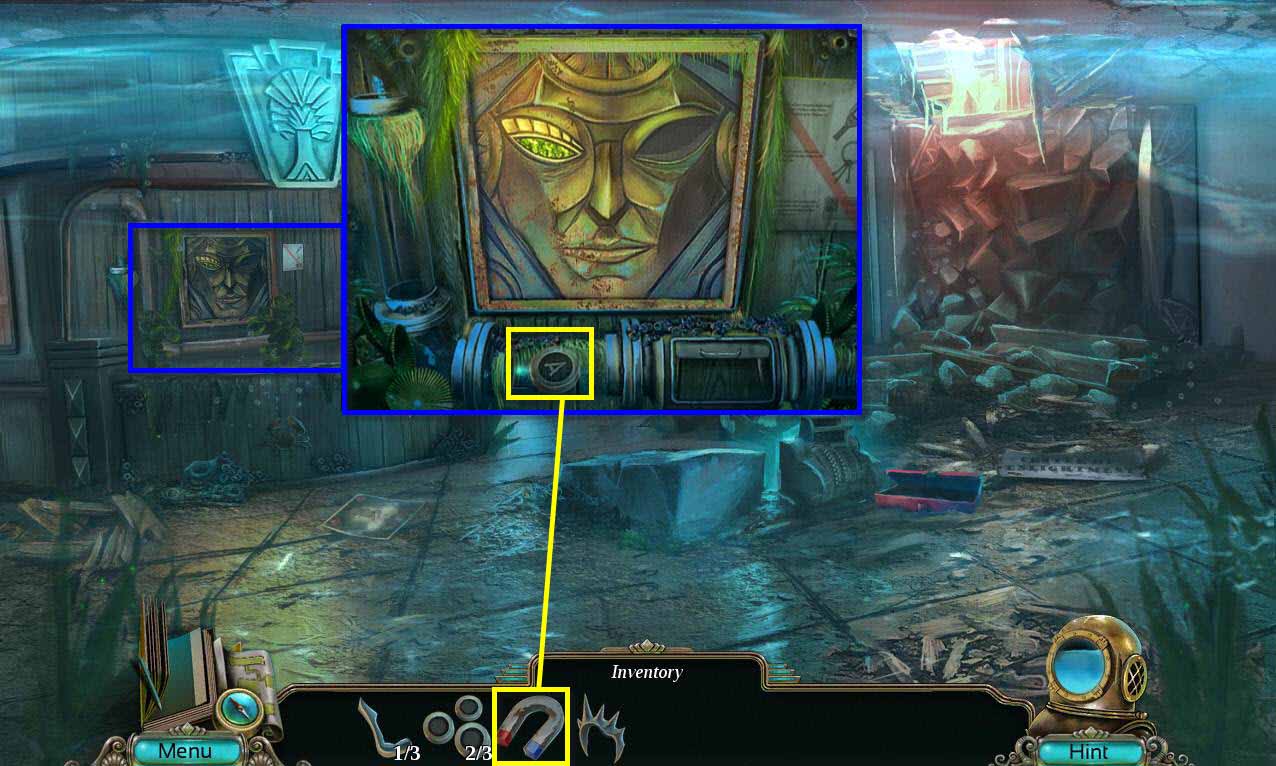
Go back one screen.

- Click on the artwork to zoom in.
- Use the EMERALD EYE on the missing slot.
-
Take the METAL DETECTOR.
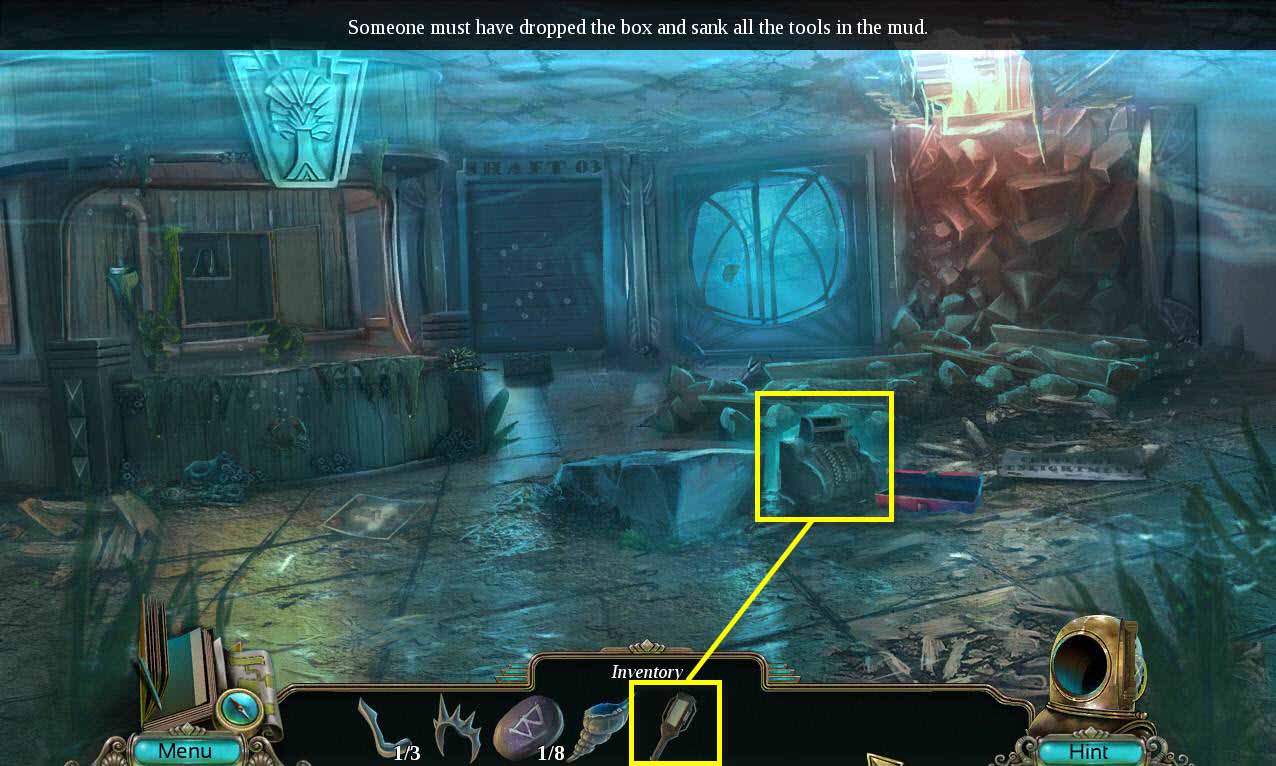
- Use the METAL DETECTOR on the cash register.
-
Click on the sparkles that appear to start the hidden object scene.

- Move the metal detector around to find the items on the list.
- Click on each item to make the PLIERS.
-
Go back to the study.

- Click on the chest to zoom in.
- Use the PLIERS on the nails to remove them.
-
This will start a mini-game.
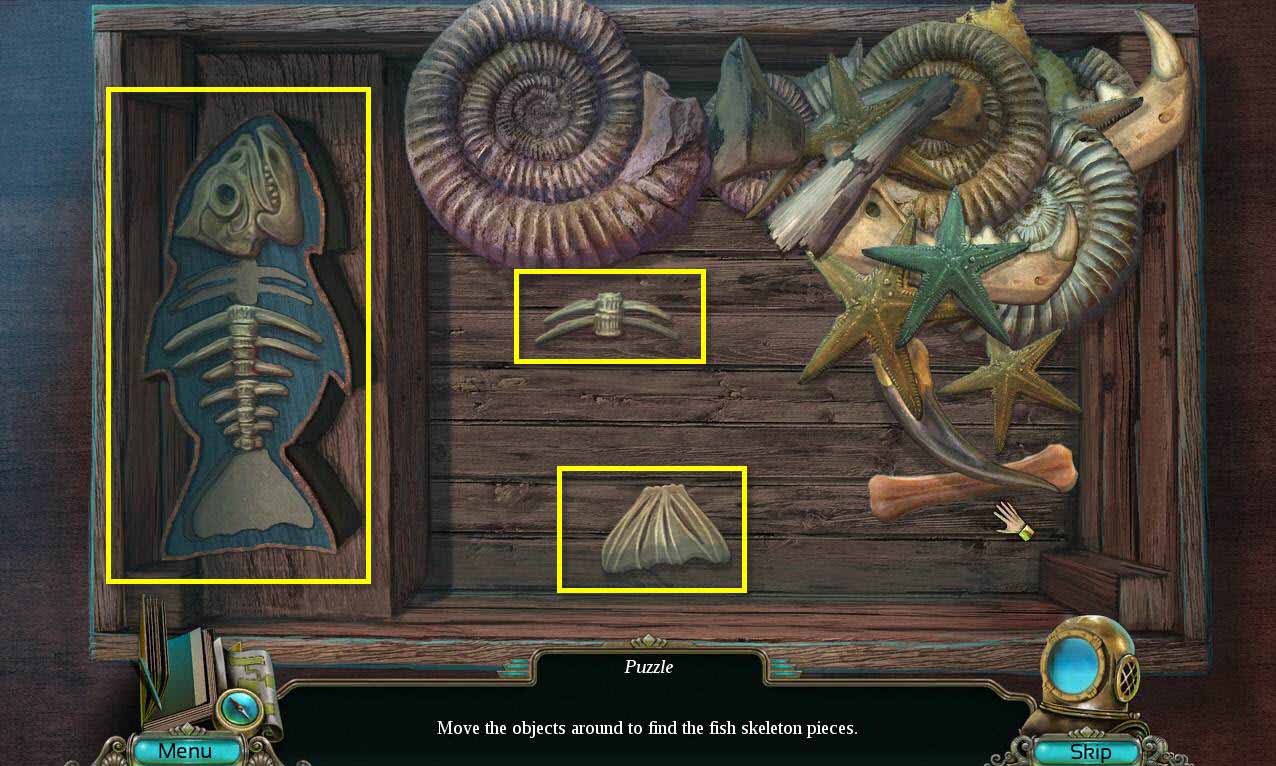
- The goal of the game is to find the pieces of the skeleton that make up the fish on the left.
- Keep moving things around until you find the pieces.
- Once you click on a piece it will automatically move to the correct spot.
- See the screenshot for help.
- When you are done, take the FISHBONE TOKEN.
-
Return to the library.
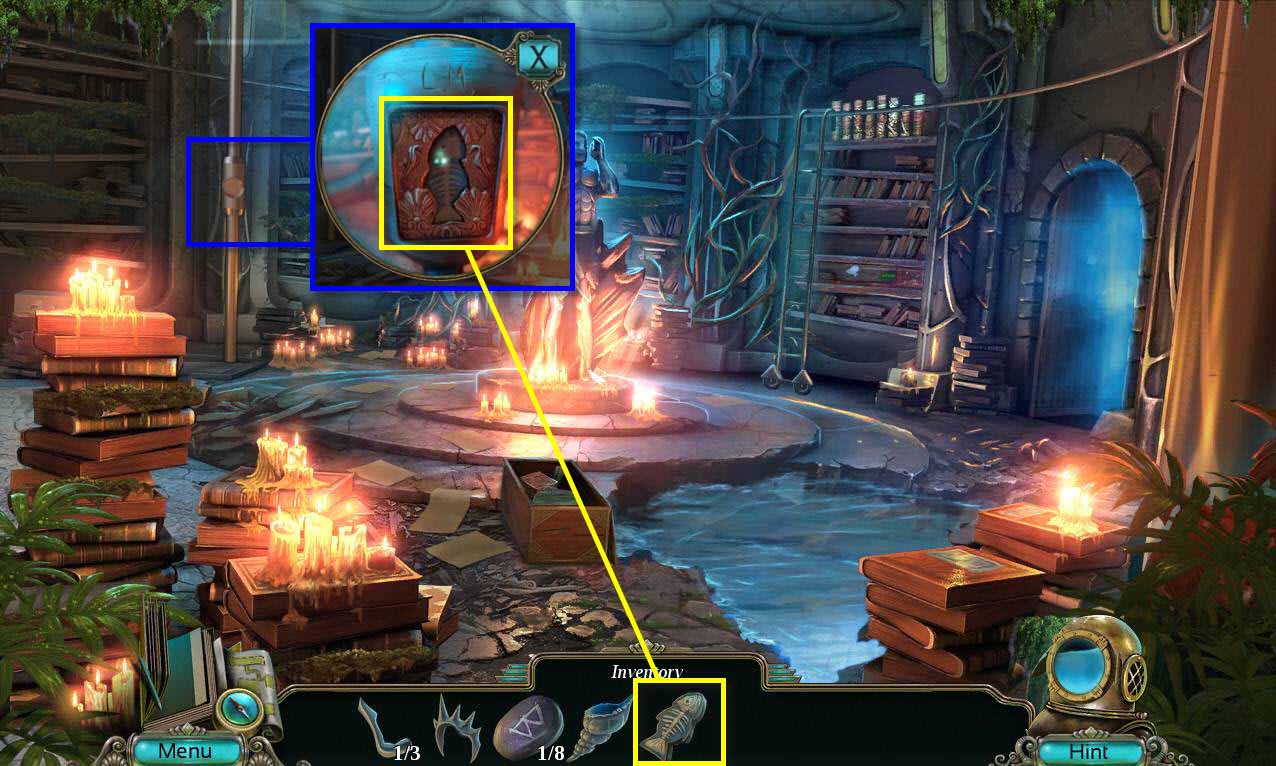
- Click on the pole to zoom in.
- Use the FISHBONE TOKEN on the empty slot.
-
Go up the stairs.
- Click on the broken glass on the left to zoom in.
- Take the FISHING NET.
-
Click on the sparkles to access the hidden object scene.
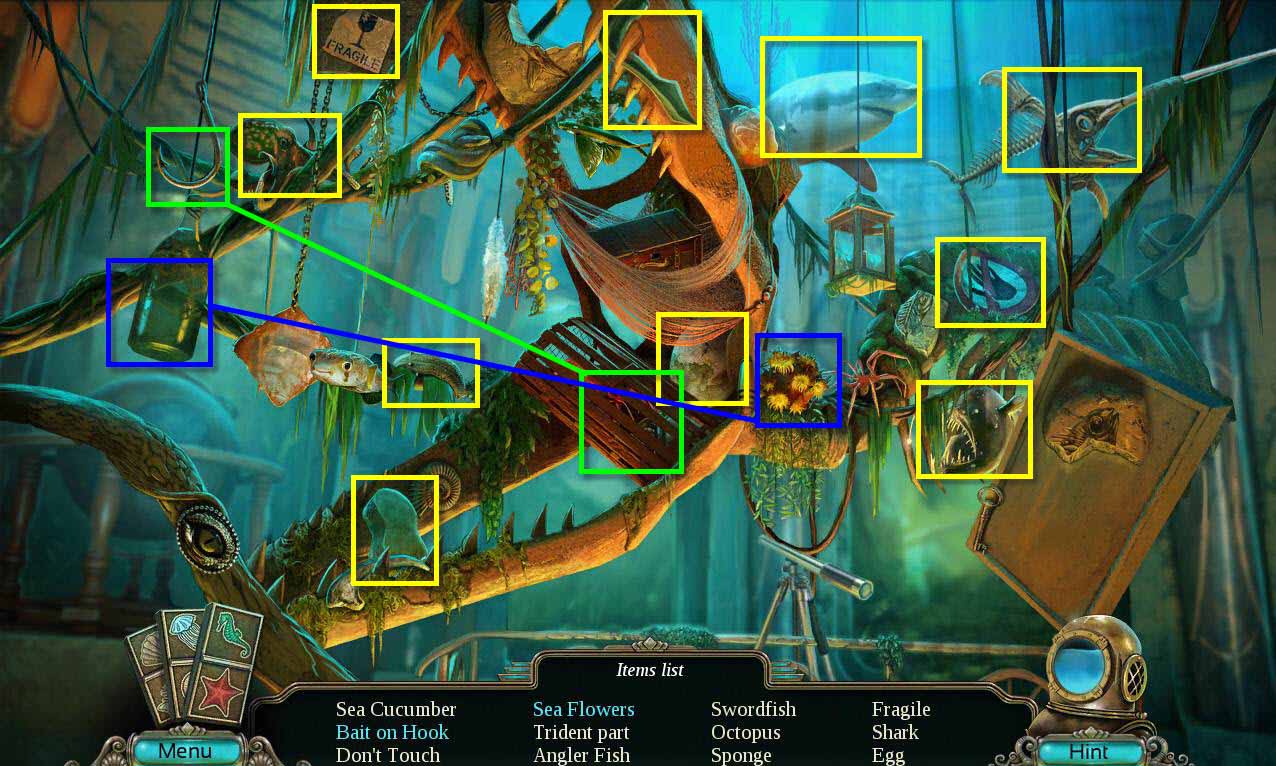
- Find all the items on the list.
- You will receive the TRIDENT PART.
-
Go back to the study.
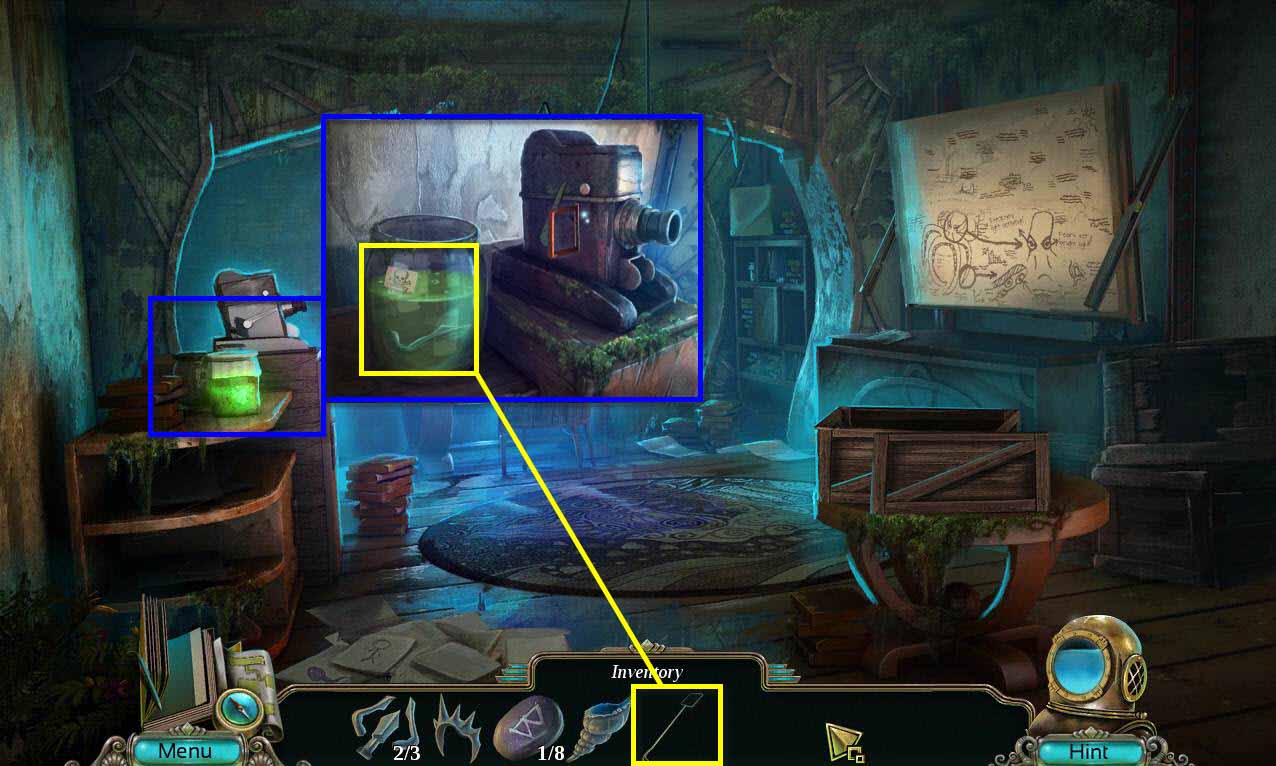
- Click on the desk where the poison is to zoom in.
- Use the FISHING NET on the poison to get the TRIDENT PART 3/3.
-
Go back to the library.

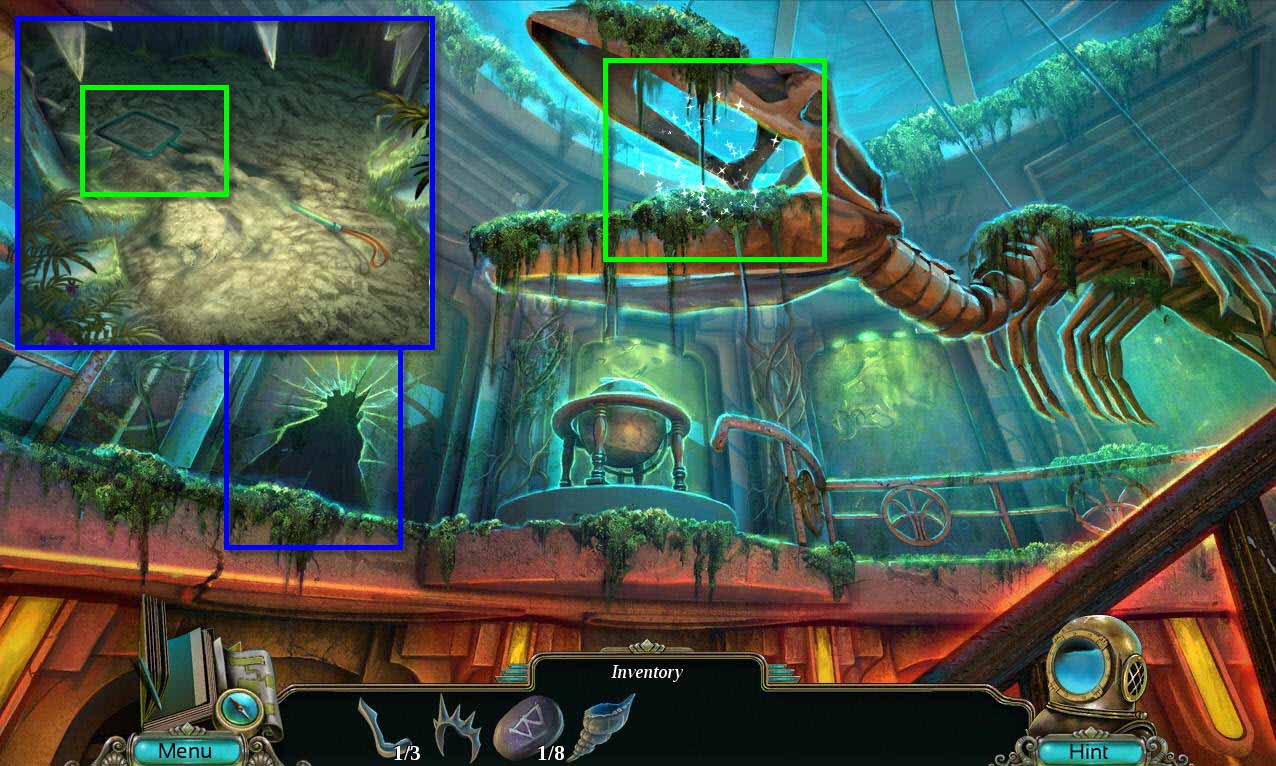
- Click on the statue to zoom in.
- Use the TRIDENT PART 3/3 on him.
- Use the CROWN on him.
- Use the SHELL on him.
-
Click to zoom in on the secret door that opened.
- Take the RUNE STONE 2/8.
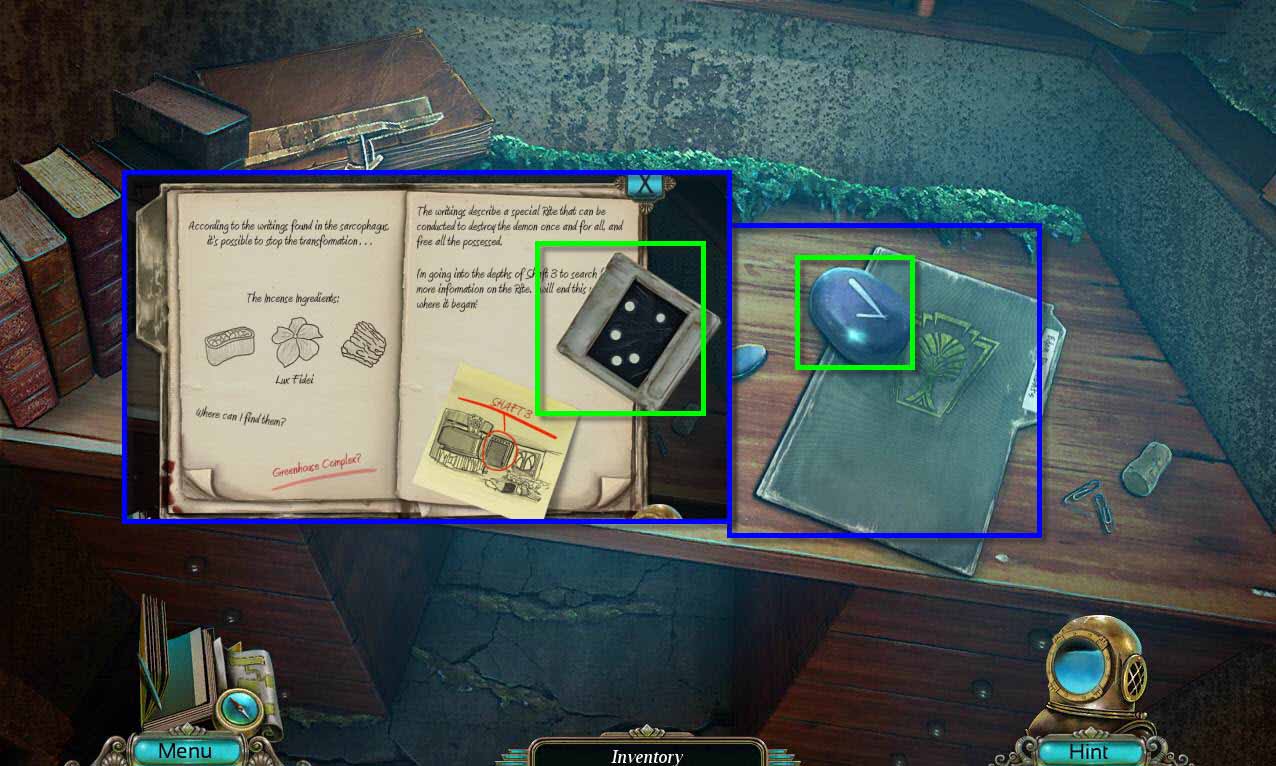
- Click on the folder to open it.
- Read the pages and turn until you see the DOTTED SLIDE.
- Take the slide.
- Go to the study.
Comments will load when you reach this part of the walkthrough.