
Chapter 5 Back to the Corridor
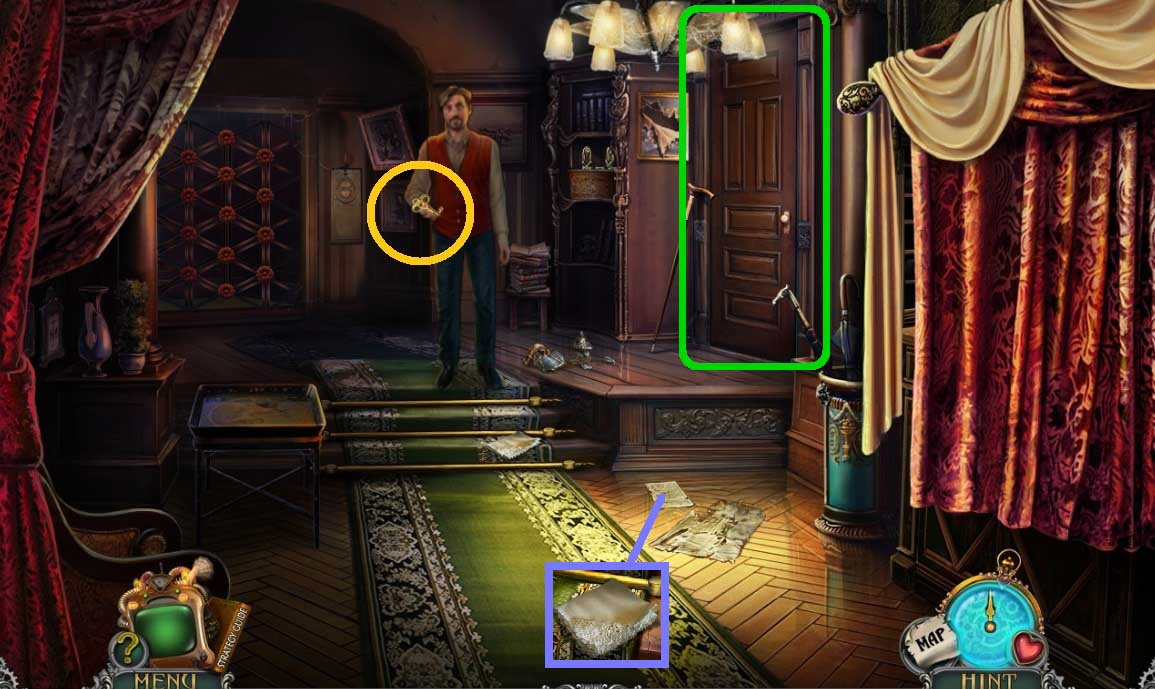
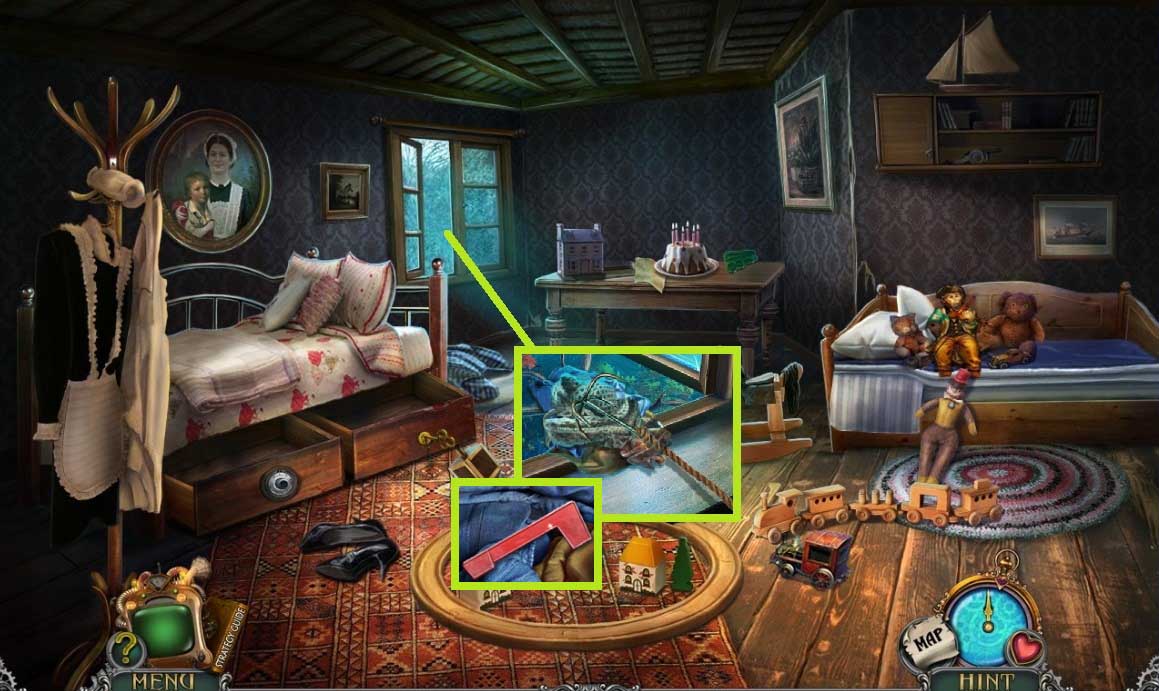
- Collect the drawer key.
- Collect the napkin.
- Click the door and move to the right.
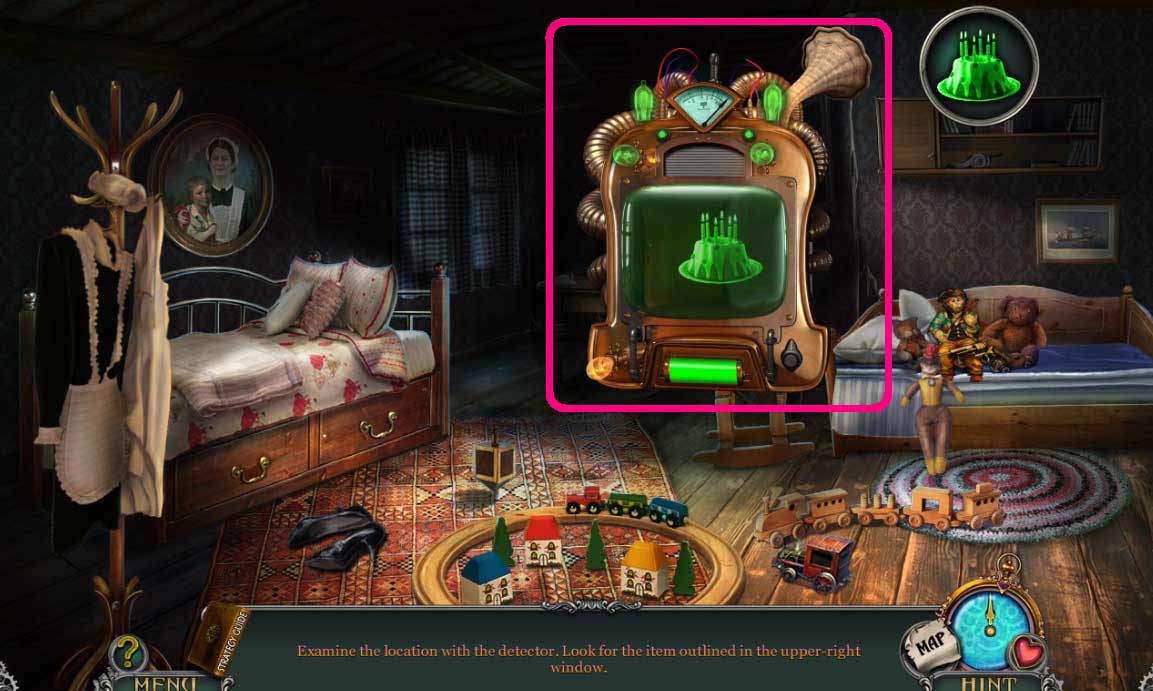
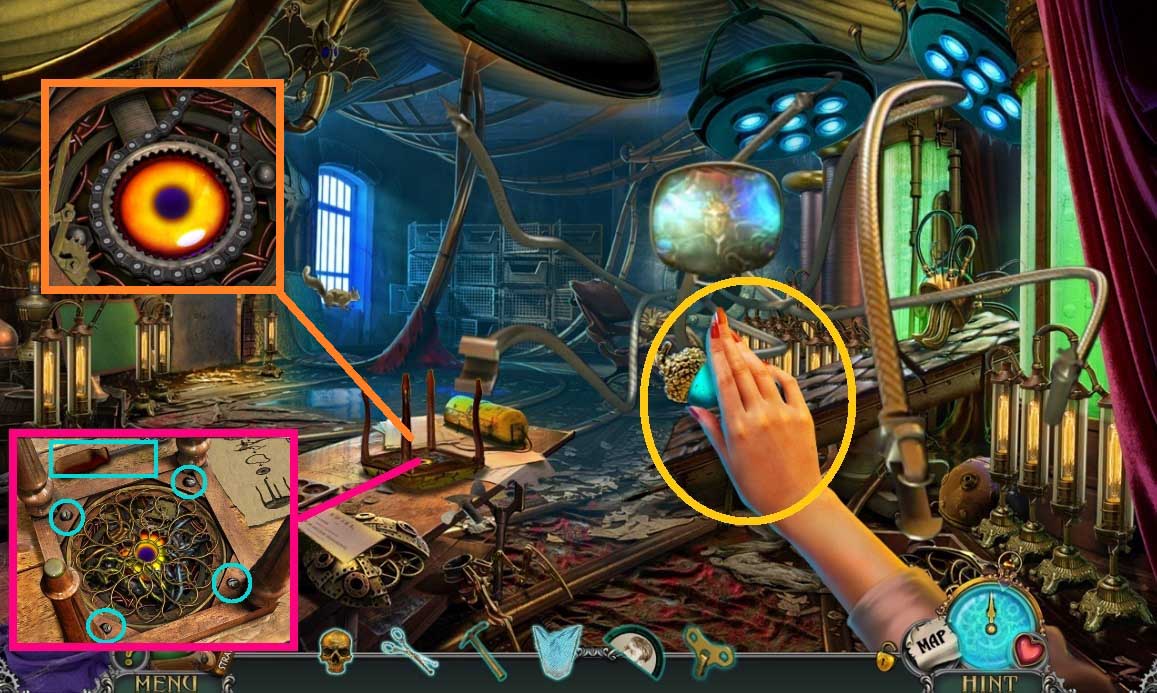
- Use the detector on the scene.
- Select the image that matches the image.
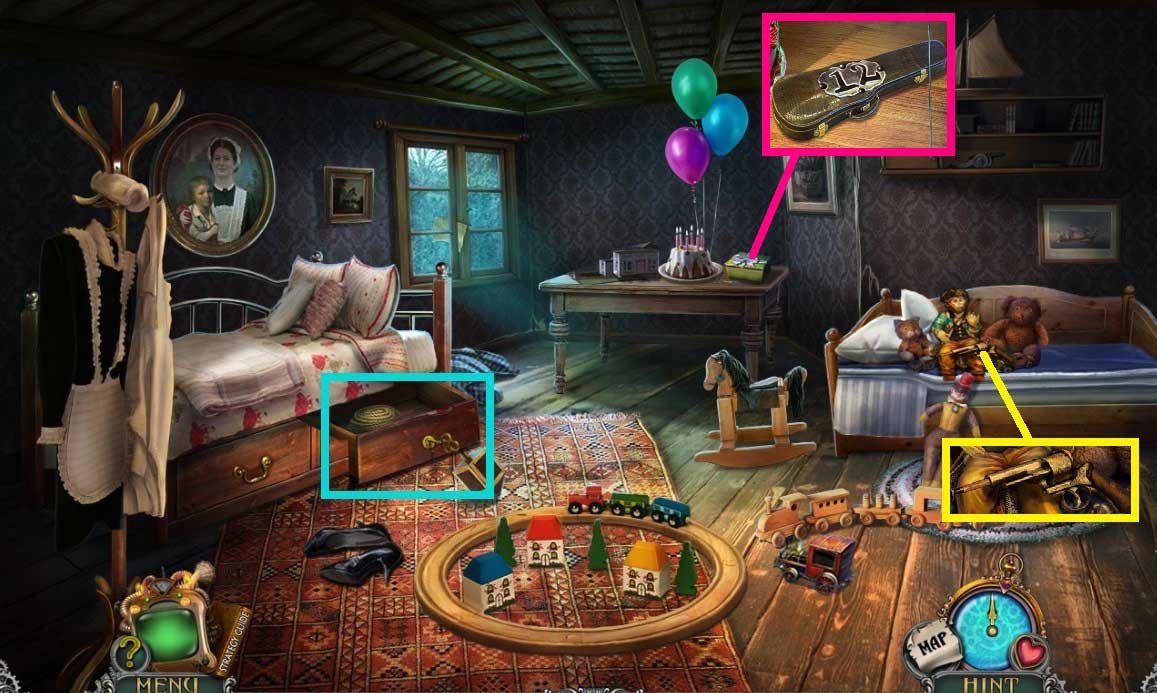
- Insert the drawer key; collect the coiled rope.
- Collect the toy revolver.
- Use the scissors on the ribbon 2x’s.
- Click the ribbon & the lid; read the note and click the case.
- Move down once.
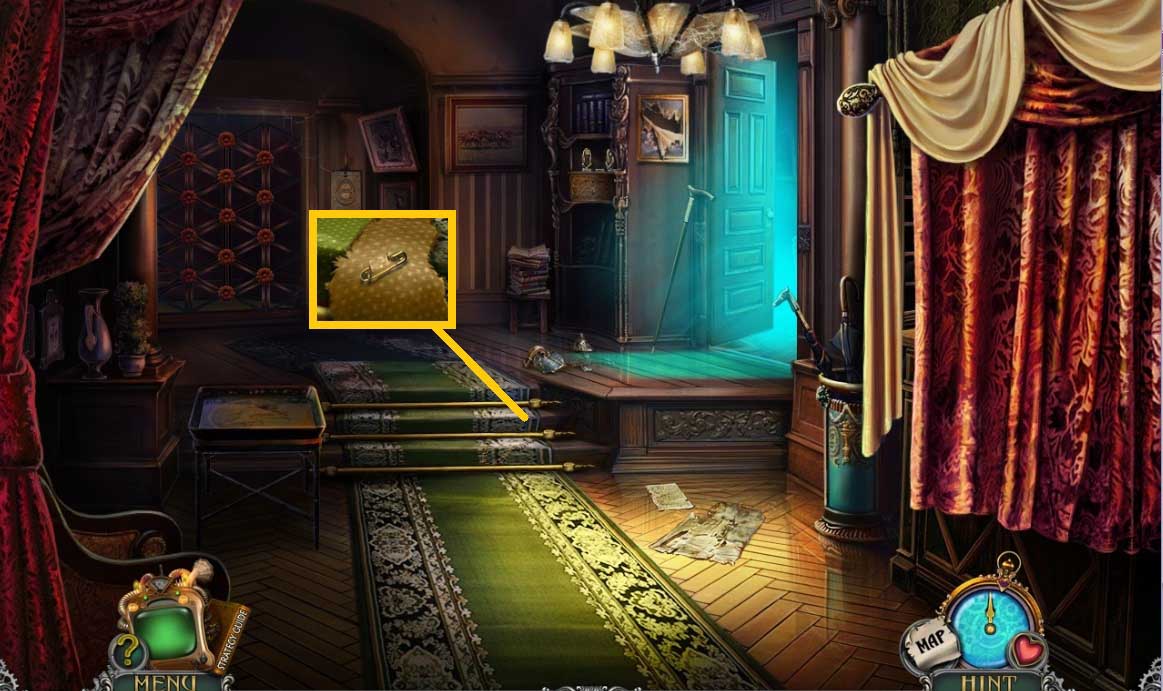
- Select the scissors to collect the safety pin.
- Move to the right.
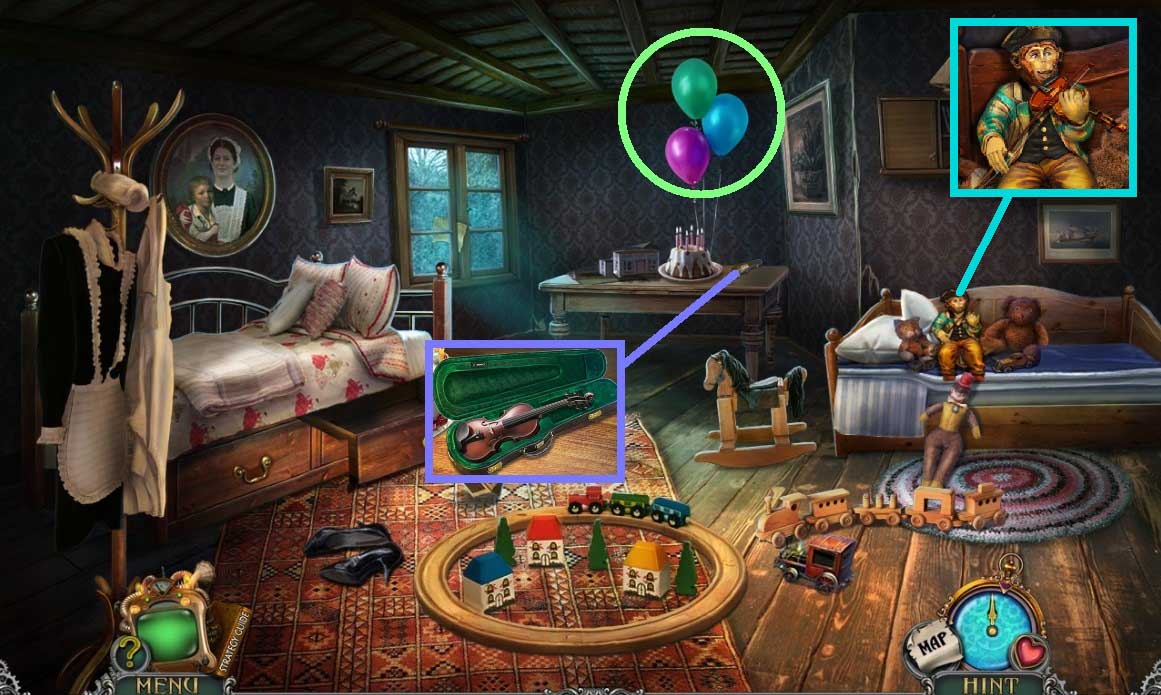
- Select the safety pin to pop the balloons.
- Select the napkin to clean the # 2; insert the numbers into the case.
- Collect the child’s violin and place it with the monkey; collect the monkey hand.
- Move down once.
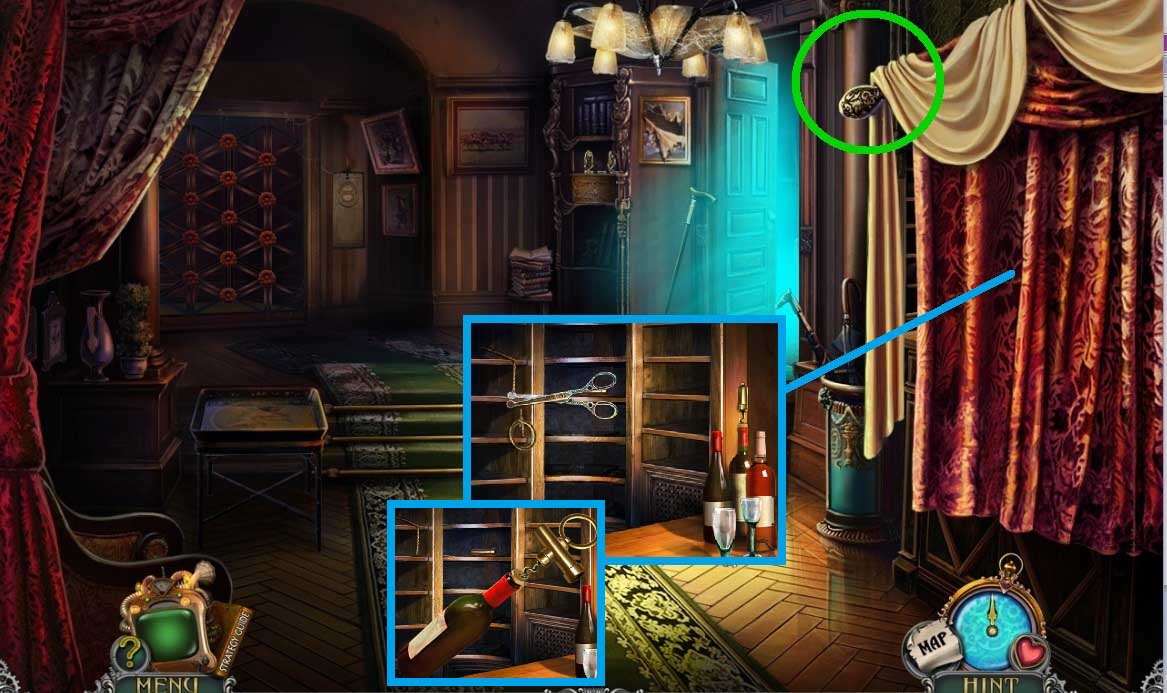
- Attach the monkey hand; click the curtain rod.
- Click the curtain; click the bottles.
- Select the scissors to trim the cord and click the ring.
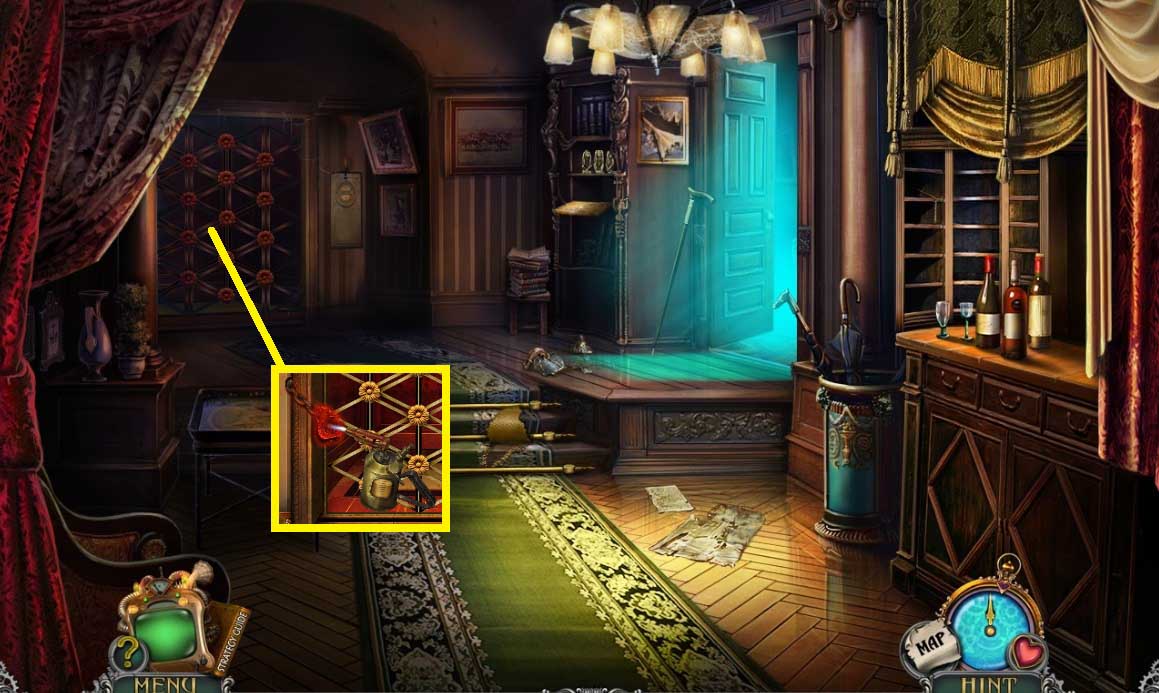
- Collect the corkscrew.
- Move to the right.
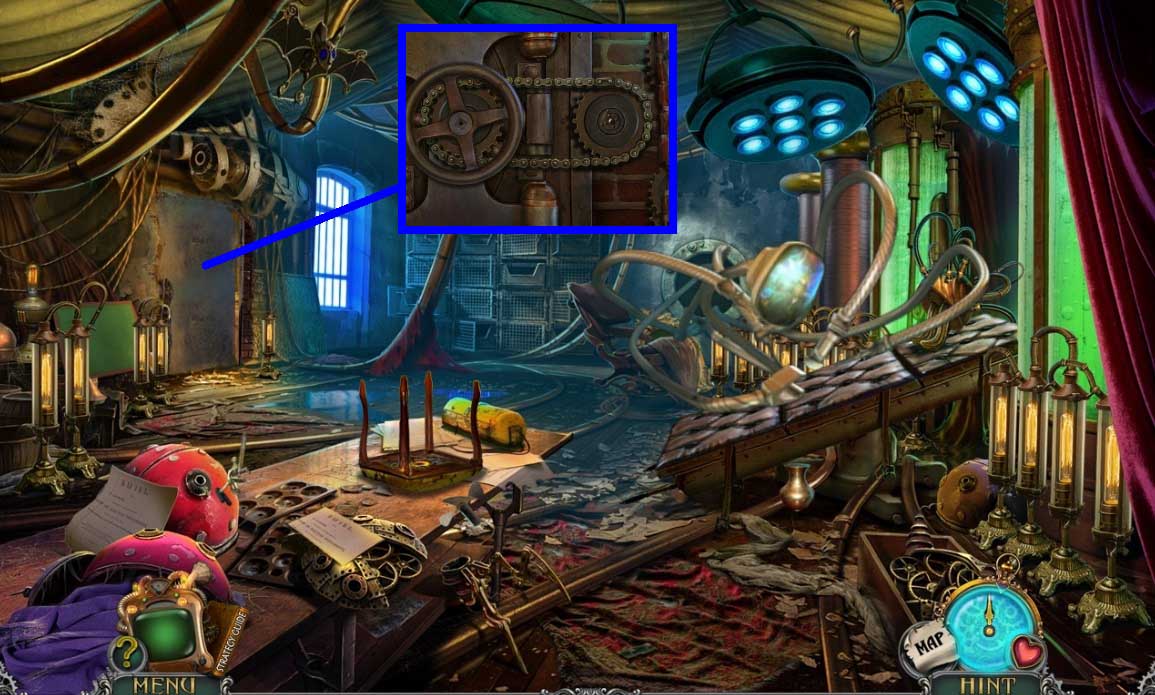
- Click the handle and insert the corkscrew.
- Click the model and restore the rooms in the house.
- Place the 2nd floor onto the 1st floor.
- Restore the rooms.
- Place the 3rd floor onto the 2nd floor.
- Restore the rooms.
- Place the roof onto the 3rd floor.
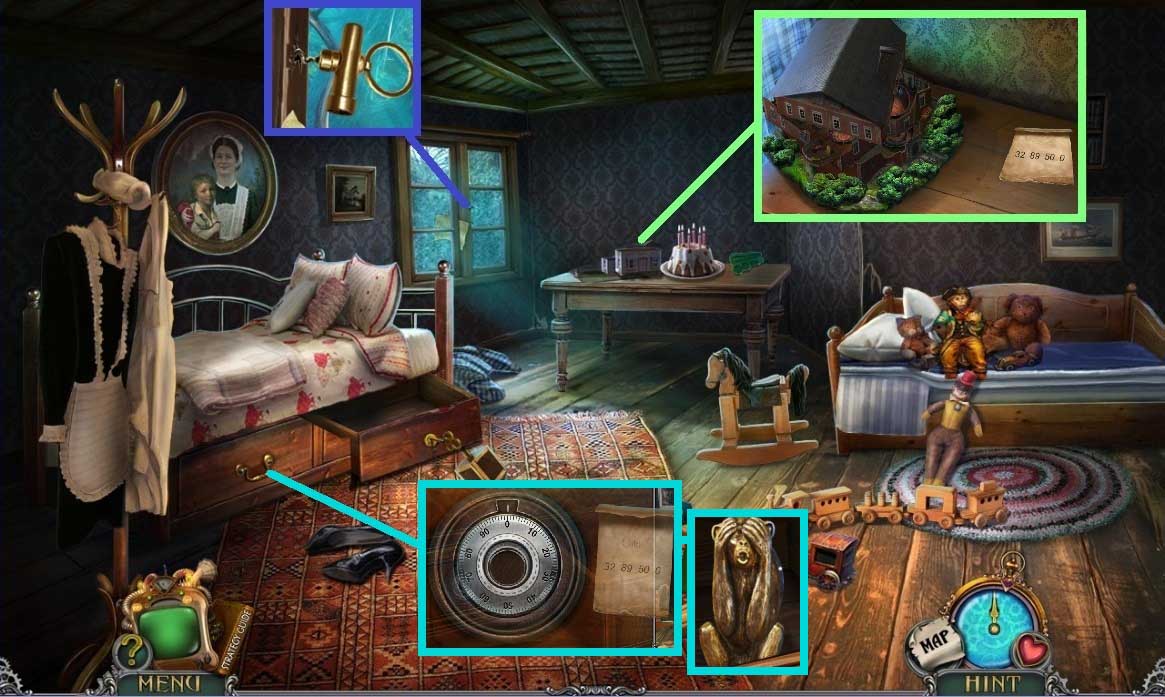
- Collect the safe combination.
- Adjust the dial as follows: right 32 – left 89 – right 50 – left 0.
- Collect the monkey statuette.
- Move down once.
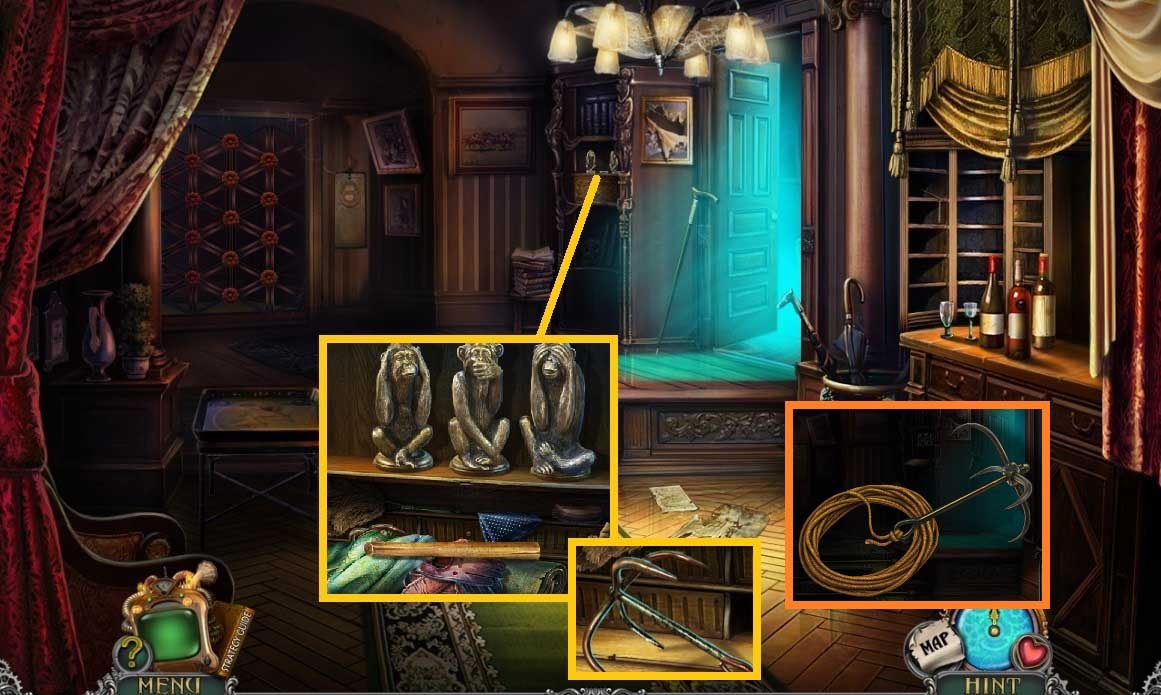
- Place and adjust the monkey statuettes.
- Collect the haft.
- Click the items aside; collect the grappling hook and attach the coiled rope.
- Move to the right.
- Toss the grappling hook from the window.
- Click the items aside; collect the mailbox flag.
- Move down 2x’s.

- Attach and click the mailbox flag; collect the package and read the note on it.
- Cut the string using the scissors; collect the blowtorch.
- Move ahead once.
- Click the grid and use the blowtorch.
- Move ahead 2x’s.

- Select the half empty blowtorch on the left side of the grid.
- A mini game will trigger; solve the game by removing the pieces in the correct order.
- Collect the defense amulet.
- Move ahead once.
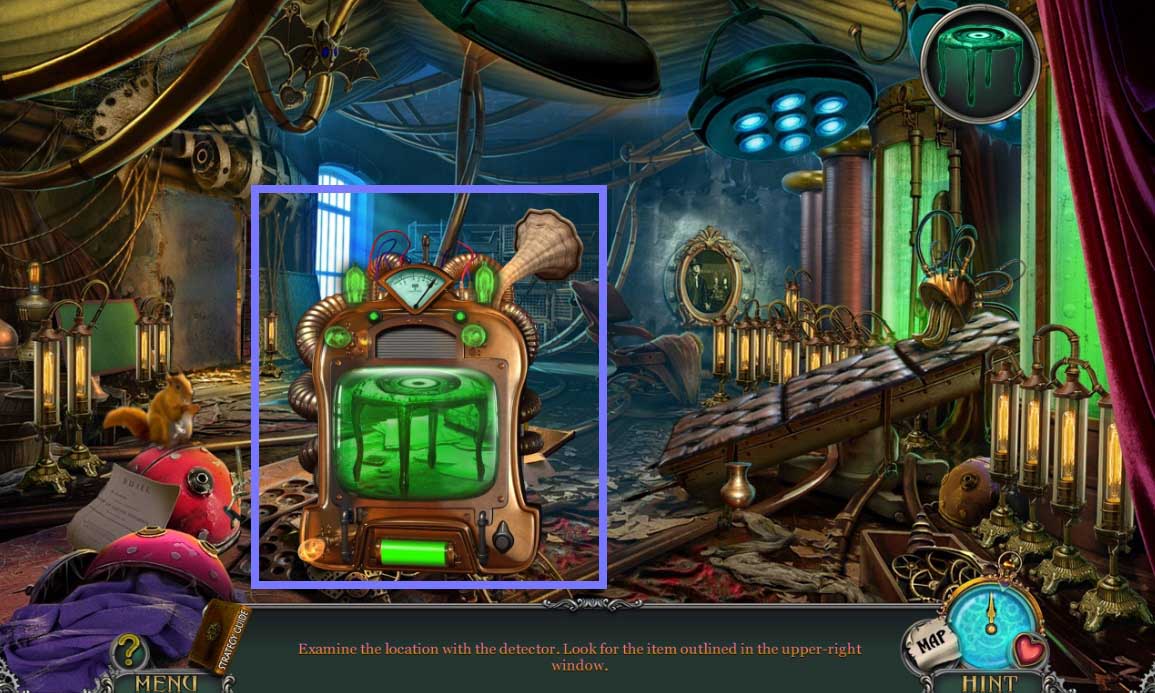
- Use the detector on the scene.
- Select the image that matches the image.
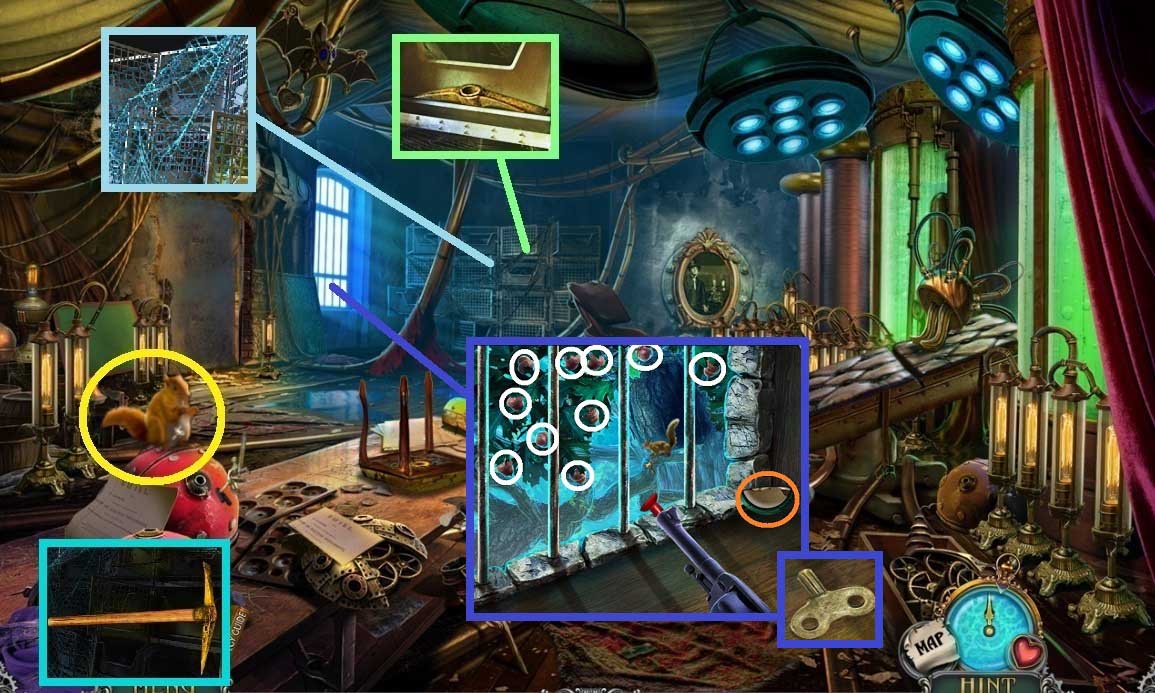
- Click the squirrel.
- Click the cage; collect the pickaxe head and attach it onto the haft.
- Select the scissors to collect the large net.
- Collect the 1st half portrait.
- Place the toy revolver onto the window sill.
- Click the 10 acorns; collect the clock key.
- Use the defense amulet.
- Collect & use the screwdriver; click the grill.
- Click the wires.
- Insert the clock key.
- Click the arm; collect the chain.
- Select the pick to break through the wall 3x’s.
- Insert the chain.
- Move to the left and click the cabinet to trigger a hidden objects area.
- Find the items.
- Collect the safe code.
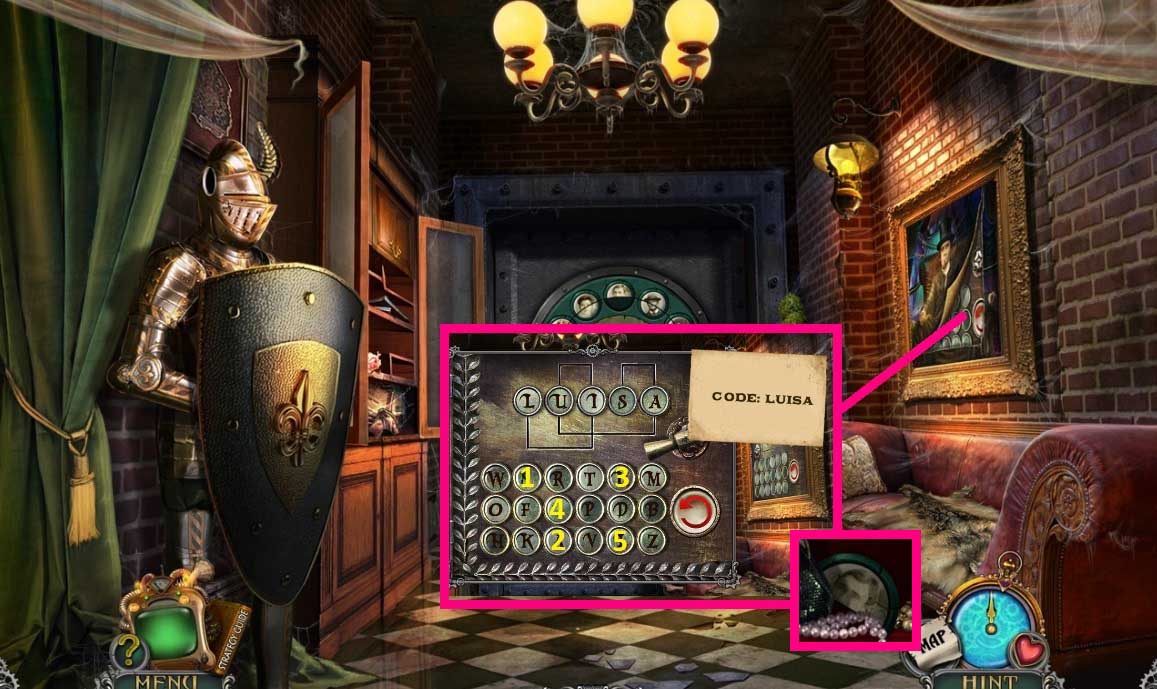
- Select the scissors to cut the canvas.
- Click the safe and place the code onto it.
- Enter the code and click the lever; collect the 2nd half portrait.
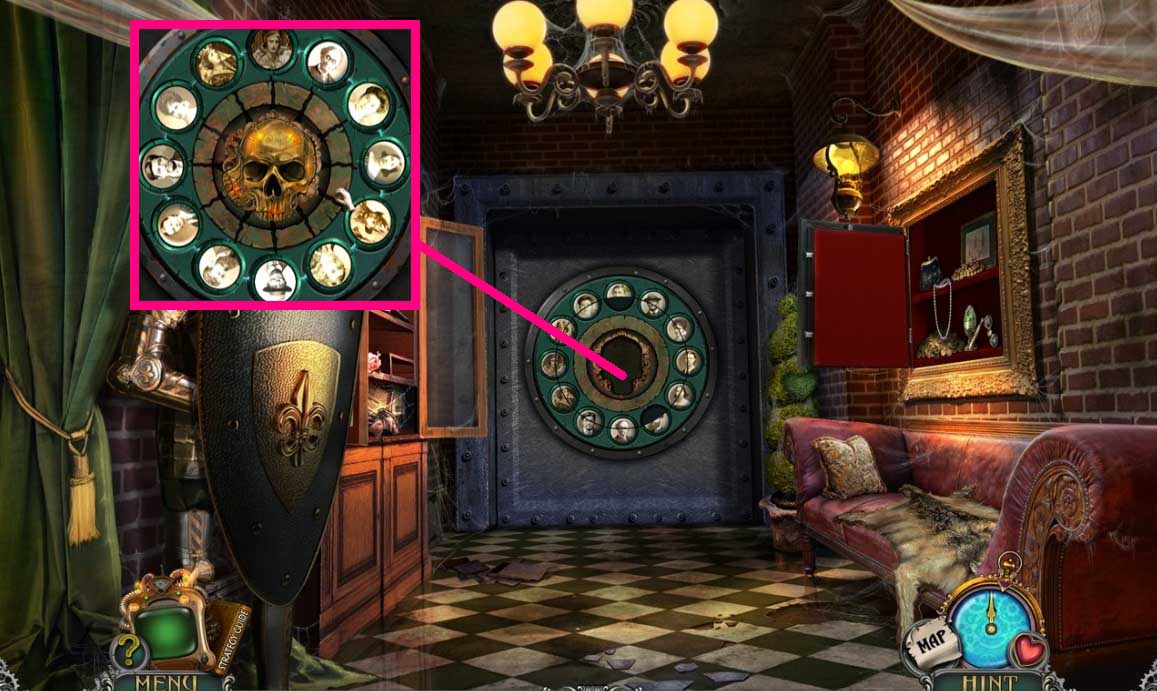
- Click the disc and insert the 2nd half portraits & death’s head.
- Restore the images.
- Move ahead once.
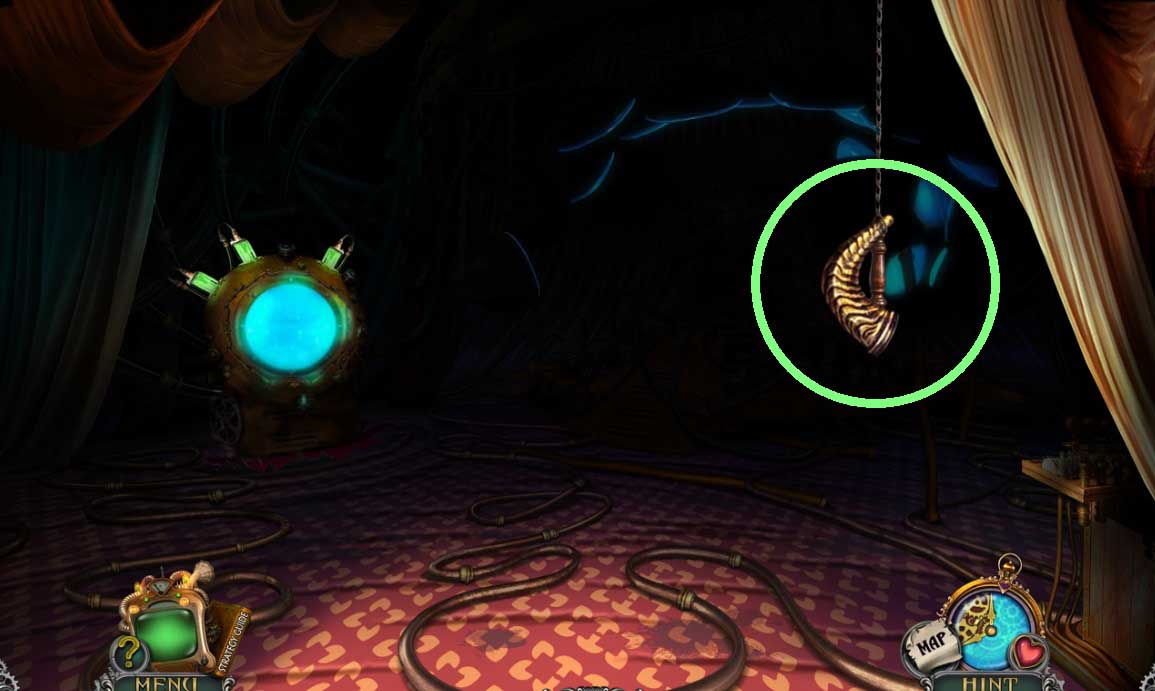
- Collect the horn.
- Move down once.
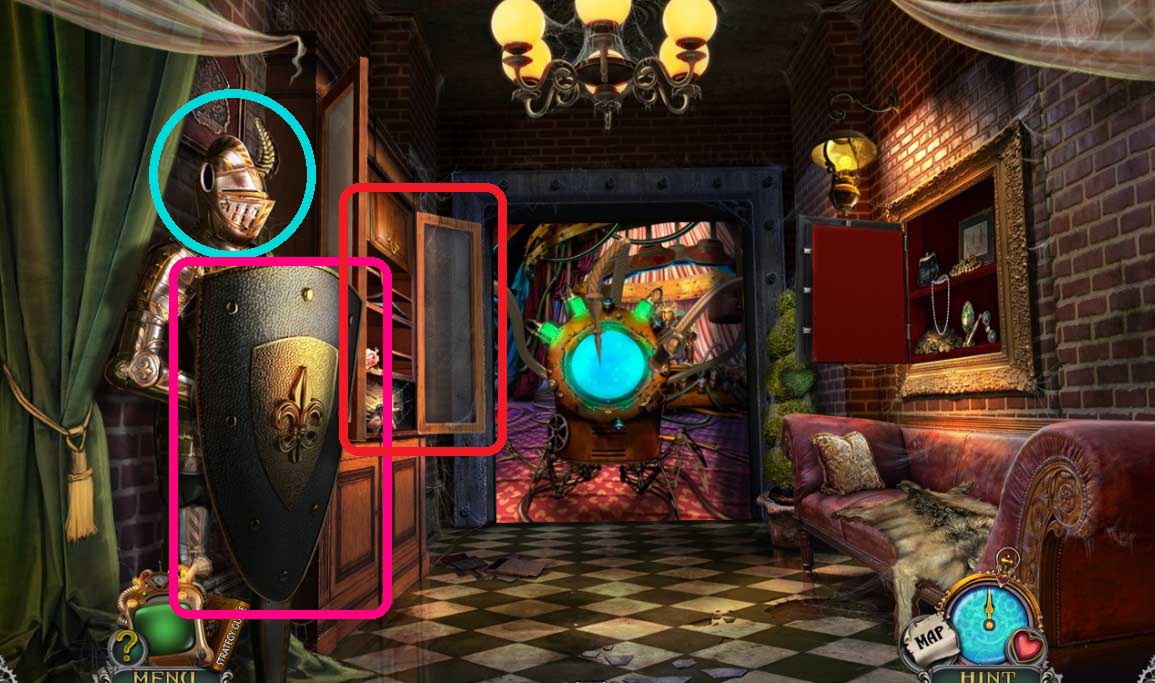
- Insert the horn.
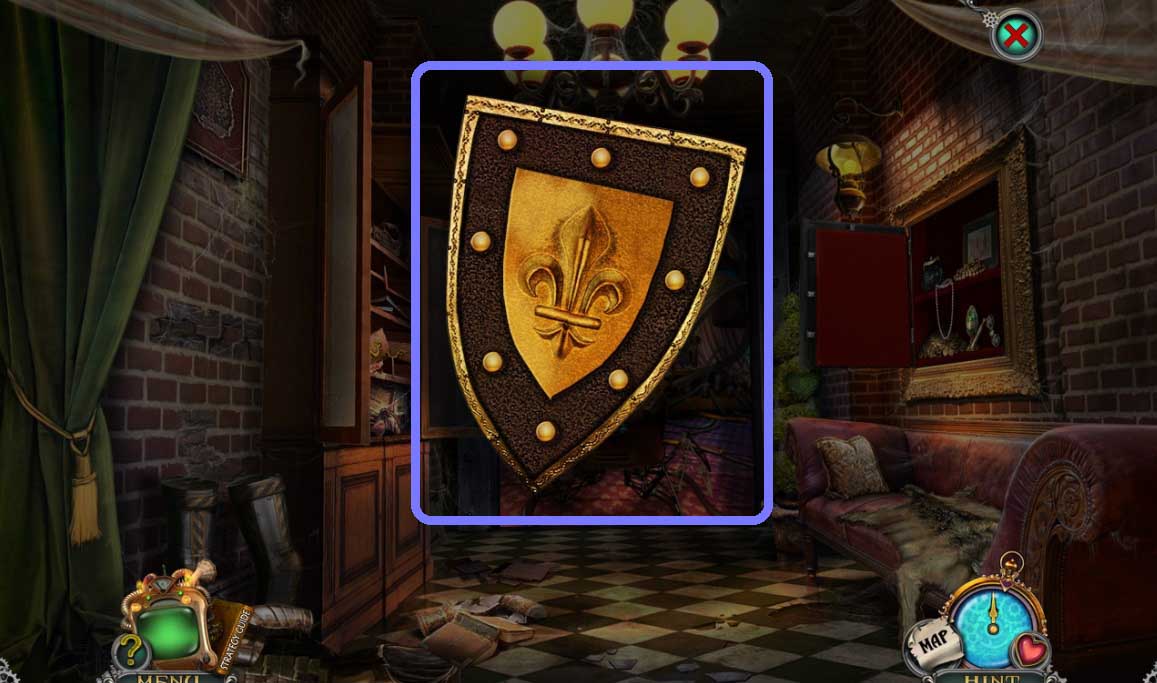
- Collect the shield.
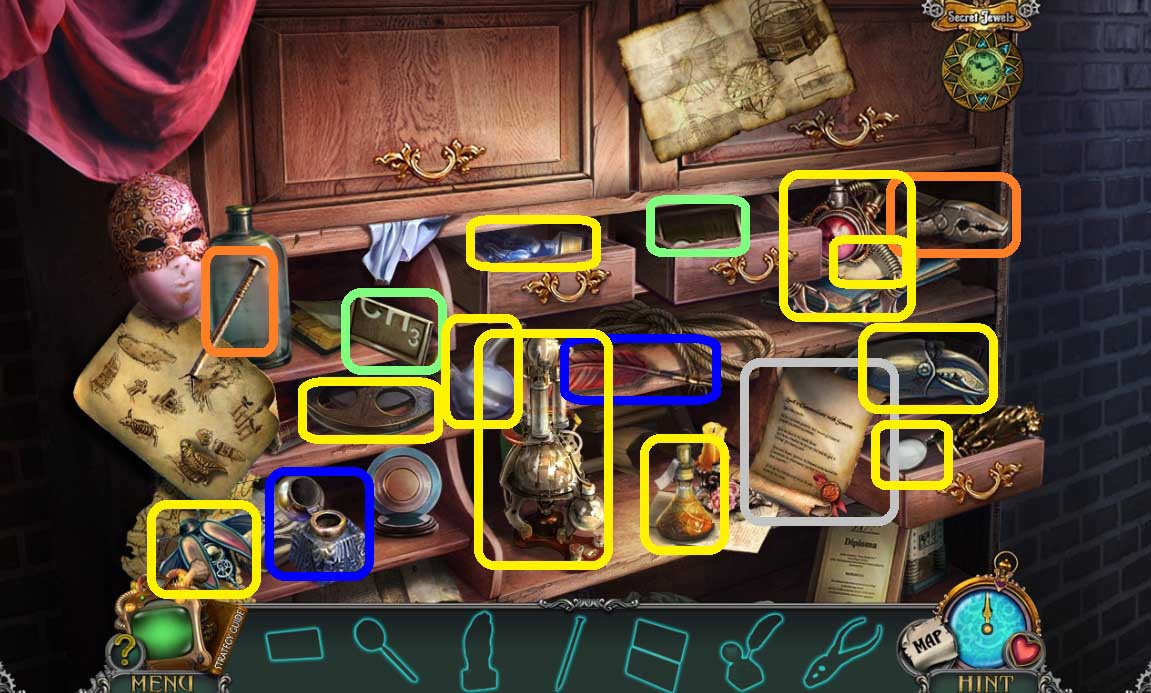
- Click the hidden objects area.
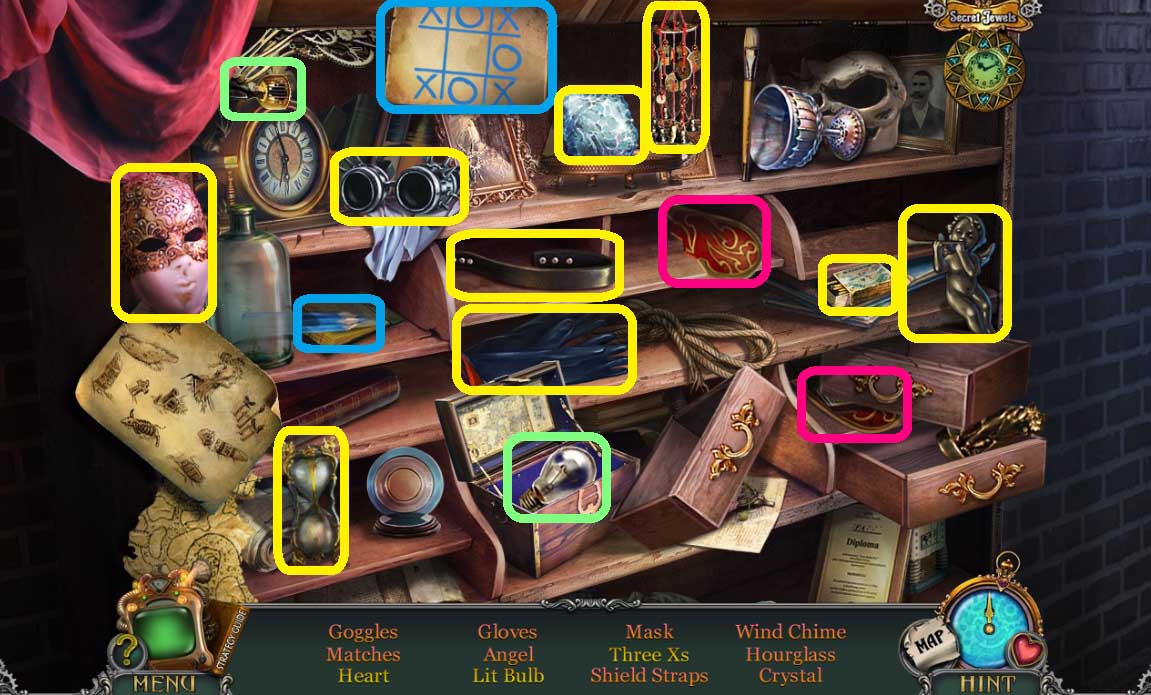
- Find the items.
- Collect the shield straps.
- Attach the straps onto the shield.
- Move ahead.
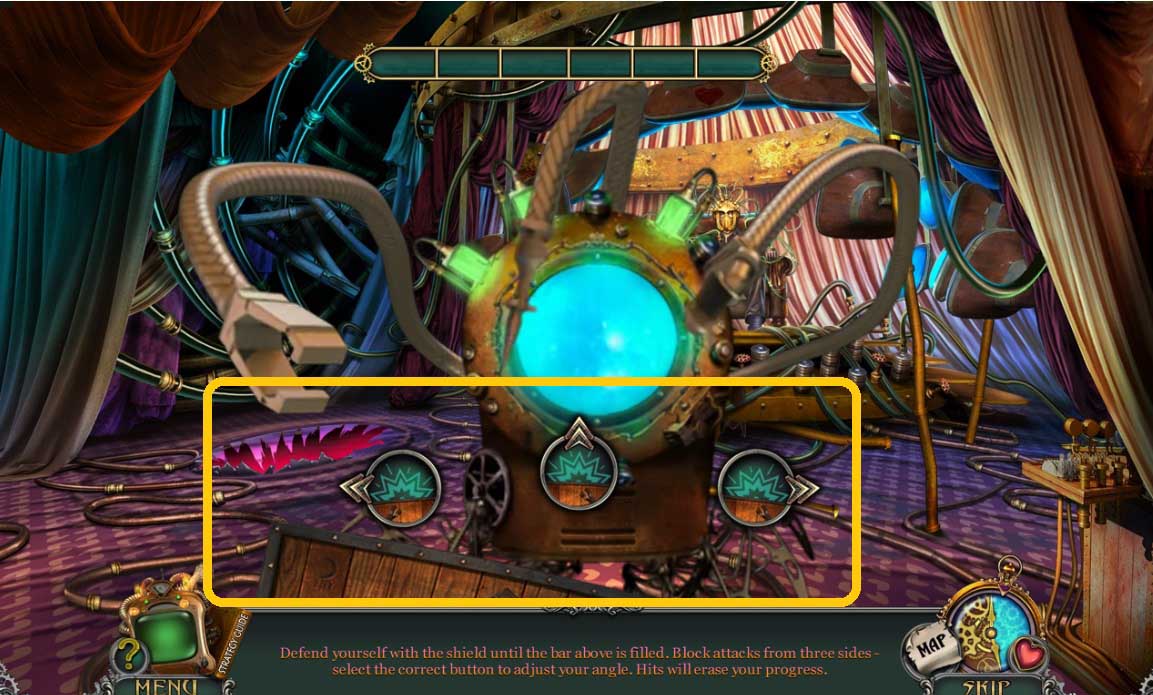
- Place the shield onto the scene to trigger a mini game.
- Defend yourself by moving the shield around.
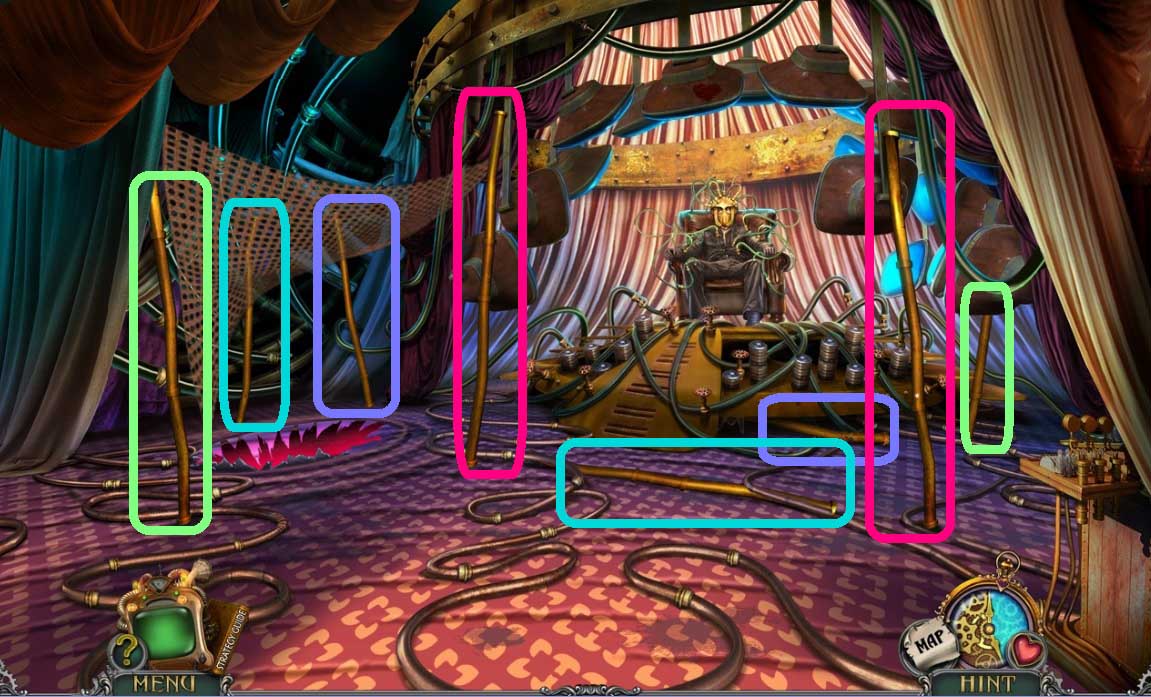
- Restore the pipes.
- Attach the large net.
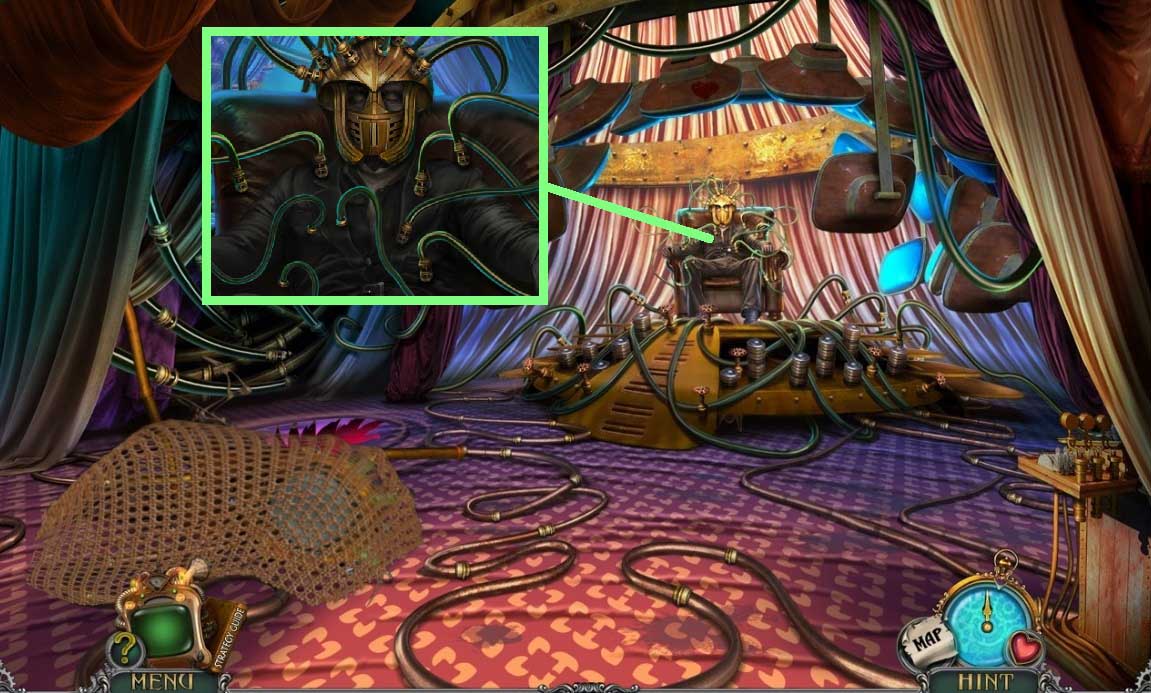
- Click the wires and the mask.
- Congratulations! You have successfully completed the main game of Tales of Terror: Estate of the Heart C. E.
Comments will load when you reach this part of the walkthrough.