

Chapter 1 Estate
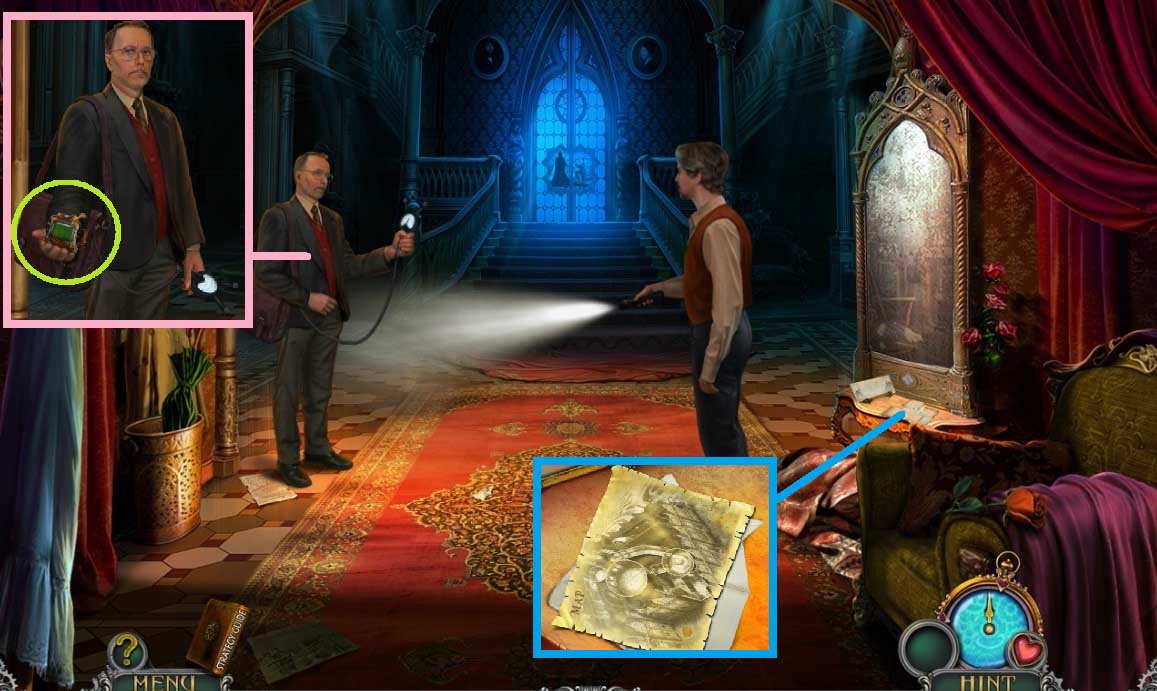
- Collect the uncharged detector.
- Click the curtain.
- Click the 4 pieces of paper; collect the map.
- Collect the cloth & the letter knife.
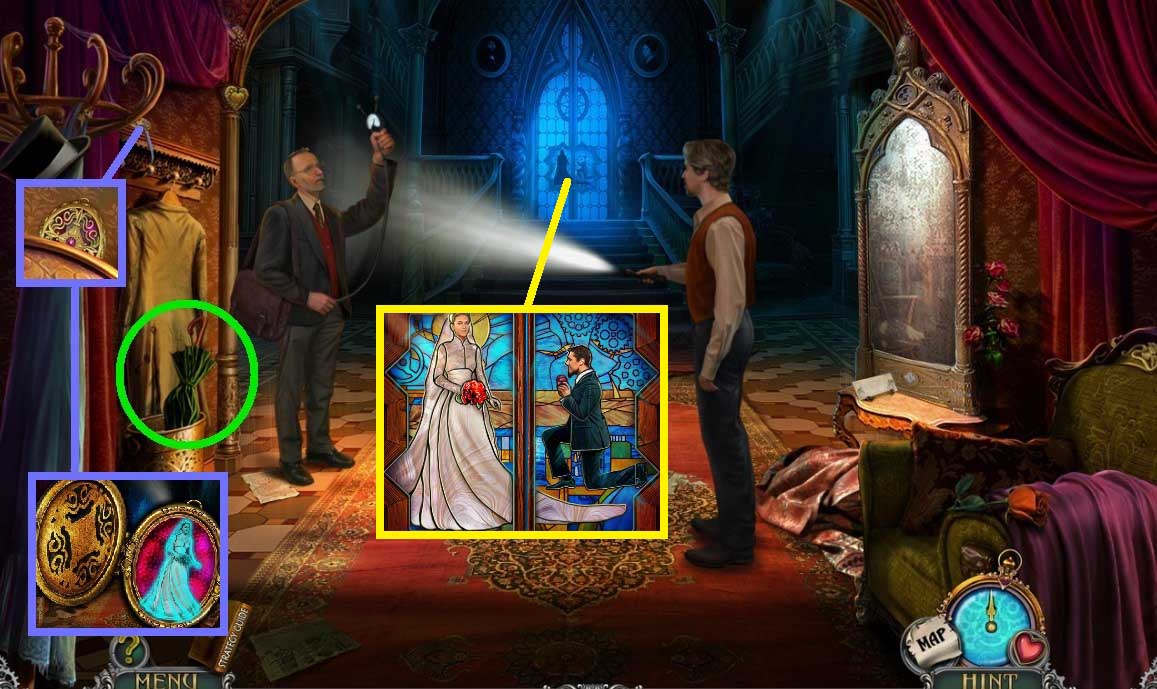
- Collect the umbrella & use it to knock down the locket; use the letter knife to cut the string.
- Click the locket open; collect the picture of Luisa.
- Insert the picture; restore the image.
- Move ahead.
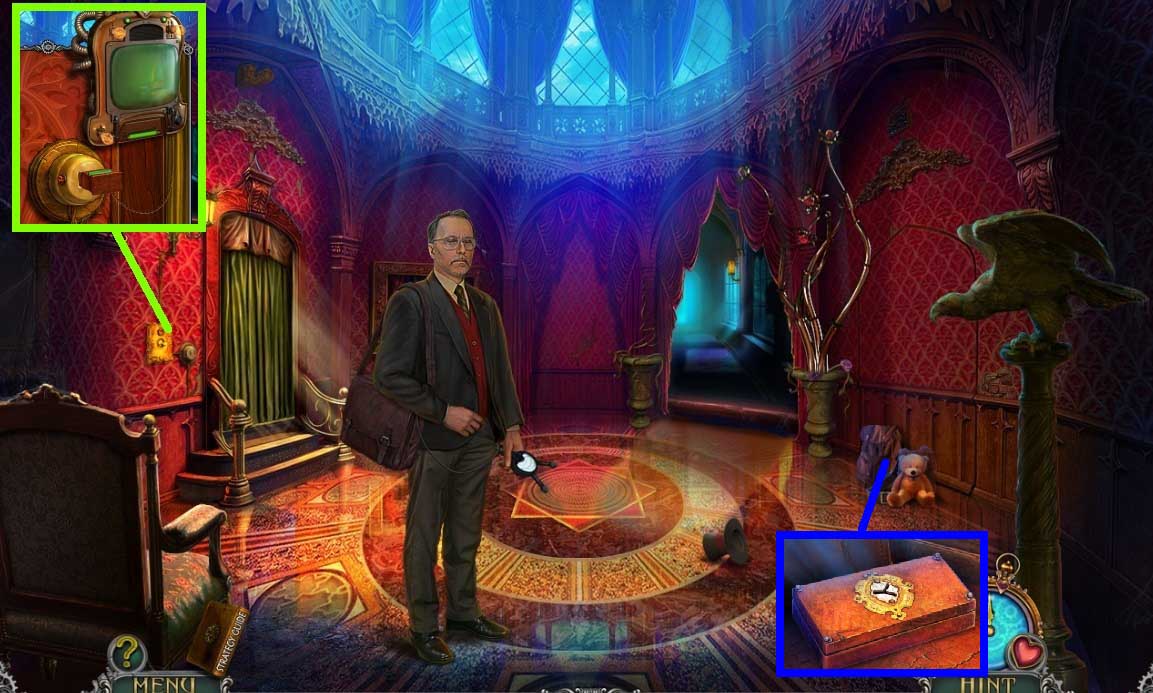
- Plug in the uncharged detector; click the charged detector.
- Click the items aside; collect the repair kit.
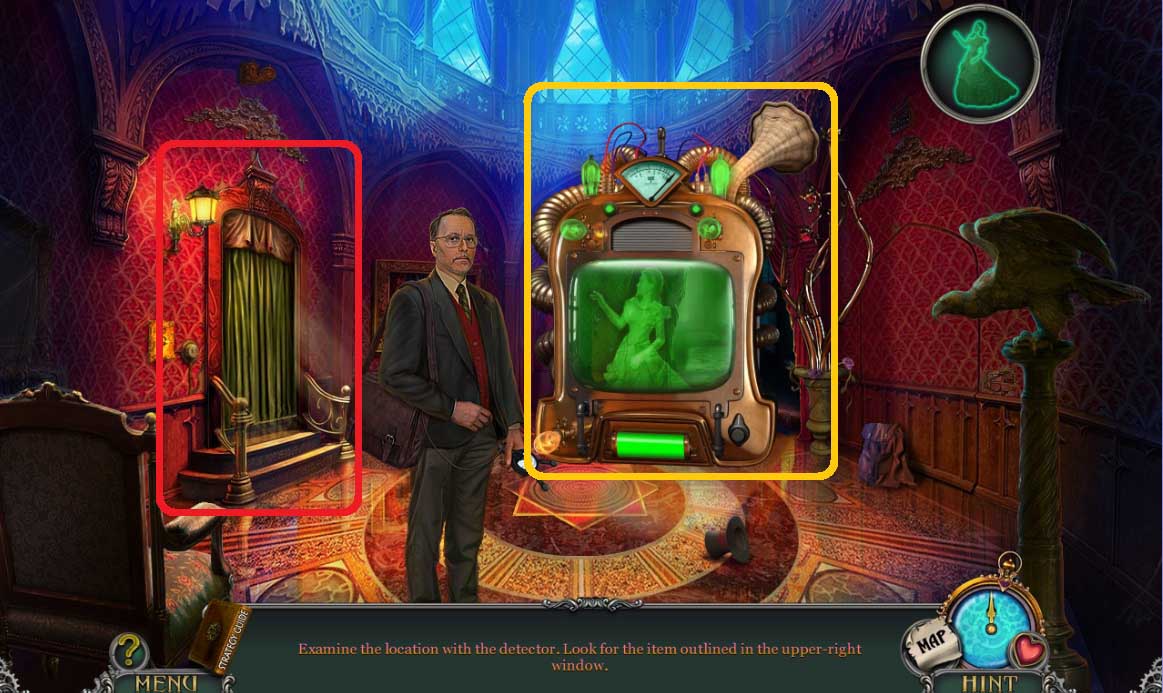
- Use the detector on the scene.
- Select the image that matches the image.
- Click the curtain to trigger a hidden objects area.
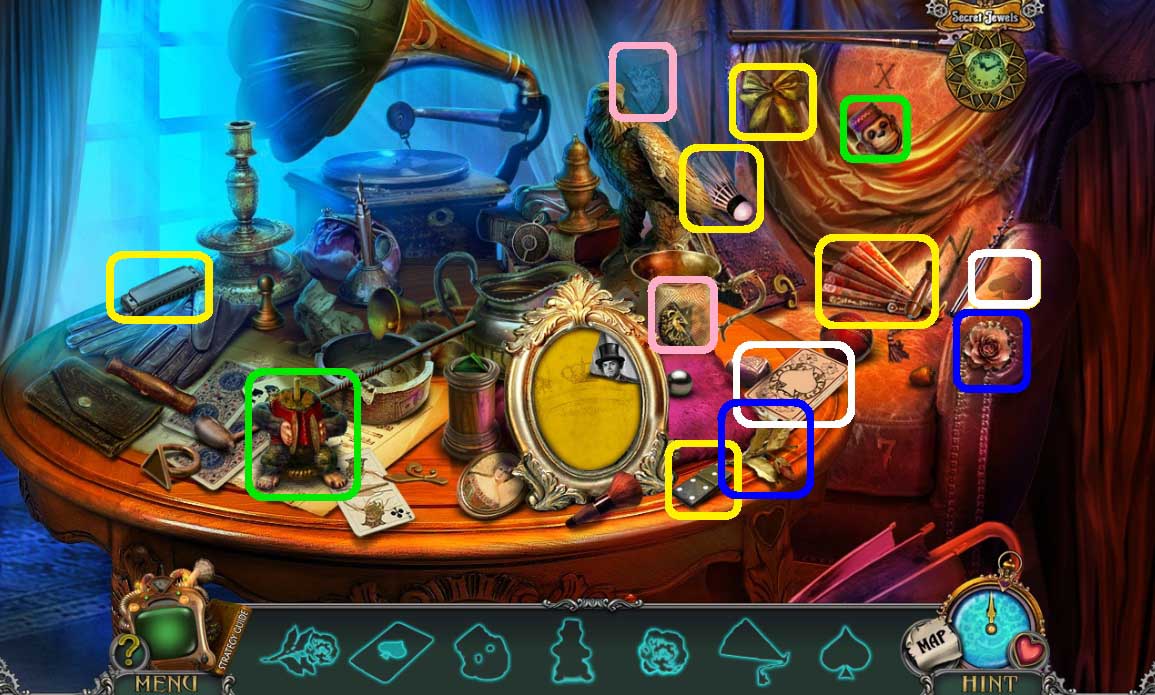
- Find the items.
- Click the shards beneath the items.
- Collect the photo.
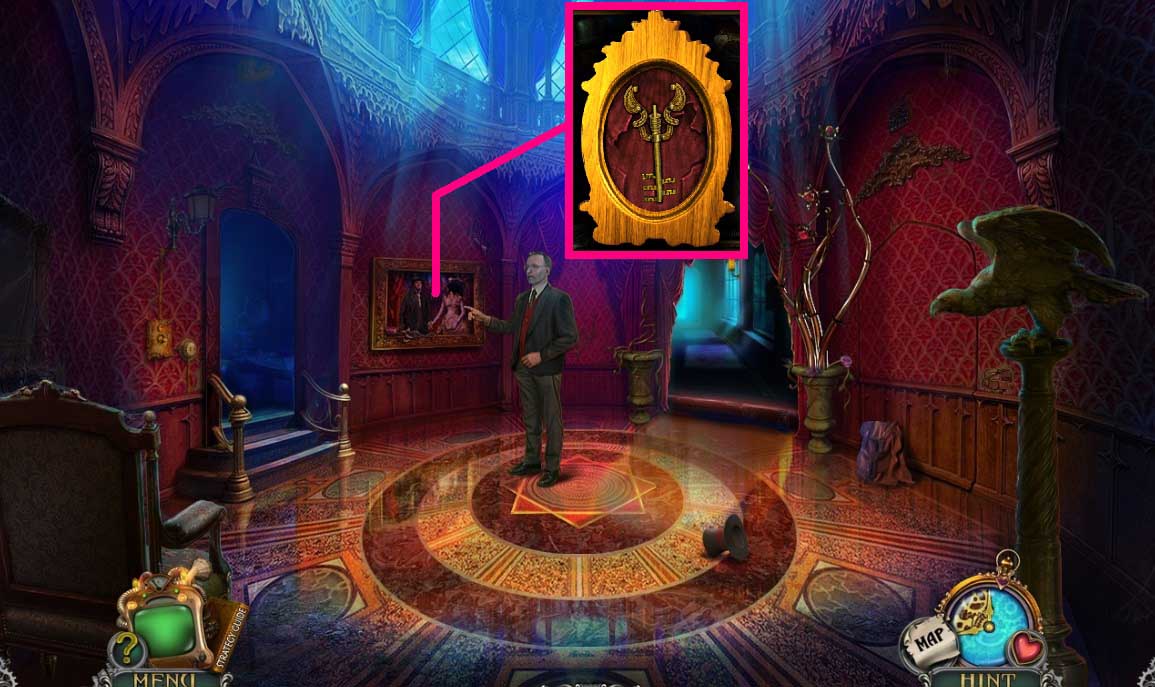
- Zoom into the photo; collect the skeleton key.
- Move ahead once.
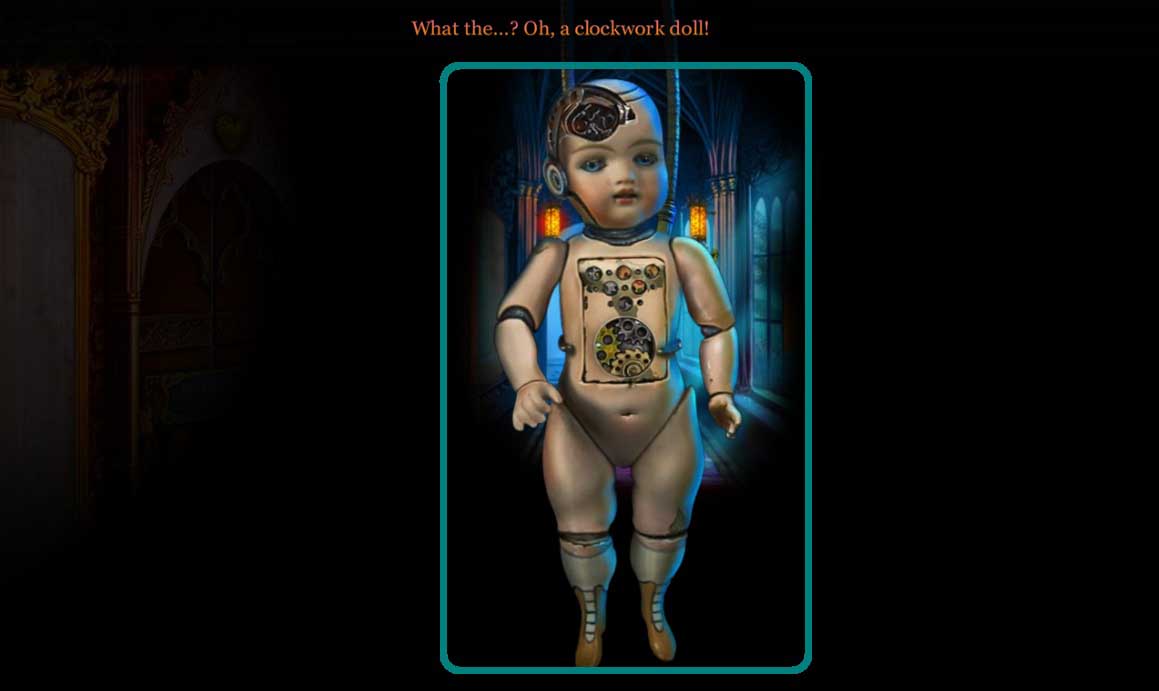
- Attempt to collect the doll.
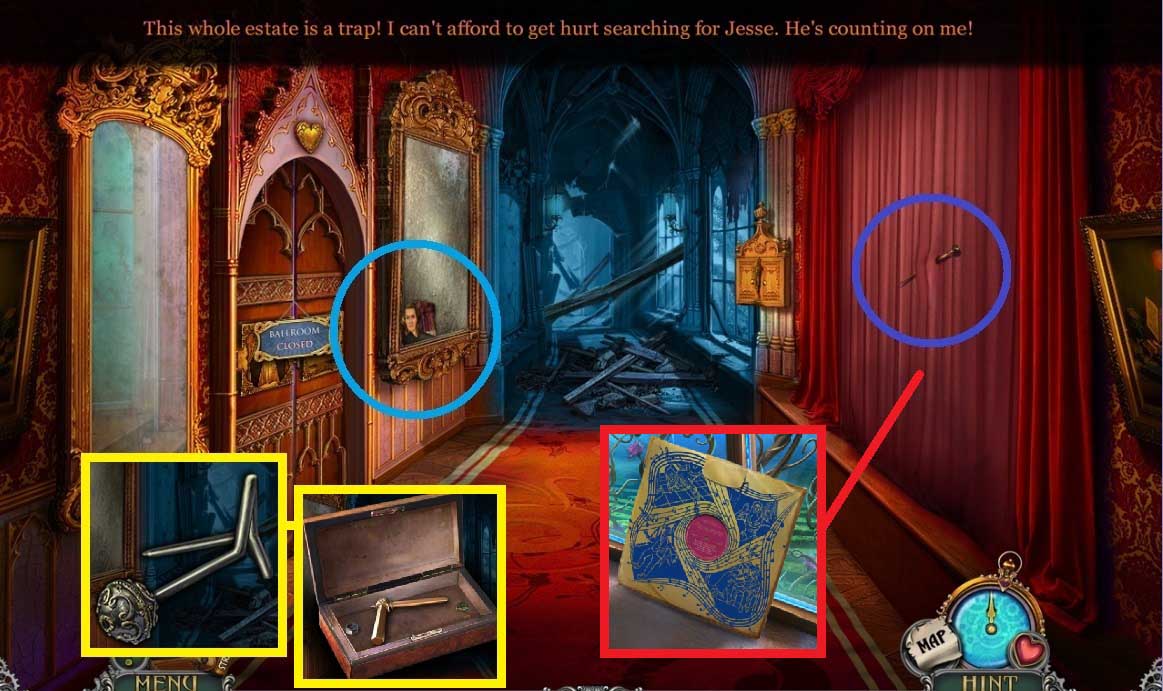
- Collect the canvas piece.
- Collect the pin; click the curtains.
- Click the pin 5x’s.
- Insert the lock pick into the repair kit; collect the socket wrench.
- Click the record to trigger a hidden objects area.
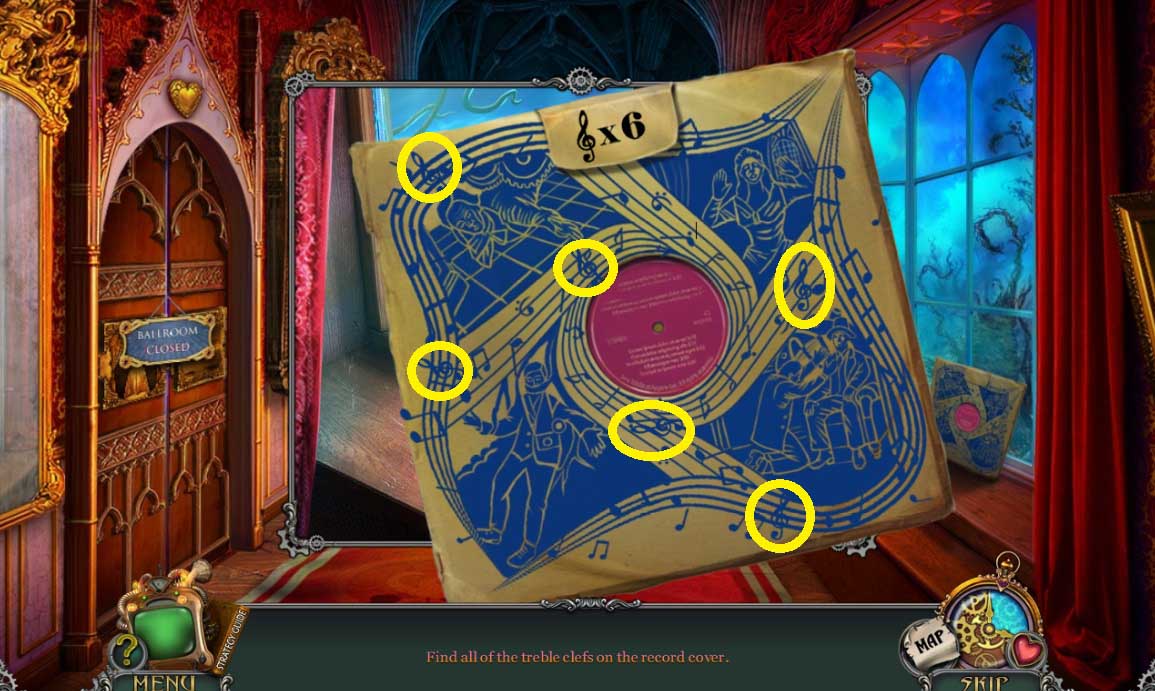
- Find the items.
- Collect the record.
- Move down once.
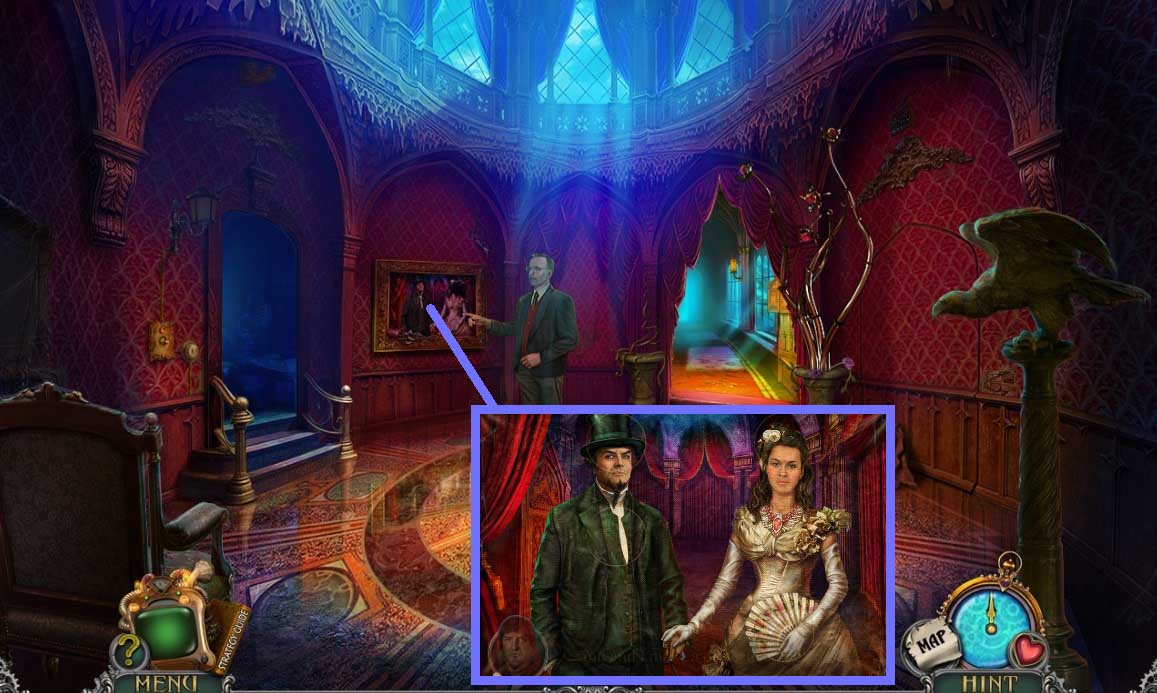
- Insert the canvas piece to trigger a mini game.
- Solve the game by arranging the pieces correctly.
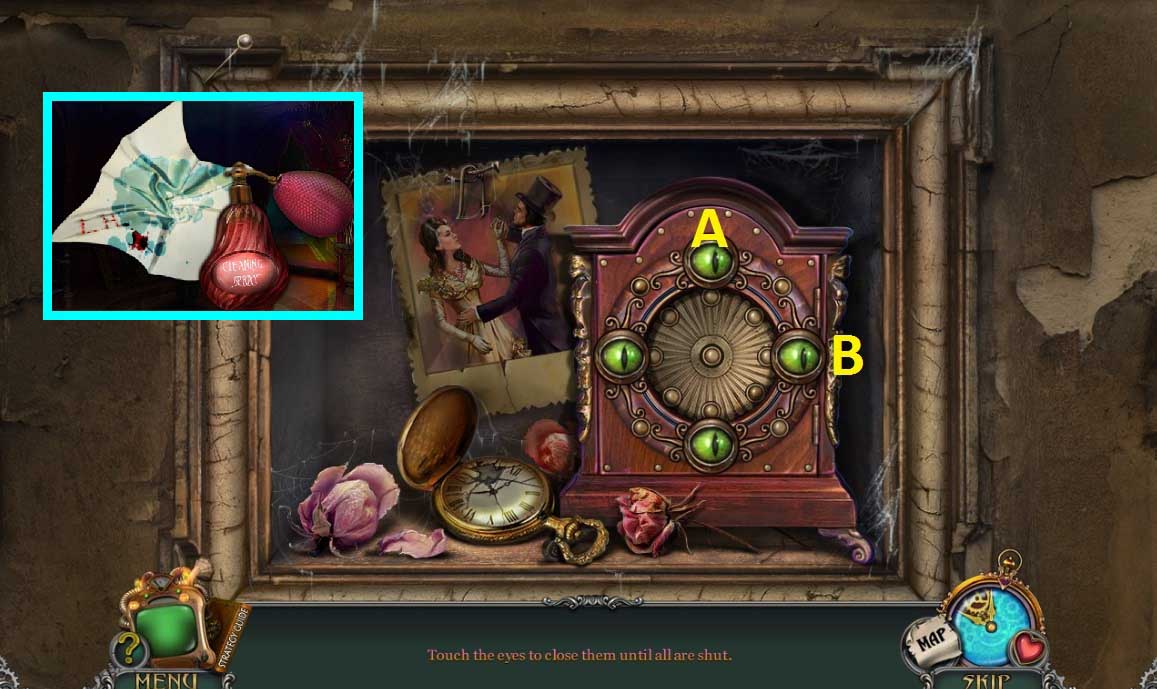
- Click the eyes correctly.
- Collect the cleaning spray and place it along with the cloth.
- Move ahead once.
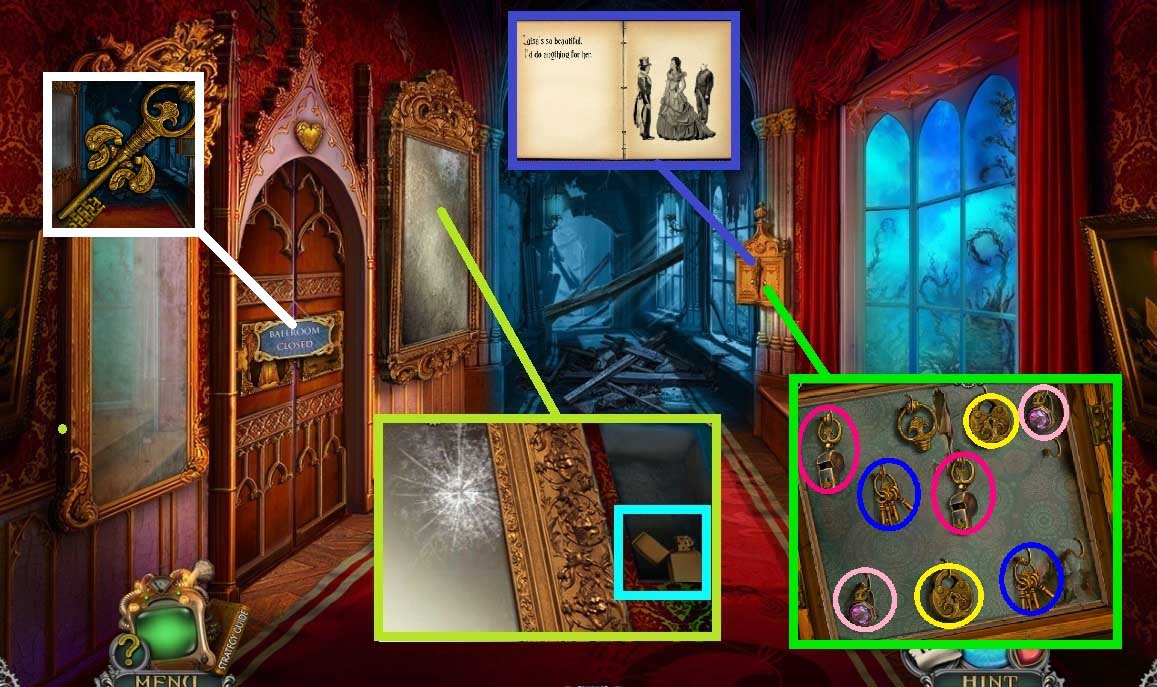
- Select the wet cloth to clean the mirror.
- Click the grill; collect the lighter and use it to melt the wax.
- Click the doors; click the bottle and examine the diary to trigger a mini game.
- Solve the game by selecting the pairs.
- Collect the key part and place it with the skeleton key.
- Click the sign and insert the ballroom key.
- A mini game will trigger.
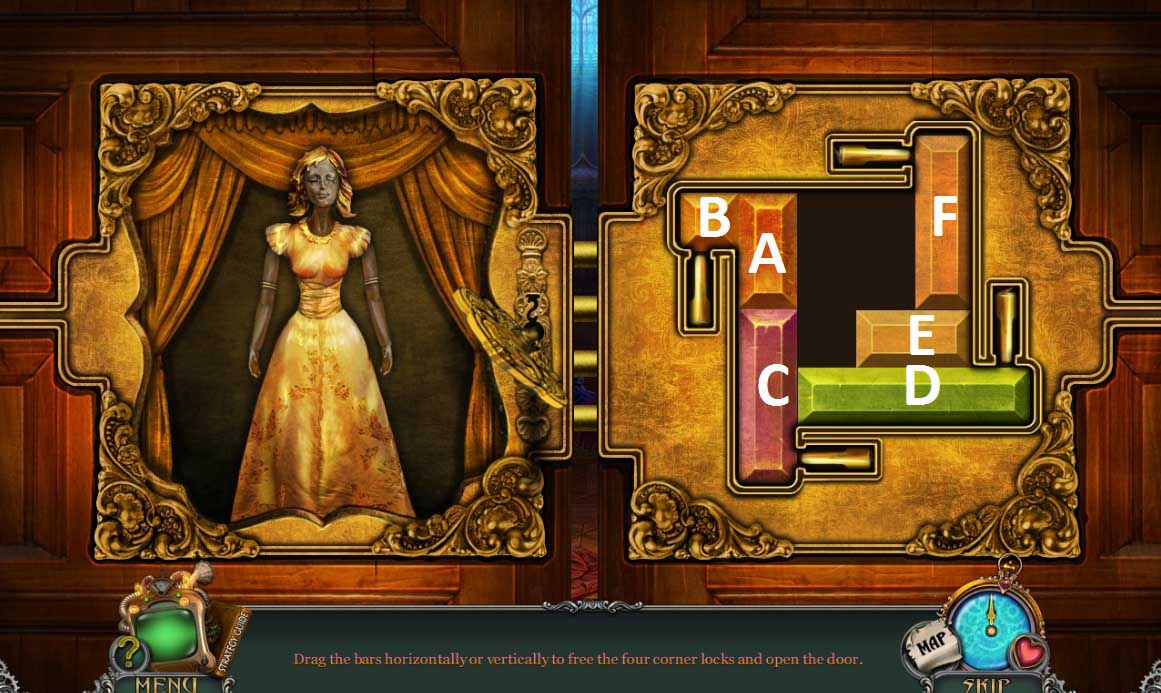
- Slide the bars correctly to open the lock.
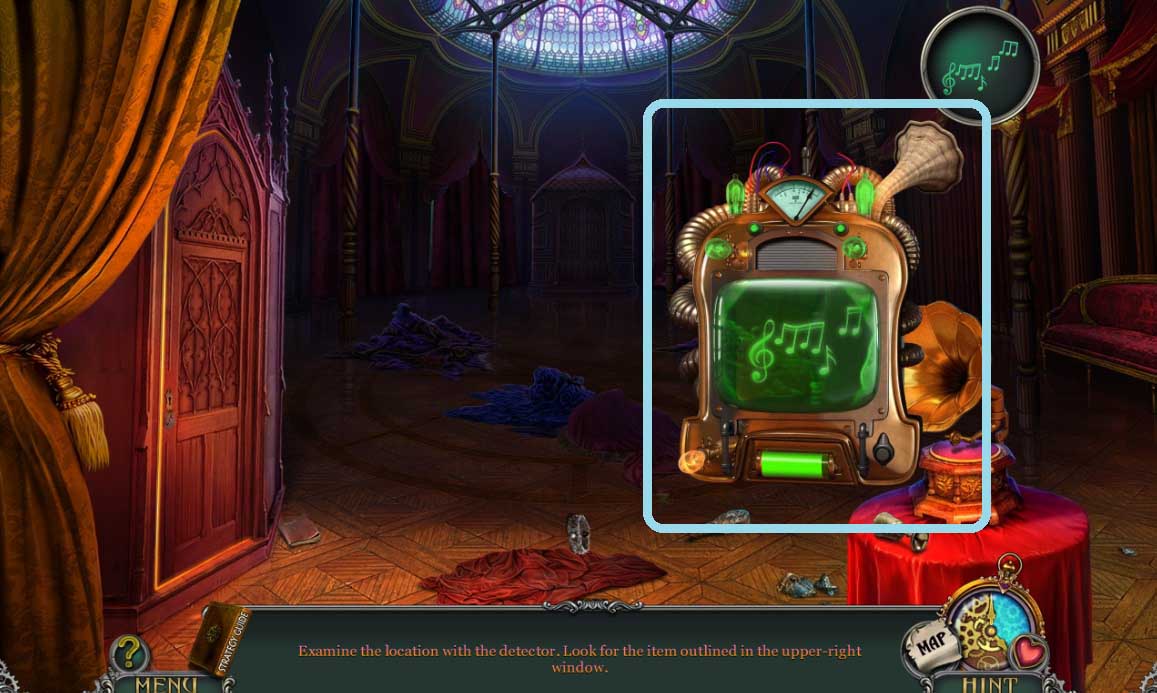
- Use the detector on the scene.
- Select the image that matches the image.
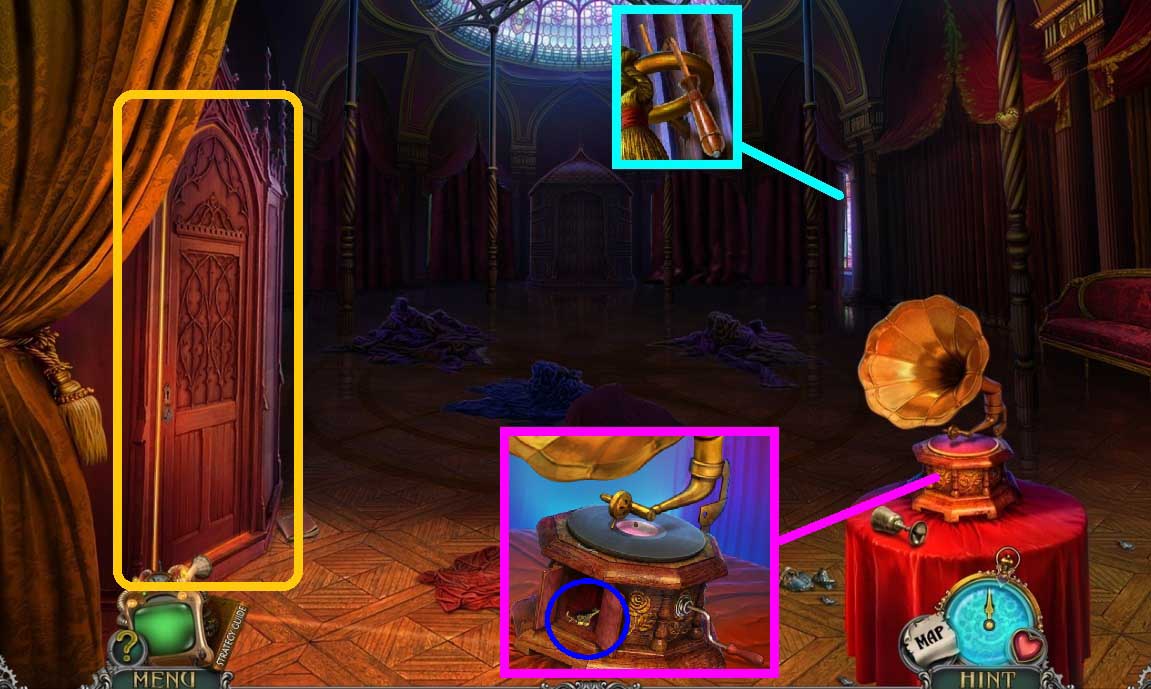
- Collect the gramophone crank and attach it onto the gramophone.
- Place the record down and click the crank.
- Collect and insert the wardrobe key.
- Zoom into the wardrobe to trigger a mini game.
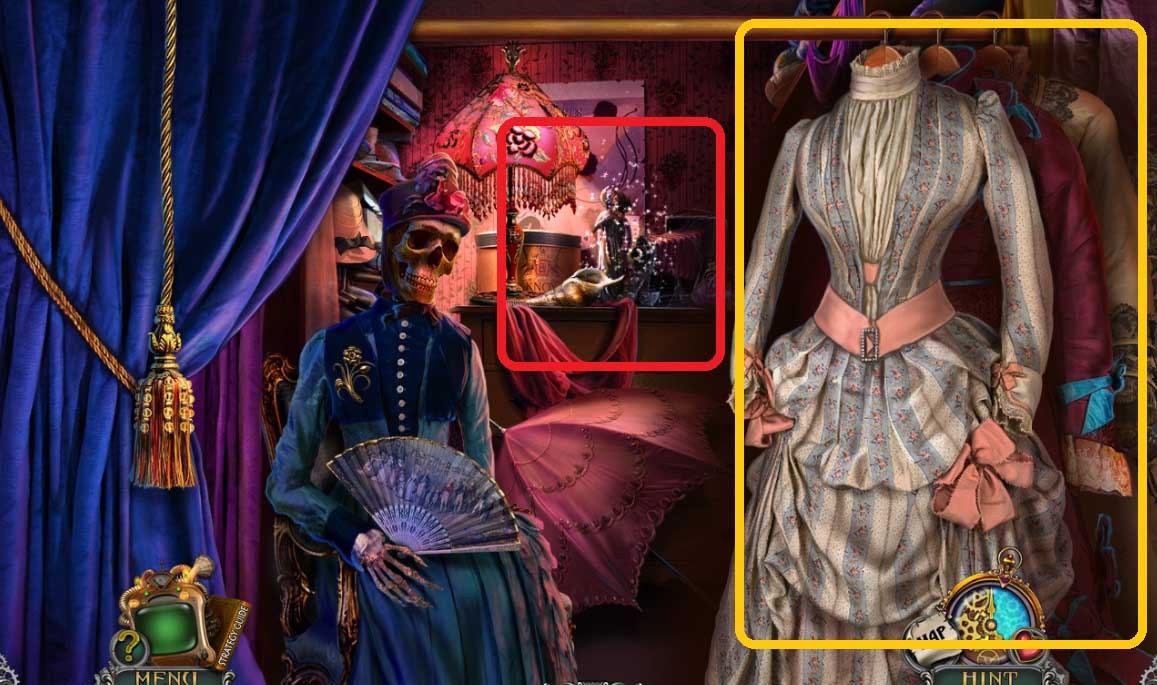
- Solve the game by arranging the items correctly.
- Click the hidden objects areas.
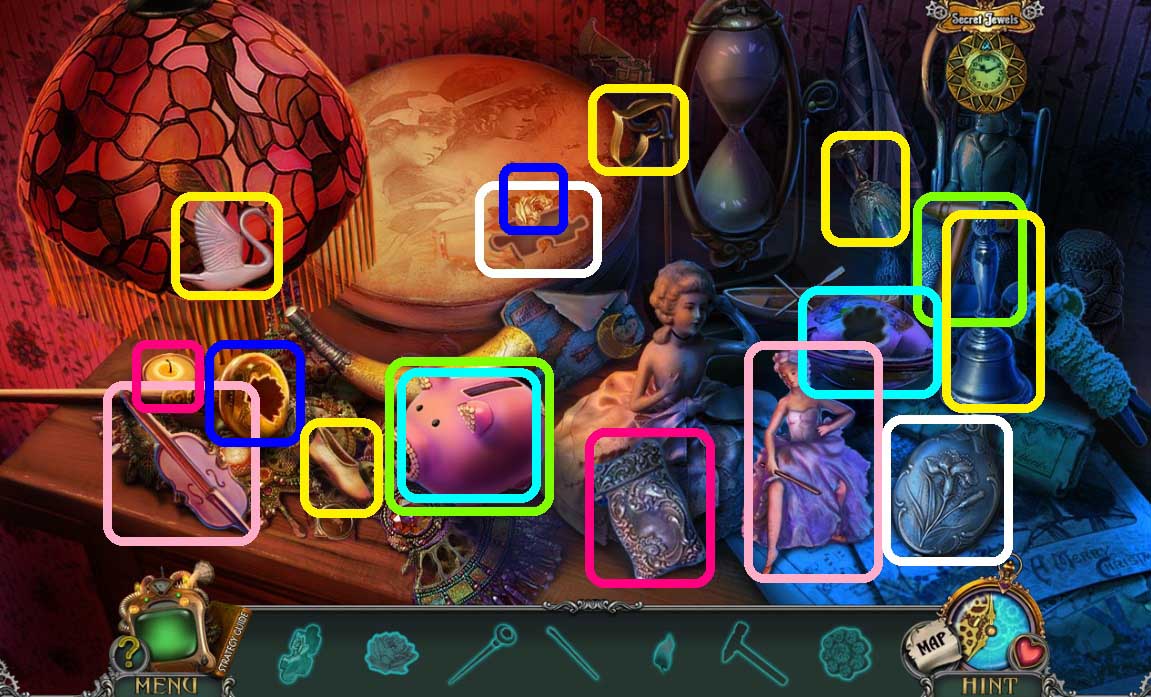
- Find the items.
- Collect Bertram’s cane.
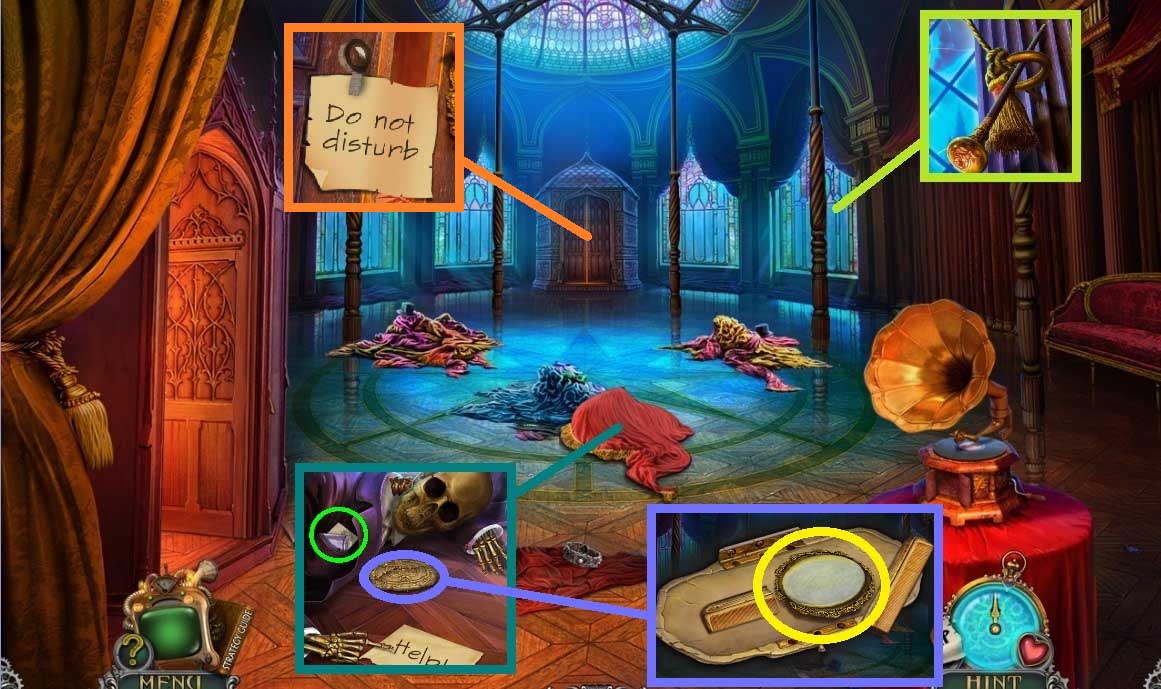
- Select Bertram’s cane to remove the curtain hook.
- Click the items; collect the broken etui & the cigar guillotine.
- Click the broken etui; click the comb pieces and collect the round mirror.
- Collect the note & the insulation tape.
- Move down 2x’s.
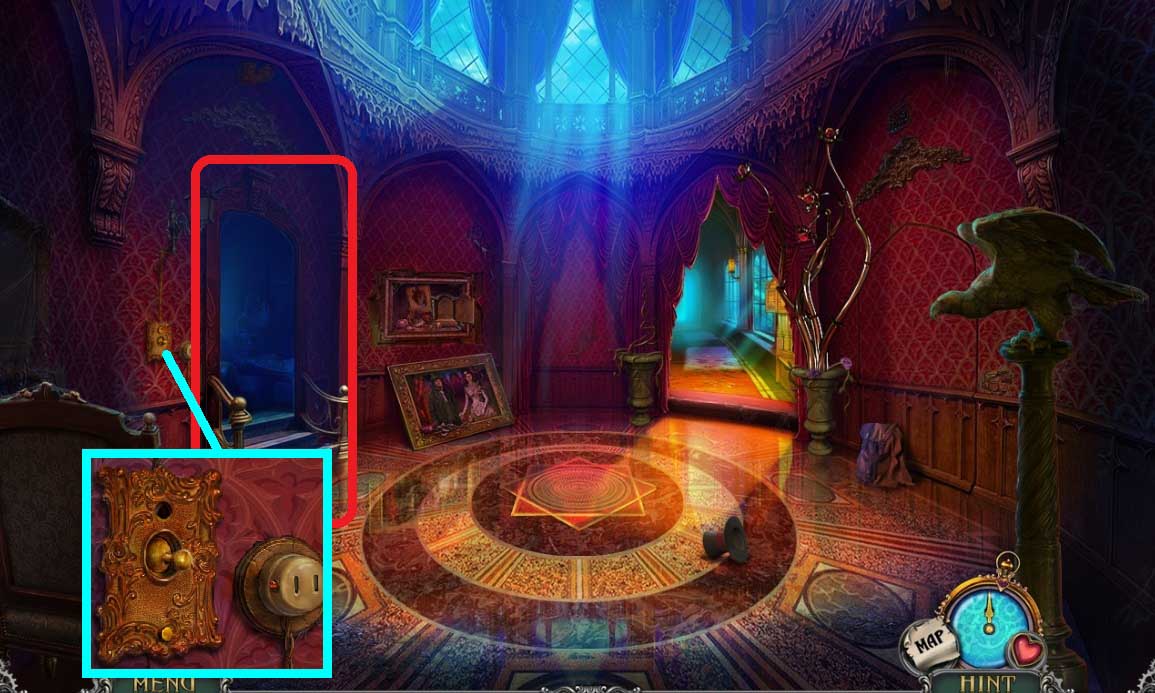
- Select the socket wrench & the insulation tape to repair the switch.
- Click it once.
- Click the hidden objects area.
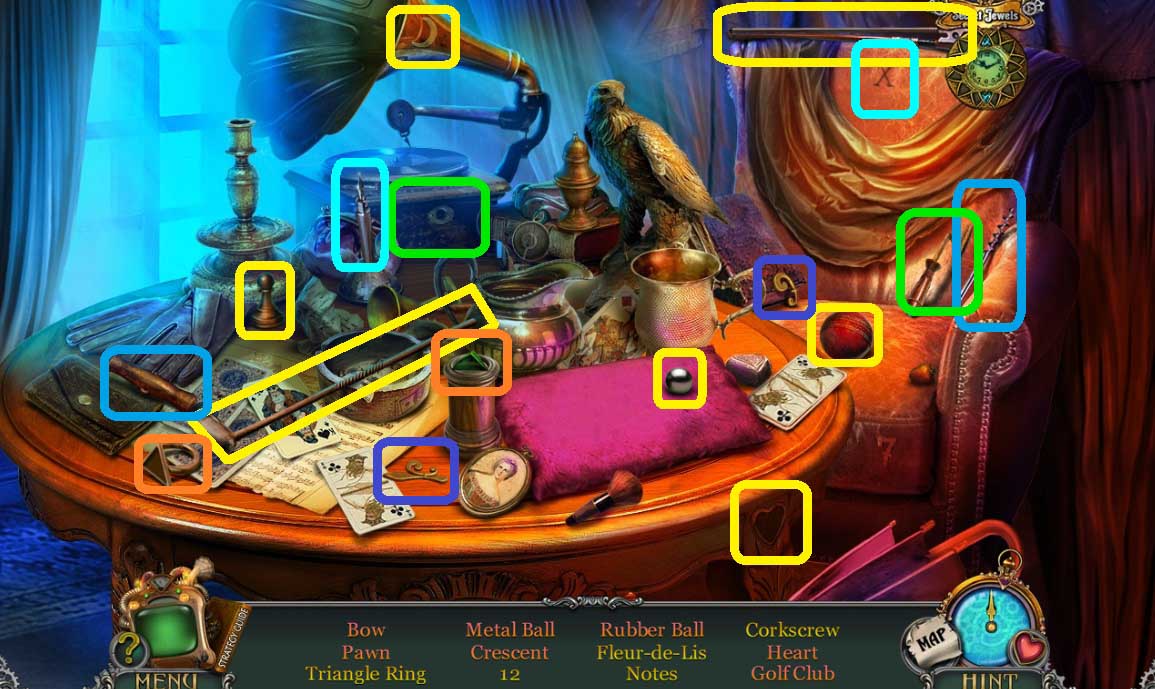
- Find the items.
- Collect the triangle ring.
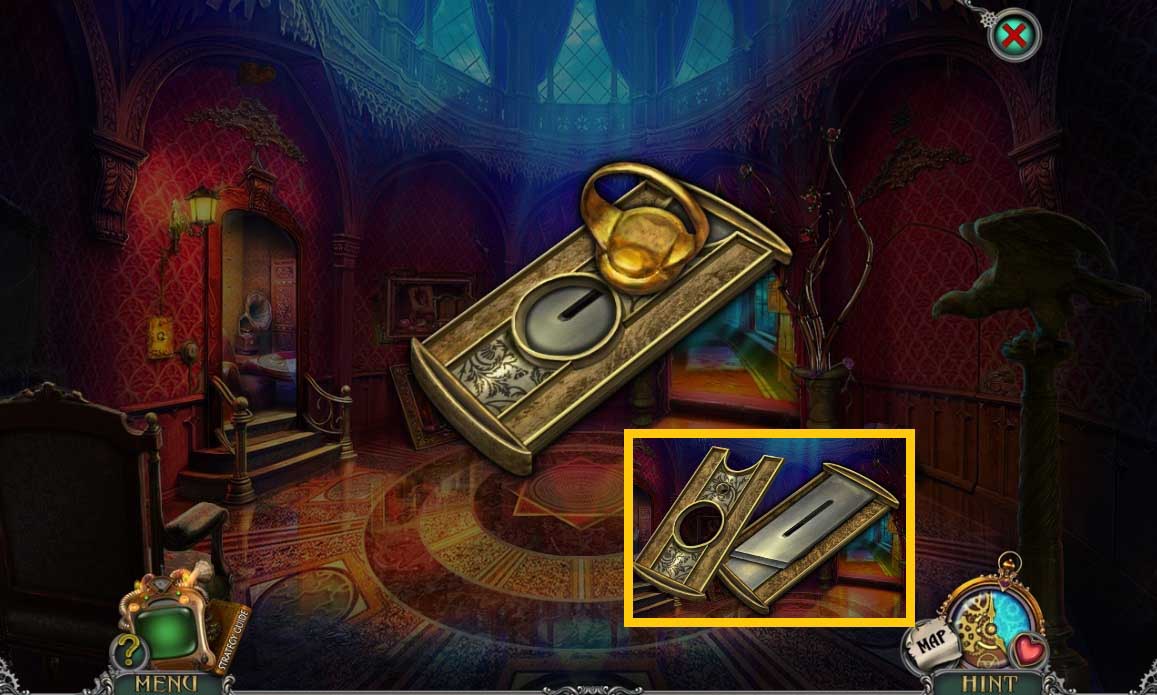
- Attach the cigar guillotine & the triangle ring.
- Move ahead and to the left.
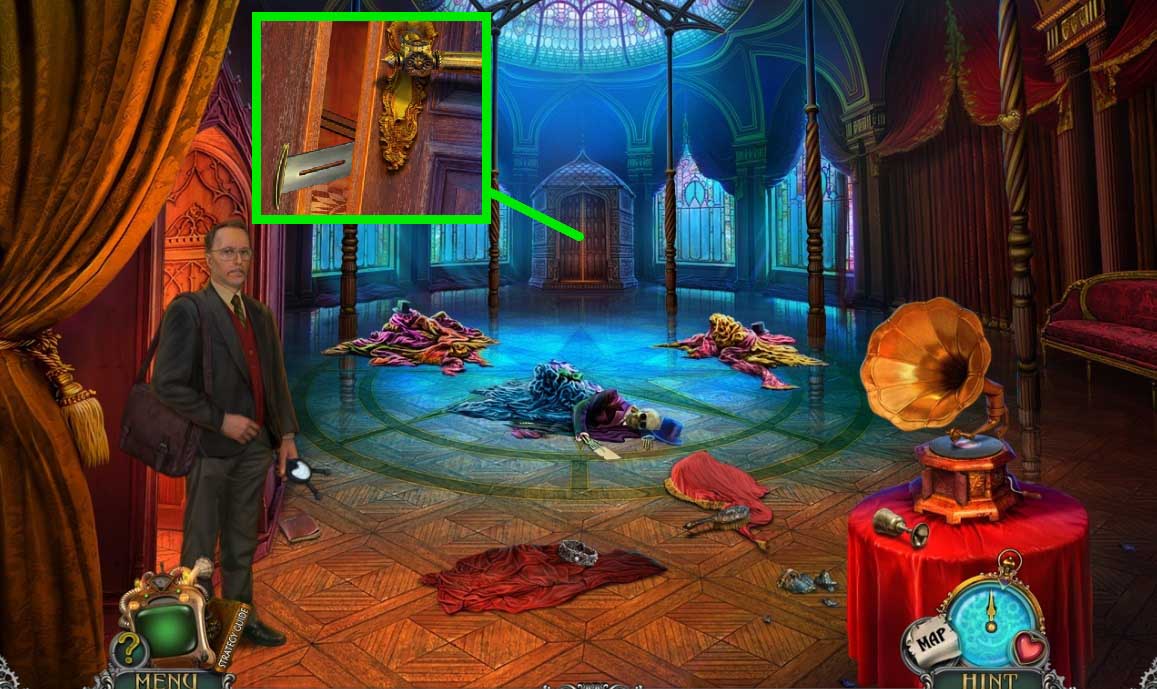
- Select the thin blade to open the door.
- Move ahead once.
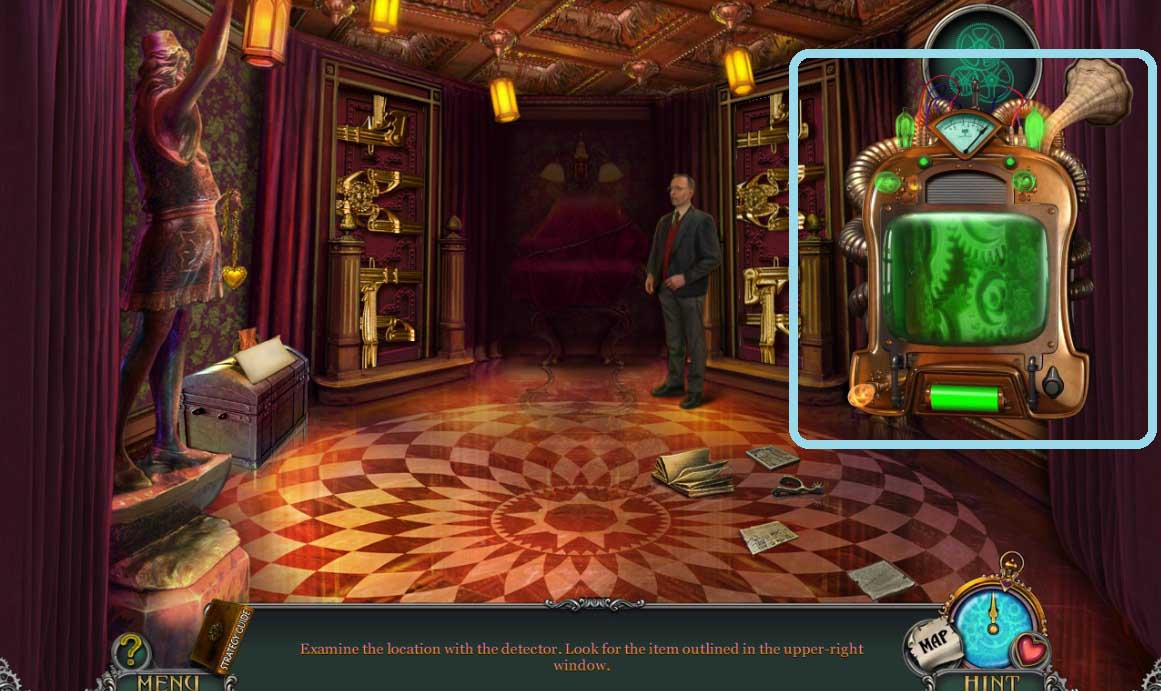
- Use the detector on the scene.
- Select the image that matches the image.
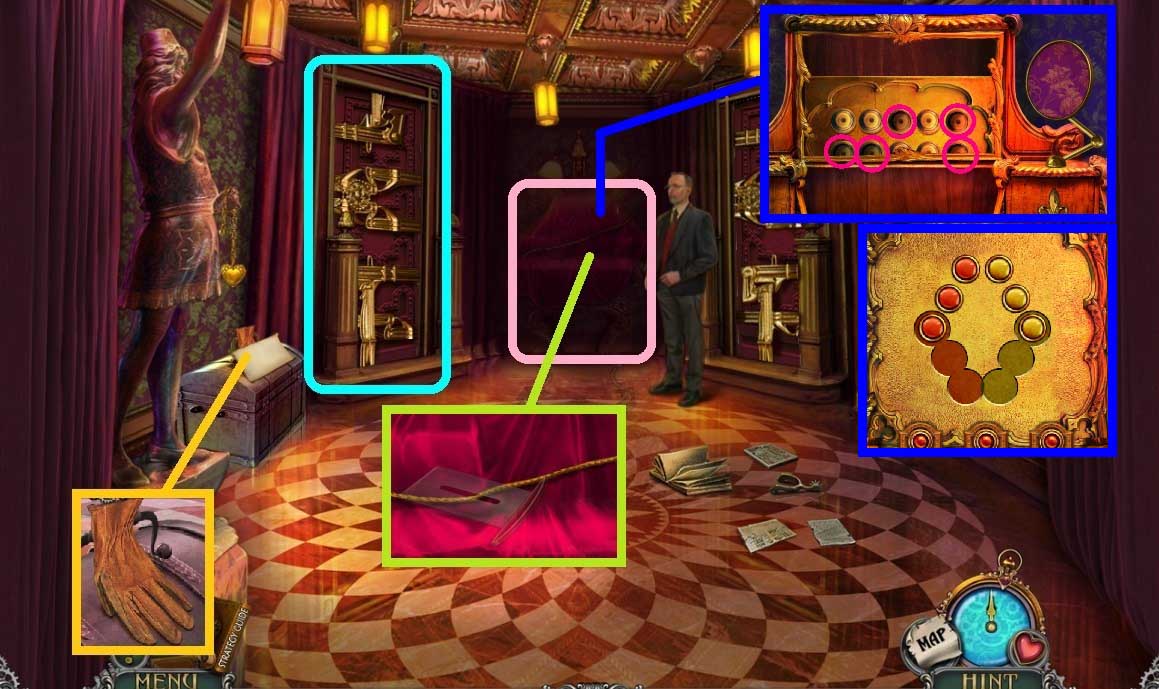
- Read the note & collect the glove.
- Click the door locks.
- Click the mechanism.
- Select the thin blade to collect the rope.
- Attach the round mirror & click it 2x’s.
- Click the buttons correctly.
- A mini game will trigger.
- Solve the game by arranging the tokens correctly.
- Exit the close-up.
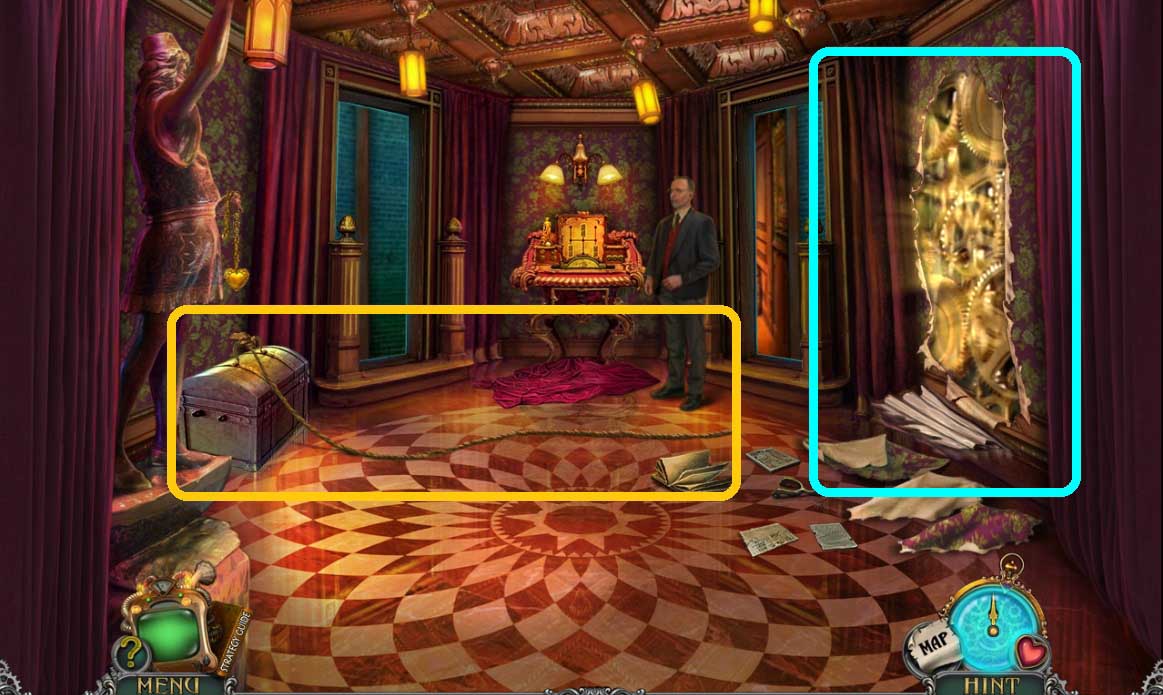
- Select the thin blade to slice the wallpaper.
- Place the rope onto the chest; click it 2x’s.
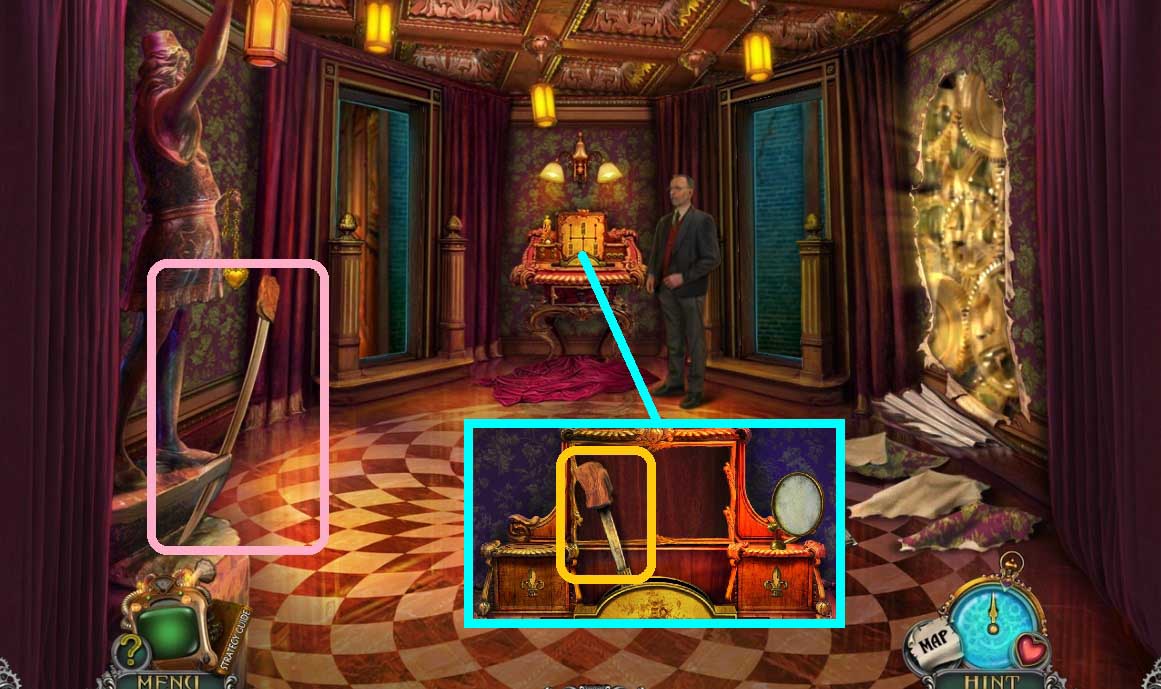
- Select the glove to collect the saber.
- Insert the saber into the mechanism; click it once.
Comments will load when you reach this part of the walkthrough.