

Chapter 3 The Maze
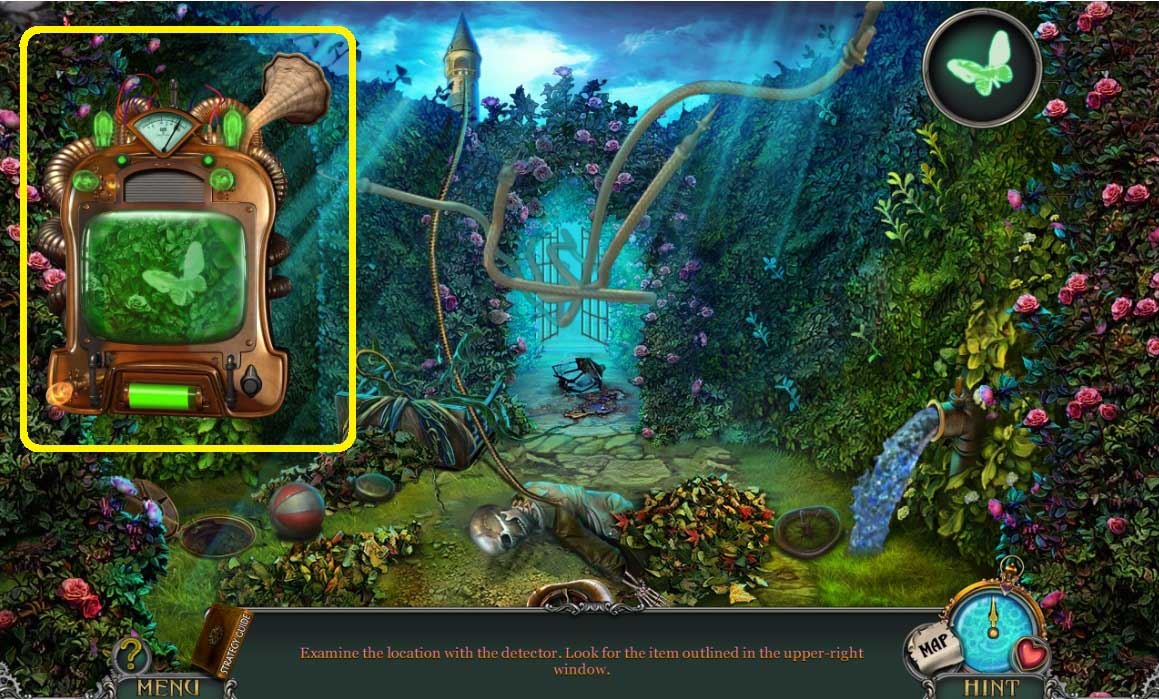
- Use the detector on the scene.
- Select the image that matches the image.
- Move to the left.
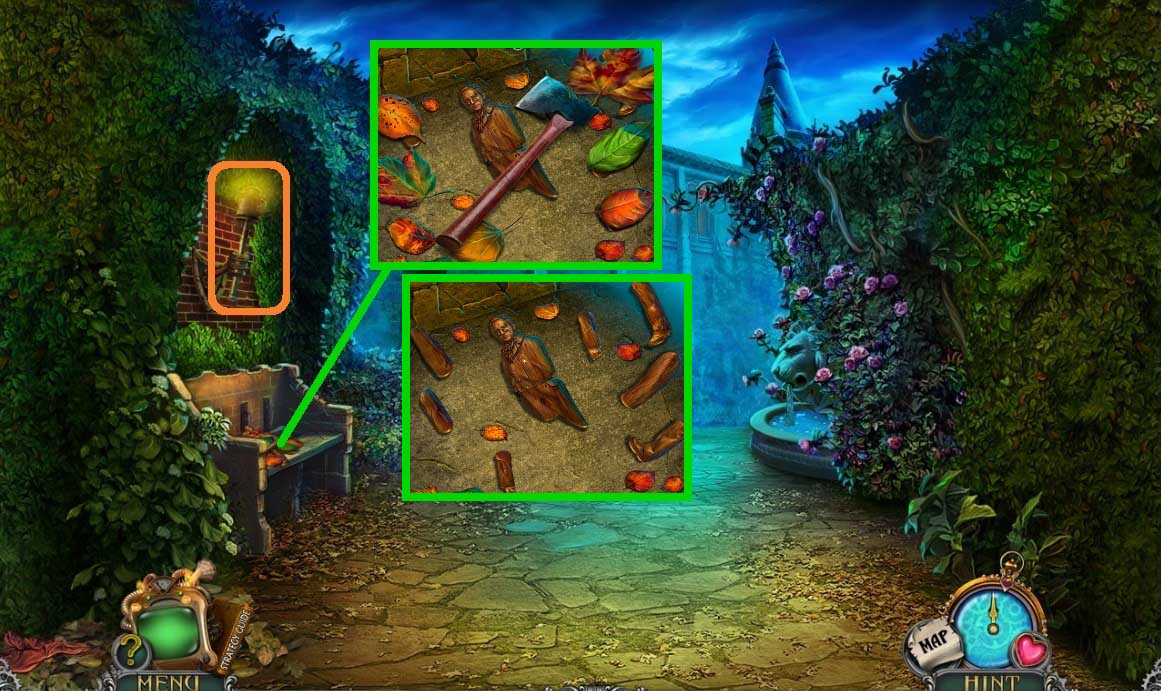
- Collect the torch.
- Collect the axe and clear the leaves.
- Click the 7 pieces of wood; collect the mechanical figure.
- Move down once.
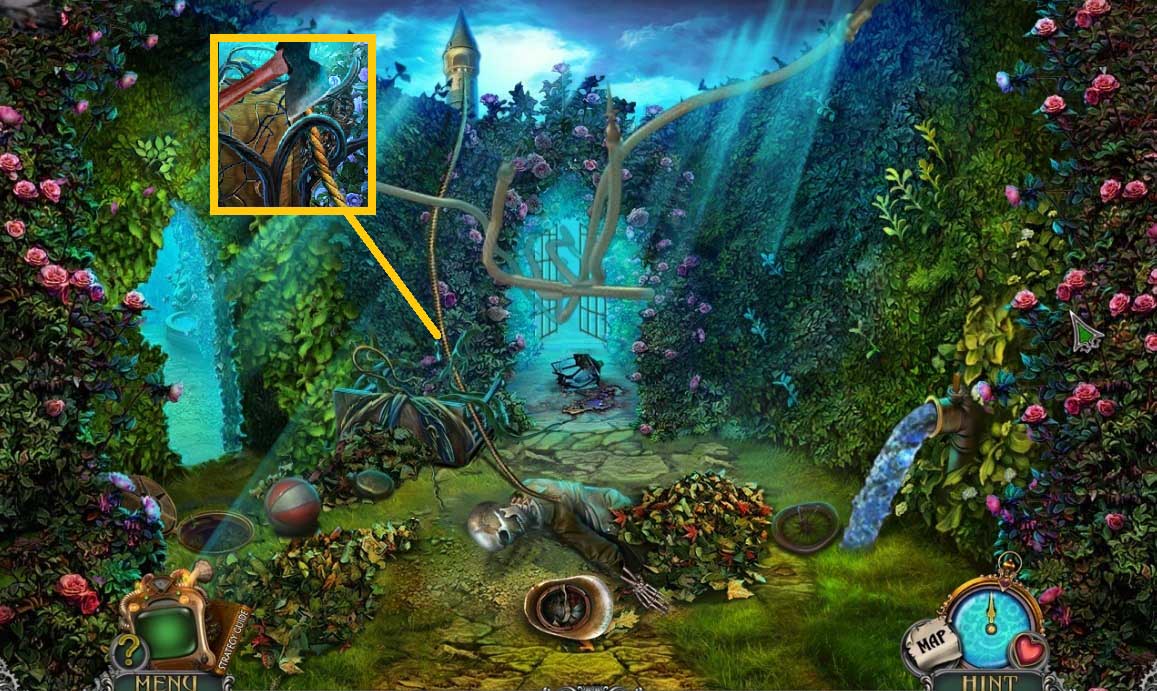
- Use the axe to collect the rope.
- Move left.
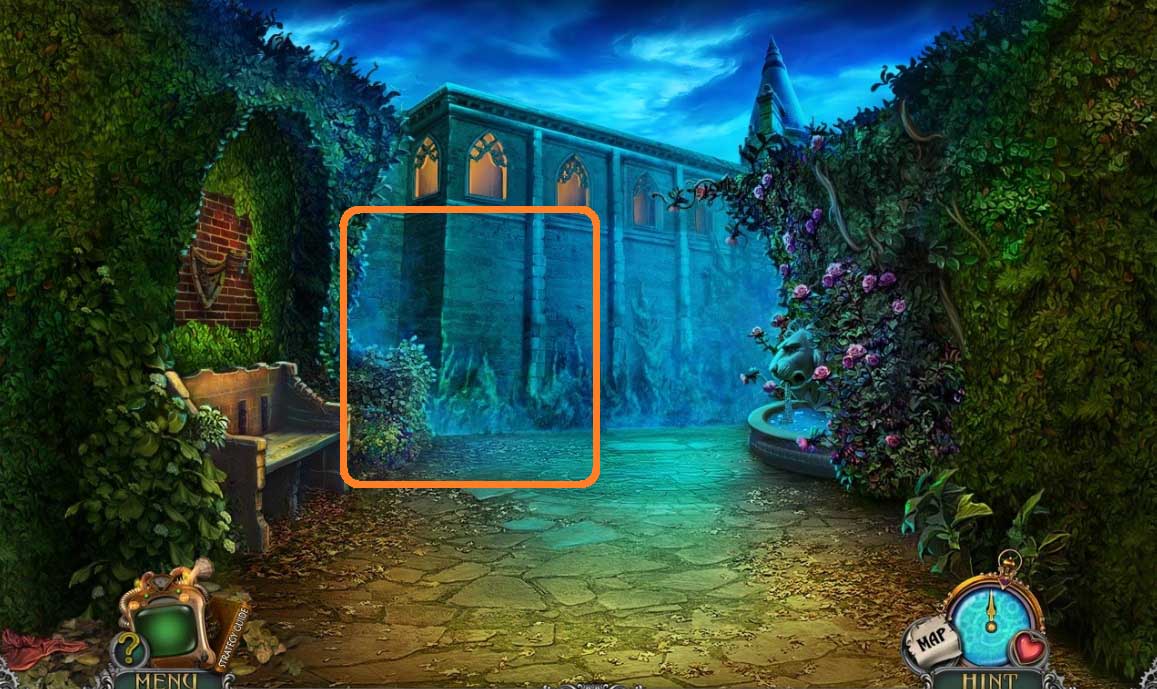
- Click the wall.
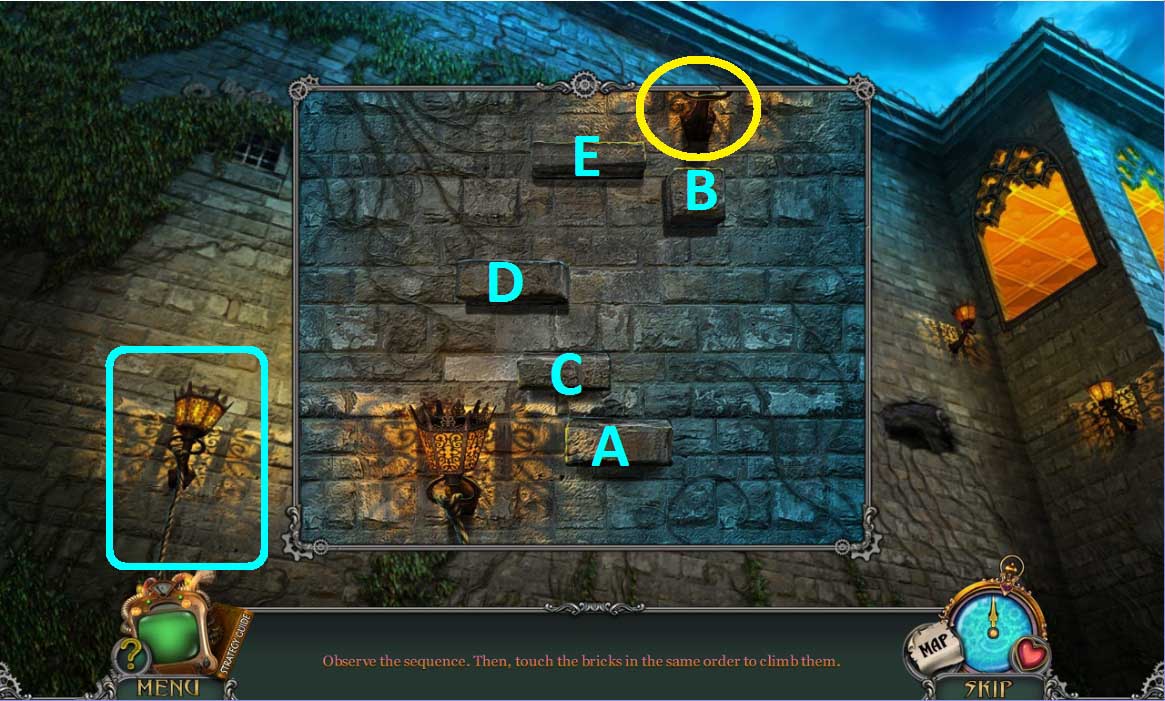
- Select the rope to place onto the lamp and zoom in.
- Click the bricks in the correct order.
- Click the next lamp.
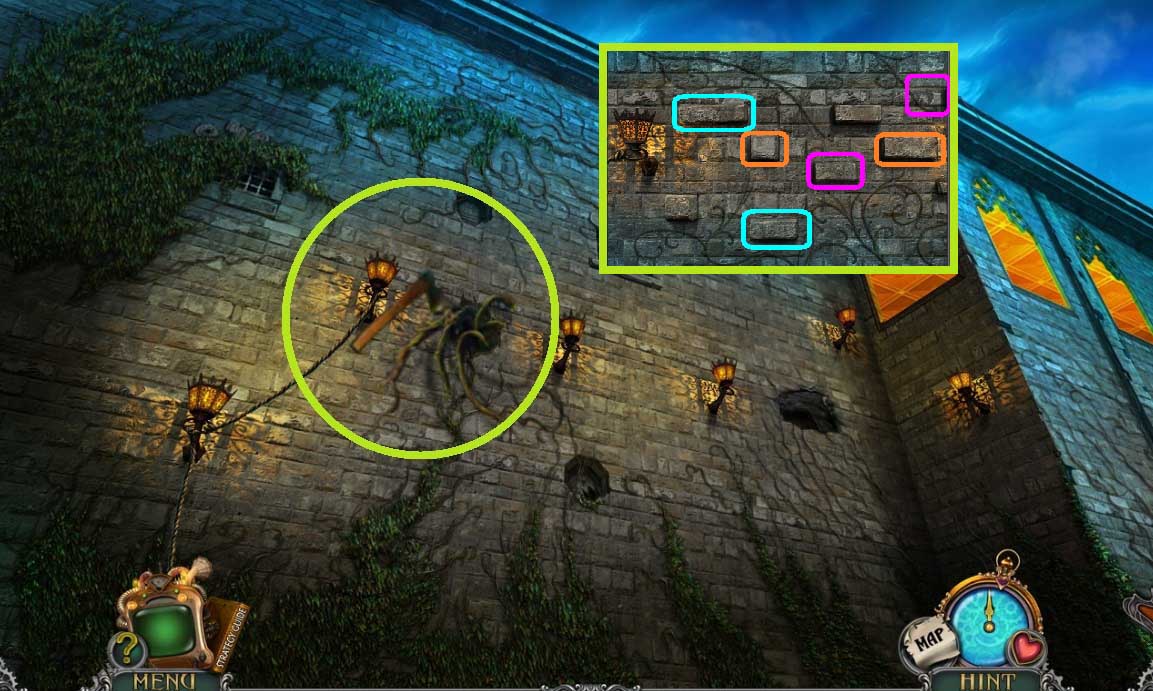
- Select the axe to cut the weeds.
- Click the pairs.
- Place the torch into the opening in the wall.
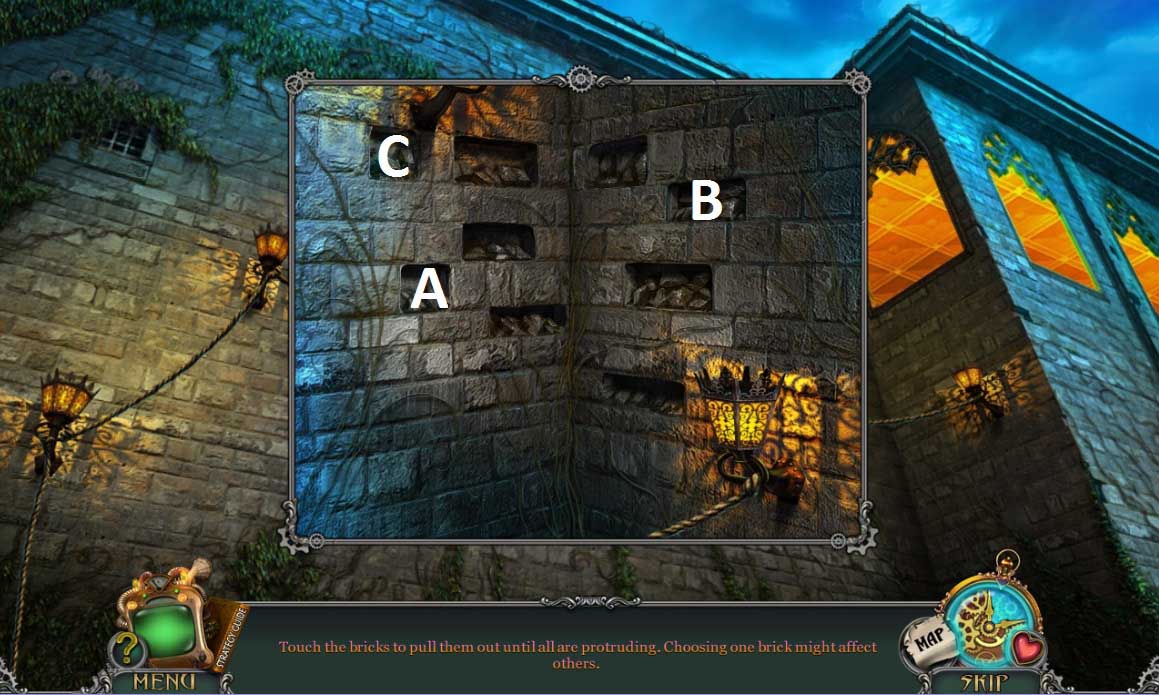
- Click the bricks in the correct order.
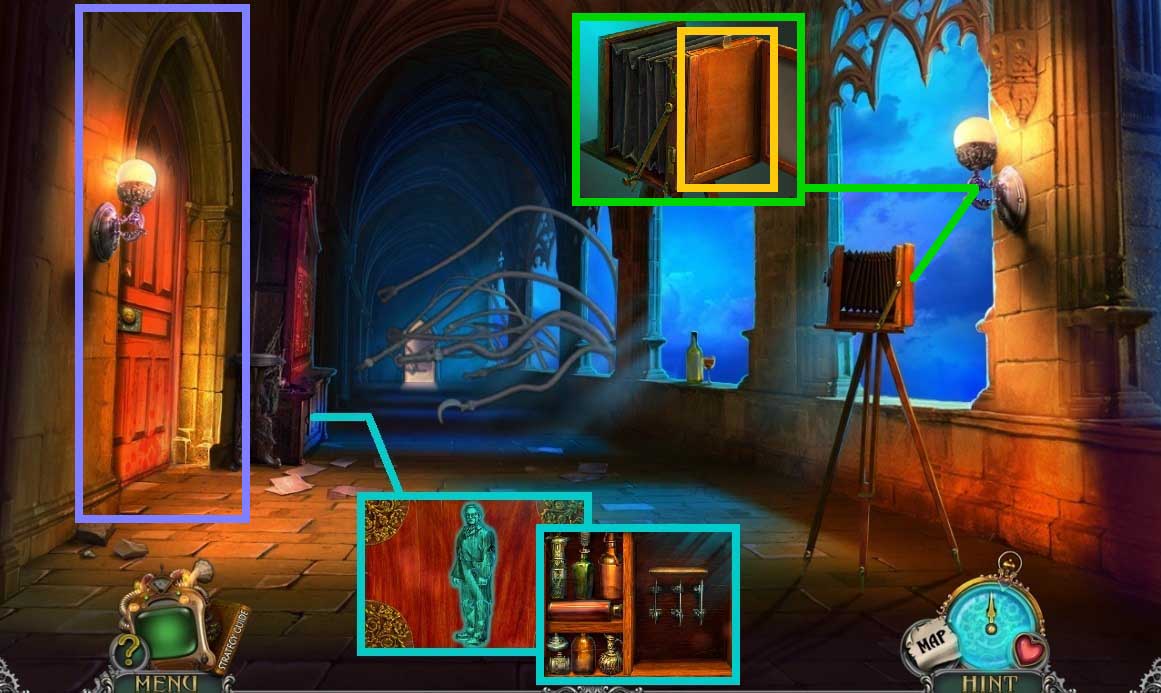
- Insert & arrange the mechanical figure.
- Click the items aside.
- Click the switch.
- Click the camera; collect the photo plate.
- Click the door and move to the left.
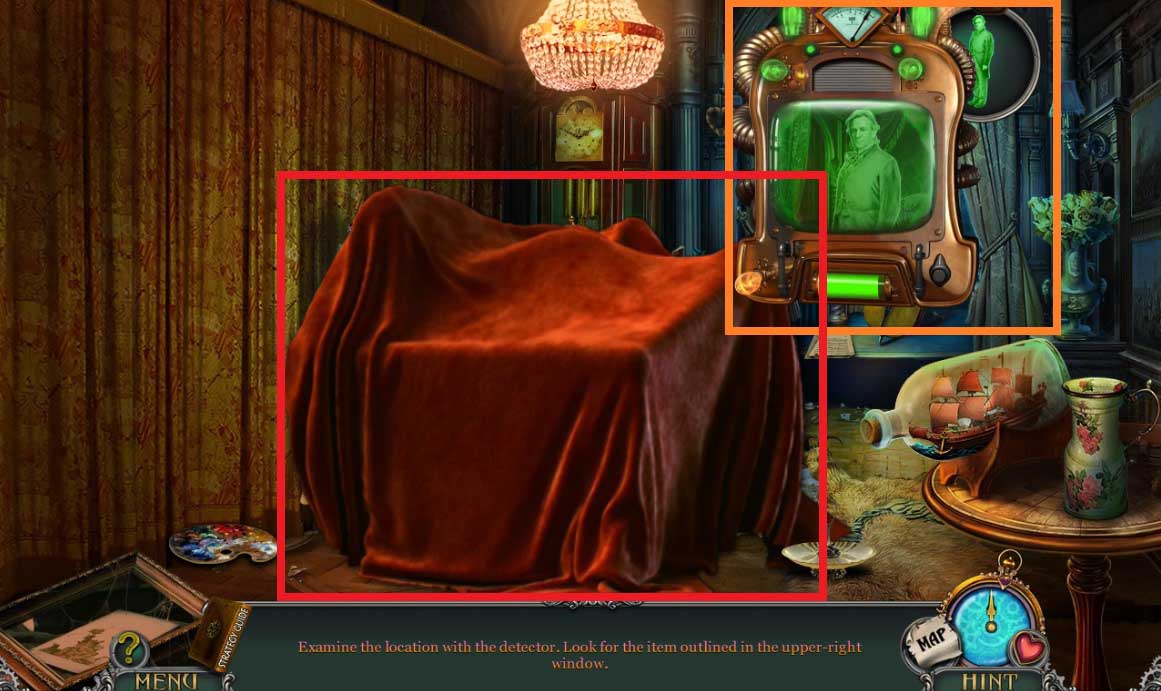
- Use the detector on the scene.
- Select the image that matches the image.
- Click the drape to trigger the hidden objects area.
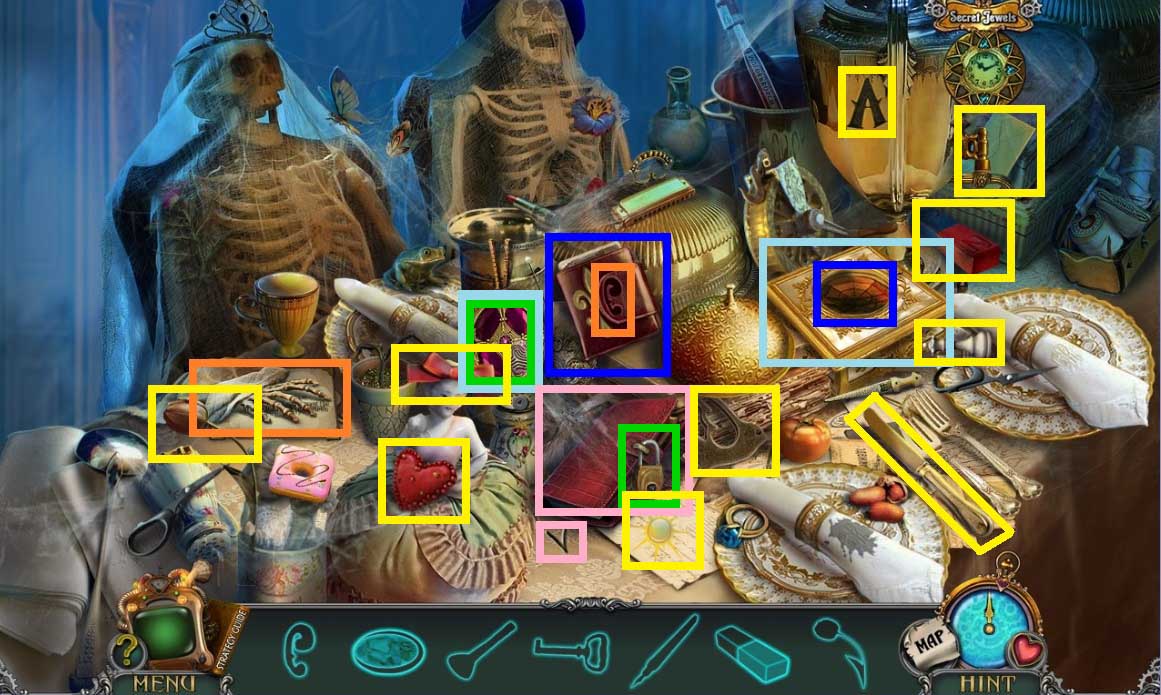
- Find the items.
- Collect the magnet.
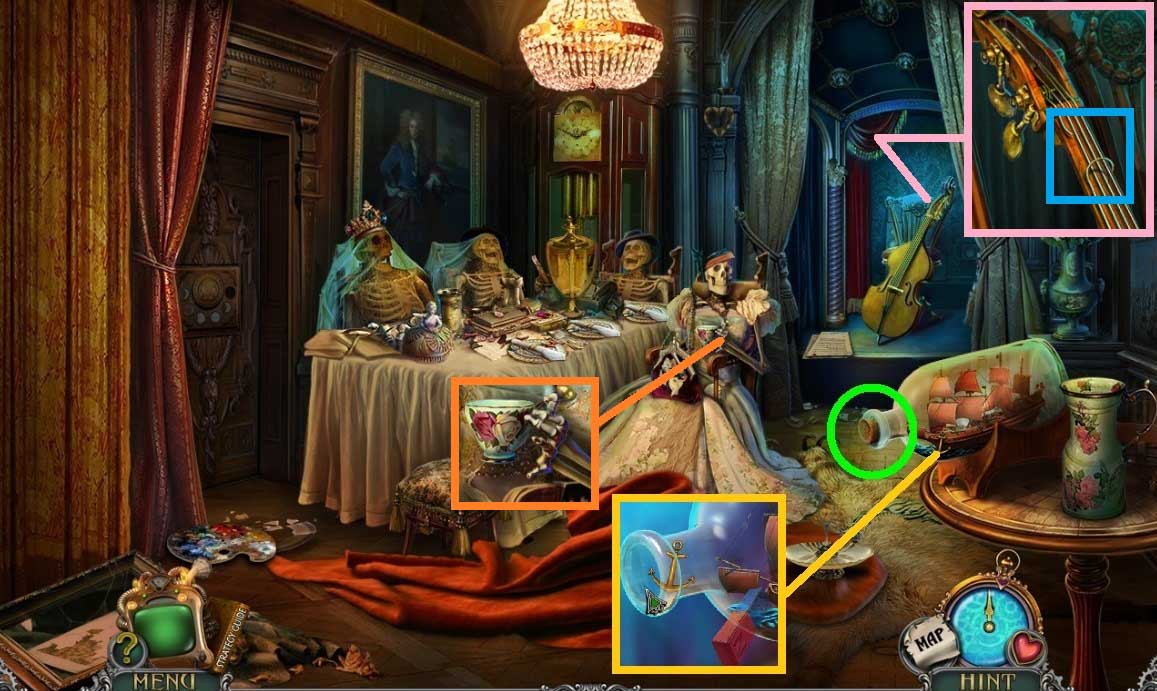
- Click the curtain.
- Insert the corkscrew; collect the cork.
- Select the magnet to drag & collect the anchor.
- Click the knobs; collect the string.
- Click & collect the skeleton hand.
- Move down once.
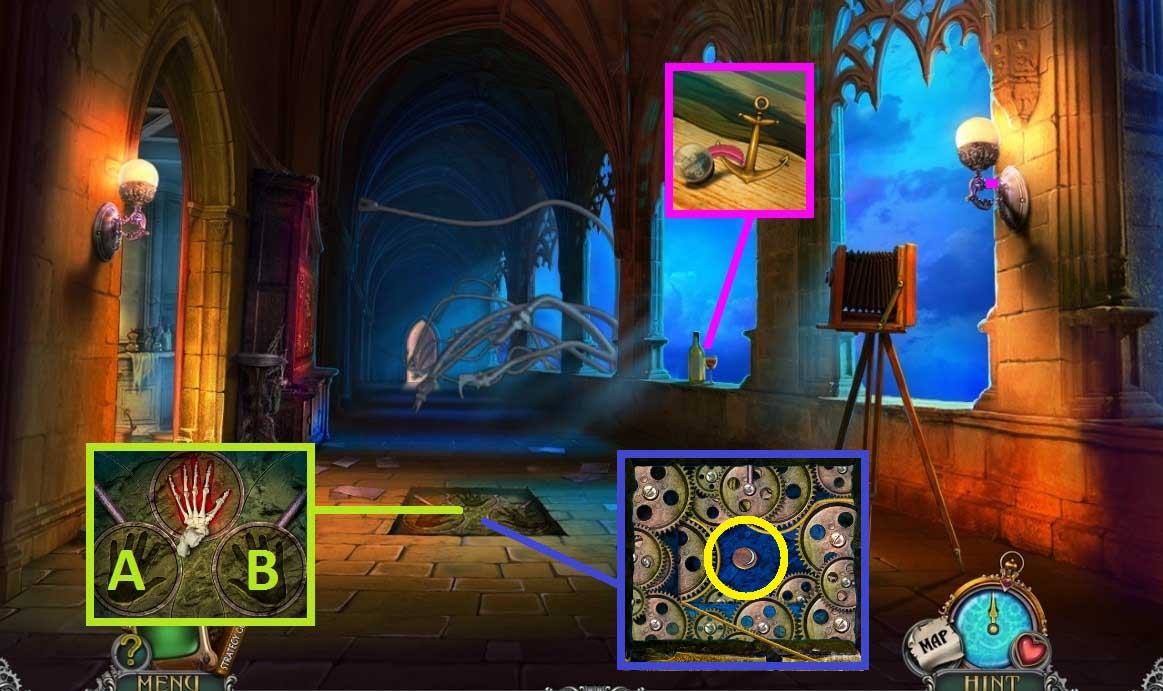
- Click the bottle & the glass.
- Select the anchor to collect the radio bulb.
- Insert the skeleton hand.
- Click the A & B hand prints.
- Select the string to collect the 2nd moon amulet.
- Move down once.
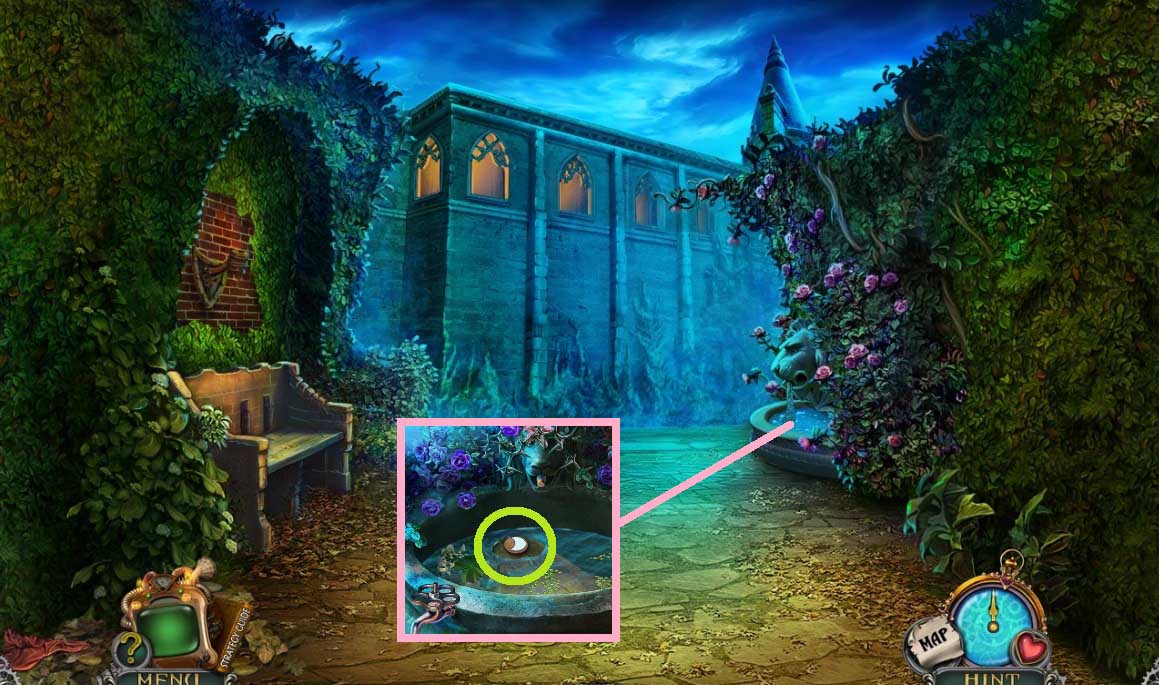
- Attach and click the nut.
- Insert the cork; collect the moon amulet.
- Move ahead once and to the left.
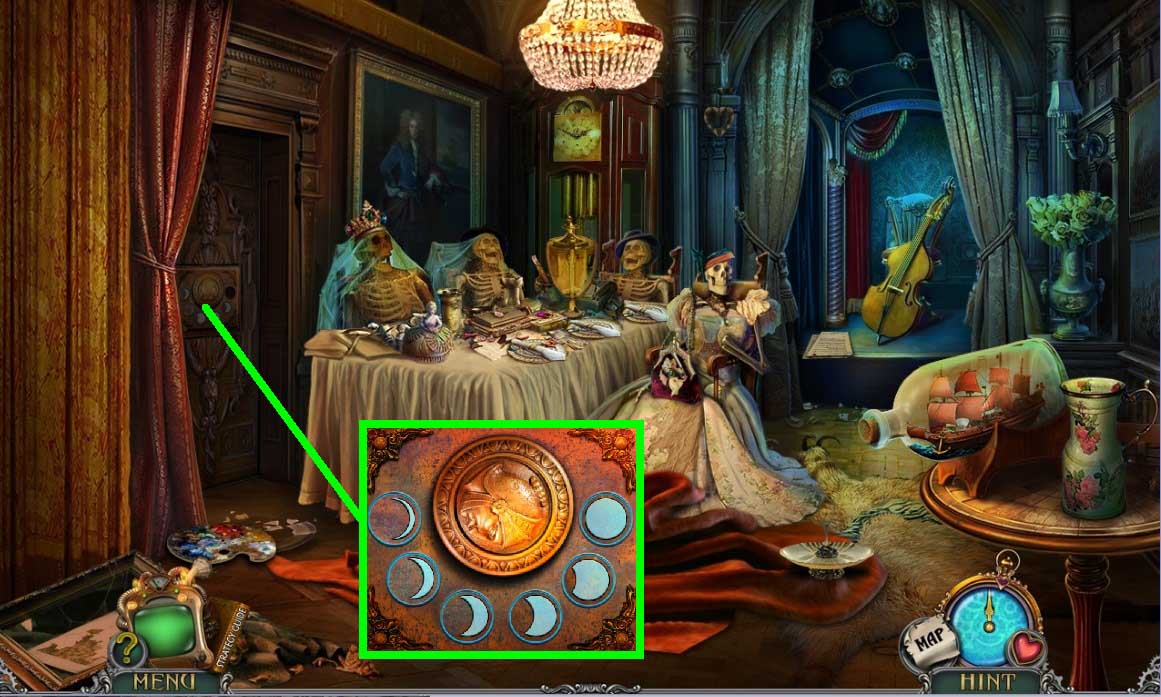
- Insert the moon amulets.
- Arrange them correctly.
- Move to the left.
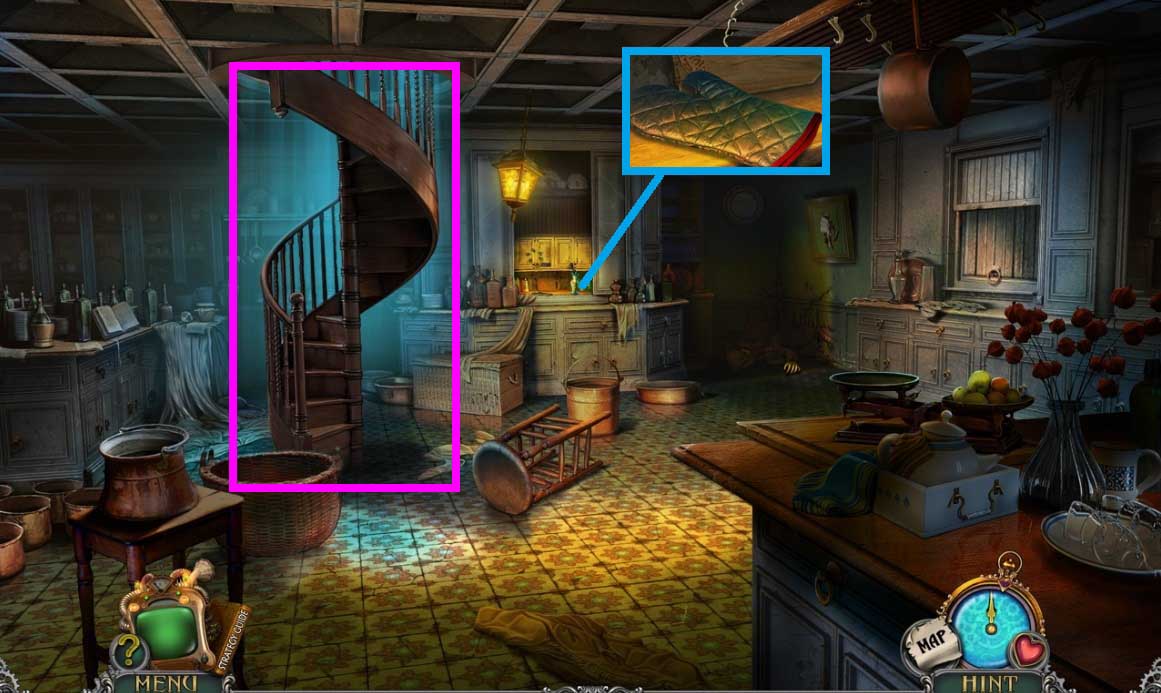
- Collect the oven mitt.
- Click the stairs.
- Move down 3x’s.
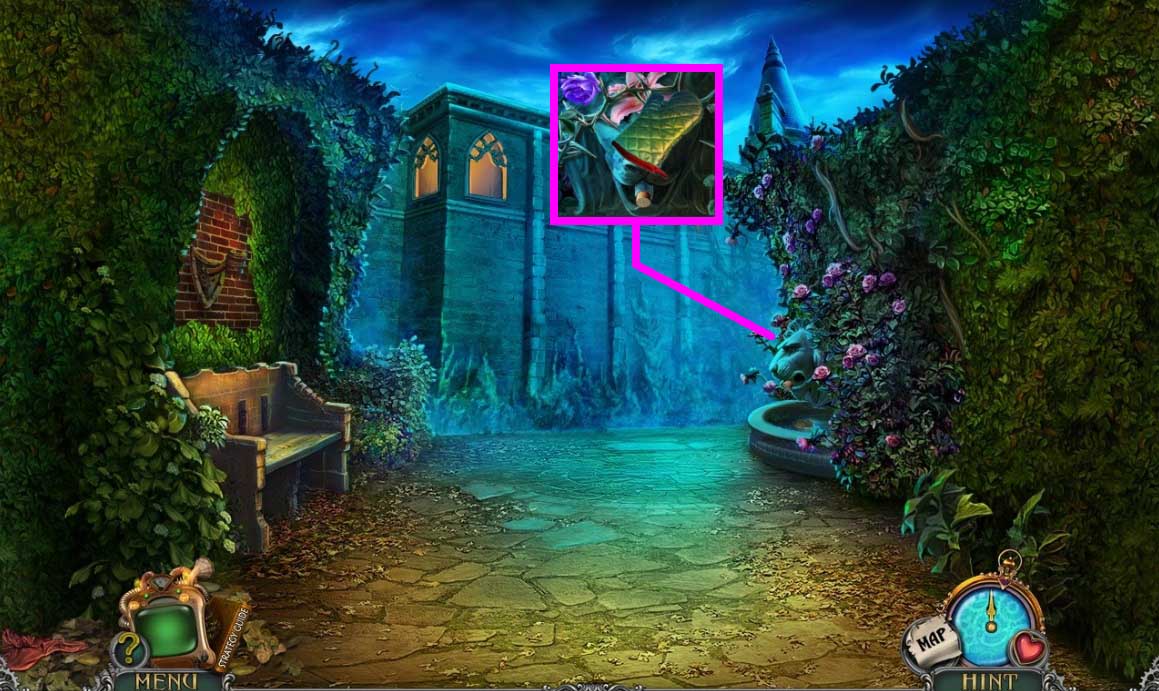
- Select the oven mitt to collect the sweet lily.
- Move ahead and to the left 2x’s.
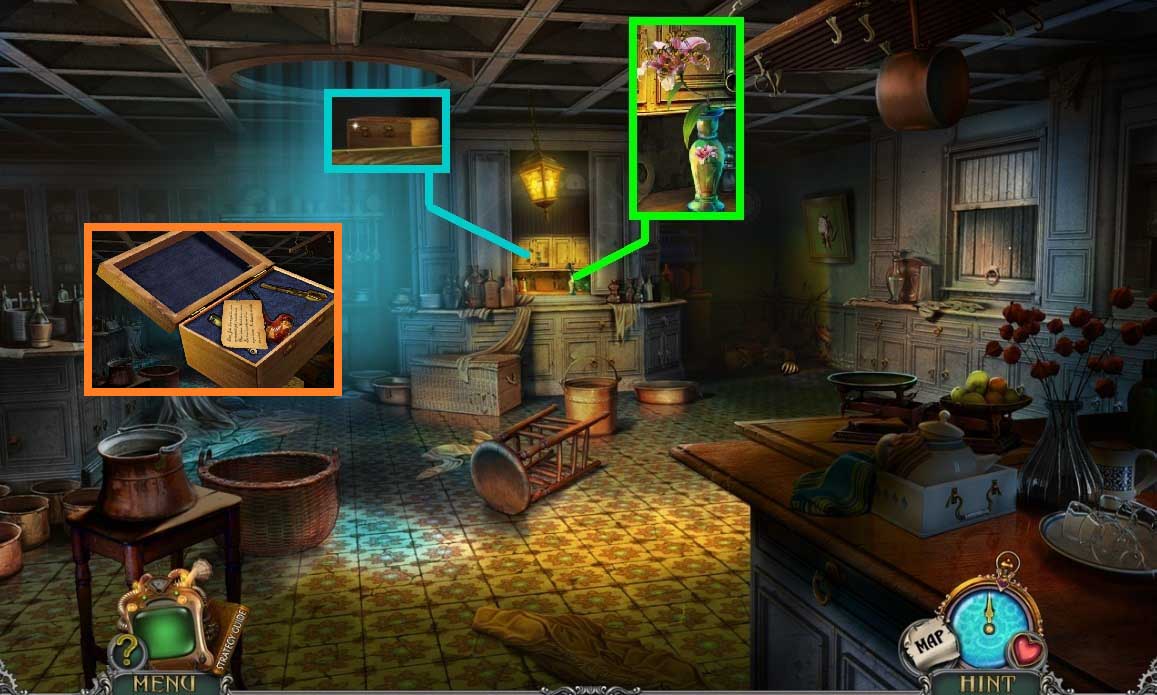
- Click and replace the sweet lily.
- Click the bees.
- Click the cupboard and click the items aside to collect the smoking set.
- Click the smoking set open; collect the lighter and read the note.
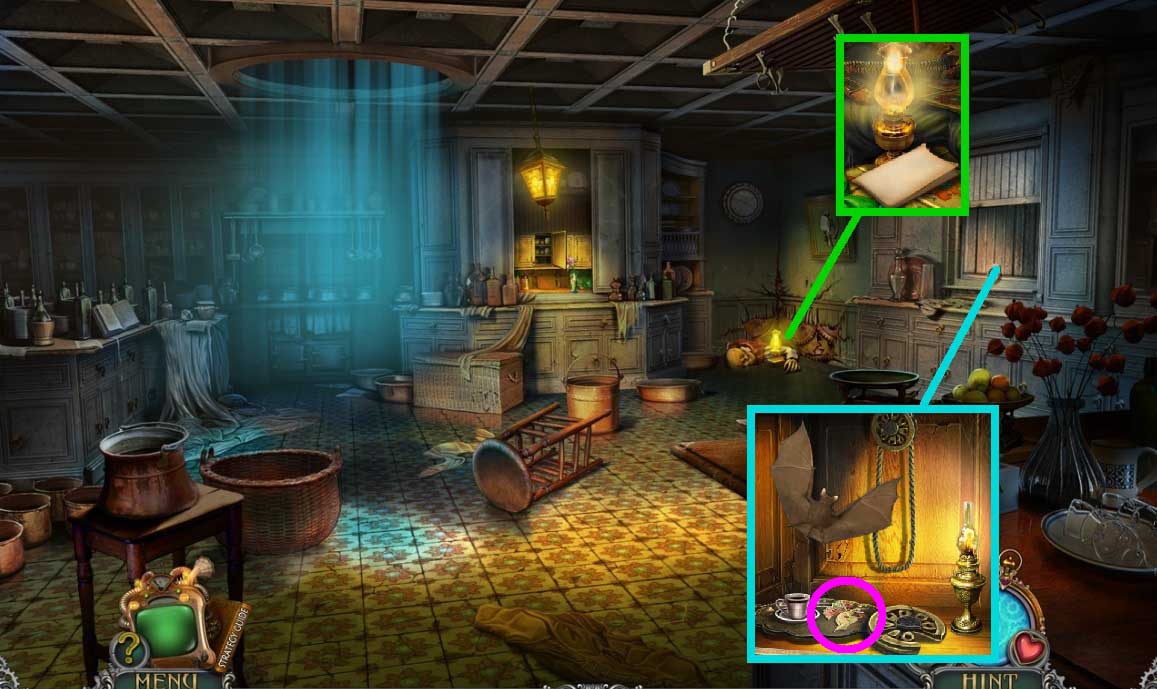
- Select the lighter to ignite the kerosene lamp.
- Click the paper; collect the defense amulet.
- Collect the lit kerosene lamp.
- Click the dumb waiter; place the kerosene lamp.
- Collect the handbag ornament.
- Move down once.
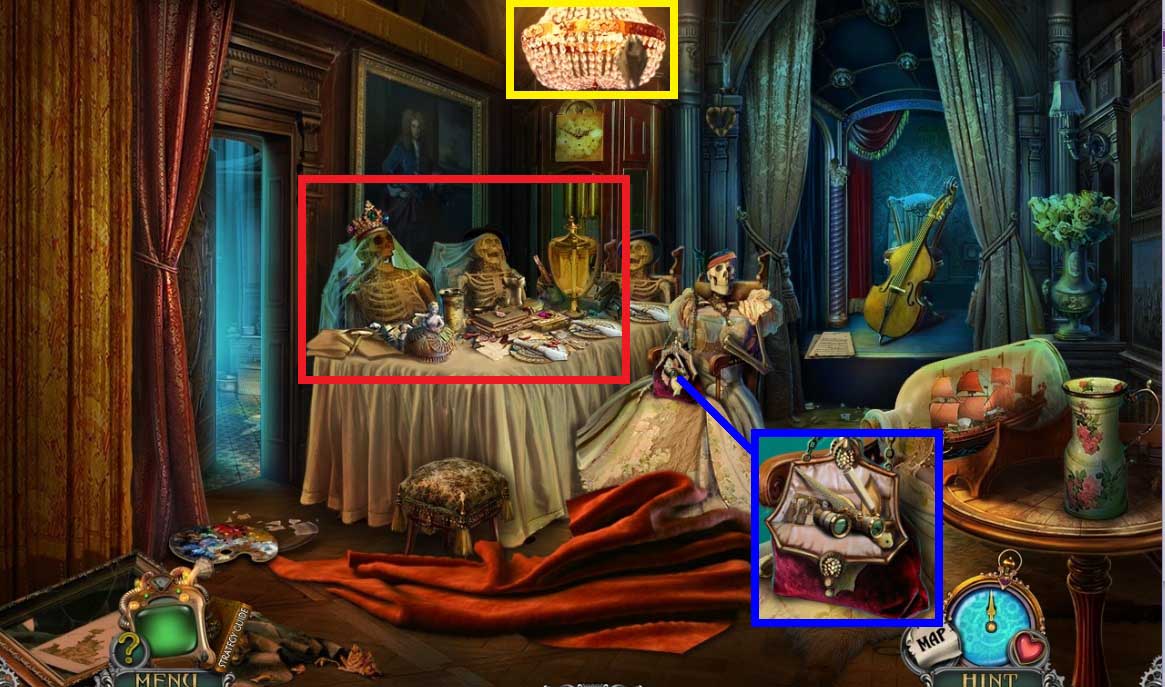
- Attach the handbag ornament; collect the opera glasses & the nail file.
- Click the chandelier; click the hidden objects area.
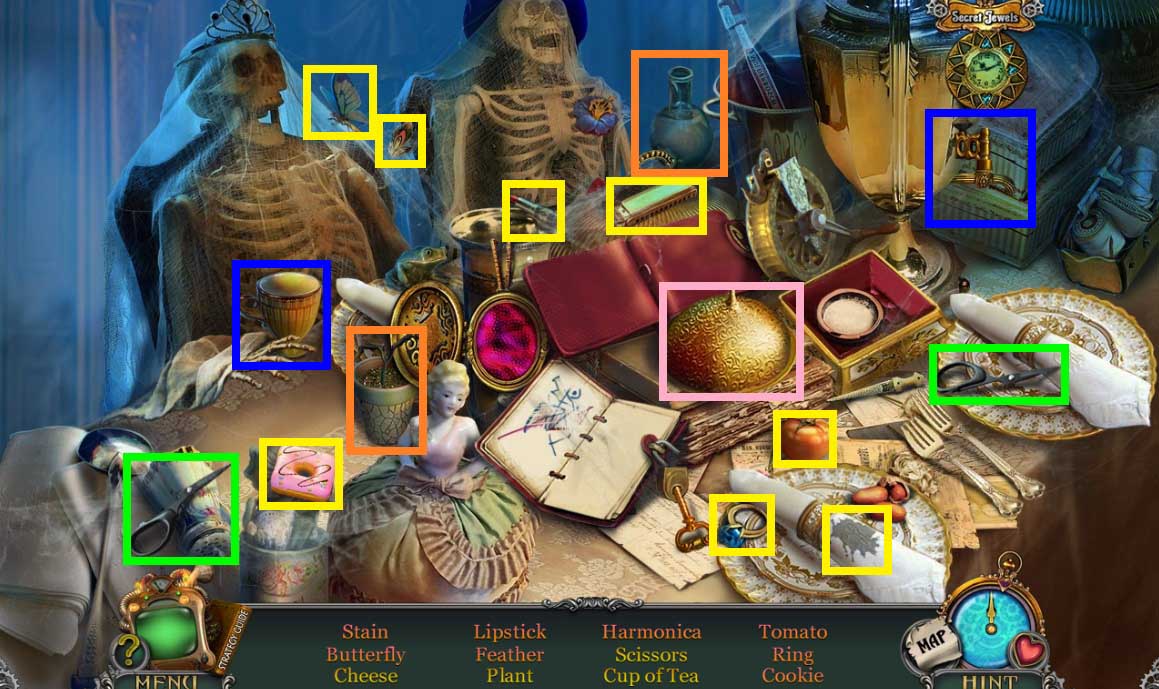
- Find the items.
- Collect the pulley.
- Move to the left.
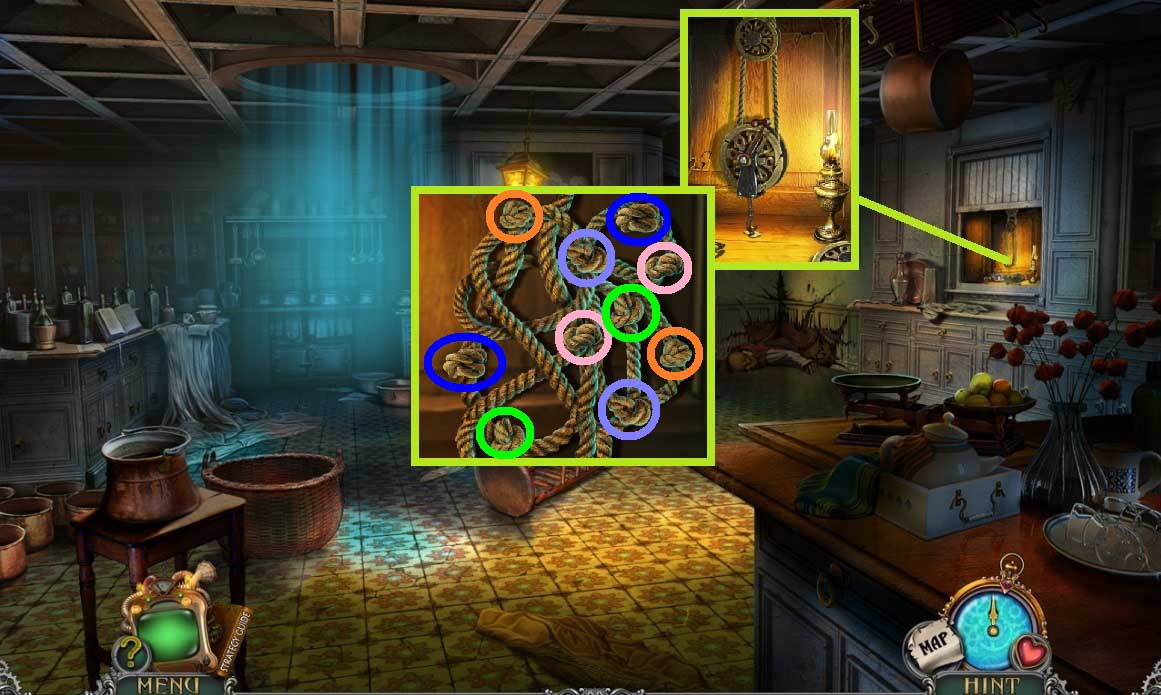
- Click the items aside.
- Attach & click the pulley.
- Click the crank.
- Find the matches.
- Click the crank 2x’s.
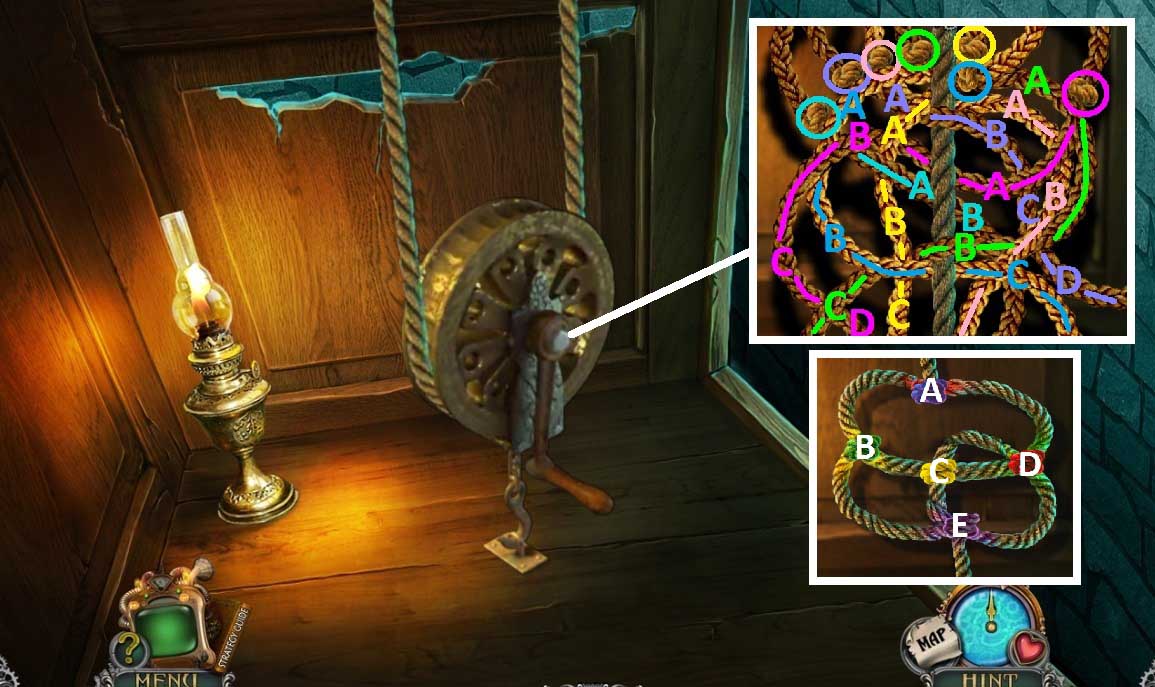
- Click the knots in the correct sequence.
- Click the crank and the knotted pulley rope; untangle the ropes using the correct sequence.
- Solution A: Slide the knots as shown by the colored lines.
- Solution B: Click the knots as follows: D – A – B – E – D – A – B – C
- Move to the right.
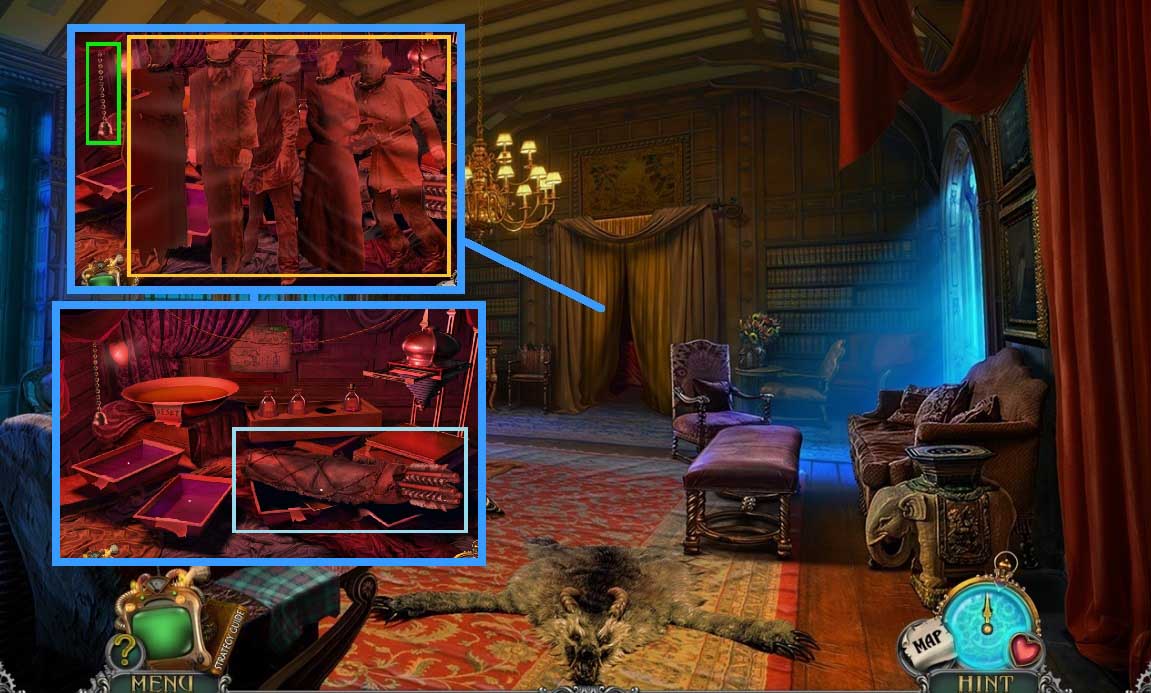
- Click the pull string behind the curtain.
- Click the paper dolls 2x’s.
- Collect the quiver & the photo.
- Click the paper.
- Exit the Darkroom.
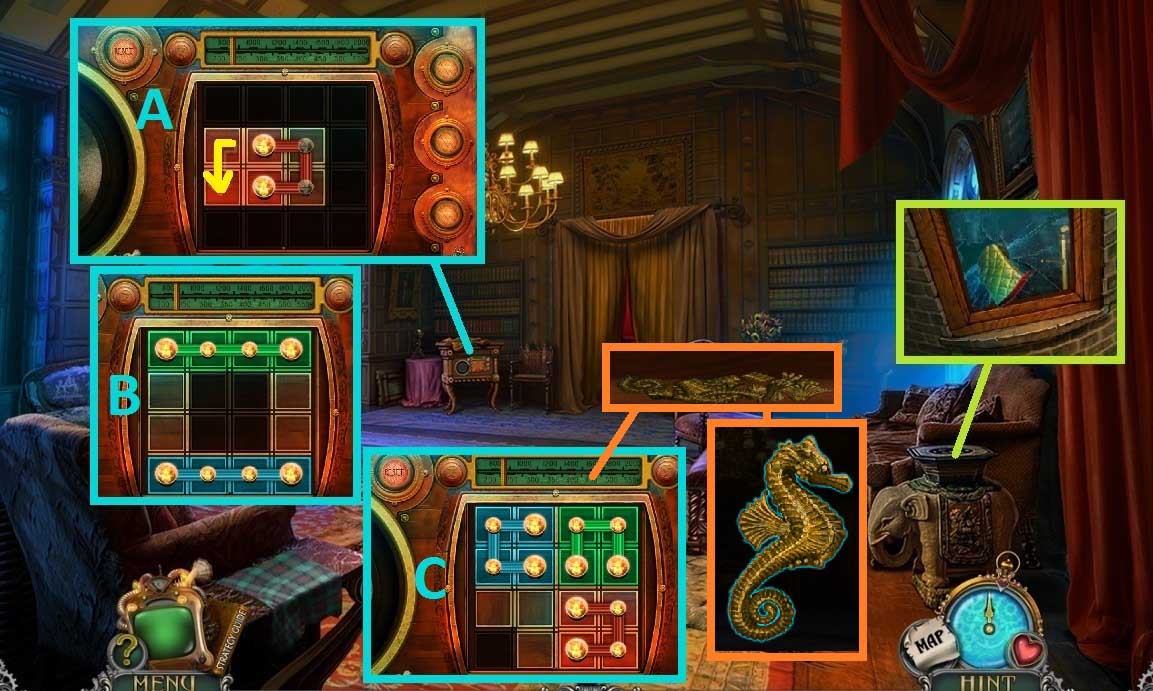
- Select the oven mitt to remove the glass 2x’s.
- Click the knob and select the nail file to open the latch; attach the radio bulb.
- Drag the chains into the correct positioning.
- Click the glass; collect the sea horse parts and assemble it.
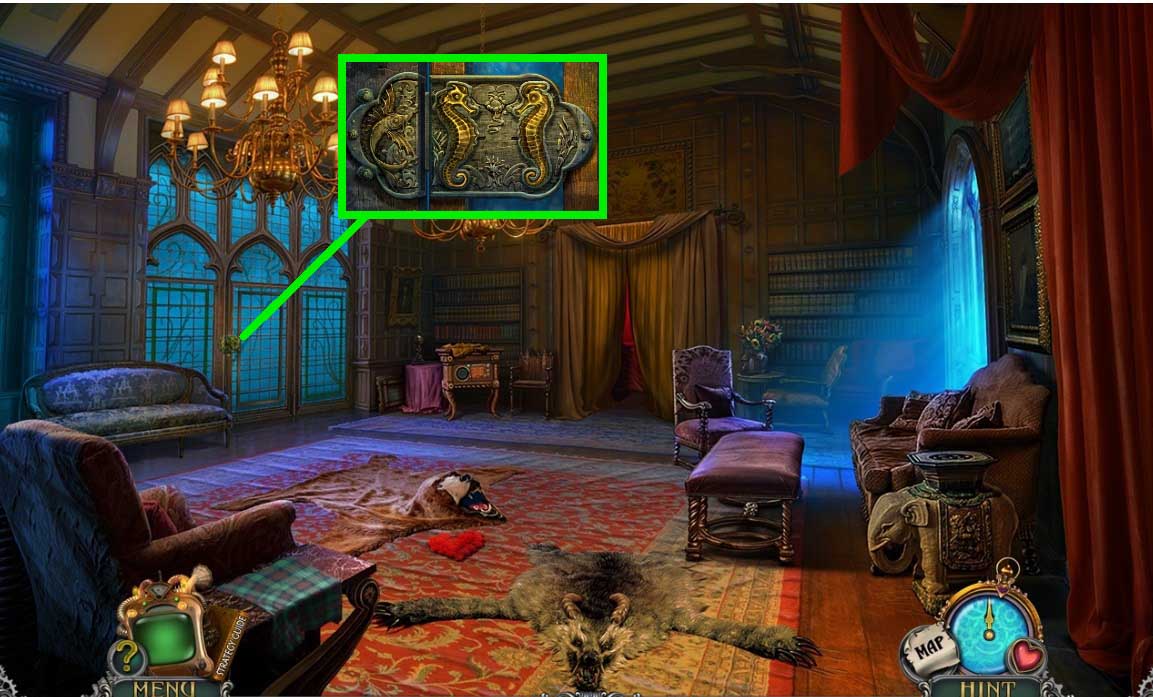
- Click the ivy 3x’s and insert the seahorse.
- Move to the left.
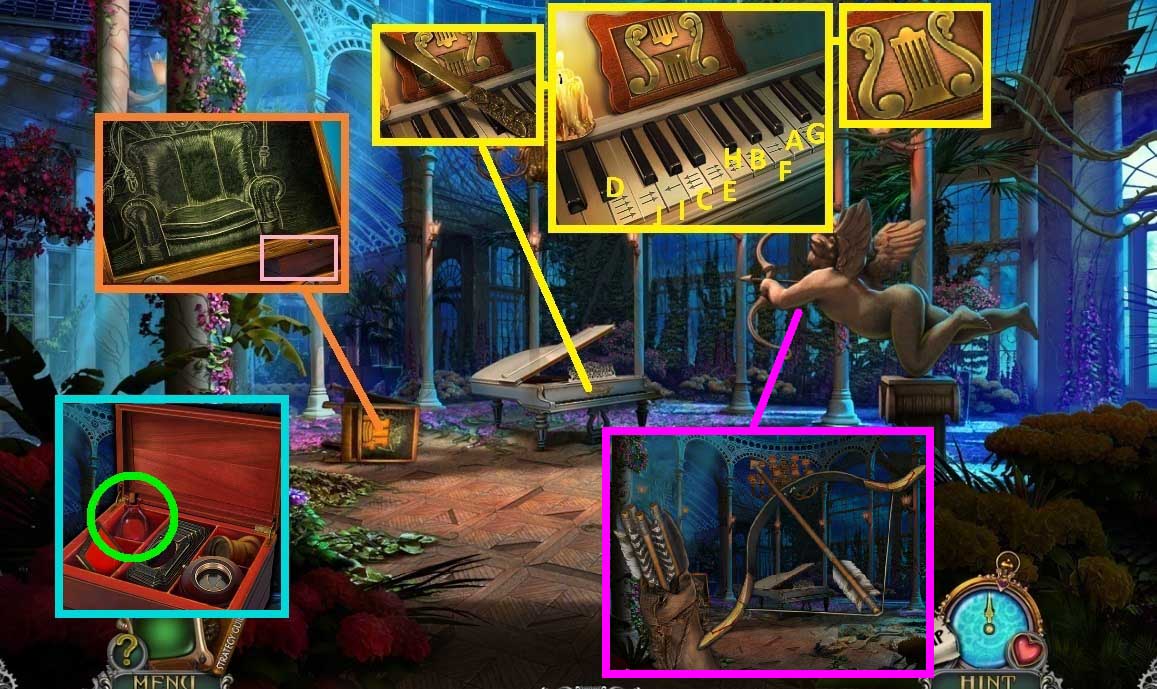
- Click the easel 2x’s.
- Restore the chair; collect the carved box.
- Collect the paper knife.
- Click the keys in the correct order; collect the harp and place it onto the carved box.
- Collect the developer.
- Click the statue pieces aside.
- Place the recurve bow and quiver together.
- Move down once and into the dark room.
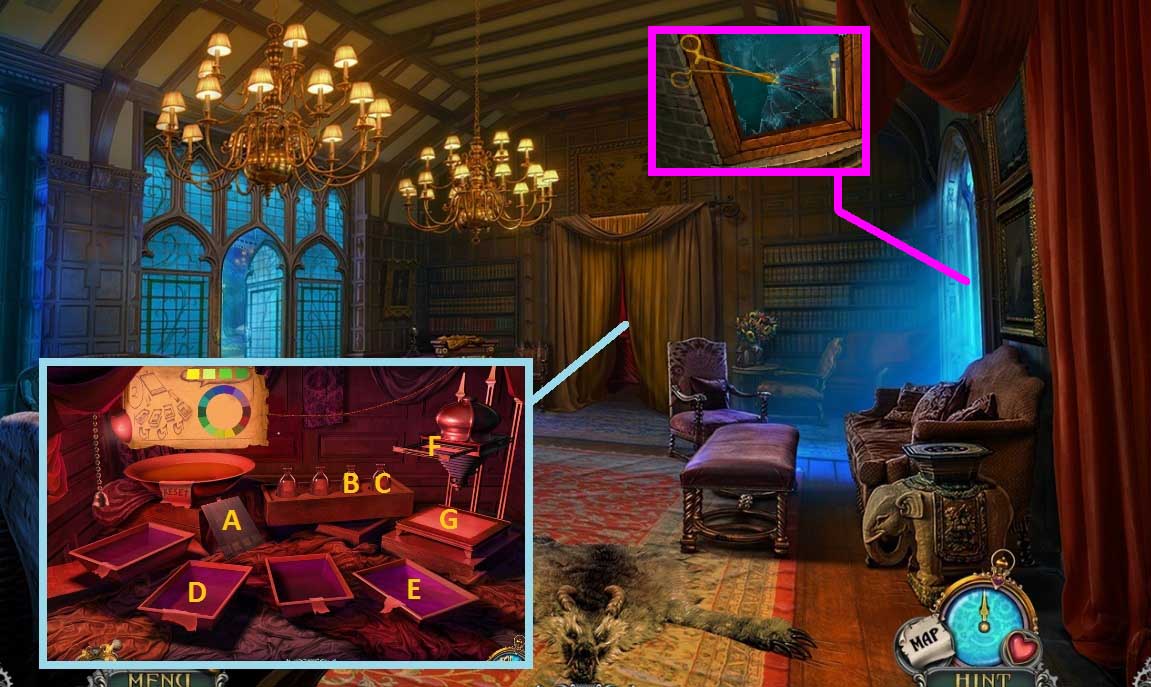
- Place the photo plate down and put the developer into the holders.
- Click the items in ABC order.
- Examine the photo; collect the long tweezers and use it to open the latch.
- Move into the window.
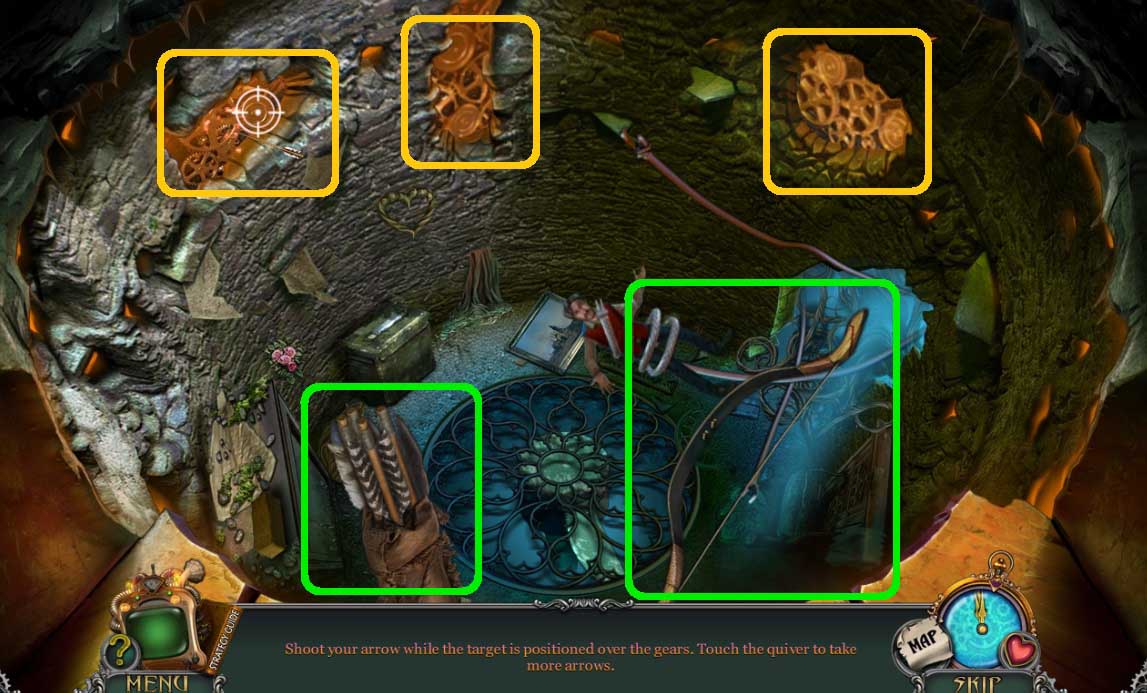
- Place the bow & arrows to trigger a mini game.
- Solve the game by hitting the target when they are aligned with the gears.
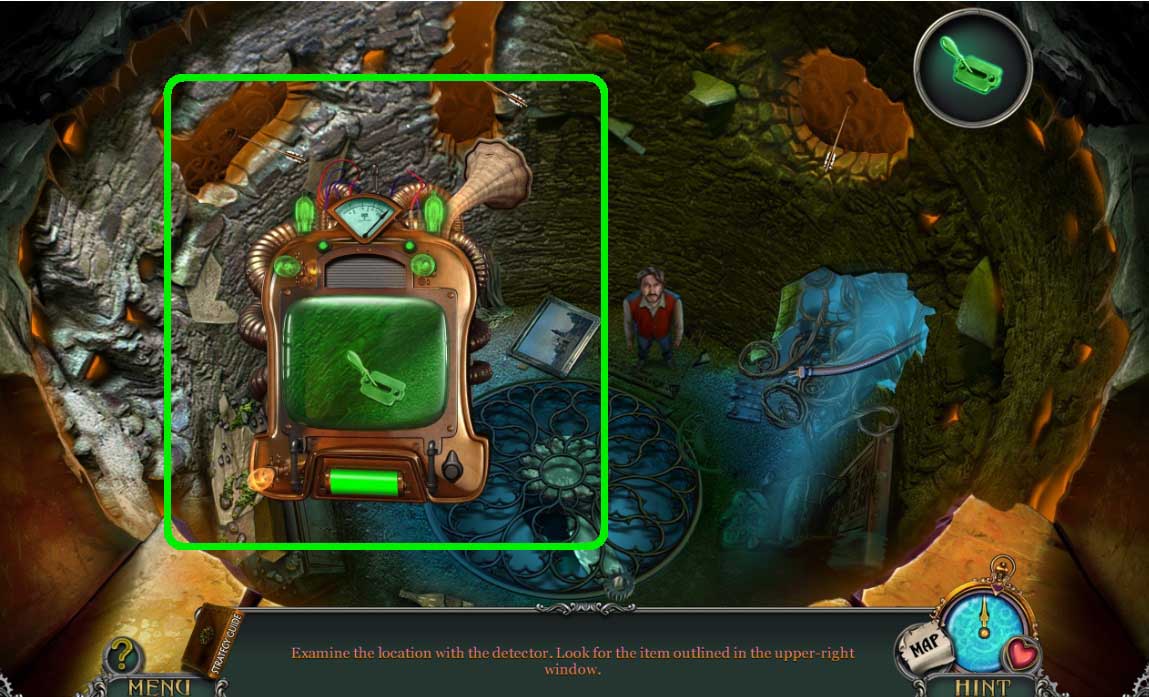
- Select the detector to find the part.
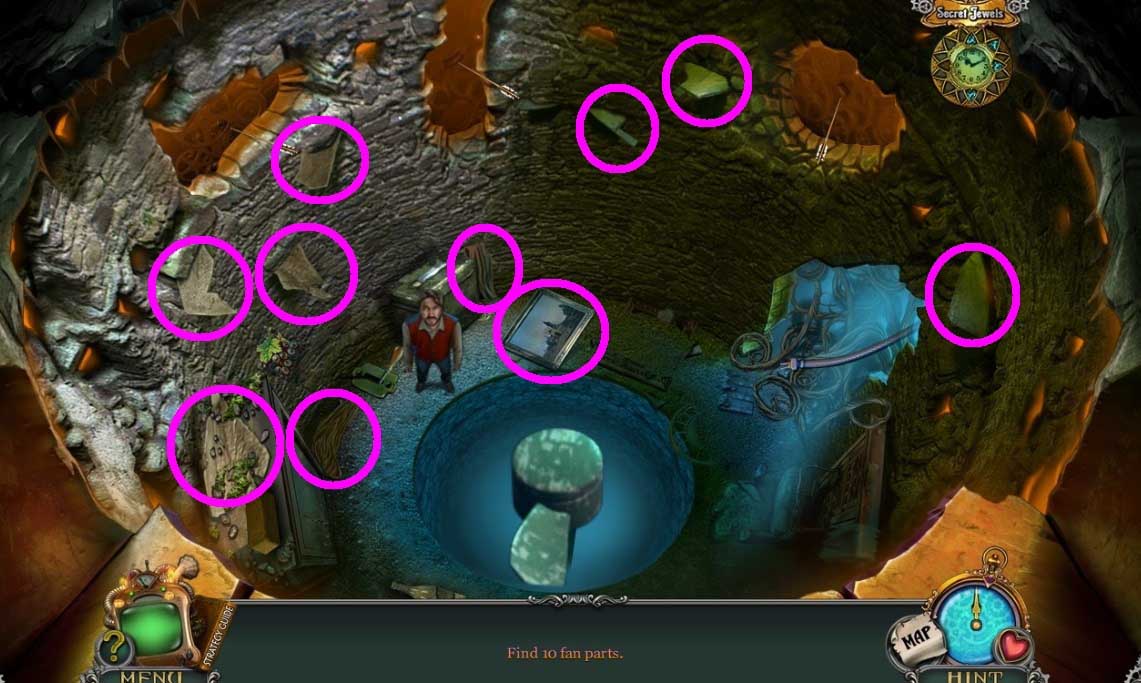
- Collect the 10 fan parts.
- Move ahead.
Comments will load when you reach this part of the walkthrough.