

Chapter Eight: The Shield
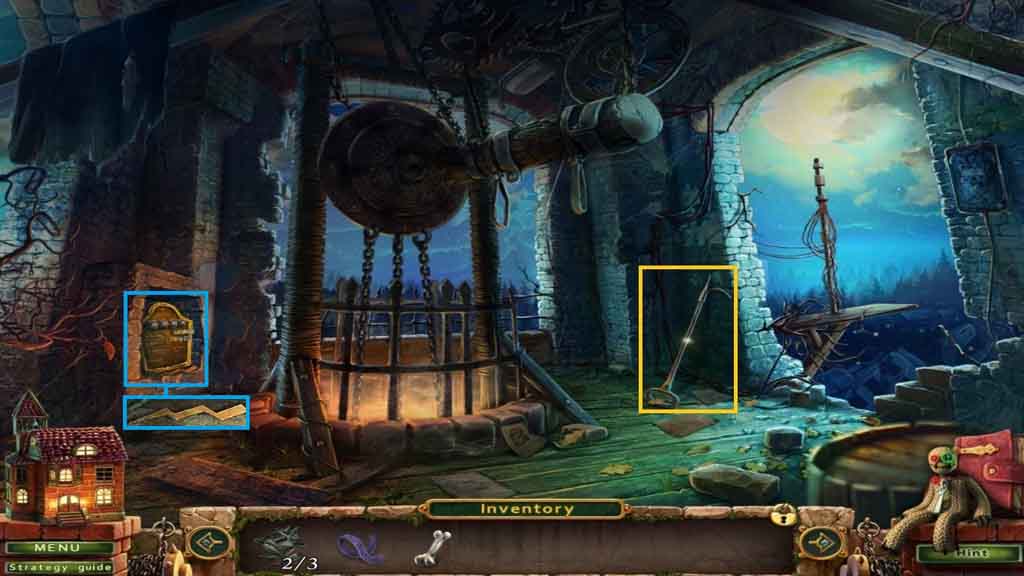
- Collect the boat hook.
- Zoom into the device and collect the suitcase key.
- Move down to the Fire Station Garage.
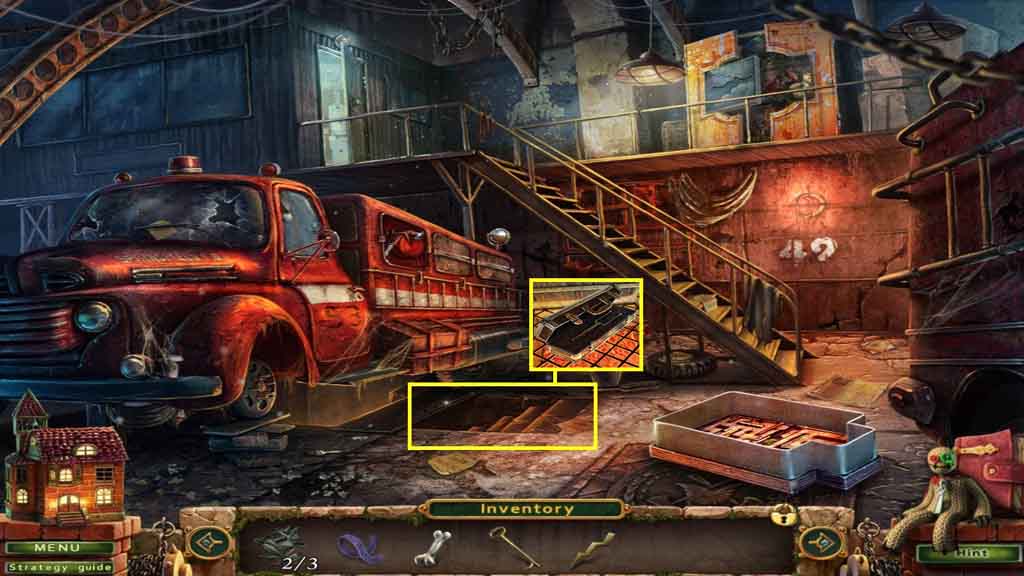
- Zoom into the floor stairs.
- Insert the suitcase key into the suitcase.
- Collect the lightning rod.
- Move to the Tower.
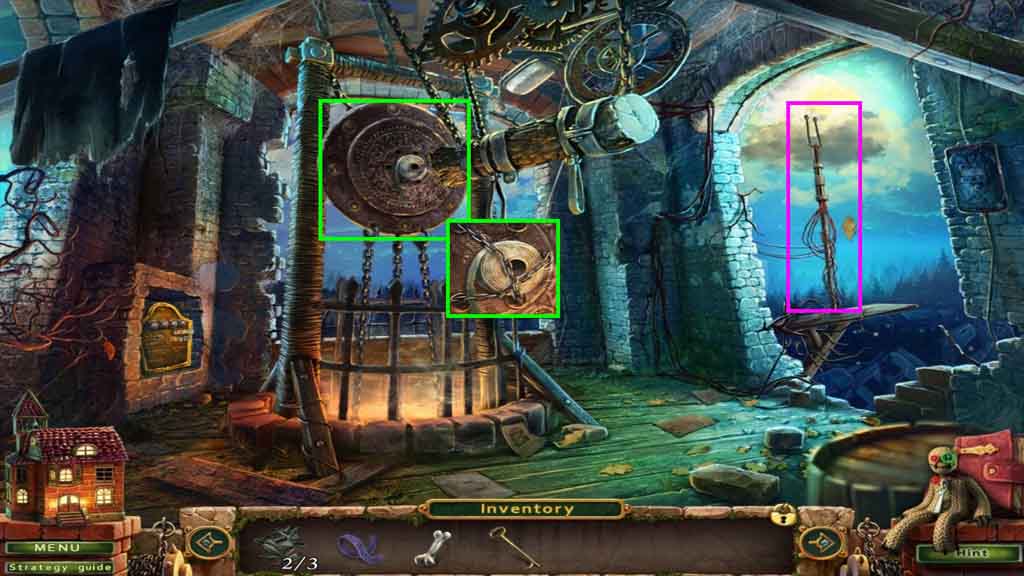
- Zoom into the lightning post and attach the lightning rod.
- Zoom into the metal plate; collect the telegraph tape.
- Move to the Office.
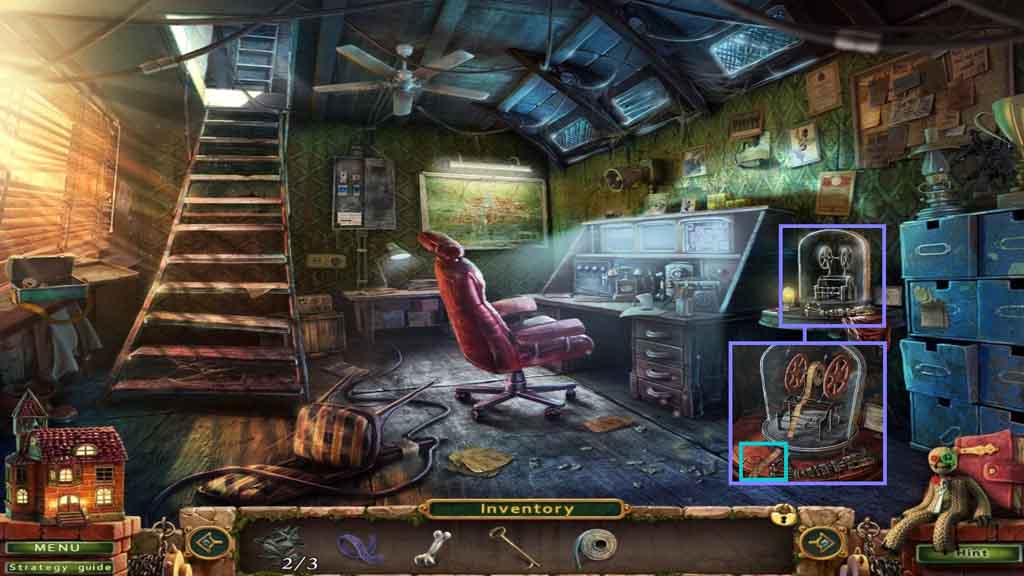
- Zoom into the telegraph; click the old telegraph tape.
- Insert the telegraph tape.
- Collect the message.
- Move up the stairs.
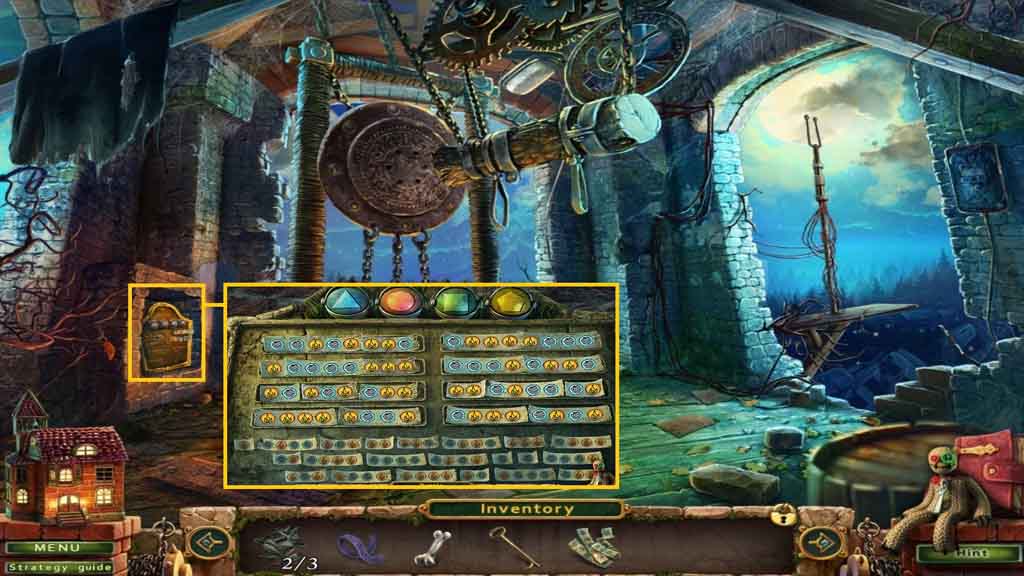
- Zoom into the device and attach the message to trigger a puzzle.
- Match the message symbols to the symbols on the plate to solve the puzzle.
- Move to the Office.
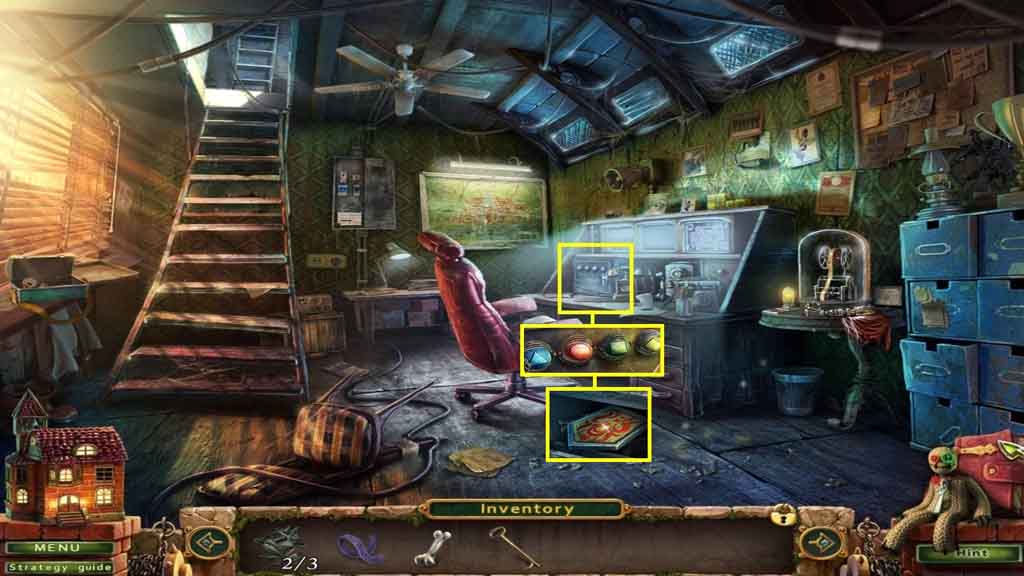
- Zoom into the safe 2 times.
- Use the code from the previous game to unlock the safe.
- Triangle – circle – square – pentagon
- Collect the shield and doll 5.
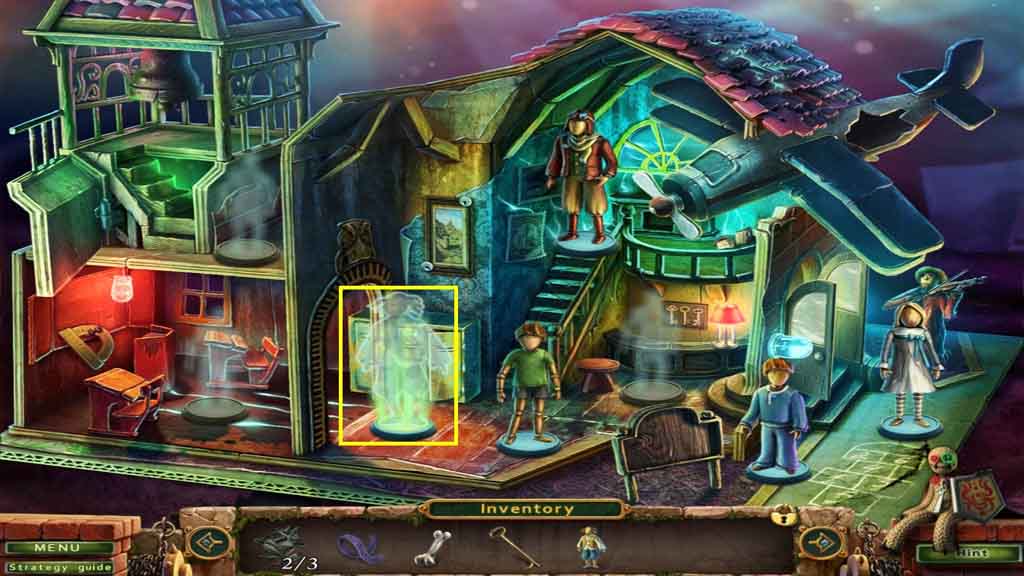
- Insert doll 5 into the silhouette.
- Collect the ignition key.
- Move to the Fire Station.
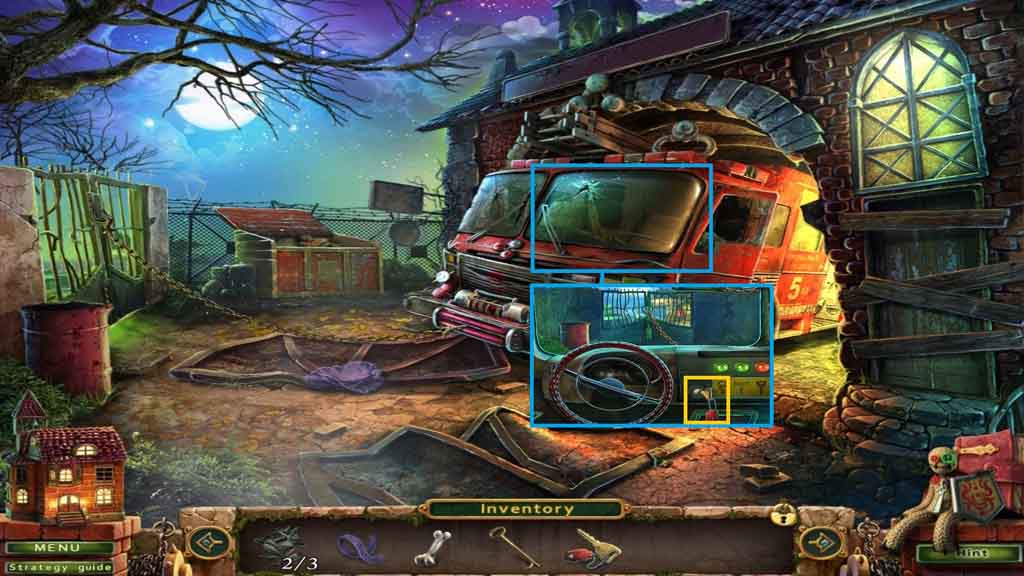
- Click the fire truck windshield; insert the ignition key and click it 2 times.
- Move into the newly opened gate.
Comments will load when you reach this part of the walkthrough.