
Chapter Three: School Daze
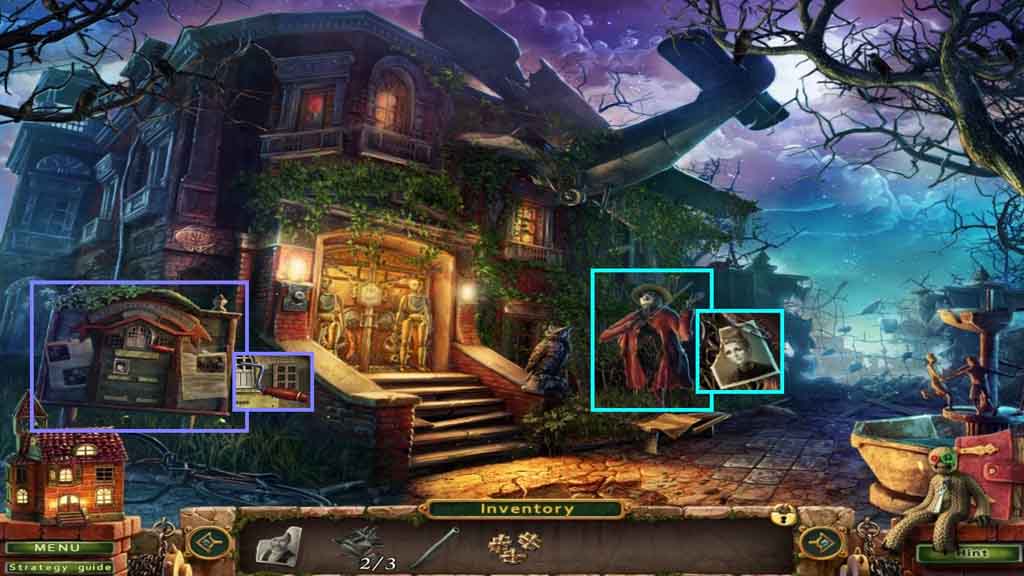
- Zoom into the scarecrow; collect the portrait.
- Zoom into the bulletin board; collect the mailboxes handle and place the portraits onto it.
- Move down once.
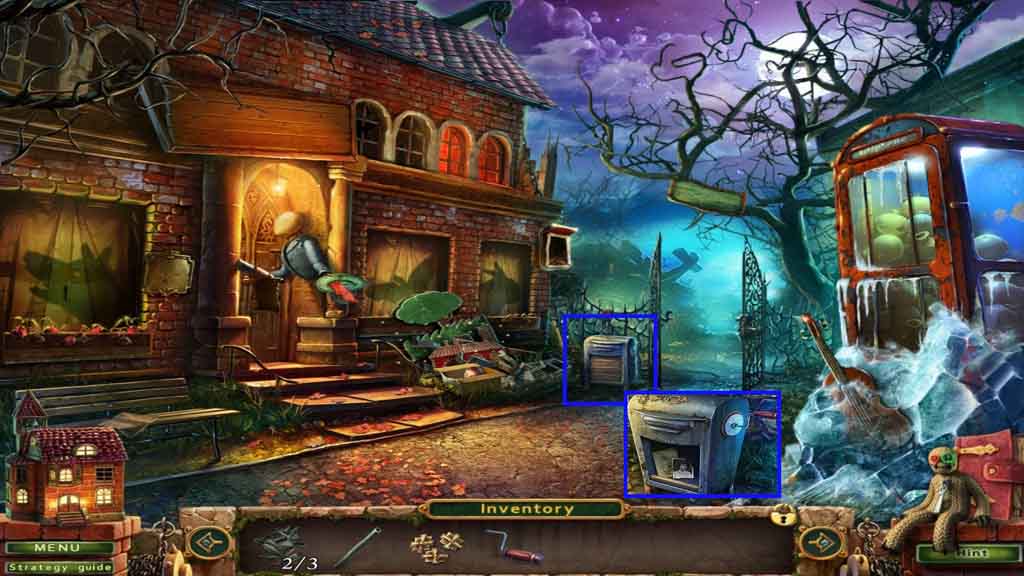
- Click the mailbox and attach the handle.
- Click the handle and collect the portrait and read the invitation.
- Move ahead.
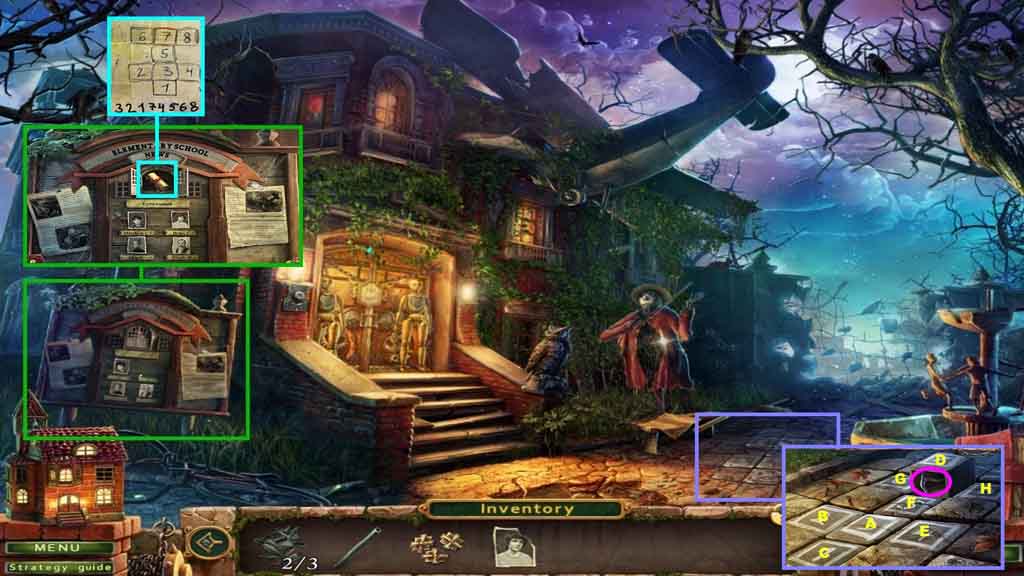
- Zoom into the bulletin board and place the portrait onto it; read the scroll.
- Click the ground and click the hop scotch pattern according to the scroll.
- Collect the pickaxe.
- Move down once.
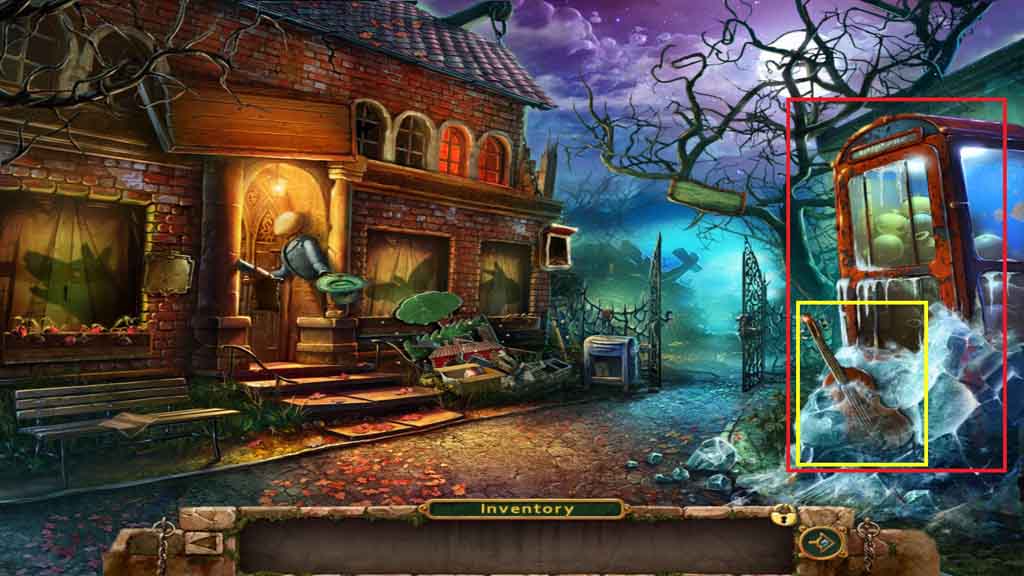
- Select the pickaxe to break through the ice; collect the violin.
- Click the doors to access a hidden objects area.
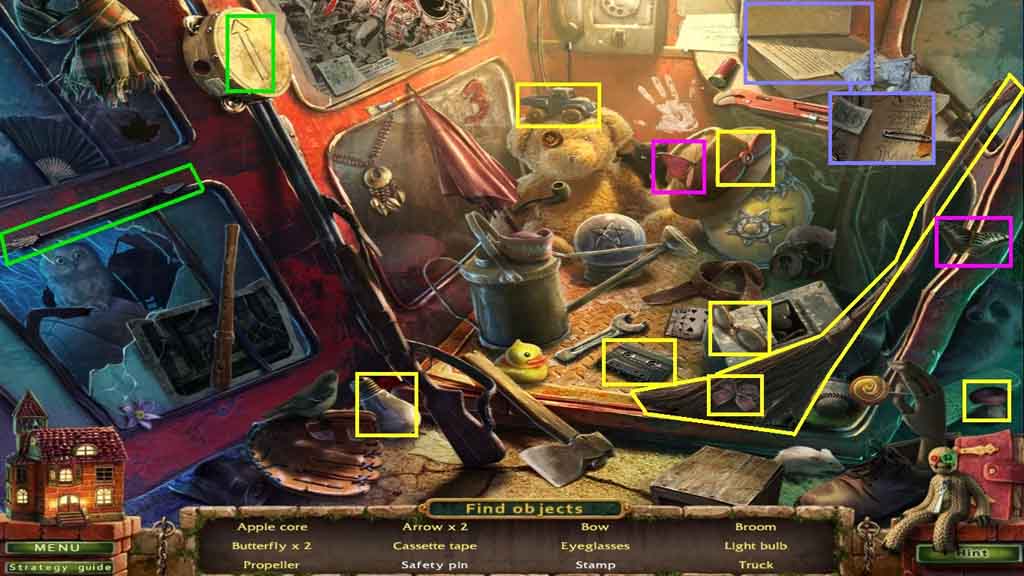
- Find the listed items.
- Zoom into the book to collect the safety pin and the stamp.
- Collect the bulb and the propeller.
- Move ahead one time.
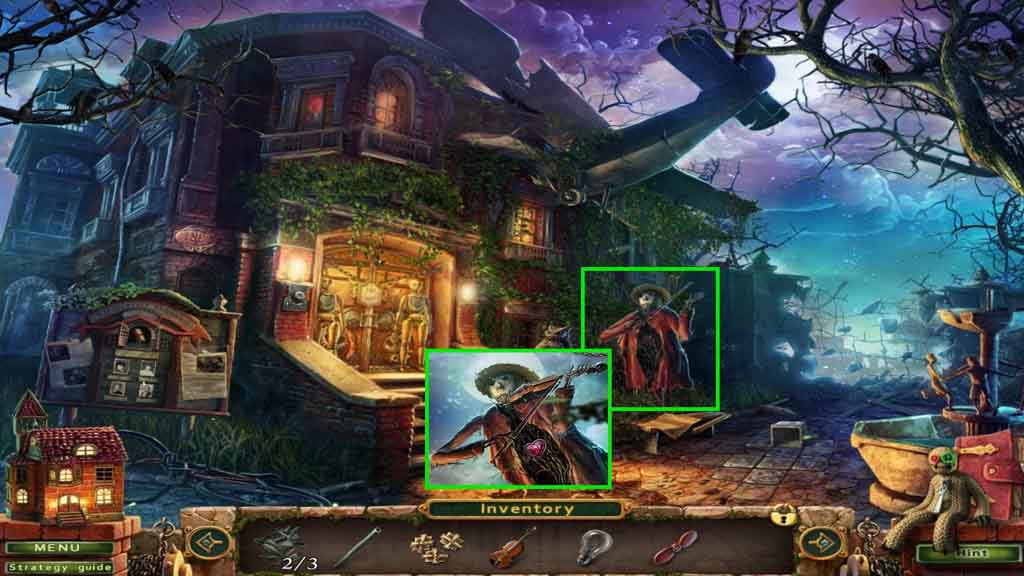
- Zoom into the scarecrow; give him the violin.
- Collect the heart.
- Move to the café.
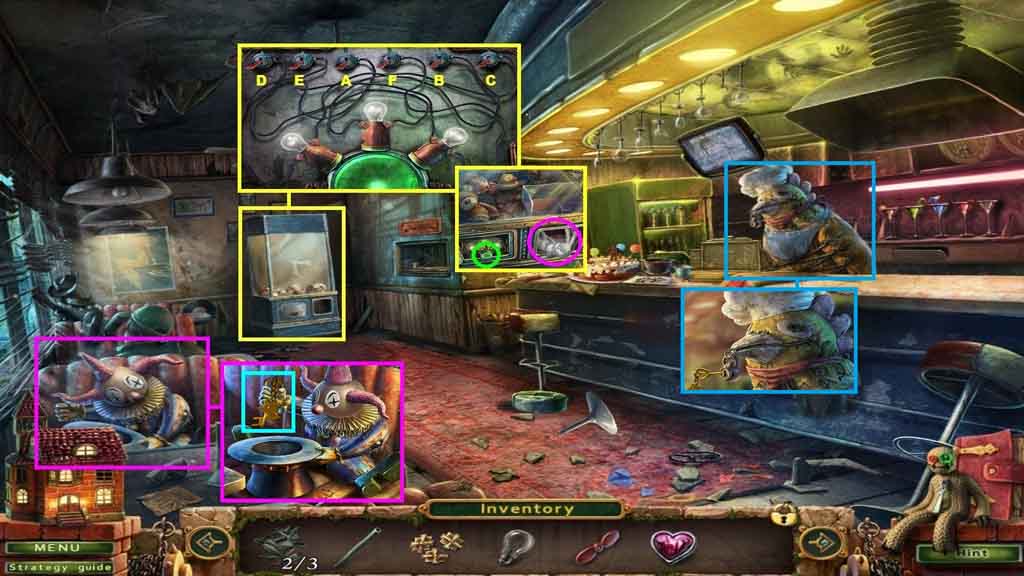
- Click the game machine.
- Click the button; zoom into the mechanism.
- Insert the light bulb to trigger a mini-game.
- Solve the game by flipping the switches in ABC order.
- Click the green button; collect the rabbit.
- Zoom into the clown and give him the rabbit; collect the costume key.
- Zoom into the chicken and insert the costume key and click it twice.
- Collect doll 2.
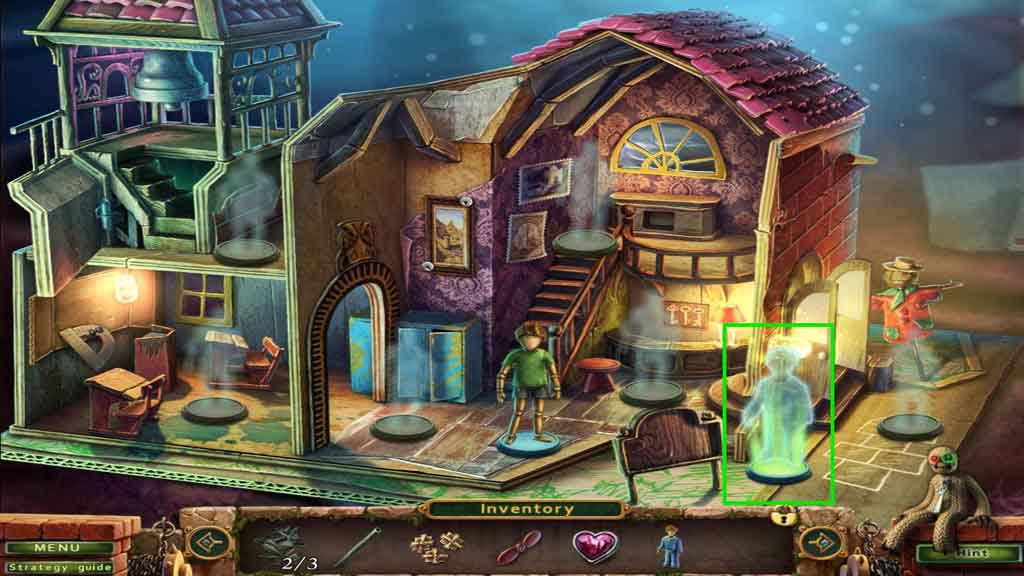
- Place the doll into the silhouette.
- Collect the heart.
- Move to the school yard.
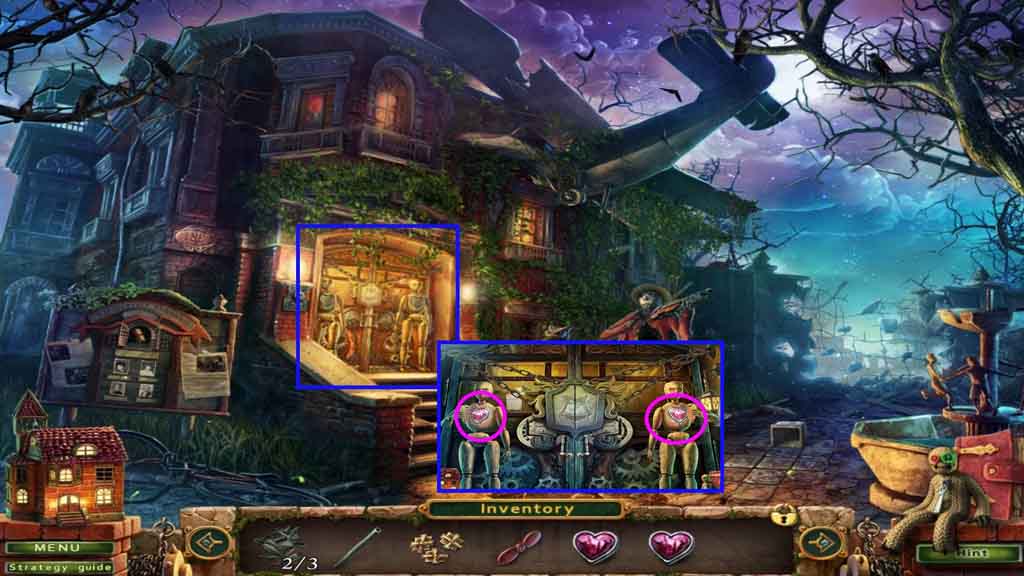
- Zoom into the school door; insert both hearts.
- Move ahead.
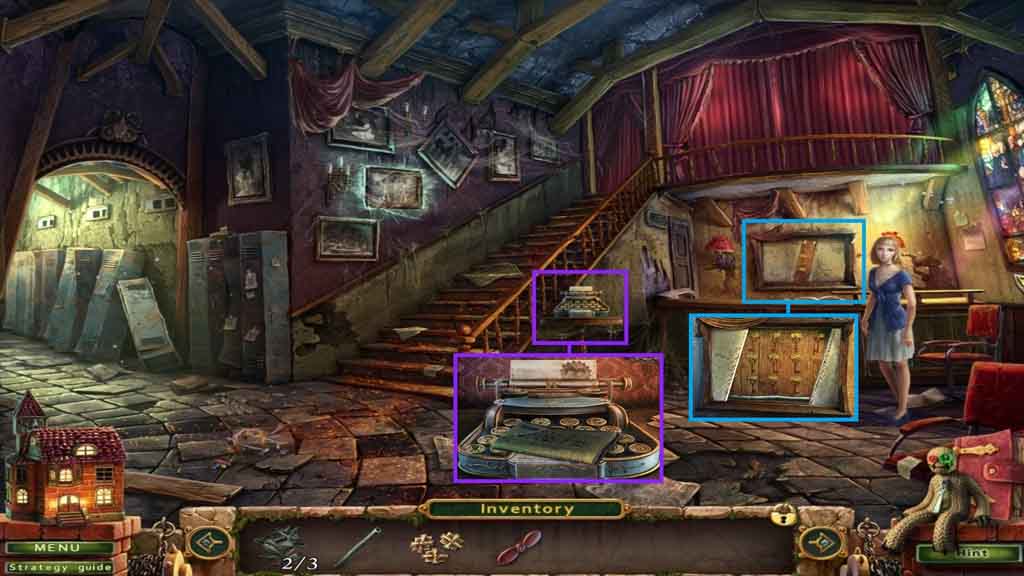
- Click the typewriter; collect the newspaper.
- Click the wall; insert the pipe to stop the blades.
- Move down the hallway.
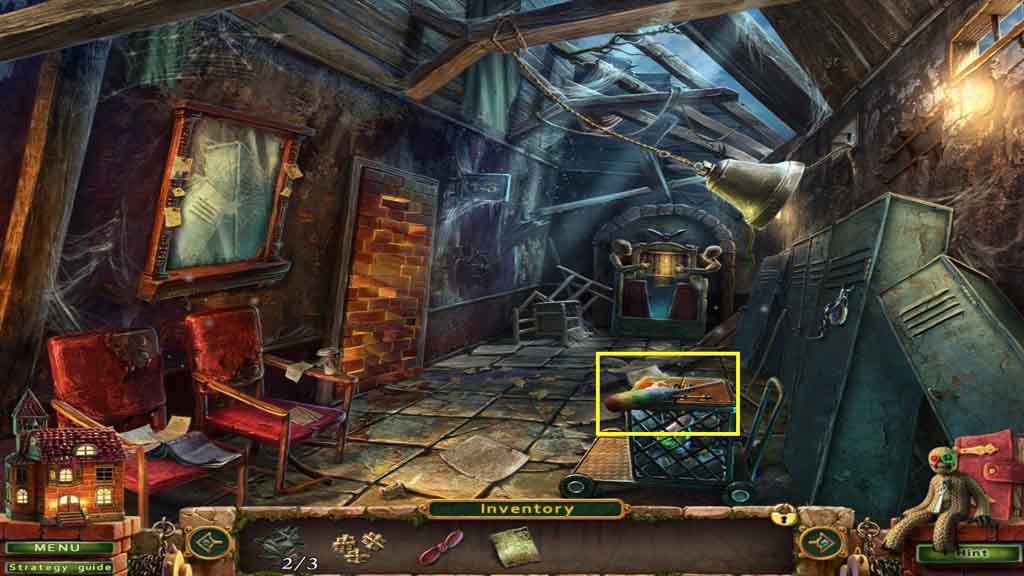
- Zoom into the cart; collect the feather duster.
- Move down once.
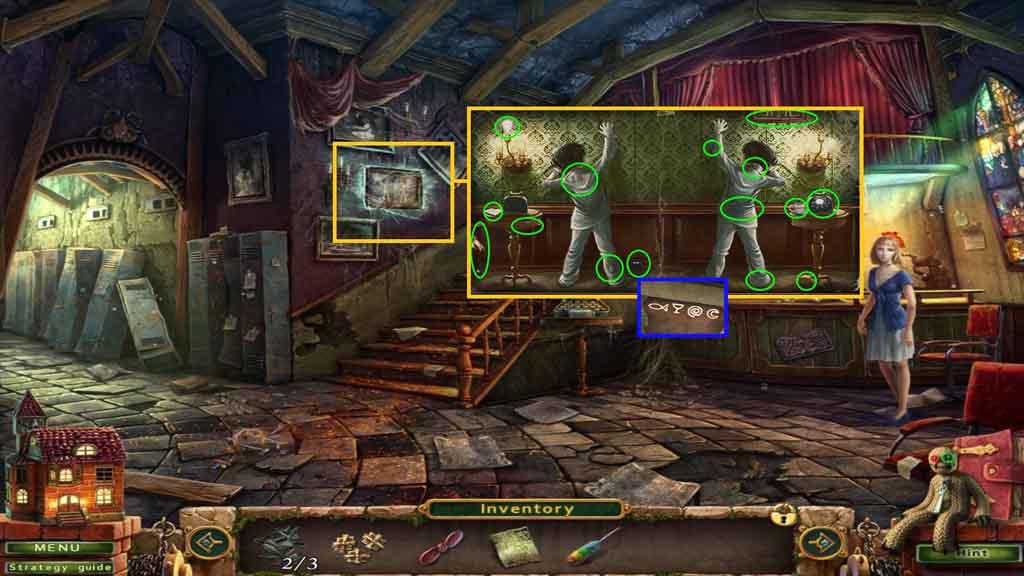
- Zoom into the cobwebs and remove them using the feather duster.
- A puzzle will trigger.
- Solve the puzzle by spotting the 15 differences.
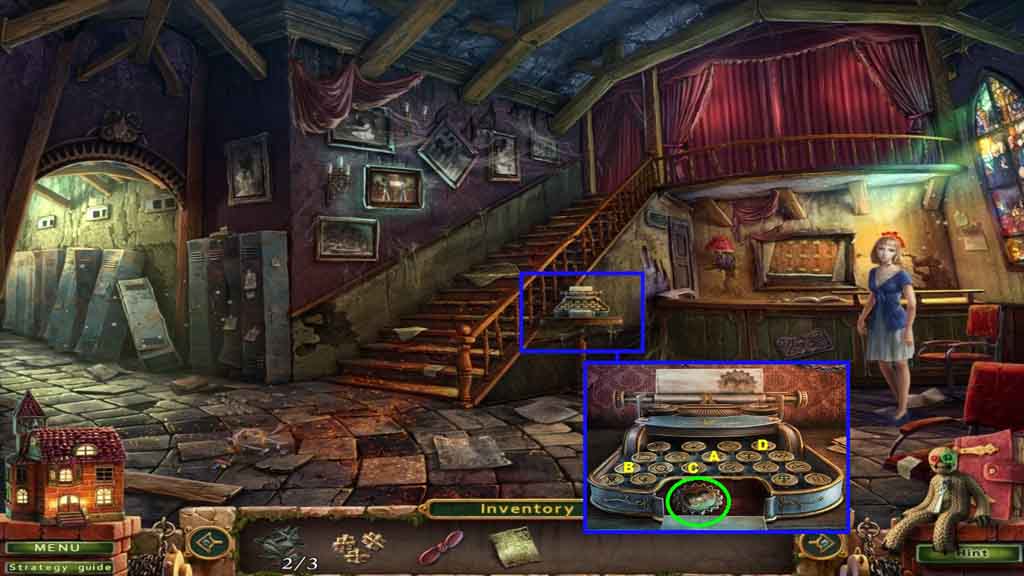
- Zoom into the typewriter; type in the code using ABC order.
- Collect the locket.
- Move down the hallway.
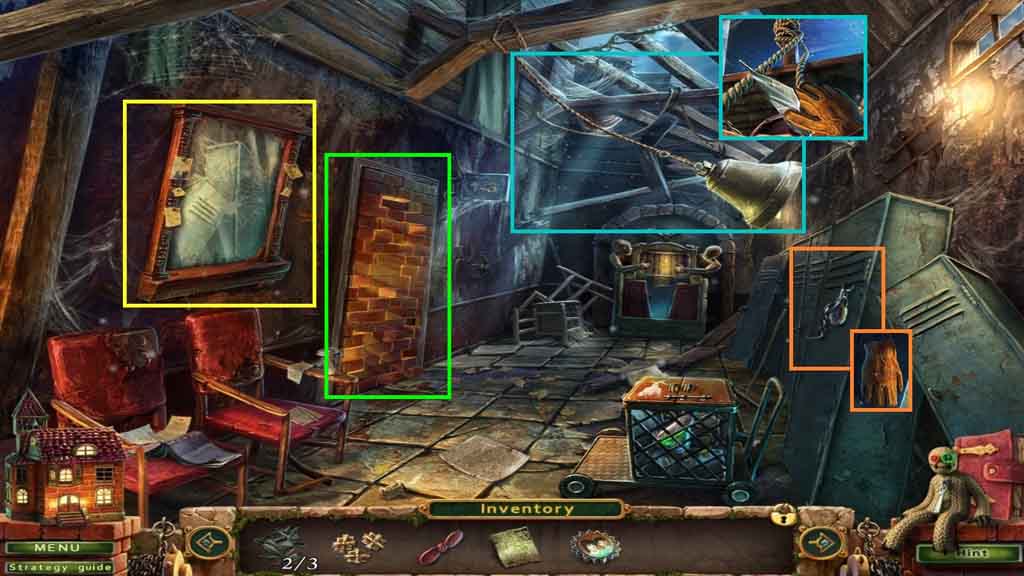
- Click the locker; insert the locket and collect the gloves.
- Click the mirror and use the glove to collect the glass shard.
- Zoom into the bell.
- Use the glass shard to cut the rope.
- Move into the doorway.
- Click the hidden objects area.
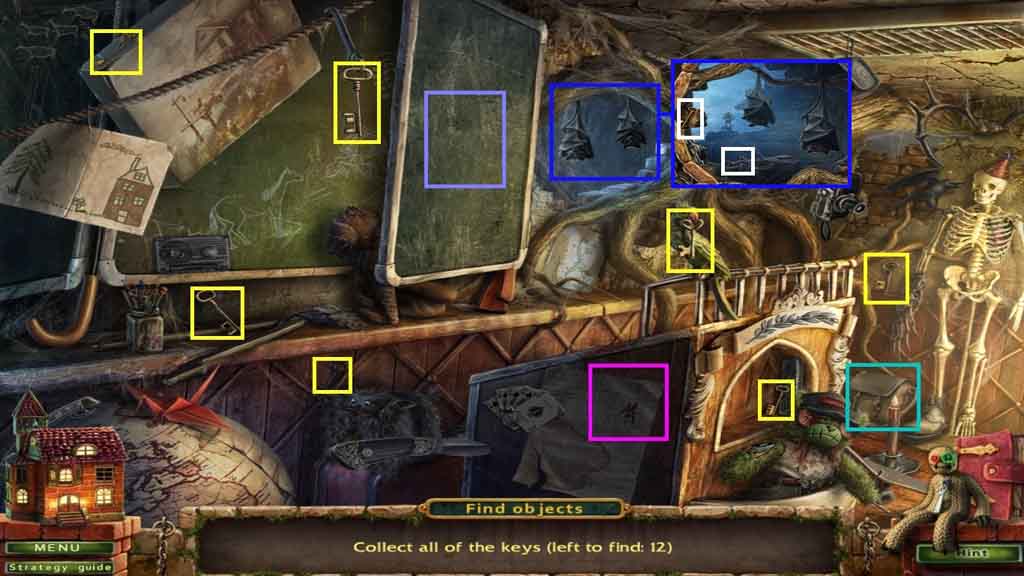
- Find the 12 keys.
- Collect the keys.
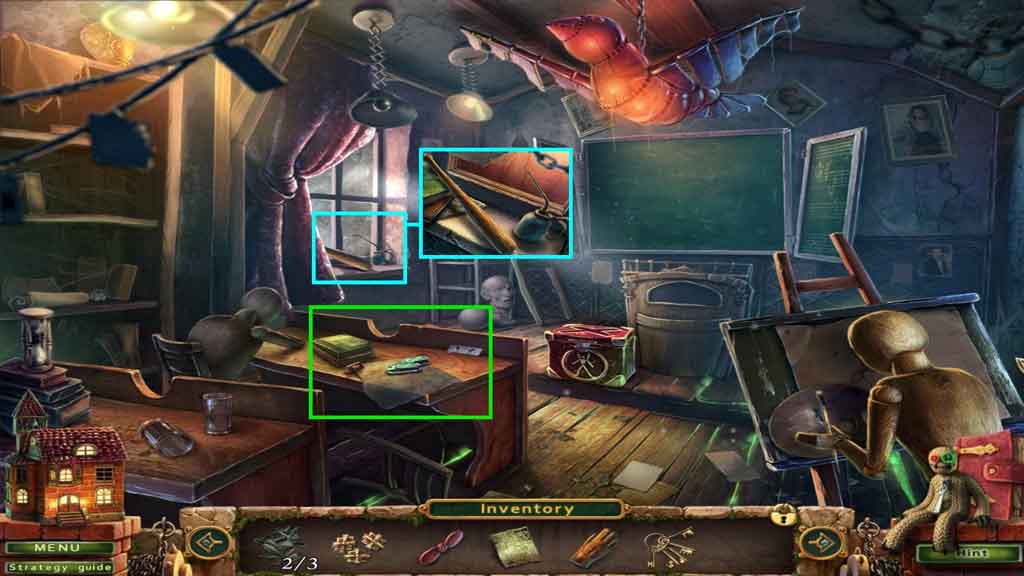
- Click the window sill; collect the oil can and the bat.
- Zoom into the desk; place the propeller into the silhouette.
- Move down twice.
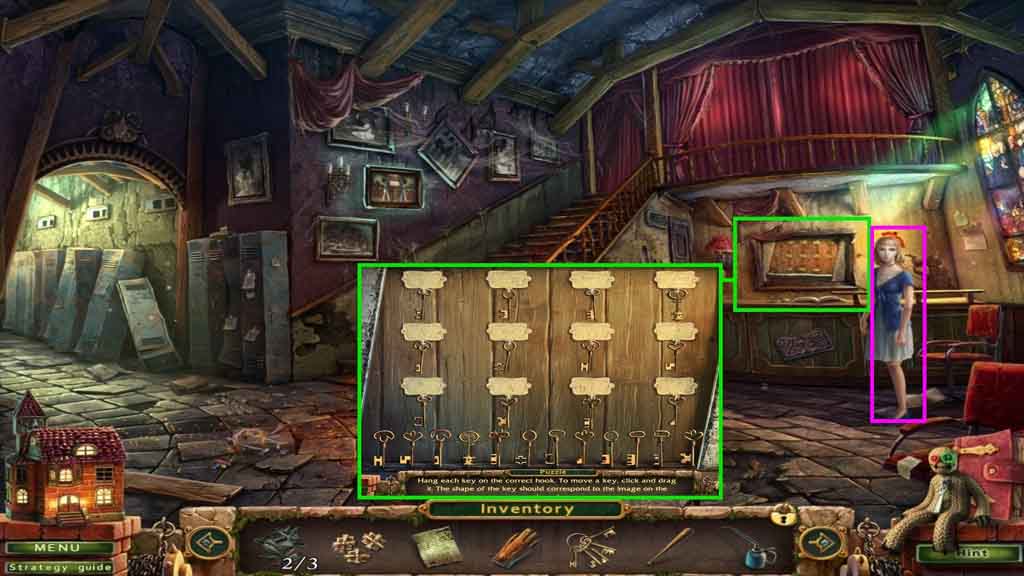
- Zoom into wall; insert the keys.
- Arrange the keys according to their silhouettes.
- Collect the teacher’s lounge key and give it to the girl.
- Move upstairs.
Comments will load when you reach this part of the walkthrough.