

Chapter Ten: Carter's House
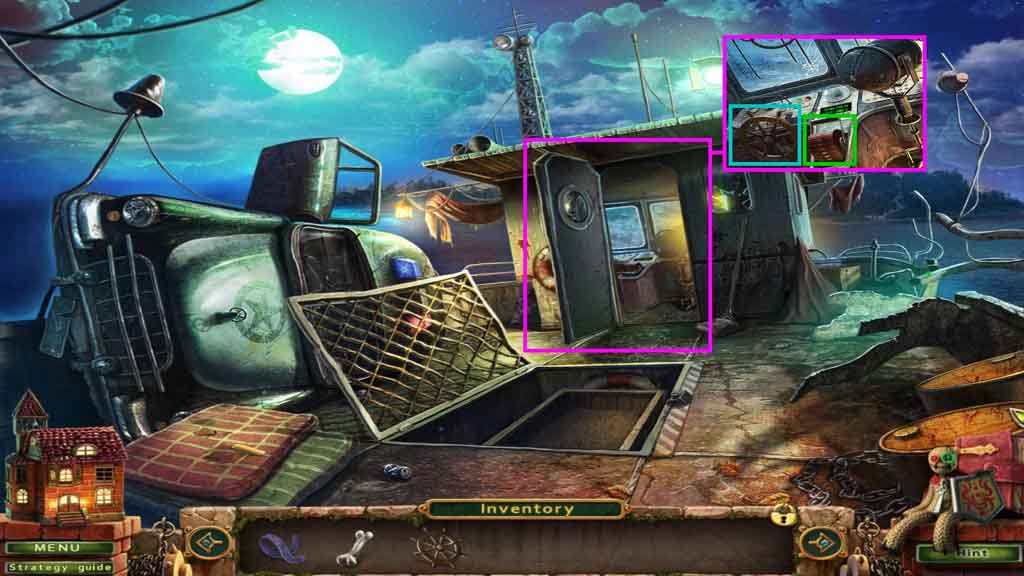
- Zoom into the doorway.
- Attach the ship’s wheel and click the lever.
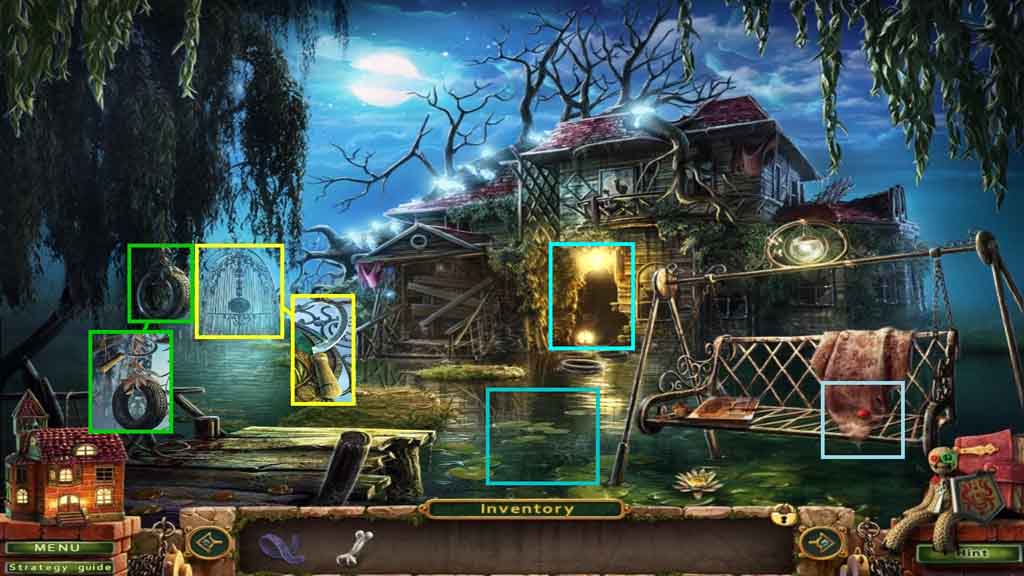
- Zoom into the bench; collect the berries.
- Click the gate and collect the sickle.
- Zoom into the tire swing; use the sickle to cut it down.
- Zoom into the creek and place the tire down.
- Move into the house.
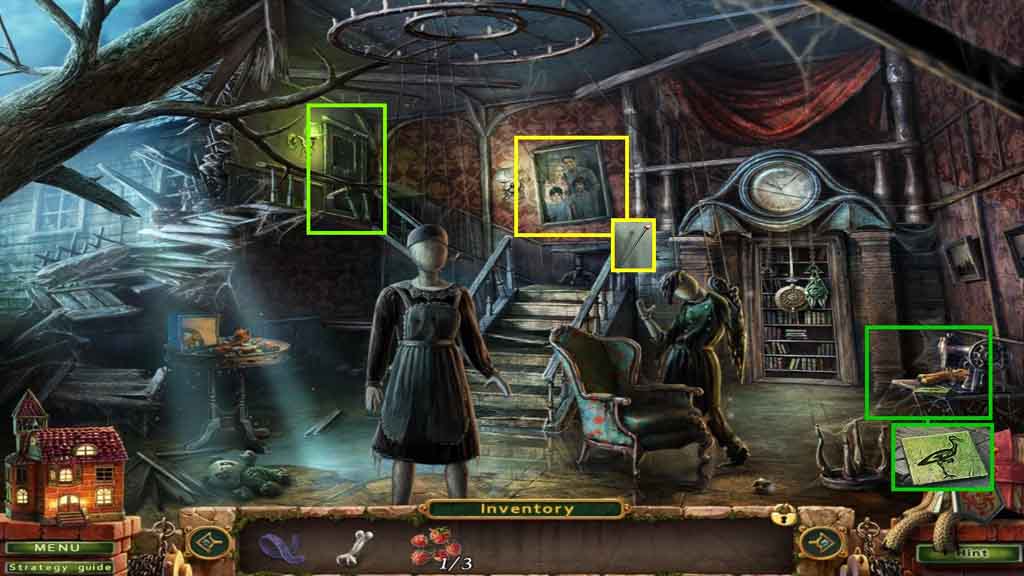
- Zoom into the sewing table; collect the animal figurine.
- Zoom into the family portrait; collect the knitting needle.
- Zoom into the door upstairs; use the knitting needle to unhook the lock.
- Move ahead.
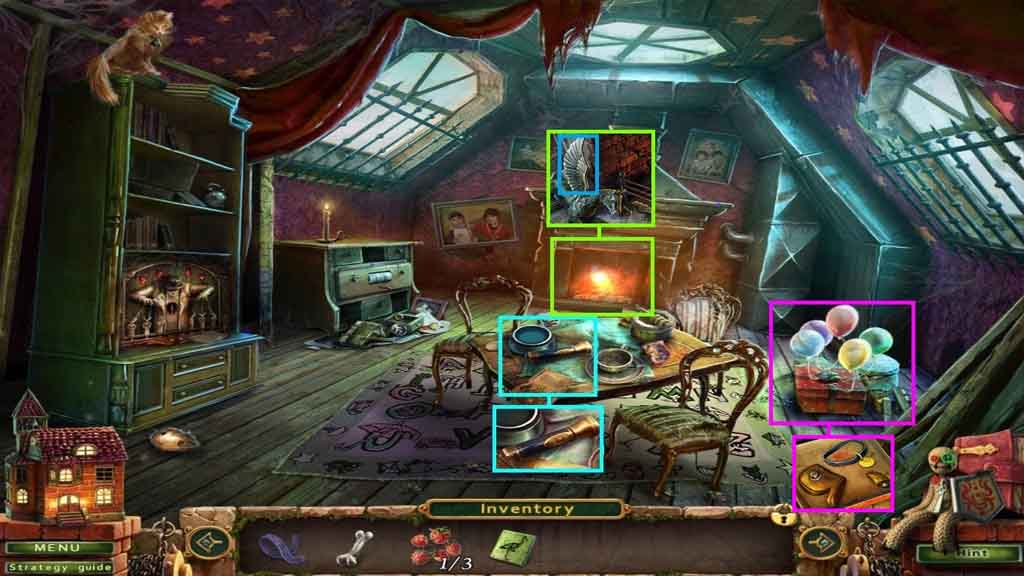
- Zoom into the table; collect the flashlight.
- Zoom into the fireplace; collect the owl wing.
- Zoom into the balloons; click the balloons away.
- Click the present; collect the dog parts.
- Move down once.
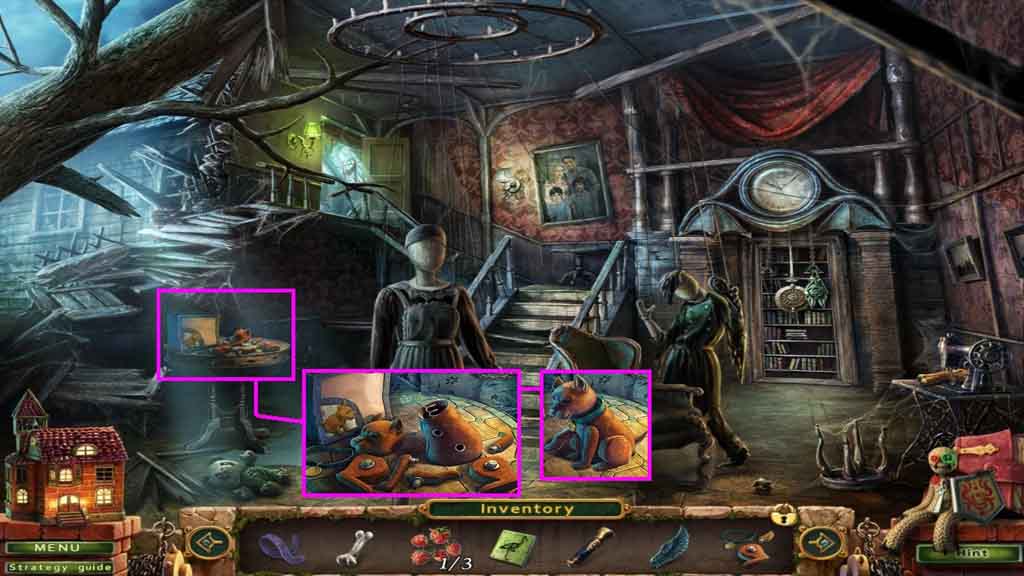
- Zoom into the table; place the dog parts down.
- Assemble the dog.
- Move to the Room.
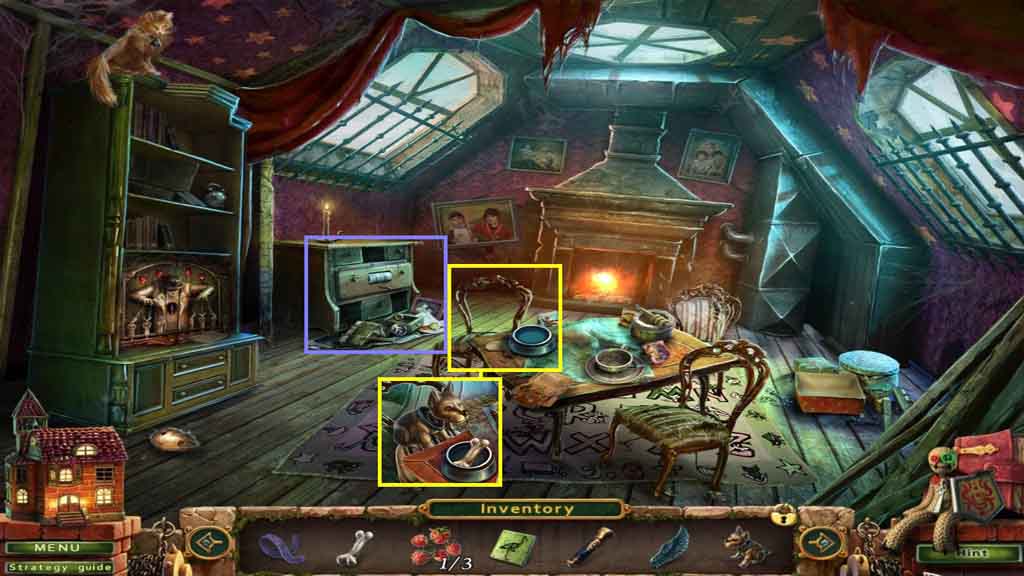
- Zoom into the table and place the dog down.
- Place the bone into the dog bowl.
- Zoom into the drawers.
- Move to the exterior of the House.
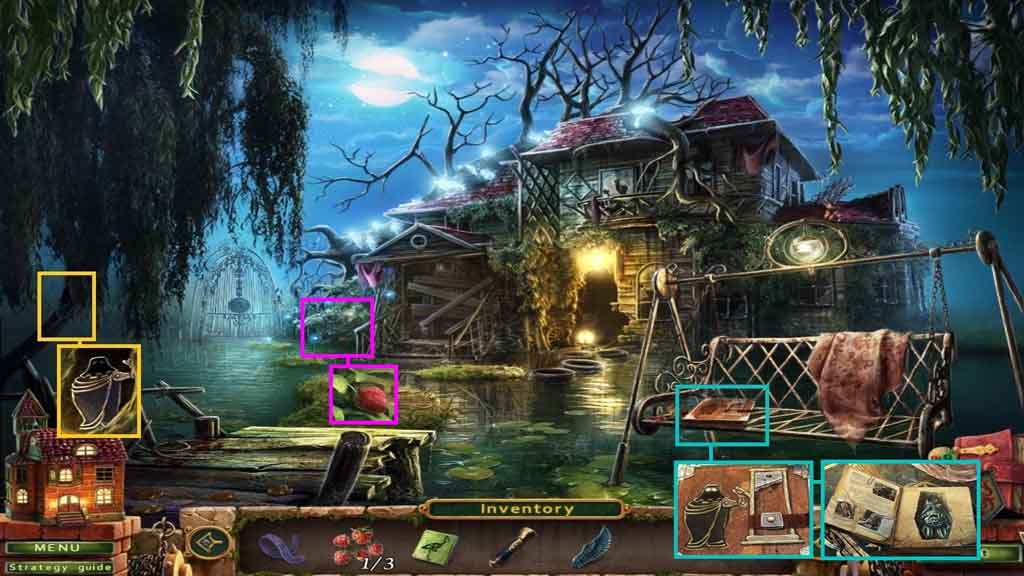
- Click the tree.
- Illuminate the tree hole using the flashlight; collect the hangman.
- Zoom into the book and insert the hangman and click it once; read the notes and collect the bat.
- Click the bush; collect the berry.
- Move into the house.
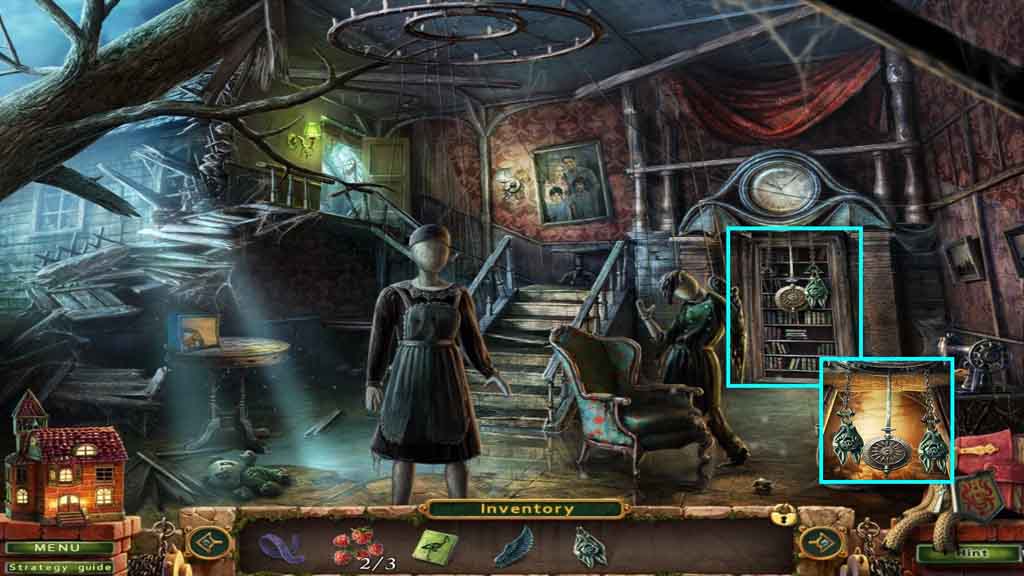
- Zoom into the clock.
- Insert the bat.
- Move ahead.
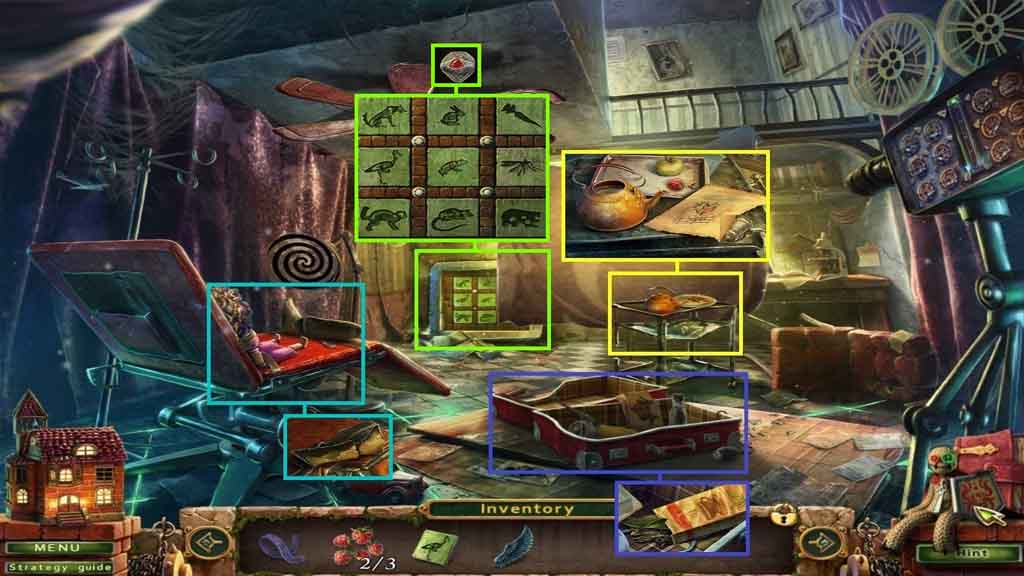
- Zoom into the cart; read the note.
- Collect the teapot and the berries, and the thread.
- Zoom into the suitcase; collect the tea leaves.
- Zoom into the chair; collect the statue parts.
- Zoom into the tiles; insert the animal figurine to trigger a puzzle.
- Solve the puzzle by aligning the figures correctly in a food chain; collect the gem.
- Move back once.
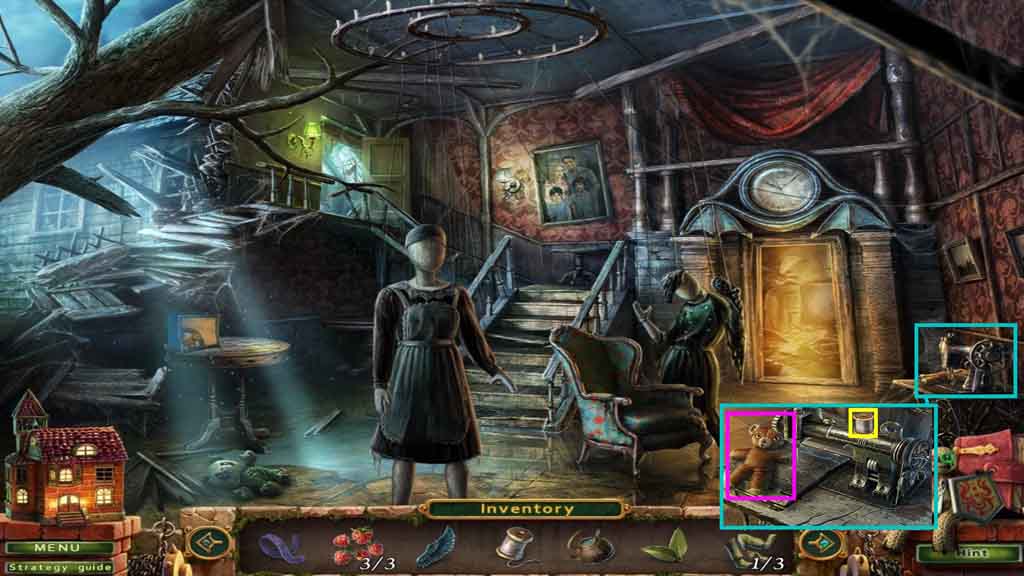
- Zoom into the sewing machine and insert the thread.
- Collect the bear.
- Move to the Room.
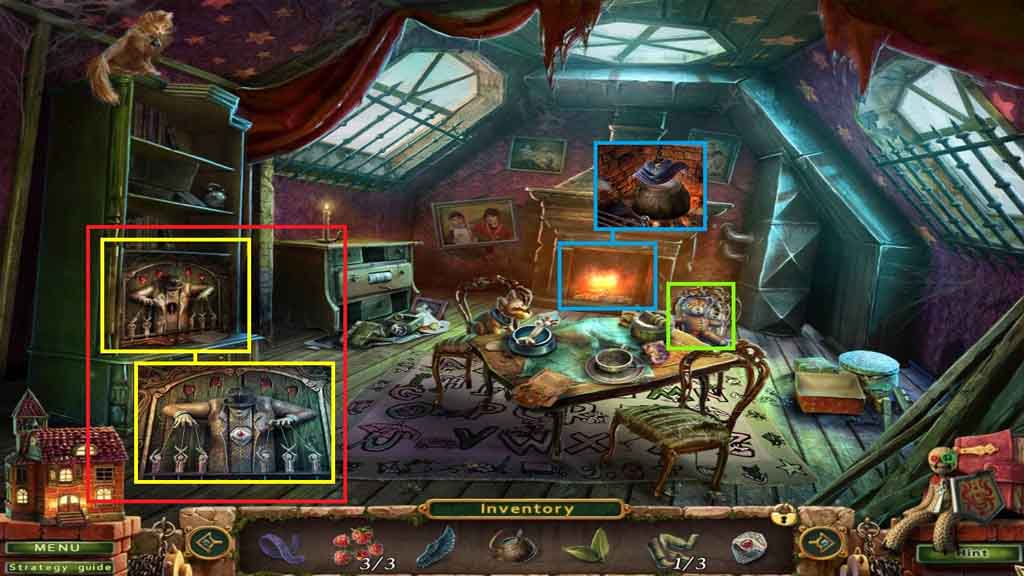
- Zoom into the table; place the bear down.
- Zoom into the fireplace; hang the kettle and insert the tea leaves and the berries.
- Select the scarf to collect the kettle.
- Click the puppet area and insert the gem.
- Click the hidden objects area.
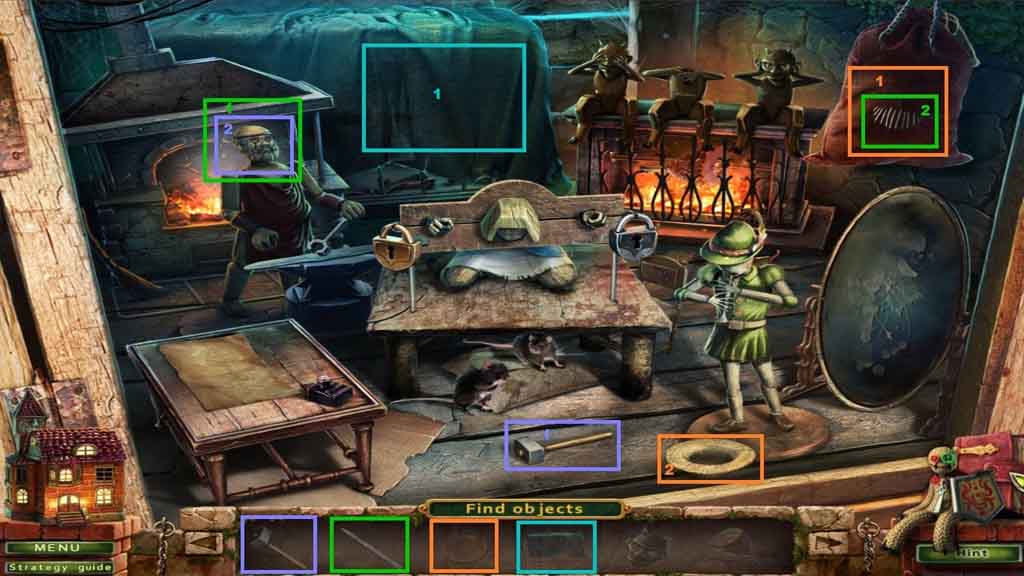
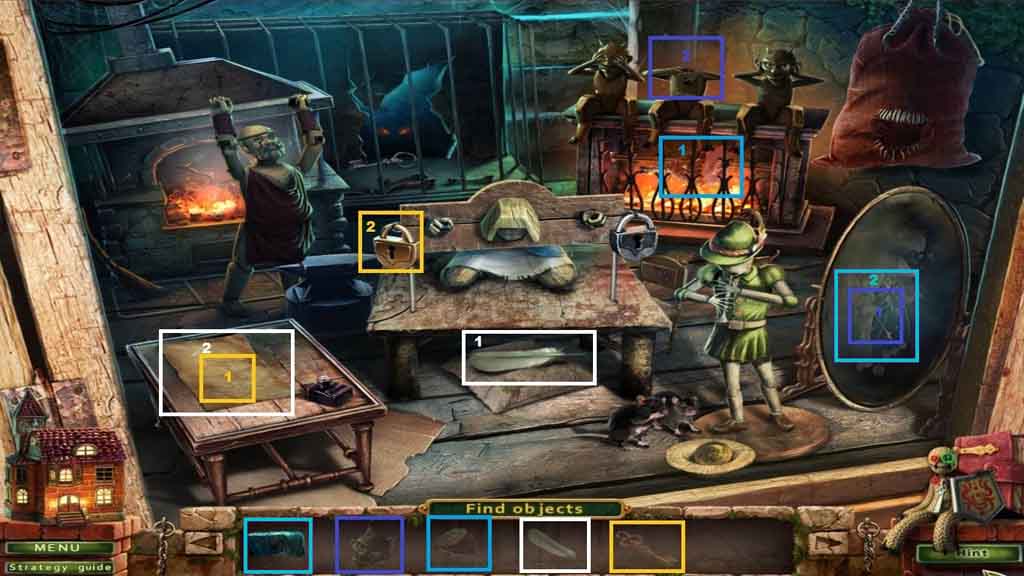
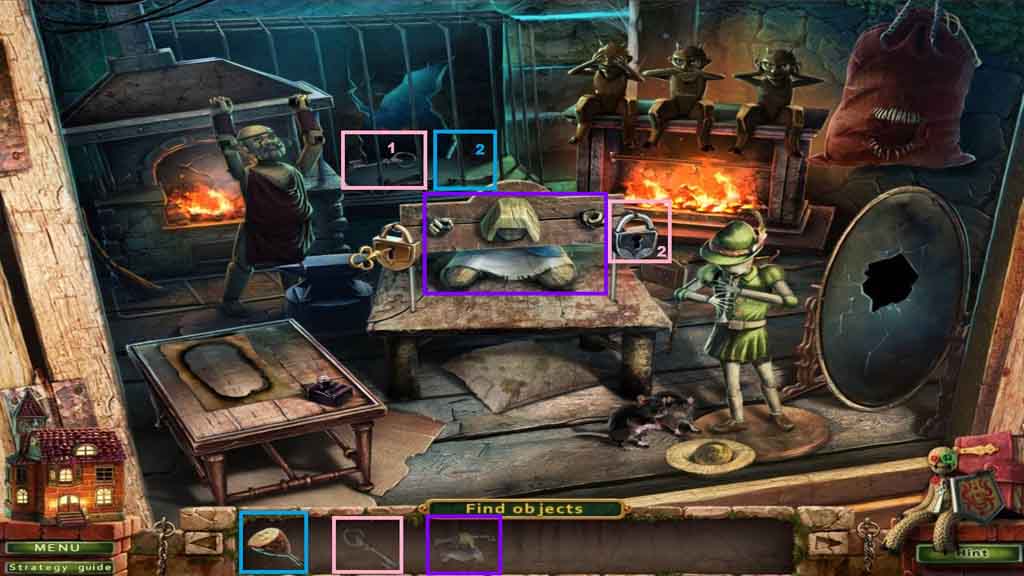
- Find the shadowed items.
- Collect the hammer and give it to the blacksmith; collect the spear.
- Select the spear to cut the sack; collect the coin.
- Place the coin into the hat; collect the feather.
- Insert the feather and use it on the paper; collect the key.
- Insert the gold key into the gold lock.
- Select the rag and use it on the mirror; collect the devil.
- Place the devil onto the body; collect the ham.
- Place the ham into the cage; collect the silver key.
- Insert the silver key into the silver lock; collect the figurine.
- Collect doll 6.
Comments will load when you reach this part of the walkthrough.