
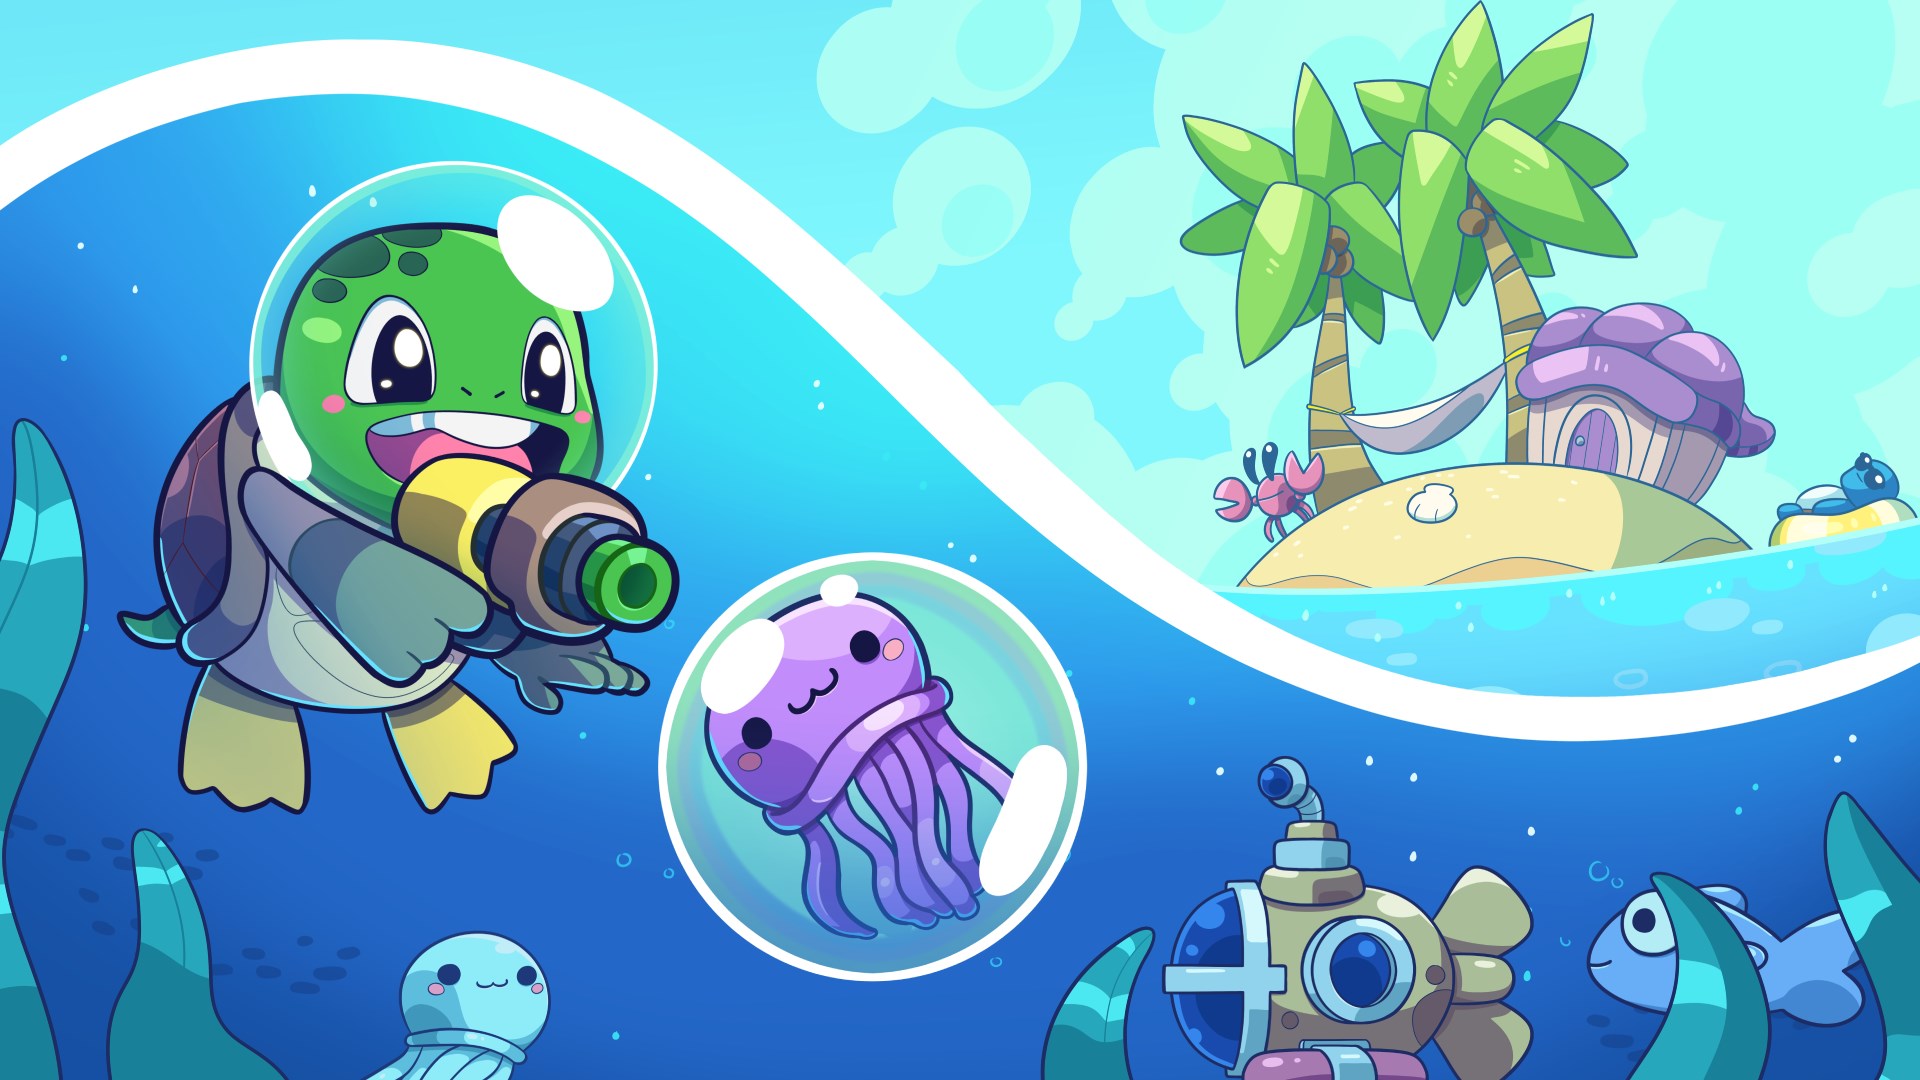
Shelldiver Walkthrough Route: First Dive to Hammock Ending
Your first Shelldiver expedition may end with three jellyfish, an empty bubble tank, and an oxygen gauge yelling while the old turtle paddles toward the submarine. That is the normal opening squeeze. Until you improve oxygen and movement, turn back when roughly one-third of the gauge remains. A small haul safely sold is worth more than one last shiny rock beside a winded turtle.
The campaign follows an active dive-sell-upgrade loop. Catch jellyfish with the Bubble Gun, break resource blocks with the Plasma Gun, return to the submarine, and sell the catch at the island shop for shells. Shells are the main currency. Scrap, crystals, mushrooms, and obsidian are separate materials used by skill nodes. Buying connected upgrades raises Prestige, which works as a progression rank rather than a reset. Each new Prestige level opens the next 100-meter depth.
This route favors safe oxygen, short reloads, and steady access to new depths. It is not the only workable purchase order. Move optional efficiency upgrades around to suit your aim, controller comfort, and current material supply.
Campaign Milestones
| Stage | Next biome and depth | Required node or gate | Resource goal and farming pause |
|---|---|---|---|
| First haul | Ocean Shallows, 100m | Prestige Level 1; no named early upgrade is required | Sell jellyfish for shells and gather nearby scrap |
| Shallows climb | Ocean Shallows, 200m and 300m | Prestige Levels 2 and 3 | Build a scrap reserve; repeat a shallow dive if oxygen or reloads still force tiny hauls |
| Cold-water climb | Glacial Depths, 400m, 500m, and 600m | Prestige Levels 4 through 6 | Farm crystals and gather the mushrooms added to 600m; pause here if either material is lagging |
| Swamp climb | Swamp Waters, 700m, 800m, and 900m | Prestige Levels 7 through 9 | Stock mushrooms while keeping some scrap and crystals for later branches |
| Final dive region | Magma Abyss, 1000m, 1100m, and 1200m | Prestige Levels 10 through 12 | Collect obsidian and farm shells at the deepest stage you can handle comfortably |
| Alchemy and ending | Island and late skill tree | Max every other skill, including Shellphone, Alchemy Station, and the four material upgrades; then buy Hammock Repair | Save 100T shells for the first Life Vial conversion and revisit earlier biomes for missing materials |
1. Bank the First Haul
On the first dive, stay close enough to the submarine that you can quickly retrace the route home. Use the Bubble Gun on jellyfish and the Plasma Gun on resource blocks, but do not chase every target. Once oxygen reaches about one-third, stop harvesting and swim straight back. Enter the submarine to end the expedition, then visit the island shop and sell the jellyfish.
Open the star-shaped skill tree after selling. No single named upgrade is required at this point, so buy affordable connected nodes that fix the slowdown you feel most. Oxygen capacity gives you a wider return window. Movement speed cuts travel time. Bubble reload and attack-speed upgrades reduce the pause between catches. Bubble or Plasma damage helps when targets take too long, while shop upgrades shorten the selling stop. Every purchase also moves you toward the next Prestige level.
2. Climb One Depth at a Time
Start in Ocean Shallows at 100m, then raise Prestige to open 200m and 300m. Continue through Glacial Depths at 400–600m, Swamp Waters at 700–900m, and Magma Abyss at 1000–1200m. Choose each newly opened depth from the area-select screen before launching.
Do not force a fresh depth just because it unlocked. Run the previous stage again if the return trip still begins with a flashing oxygen gauge, or if one jellyfish drains too much of the Bubble Gun. A capacity, movement, reload, or damage purchase often turns the next attempt from a scramble into a full cargo run. That is where Shelldiver starts to sing: one upgrade creates a larger haul, the larger haul buys two more upgrades, and the numbers begin climbing like they have somewhere important to be.
Glacial Depths is the first major material checkpoint. Gather crystals throughout the region and collect mushrooms at 600m. Swamp Waters is the main mushroom stretch, while Magma Abyss supplies obsidian. Keep some older materials even after leaving their home areas. The late skill tree remembers every rock you skipped.
3. Unlock the Shellphone and Alchemy
When the Shellphone node becomes reachable, buy it. Shellphone lets you open the skill tree from anywhere on the island and reveals more of the branch above it. Keep buying connected nodes up that branch until you reach Alchemy Station, then purchase it.
- Buy Shellphone and inspect the newly revealed branch above it.
- Follow that branch to Alchemy Station and buy the station node.
- Return to the island and approach the newly unlocked Alchemy Station.
- Build your balance to at least 100T (100 trillion) shells. The station does not provide a usable conversion prompt below that amount.
- Use the station to turn shells into Life Vials, a currency required by late skill nodes.
- Spend the first vials on any reachable branch that helps your current bottleneck. Survival and reload upgrades smooth out dives, while earning and harvesting upgrades speed up the next conversion.
If the station still has no prompt after you hold 100T shells, complete one more dive and return to the island. Then quit to the menu and reload the save once. Try that refresh before considering a new save; this is turtle-business paperwork, not a reason to throw away the whole company.
4. Prepare the Four Final Materials
Once Prestige Level 12 opens 1200m, work on maxing every remaining skill. Four late upgrades require the material families found across the campaign: scrap, crystals, mushrooms, and obsidian. Hover over unfinished nodes to see which collectible their upgrades use before launching another dive.
- Missing scrap: return to Ocean Shallows at 100–300m.
- Missing crystals: revisit Glacial Depths at 400–600m.
- Missing mushrooms: sweep 600m or Swamp Waters at 700–900m.
- Missing obsidian: return to Magma Abyss at 1000–1200m.
Each depth reuses its level layout, so learn a short sweep that brings you back toward the submarine. Material amounts can still grow as you improve appearance and drop-rate skills, so do not expect the same haul from every build. If shells are the blocker, farm the deepest Magma stage that your oxygen, movement, and damage setup can handle without a desperate return trip. Safe repeated sales beat one heroic dive that returns nothing.
5. Buy Hammock Repair and Trigger the Ending
Max every other skill, including the four upgrades that use materials from the different map regions. The central Hammock Repair purchase will then appear as the final target. Buy it, close the skill tree, and return to the island.
Go back to the hammock where the turtle was sleeping during the opening. Stand beside it and press the displayed interaction button. The old turtle lies down, triggering the hammock ending and bringing the first full Shelldiver campaign route to a very earned nap.
Comments will load when you reach this part of the walkthrough.