
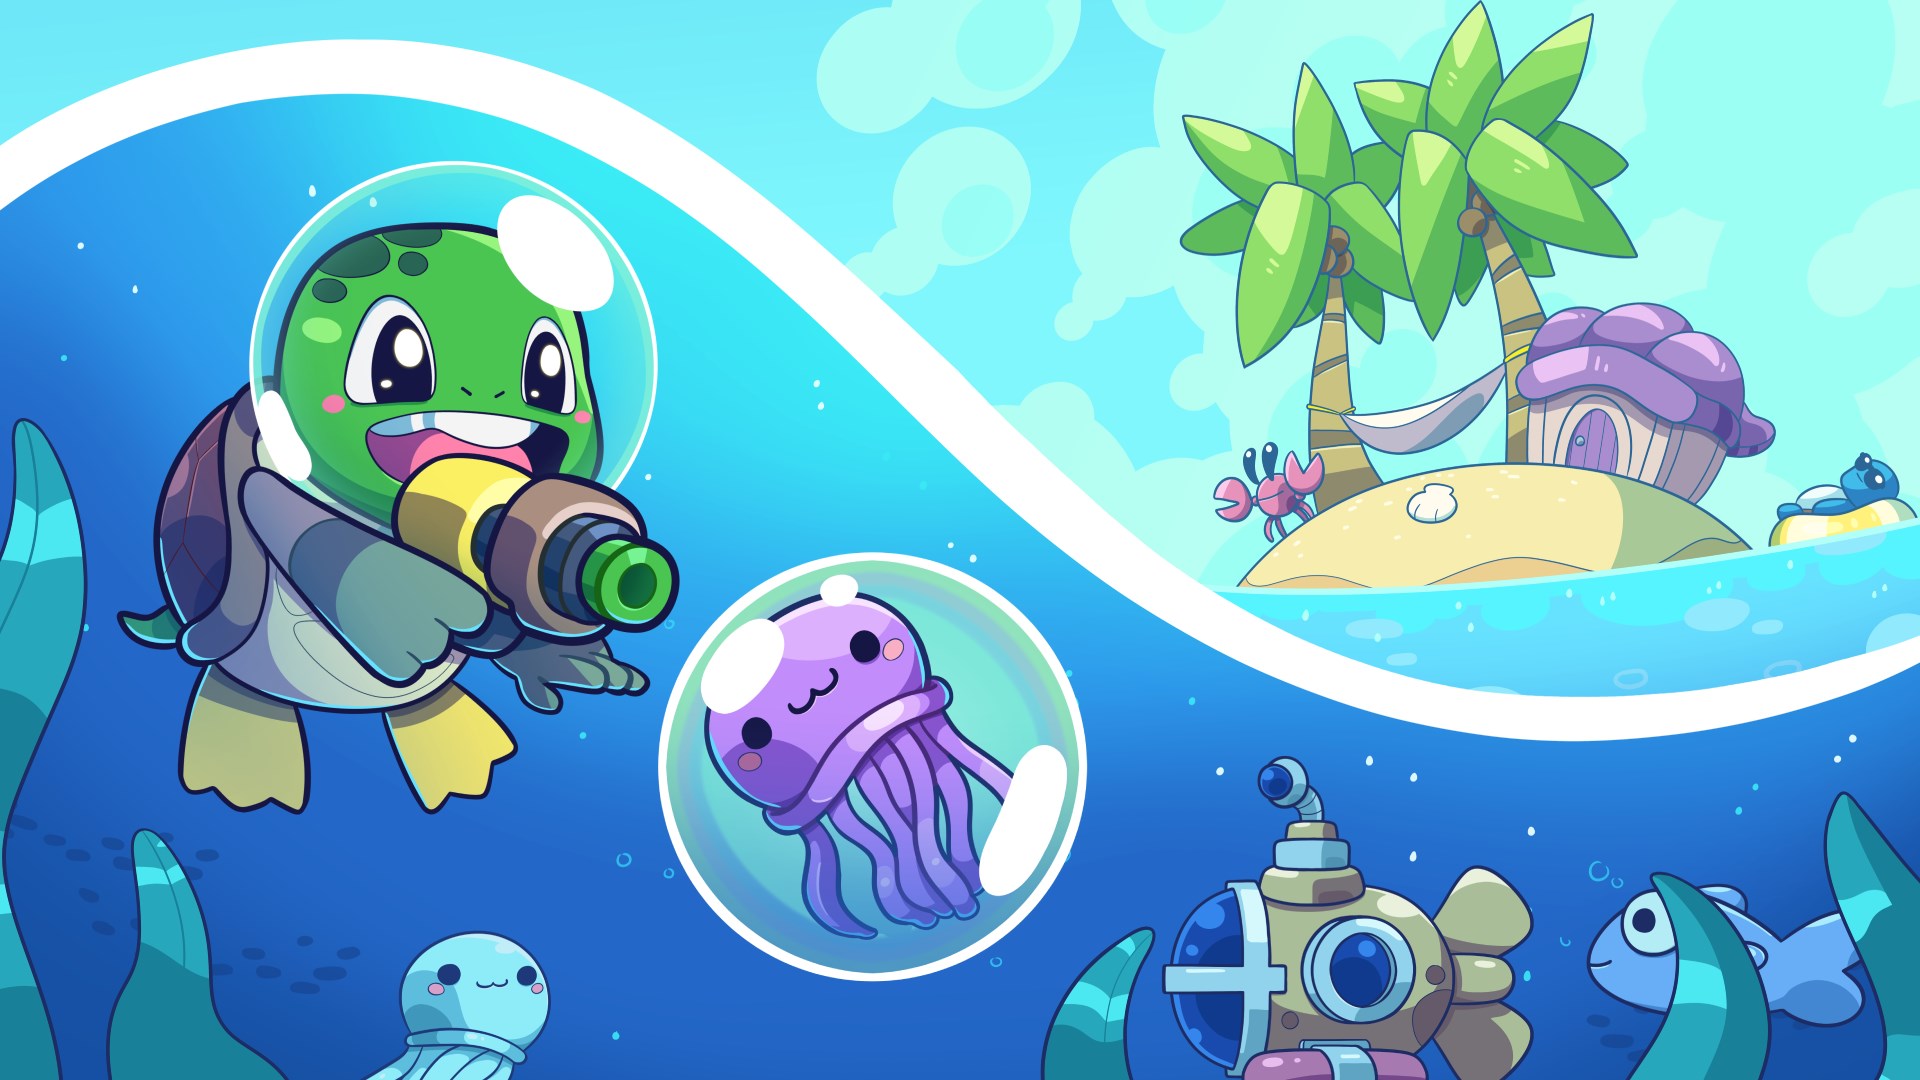
Shelldiver Biome and Resource Progression Checklist
Missing a material for an upgrade? Hover over the skill to check what it needs, then return to a depth where you can collect it. A quick supply run can get you moving again without pushing deeper.
Shelldiver has four biomes, each with three selectable depths. Buying skills raises Prestige and unlocks new areas without resetting your progress. Each depth keeps the same terrain layout on return visits, so learn a short gathering loop from the submarine. Upgrades can also improve resource drops and jellyfish spawns.
Biome and Depth Unlock Order
Use this table to check where to go and what to gather. Watch your oxygen, leave enough for the trip back, and use visible terrain to mark your route.
| Biome | Depths and entry unlock | Dive planning | Resources to target |
|---|---|---|---|
| Ocean Shallows | 100m, 200m, 300m Start at 100m after buying Submarine. | Keep early gathering loops short. Watch oxygen and Bubble Gun ammo. | Break human trash and scrap objects with the Plasma Gun for Scrap. |
| Glacial Depths | 400m, 500m, 600m Entry: Prestige Level 4 | Save enough oxygen to retrace your route after gathering. | Break crystal rocks for Crystals. Mushrooms also appear at 600m. |
| Swamp Waters | 700m, 800m, 900m Entry: Prestige Level 7 | Choose a nearby gathering area before exploring farther. | Gather Mushrooms. |
| Magma Abyss | 1000m, 1100m, 1200m Entry: Prestige Level 10 | Start with a small loop while you learn the terrain. | Check the material listed on your next skill before planning a gathering run. |
How to Collect Scrap in Ocean Shallows
Use the Plasma Gun to break human trash and scrap objects in Ocean Shallows. The Bubble Gun catches jellyfish; it is not the tool for collecting Scrap. Once you have the Plasma Gun, start with nearby scrap objects at 100m and keep the route back to the submarine short.
Return to these early depths whenever a skill-tree upgrade needs more Scrap, even after you unlock later biomes. Check the amount required, make a focused Scrap run, then head deeper again.
Material Source Checklist
- Shells: Sell captured jellyfish at the island shop, then collect the Shells from the chest.
- Scrap: Break human trash and scrap objects in Ocean Shallows with the Plasma Gun.
- Crystals: Break crystal rocks in Glacial Depths with the Plasma Gun.
- Mushrooms: Harvest them with the Plasma Gun at 600m or in Swamp Waters. The 600m depth gives you a source before the swamp opens.
- Life Vials: Convert Shells at the island's Alchemy Station.
Farming Loops by Tool State
- New Plasma Gun and limited oxygen: Start at 100m for Scrap. Pick one side of the submarine, break nearby objects, and begin heading back around half oxygen. Use that as a starting guideline and turn back sooner if the return trip is long.
- Improved Plasma damage, storage, and oxygen: Try 400m for Crystals and 600m for Mushrooms. Once Swamp Waters opens, try 700m for a focused Mushroom run. Gather in one nearby area, then retrace your route.
- Prestige Level 10 and deeper exploration: Start at 1000m with a short loop. Check your remaining upgrade costs before choosing which materials to gather.
- Better resource drops and stronger tools: Expand a familiar loop once you can harvest efficiently and return with oxygen to spare.
Some late upgrades still need Scrap, Crystals, or Mushrooms from earlier areas. Check your unfinished skills before launching, then try 100m for Scrap, 400m for Crystals, or 600m and 700m for Mushrooms. These are useful starting points, not guaranteed fastest routes for every build.
Keep your loop small while oxygen, ammo, or Plasma damage limits your dives. Widen it as your upgrades improve. A short trip through familiar water can be the easiest way to collect what your next skill needs.
Comments will load when you reach this part of the walkthrough.