

Chapter 3: The Chapel
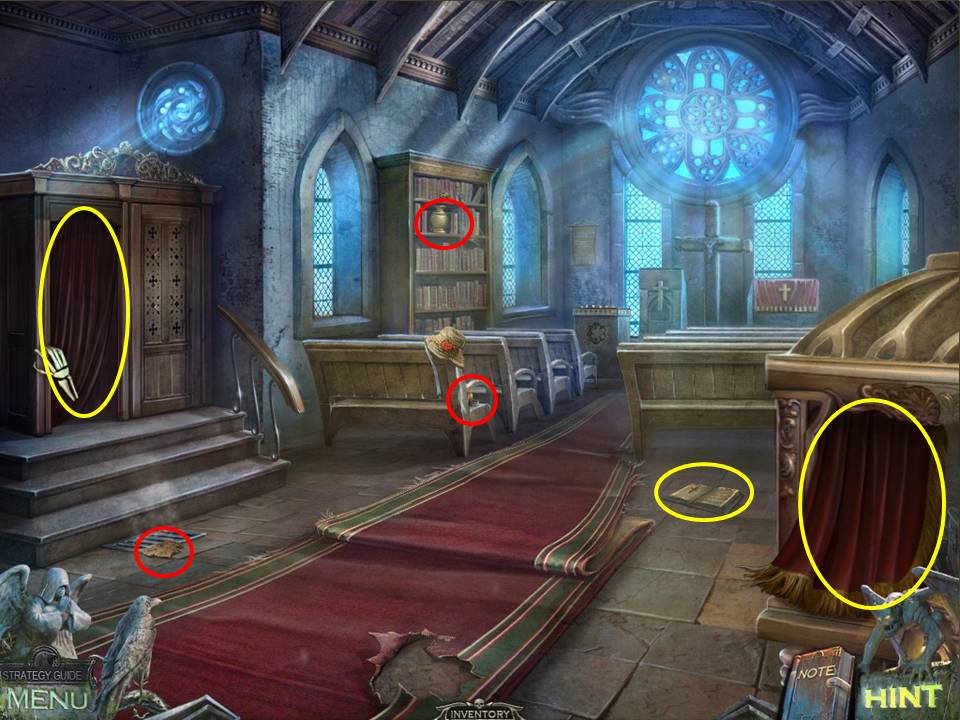
- Move aside the red curtain at right.
- Zoom into the book on the floor behind the right section of church pews and read it.
- Zoom into the grate on the floor, beneath the steps on the left.
- Take the DESIGN PIECE found there and listen to the cries coming through the grate.
- Move the curtain over the confessional door on the left.
- Zoom into the rear left church pew with the hat hanging off the end and take the PAINTS located there.
- Zoom into the bookshelf on the left side of the chapel and take the CROW RUNE found there.
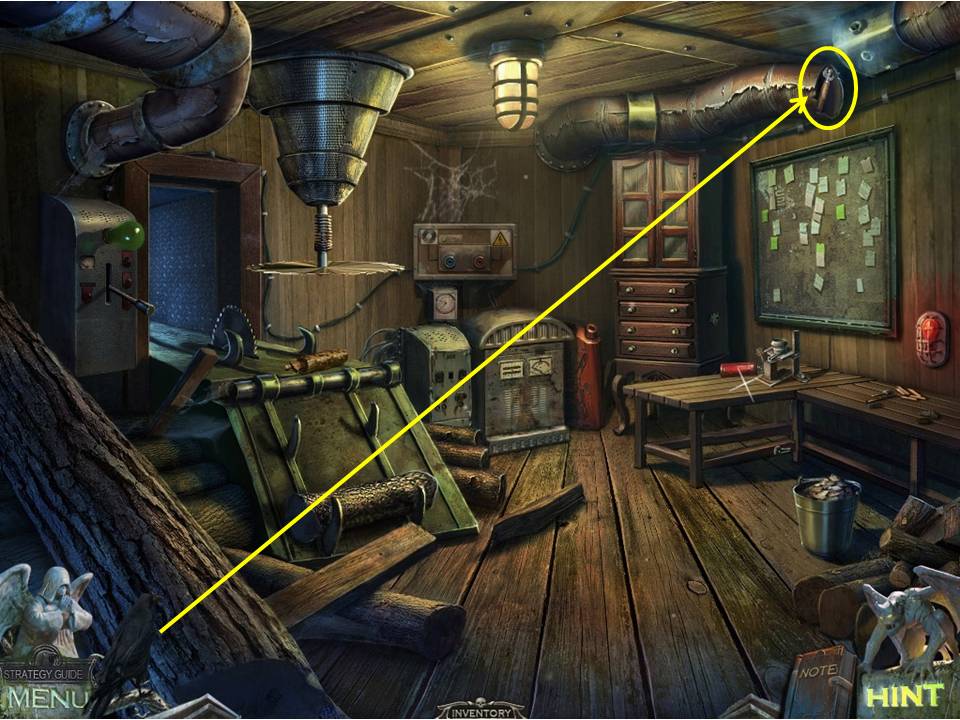
- Return to the workshop.
- Use the crow to knock the CAN OPENER from the vent, then pick it up from the floor.
- Combine the CAN OPENER and the CAT FOOD CAN to get the OPENED CAT FOOD CAN.
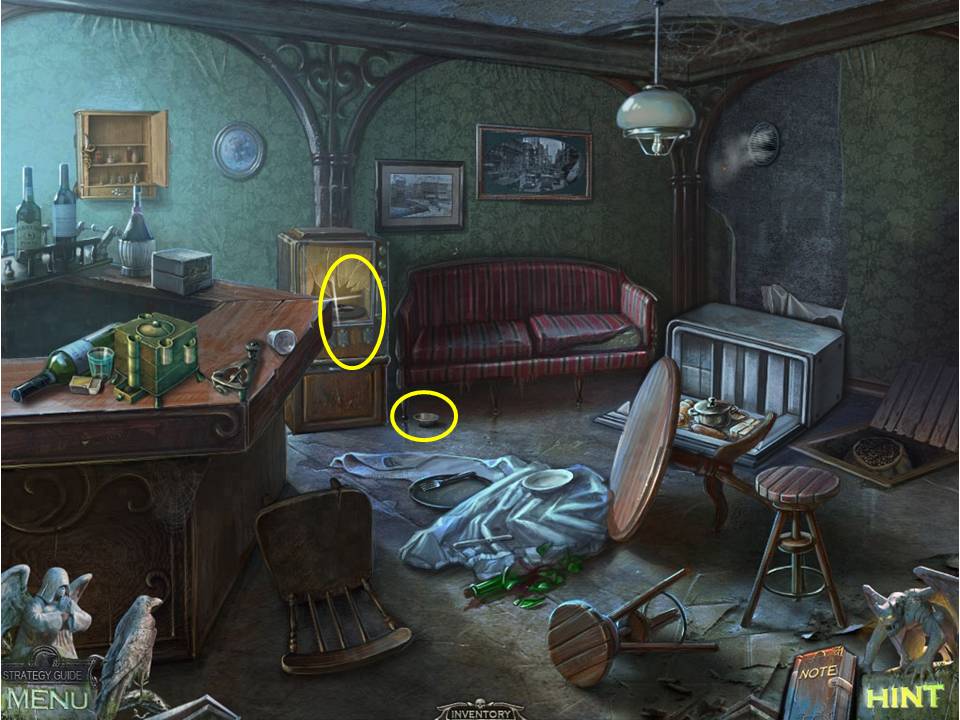
- Return to the bar.
- Zoom into the area under the red couch.
- Place the OPENED CAT FOOD CAN on the dish to lure the cat forward.
- Take the CHISEL that’s revealed.
- Zoom into the jukebox next to the couch, insert the COIN in the slot to make the machine grab a record, and take the DESIGN PIECE that you’ll find on top of the record.
- Place the DESIGN PIECES together to get the DESIGN.
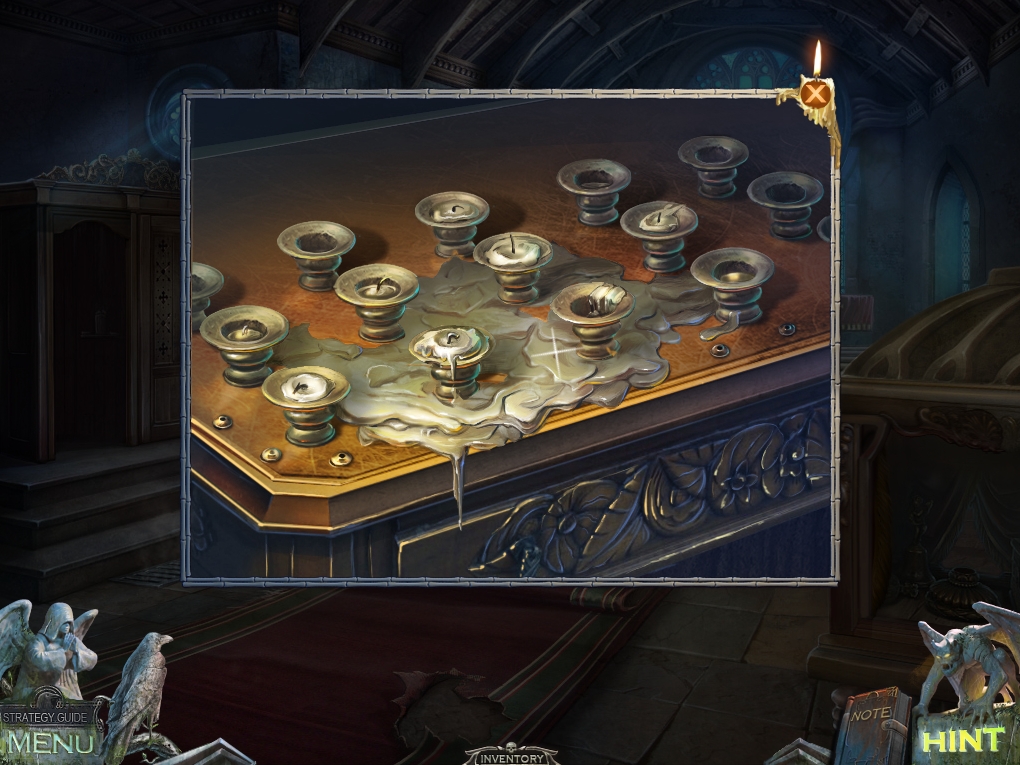
- Return to the chapel.
- Zoom into the large cross under the chapel’s main window.
- Use the CHISEL to remove and take the candle WAX.
- Return to the workshop.
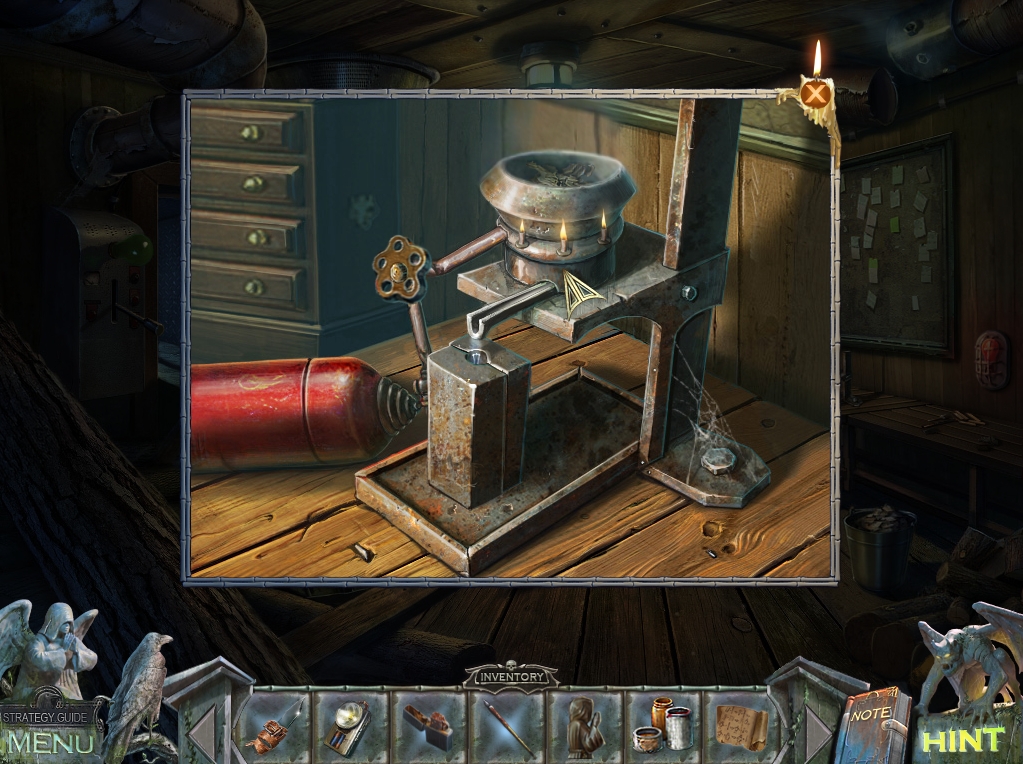
- Zoom into the work table at right.
- Place the WAX inside the hollow.
- Click the valve to turn on the gas.
- Light it with the LIGHTER.
- Take the CANDLE.
- Return to the chapel.
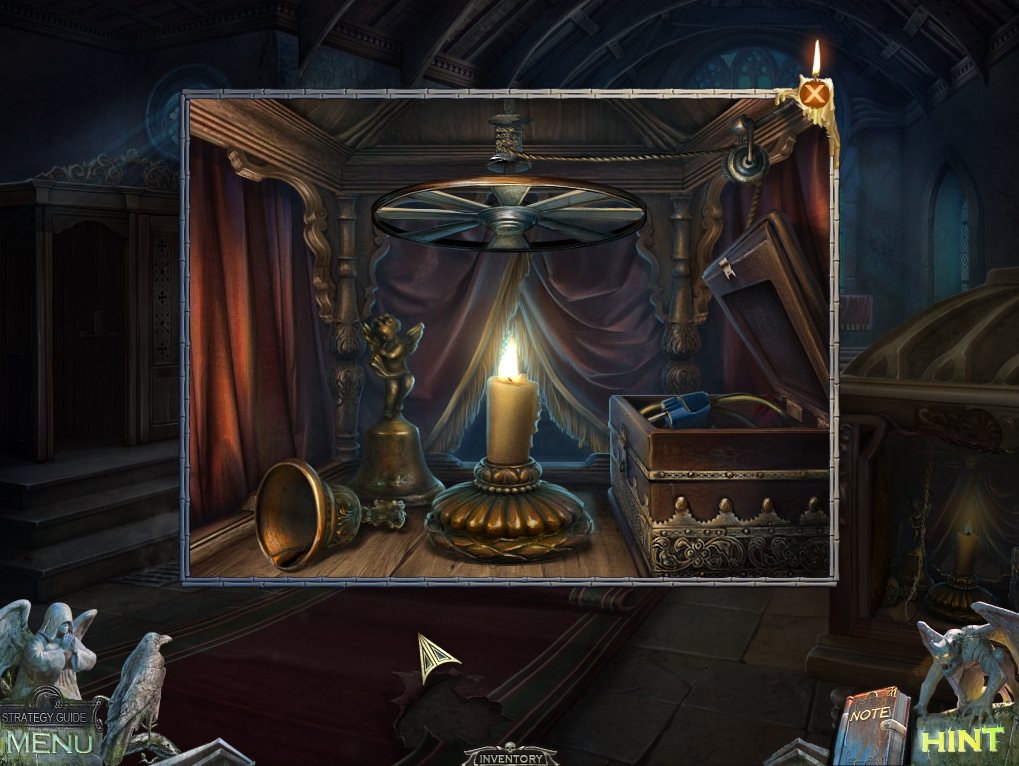
- Zoom into the altar at lower right.
- Place the CANDLE in the holder.
- Light it with the LIGHTER.
- Take the CABLE.
- Return to the workshop.
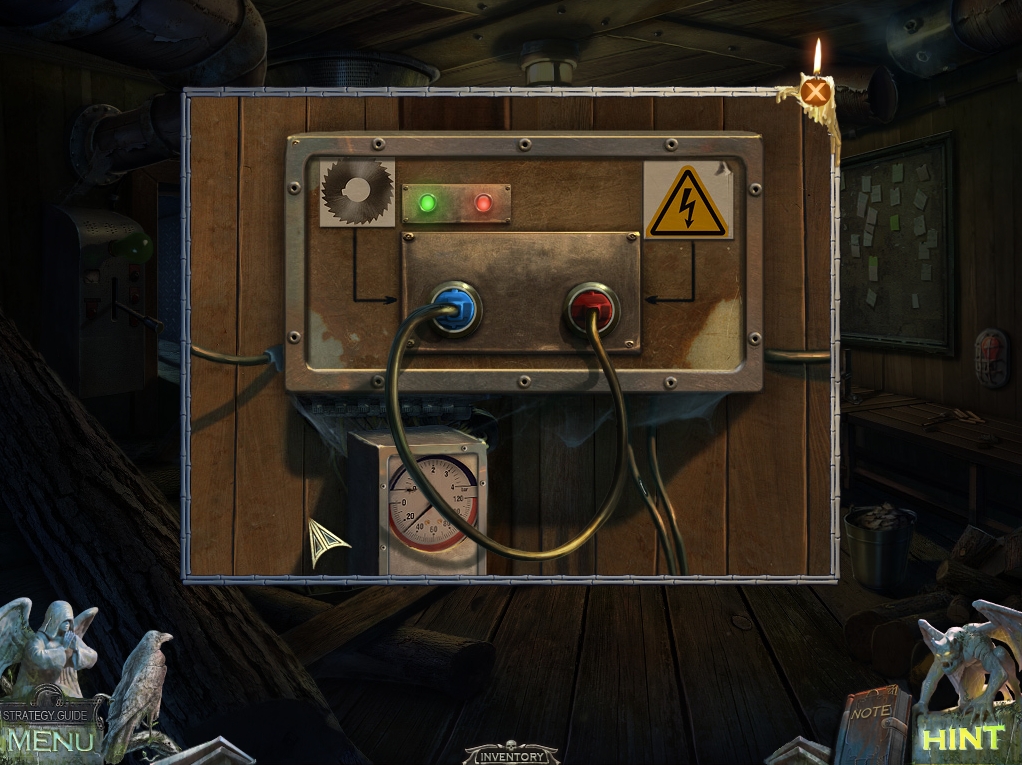
- Zoom into the power box on the back wall, above the generator.
- Use the CABLE on the red and blue sockets to restore power.
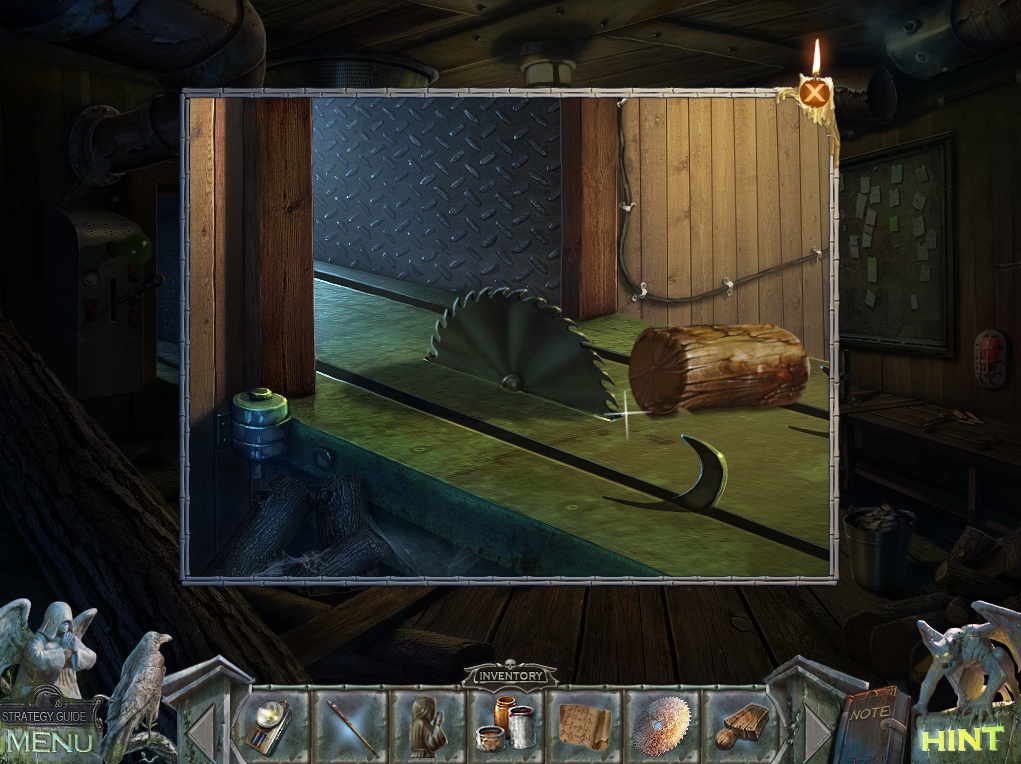
- Use the lever to turn on the circular saw.
- Take the SAW BLADE after it embeds itself nearby.
- Zoom into the circular saw table, saw the piece of wood, and take the WOODEN STATUETTE.
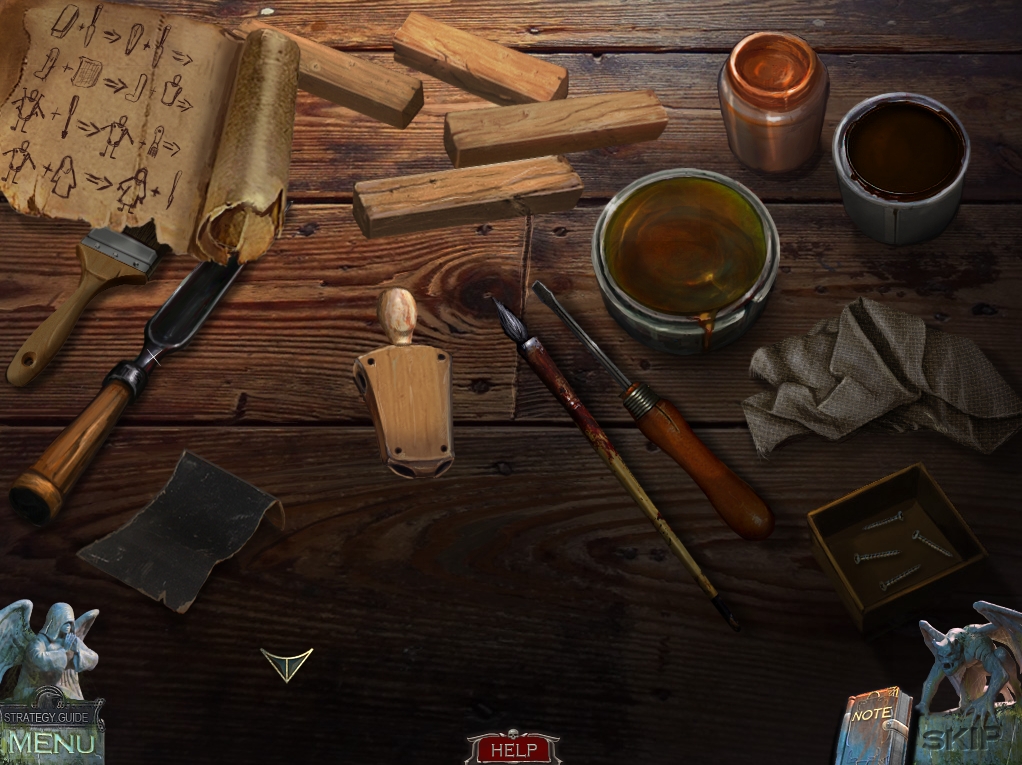
- Zoom into the work bench at right.
- Place the WOODEN STATUETTE, the DESIGN, the PAINTS, and the BRUSH on the table to initiate a puzzle.
- The object of the puzzle is to carve a monk statuette.
- Click and drag the tools and supplies as follows:
[NUMBERED]
[/NUMBERED]
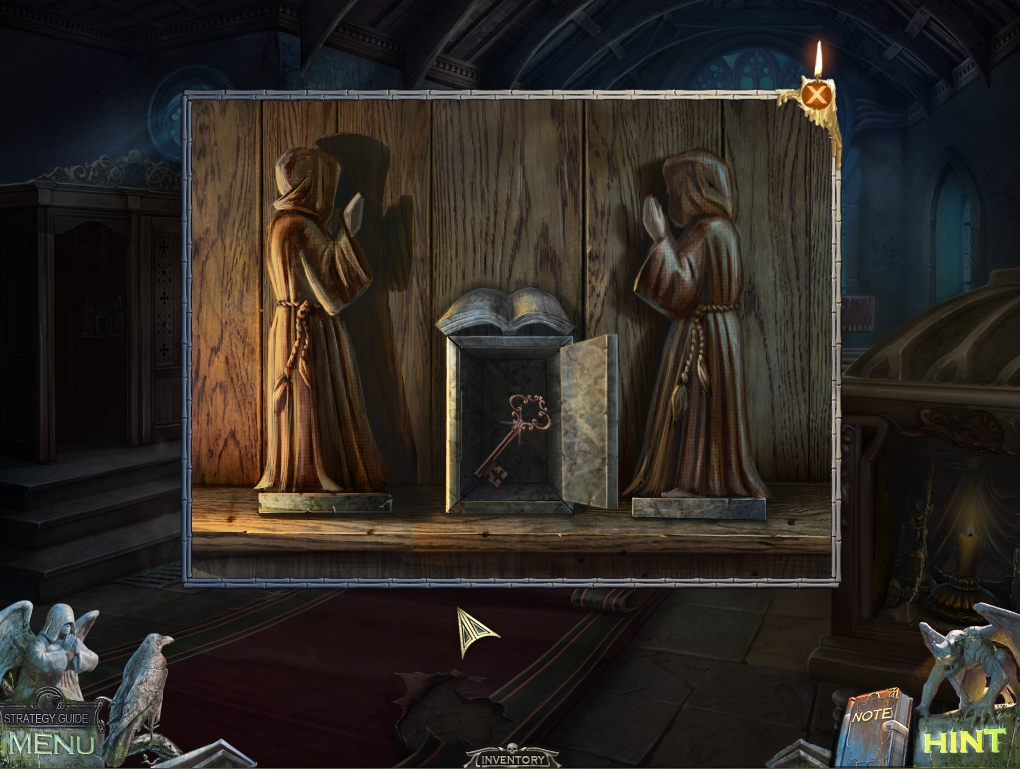
- Return to the chapel.
- Zoom into the open door of the confessional.
- Places the MONKS on their side of the middle statuette.
- Take the key.
- Return to the mine entrance.
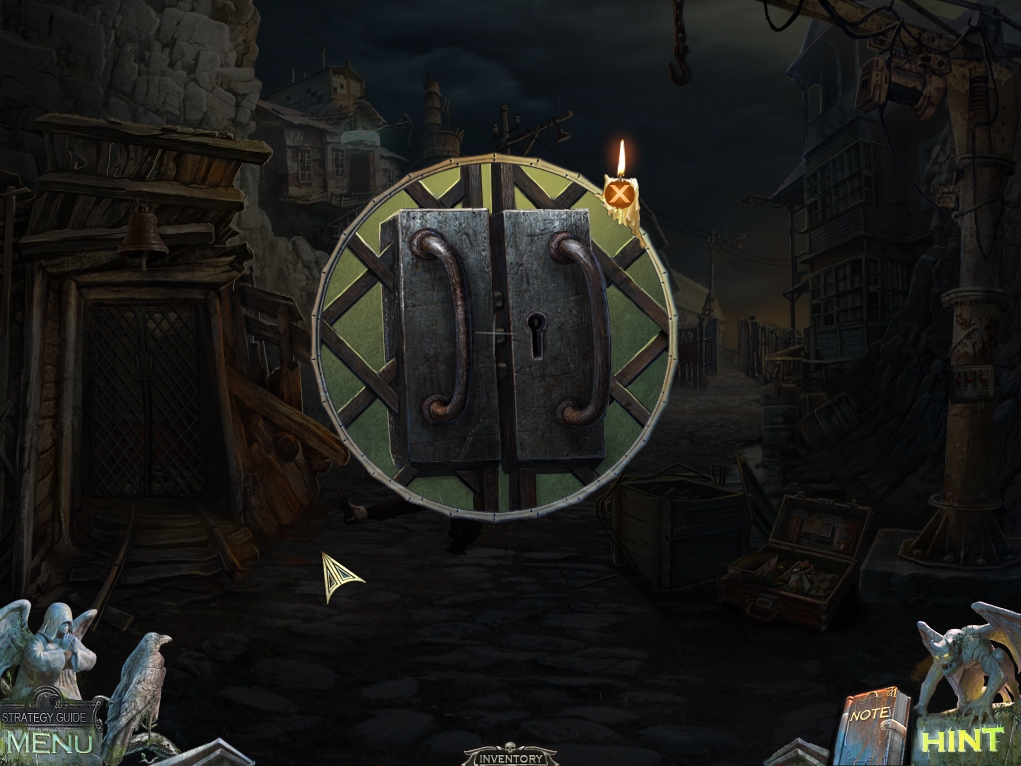
- Zoom into the mine entrance.
- Open the gates with the KEY.
- Go inside.
Comments will load when you reach this part of the walkthrough.