

Chapter 1: Intro and Skull Hill
Welcome to Chapter 1 of our Casual Game Guides Redemption Cemetery Grave Testimony Walkthrough.
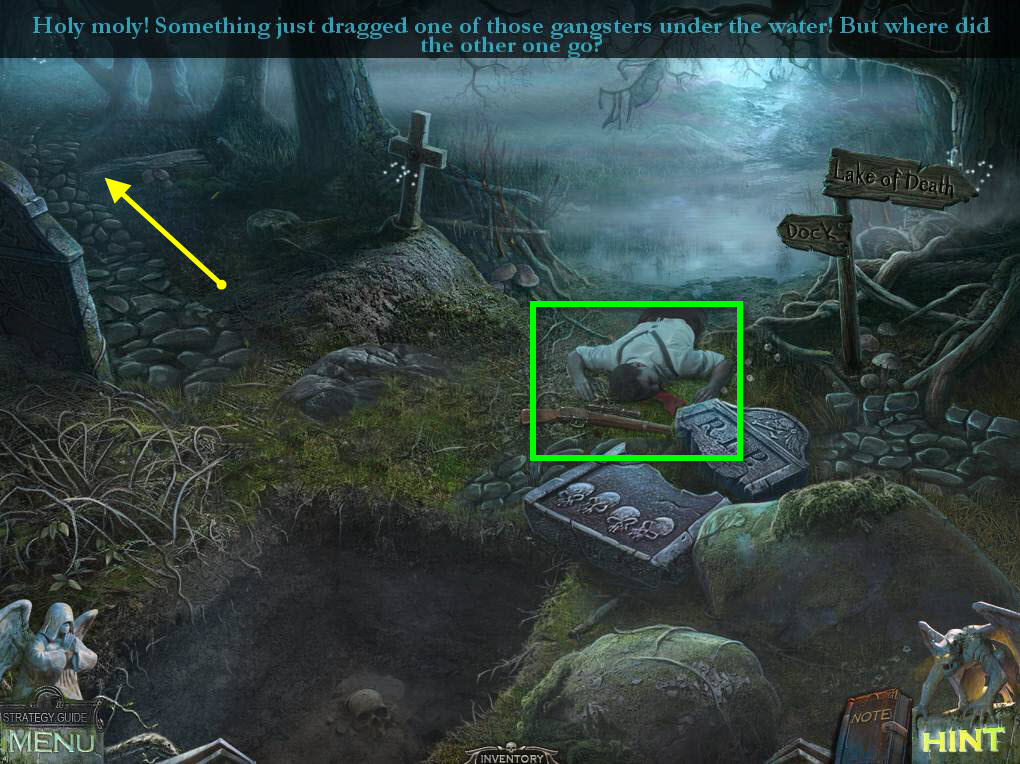
- Click to zoom in on the man on the ground.
- Take the OPTICAL SIGHT on the ground.
- Move to the left.

- Use the OPTICAL SIGHT on the man in the boat.
- Click on the stump to zoom in.
- Take the SKULL PIECE.
- Go down and then to the right.
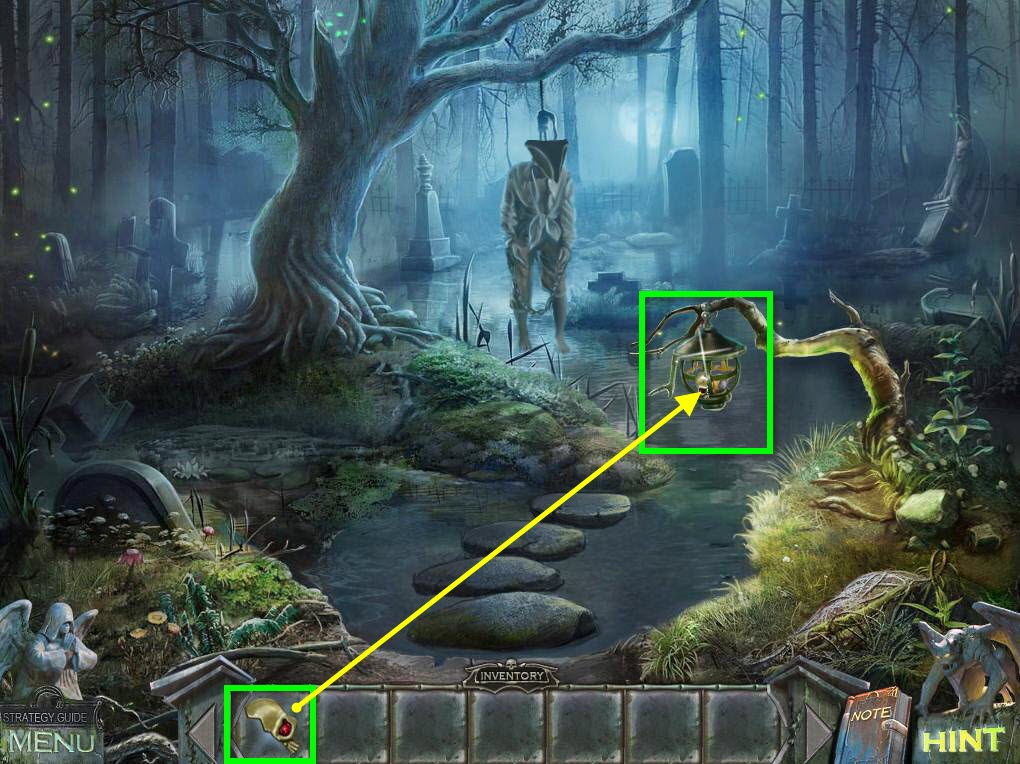
- Click on the lantern to zoom in.
- Use the SKULL PIECE on the other half of the skull.
- Take the EMPTY LOCKET HALF.
- Take the CANDLE.
- Go back to the dock area.
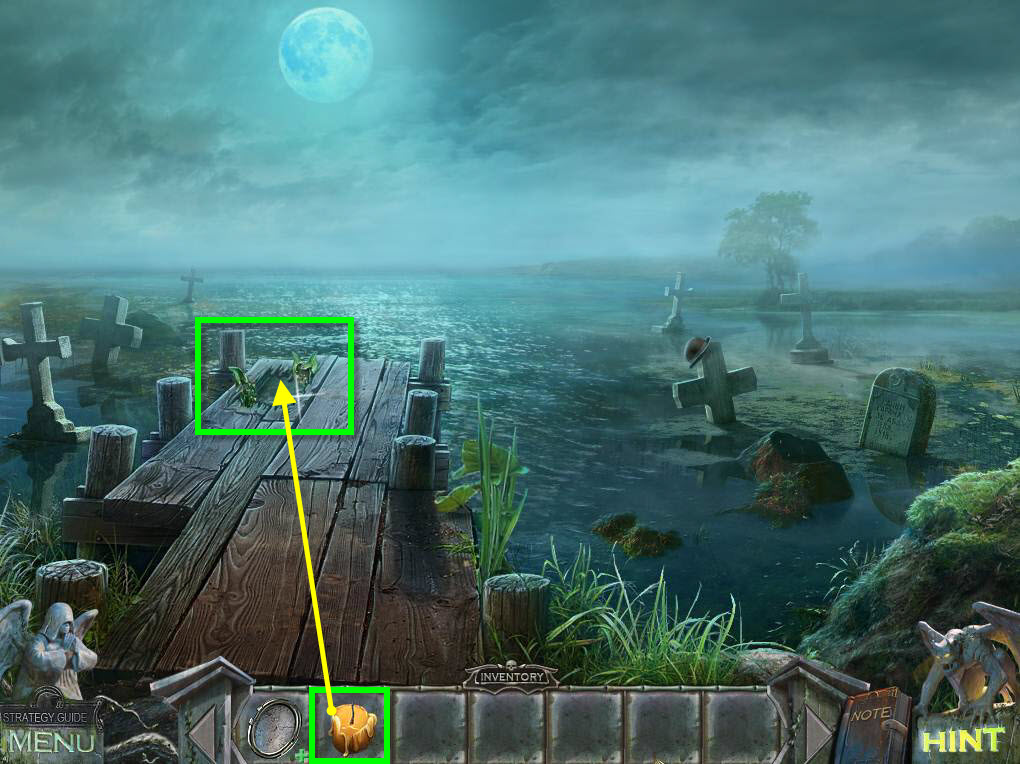
- Click to zoom into the hole in the board on the dock.
- Use the CANDLE on the skull.
- This will start a puzzle.
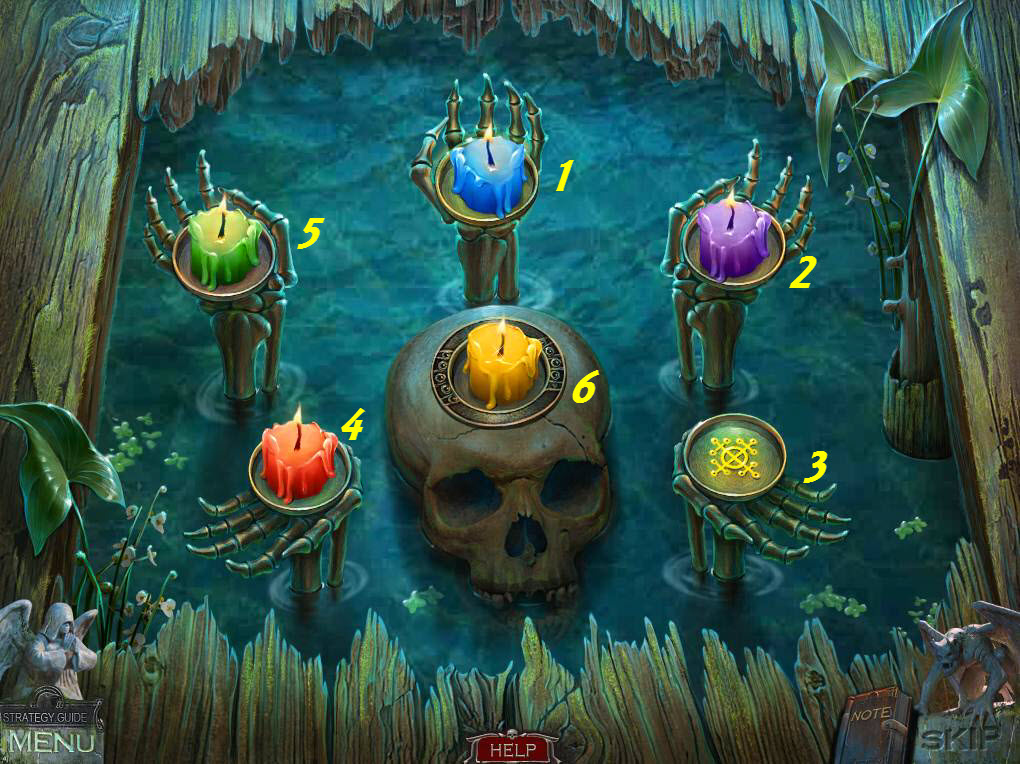
- The object of the puzzle is to move the candles to the stand that is the same color.
- The solution is as follows: 6 to 3, 4 to 6, 5 to 4, 1 to 5, 2 to 1, 6 to 2, 4 to 6, 5 to 4, 1 to 5, and 6 to 1.
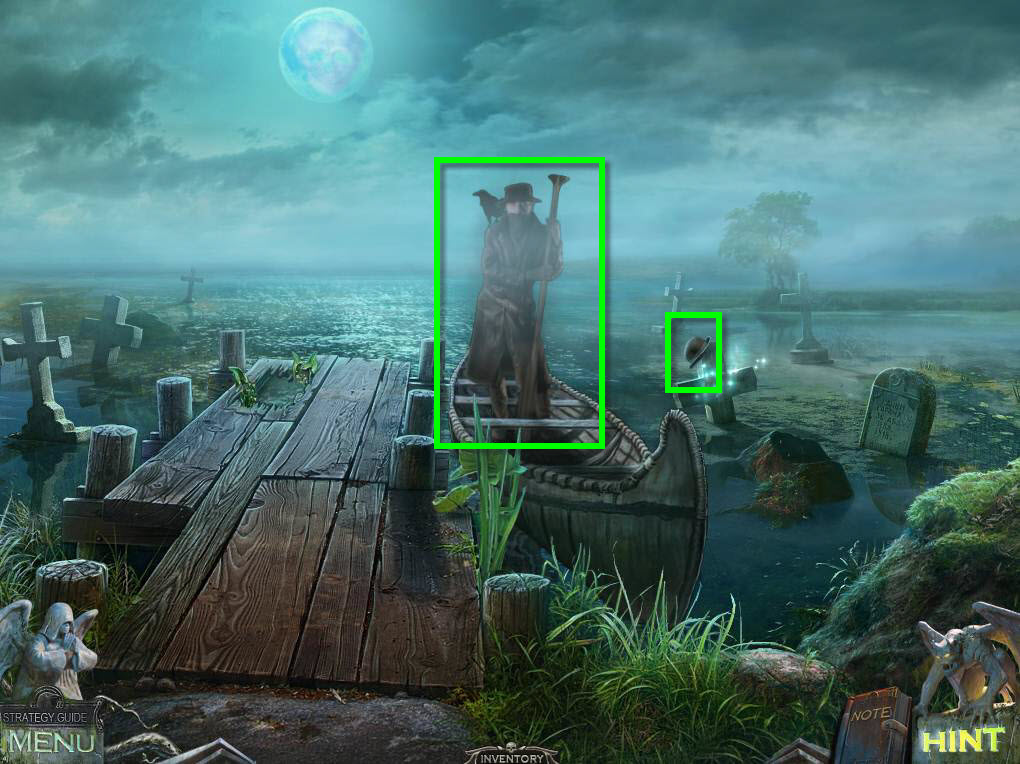
- Click on the boatman to talk to him when he appears.
- Take the CROW RUNE that is in his hand.
- Click on the Mystical Crow to get the hat that's in the water.
- Click on the hat to zoom in.
- Take the PHOTO.
- Use the EMPTY LOCKET HALF on the PHOTO.
- This will create the LOCKET HALF.
- Go down.
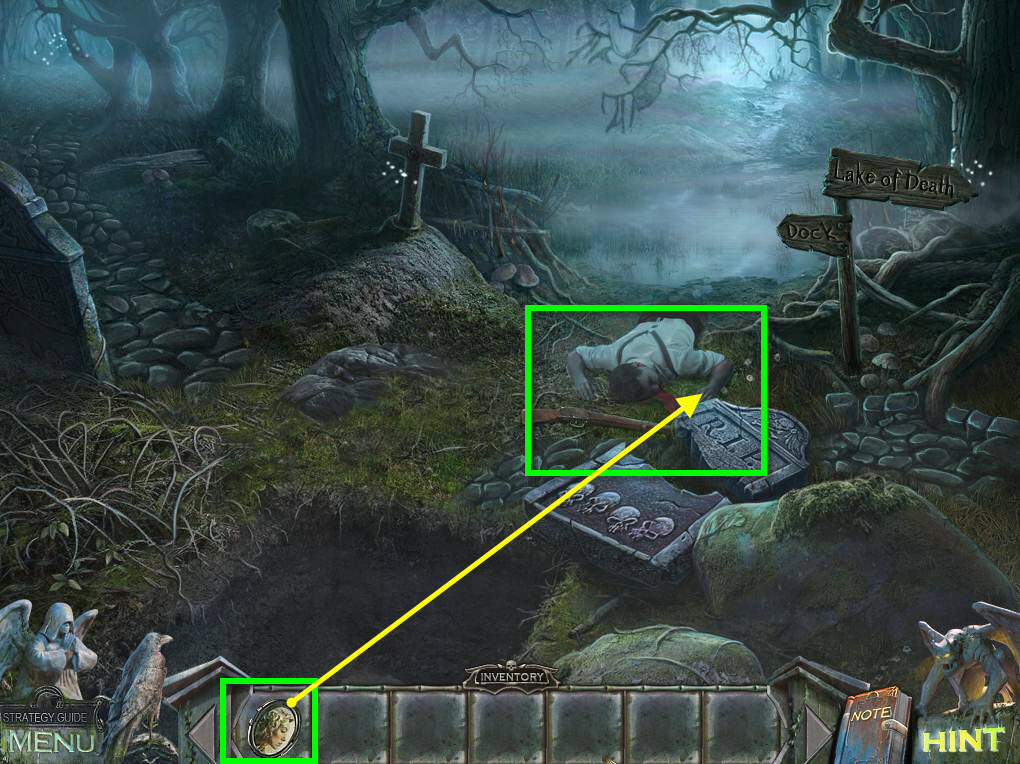
- Click on the dead man to zoom in.
- Click on his hand to zoom in.
- Use the LOCKET HALF on the locket.
- A ghost will appear.
- Click to talk to the ghost.
- Enter the portal.
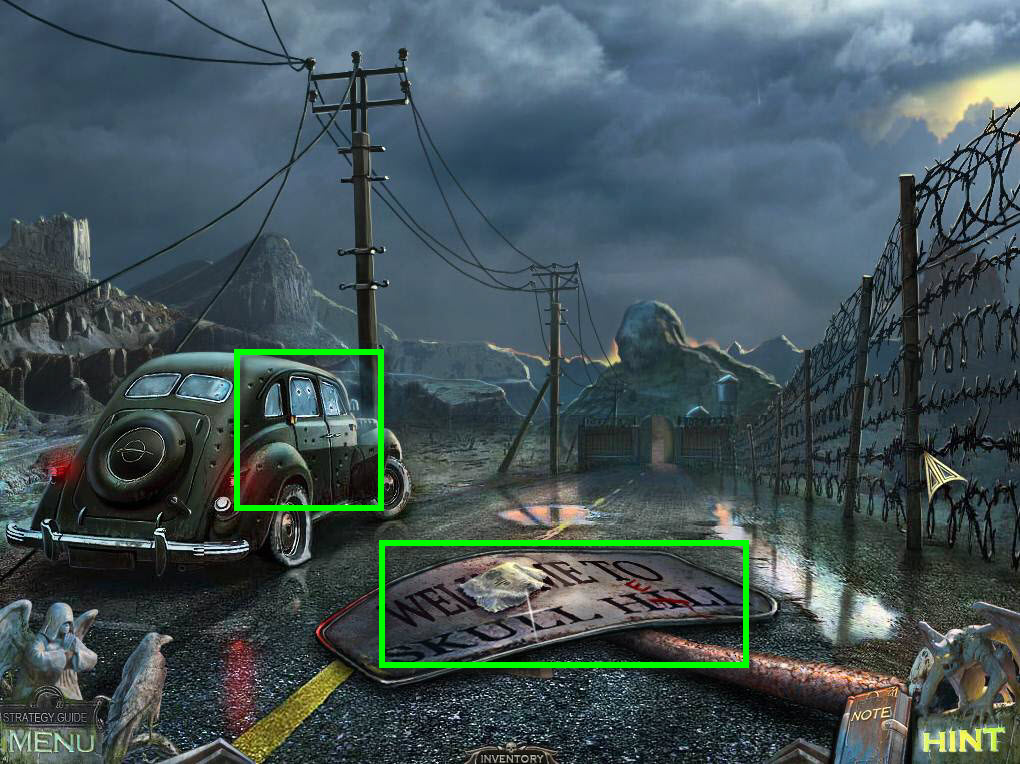
- Click on the sign to zoom in.
- Take the HANDKERCHIEF.
- Click to zoom in on the car.
- Click to open the back door and zoom in.
- Take the BATTERIES.
- Take the ELASTIC BAND.
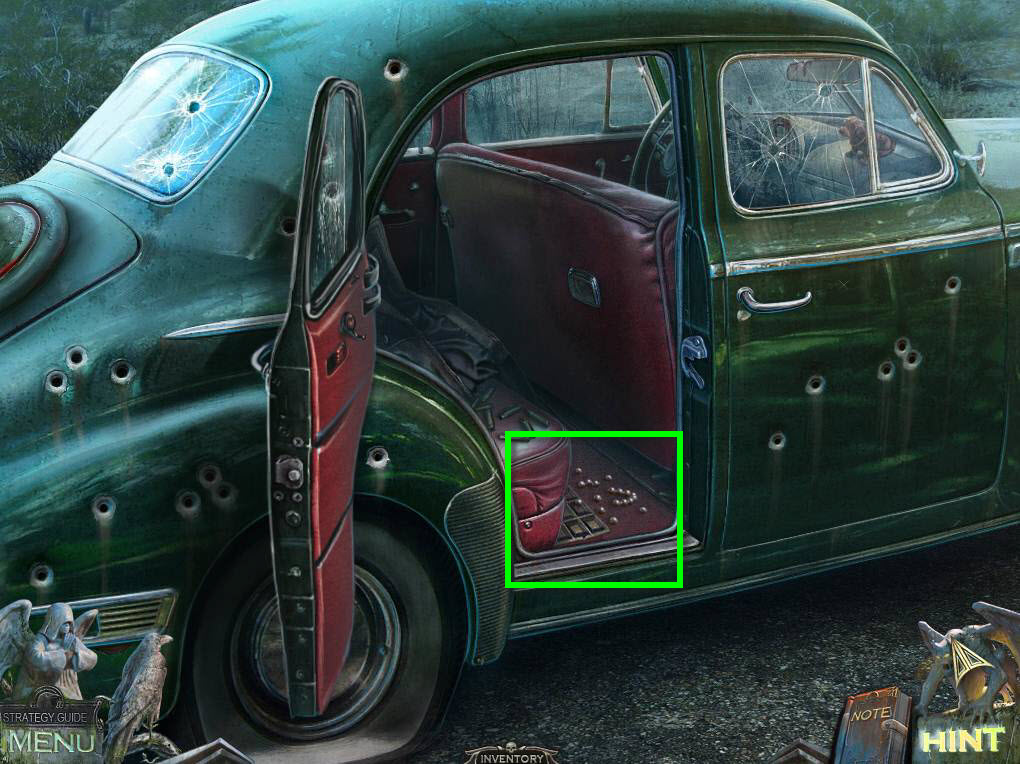
- Click on the mat on the floor to zoom in.
- Click on it again to lift it.
- Click on the locket to start a puzzle.
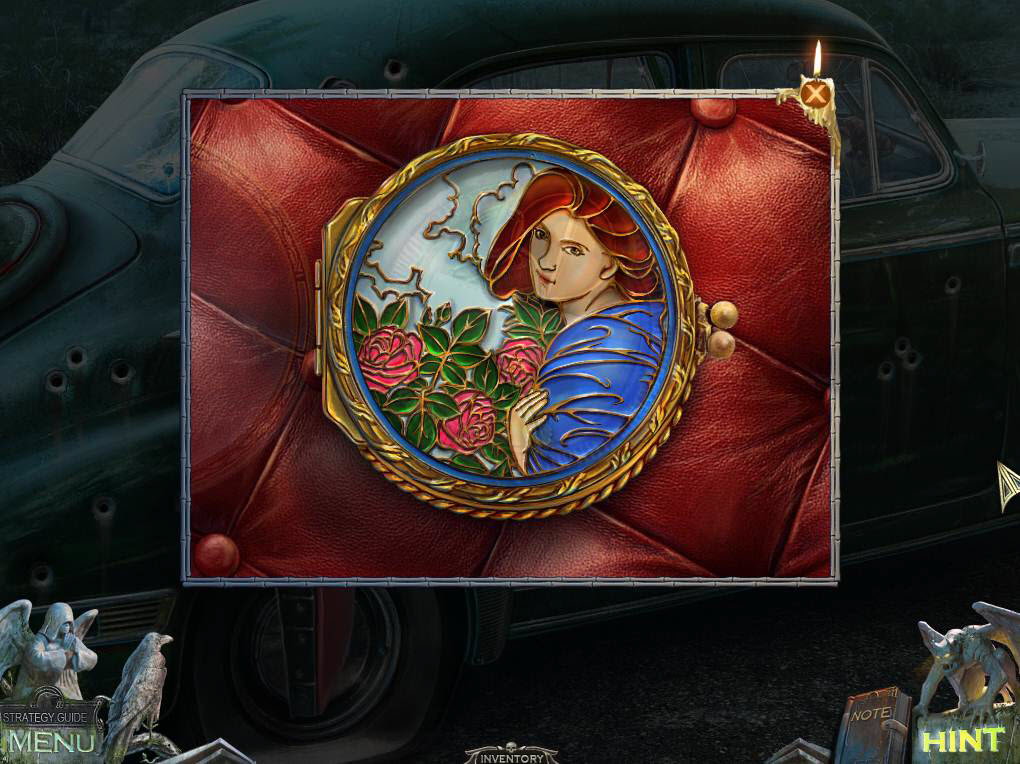
- You will need to click to swap pieces and put the locket back together.
- See the screenshot for the solution.
- Take the TRUNK KEY.
- Click to open the front door and zoom in.
- Take the NOTE.
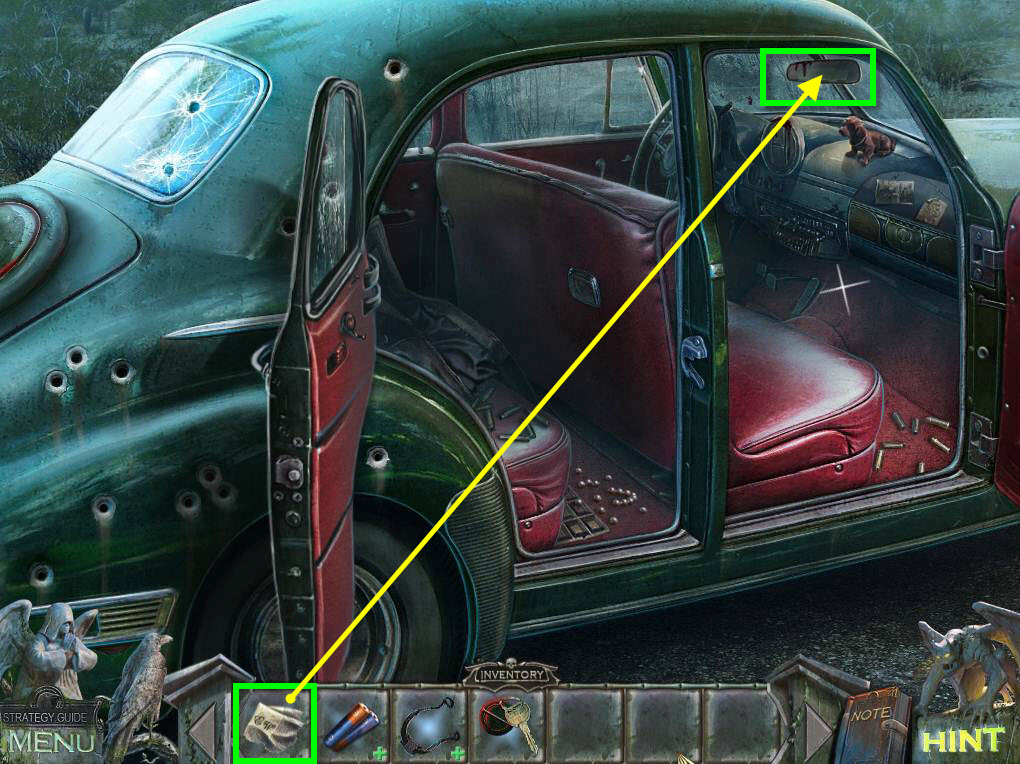
- Click to zoom in on the mirror.
- Use the HANDKERCHIEF to clean it.
- See the number 347.
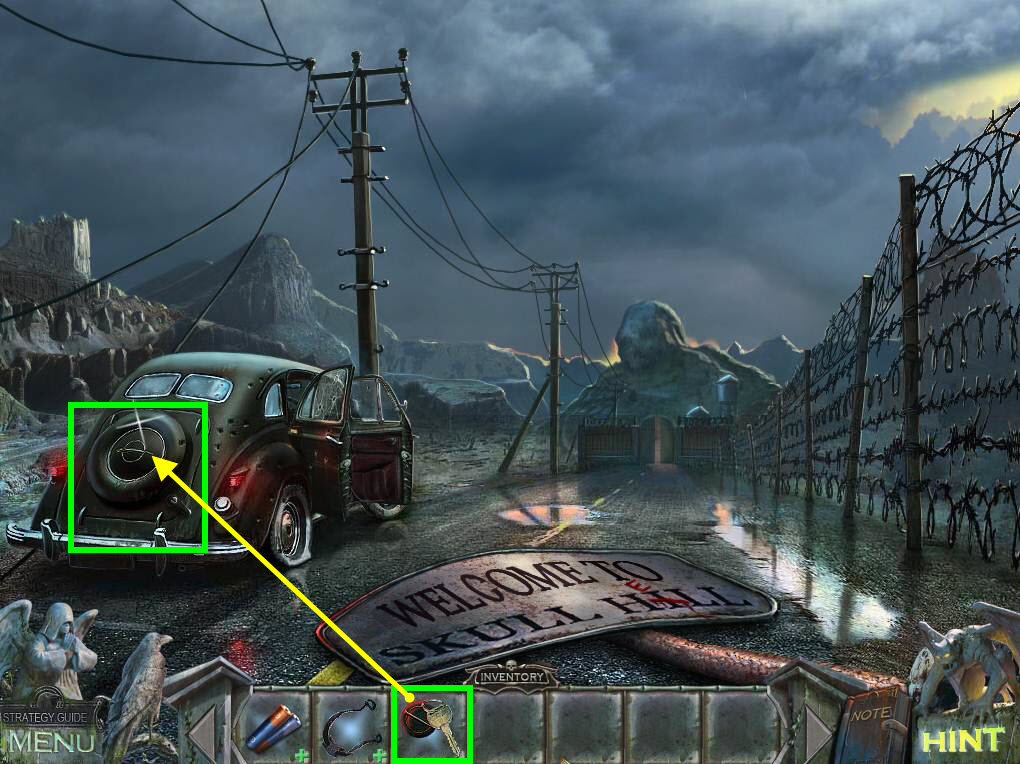
- Go back to the trunk.
- Use the TRUNK KEY on the lock.
- Take the FUEL CANISTER.
- Take the HORSES STATUETTE.
- Move forward.
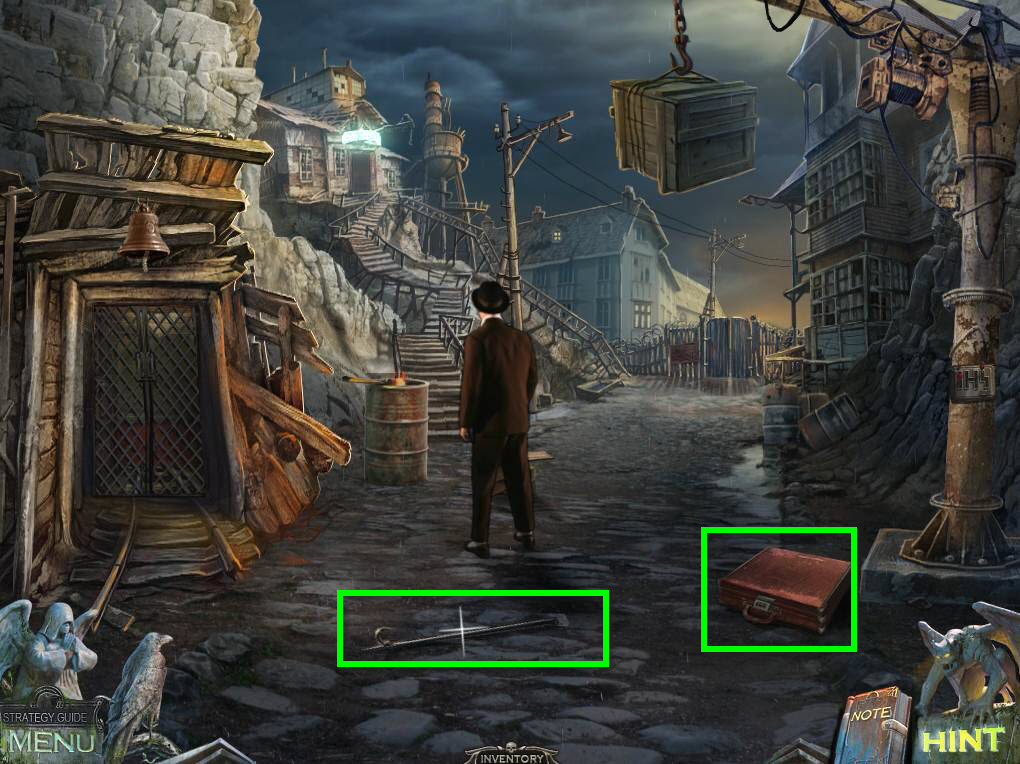
- Take the HOOK.
- Click to zoom in on the suitcase.
- Use the number 347 to start a Hidden Object Puzzle.
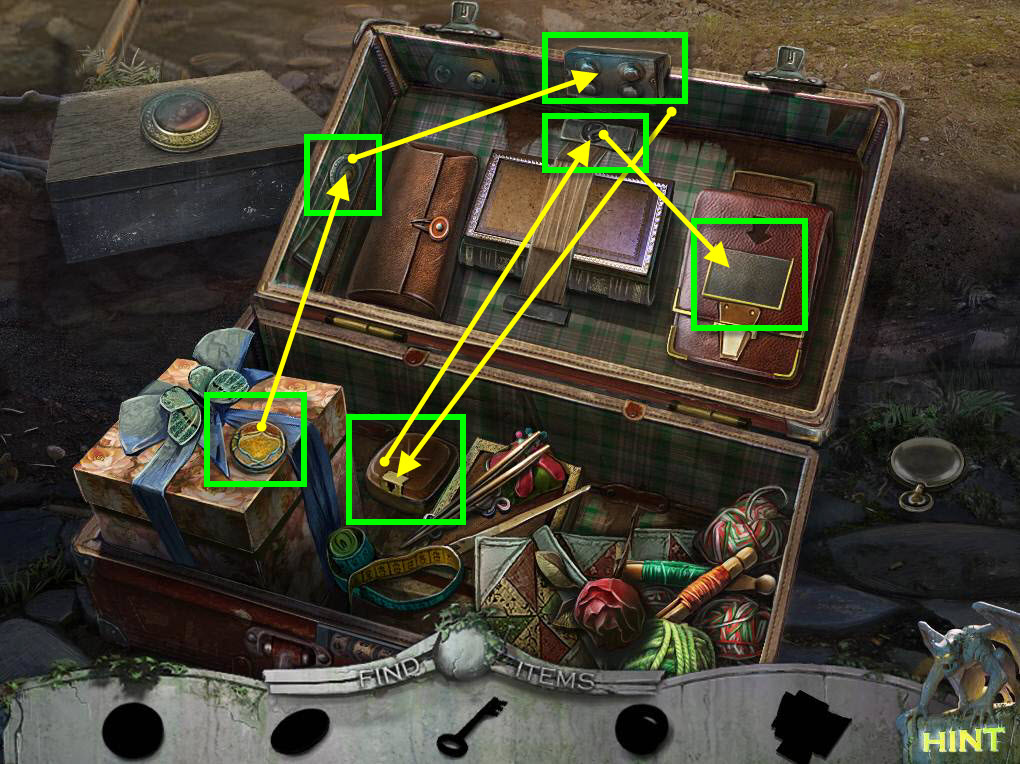
- Take the MEDALLION.
- Click to zoom into the side pocket of the suitcase.
- Use the MEDALLION on the slot and align the rings.
- Take the POWDER COMPACT.
- Click to zoom into the buttons.
- Use the POWDER COMPACT on them.
- Click on the top 2 buttons.
- Take the KEY.
- Use the KEY on the lock.
- Take the SIGNET RING.
- Put the SIGNET RING on the lock.
- Take the PHOTO PIECES.
- Click to zoom into the album.
- Use the PHOTO PIECES on the album.
- This will start a mini-game.
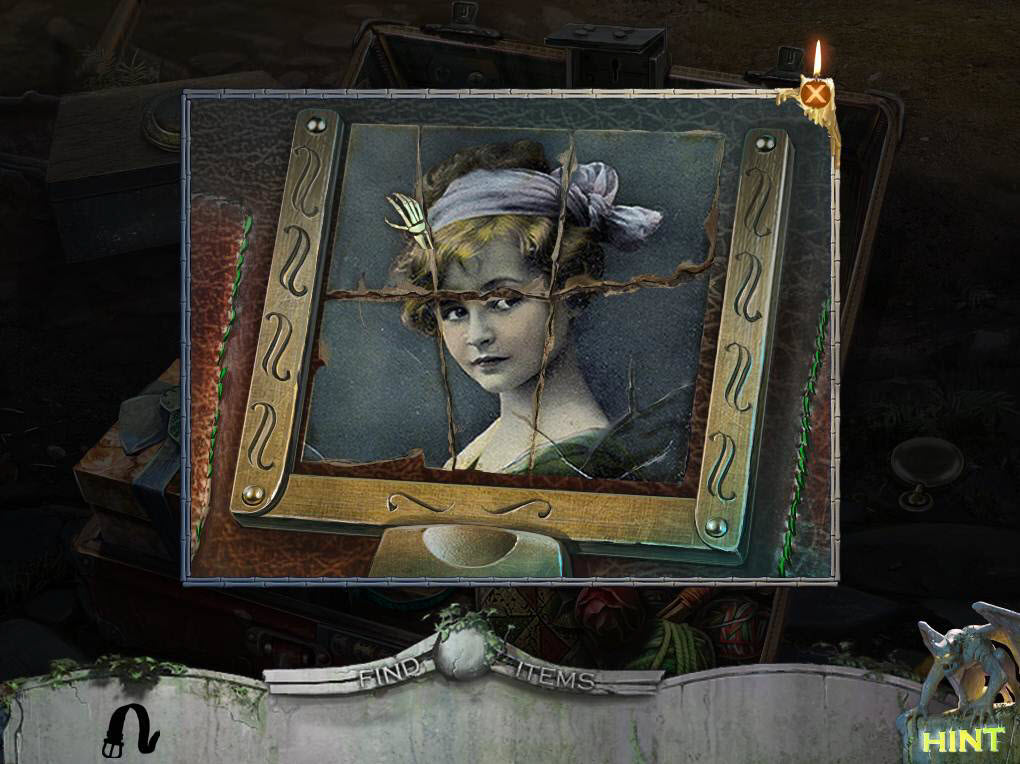
- See the screenshot for the solution.
- Take the BELT.
- Go down.
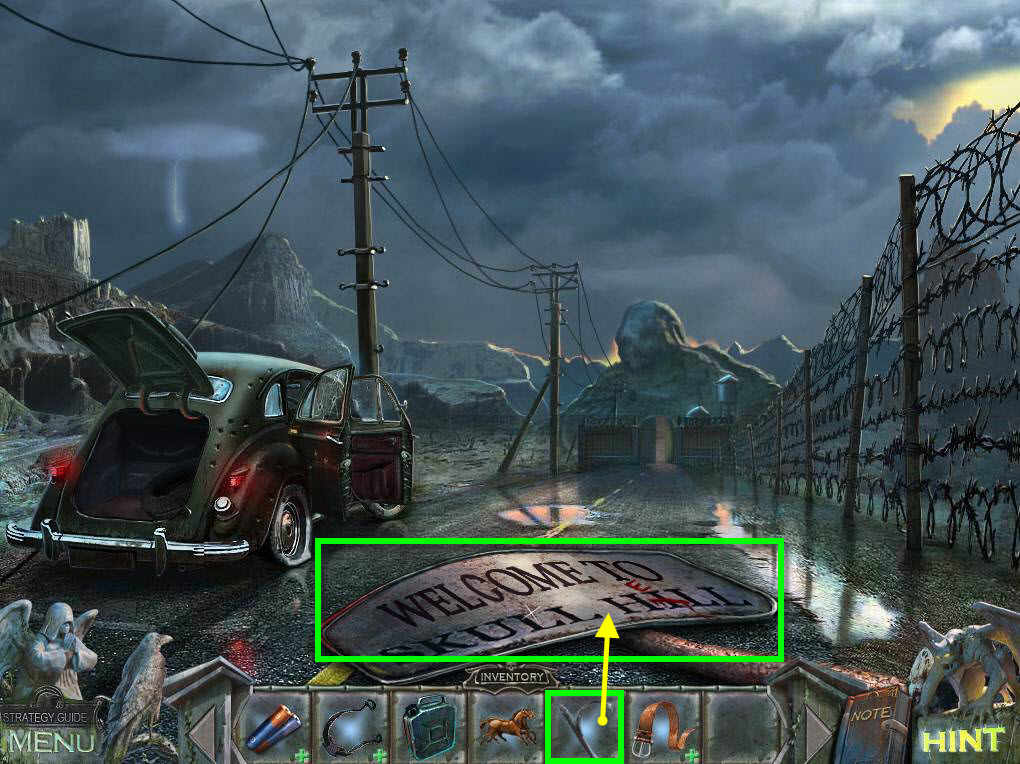
- Click to zoom into the sign.
- Use the HOOK on the sign.
- Take the GLASS SHARD.
- Use the BELT on the GLASS SHARD.
- You will create the GLASS KNIFE.
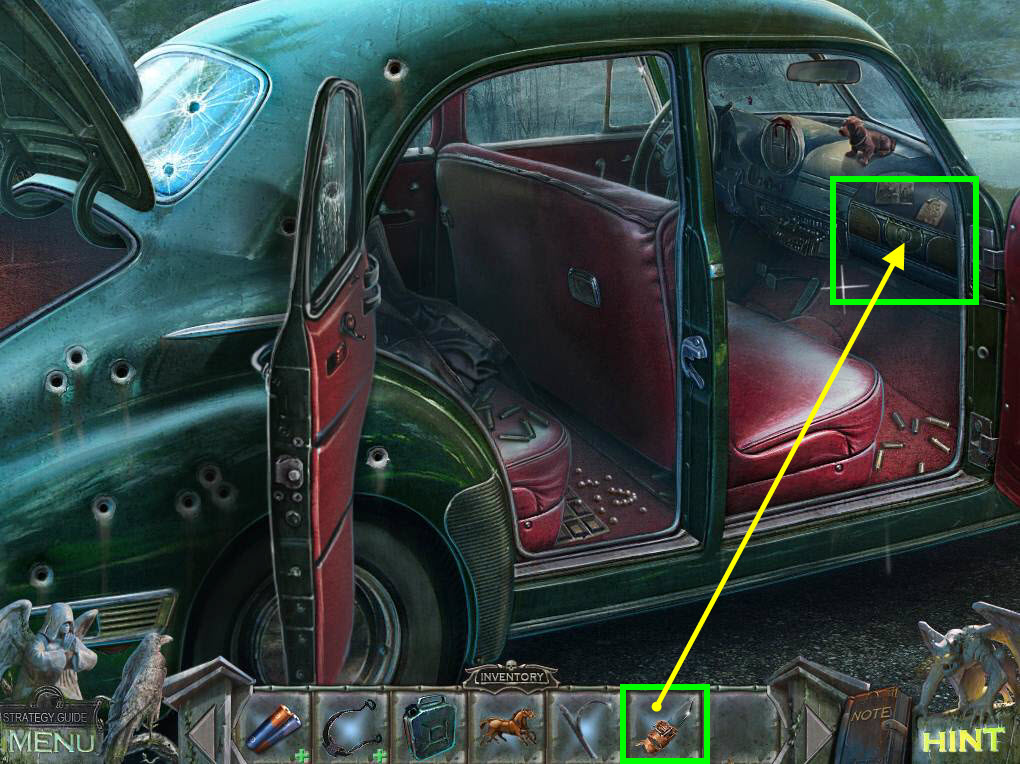
- Click to zoom in on the car.
- Check out the front seat.
- Then click to zoom in on the glove compartment.
- Use the GLASS KNIFE to cut the fabric.
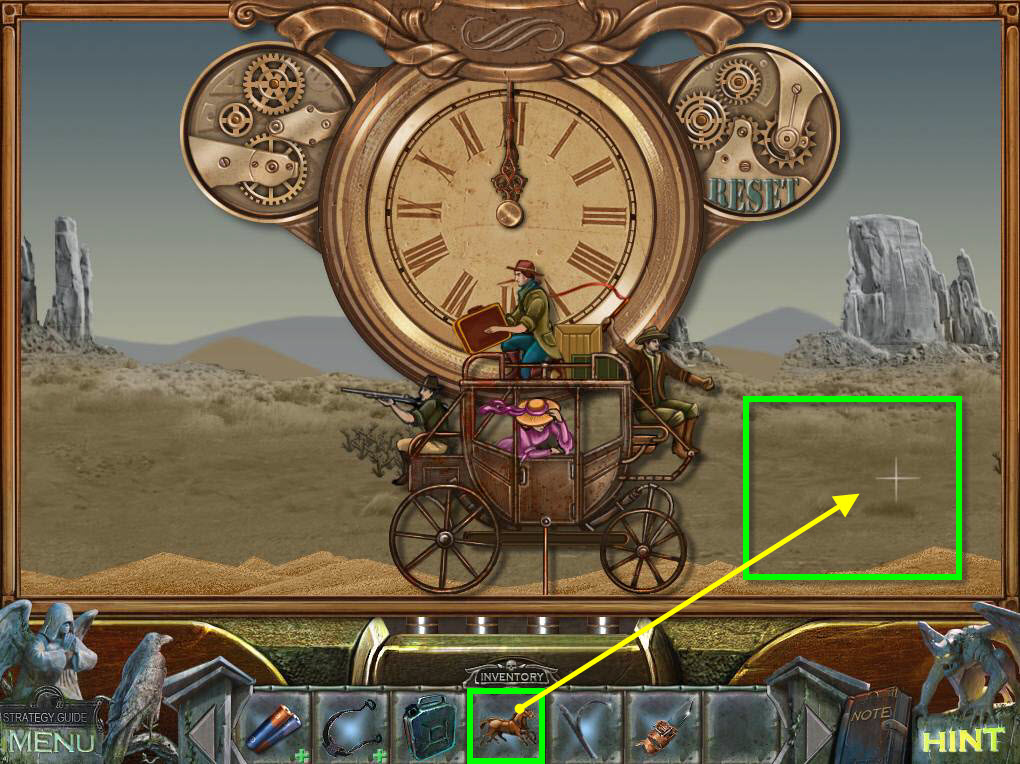
- Use the HORSES STATUETTE on the coach.
- This will start a mini-game.
- You will need to choose the right people to fight the bad guys.
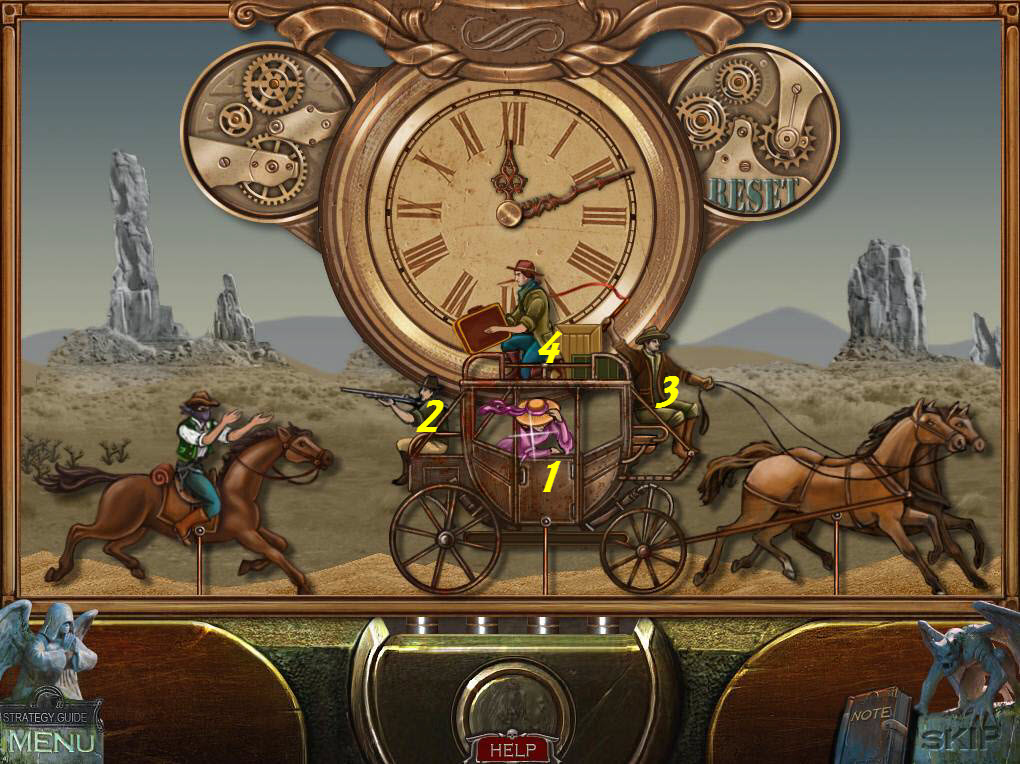
- See the screenshot for the solution.
- Take the FORKED STICK.
- Use the FORKED STICK on the ELASTIC BAND.
- This will create the SLINGSHOT.
- Leave the car and move forward one.
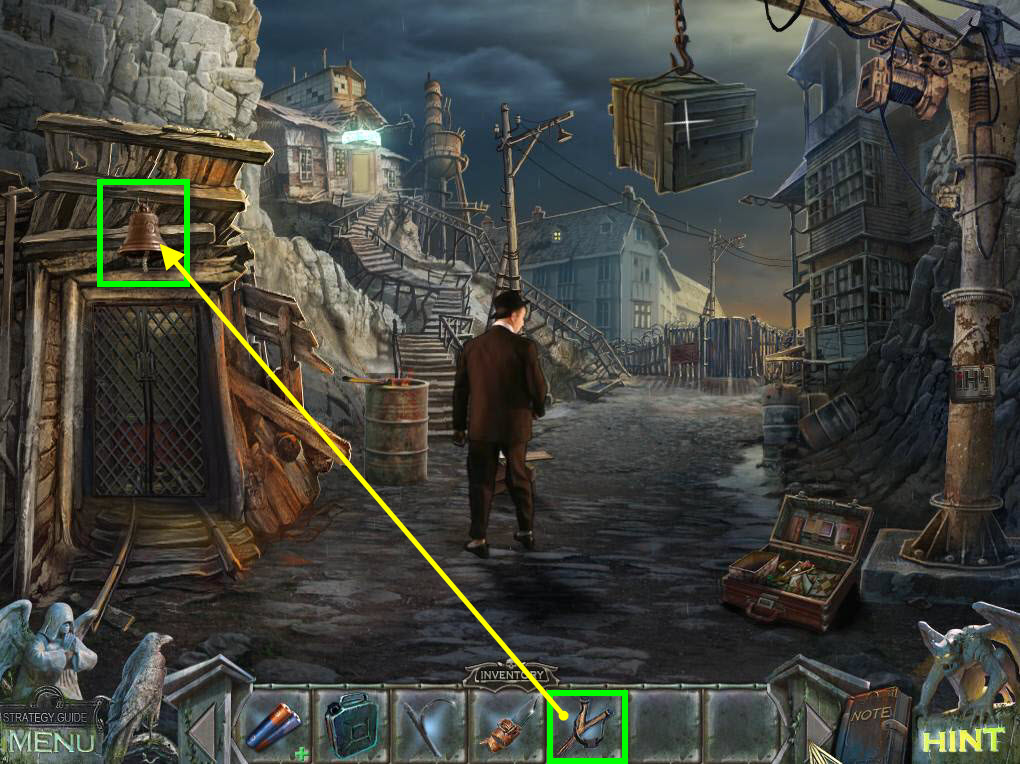
- Use the SLINGSHOT on the bell.
- This will distract the man.
- Click to zoom in on the cup.
- Take the CUP.
- Take the GARROTE.
- Move forward.
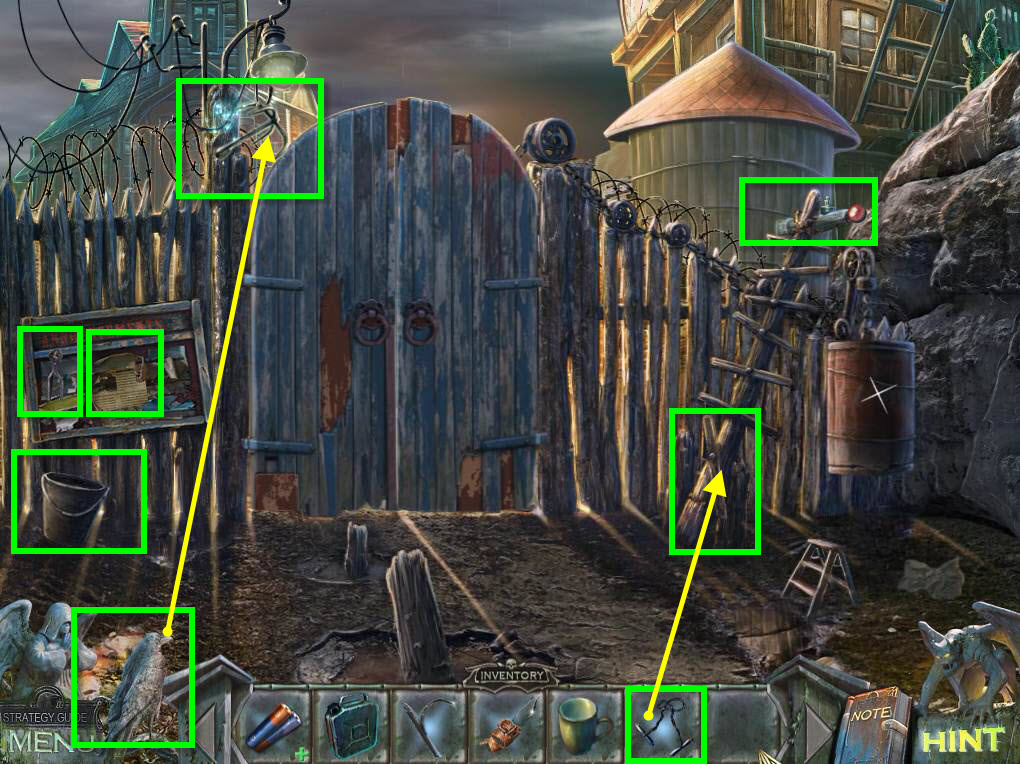
- Click to zoom in on the bucket.
- Click to remove the leaves.
- Take the CROW RUNE.
- Use the Mystical Crow on the grapple.
- Take the GRAPPLE.
- Click to zoom in on the board.
- Take the PLIERS.
- Take the NOTE.
- Click to zoom in on the broken ladder.
- Use the GARROTE on the broken ladder.
- Click to zoom in on the tower.
- Take the LEVER.
- Go down one screen.
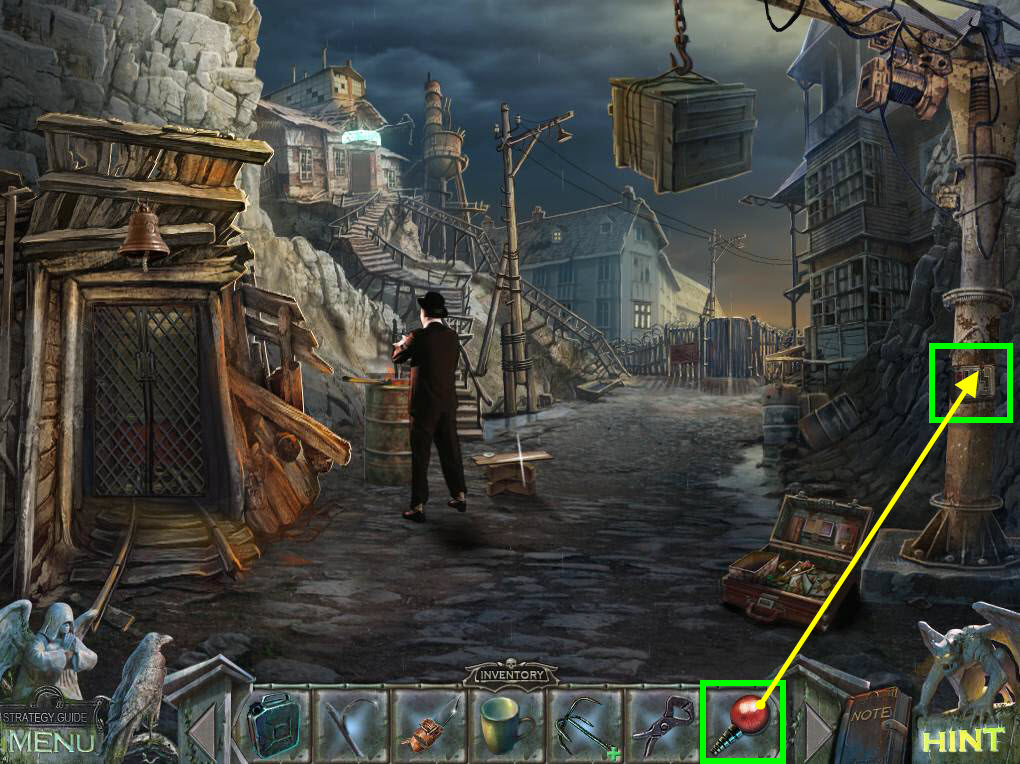
- Click to zoom in on the lever on the pole.
- Use the LEVER on the pole.
- This will start a mini-game.
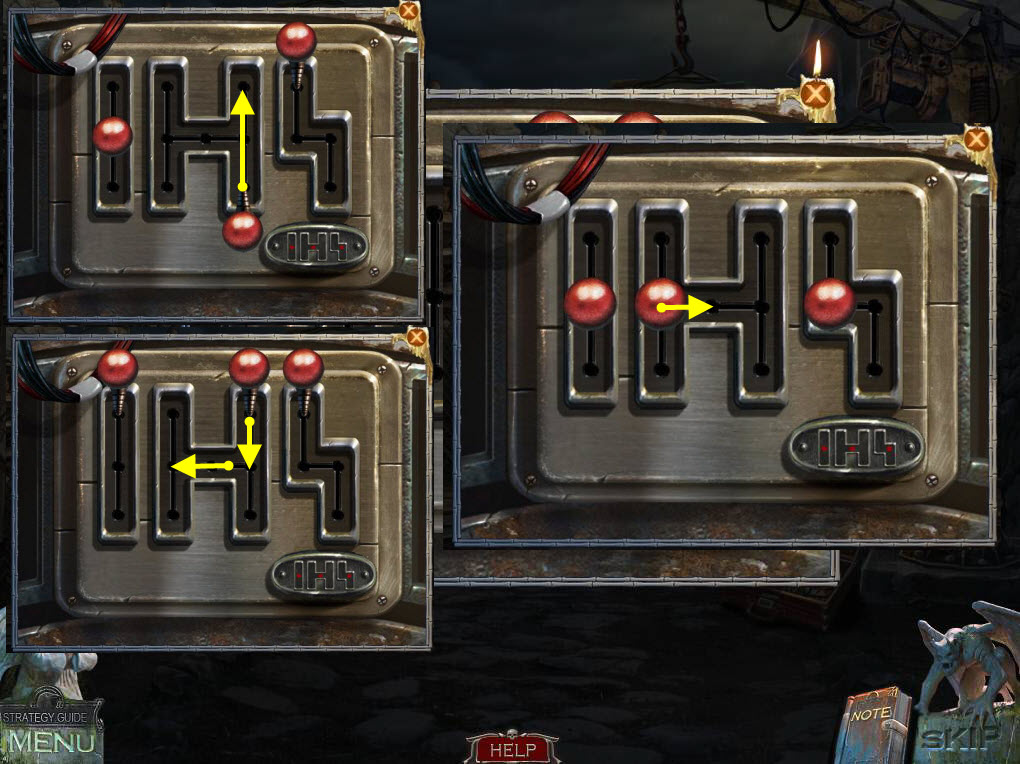
- You will need to move the levers in the right order.
- See the screenshot for the solution.
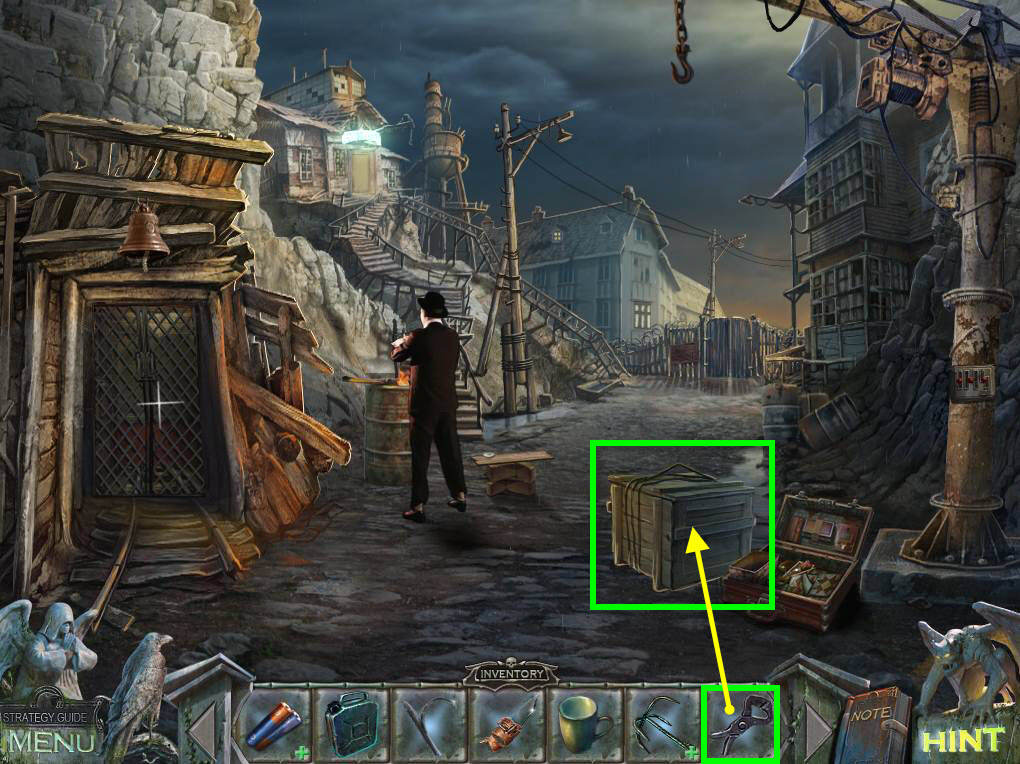
- Click to zoom in on the crate.
- Use the PLIERS on the wires to cut them.
- Take the FLASHLIGHT WITHOUT BATTERIES.
- Take the ROPE.
- Use the FLASHLIGHT WITHOUT BATTERIES on the BATTERIES.
- You will create the FLASHLIGHT WITH BATTERIES.
- Use the GRAPPLE on the ROPE.
- You will create the GRAPPLING HOOK.
- Move forward one screen.
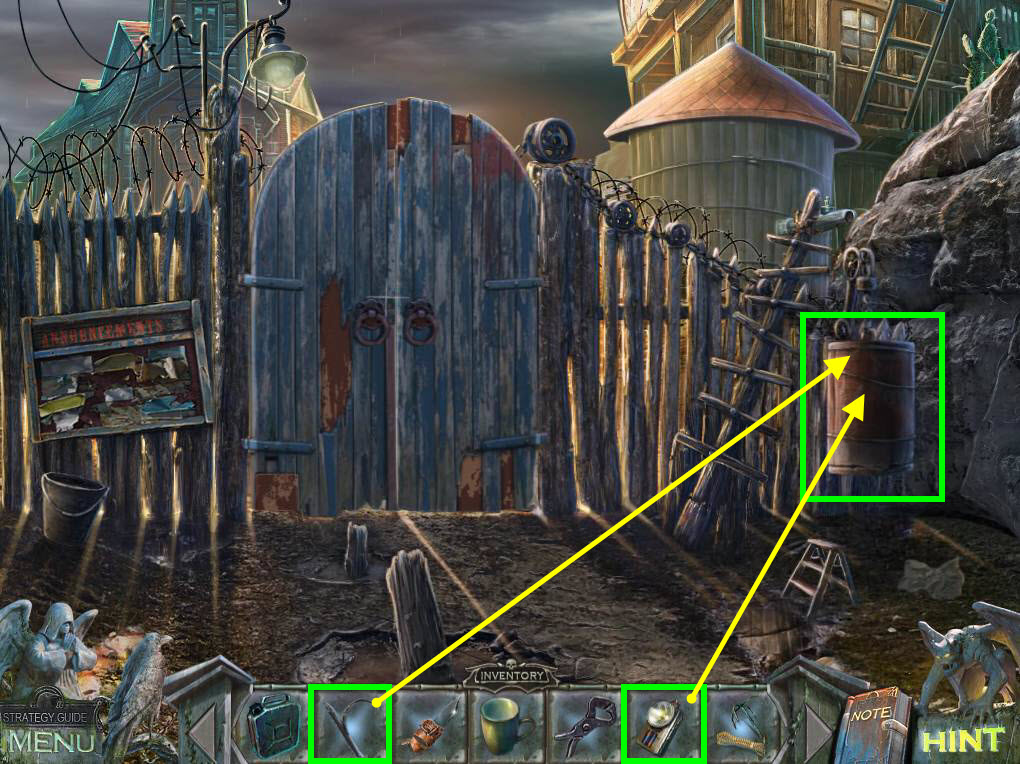
- Click to zoom in on the barrel.
- Use the FLASHLIGHT WITH BATTERIES on the barrel.
- Use the HOOK in order to get the VALVE.
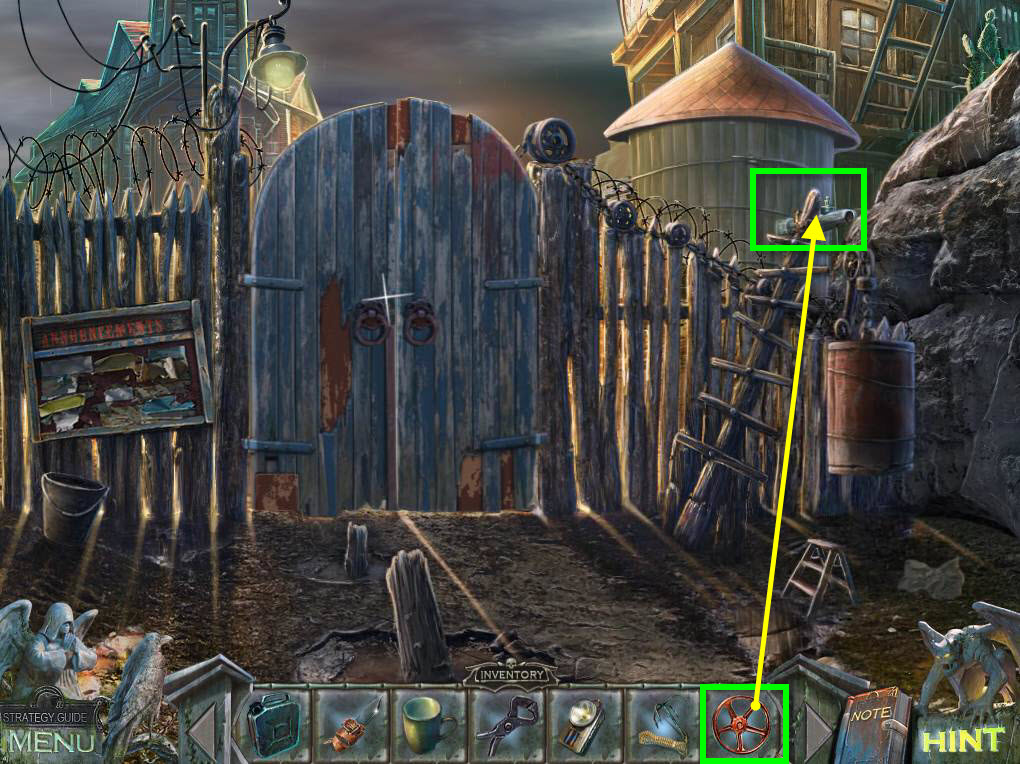
- Click to zoom in on the tower.
- Look at the tap.
- Use the VALVE on the top.
- Click to turn the VALVE.
- This will fill the barrel with water and open the gate.
- Go through the gate.
Comments will load when you reach this part of the walkthrough.