

Chapter Eight: The Hunter
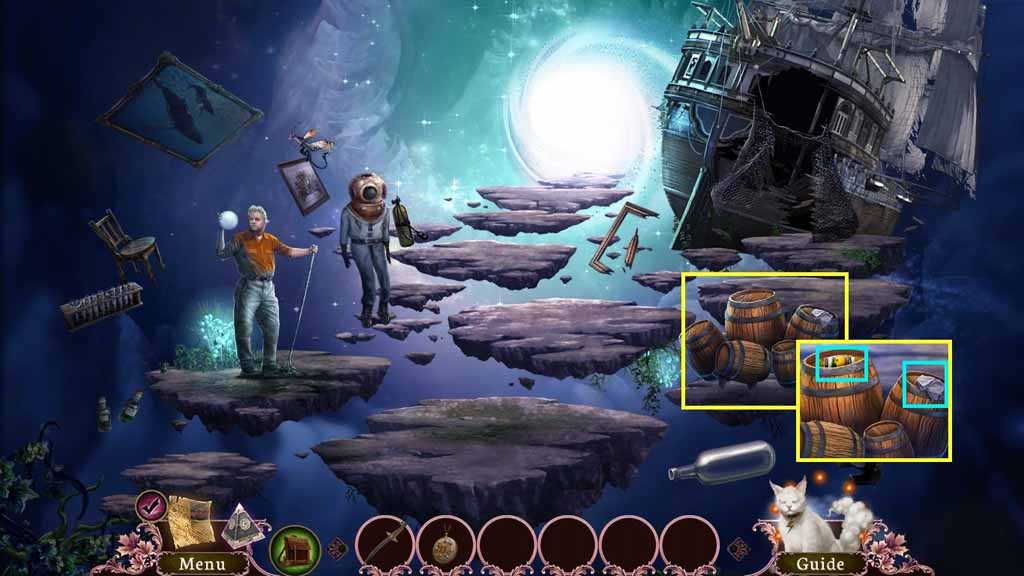
- Select the dagger to cut the barrel open.
- Collect the pumpkin seeds and the rag.
- Move ahead.
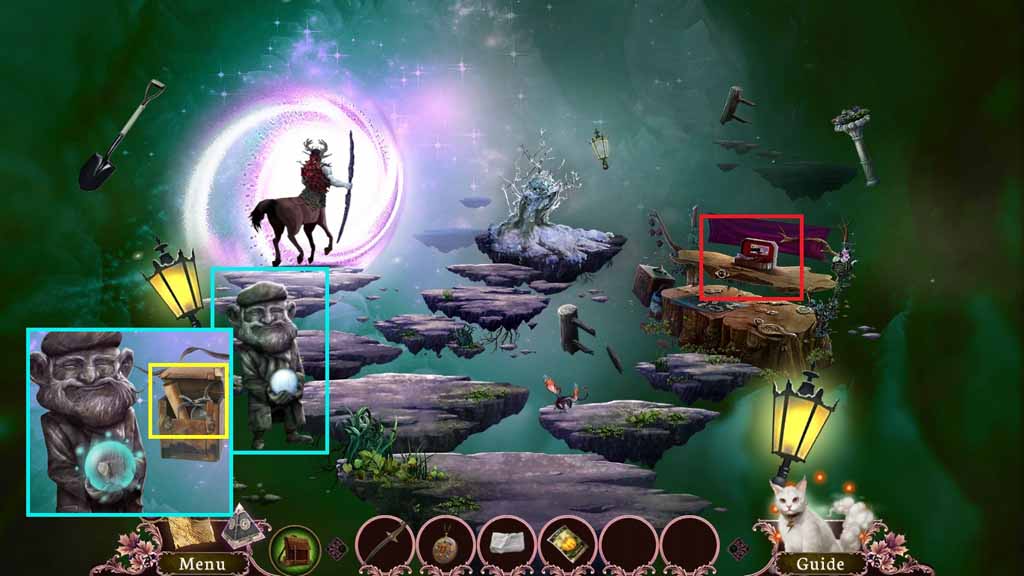
- Select the dagger to slice the pack.
- Collect the note and the oil can.
- Click the trinkets to access a hidden objects area.
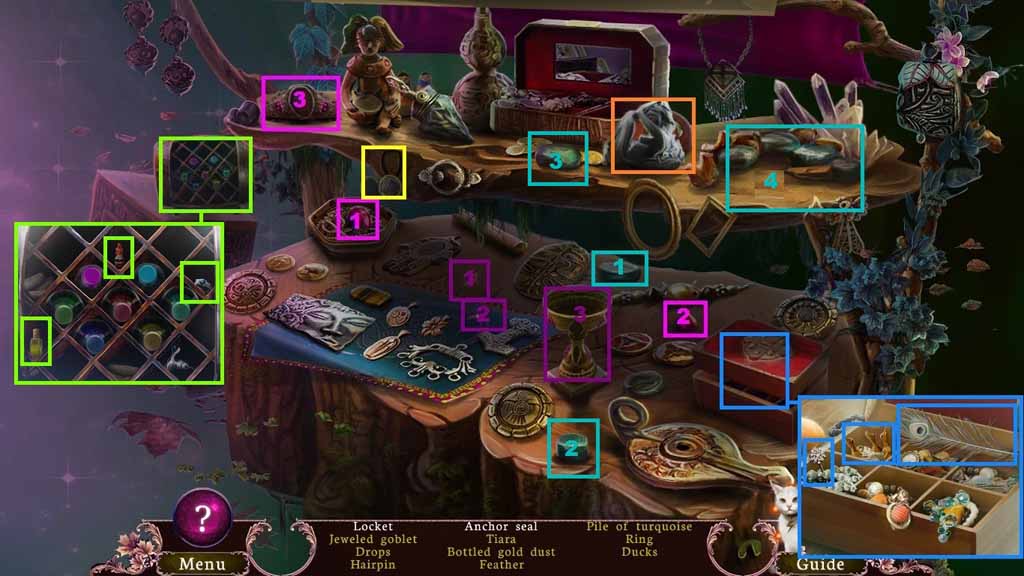
- Find the listed items.
- Select the jewels and place them into and collect the jeweled goblet.
- Select the gem pieces and insert them into and collect the tiara.
- Slide the figurine; collect the anchor seal.
- Click the wine rack and collect the bottled gold dust, the ring and the drops.
- Collect the anchor seal.
- Move ahead to the portal.
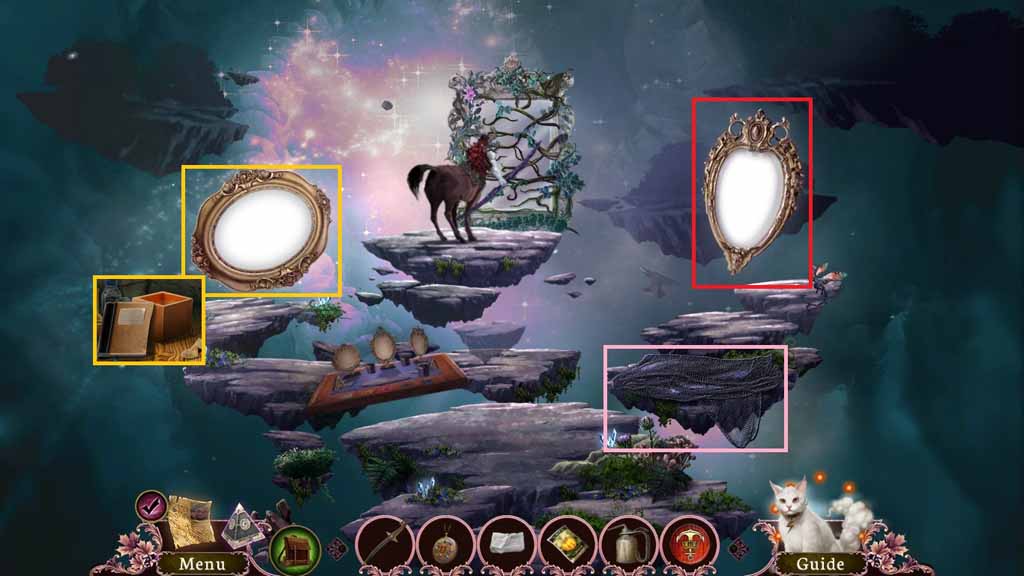
- Collect the netting.
- Collect the empty pot.
- Click the notebook 2 times.
- Click the mirror on the right to trigger a hidden objects area.
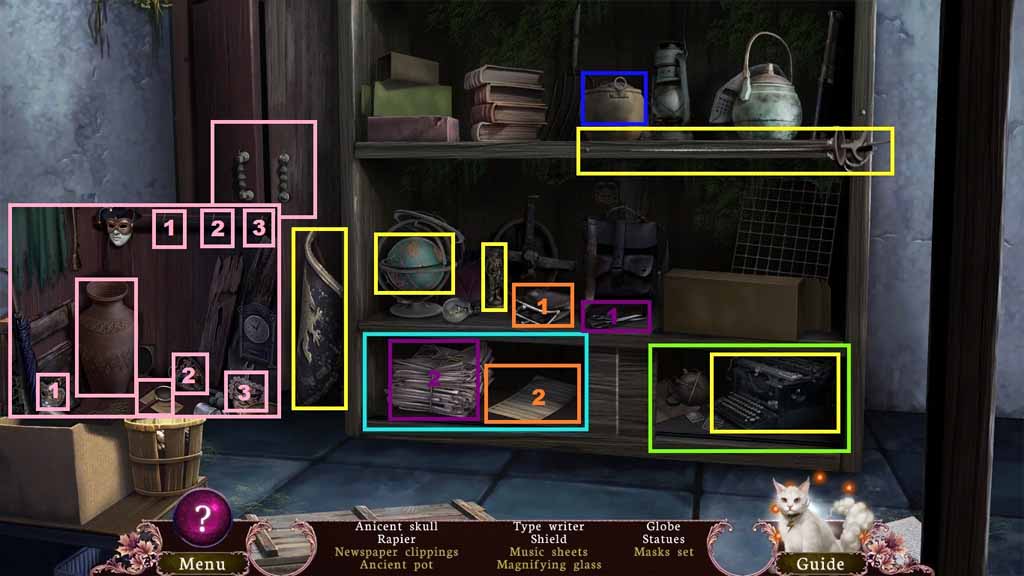
- Find the listed items.
- Slide the cabinet doors to reveal certain items.
- Select the scissors and use them on the newspaper; collect the newspaper clippings.
- Slide the coin purse to reveal the pen; use the pen to write and collect the music sheets.
- Move the post and collect the ancient skull.
- Click the cabinet and collect the ancient pot and the magnifying glass.
- Place the masks onto the hooks and collect the masks set.
- Collect the magnifying glass.
- Move back 2 times.
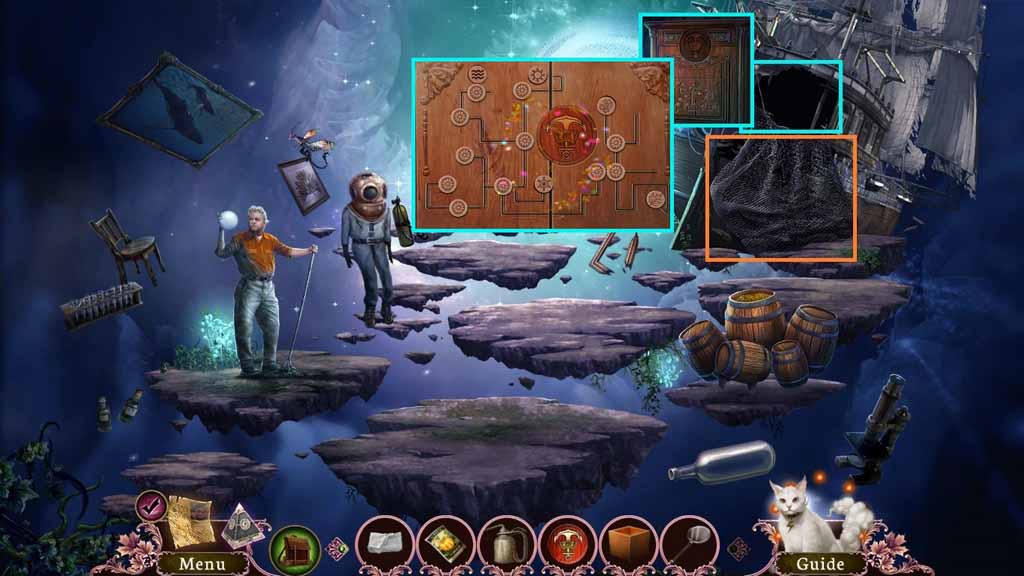
- Attach the netting onto the ship.
- Place the anchor seal onto the cabinet to trigger a puzzle.
- Solve the puzzle by aligning the symbols onto their matching spaces.
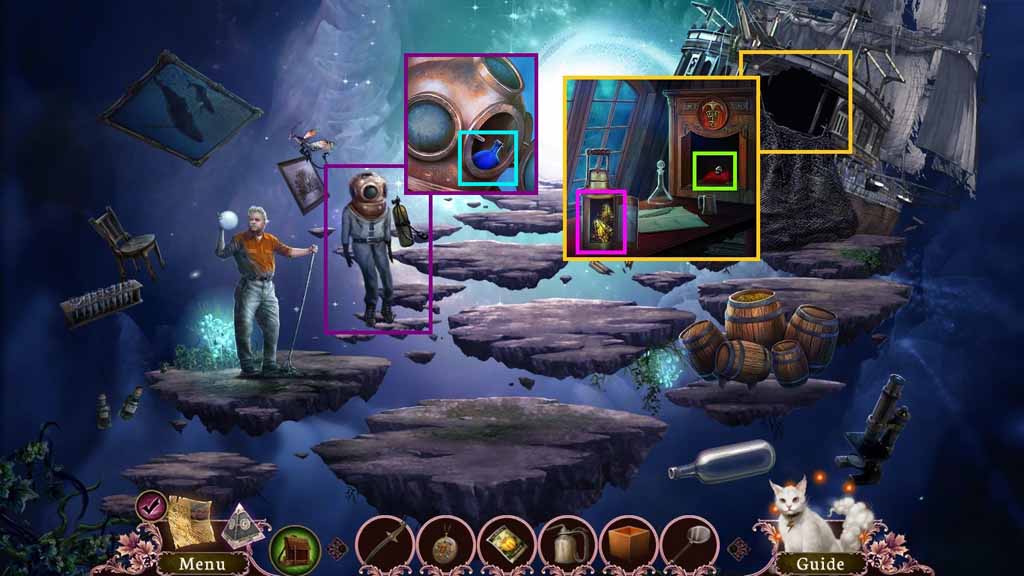
- Collect the ore.
- Select the rag to use on the crystals; collect the sun crystal.
- Pour the oil can onto the wing nut; collect the elixir of growth.
- Move ahead.
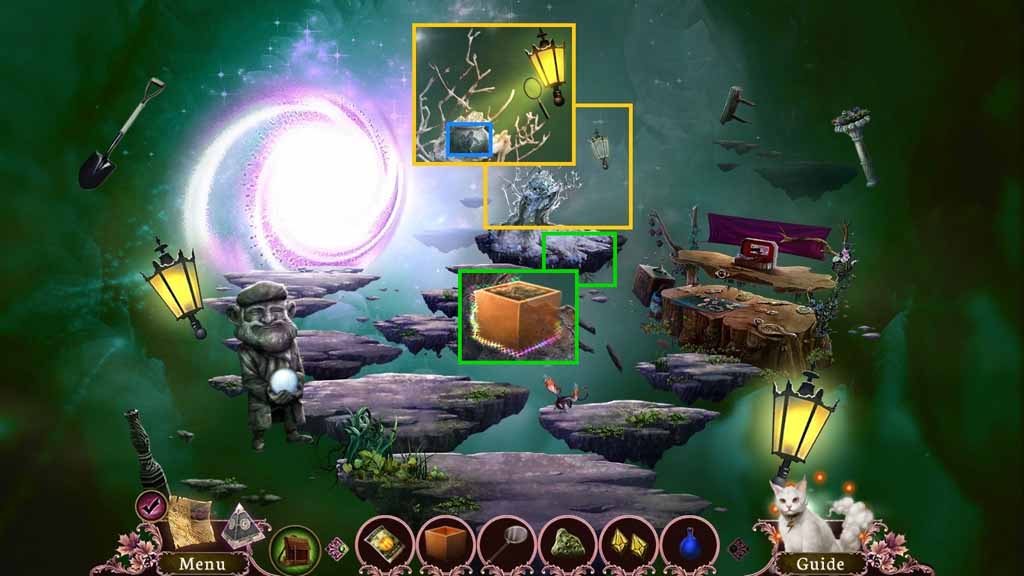
- Select the sun crystal and the magnifying glass; use them on the lamp.
- Collect the turtle.
- Select the empty pot to use on the dirt; collect the pot of soil.
- Move back once.
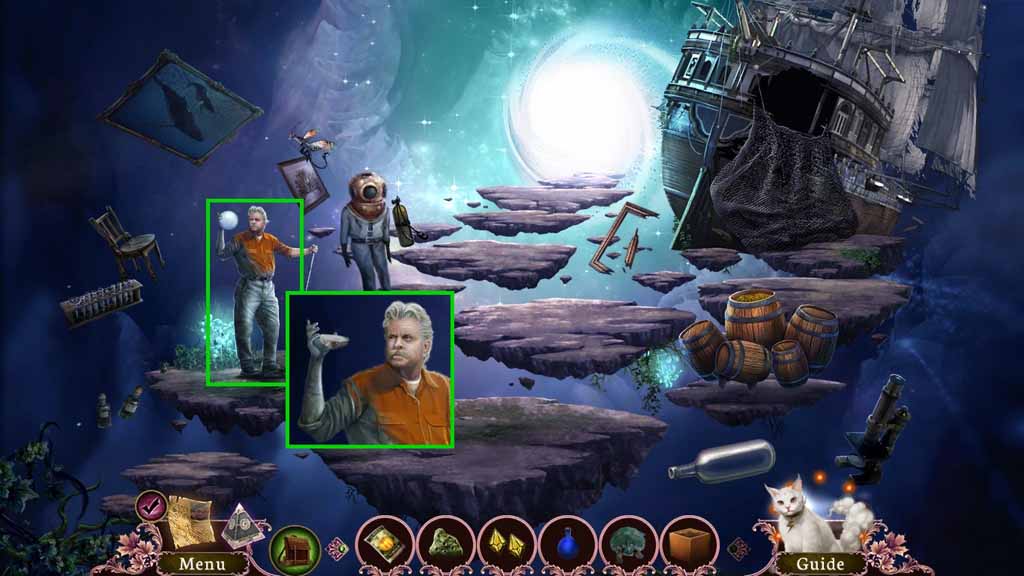
- Give the care taker the turtle.
- Collect the 1 / 3 board pieces.
- Move ahead 2 times.
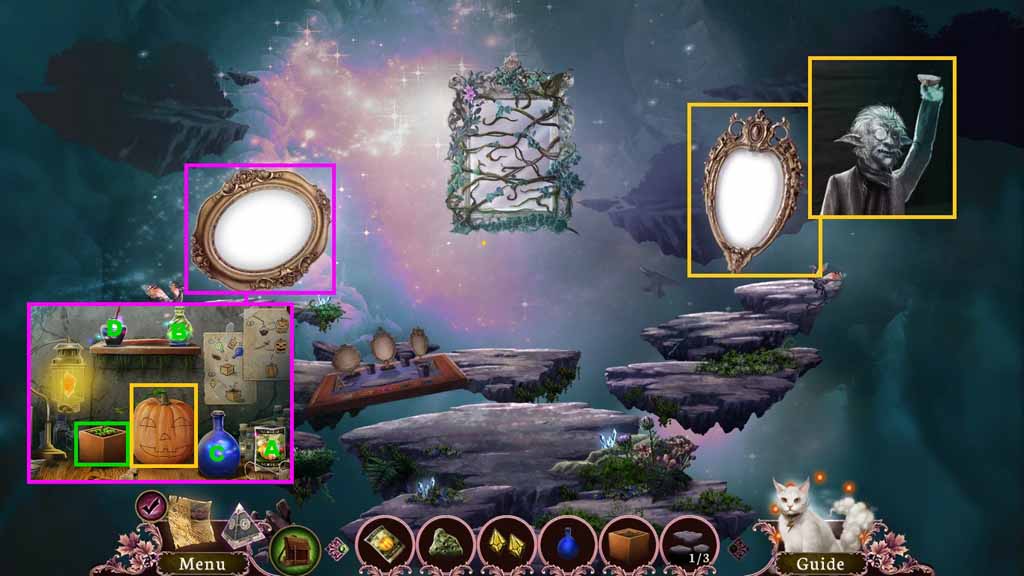
- Give the archivist the ore.
- Collect the 2 / 3 board pieces.
- Place the pot of soil, pumpkin seeds and the elixir of growth onto the table.
- Place the sun crystal into the lamp.
- Place the ingredients into the box.
- Collect the Jack o lantern.
- Move back once.
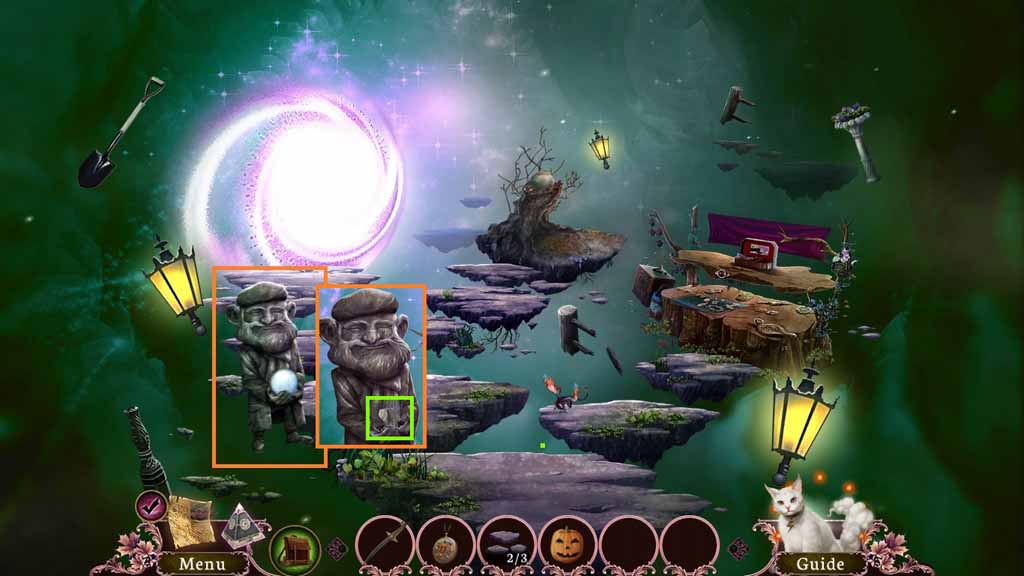
- Give the man the Jack lantern.
- Collect the 3 / 3 board’s pieces.
- Move ahead.
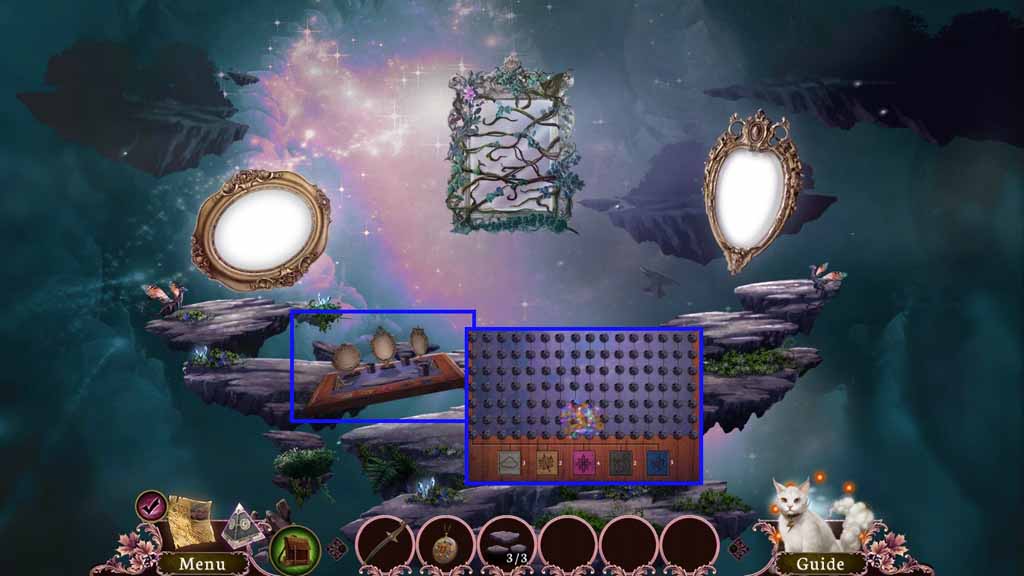
- Place the 3 board pieces onto the board to trigger a puzzle.
- Solve the puzzle by changing all the pieces to rock.
- Move ahead.
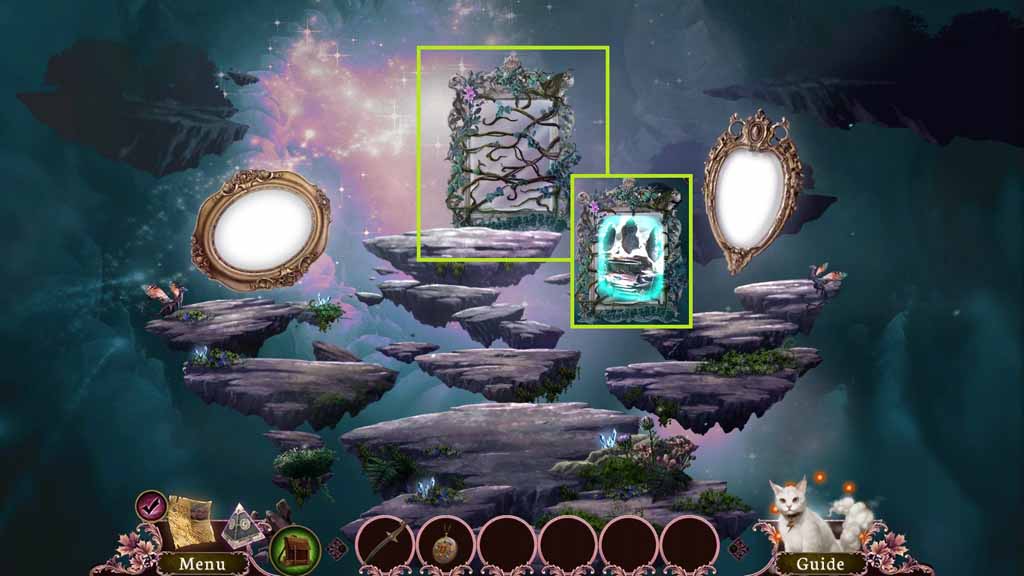
- Select the dagger 2 times to slice the vines.
- Move into the portal.
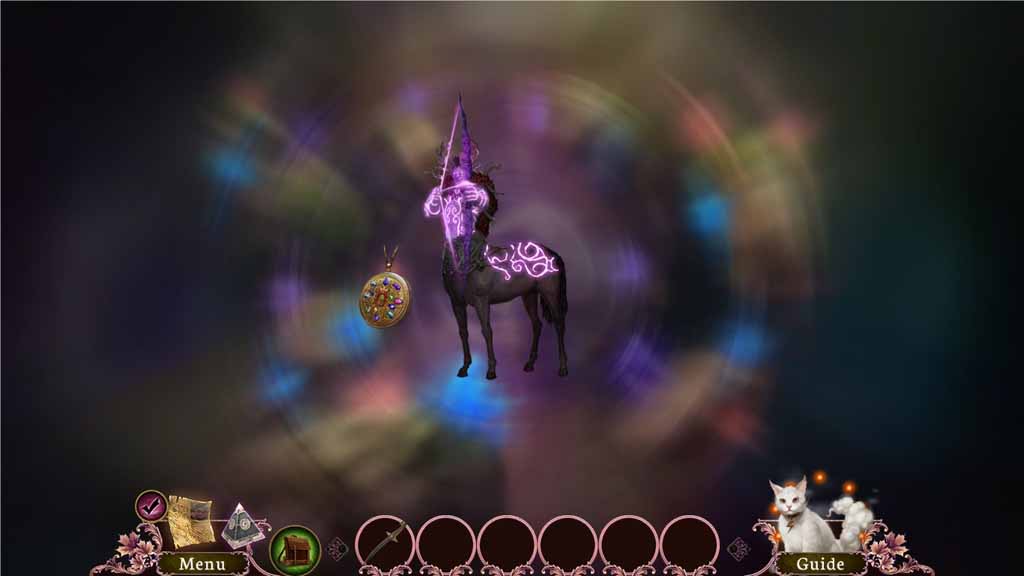
- Select the locket to use on the huntsman and trigger a hidden objects area.
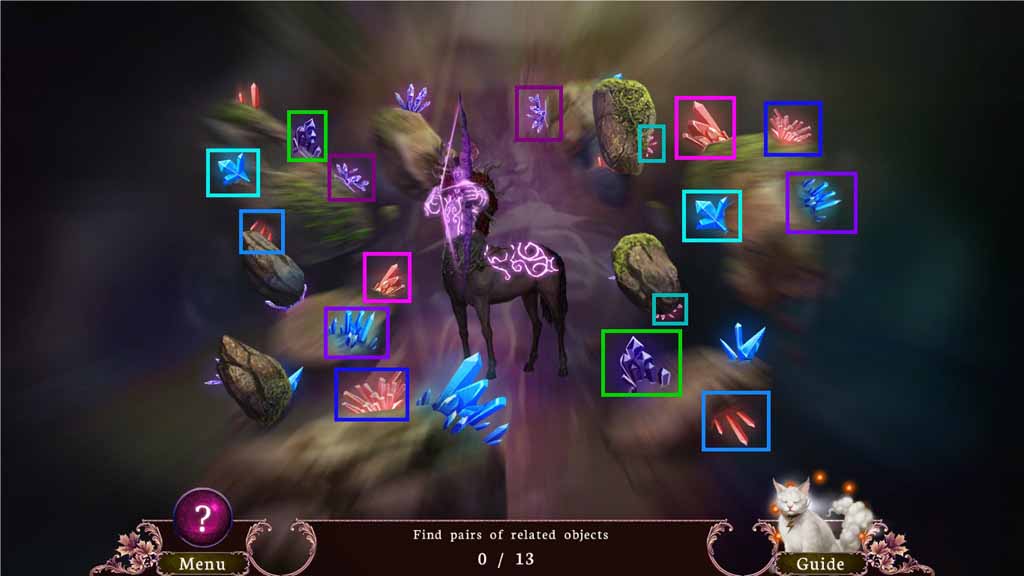
- Uncover the rocks to expose the crystals and find the pairs.
- Select the locket to use on the huntsman and trigger a hidden objects area.
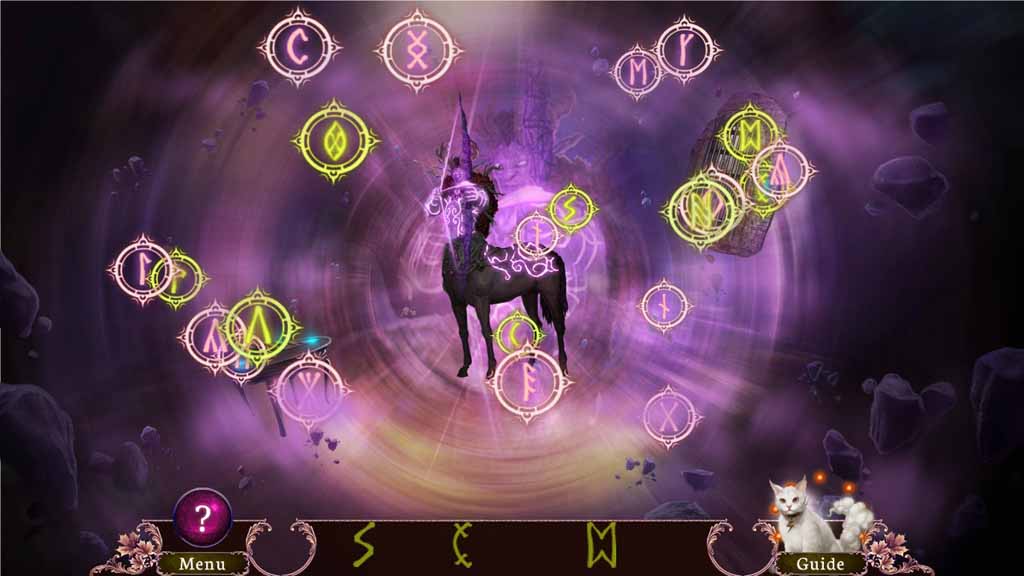
- Solve the hidden objects game by releasing and finding the runes.
- Click every button 3 times.
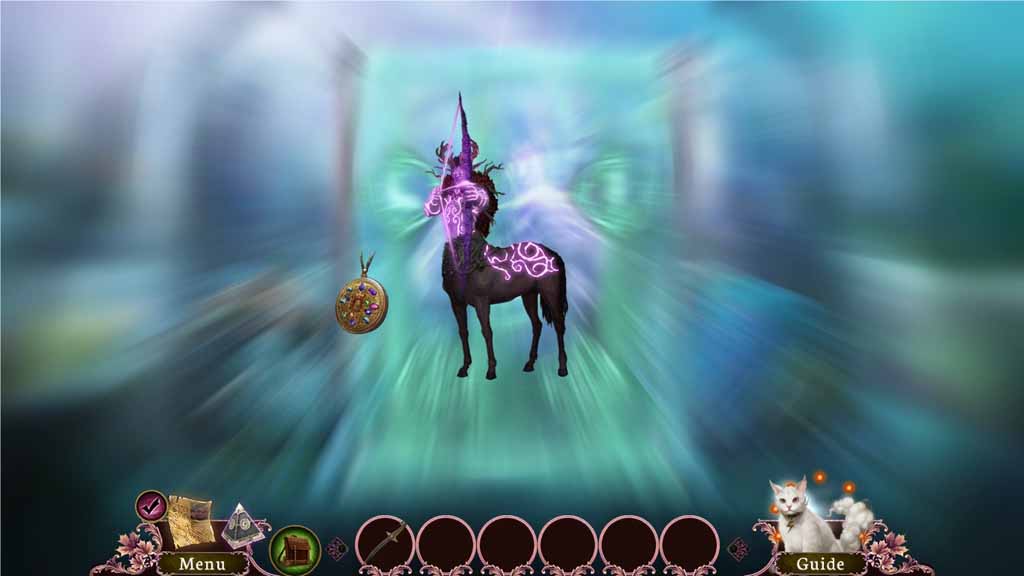
- Attach the lever onto the mechanism and click it once.
- Select the locket to use on the huntsman and trigger a hidden objects area.
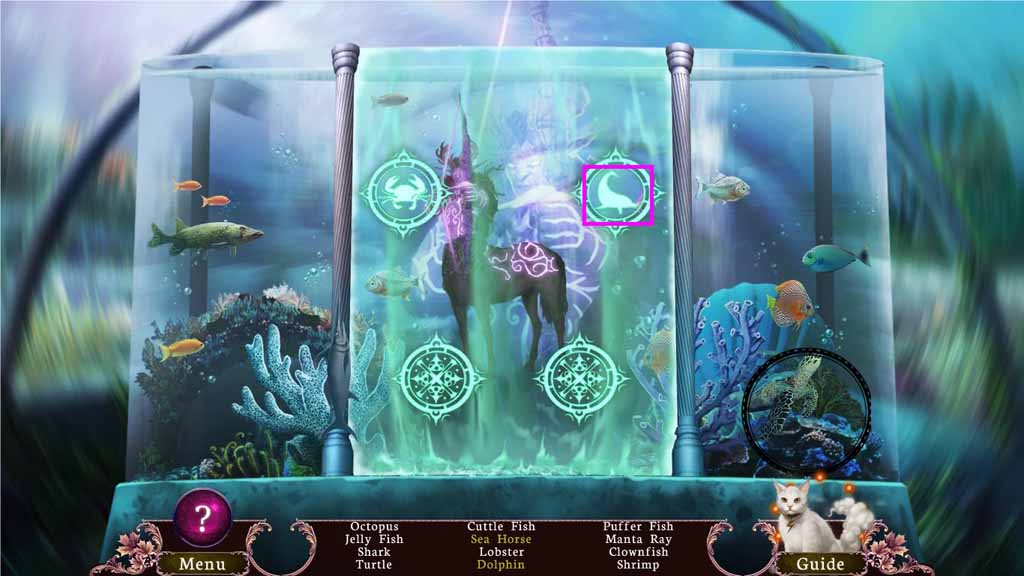
- Click the buttons to change the pictures.
- Then find the listed items.
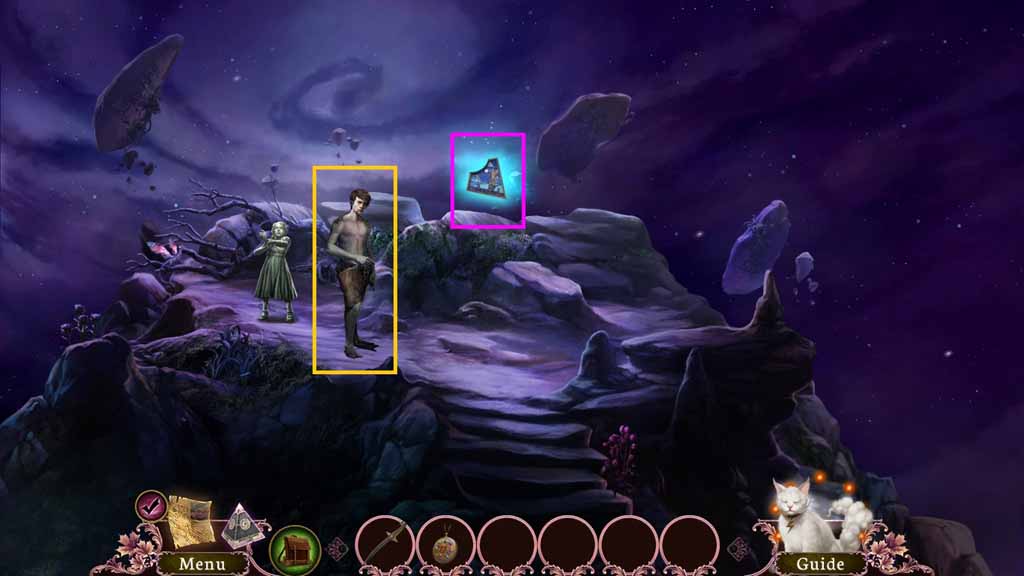
- Talk with the Selkie.
- Collect the selkie’s pieces.
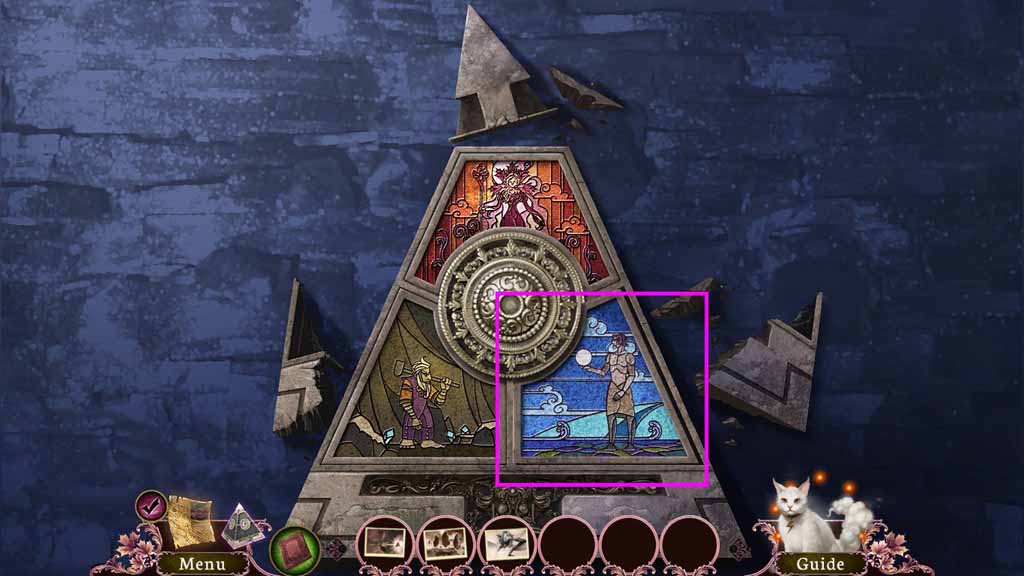
- Insert the selkie’s piece into the perpetual prison.
- Move back once.
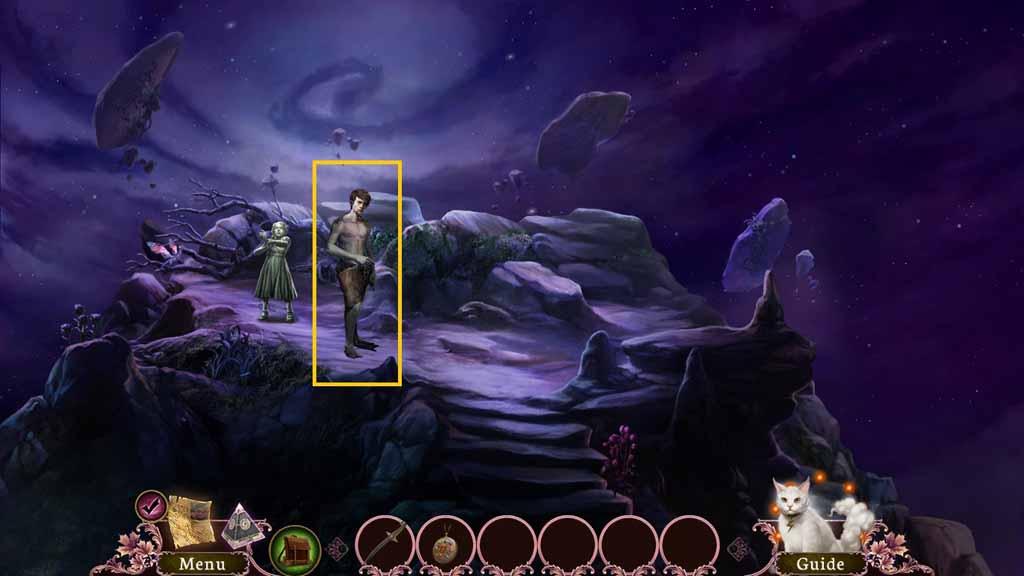
- Give the locket to Selkie.
- Congratulations! You have successfully completed the main game of Otherworld: Shades of Fall Collector’s Edition.
Comments will load when you reach this part of the walkthrough.