

Chapter Seven: The Ocean
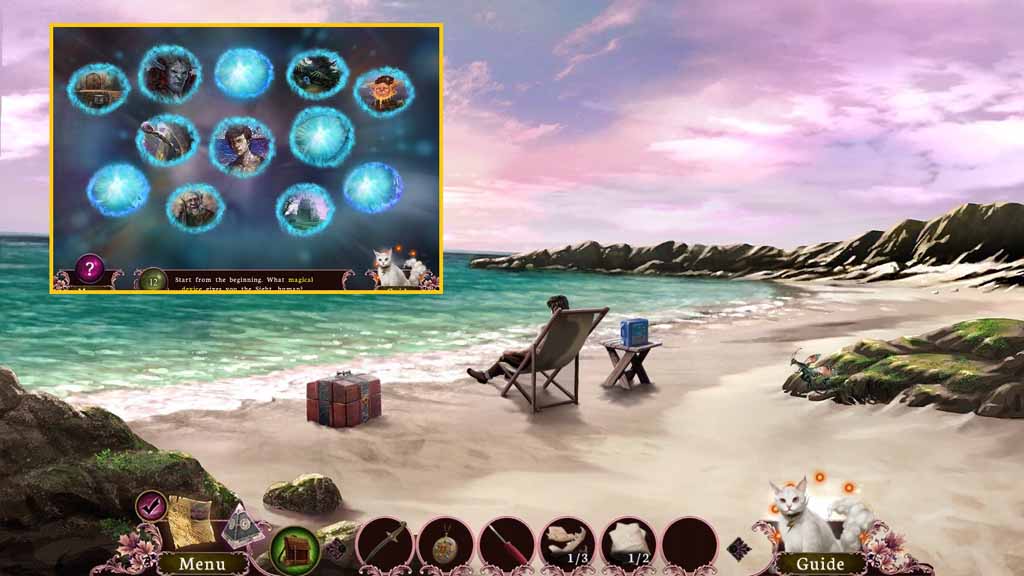
- Click anywhere to trigger a puzzle.
- Solve the puzzle by finding the answers to the questions.
- Collect the mirror.
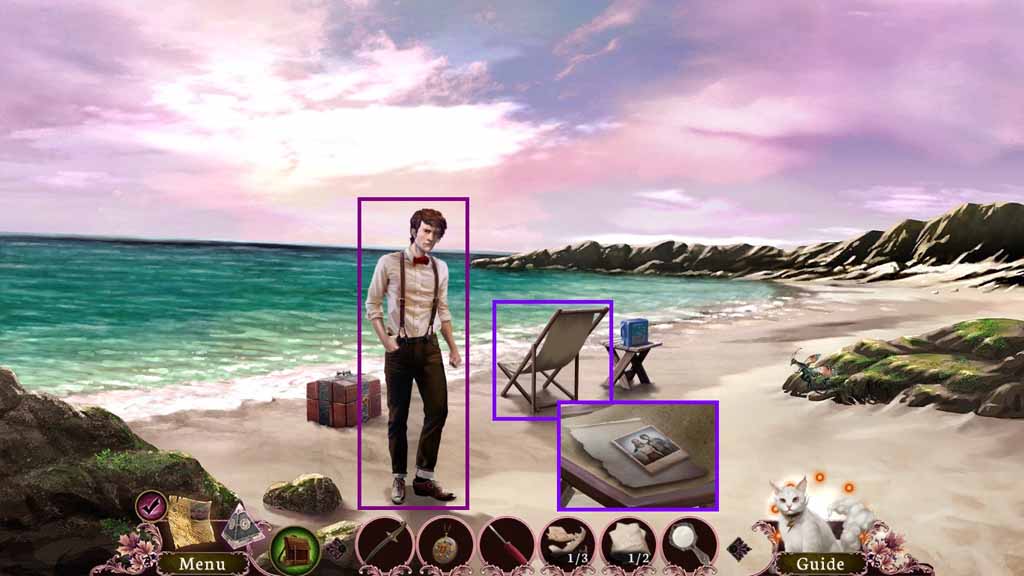
- Examine and collect the photo.
- Collect the 2 /2 pages.
- Talk with Selkie.
- Move back once and then move ahead.
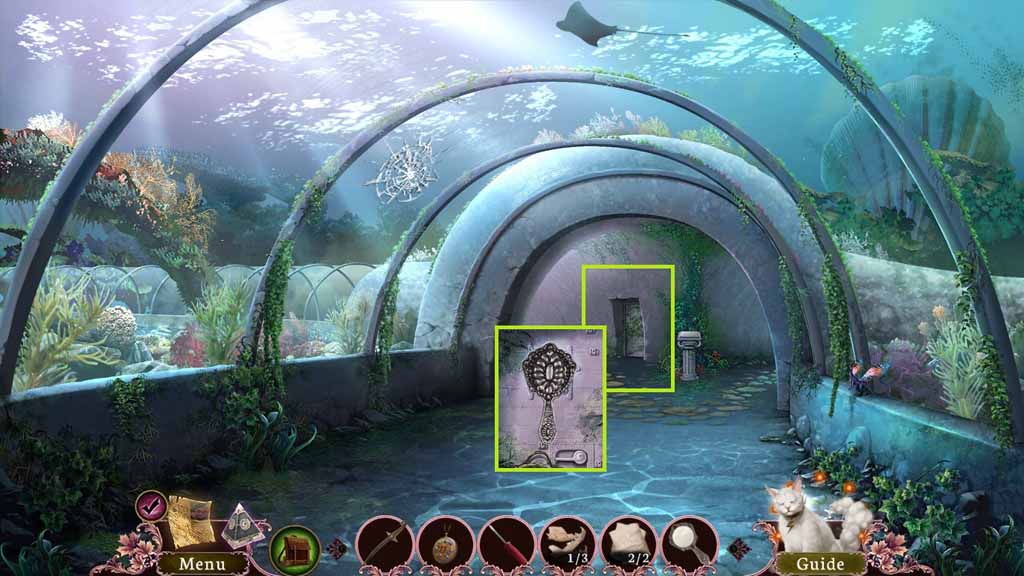
- Select the mirror to use on the scanner.
- Move ahead.
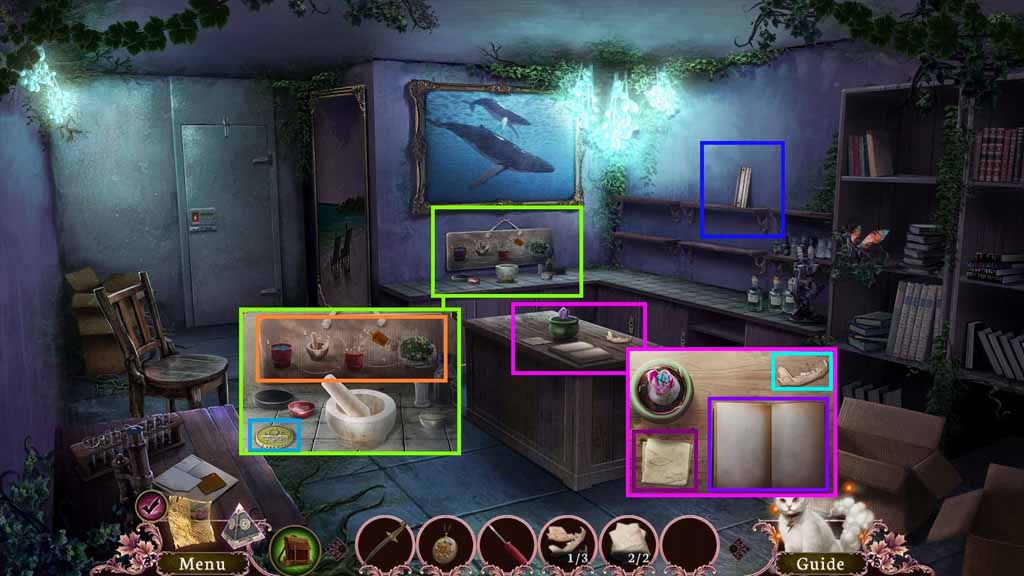
- Click the diagram to collect the turtle’s cure.
- Collect the seal.
- Insert the 2 pages into the book.
- Click the note 2 times and collect the alchemist’s loam.
- Collect the 2/ 3 bones.
- Collect the railing.
- Move back 2 times and enter the blue door.
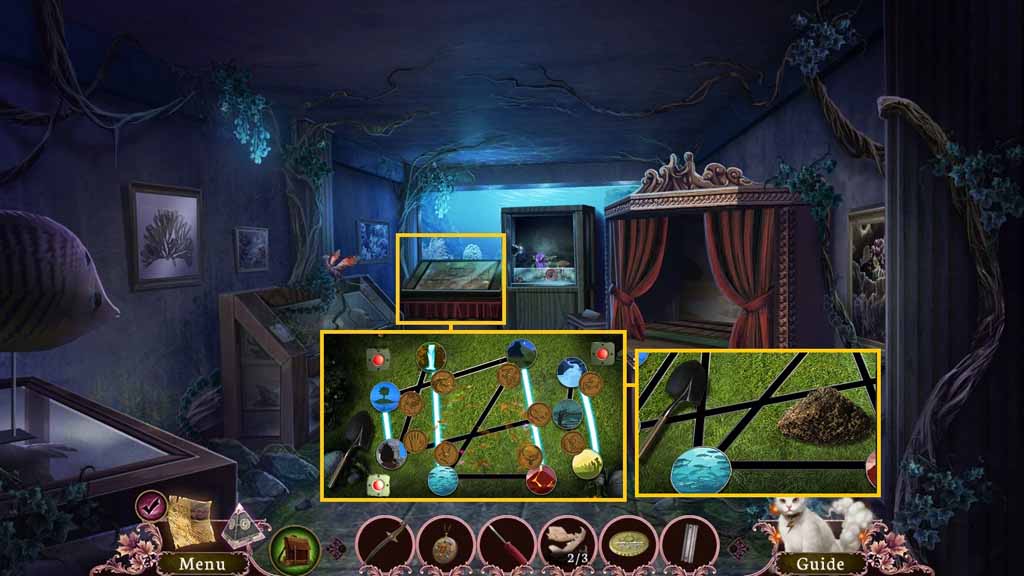
- Insert the seal into the lock to trigger a puzzle.
- Solve the puzzle by arranging the seals into the correct locations.
- Select the shovel and place it into the dirt to collect the alchemist’s loam.
- Move back once and then go ahead 2 times.
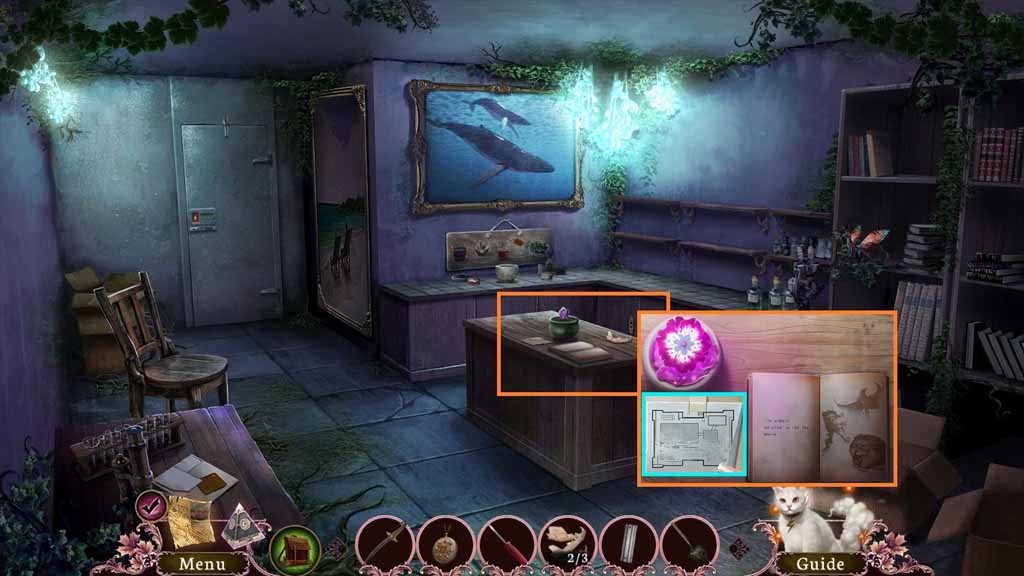
- Put the alchemist’s loam into the pot.
- Read the book and click the pages 4 times.
- Collect the old map.
- Move back once.
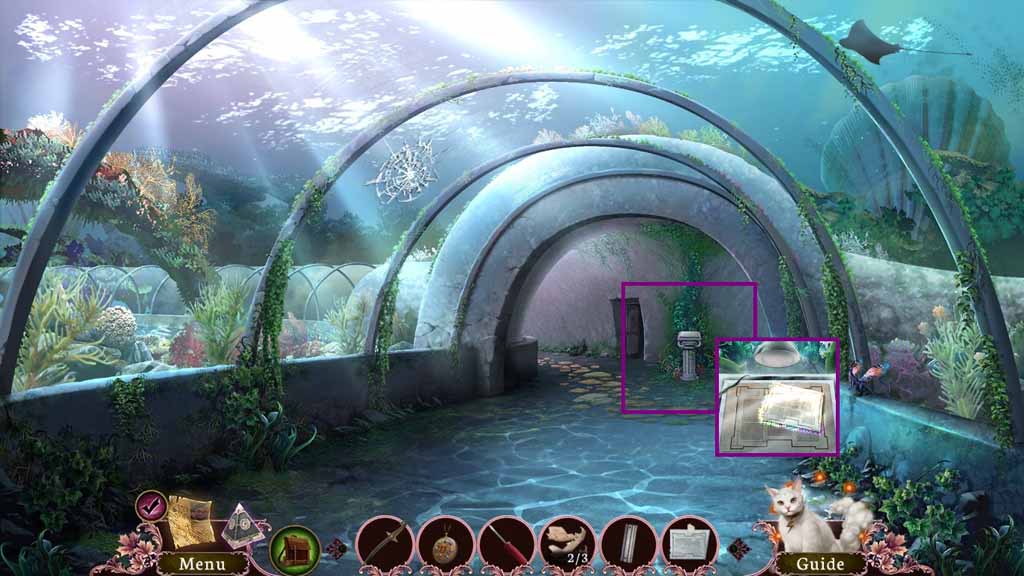
- Lay the old map onto the map.
- Collect the complete map.
- Move ahead.
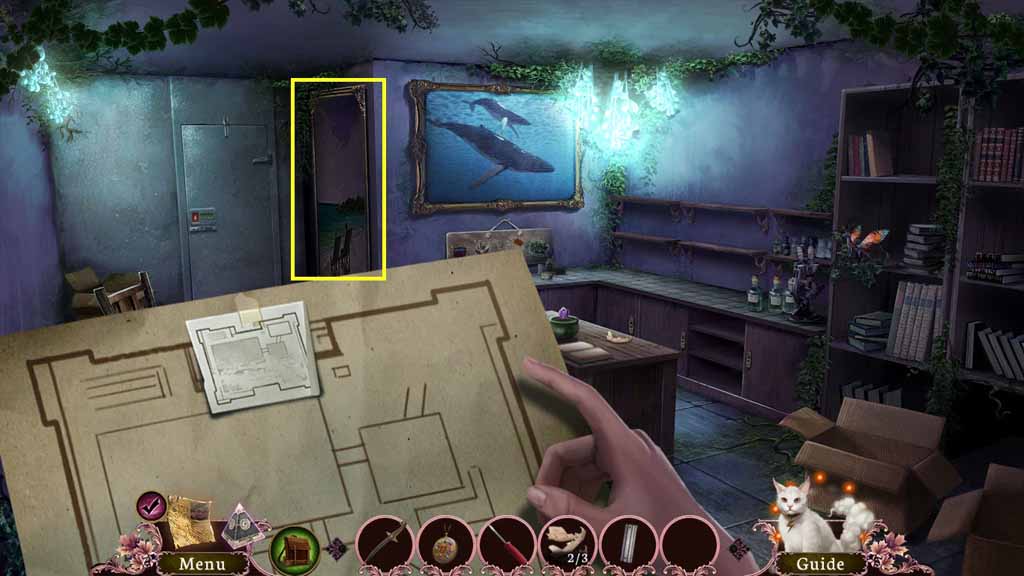
- Select the complete map to use anywhere in the room.
- Select the dagger and use it to slice the picture 2 times.
- Enter the picture.
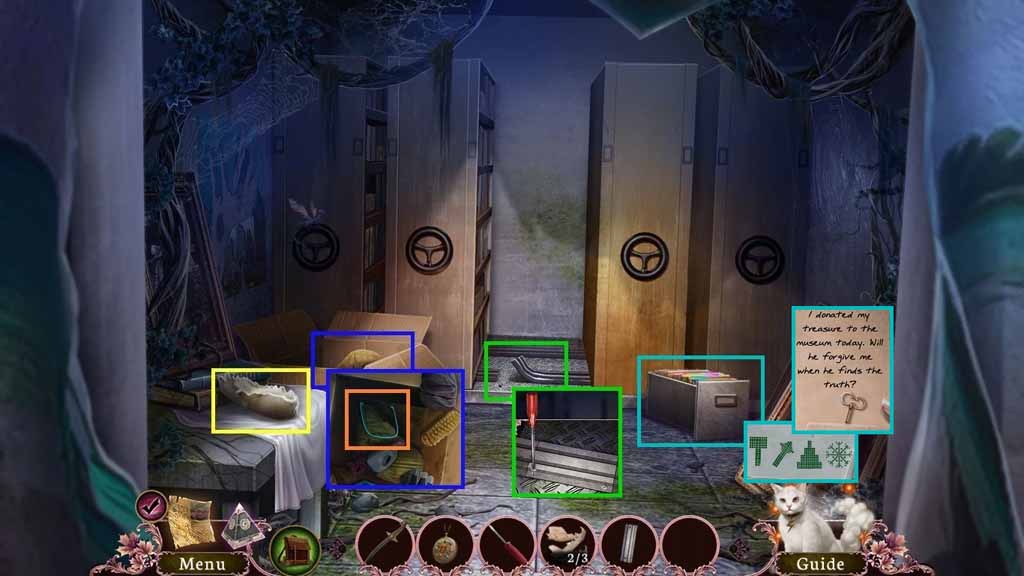
- Collect the 3 / 3 bones.
- Click the items away and collect the handle.
- Select the screwdriver and use it on the track.
- Lay the railing down and use the screwdriver to secure the screws.
- Click the purple tab; collect the key.
- Click the red tab; collect the freezer code.
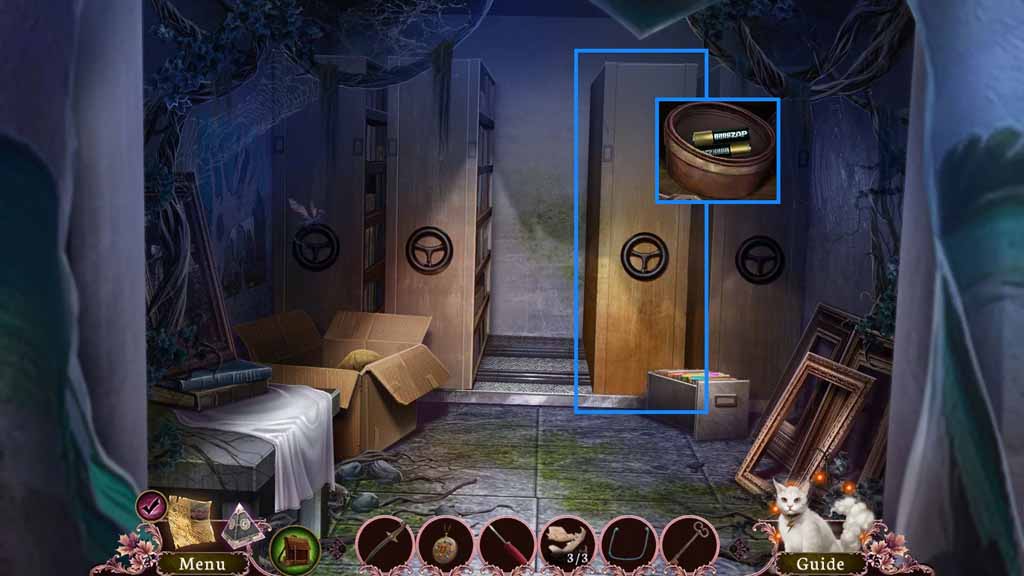
- Slide the shelves.
- Select the screwdriver remove the lid and to collect the batteries.
- Move back 3 times.
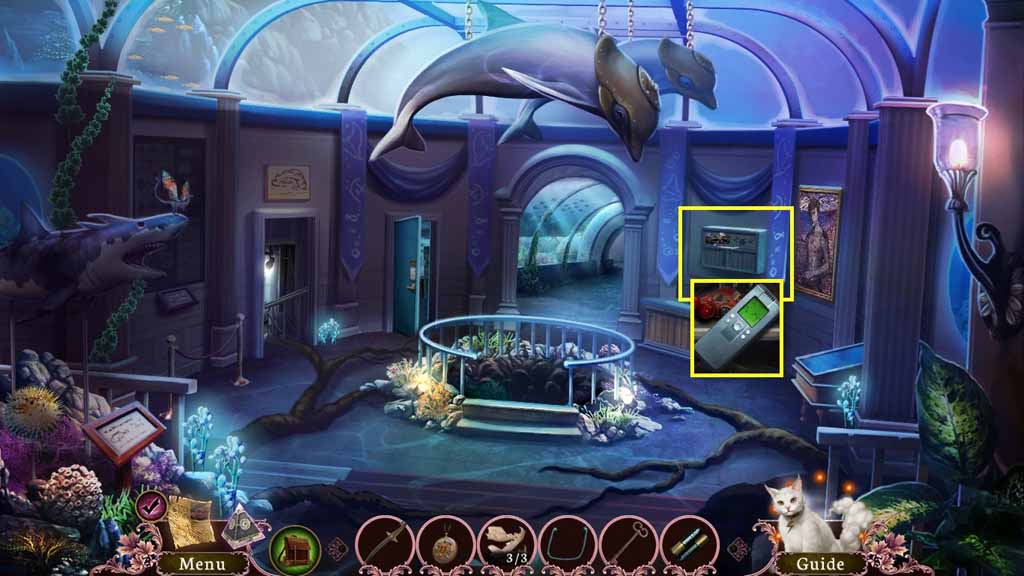
- Insert the batteries into the remote.
- Collect the temperature controls.
- Move ahead 2 times.
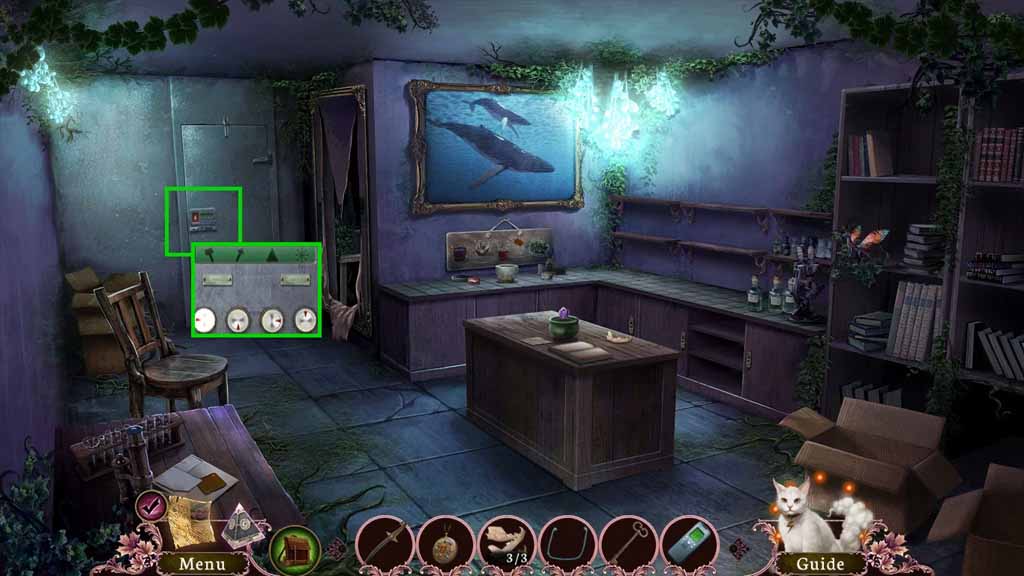
- Use the freezer code on the door and use the temperature controls to trigger a hidden objects area.
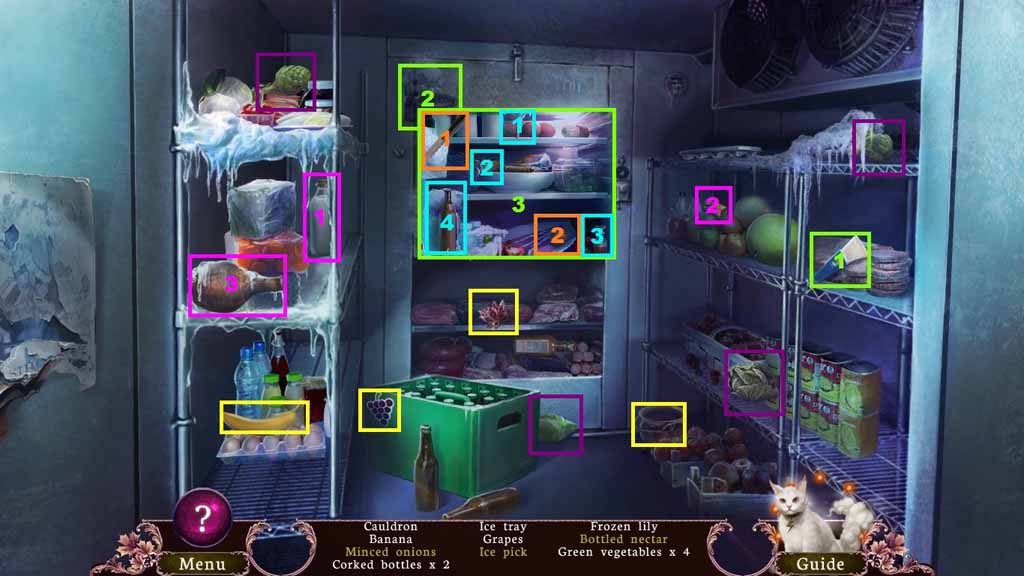
- Find the listed items.
- Select the scraper and use it to remove the ice on the freezer.
- Click the freezer open to locate certain items.
- Select the knife and use it on the onion; collect the minced onion.
- Select the funnel and place it into the bottle.
- Pour the vials into the funnel; collect the bottled nectar.
- Select the cork and insert it into the bottle.
- Collect the bottled nectar.
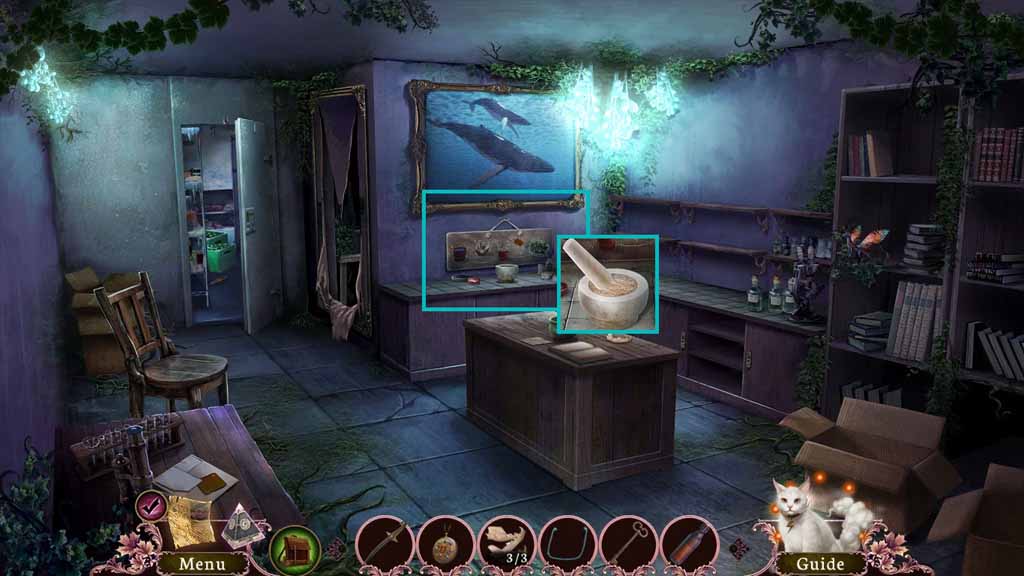
- Place the 3 bones into the mortar and grind them using the pestle.
- Collect the ground wurm’s tooth.
- Move back 2 times.
- Move through the door on the left.
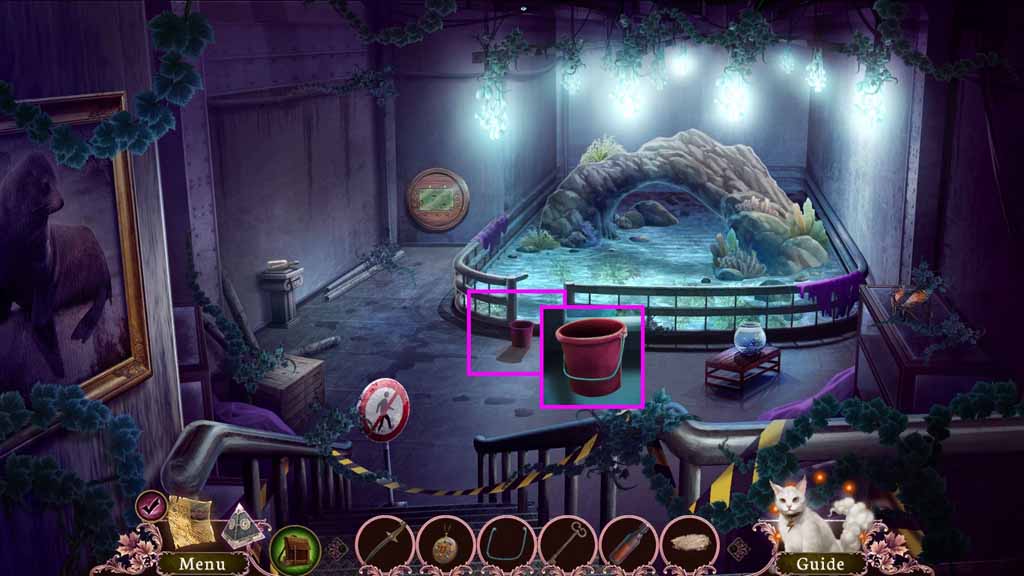
- Attach the handle onto the bucket.
- Collect the empty bucket.
- Move back once and enter the painting.
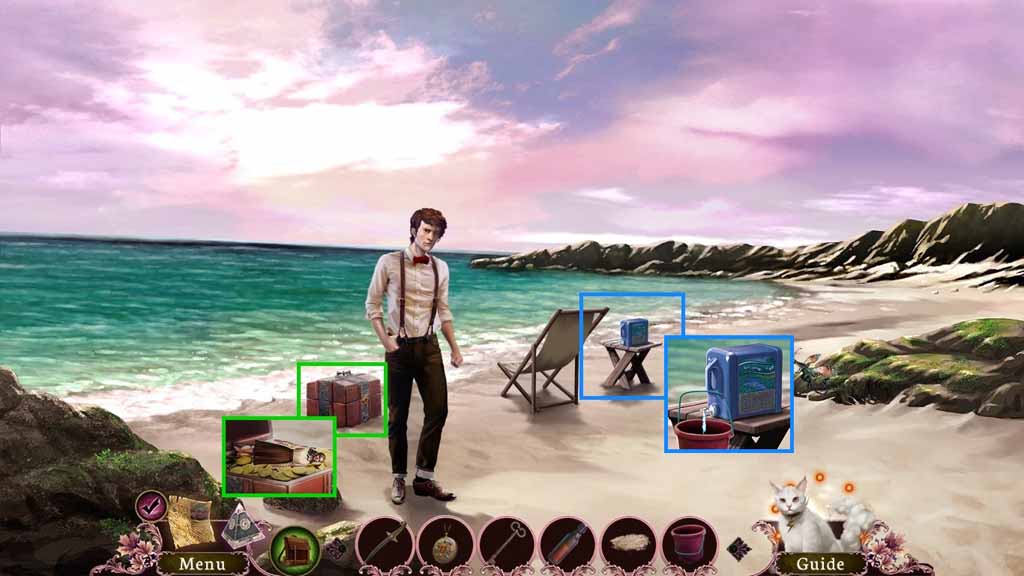
- Insert the key into the chest.
- Collect the lady statuette.
- Place the empty bucket under the water tap; collect the spring water.
- Move back once and enter the blue doorway.
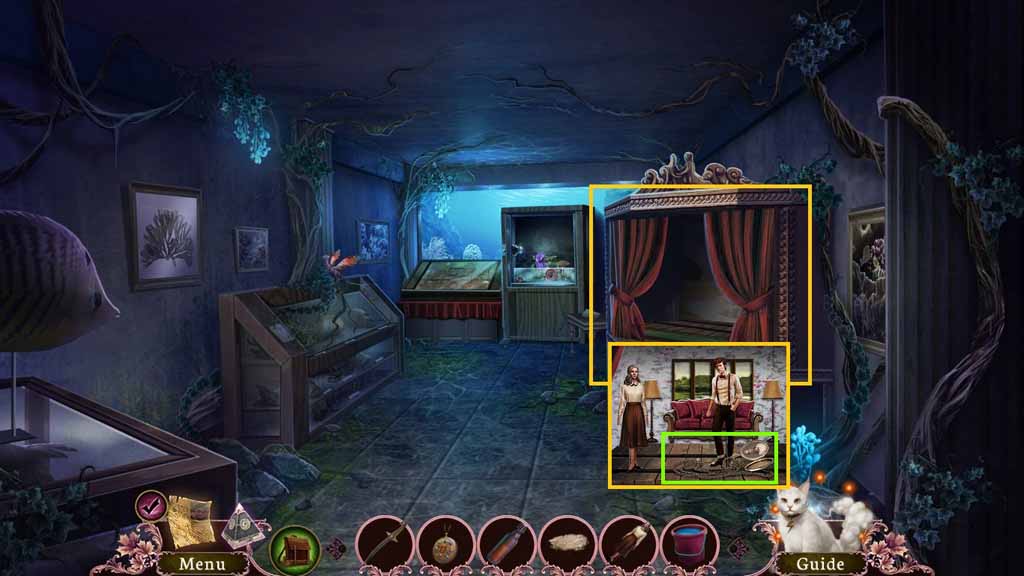
- Place the lady statuette onto the post.
- Collect the pendant.
- Move back once and enter the doorway on the left.
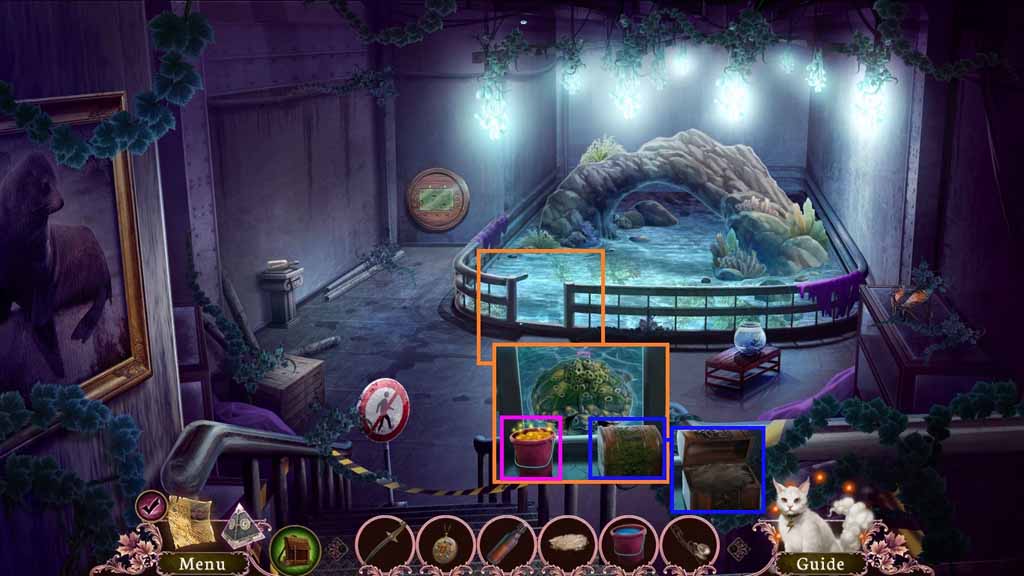
- Place the spring water by the tortoise.
- Put the ground wurm’s tooth and bottled nectar into the bucket and collect it.
- Select the dagger and use it 3 times to open the chest.
- Select the pendant and use it on the orb; collect the fur.
- Move back once and enter the painting.
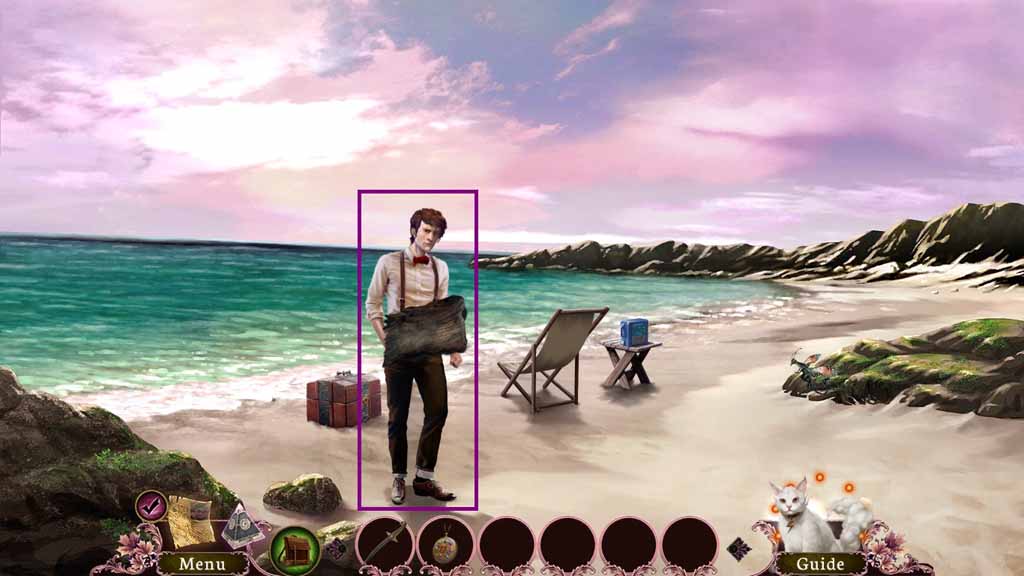
- Give the selkie the fur.
Comments will load when you reach this part of the walkthrough.