

Chapter Five: The Oak
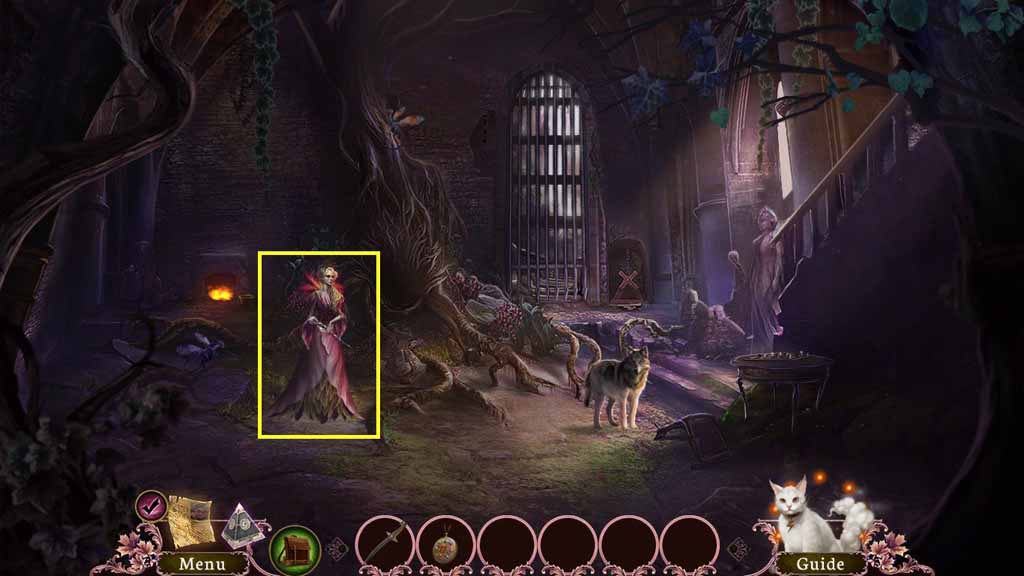
- Talk with the queen.
- Collect the signet ring.
- Move upstairs.
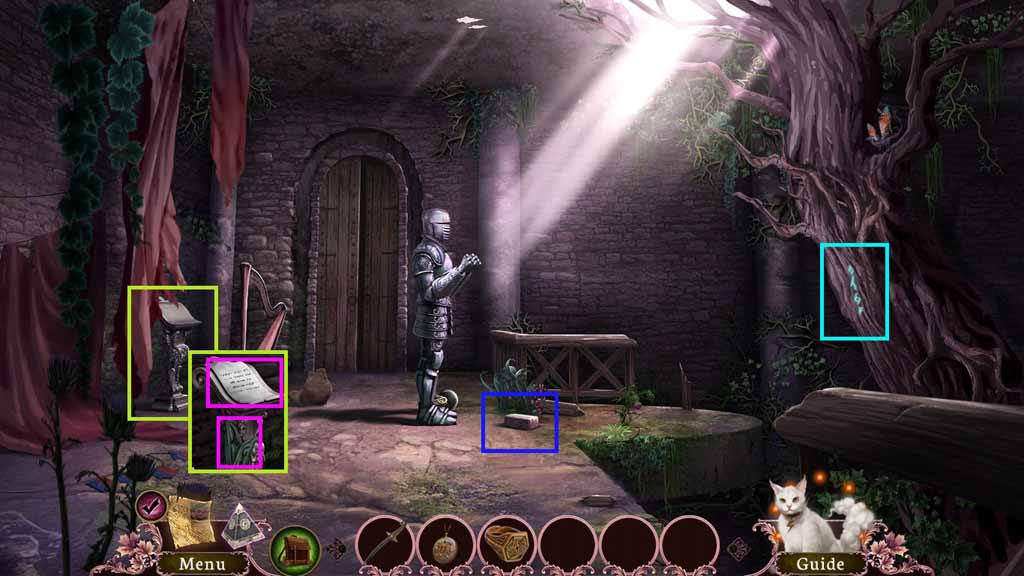
- Collect the note and dirty cloth strips.
- Collect the brick.
- Click the runes 2 times.
- Move ahead.
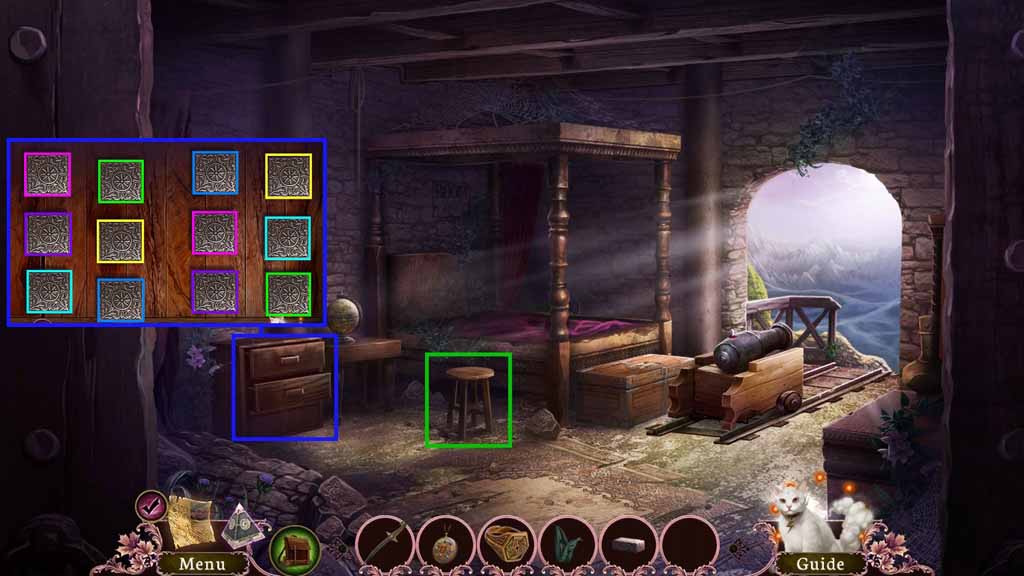
- Collect the stool.
- Click the dresser to trigger a puzzle.
- Solve the puzzle by finding the pairs.
- Collect the key.
- Move back once.
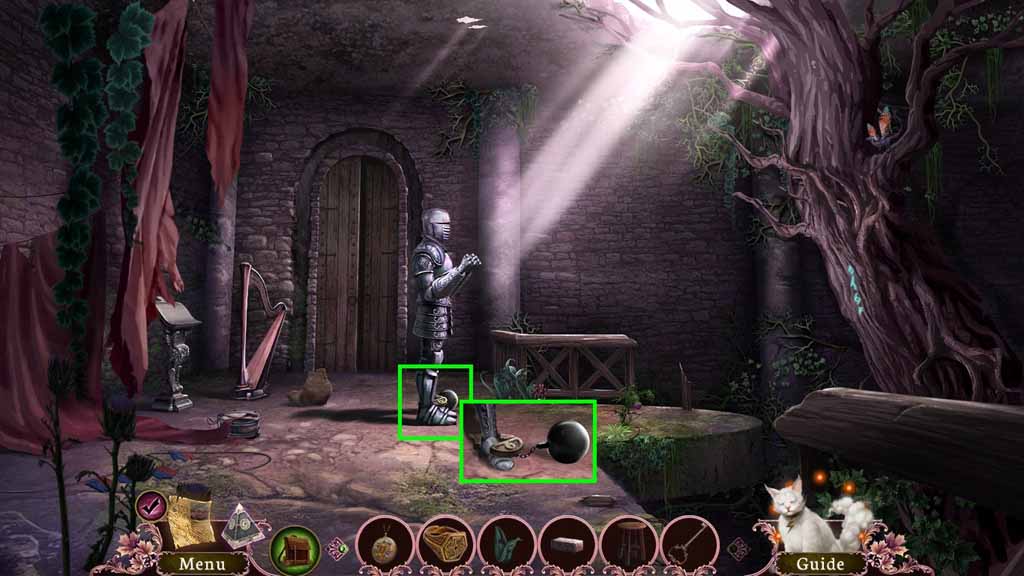
- Insert the key into the lock.
- Collect the ball and chain.
- Move back once.
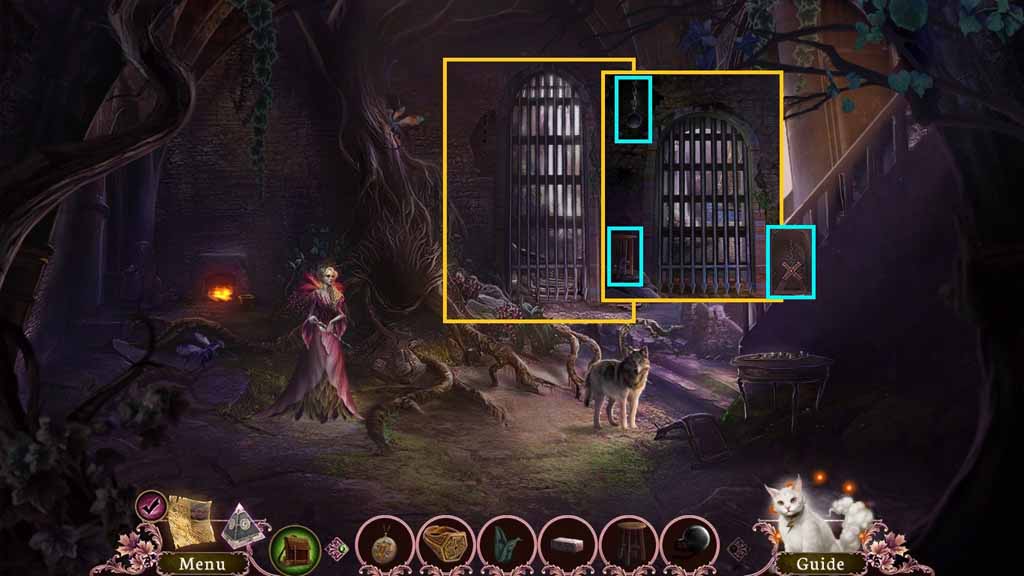
- Place the stool onto the rock.
- Hang the ball and chain onto the hook.
- Click the lever.
- Move ahead.
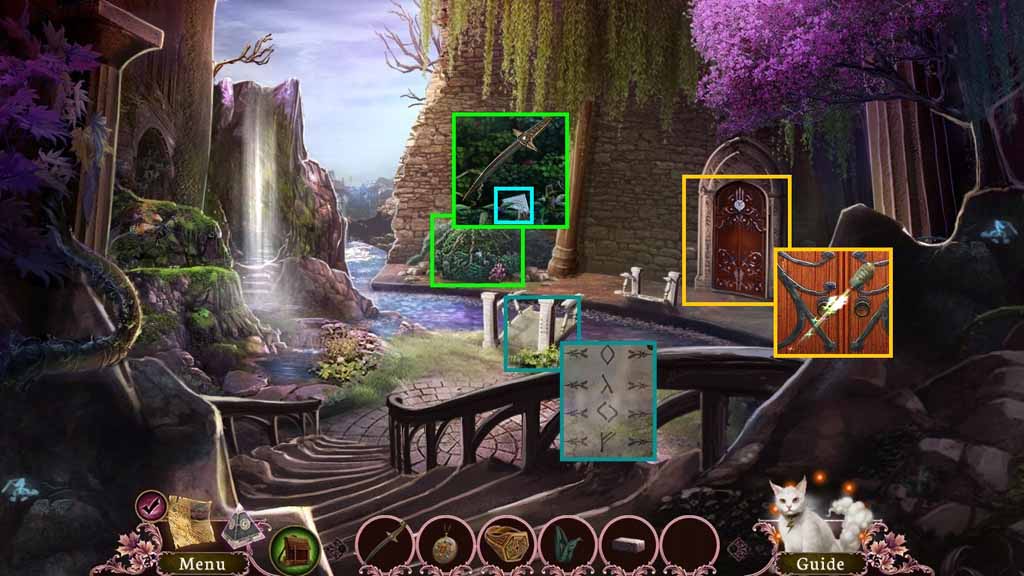
- Click the arrows to recreate the rune code.
- Select the dagger to slice the vines 3 times.
- Collect the crest.
- Attach the dirty cloth strips onto the stick and collect the unlit torch.
- Move back once.
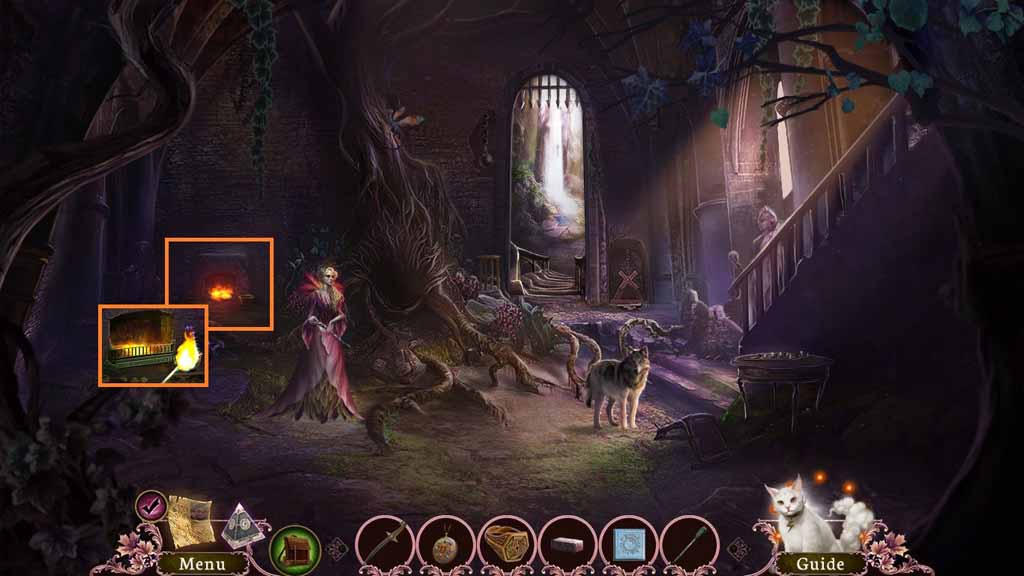
- Place the unlit torch into the pot and then the fire.
- Collect the torch.
- Move upstairs and go forward.
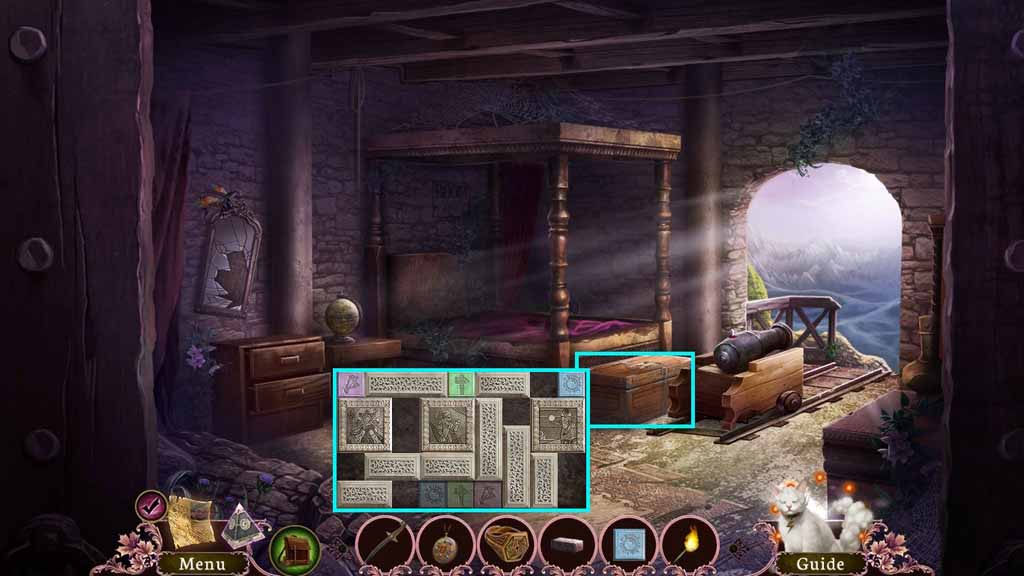
- Place the crest onto the chest to trigger a puzzle.
- Solve the puzzle by moving the tiles to the correct base.
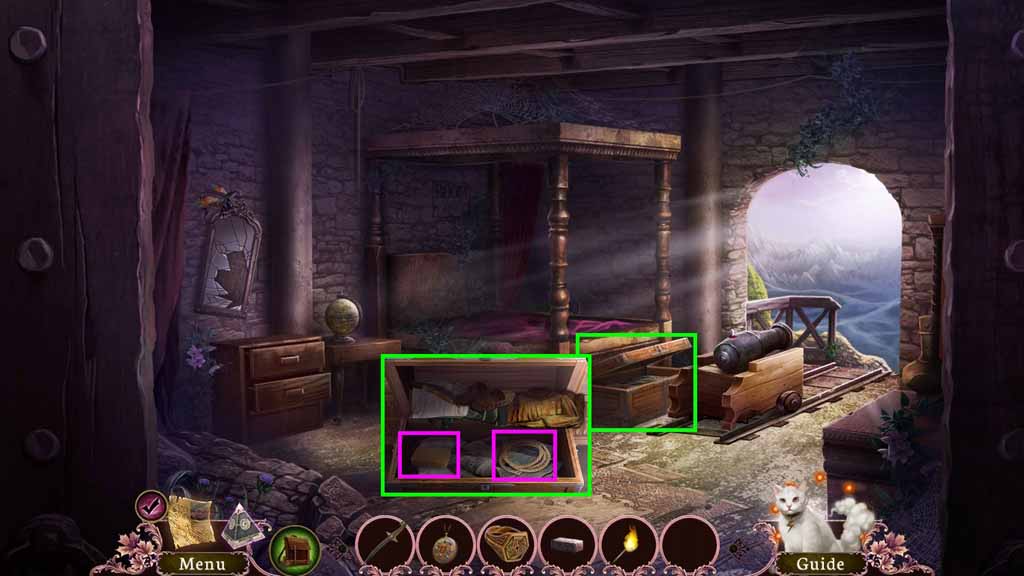
- Click the clothes.
- Collect the sponge and rope.
- Move back 2 times and move ahead.
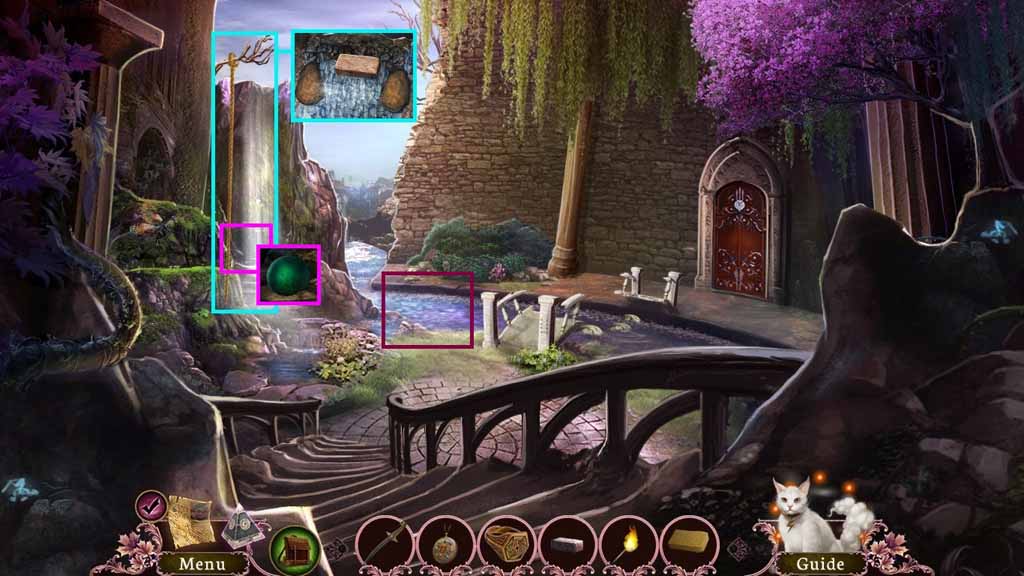
- Select the rope to use on the branch.
- Place the brick into the waterfall.
- Click the brick and the 2 similar rocks.
- Collect the wheel and the cannonball.
- Place the sponge into the water; collect the wet sponge.
- Move back then go upstairs and move ahead.
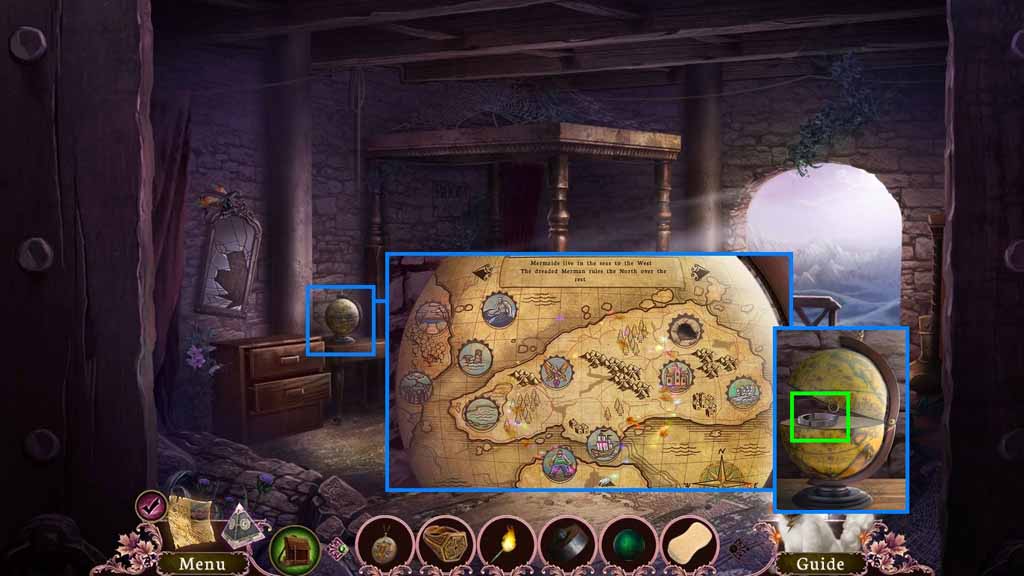
- Select the wet sponge and use it on the globe 3 times.
- Insert the signet ring to trigger a puzzle.
- Solve the puzzle by completing the map.
- Collect the harp strings.
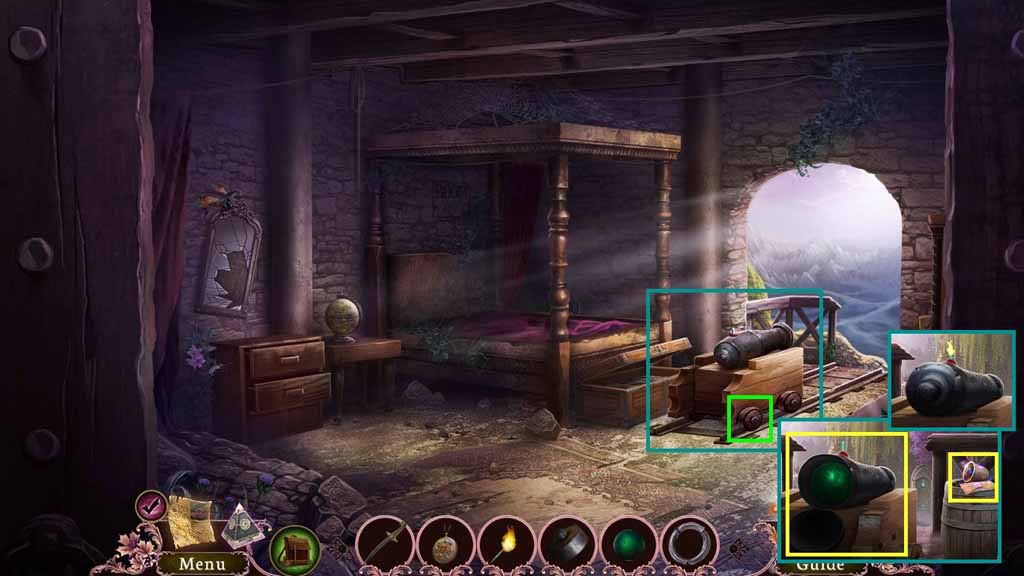
- Attach the wheel onto the cannon and click the cannon.
- Collect the poster.
- Insert the cannonball and gunpowder into the cannon.
- Click the cap and use to the torch to ignite the fuse.
- Move back 2 times and then move ahead.
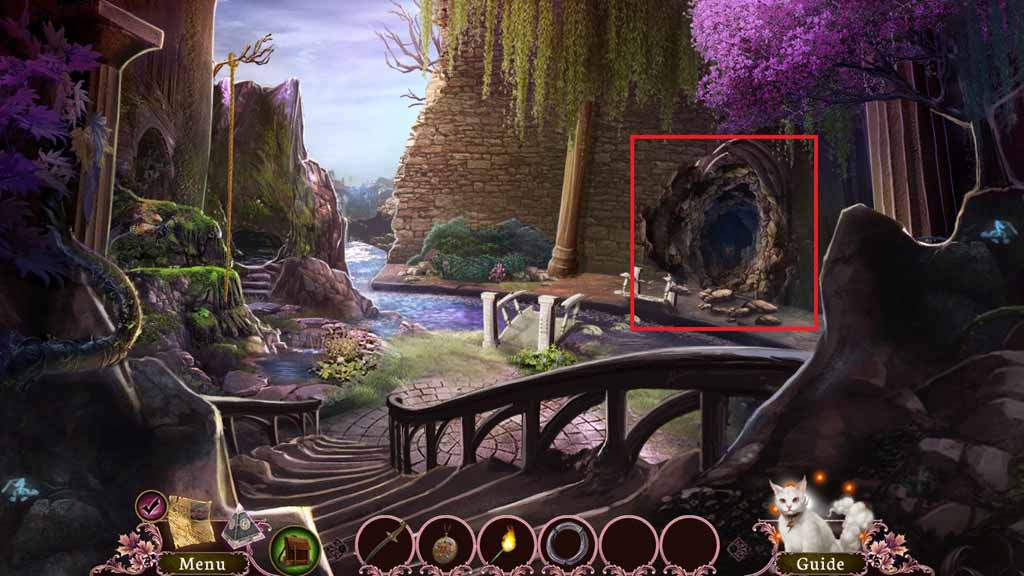
- Select the torch and use it 2 times in the room to trigger a hidden objects area.
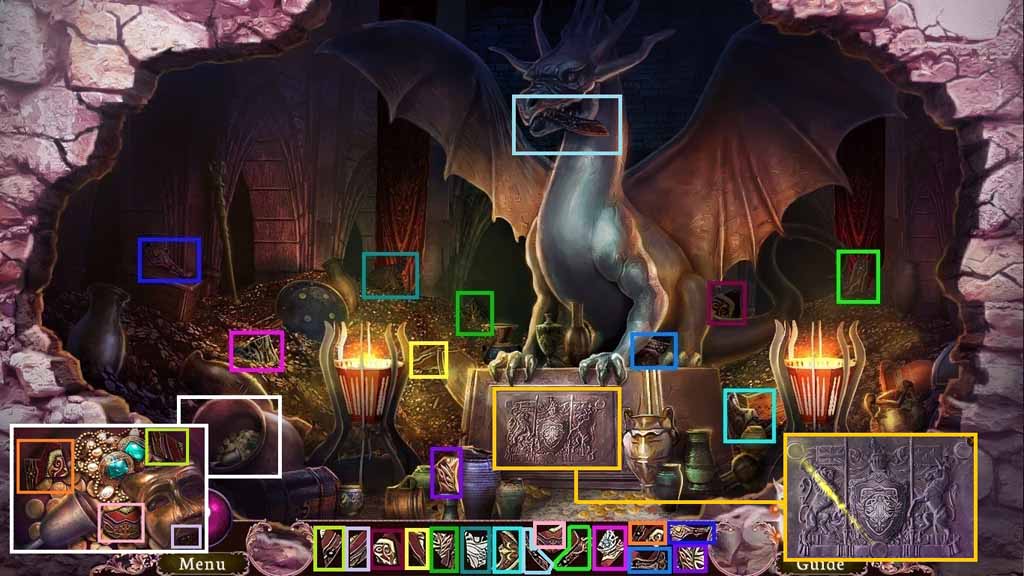
- Find the pictured items.
- Click the jar to locate certain items.
- Assemble the plaque pieces to collect the item into the statues mouth.
- Collect the shield.
- Move back and move upstairs.
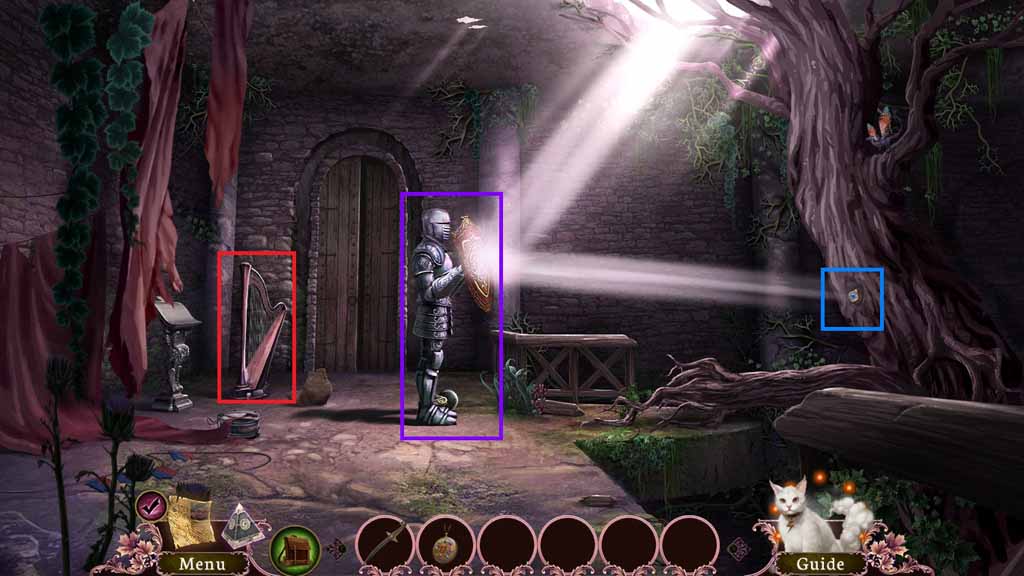
- Place the shield onto the knight.
- Collect the eye-shaped lens.
- Attach the harp strings onto the harp.
- Select the eye shaped lens on the music to trigger a hidden objects area.
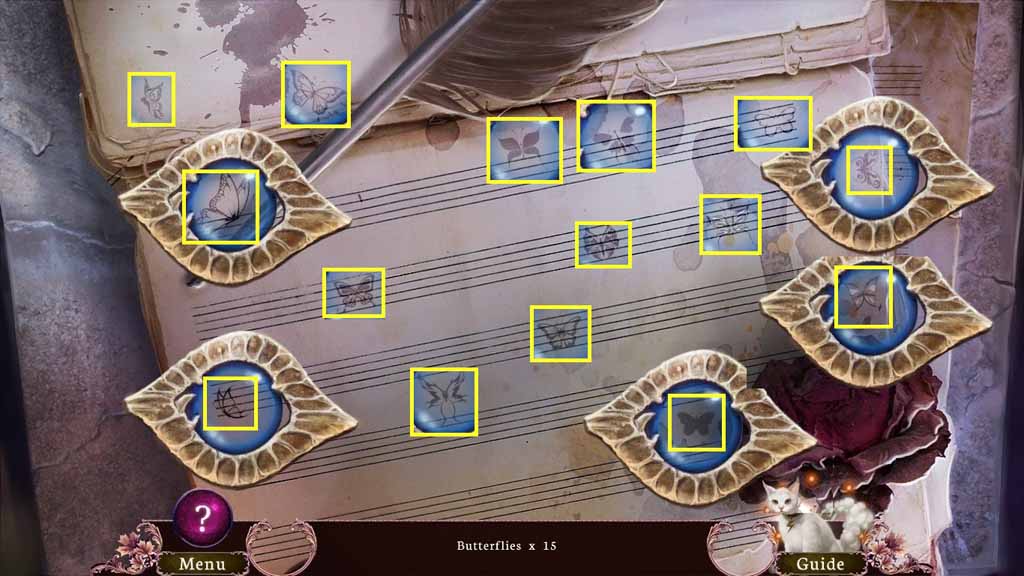
- Find the 15 butterflies by moving the lens.
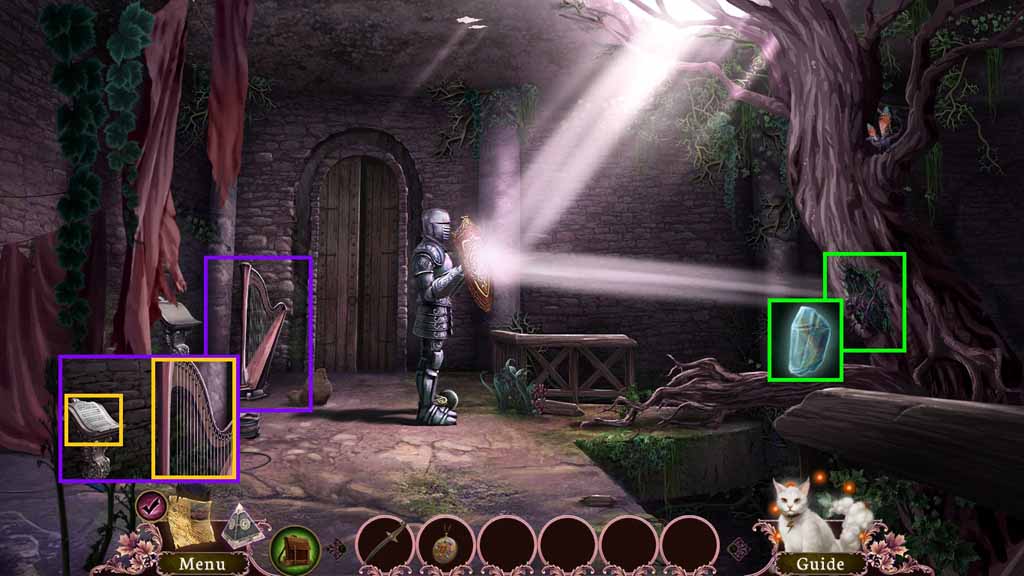
- Lay the music sheet onto the harp.
- Select the dagger and use it 3 times to slice the vines.
- Click the chrysalis and collect the butterfly.
- Move back once.
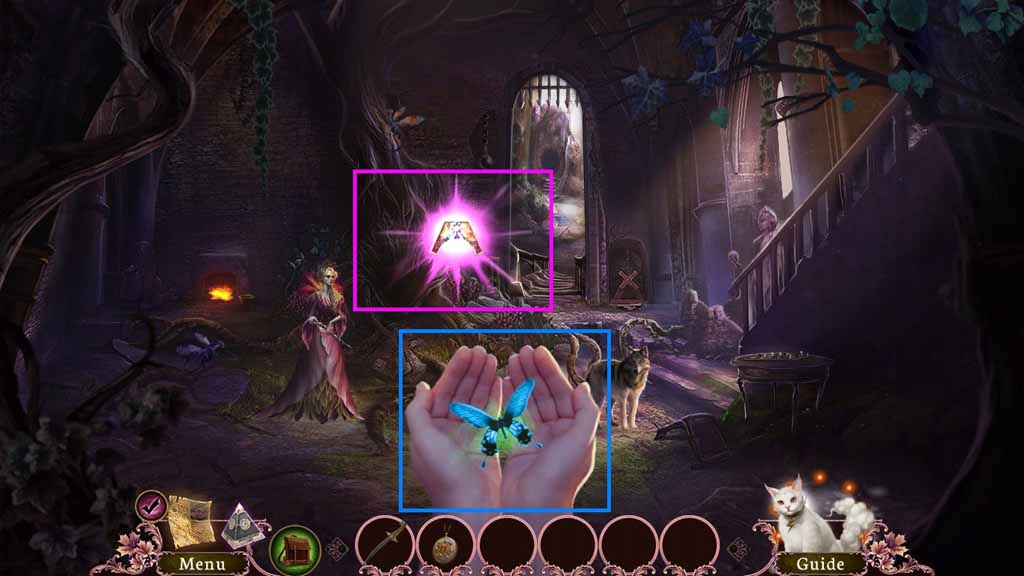
- Give the queen the butterfly.
- Collect the queen’s piece.
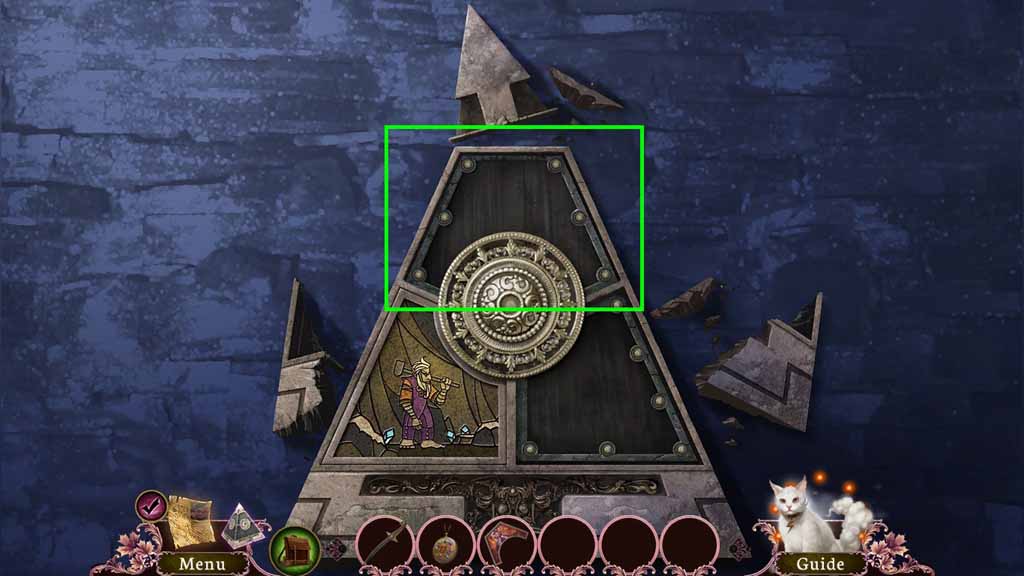
- Select the queen’s piece and place it onto the perpetual prison.
Comments will load when you reach this part of the walkthrough.