

Chapter Five: The Manor
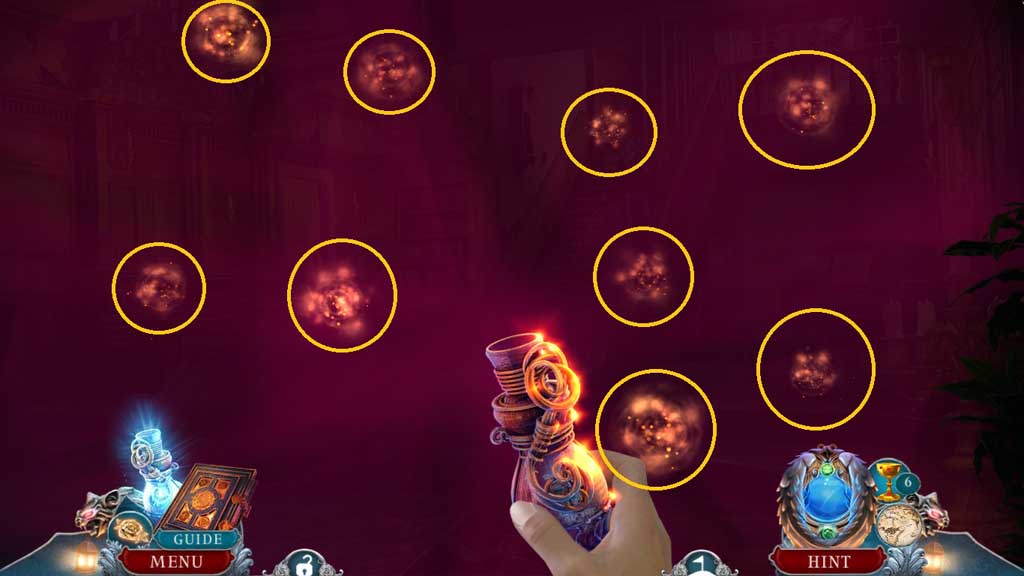
- Select the vial of light to collect the orbs.
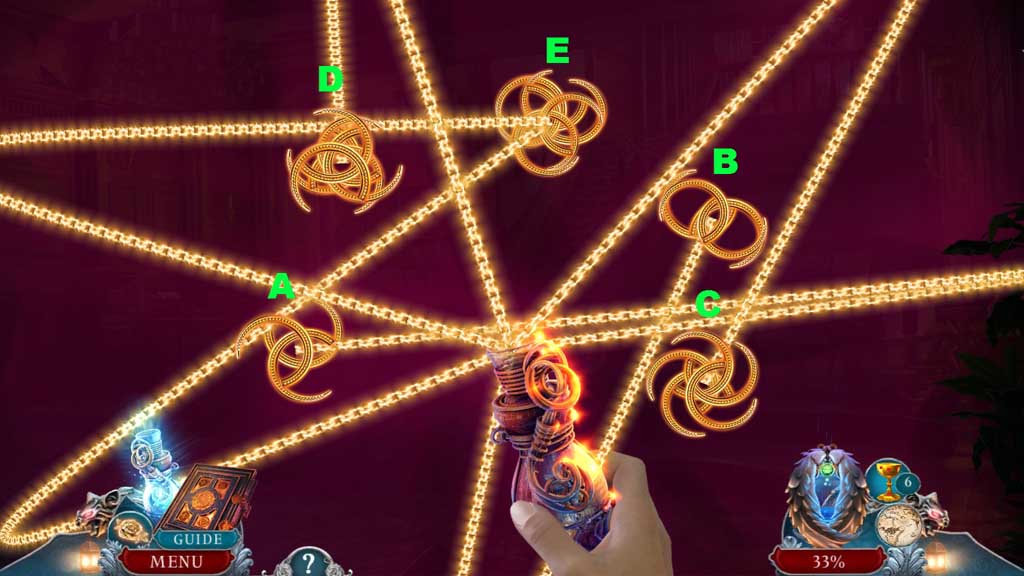
- Click the symbols in ABC order.
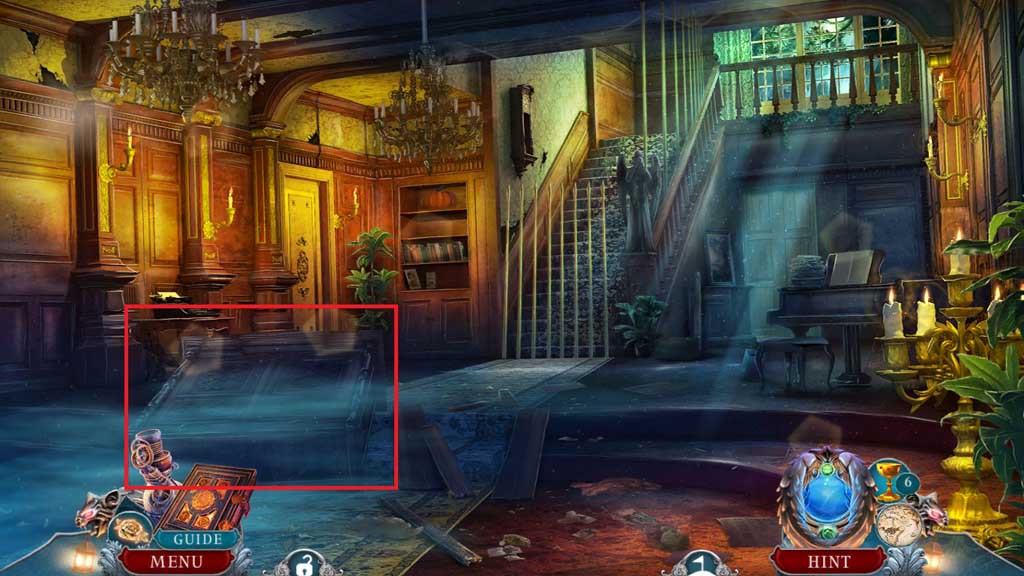
- Place the wooden carvings to trigger a hidden objects area.
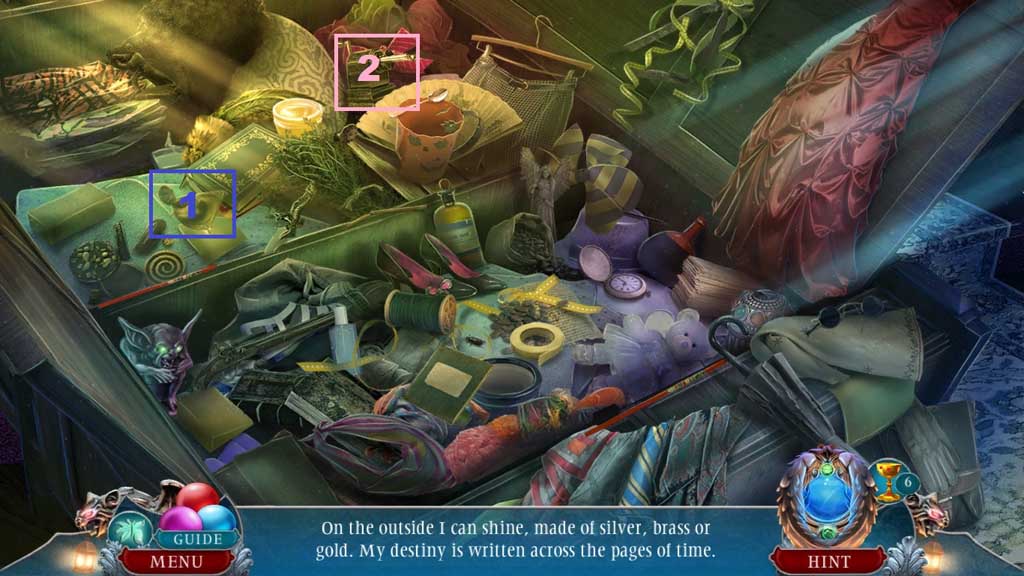
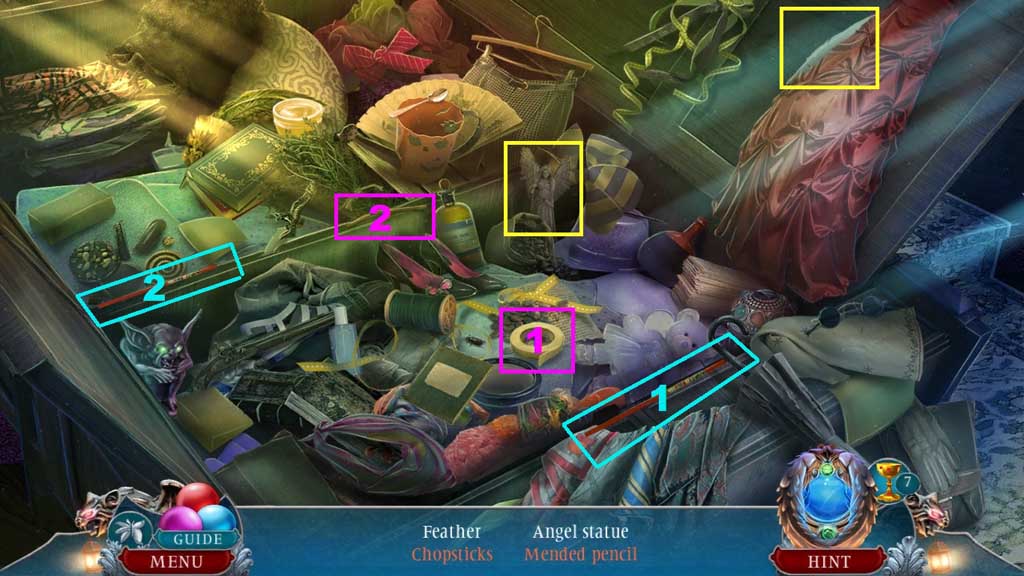
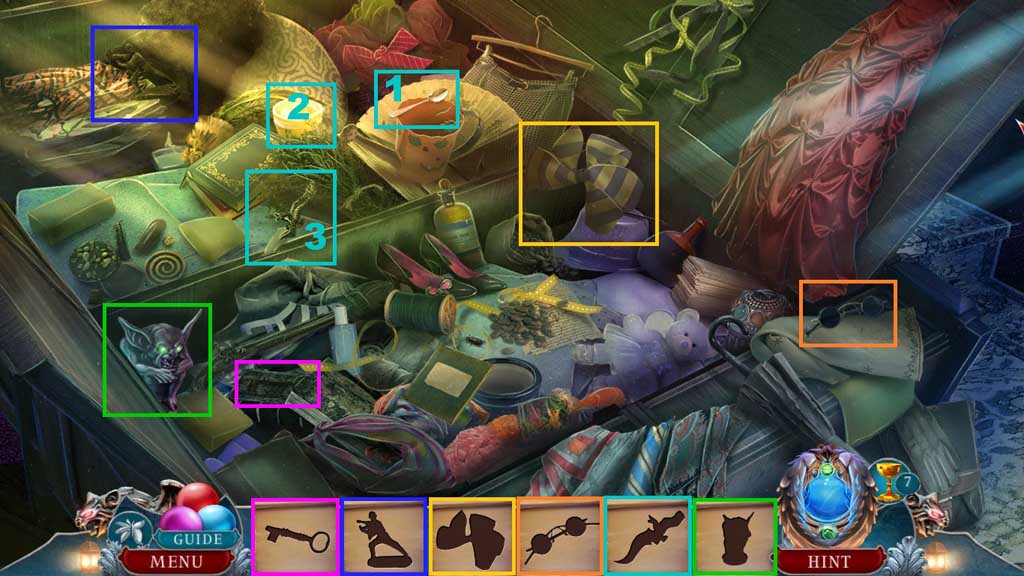
- Find the items based on the clues.
- Select the chopstick and place it along with the other; collect the chopsticks.
- Select the tape to mend the broken pencil; collect the mended pencil.
- Select the spoon and dip it into the butter; use it to lubricate and collect the knife.
- Collect the gargoyle statuette.
- Move to the Study.
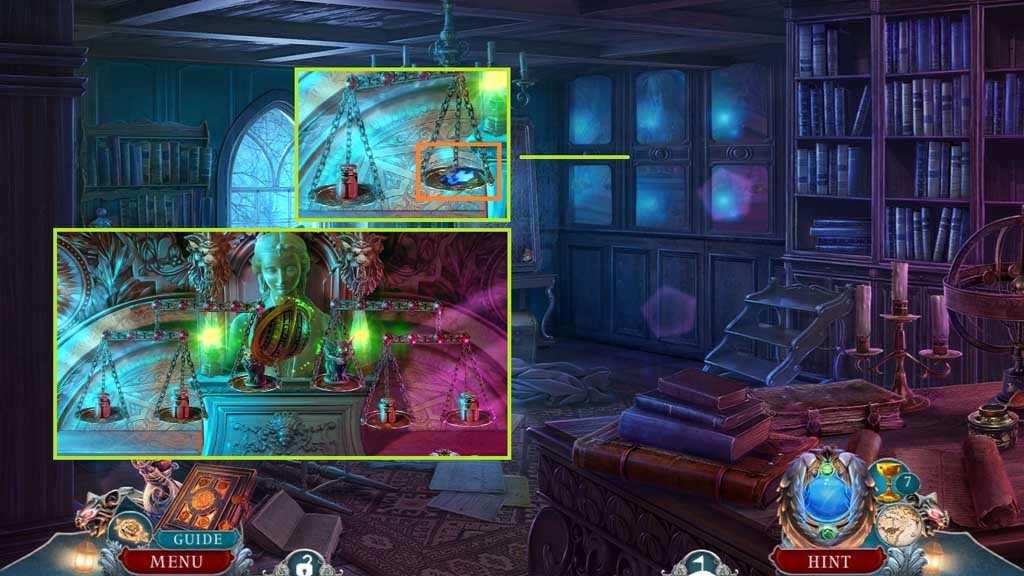
- Click the cabinet open.
- Collect the blue crystal.
- Place the gargoyle and the imp statuette to trigger a mini game.
- Solve the game by adjusting the items to balance the weight correctly.
- Collect the ornate brass planet.
- Move down once.
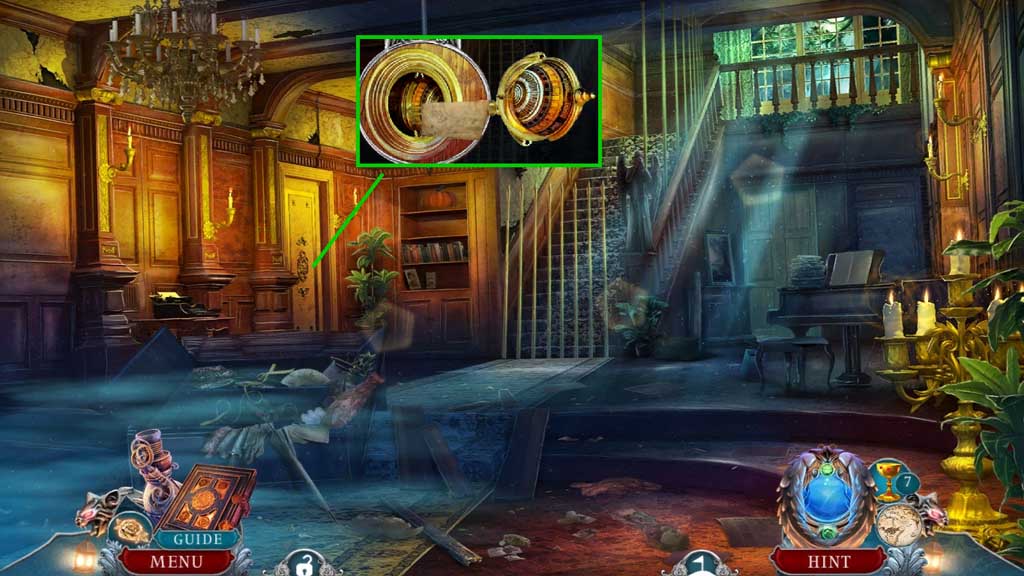
- Click the lock; attach the ornate brass planet.
- Collect the sky map.
- Move to the left into the Dining Room.
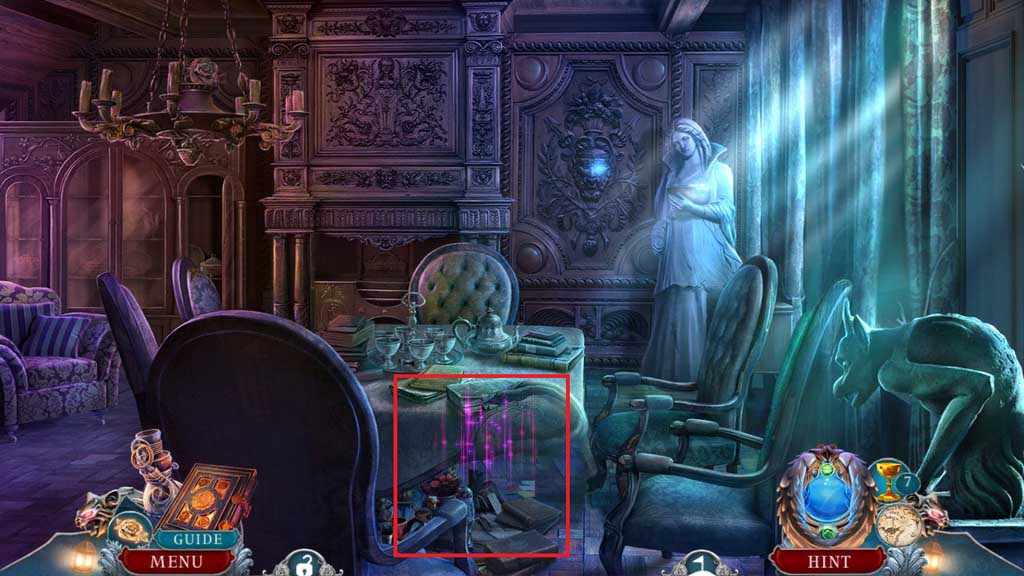
- Click the tablecloth to trigger a hidden objects area.
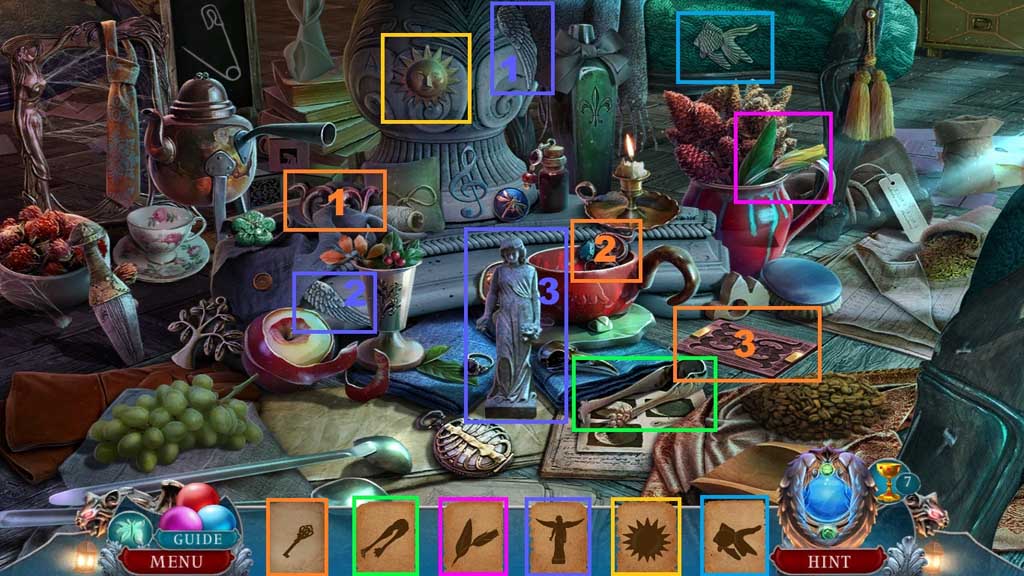
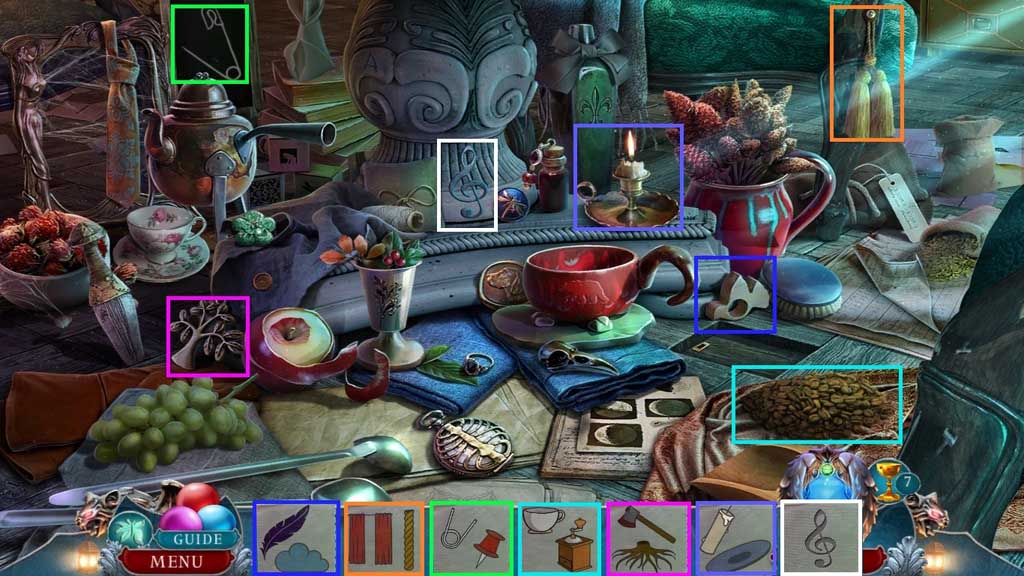
- Find the items.
- Select the decorative pieces and place them into the grooves; collect the key.
- Select the wings and attach them to and collect the angel.
- Collect the treble clef.
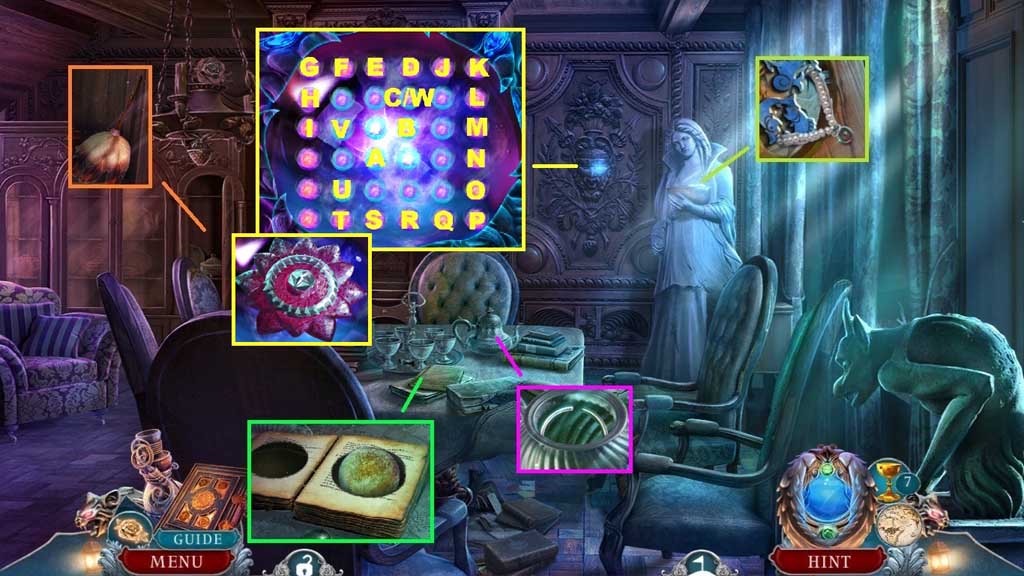
- Collect the black pearl.
- Collect the feather duster.
- Insert the buckle into the book; collect 1 /3 Jupiter’s moon.
- Click the teapot; collect the metal ring.
- Insert the blue crystal to trigger a mini game.
- Solve the game by clicking the knobs to illuminate the knobs on the outer rim.
- Collect the rose ornament.
- Move down once into the Main Hall.
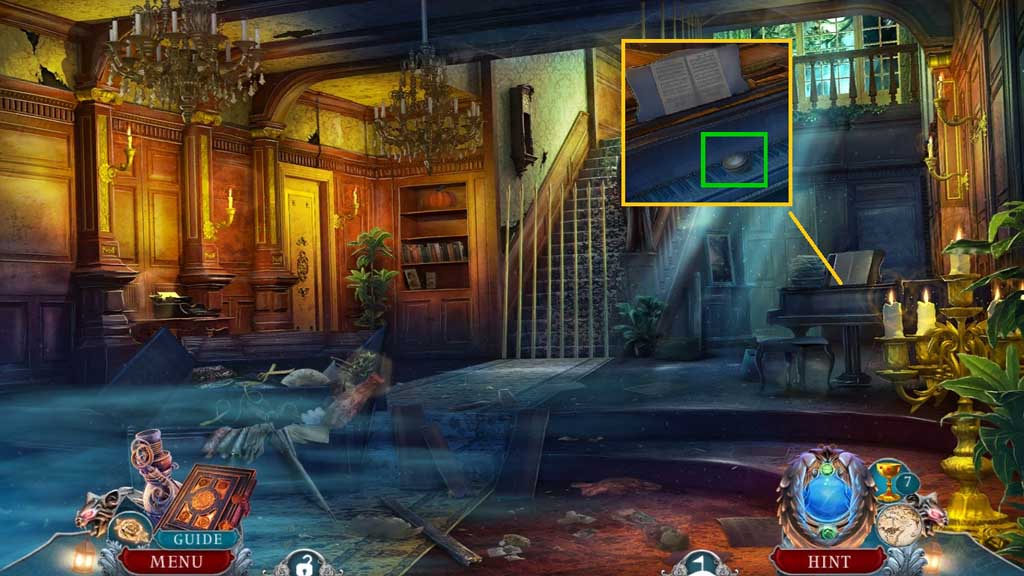
- Insert the treble clef; click the piano.
- Collect the lens.
- Move to the right into the Study.
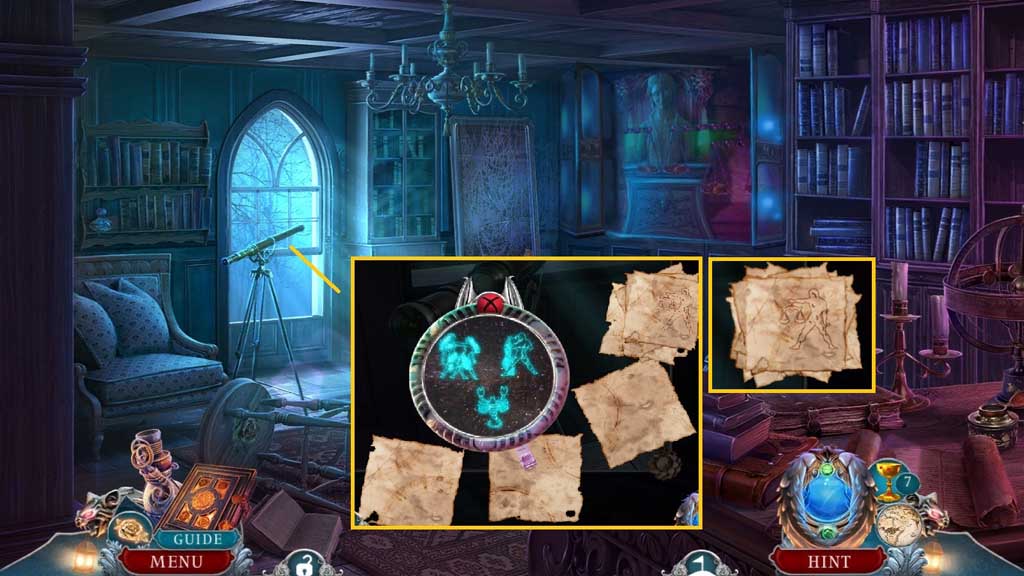
- Click the telescope lid and attach the lens.
- Zoom into the telescope to trigger a mini game.
- Solve the game by adjusting the knob to create clear images of the constellations.
- Collect the star positions.
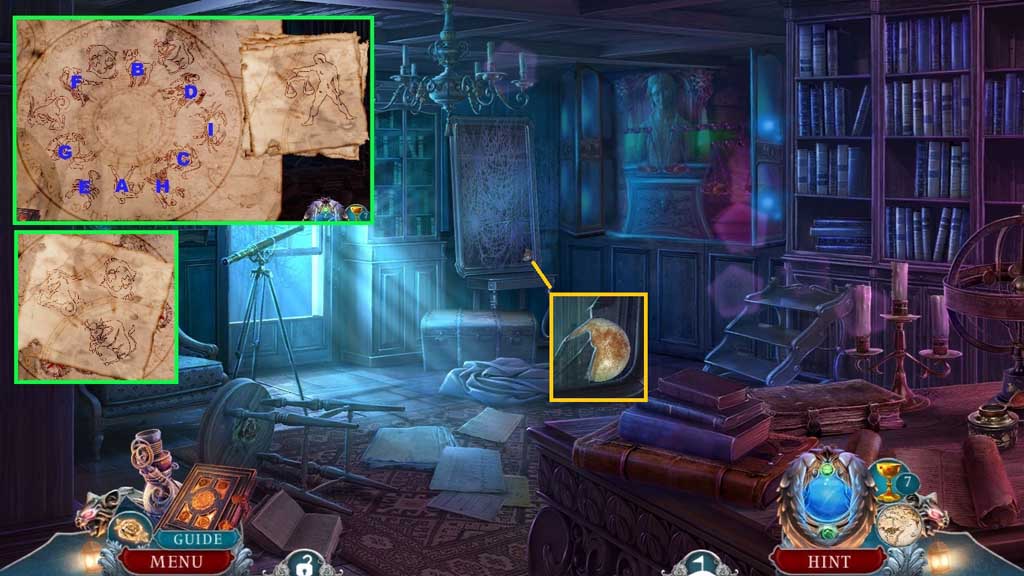
- Zoom into the sky map and place the star positions to trigger a mini game.
- Solve the game by finding the symbols on the sky map.
- Collect the number code.
- Select the feather duster to remove the cobwebs; collect 2/ 3 Jupiter’s moons.
- Move to the Dining Room.
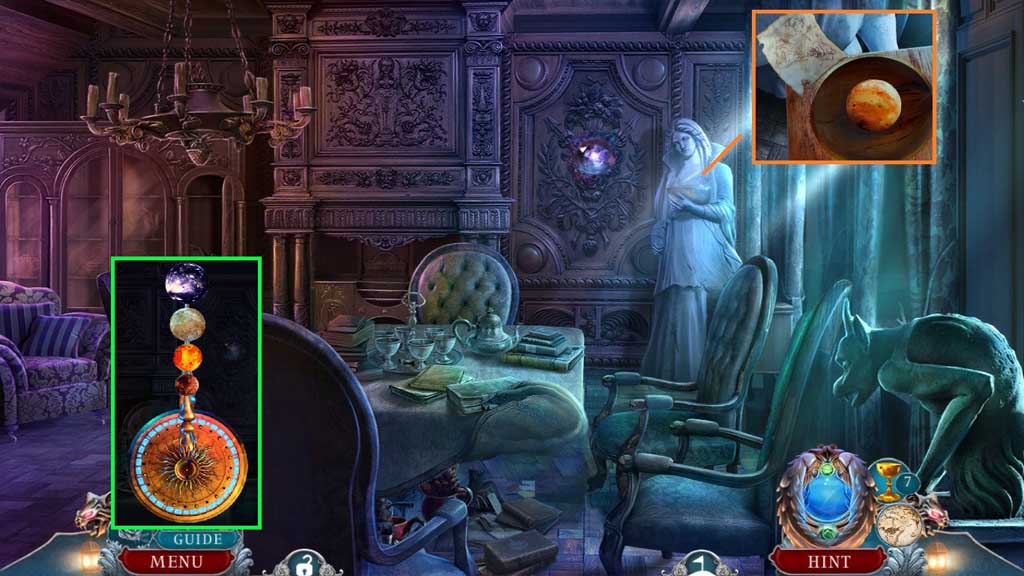
- Attach the number code.
- Click the lid; collect 3 /3 Jupiter’s moons.
- Zoom into the Jupiter moon model and attach the 3 Jupiter’s moons to trigger a mini game.
- Solve the game by aligning the Jupiter moons according to size.
- Collect the Jupiter moon model pin.
- Move down once to the Main Hall.
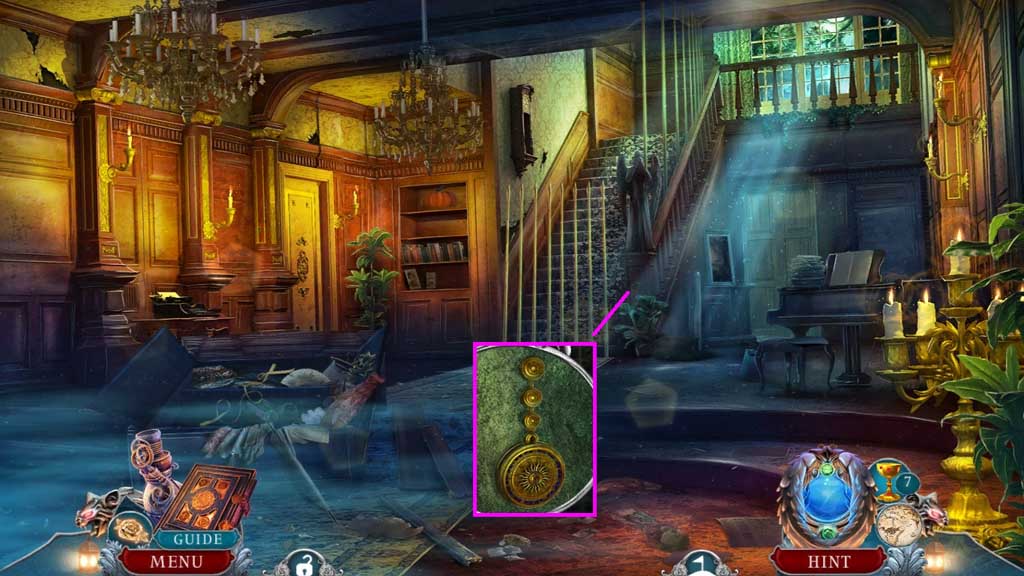
- Place the Jupiter moon model pin.
- Move upstairs.
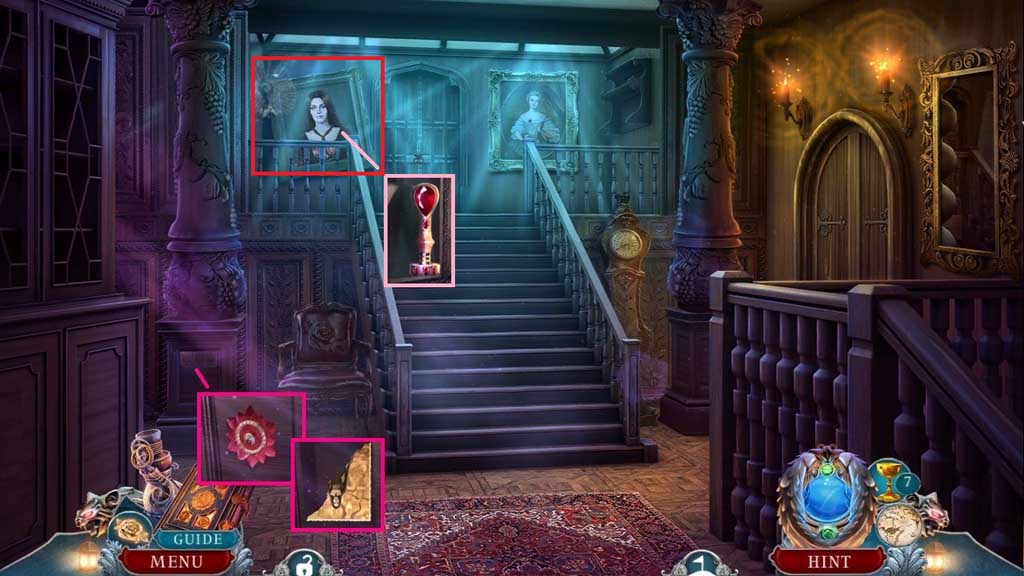
- Insert the rose ornament; collect 1 /2 photo fragments.
- Collect the Blackburn seal; insert the black pearl to trigger a hidden objects area.
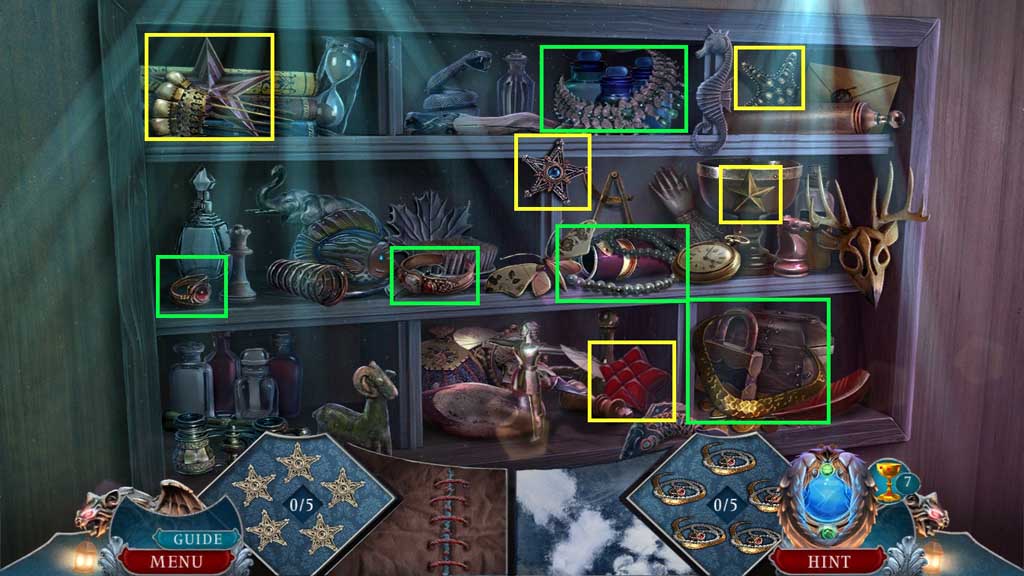
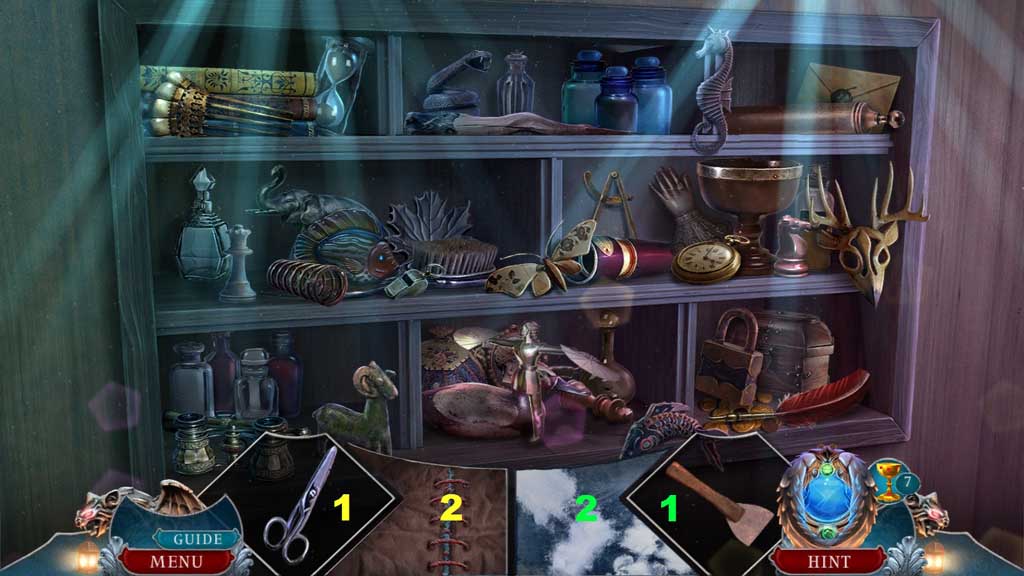
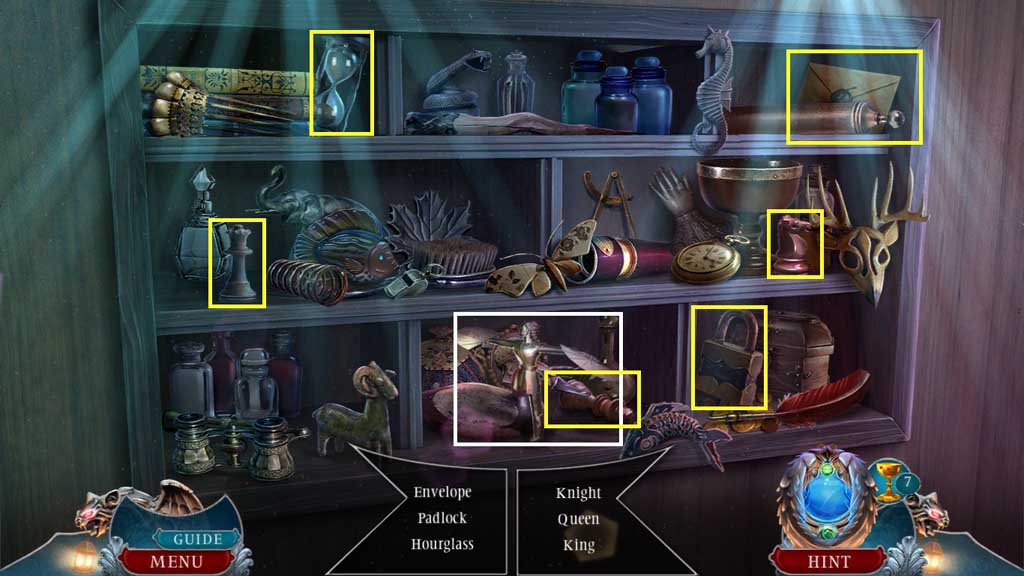
- Find the items.
- Select the scissors to slice the laces and the scraper to scrape the cloudiness away.
- Collect the dancing figurine.
- Move to the right into Rose’s Bedroom.
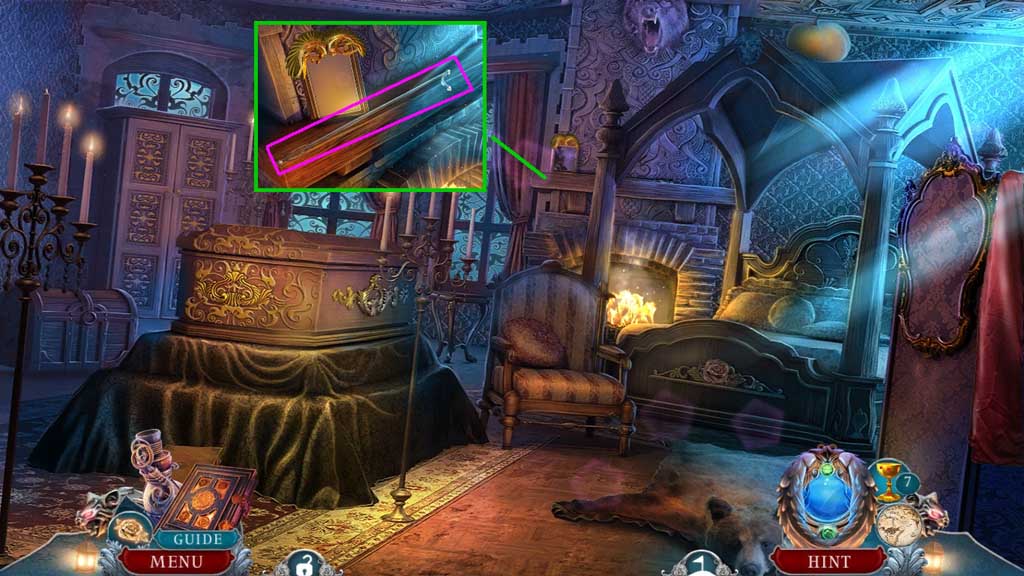
- Collect the fireplace poker.
- Move down 2x’s to the Main Hall.
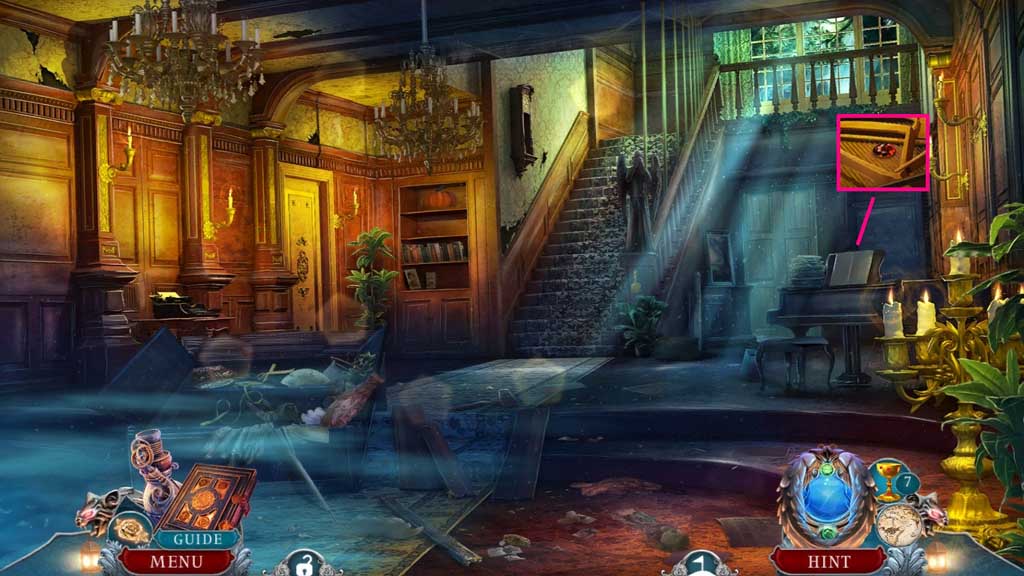
- Select the fireplace poker to open the piano lid; collect the red gemstone.
- Move to the left into the Dining Room.
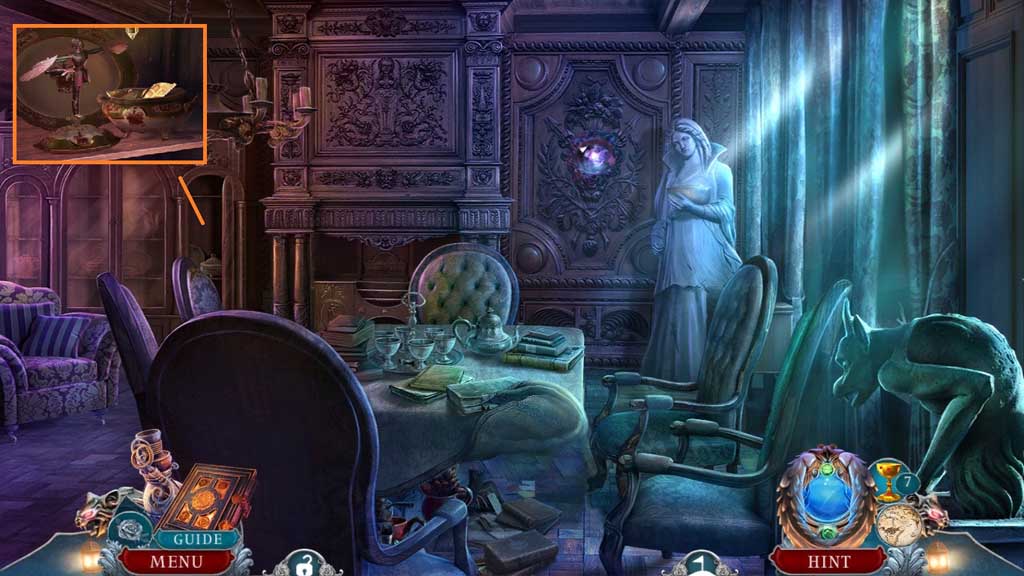
- Place the dancing figurine and click it 2x’s.
- Collect 2 /2 photo fragments.
- Move to Rose’s Bedroom.
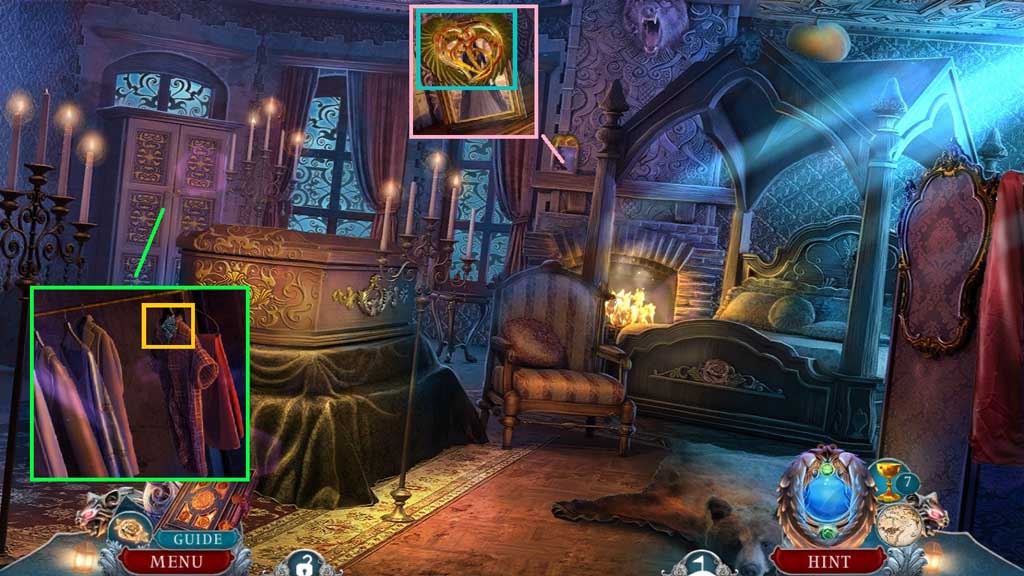
- Insert the 2 photo fragments.
- Collect the heart ornament.
- Attach the metal ring onto the closet.
- Click the shirts aside; collect 1 /2 bat wings.
- Move down once.
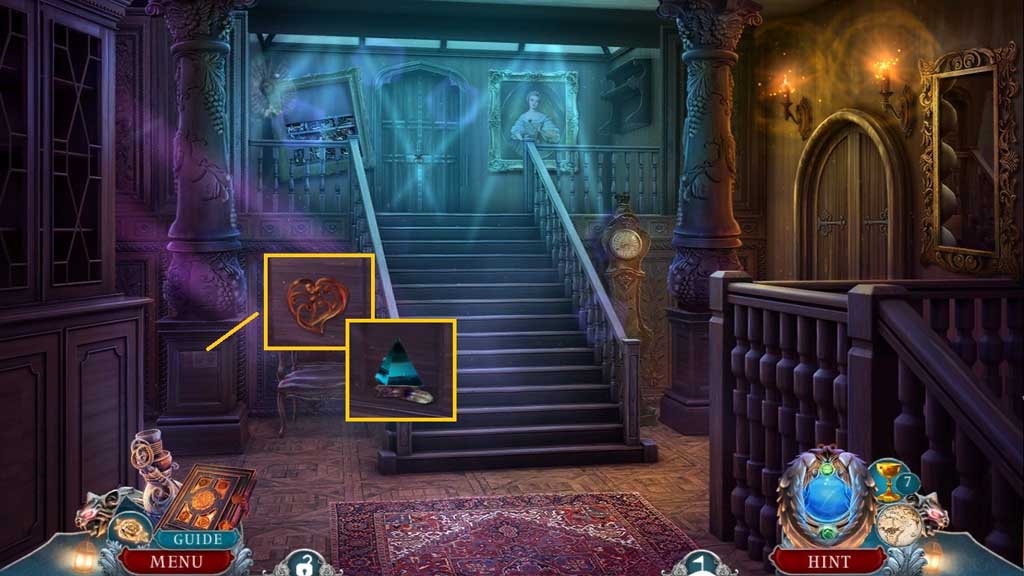
- Insert the heart ornament; collect the prism.
- Move to the right to Rose’s Bedroom.
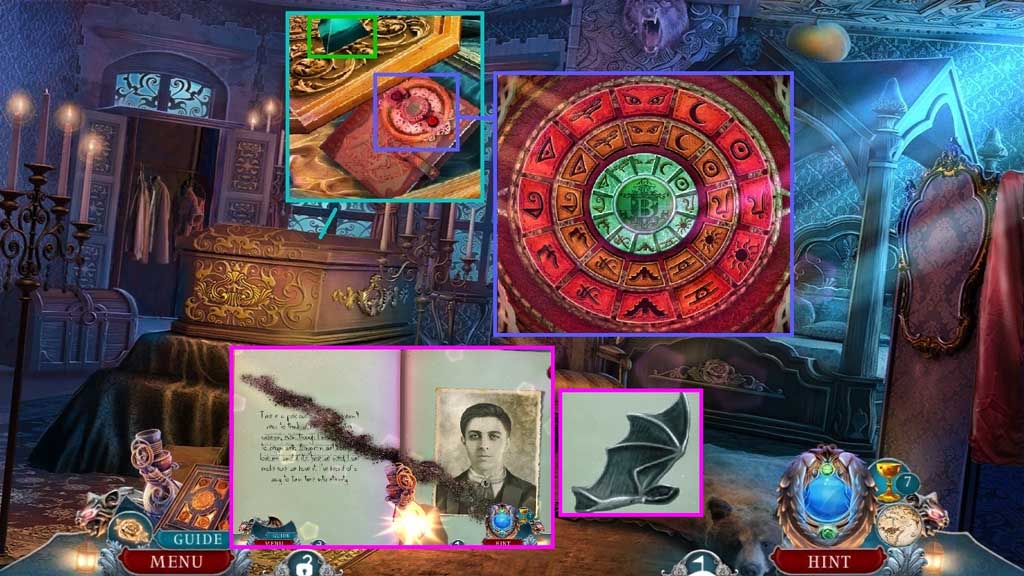
- Place the prism.
- Place the Blackburn seal to trigger a mini game.
- Solve the game by aligning the symbols correctly.
- Place the grave dirt onto the page.
- Select the vial of light to create the cure for vampirism.
- Collect 2 /2 bat wings.
- Move down once.
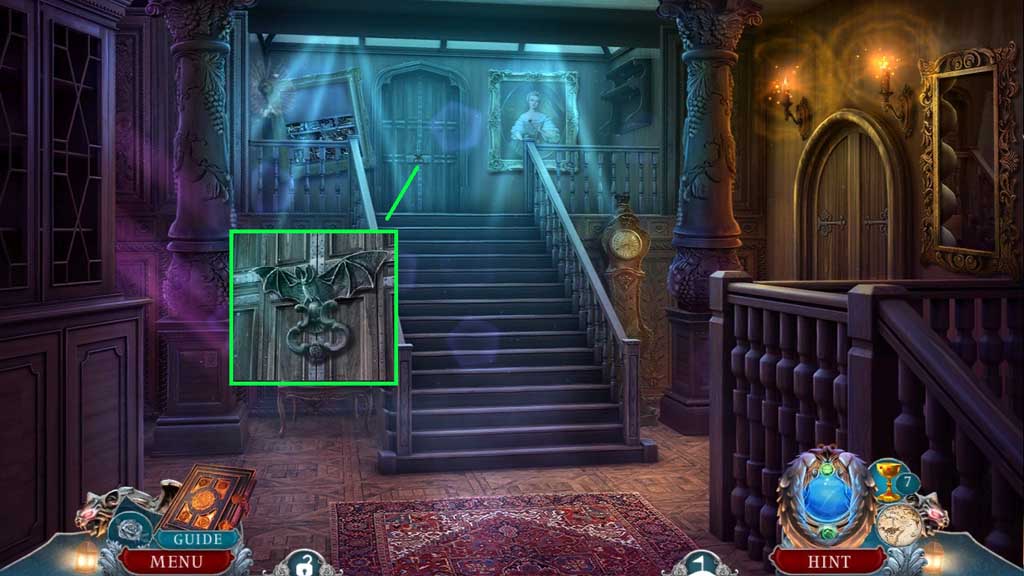
- Attach the bat wings; click the knocker.
- Move ahead into the Library.
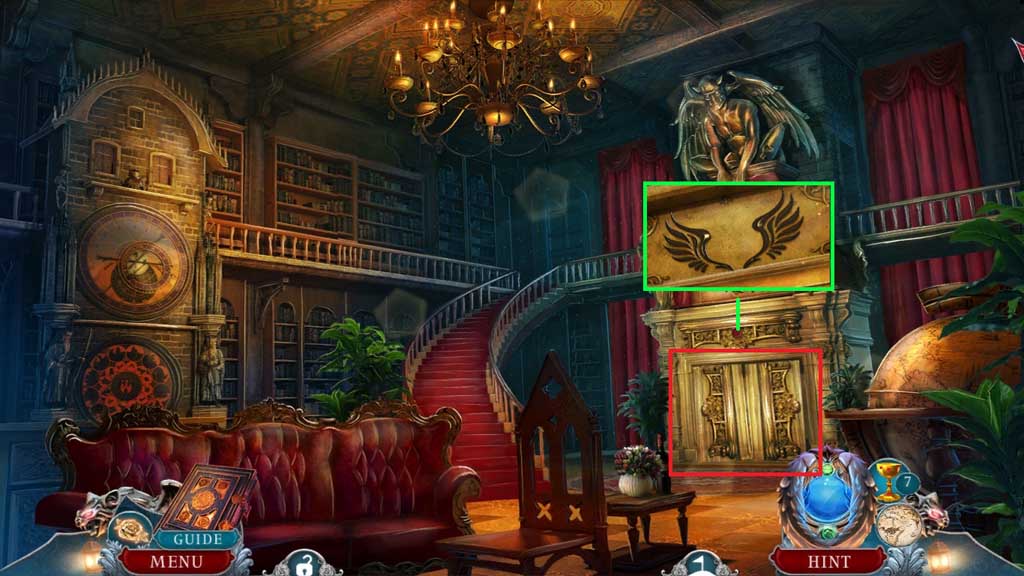
- Insert the red gemstone.
- Click the wings.
- Click the hidden objects area.
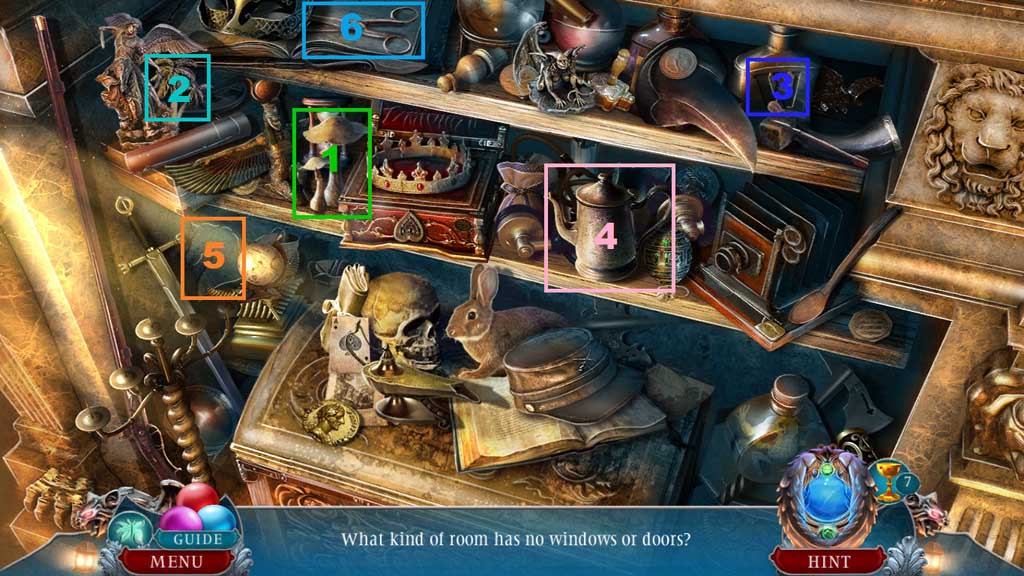
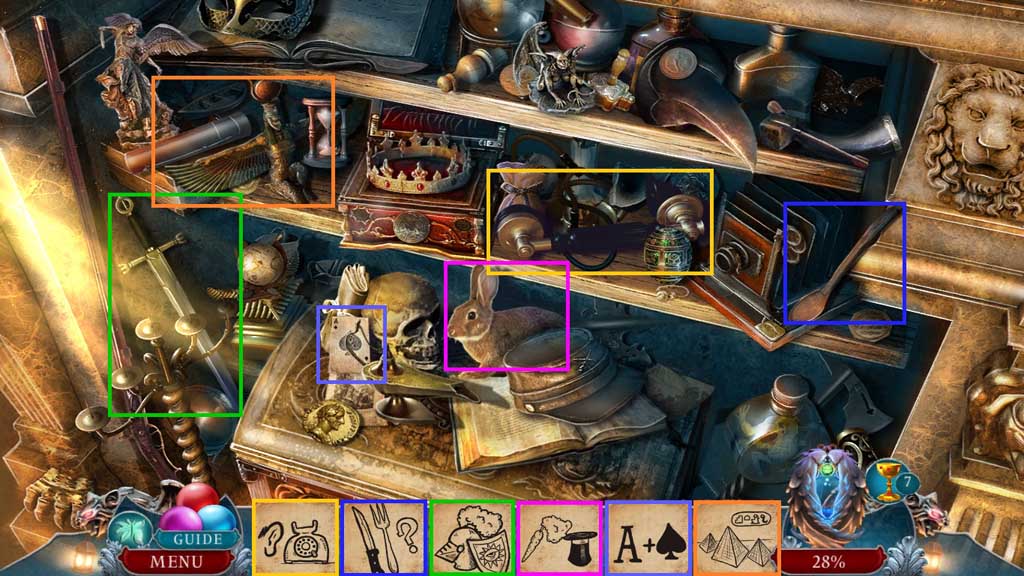
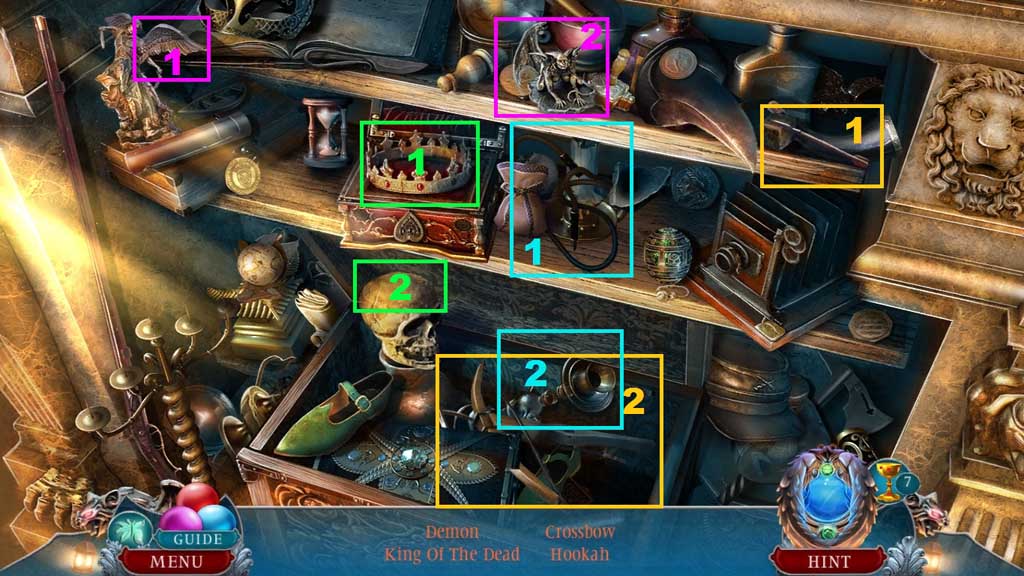
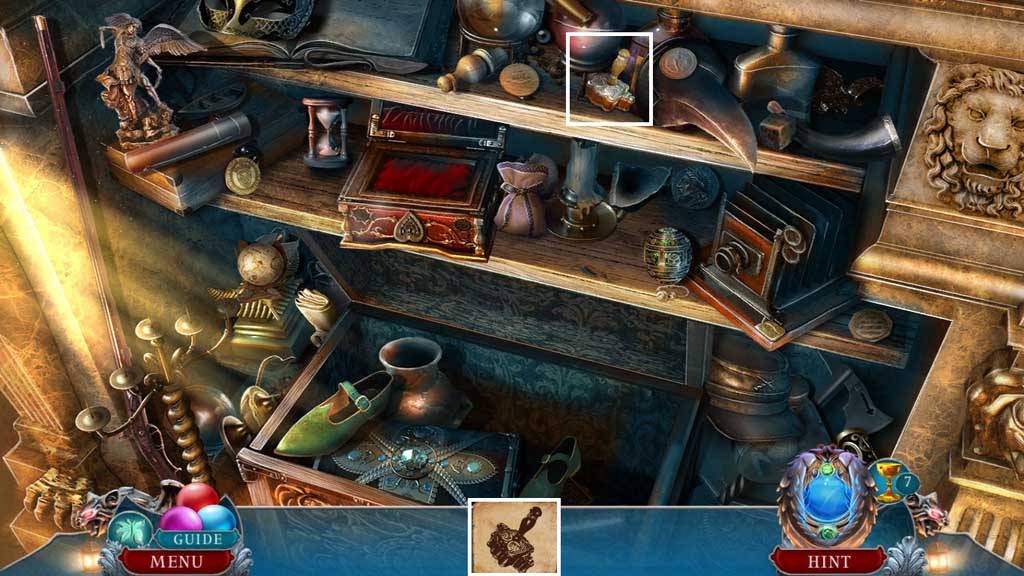
- Find the items based on the clues.
- Select the wing and place it onto the demon; collect the demon.
- Select the crown and place it onto the skull; collect the king of the dead.
- Select the arrow and place it into the crossbow; collect the crossbow.
- Select the hose and place it onto the hookah; collect the hookah.
- Collect the Ex Libris seal.
- Move down once.
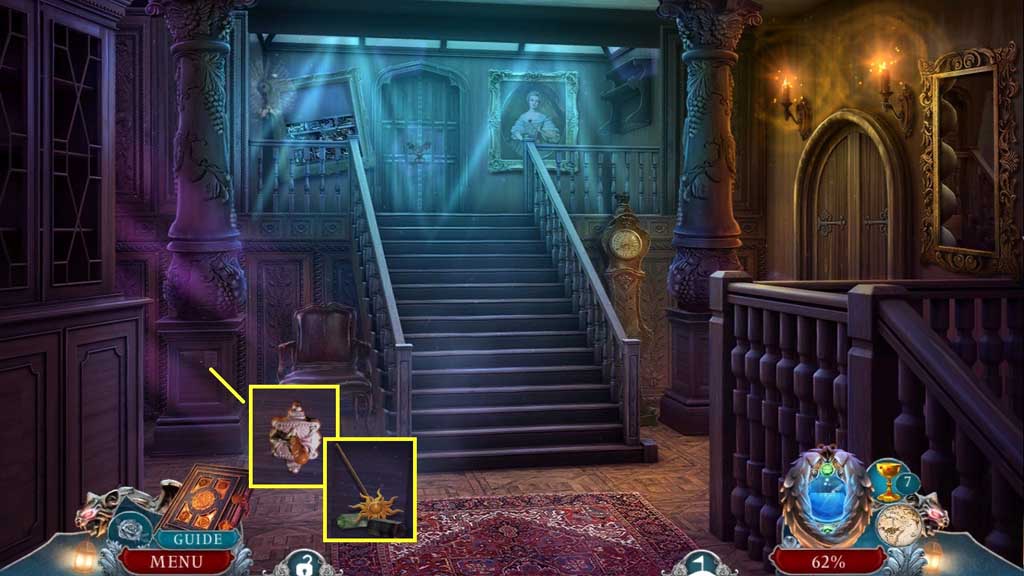
- Insert the Ex Libris seal.
- Collect the sun clock needle.
- Move ahead to the Library.
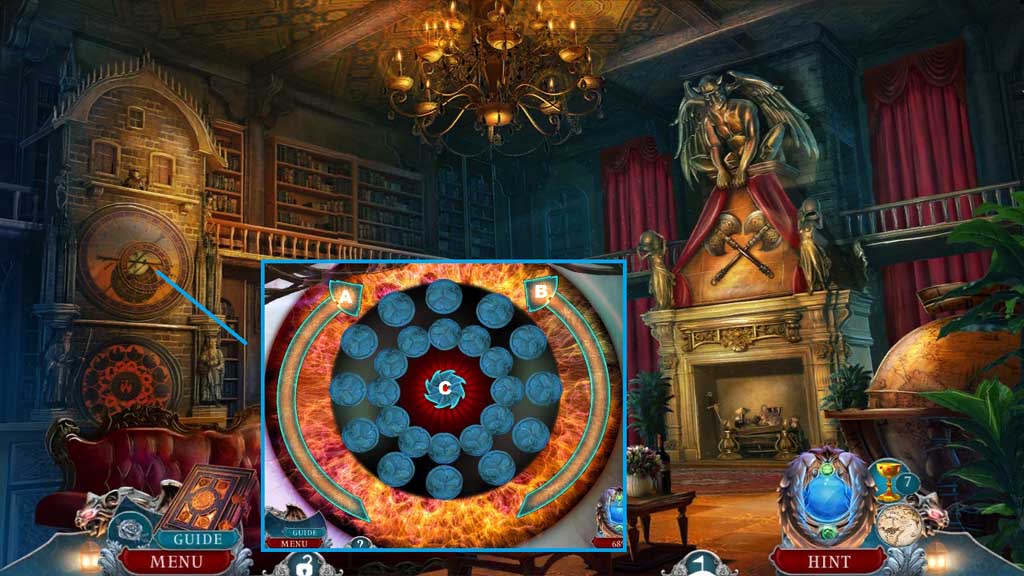
- Click the clock and attach the sun clock needle to trigger a mini game.
- Solve the game by finding the matching symbols.
- Use the following sequence to solve the game: C – A – B x 6 – C – A – B x 7 – C – A – B x 9 – C – A – B x 4 – C – A – B x 9 – C – A – B x 4 – C – A – B – C – A – B x 4 – C – A – B x 9 – C – A – B x 2 – C – A – B x 2
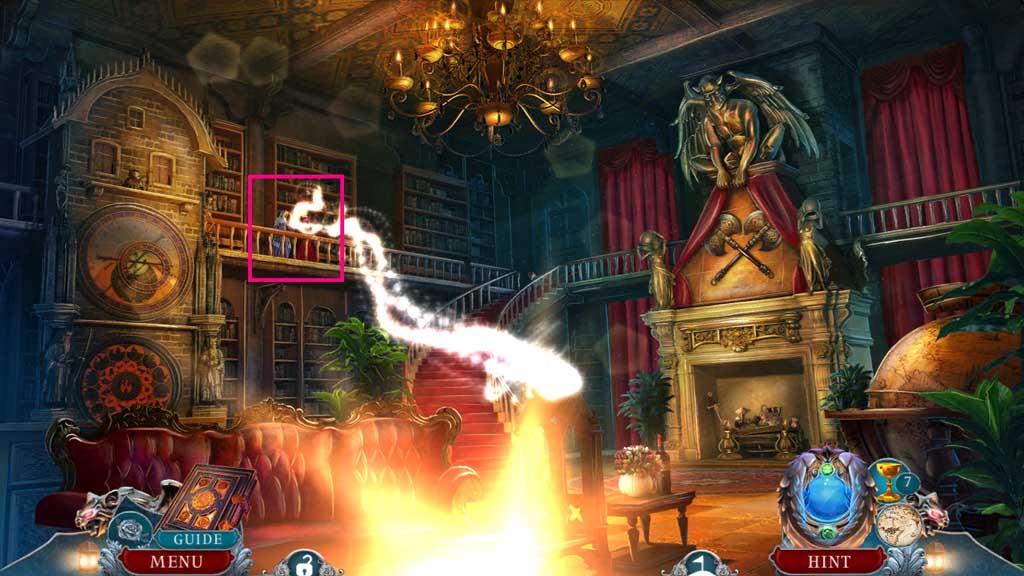
- Select the cure for vampirism and use it on Rose.
- Congratulations! You have successfully completed the main game of Myths of the World: Black Rose C. E.
Comments will load when you reach this part of the walkthrough.