

Chapter Four: The Crypt
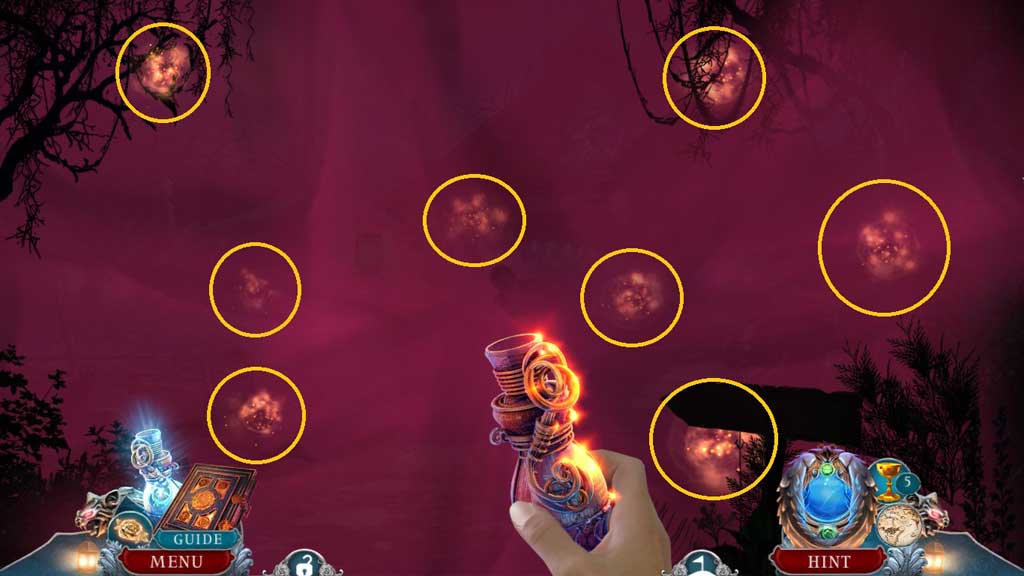
- Select the vial of light to collect the orbs.
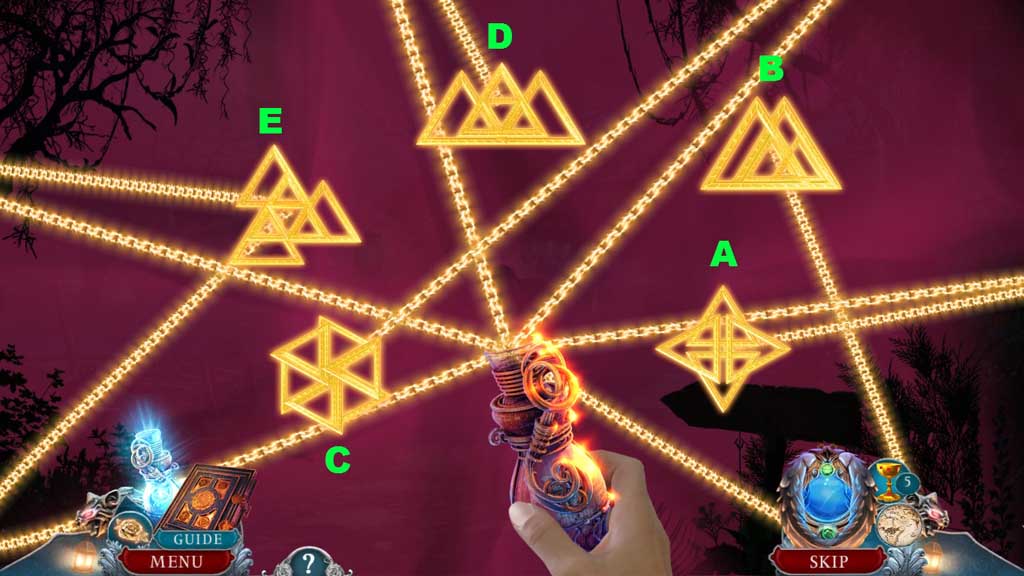
- Click the symbols in the correct order.
- Click the hidden objects area.
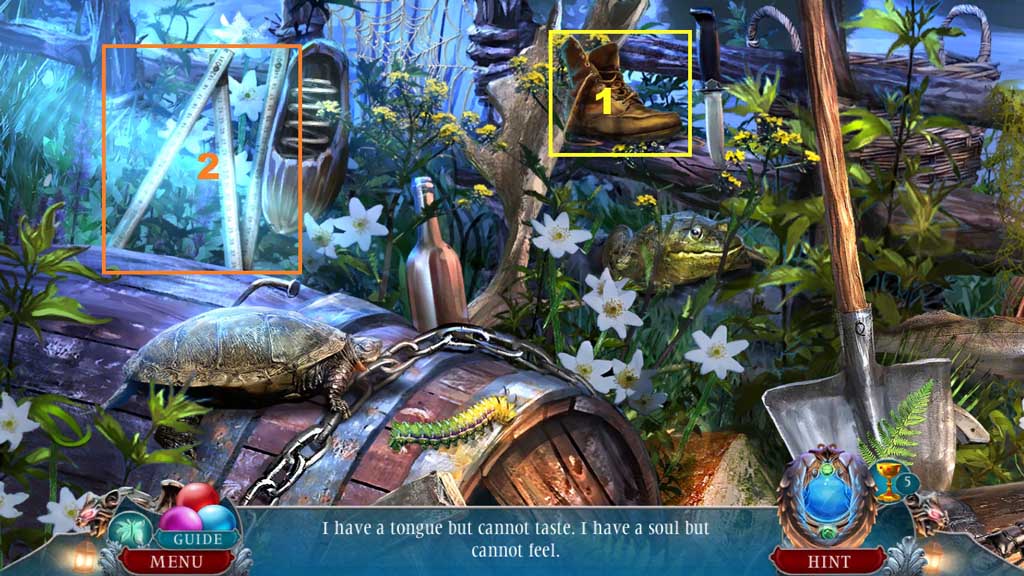
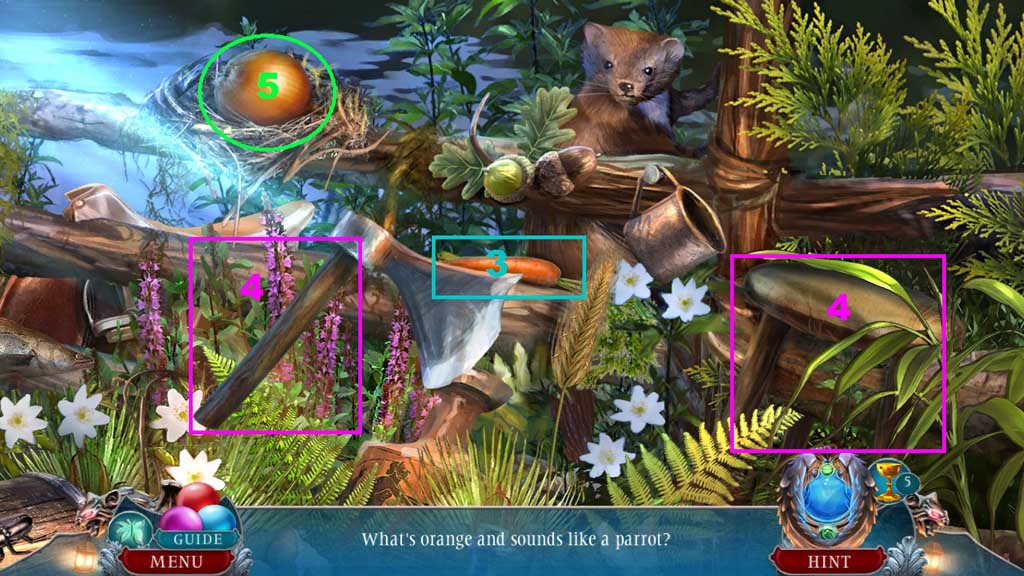
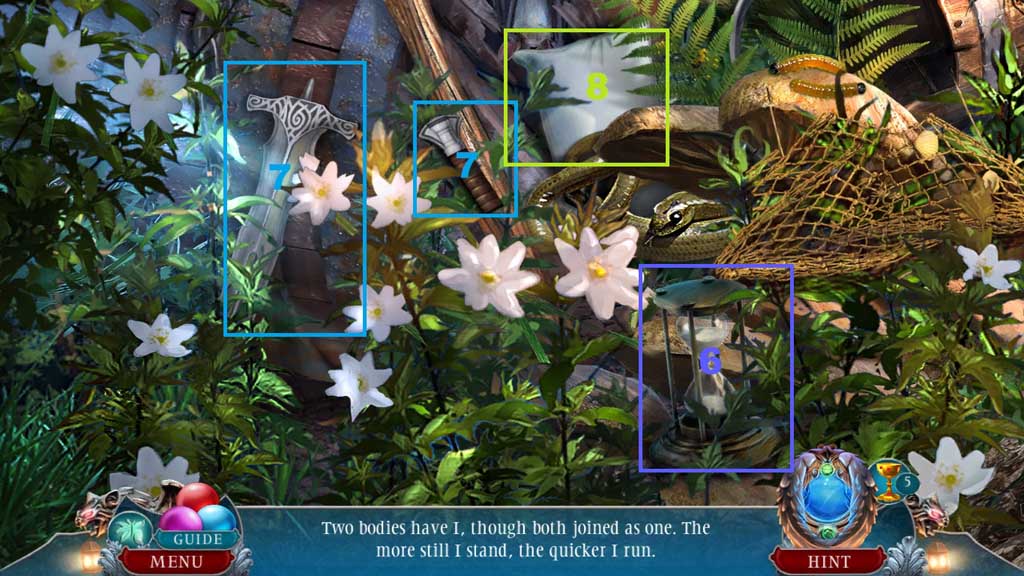
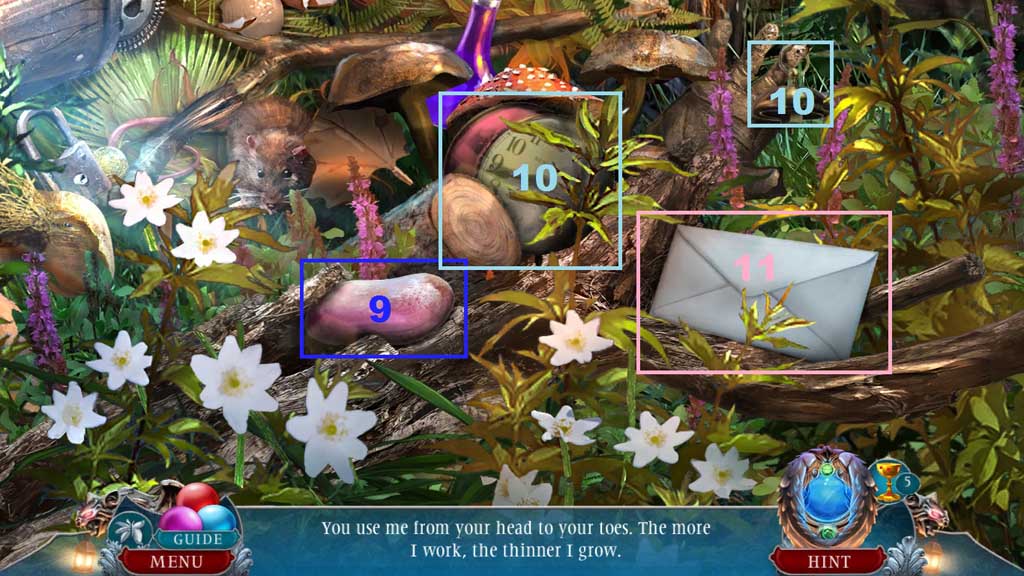
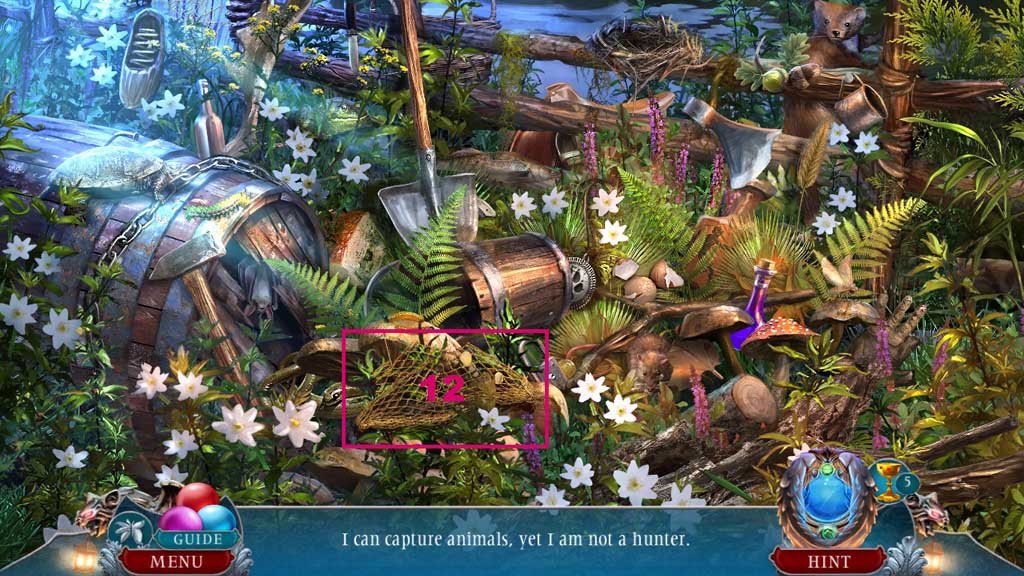
- Find the items based on the clues.
- Select the leg and place it onto the stool.
- Select the handle and place it onto the blade; collect the sword.
- Select the bell and place it onto the clock; collect the alarm clock.
- Collect the net.
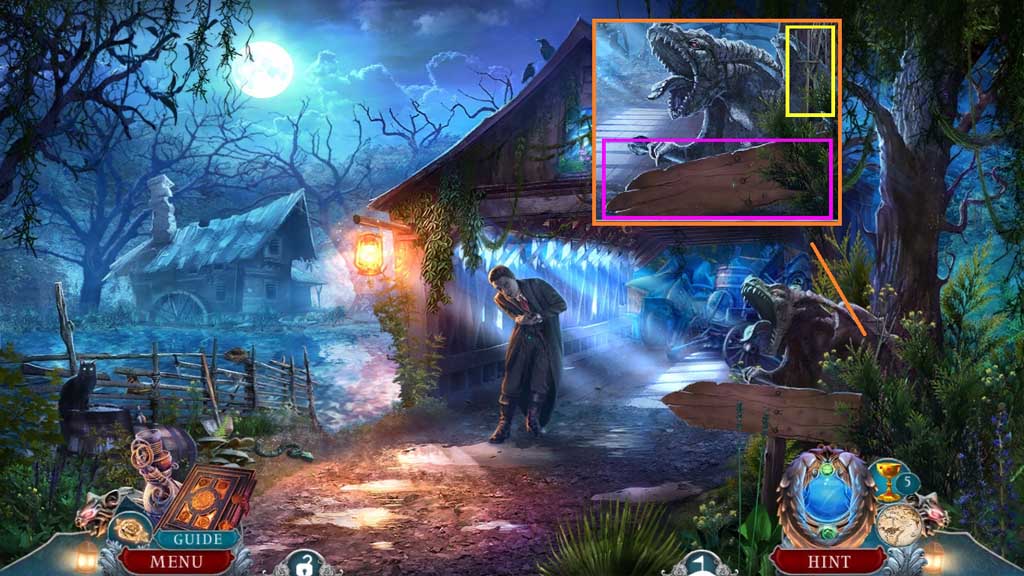
- Collect the signpost and the pitchfork.
- Move to the left.
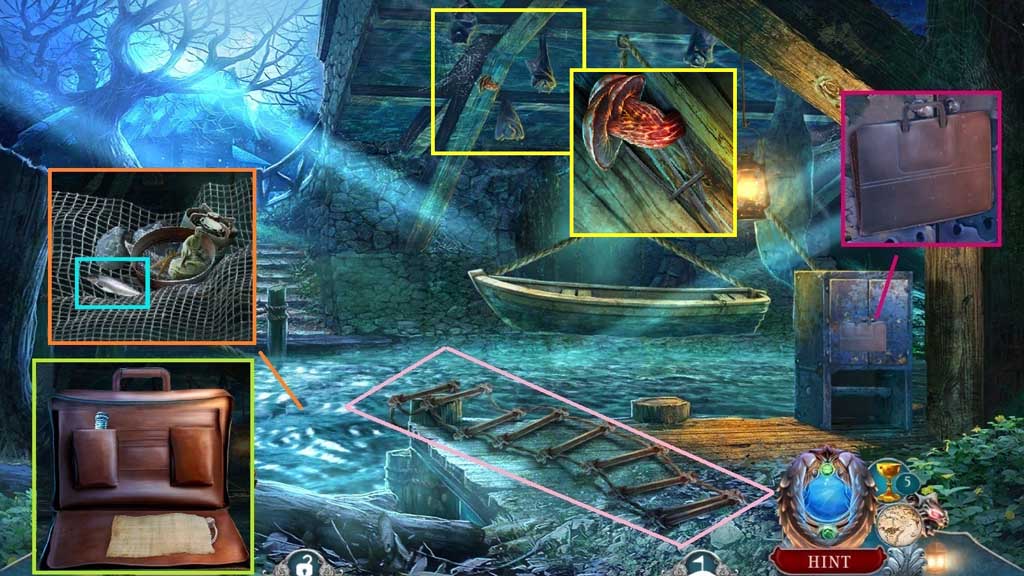
- Collect the rope ladder.
- Collect the bag and click it 2x’s; collect the poison phial, the note and the linchpin.
- Select the net to toss into the water.
- Zoom into the net; click the items aside to collect the fish.
- Collect the gear token.
- Select the pitchfork to collect the fungus.
- Move down once.
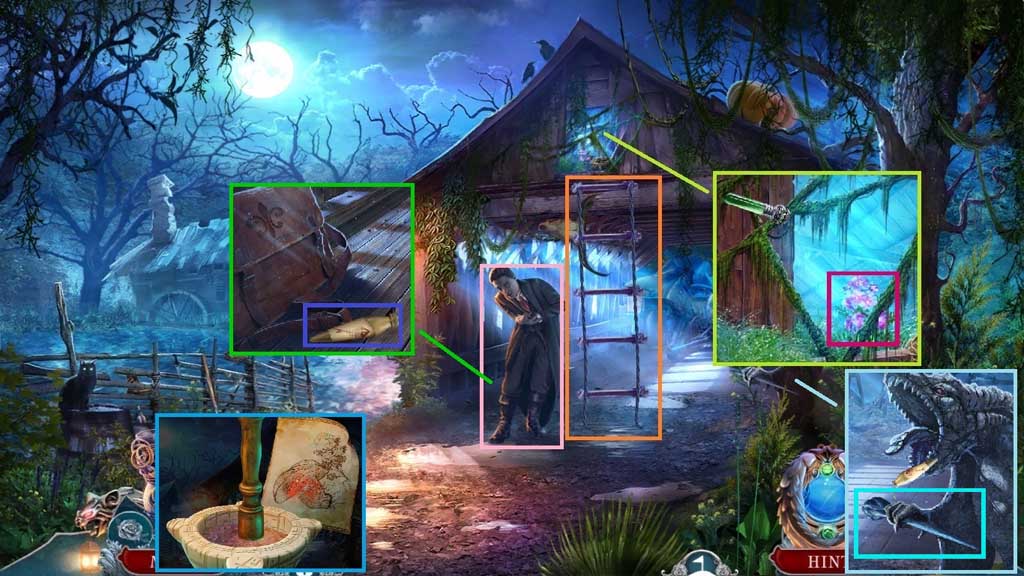
- Place the rope ladder.
- Select the poison phial to remove the vines; collect the living beauty root.
- Zoom into the mortar and pestle and place the fungus and the living beauty into it; crush it to create the cure.
- Give the cure to Benjamin.
- Give the fish to the cat; collect the fish oil and use it to collect the spike.
- Move to the left.
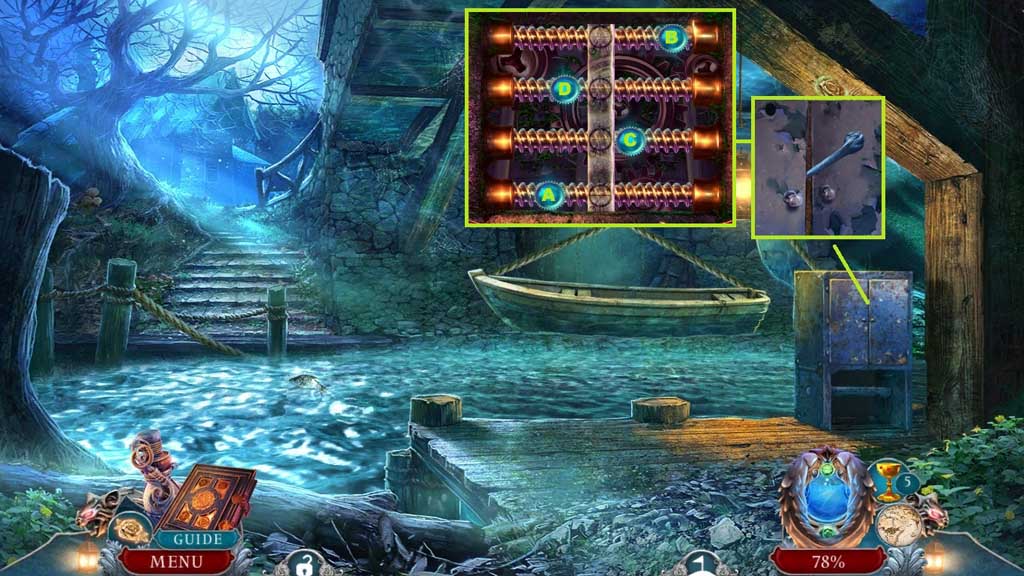
- Select the spike to open the cabinet and trigger a mini game.
- Solve the game by sliding the orbs into the center bar.
- Slide them in ABC order to solve.
- Move to the left to Edgemire Mill.
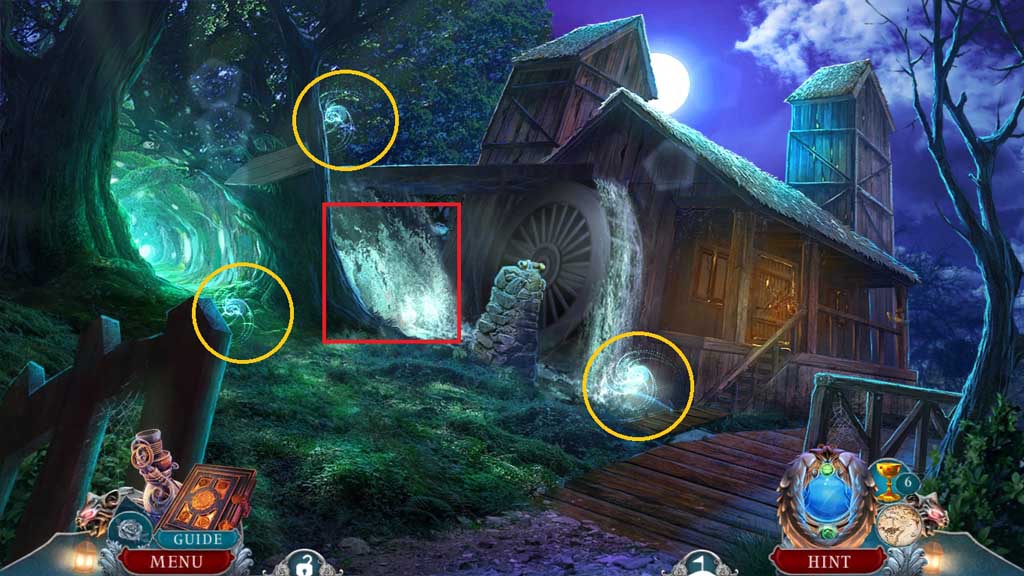
- Collect 3 /5 life essences.
- Place the signpost into the waterfall.
- Click the hidden objects area.
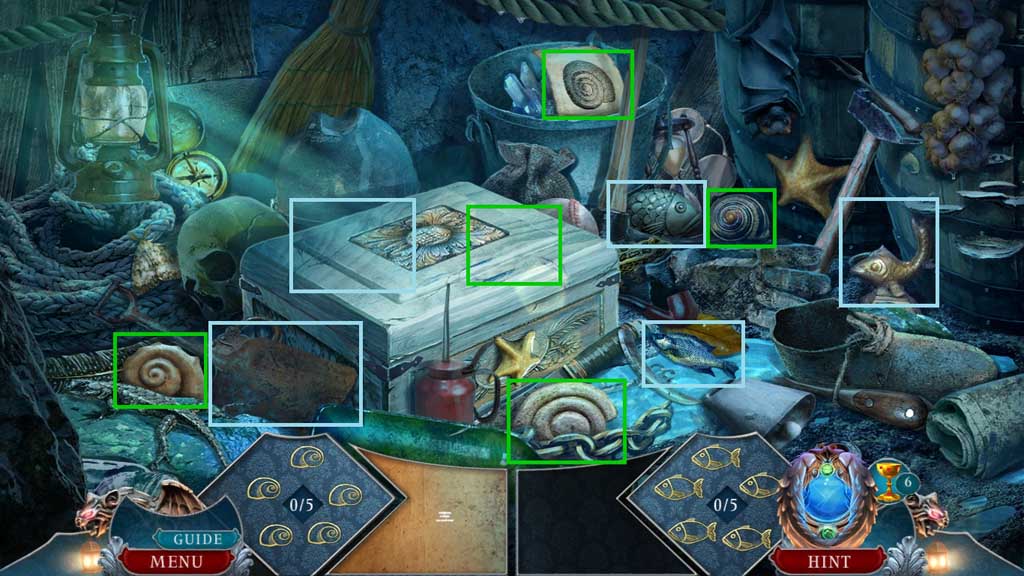
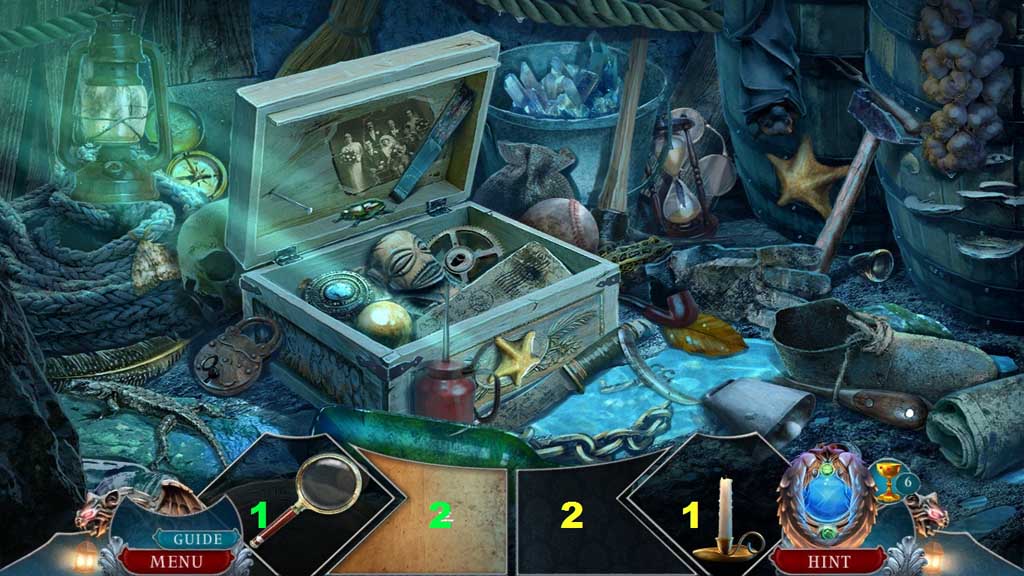
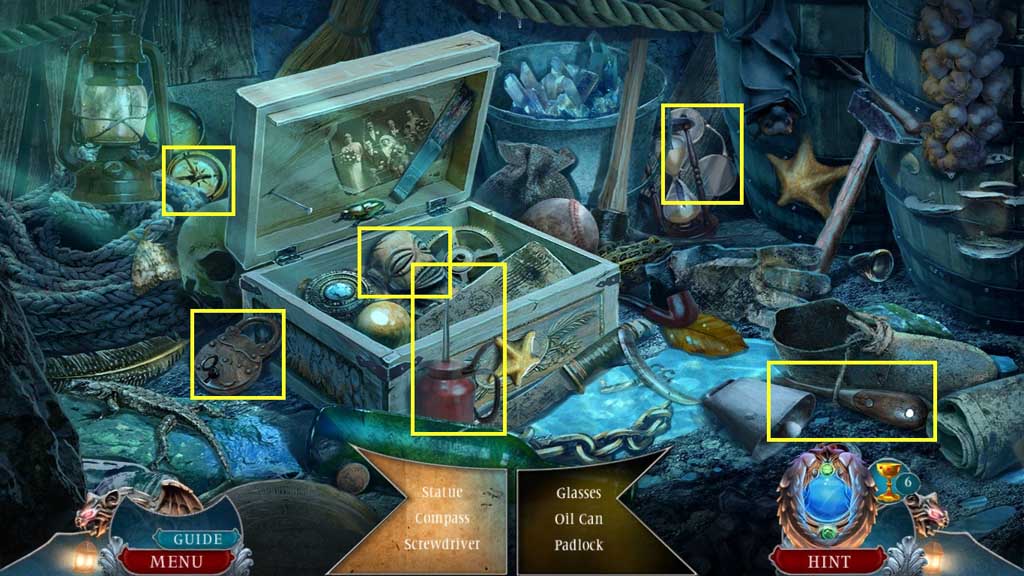
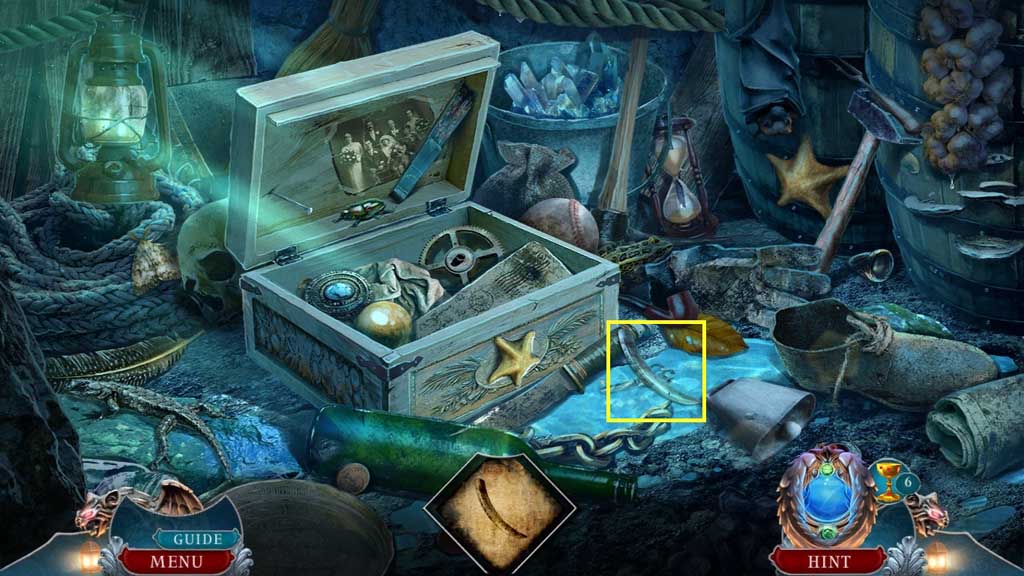
- Find the items.
- Select the magnifying glass to reveal the listed items.
- Select the candle to reveal the listed items.
- Collect 1 /2 tusks.
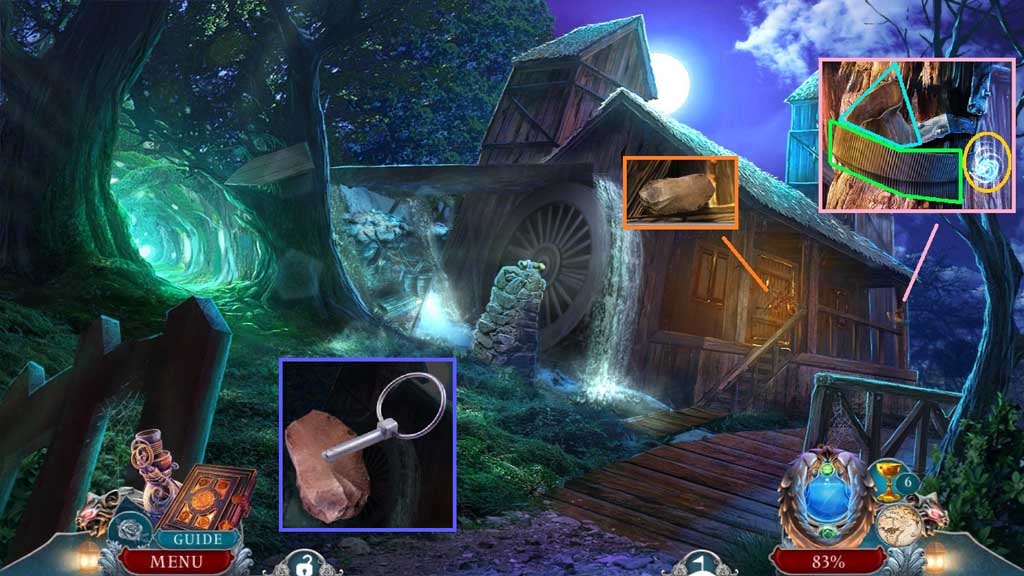
- Collect the conveyor belt, empty pouch and 4 /5 life essences.
- Collect the flint and click it; attach the linchpin to create the flint and steel.
- Move to the left.
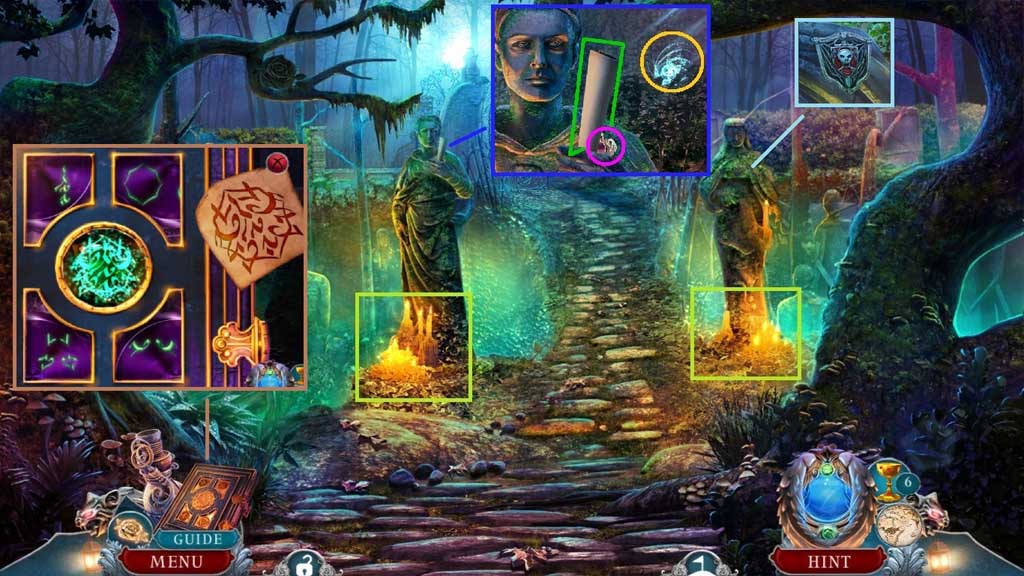
- Select the flint and steel to ignite the candles.
- Collect the note, the ruby locket and 5 /5 life essences.
- Click the vampire hunting manual to trigger a mini game.
- Solve the game by clicking the segments to re-create the symbol in the diagram.
- Collect the miniature shield.
- Move down once.
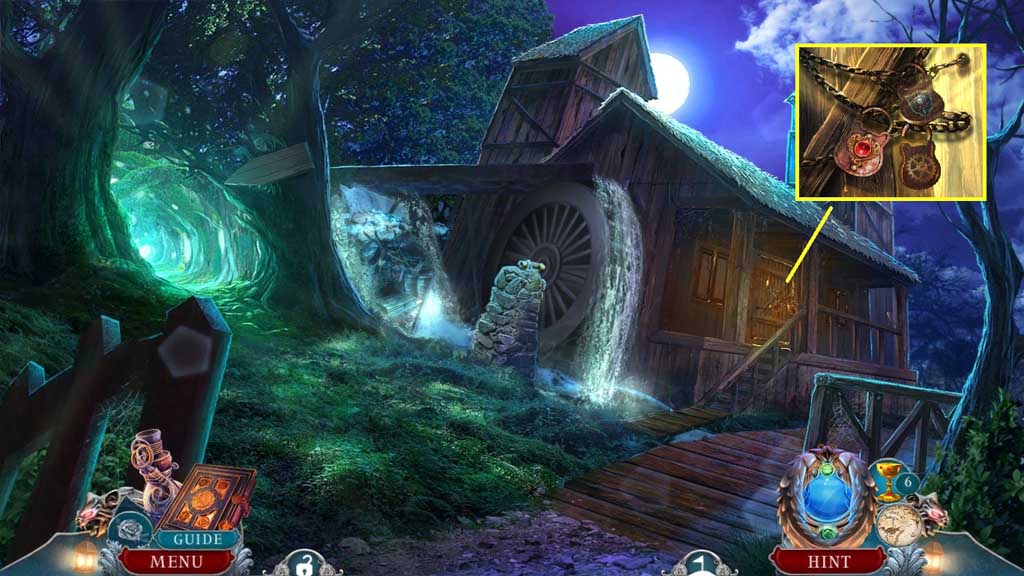
- Insert the gear token, the ruby locket and the miniature shield.
- Move to the Mill Interior.
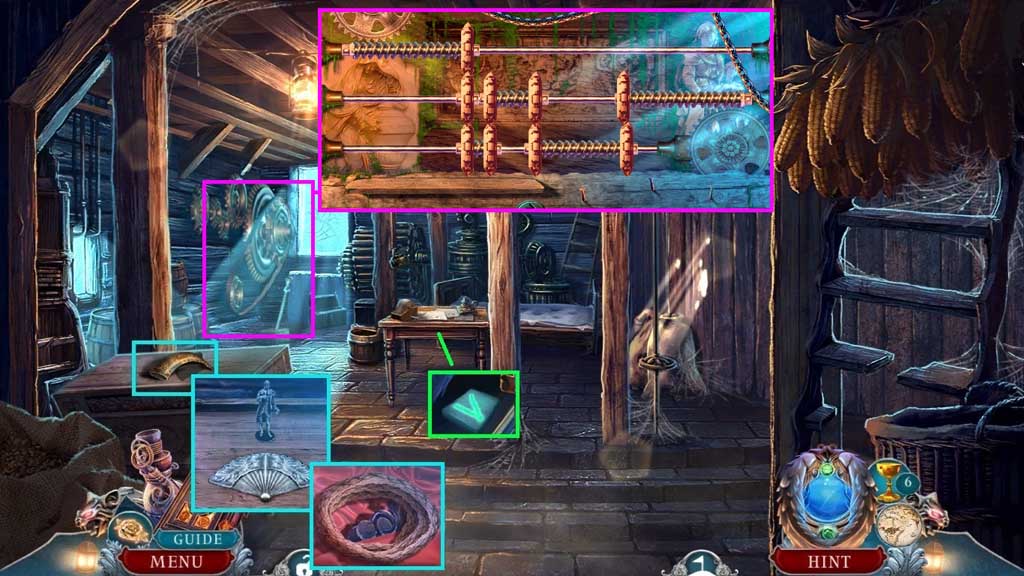
- Collect the hollow Capricorn horn.
- Insert the fan and the mayor’s figurine.
- Collect the rope and the queen’s crown.
- Click the drawer; collect the rune stone.
- Click the lever and attach the conveyor belt.
- Click the lever and zoom into the gears to trigger a mini game.
- Solve the game by aligning the shafts and cogs correctly.
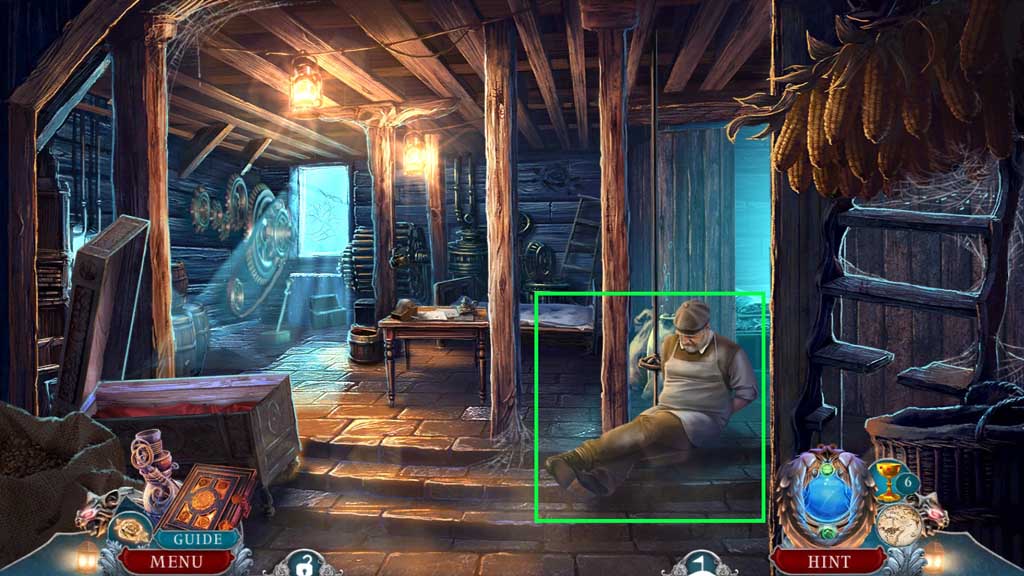
- Select the life essences to break the trance.
- Select the manacles to shackle him.
- Move to the Cemetery Path.
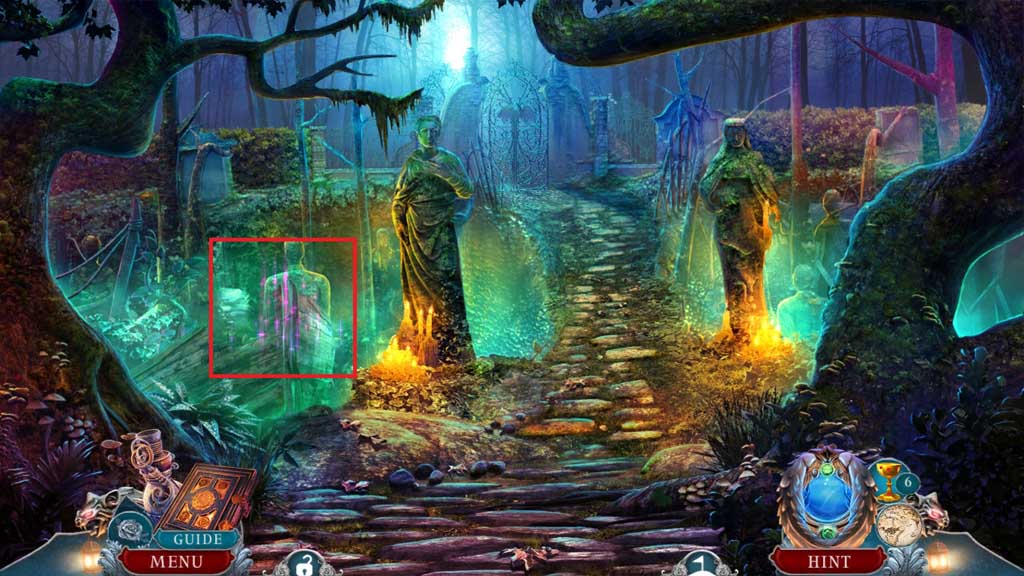
- Select the rope to pull the boat and click the hidden objects area.
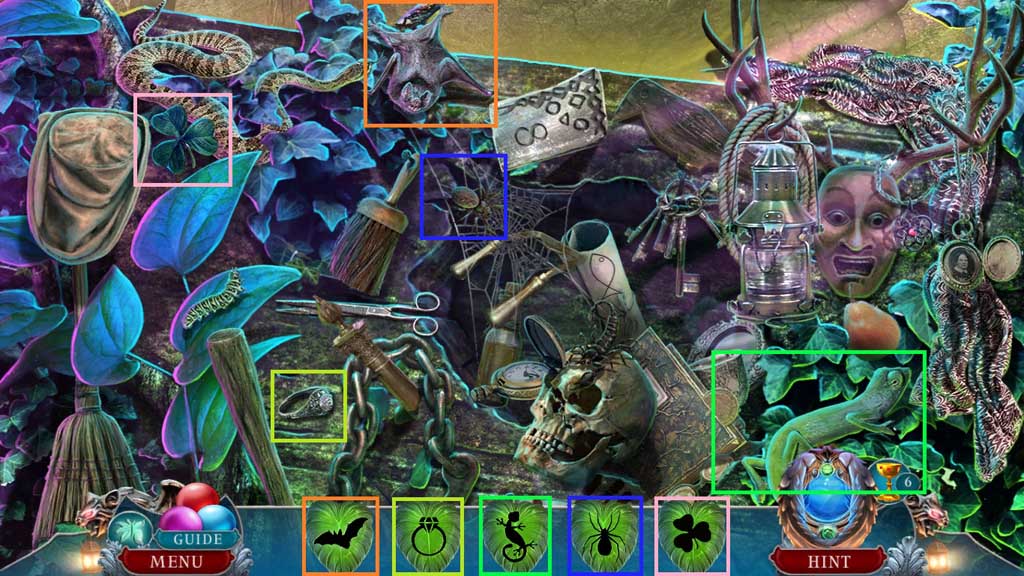
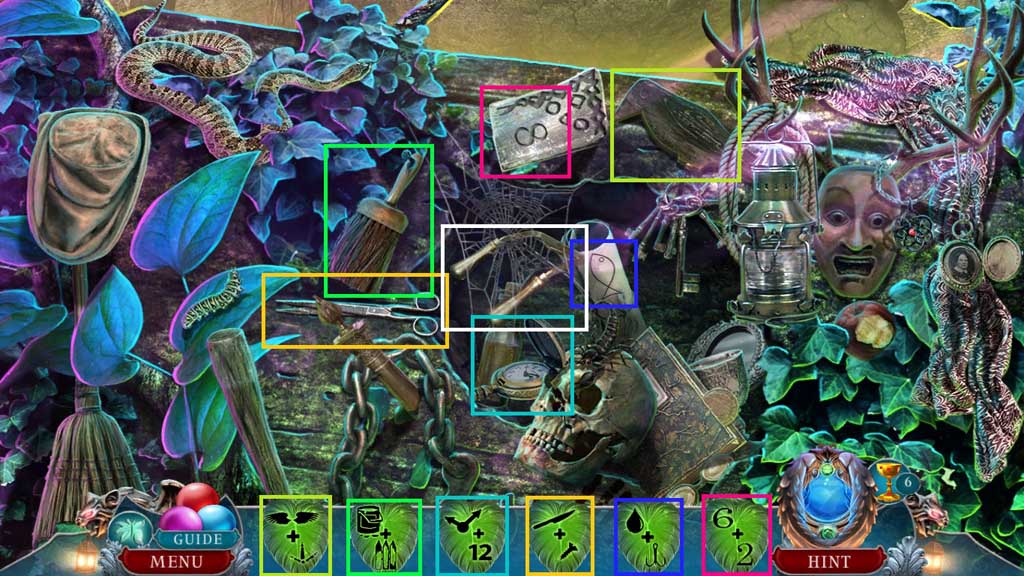
- Find the items.
- Collect the dull spoke shave.
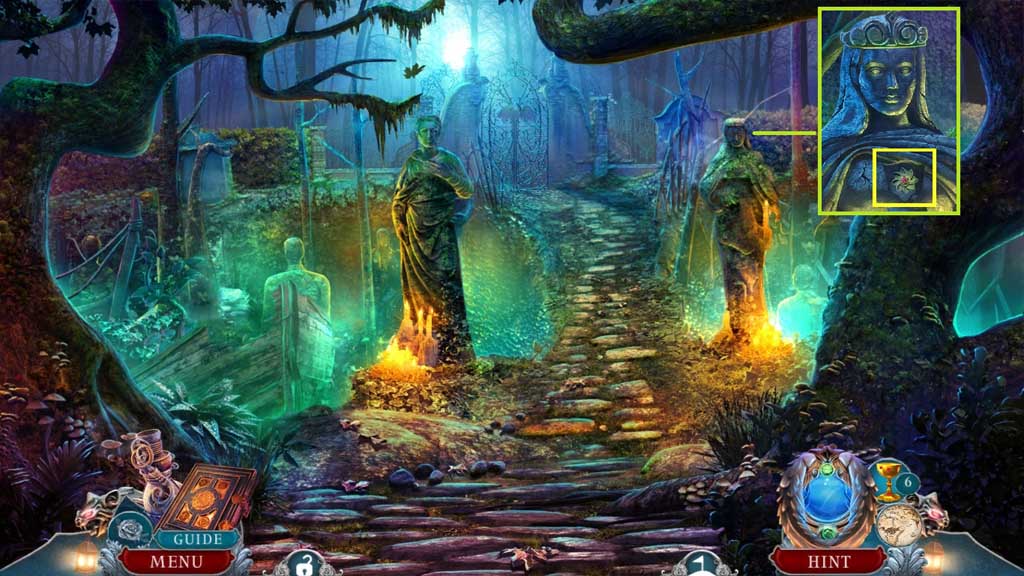
- Place the queen’s crown.
- Collect the decorative flower.
- Move to the Mill Interior.
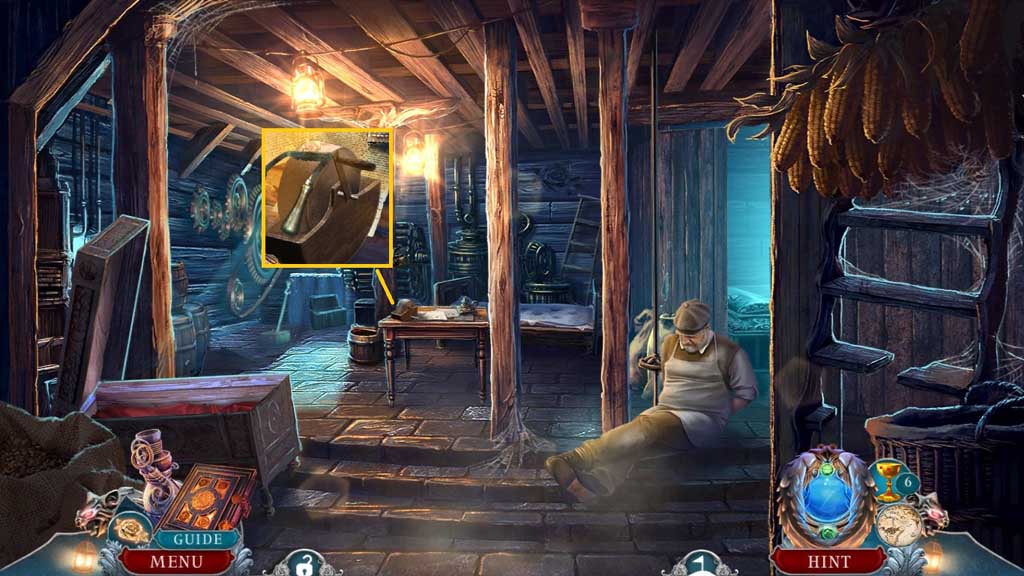
- Select the dull spoke shave and place it onto the grinder.
- Collect the sharpened spoke shave.
- Move down once.
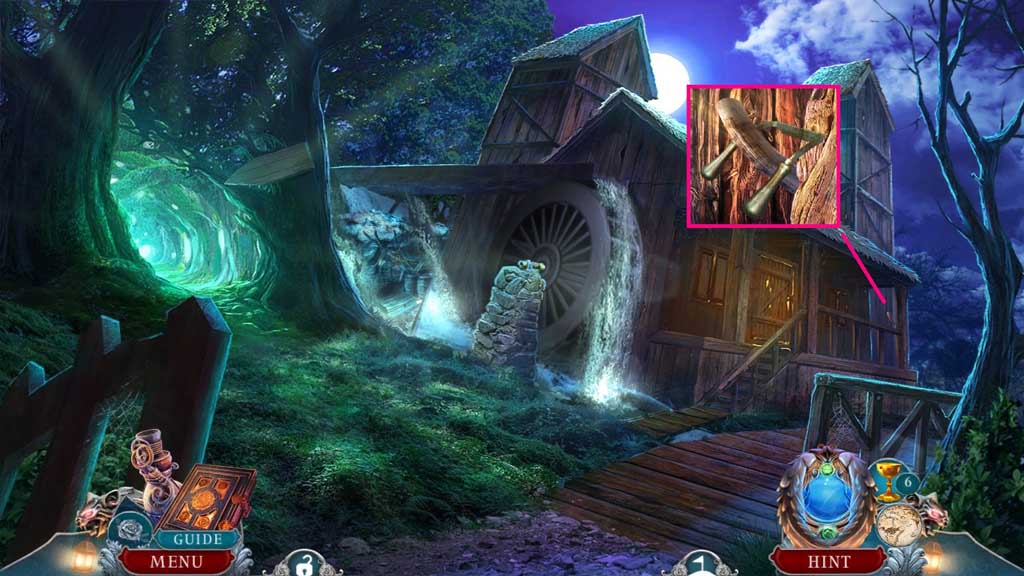
- Select the sharpened spoke shave to collect 2 /2 tusks.
- Move to the Mill Interior.
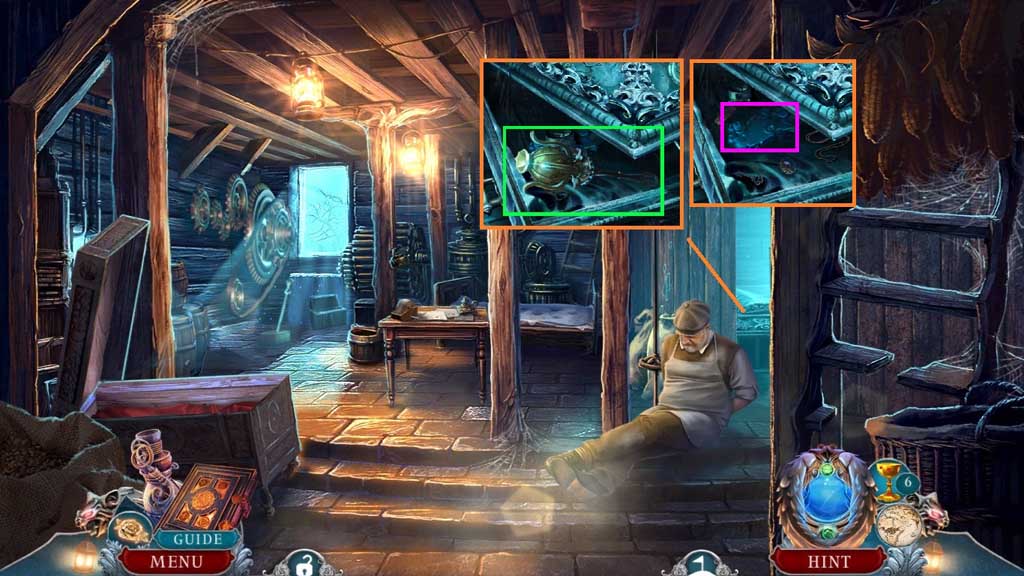
- Select the tusks to hoist the lid; collect the scepter.
- Click the jewelry aside; collect the broken statue piece.
- Move to the Cemetery Path.
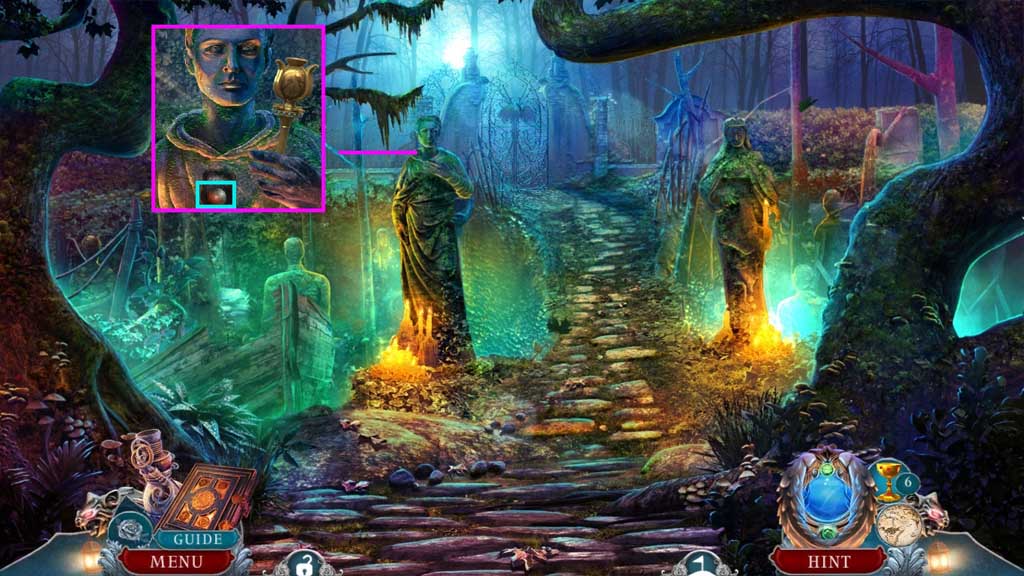
- Place the scepter; collect 1 /2 red jaspers.
- Move ahead to the Graveyard.
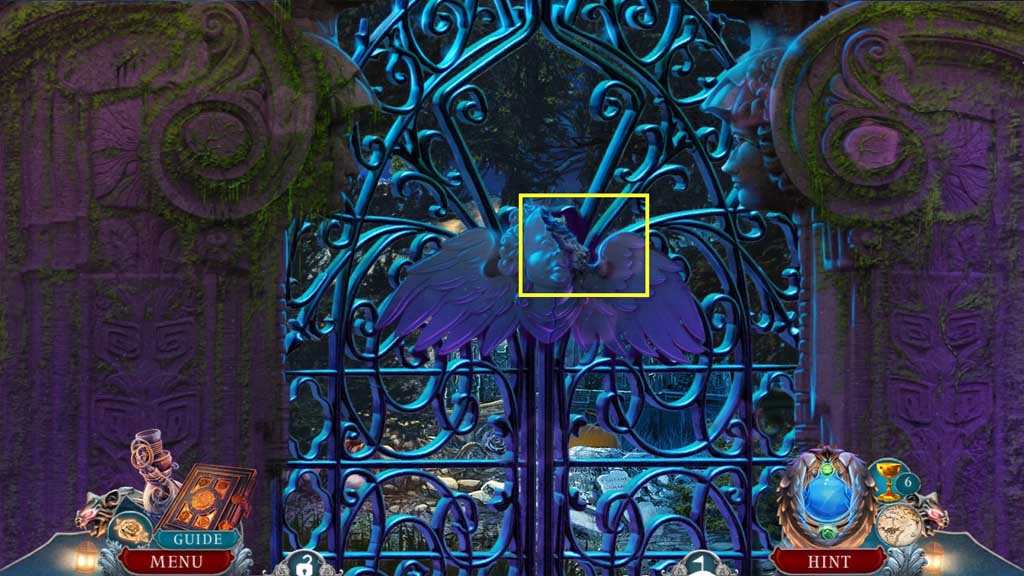
- Attach the broken statue piece.
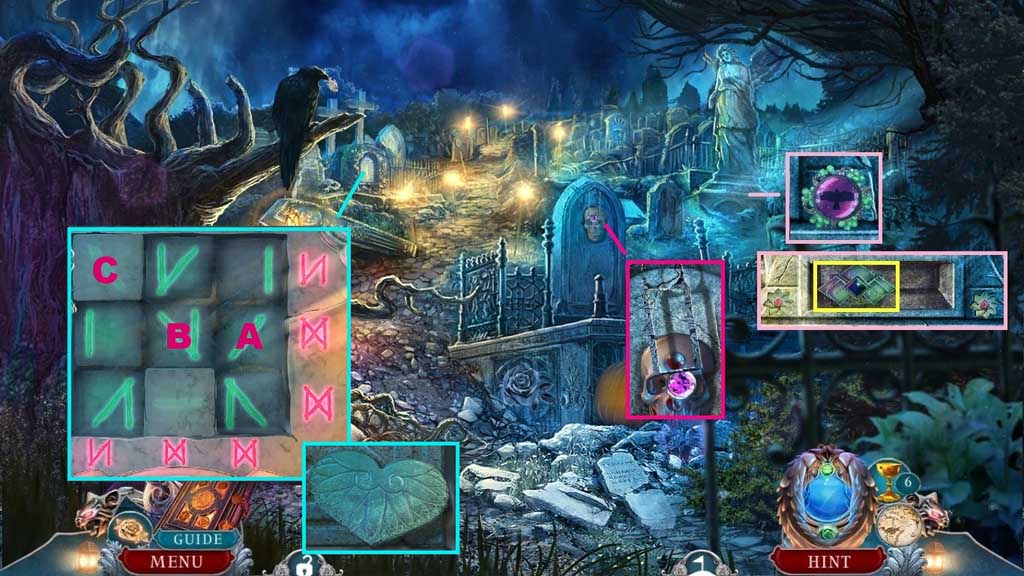
- Collect the raven brooch.
- Attach the decorative flower; collect the ornate frame.
- Collect the ancient jeweled key.
- Insert the rune stone to trigger a mini game.
- Solve the game by clicking the runes to create the markings shown.
- Collect the heart piece.
- Move ahead.
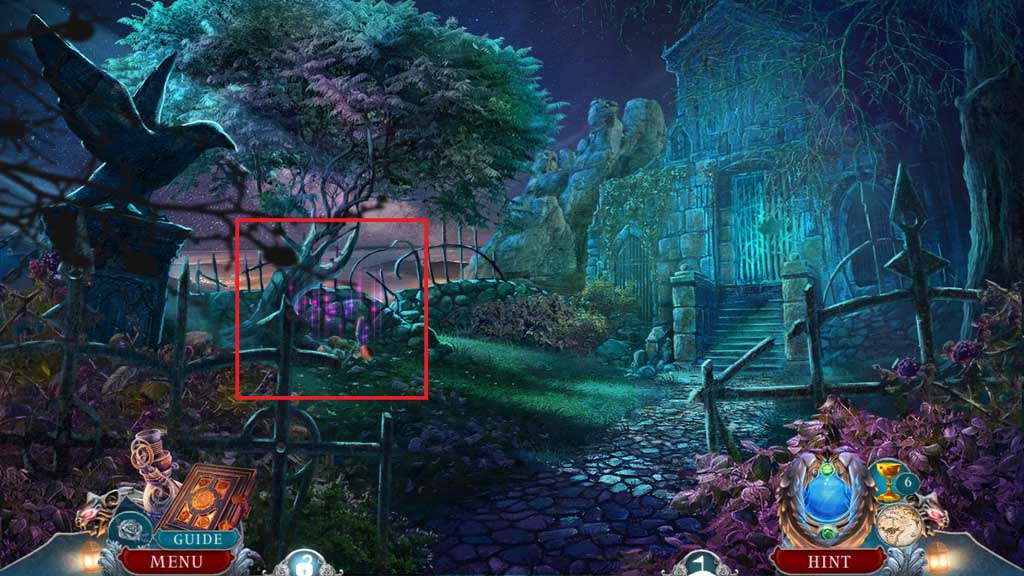
- Select the pitchfork to use on the tree and trigger a hidden objects area.
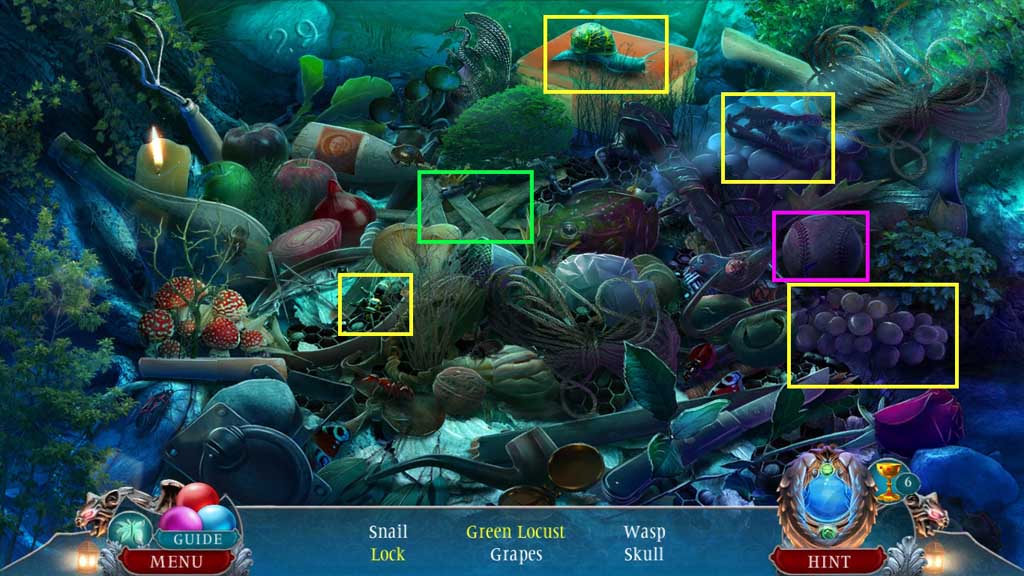
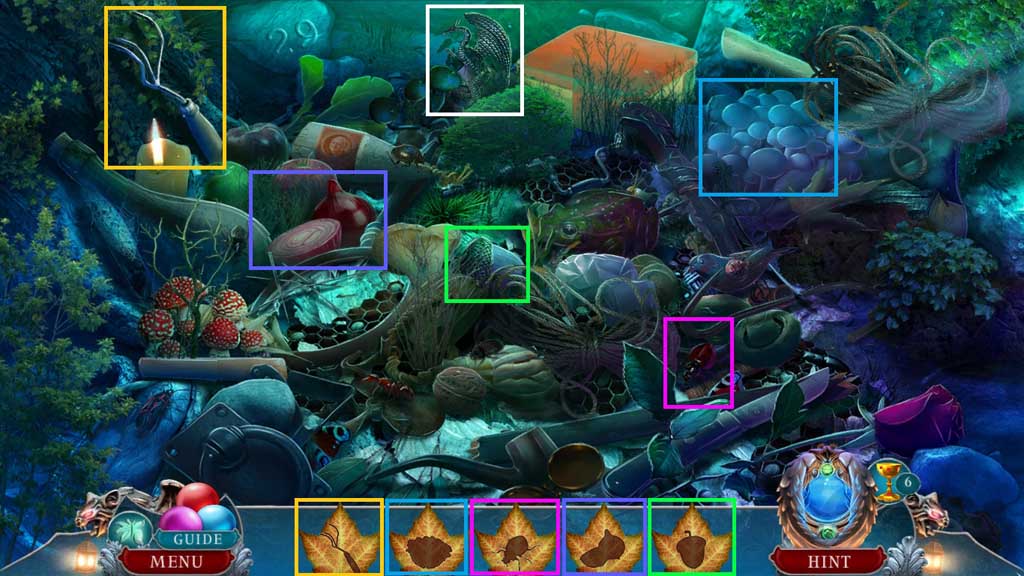
- Find the items.
- Click the boards; collect the lock.
- Click the baseball; collect the green locust.
- Collect the dragon crest.
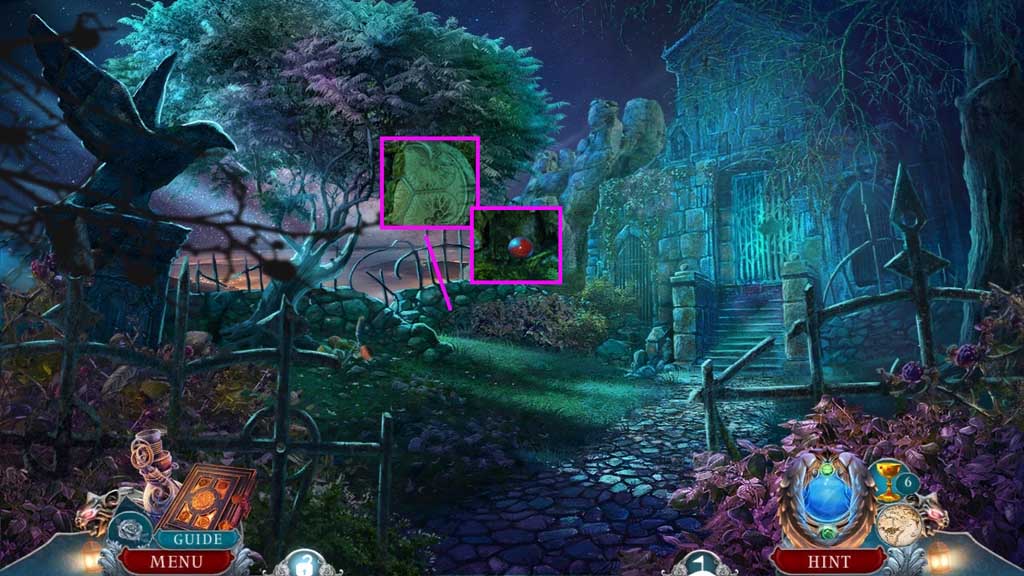
- Click the moss aside; insert the heart piece.
- Collect 2 /2 red jaspers.
- Move down once.
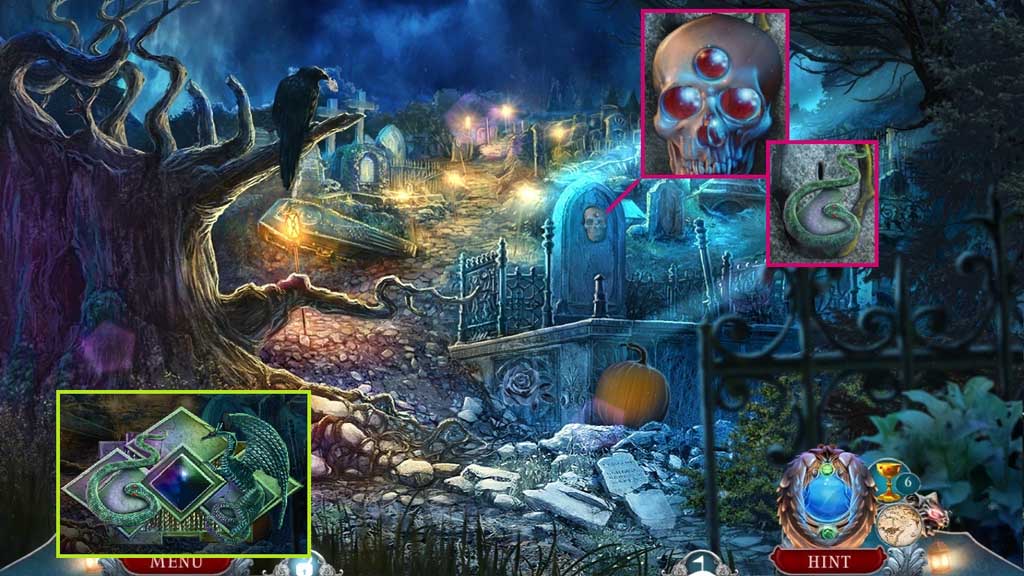
- Place the 2 red jaspers; collect the serpent crest.
- Zoom into the ornate frame; attach the dragon and serpent crests.
- Move ahead.
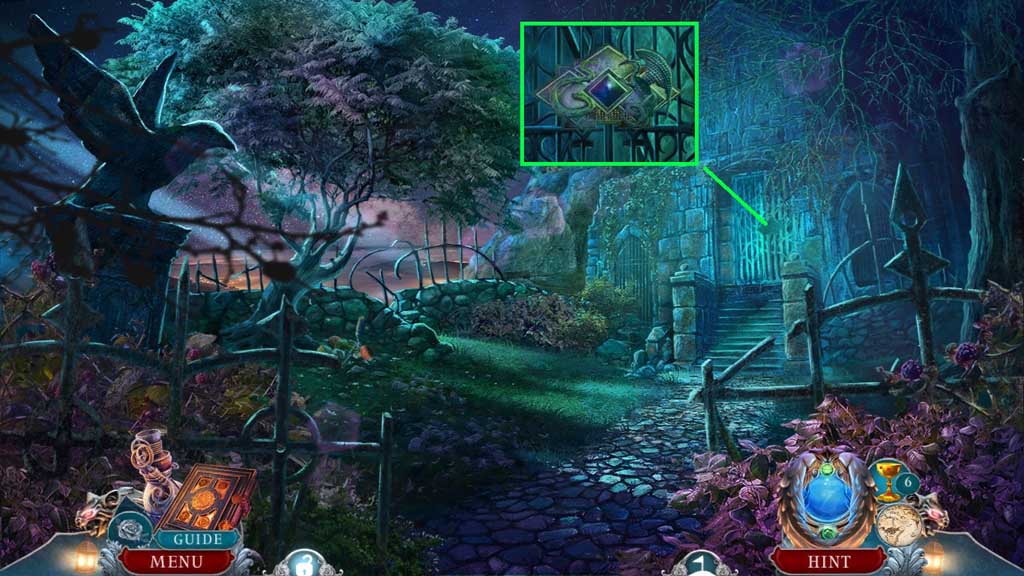
- Place the ornate frame.
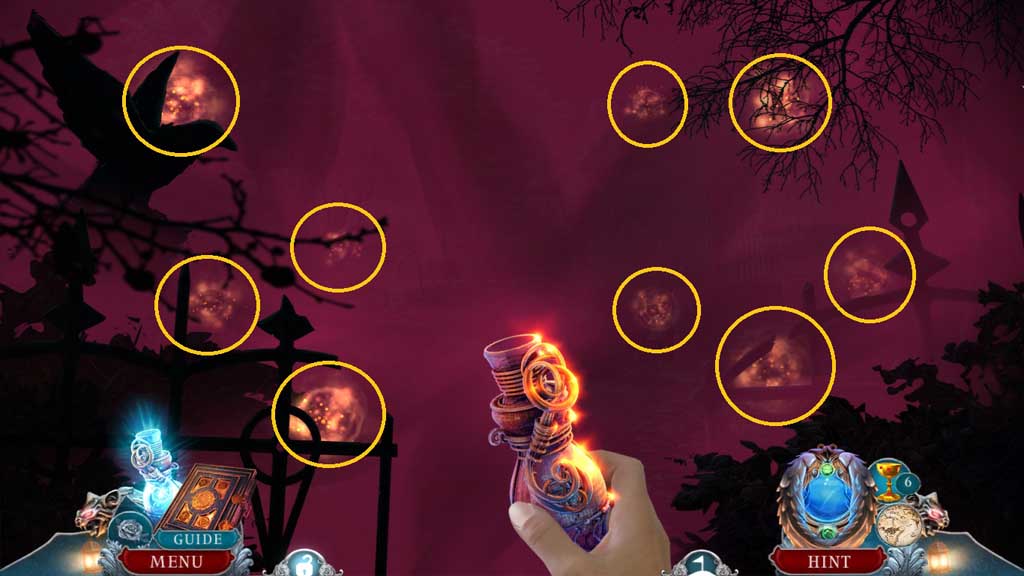
- Select the vial of light to collect the orbs.
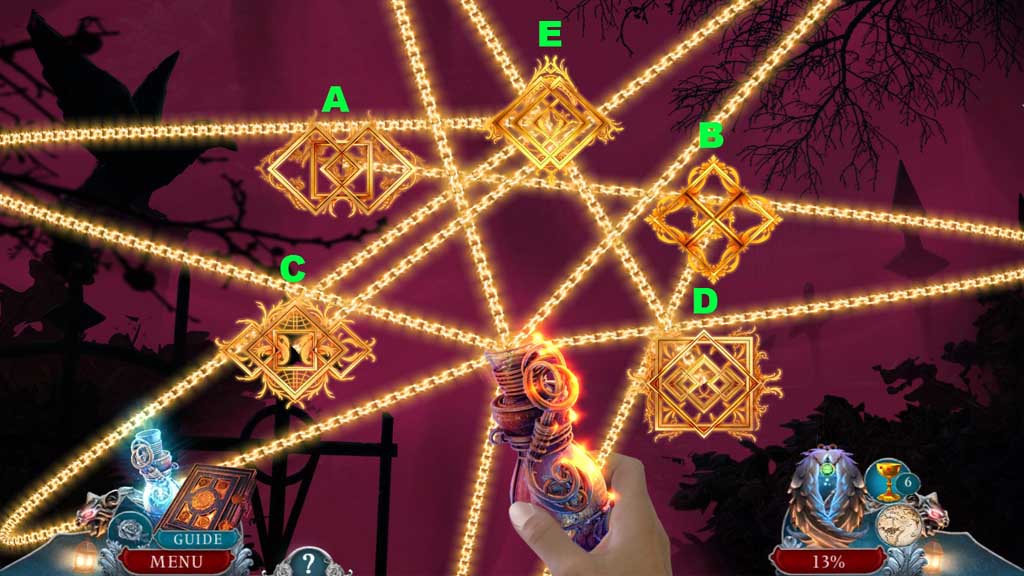
- Click the symbols in ABC order.
- Move ahead into Rose’s Crypt.
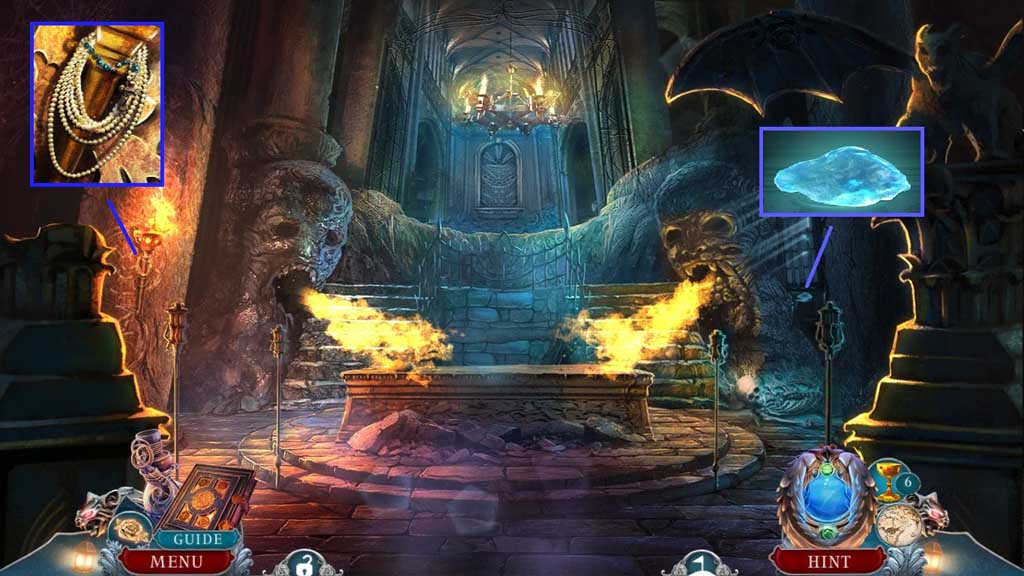
- Collect the moonstone.
- Collect the pearl necklace.
- Move to the Graveyard.
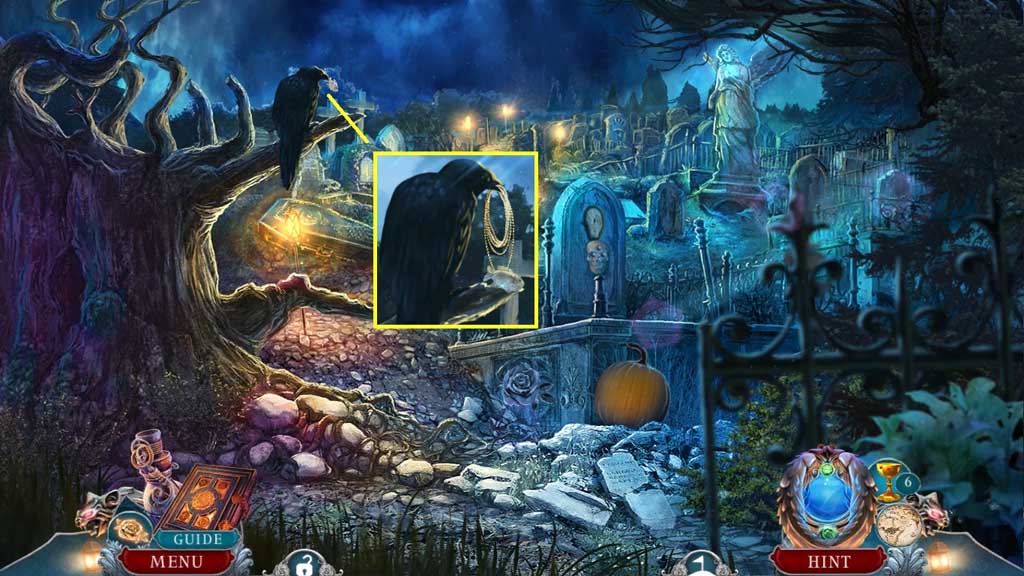
- Give the bird the pearl necklace; collect the stone fish.
- Move to Rose’s Crypt.
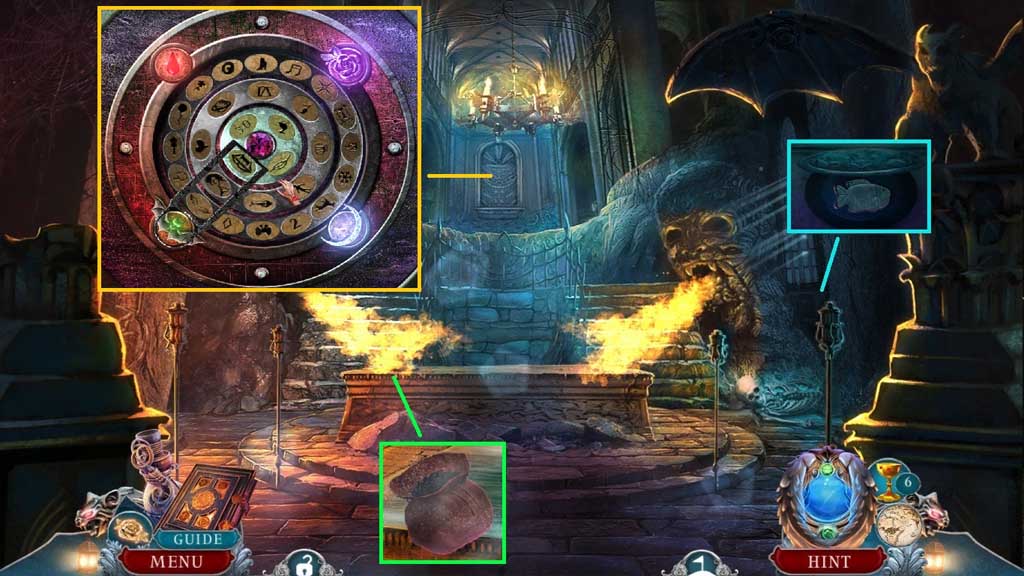
- Insert the stone fish; click the plaque.
- Select the empty pouch to collect the grave dirt.
- Insert the ancient jeweled key to trigger a mini game.
- Solve the game by aligning the rings so that the symbols make sense with the emblems.
- Move ahead.
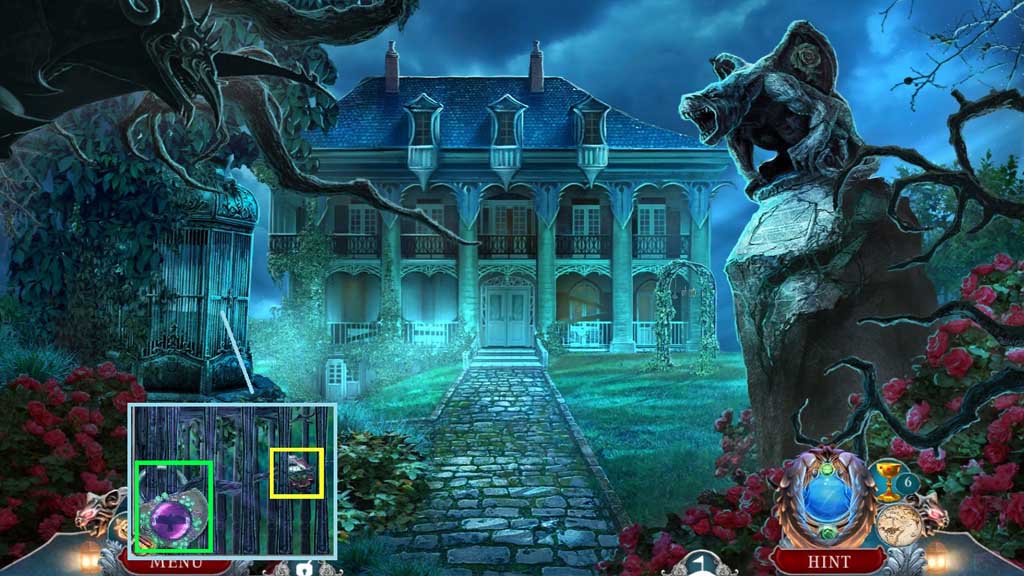
- Place the raven brooch; collect the buckle.
- Move to the Basement.
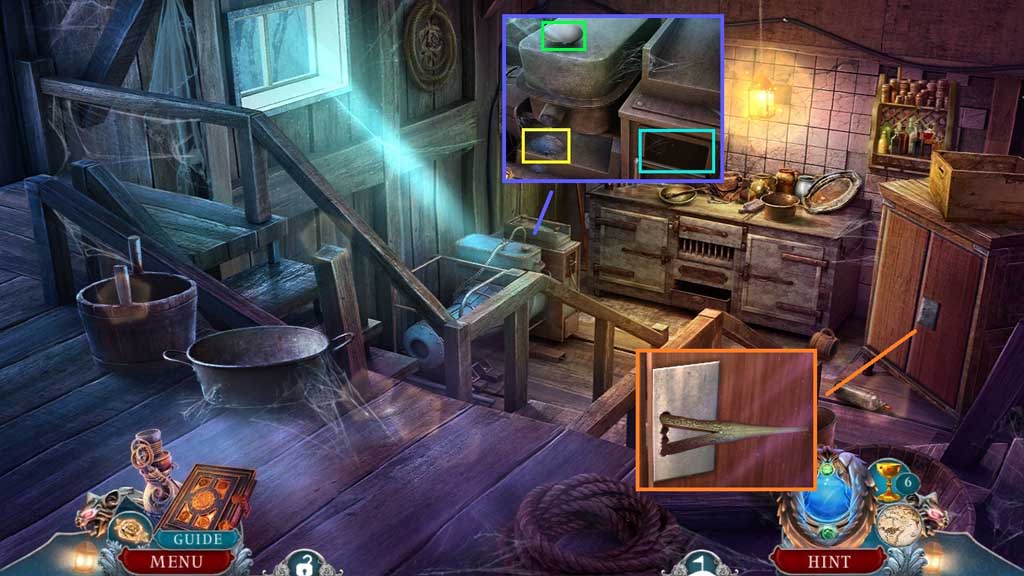
- Place the moonstone into the slot; click the button.
- Collect the moonstone powder.
- Collect the glove stretcher.
- Move down once.
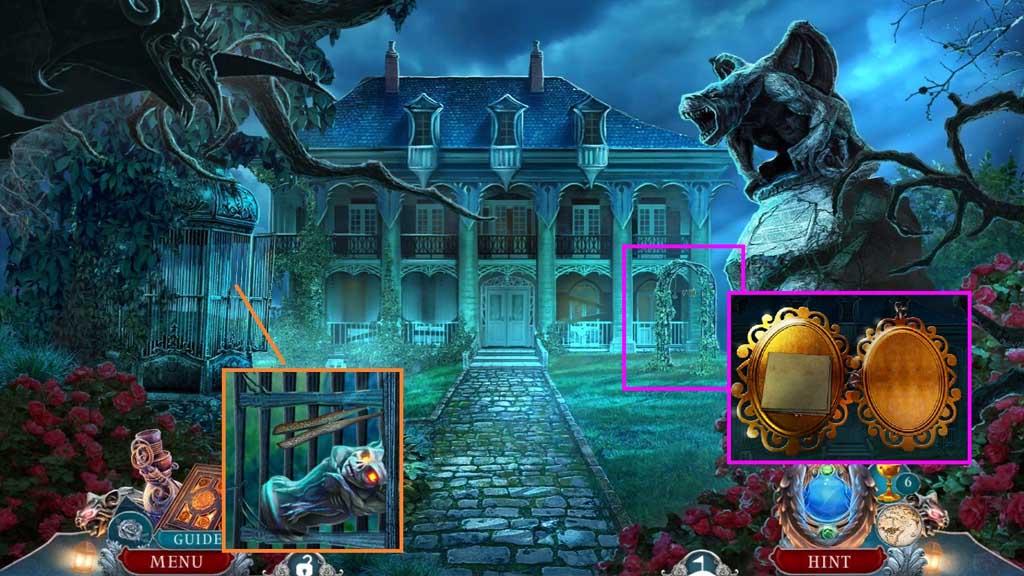
- Select the glove stretcher to adjust the bars; collect the imp statuette.
- Collect the locket and click it 2x’s; collect the revelation tonic recipe and the small key.
- Move to the Basement.
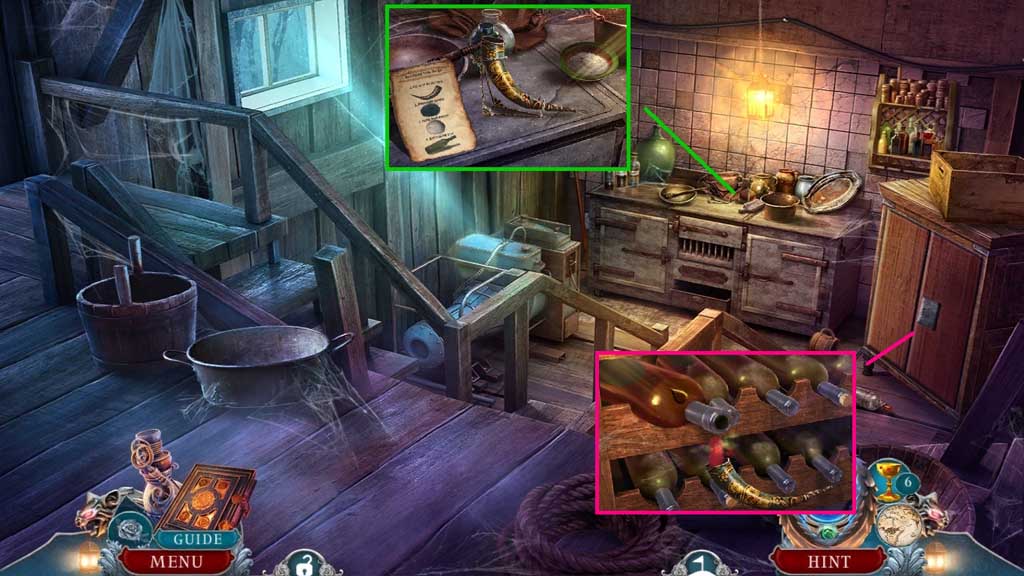
- Click the bottles; click the case.
- Place the revelation tonic recipe, the hollow Capricorn horn and the moonstone powder.
- Pour the powder into the horn; collect the incomplete revelation tonic.
- Insert the small key; click the bottles.
- Zoom into the bottle; select the incomplete revelation tonic to create the revelation tonic.
- Move down once to the Manor Entrance.
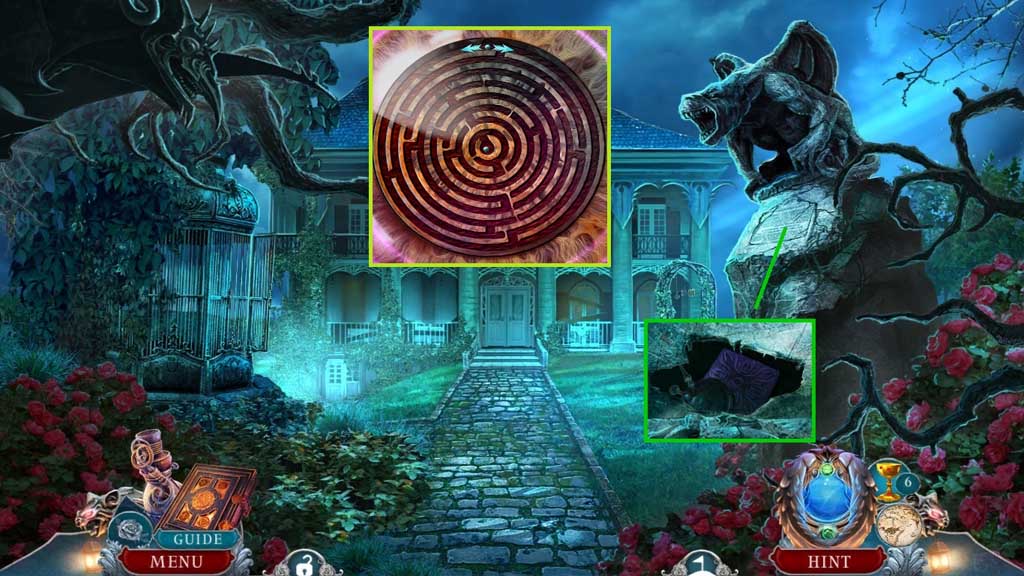
- Select the revelation tonic to use on the plaque.
- Collect the Jupiter moon model and the wooden carving to trigger a mini game.
- Solve the game by guiding the ball to the center of the maze.
- Use the following sequence to solve: left – down – left – down – right – down – right – down – right – down – right – down – left – down – left – down.
- Move ahead.
Comments will load when you reach this part of the walkthrough.