

Chapter Three: Enter the Post Office
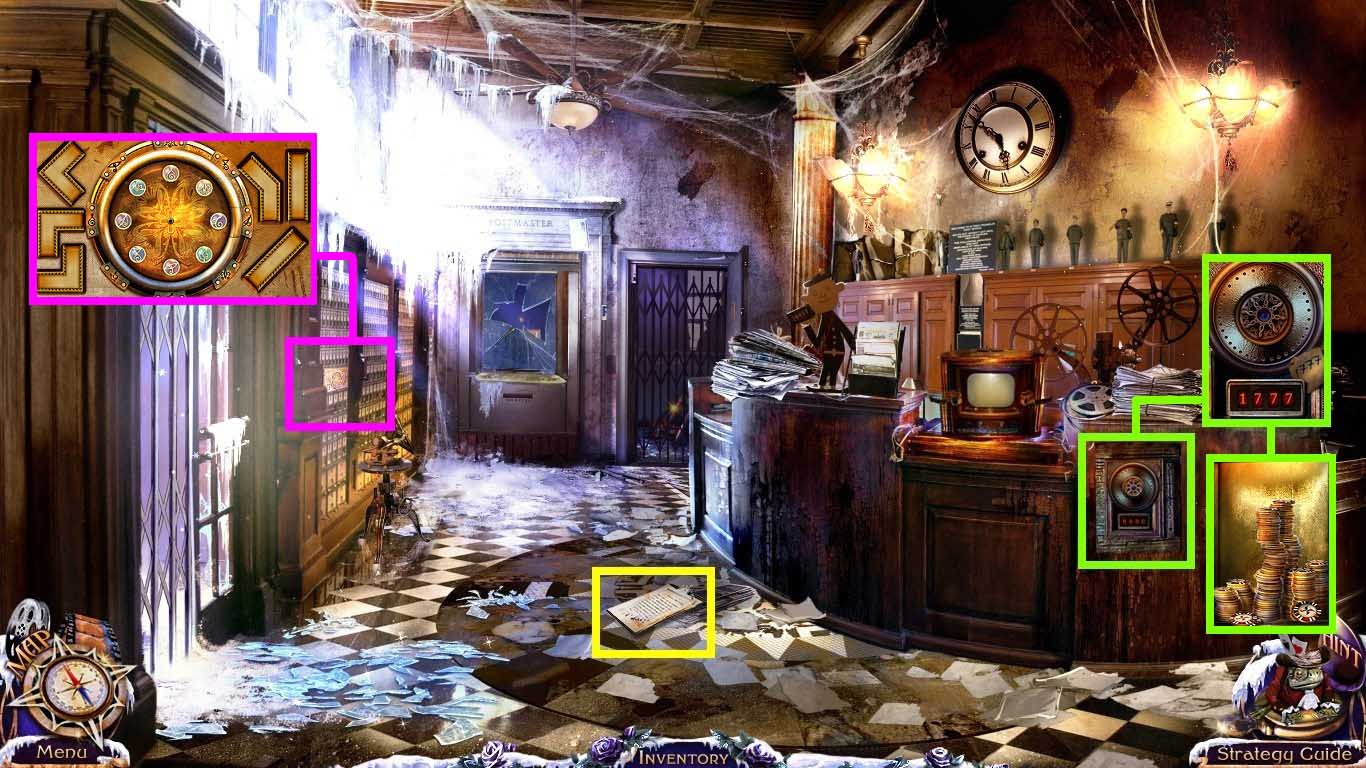
- Click the note to zoom in.
- Click the safe to zoom in.
- Click the code 1 – 7 – 7 – 7.
- Take the 50 chips.
- Click the wall.
- Insert the 3 post office trinkets into the board.
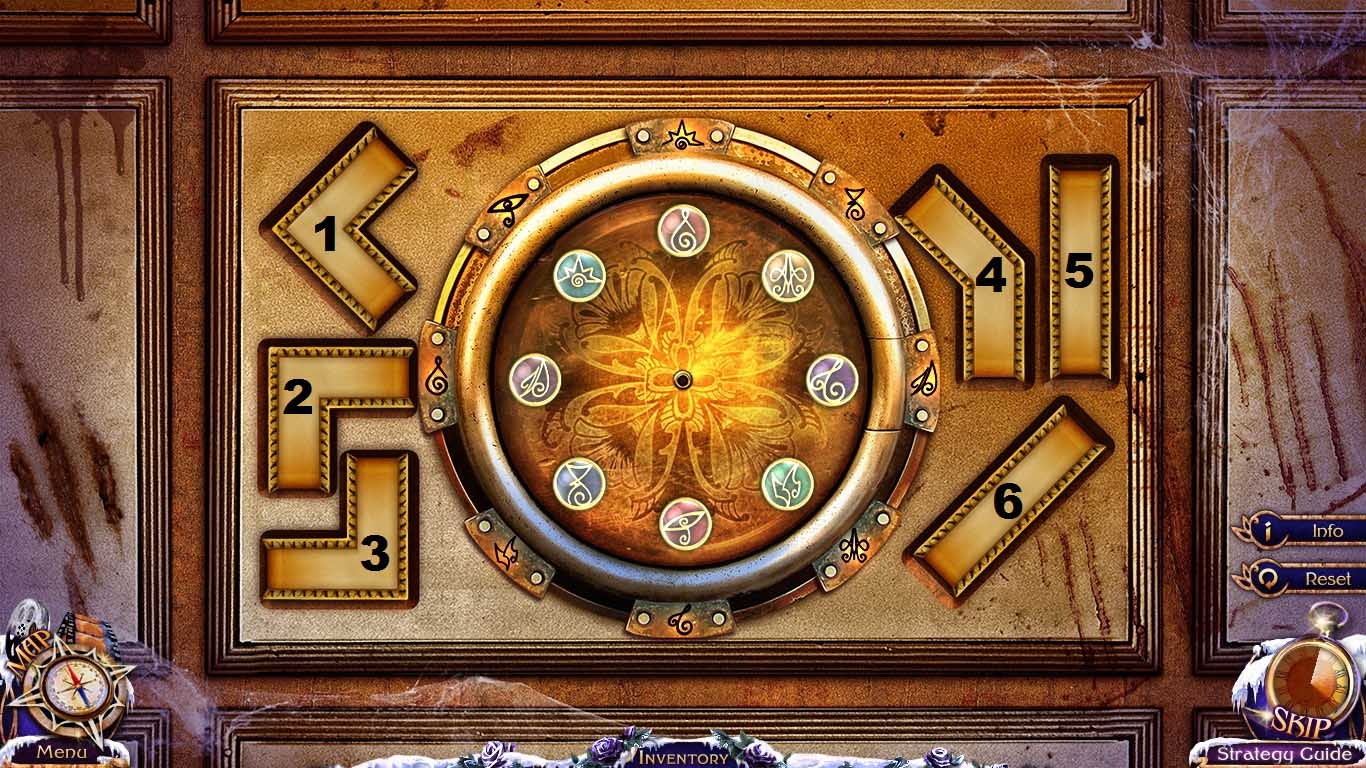
- Move the shapes into the center as follows:
- 3 - 4 – 1 – 5 – 6 – 2 to solve the mini-game.
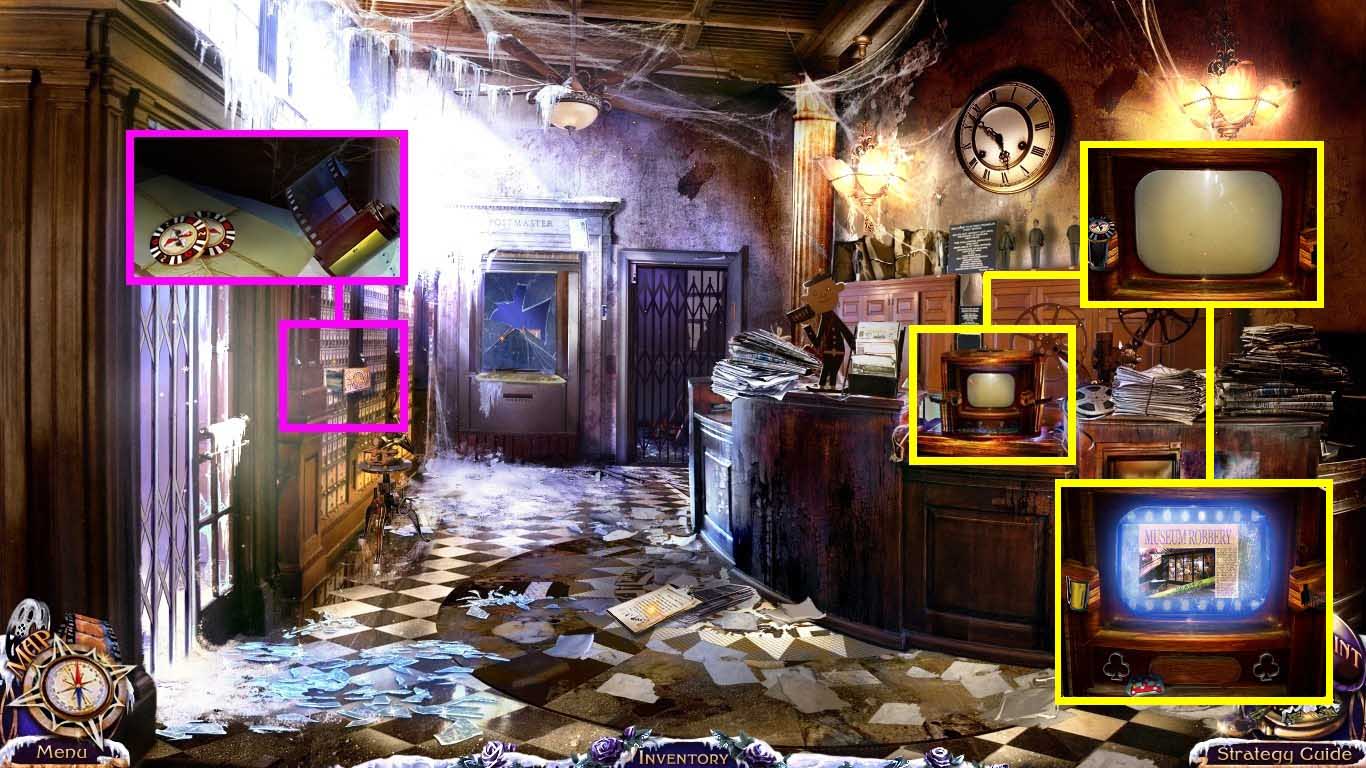
- Click the wall to zoom in.
- Collect the 2 chips and microfilm.
- Click the machine to zoom in.
- Collect the chip; place the microfilm into the machine.
- Watch the film.
- Collect the 2/3 fridge magnet.
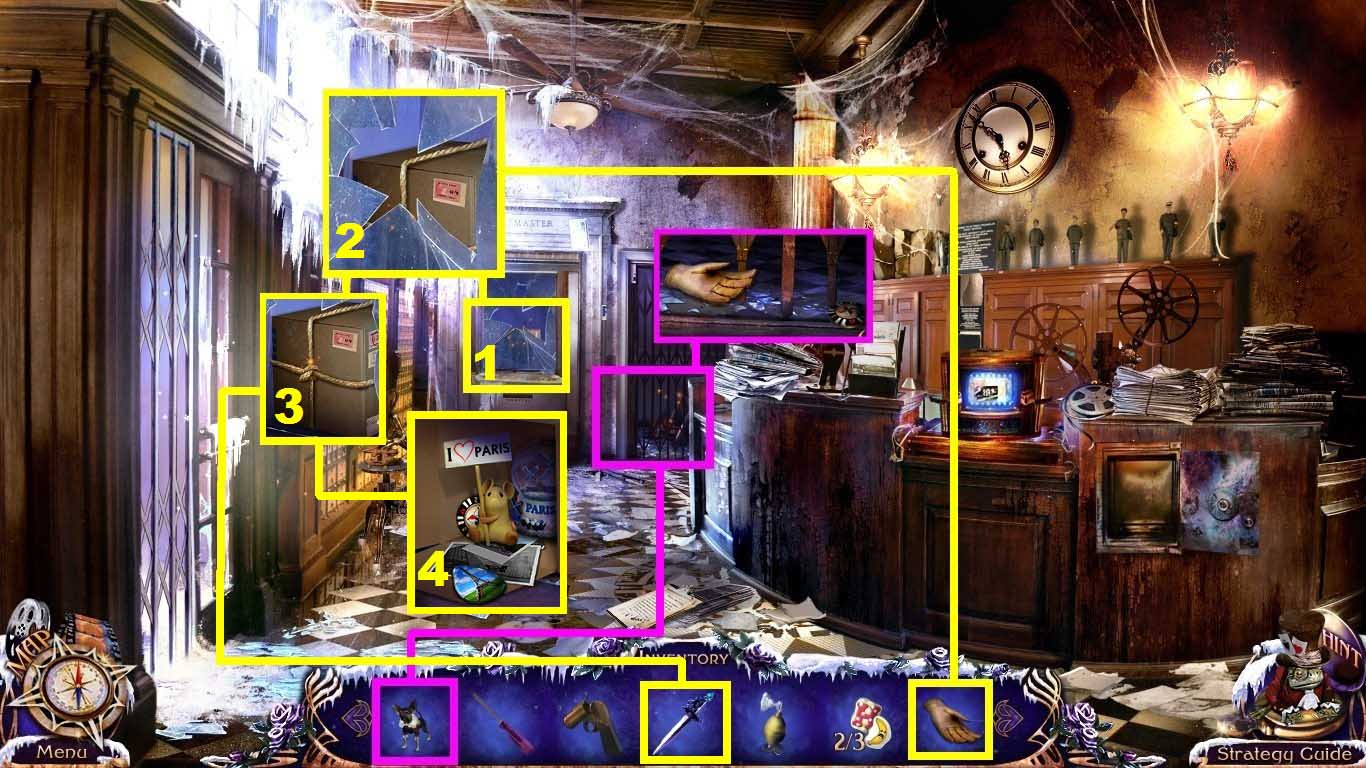
- Click the door to zoom in.
- Send Elf into the door opening.
- Collect the leather glove and 1 chip.
- Click the window to zoom in.
- Remove the shard with the leather glove (clicking 3 times).
- Cut the rope with the dagger.
- Click the box.
- Collect 1 chip and the 3/3 fridge magnet.
- Go to the lair.
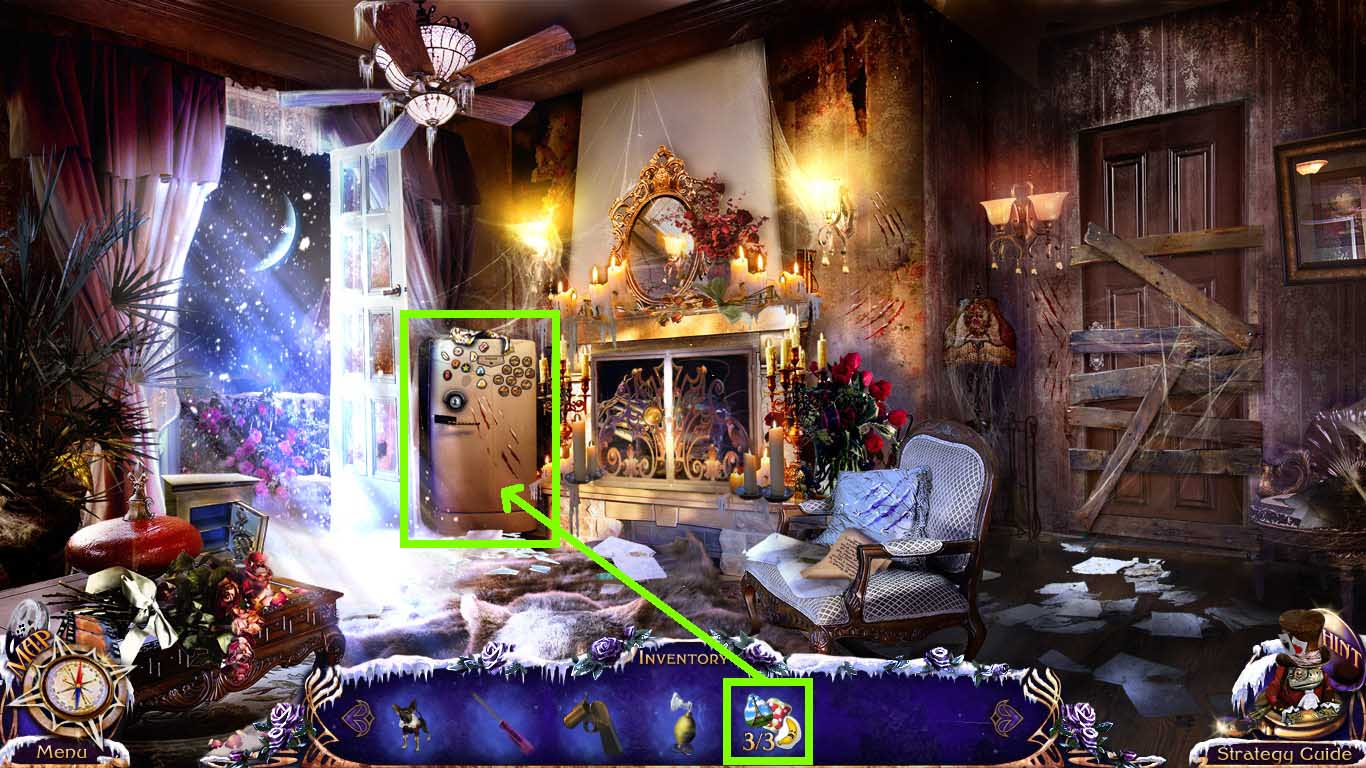
- Click the fridge.
- Place the 3 fridge magnets onto it.
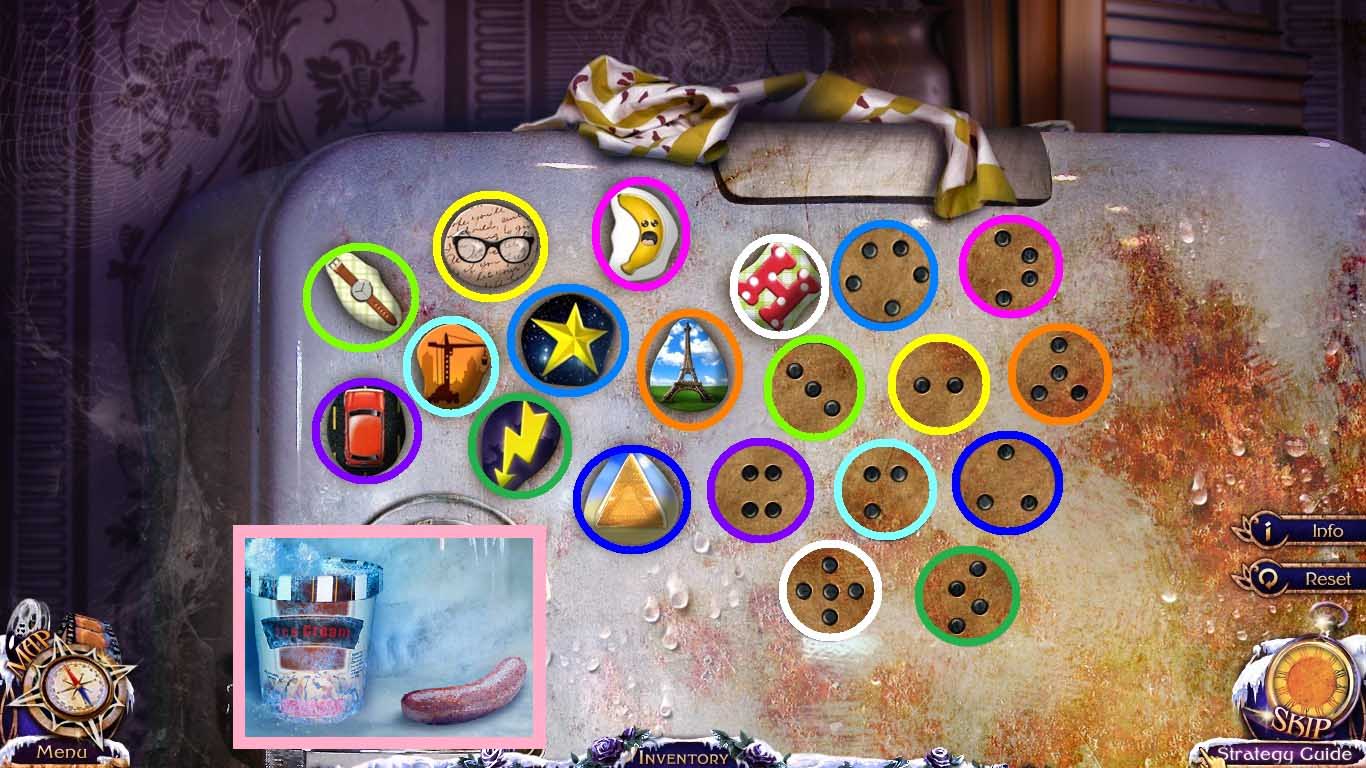
- Click the dotted holders as shown above.
- Solve the puzzle by inserting each magnet into the color matched holder.
- Collect the tasty sausage.
- Go to the side street.
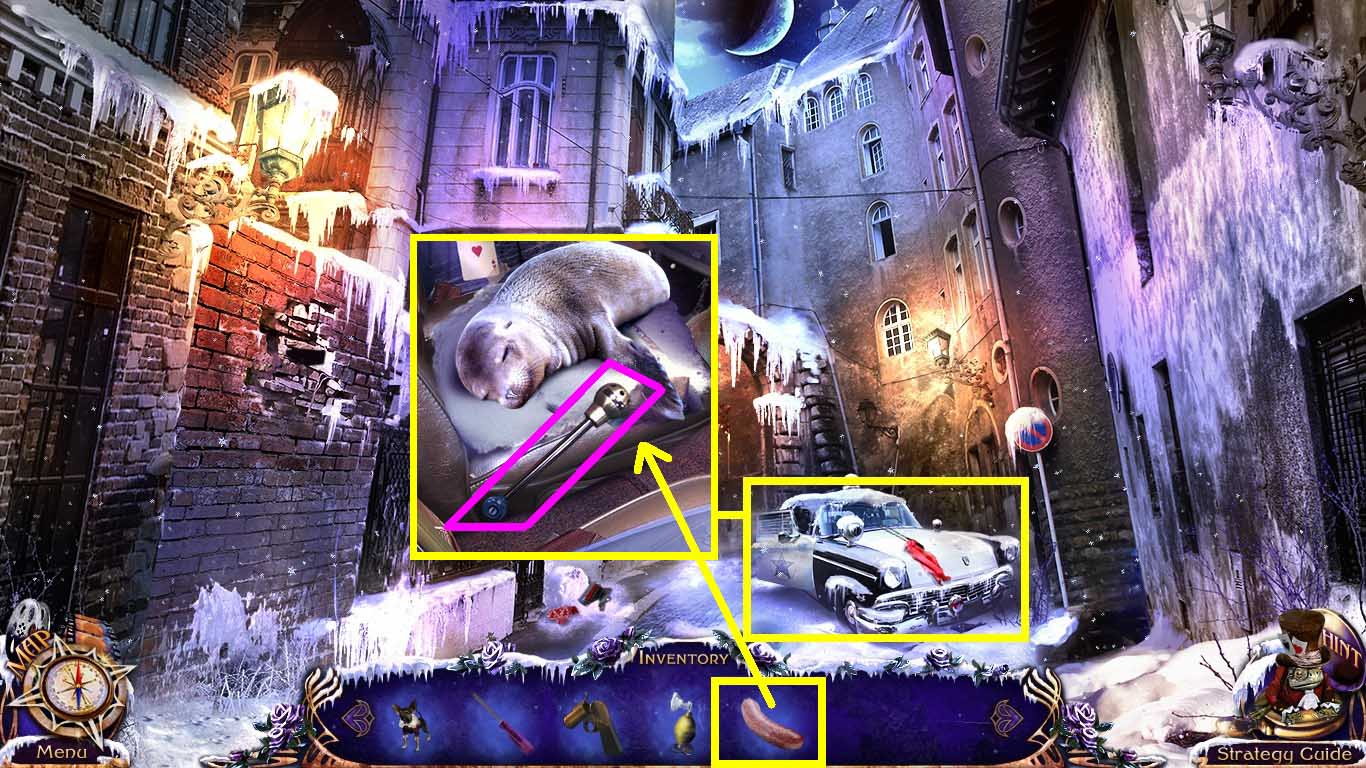
- Click the police car to zoom in.
- Give the seal the tasty sausage.
- Click the lever.
- Click the hidden objects area under the seat.
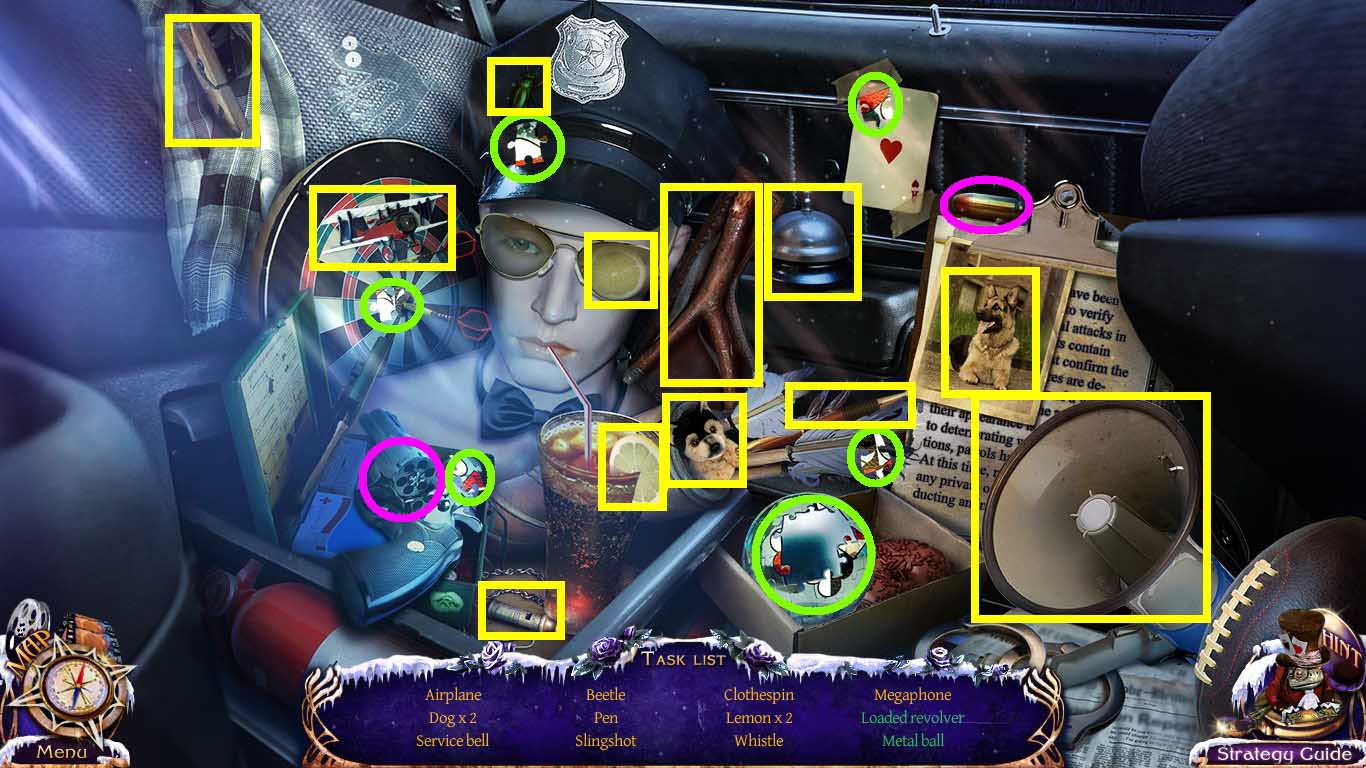
- Find the listed items.
- Color coordinated items must go together to complete the item.
- Collect the megaphone.
- Go to the fire station.
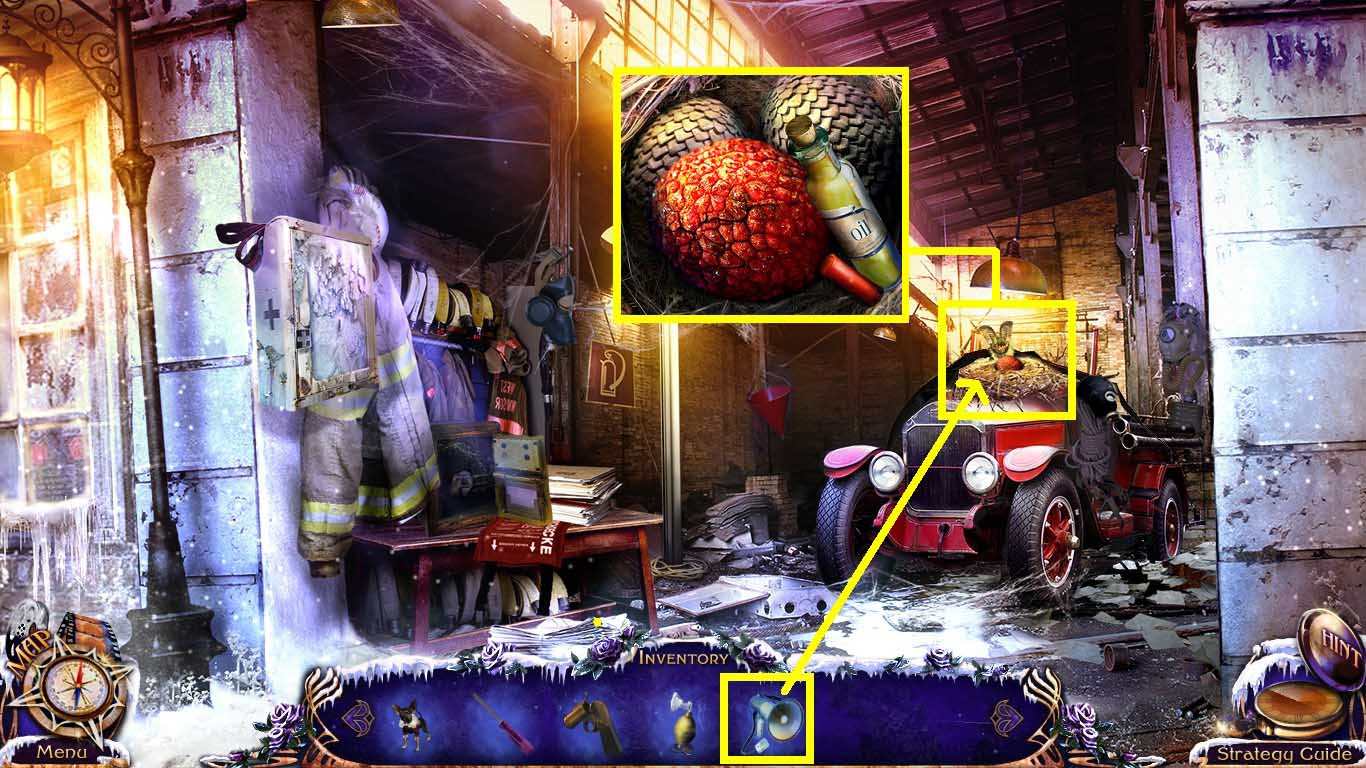
- Chase the bat with the megaphone.
- Click the nest.
- Collect the 2 chips and the oil.
- Go to the lair.
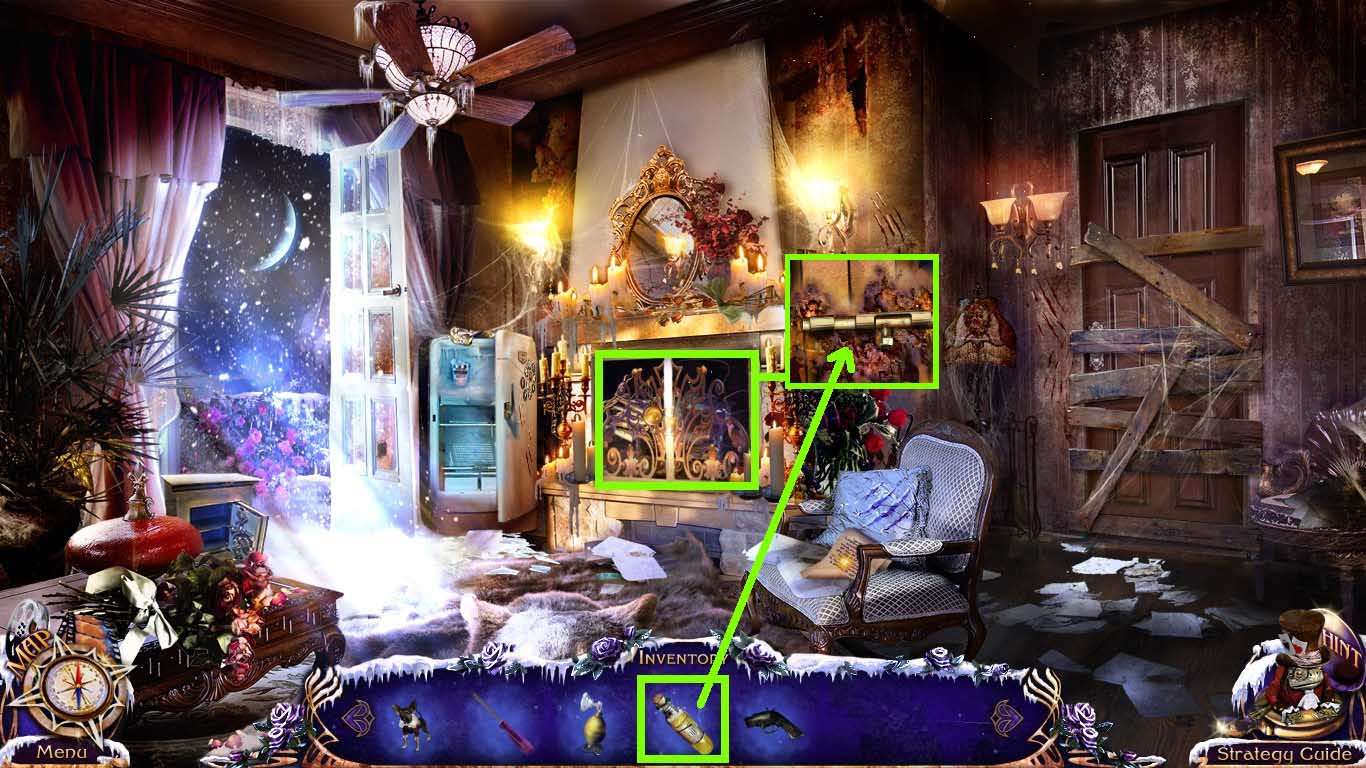
- Click the fireplace.
- Use the oil on the hinges.
- Click the hidden objects area.
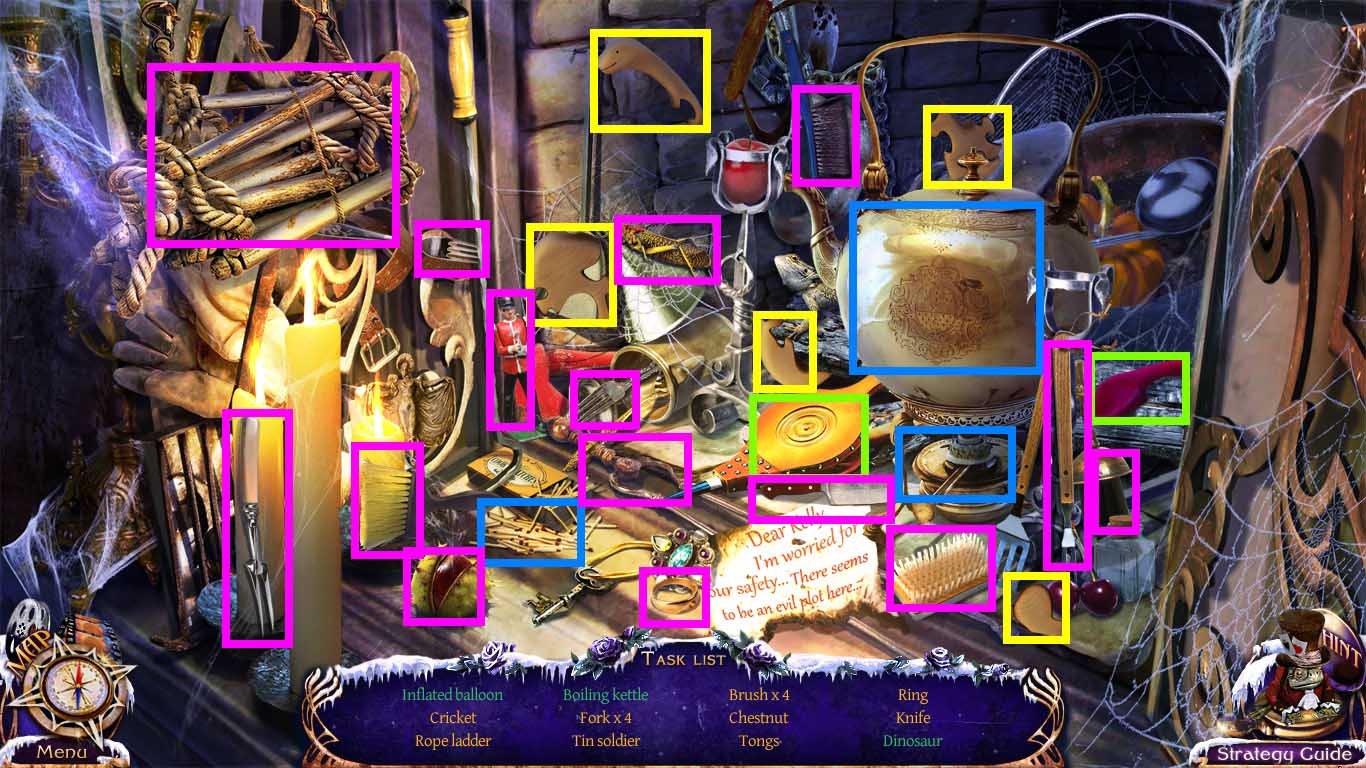
- Find the listed items.
- Color coordinated items must go together to complete the item.
- Collect the rope ladder.
- Go left to the balcony.
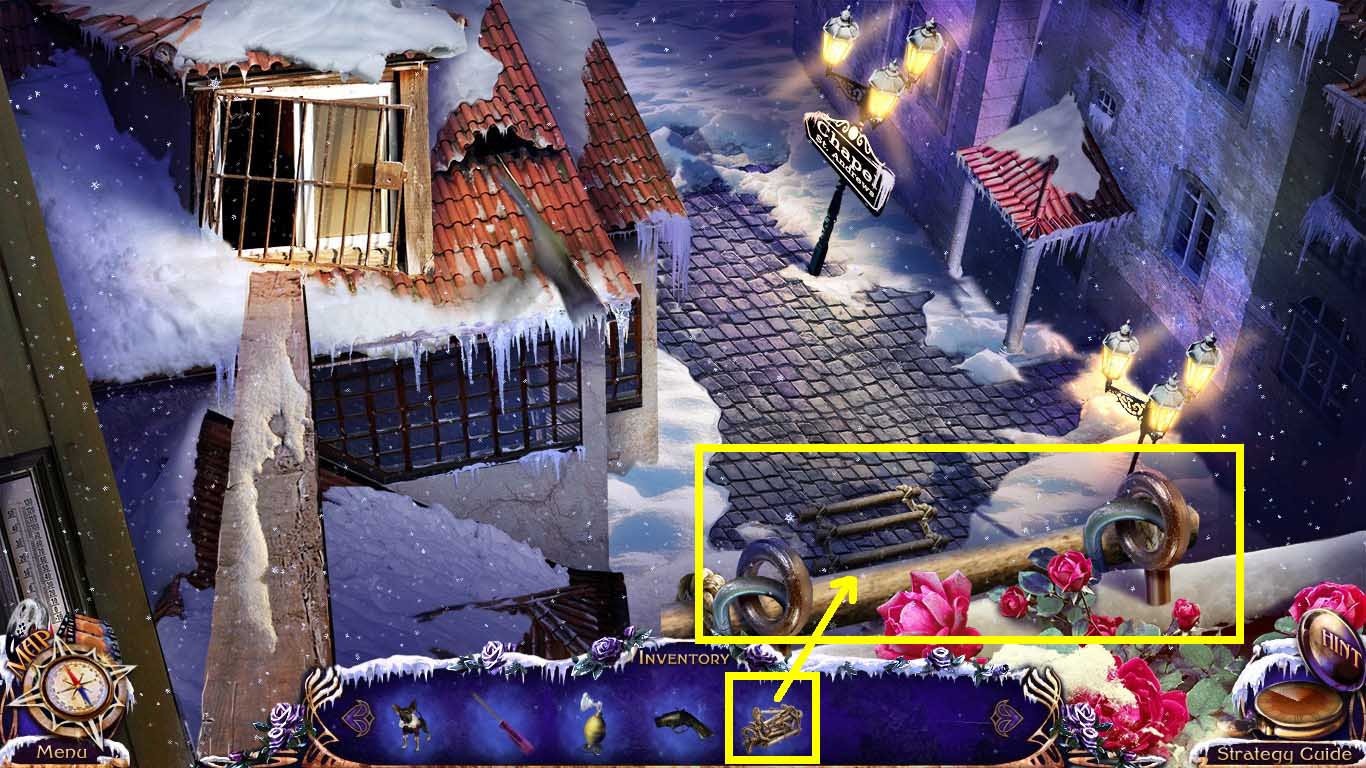
- Place the rope ladder onto the holders.
- Go near the chapel.
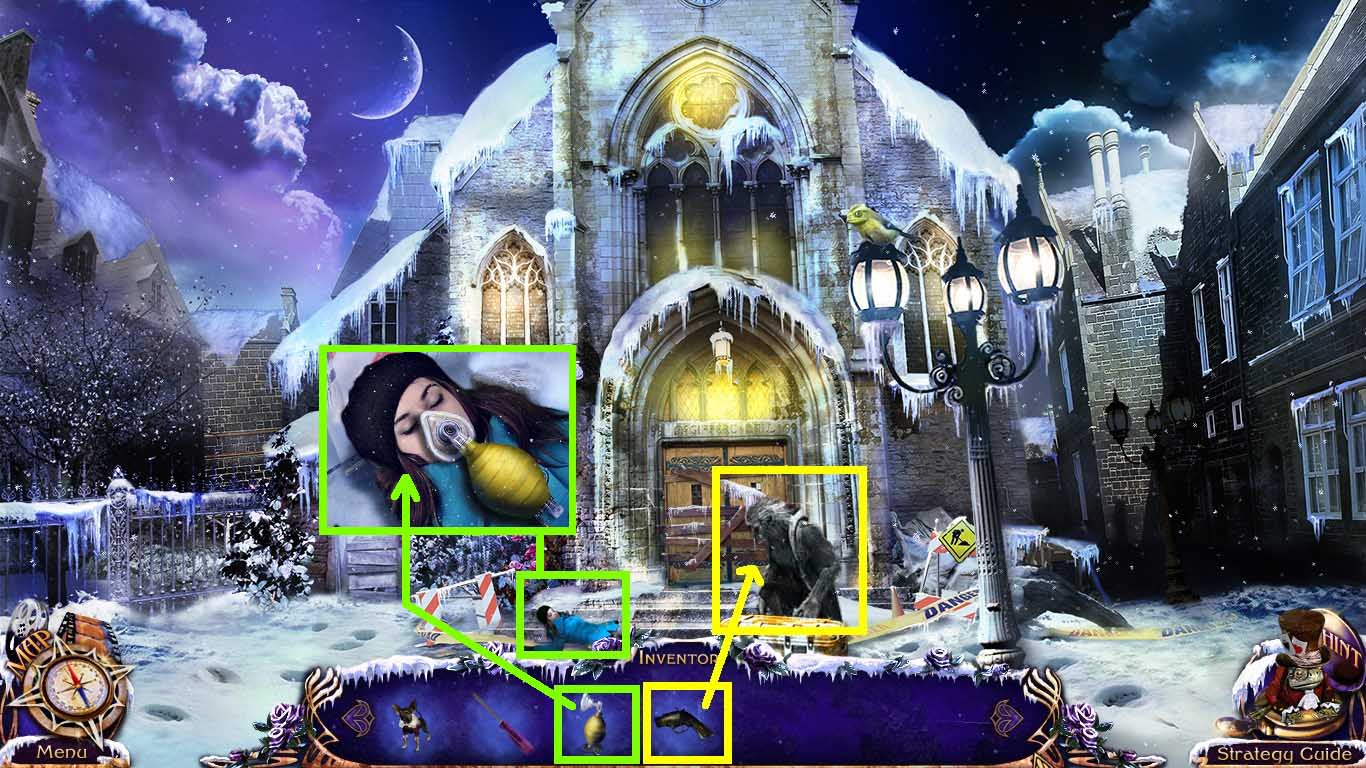
- Click the beast to see the cut scene.
- Click Kelly.
- Place the oxygen mask onto her face.
- Click the pump 3 times to trigger a cut scene.
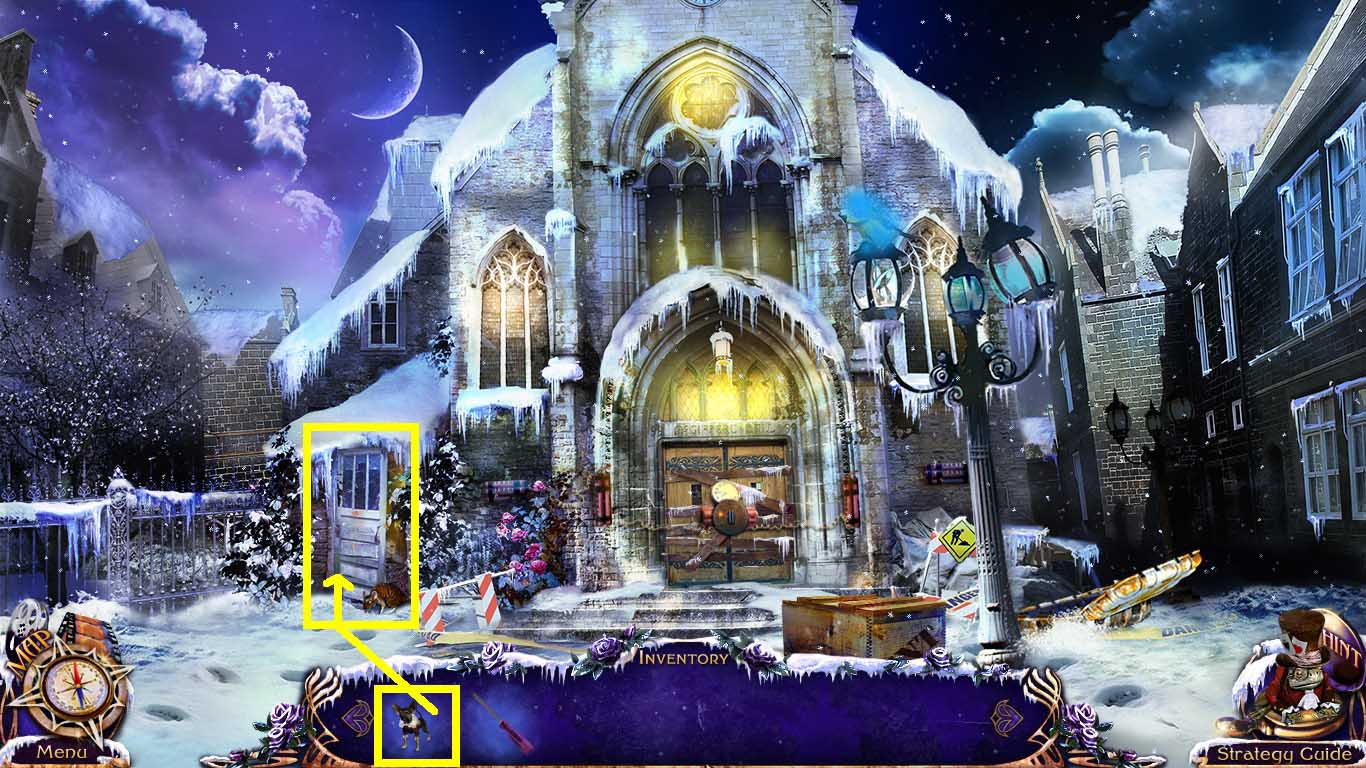
- Click the chapel door.
- Send Elf to scare away the rat.
- Go into the chapel hallway.
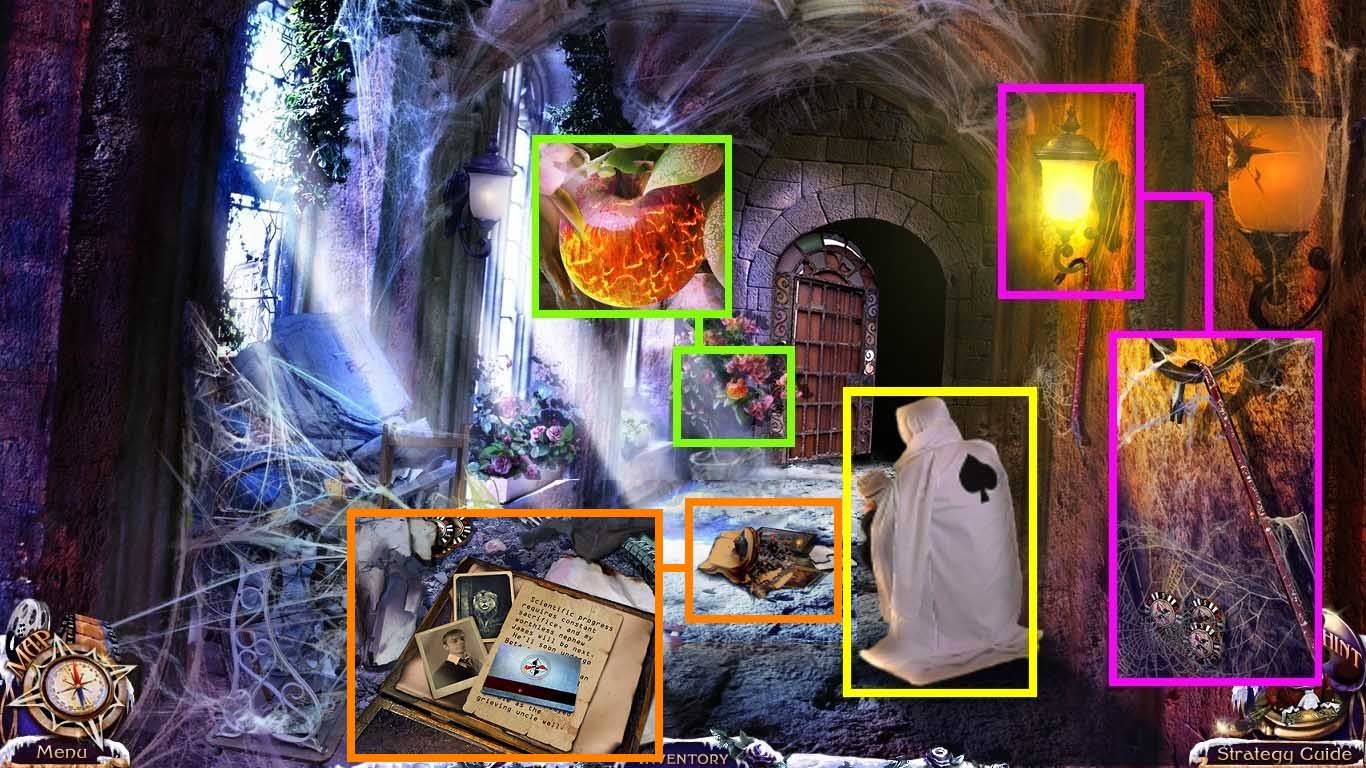
- Click the hooded man to trigger a cut scene.
- Click the lantern.
- Collect the crowbar and 3 chips.
- Click the flower.
- Collect the fire apple.
- Click the floor.
- Click the paper and click the case.
- Collect the 3 chips and the access card.
- Read the note.
- Go to the front of the chapel.
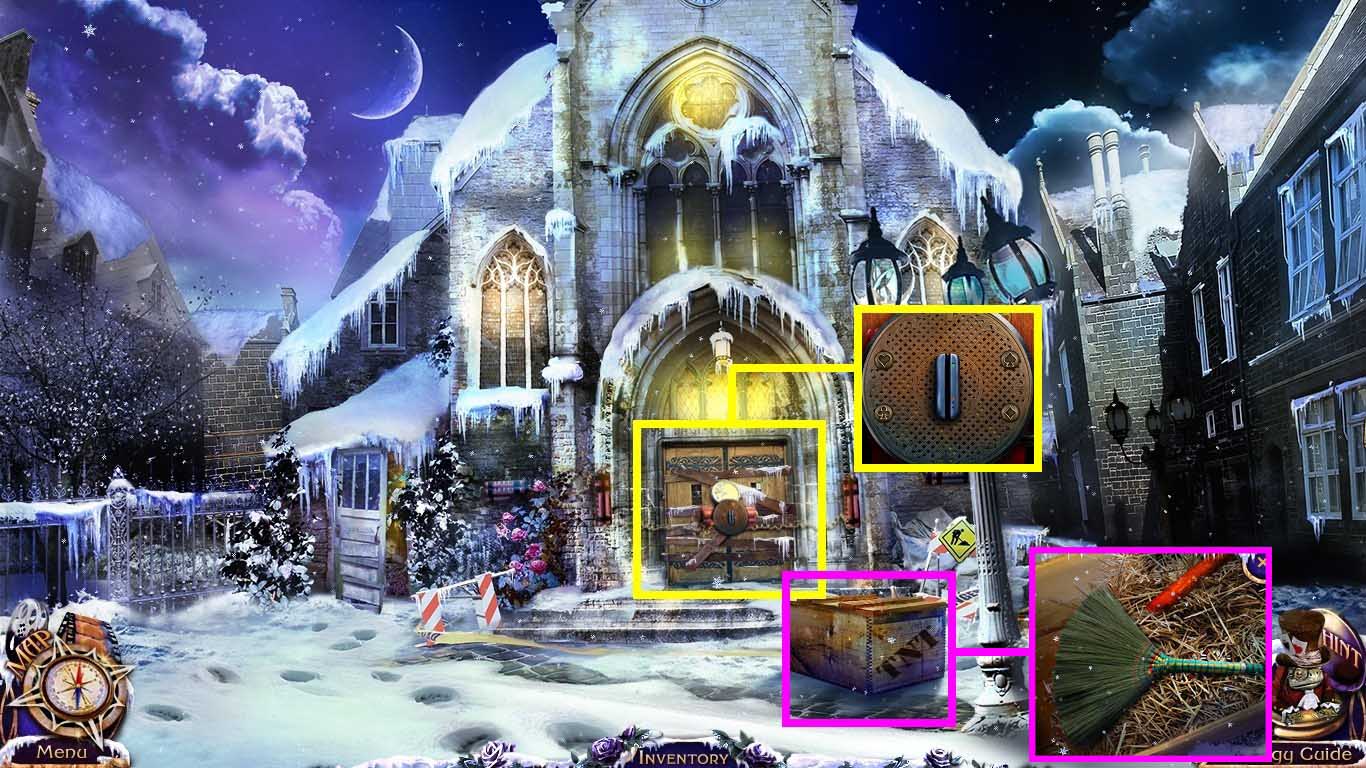
- Click the chapel door.
- Insert the access card into the slot.
- Click the dynamite box; use the crowbar to open it.
- Collect the duster, the 3 chips and the dynamite.
- Go into the chapel corridor.
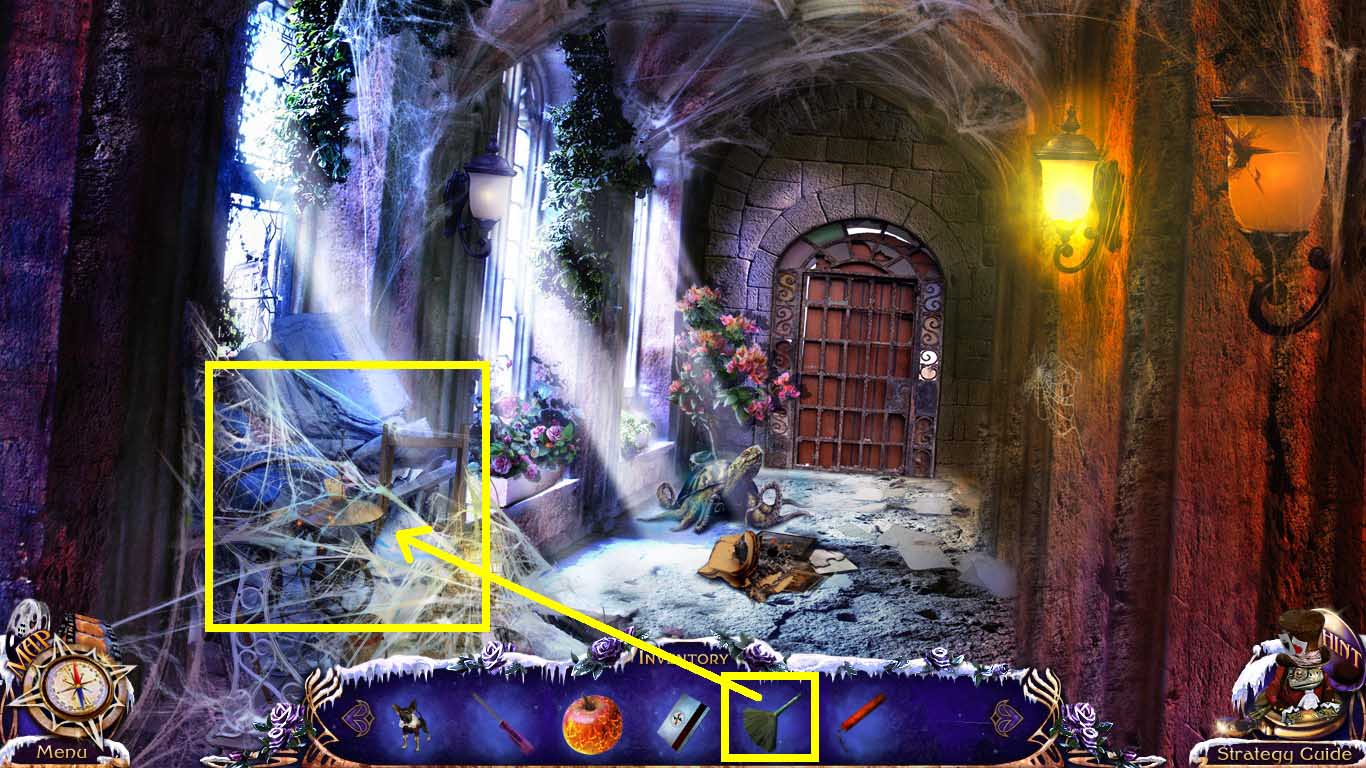
- Clear the cobweb by using the duster (click it 3 times).
- Click the hidden object area.
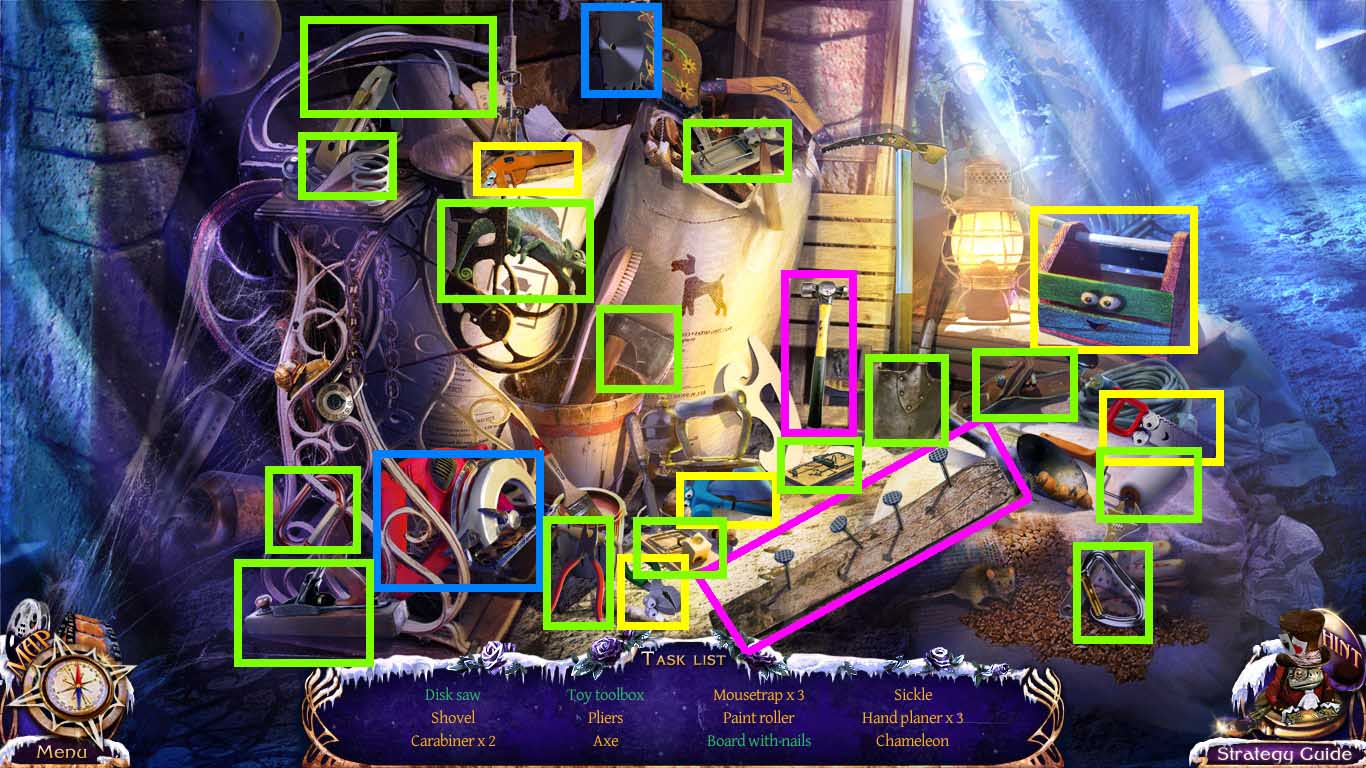
- Find the listed items.
- Color coordinated items must go together to complete the item.
- Collect the circular saw.
- Go to the lair.
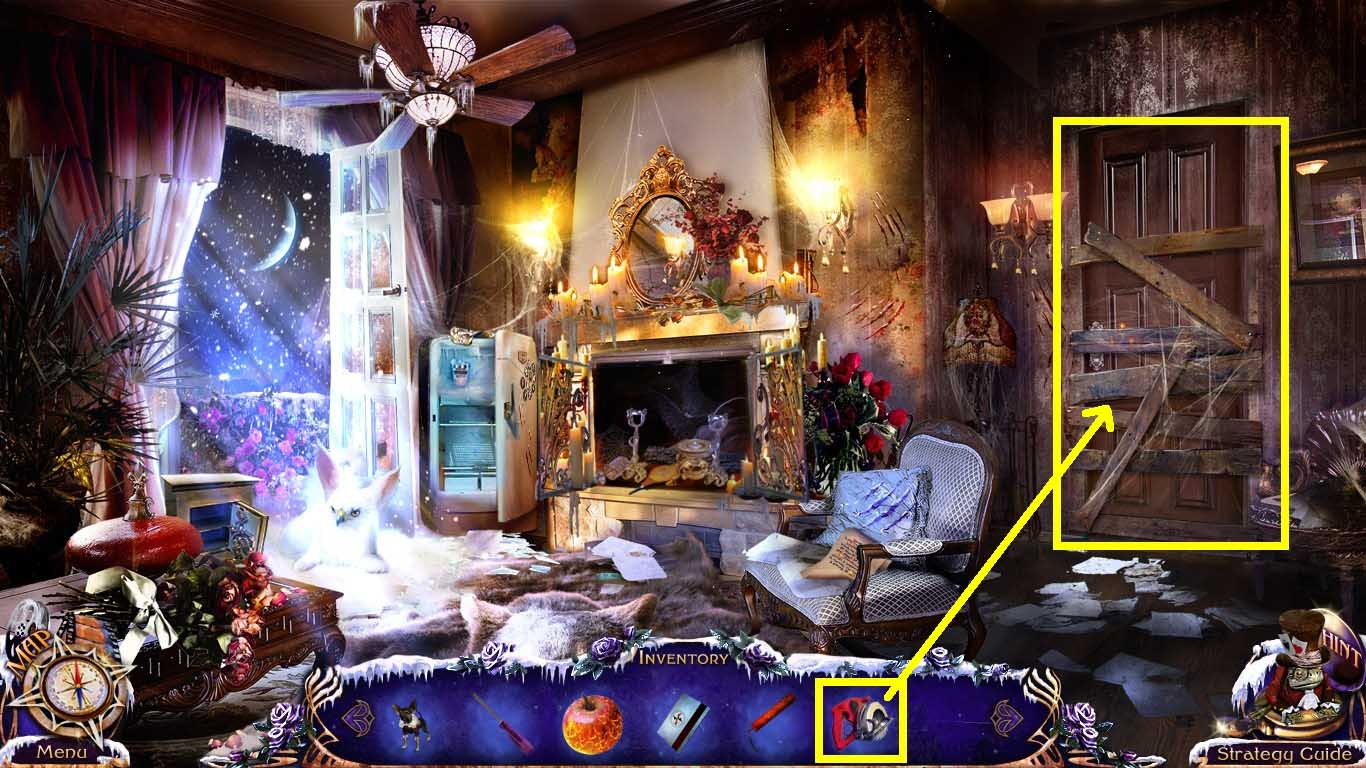
- Click the blocked door.
- Use the circular saw to cut the boards on the blocked door.
- Go into the bedroom.
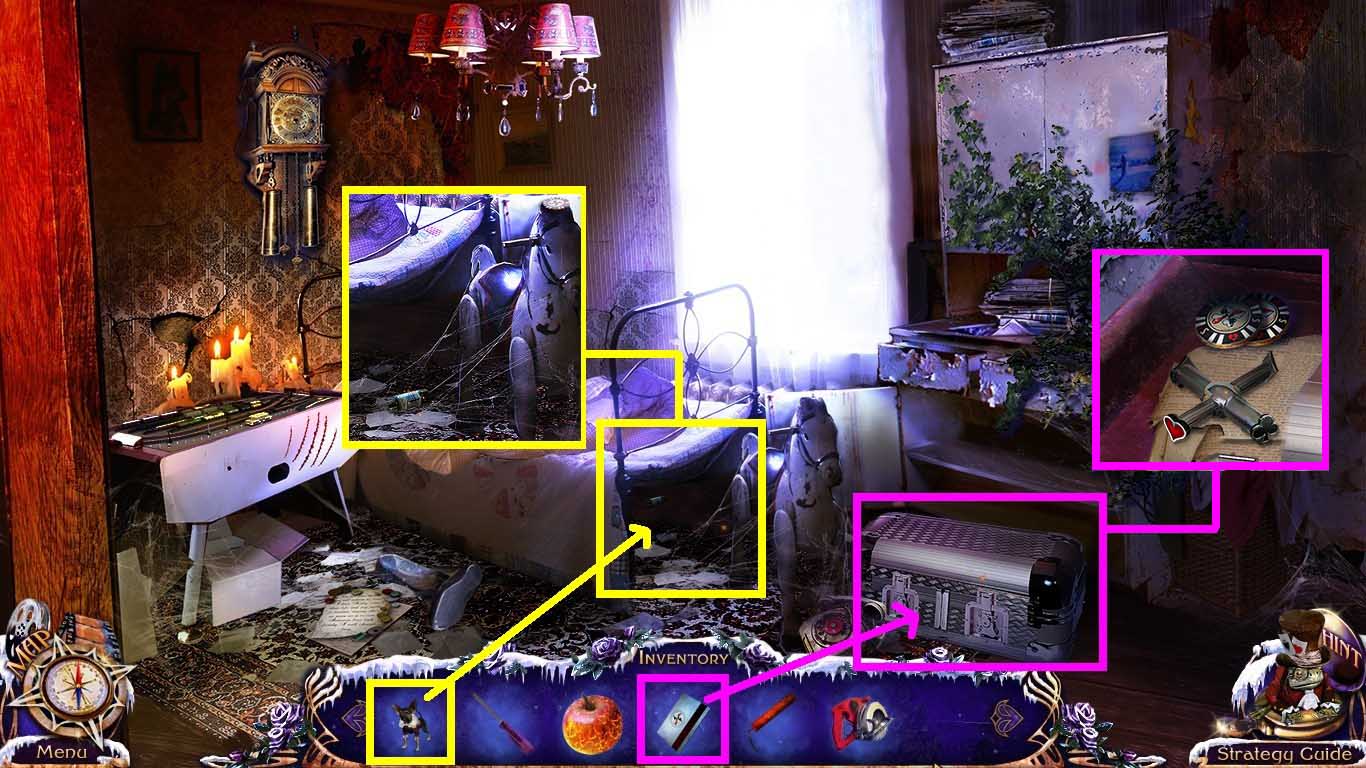
- Click the bed.
- Use Elf to go under the bed.
- Collect the 1/3 transistor and 1 chip.
- Click the case.
- Insert the access card into the slot.
- Collect the 2 chips and the 4 aces key.
- Go to the chapel.
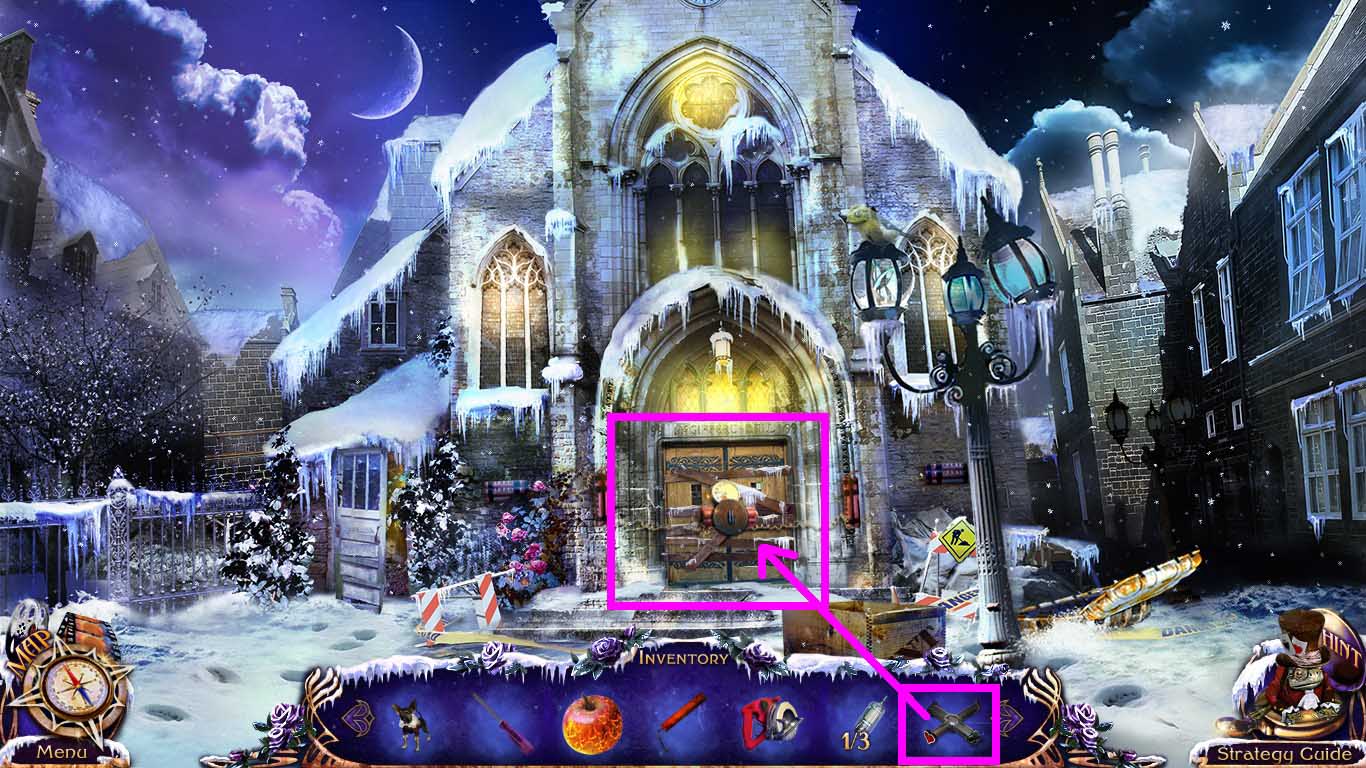
- Click the chapel entrance.
- Insert the four aces key into the lock to trigger a mini-game.
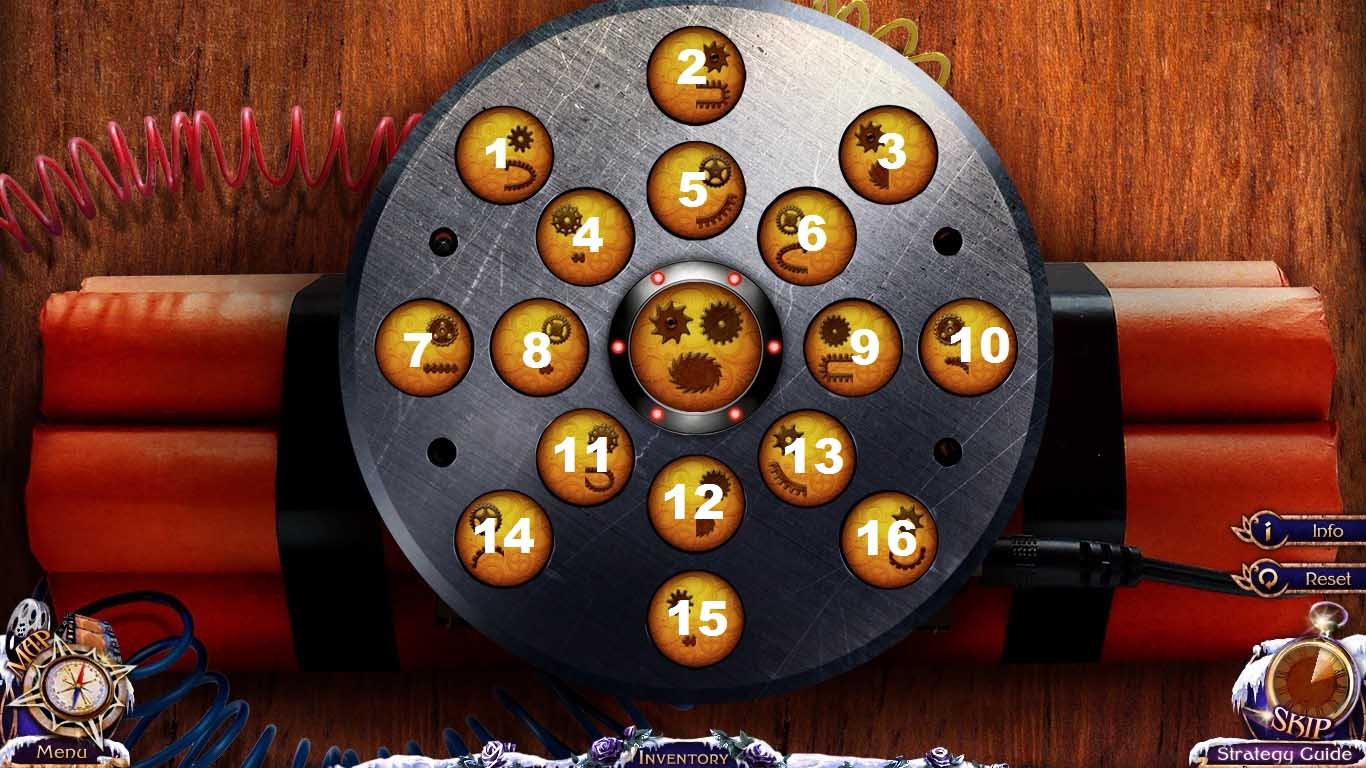
- Solve this puzzle using the following combination:
- 3 -12 – 3 – 9 – 5 -3 – 13 -9 – 14 -8 -13 -3
- Go into the chapel.
Comments will load when you reach this part of the walkthrough.