

Chapter Two: The Dead End Street
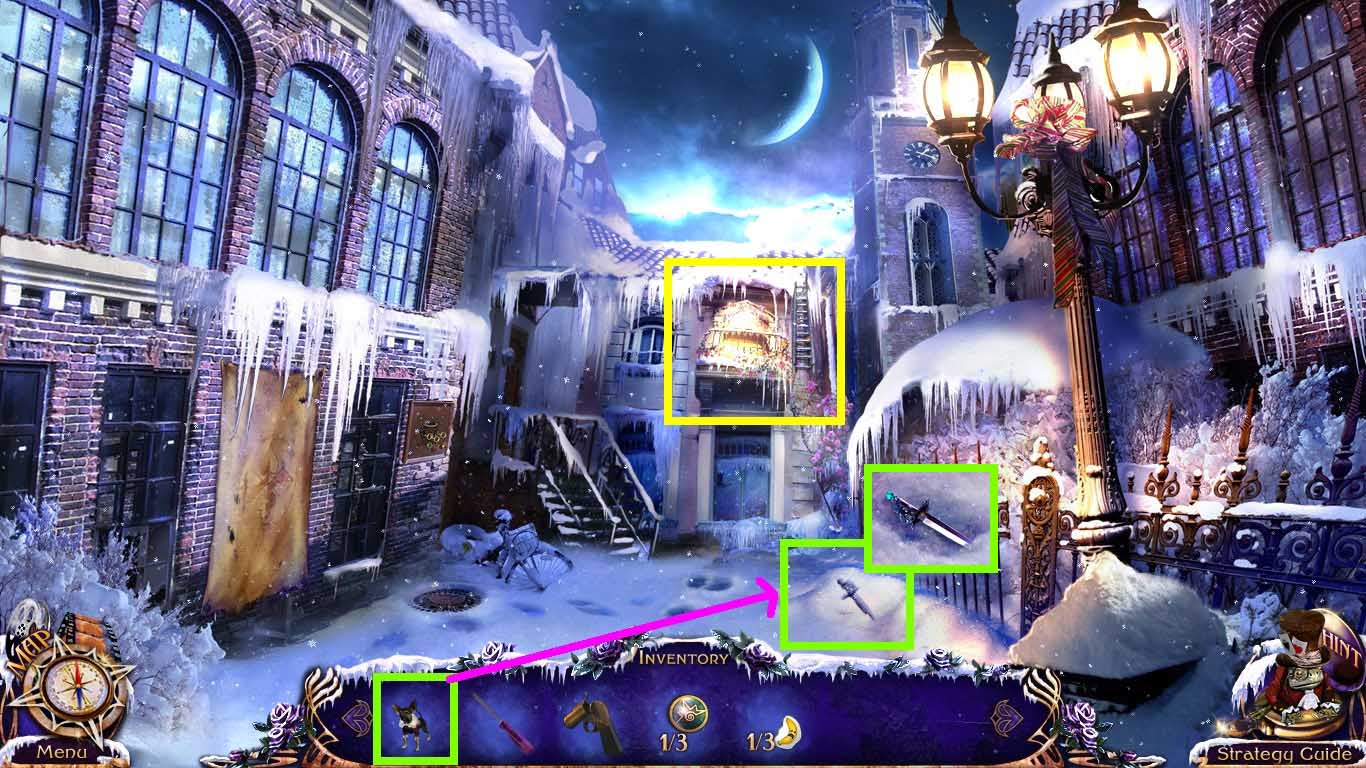
- Click on the balcony marked in yellow.
- Click the snow to zoom in.
- Remove the snow with the elf.
- Take the dagger.
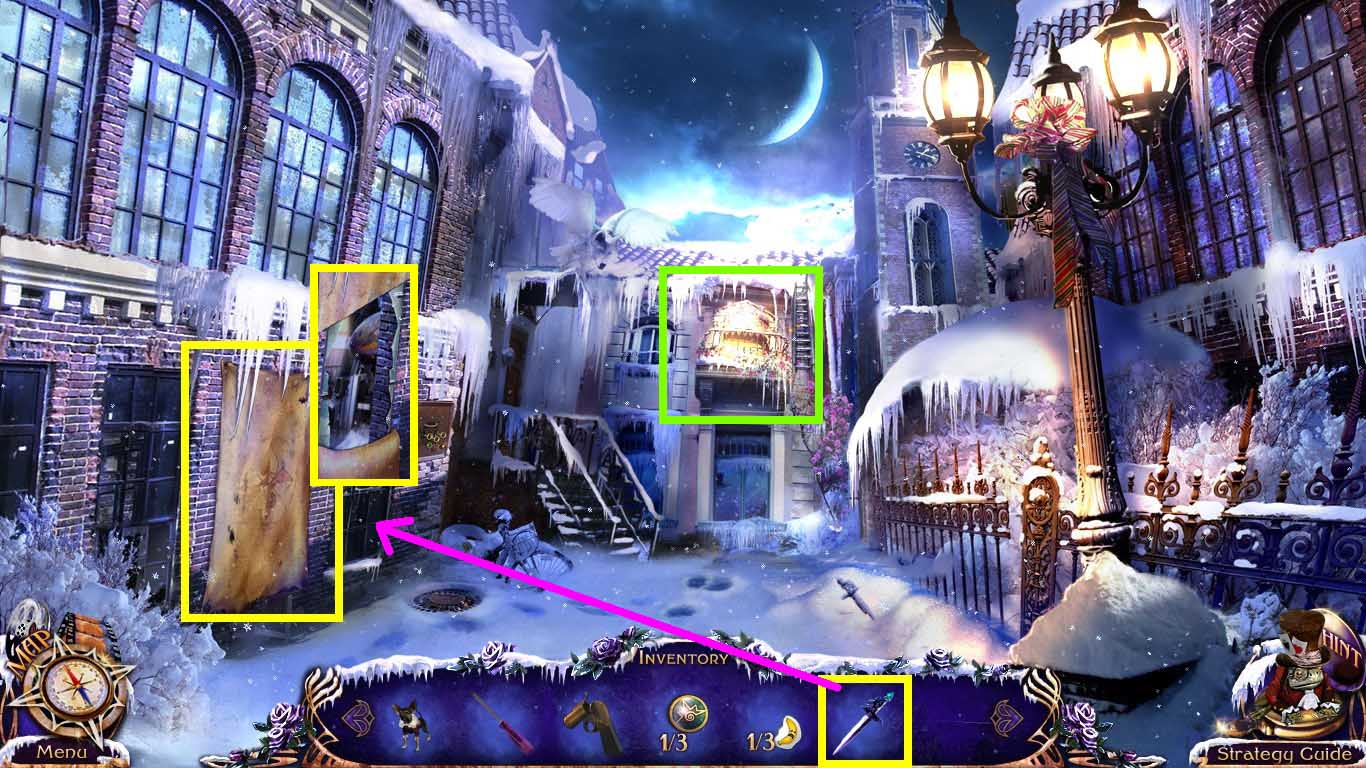
- Click the covered window to zoom in.
- Use the dagger to cut the cloth.
- Click the balcony to zoom in.
- Lower the ladder.
- Go up the ladder.
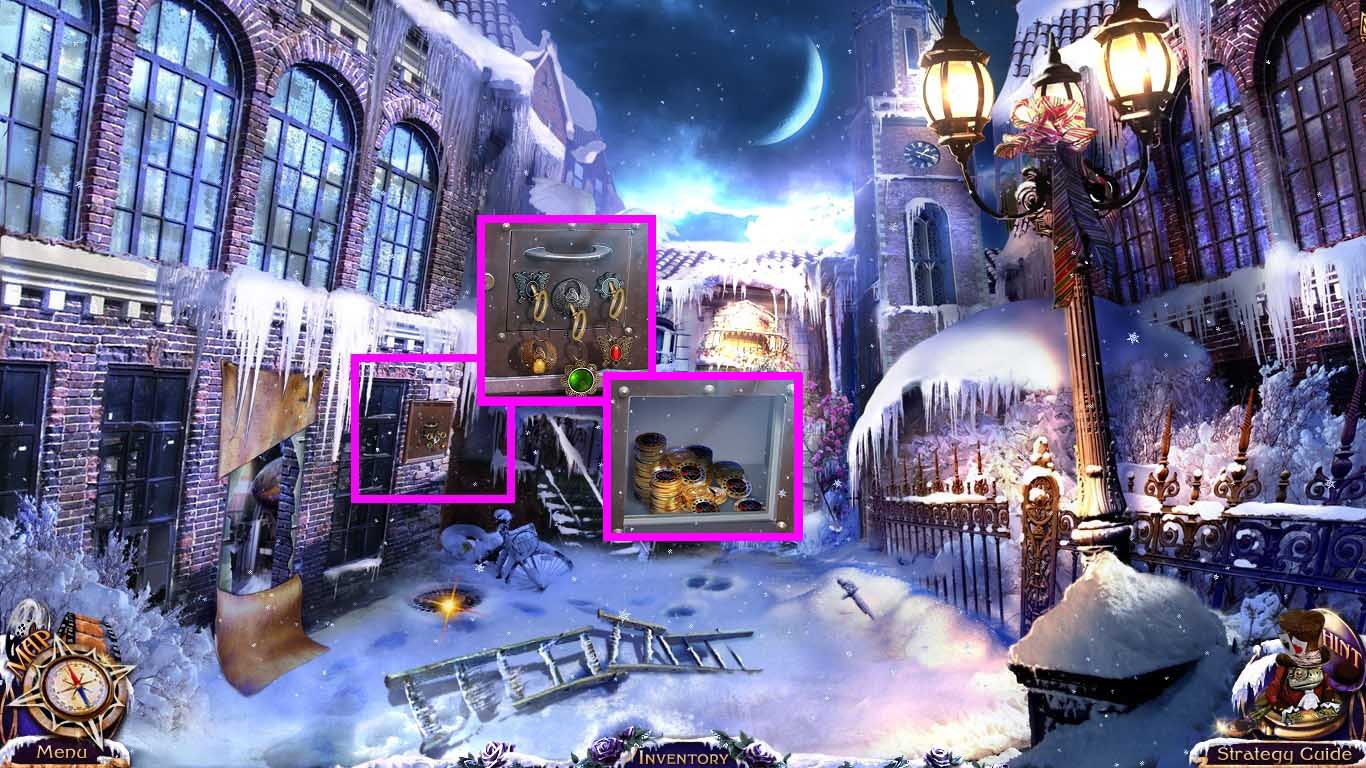
- Click the safe to zoom in.
- Move the keys left to right in the following order:
- Red – Yellow – Green
- Take the 50 chips.
- Take a left into the hanger.
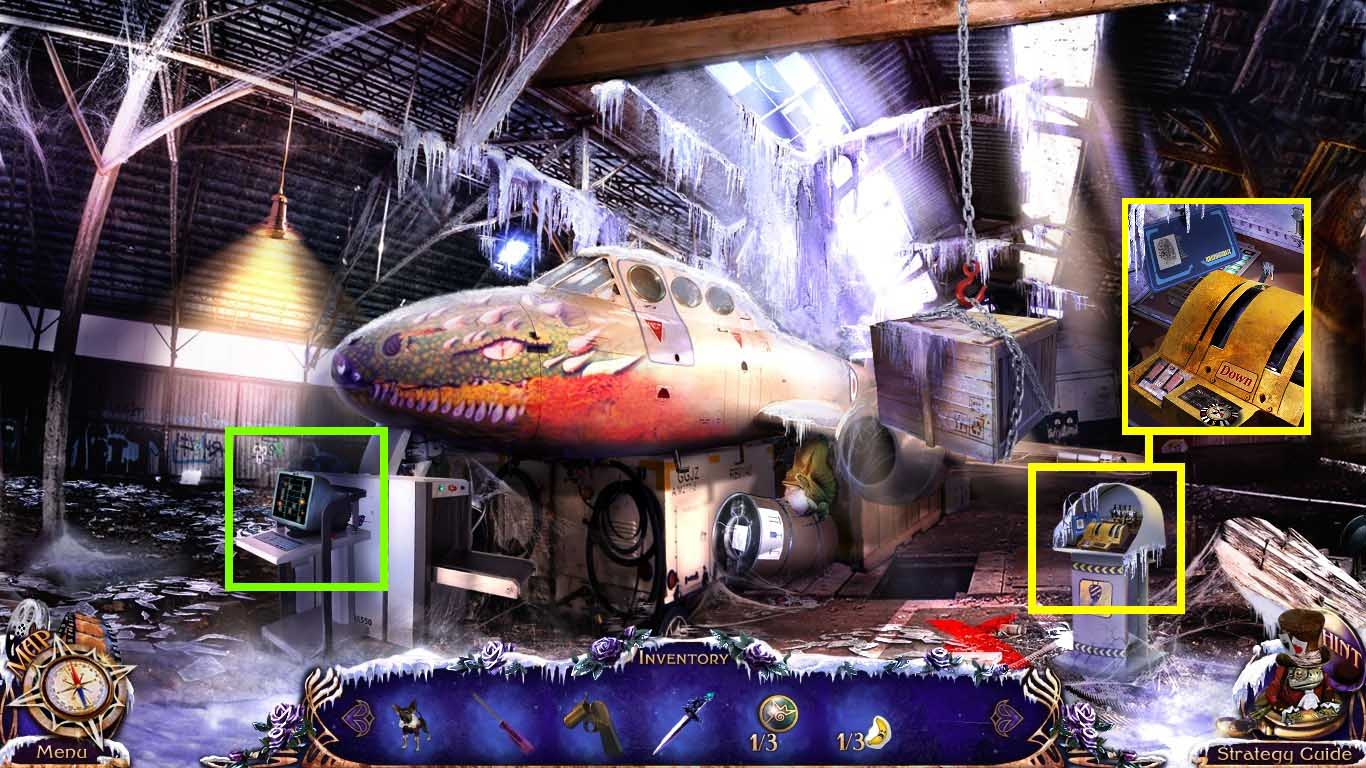
- Click the control panel to zoom in.
- Collect the access card and chip.
- Click the baggage scanner and insert the access card into the slot.
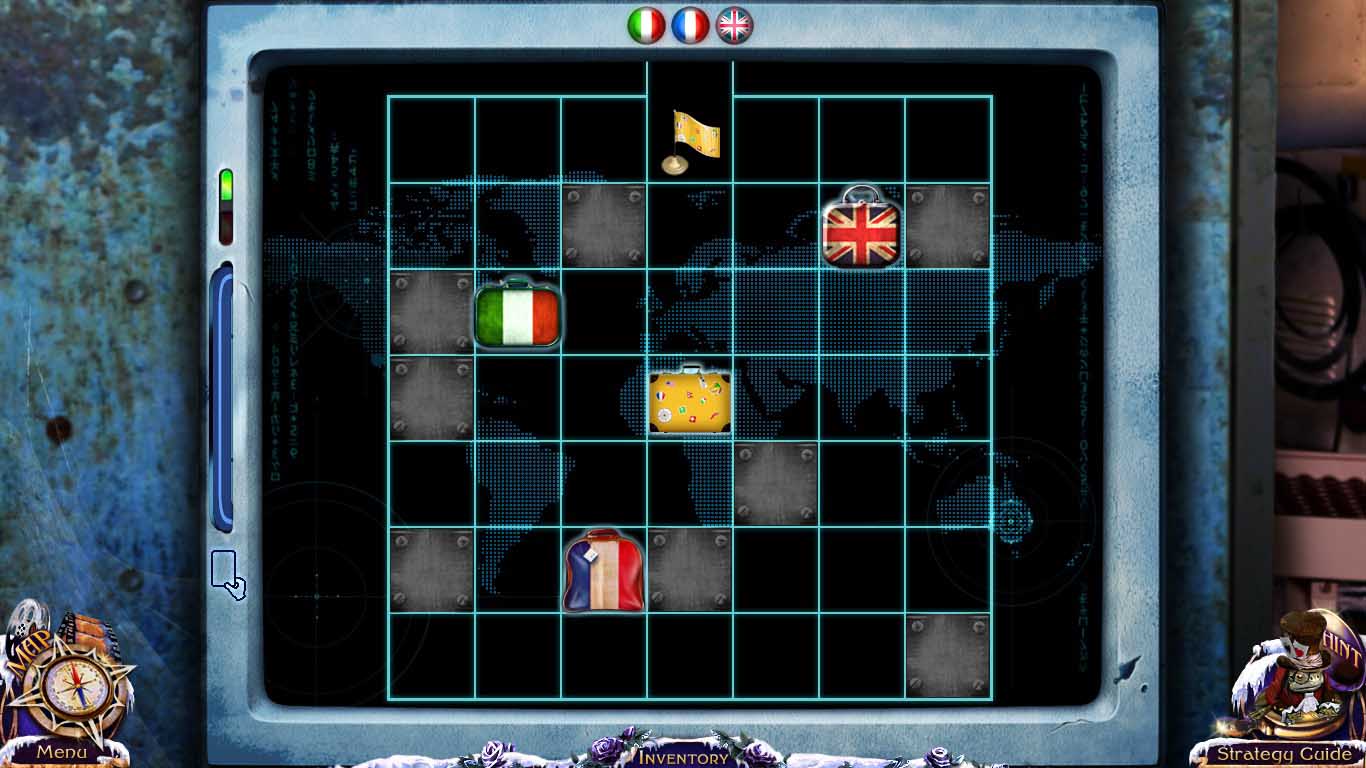
- Solutions vary.
- Solve as shown above.
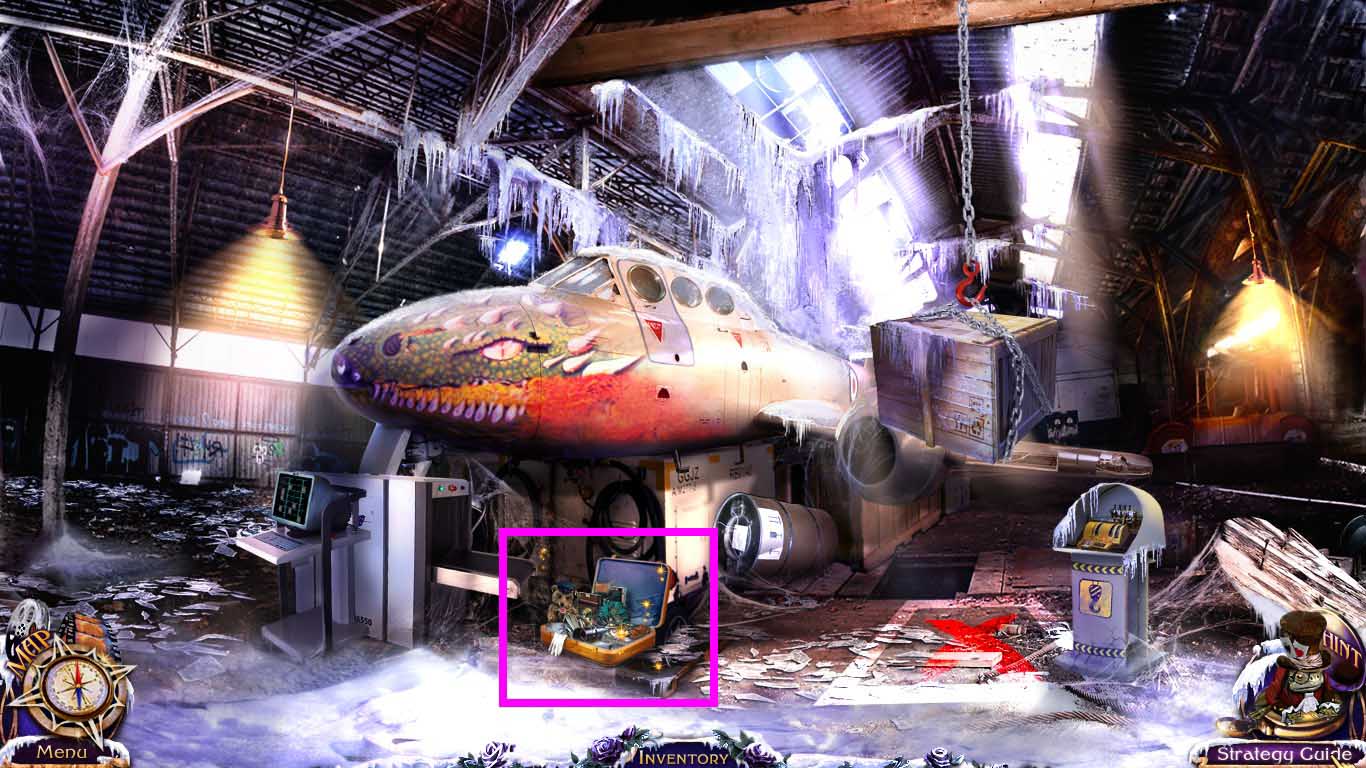
- Click the suitcase to access the hidden objects area.
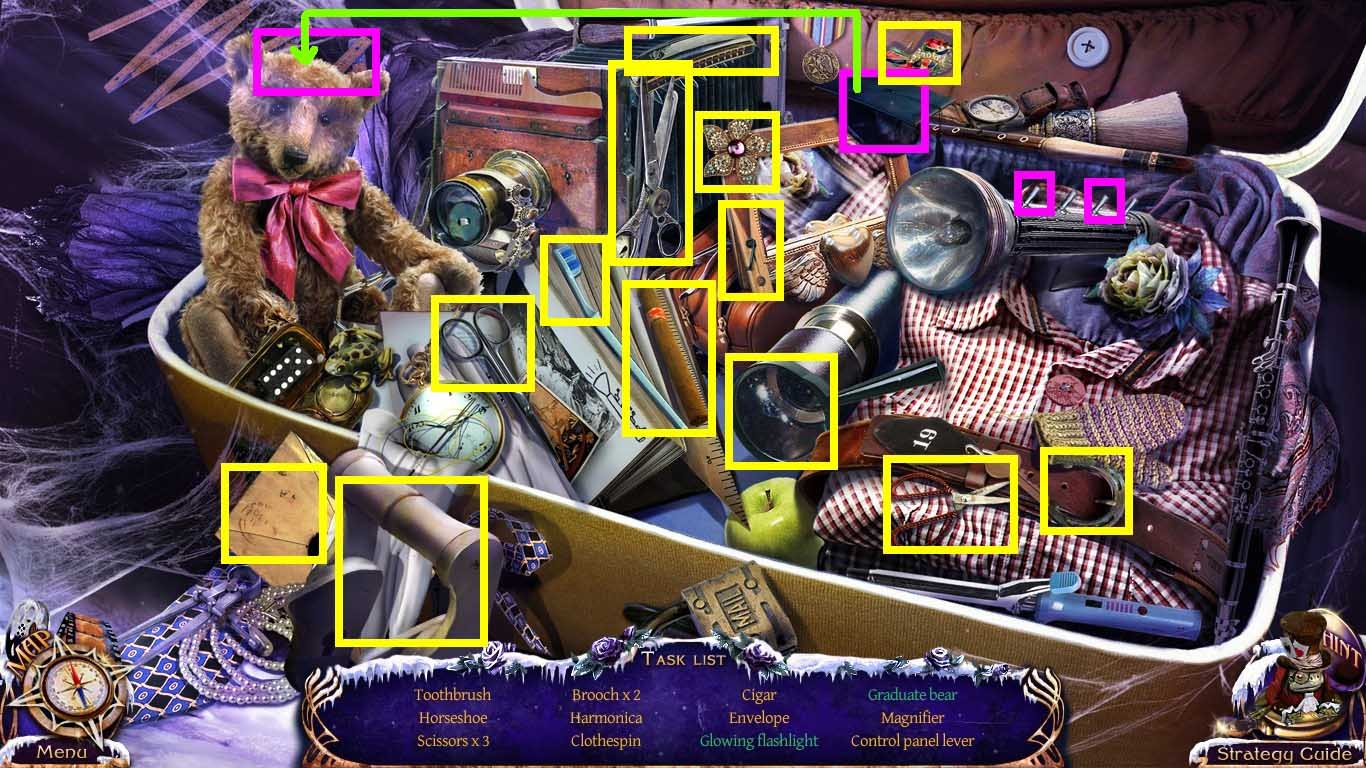
- Find the listed items.
- Collect the control panel lever.
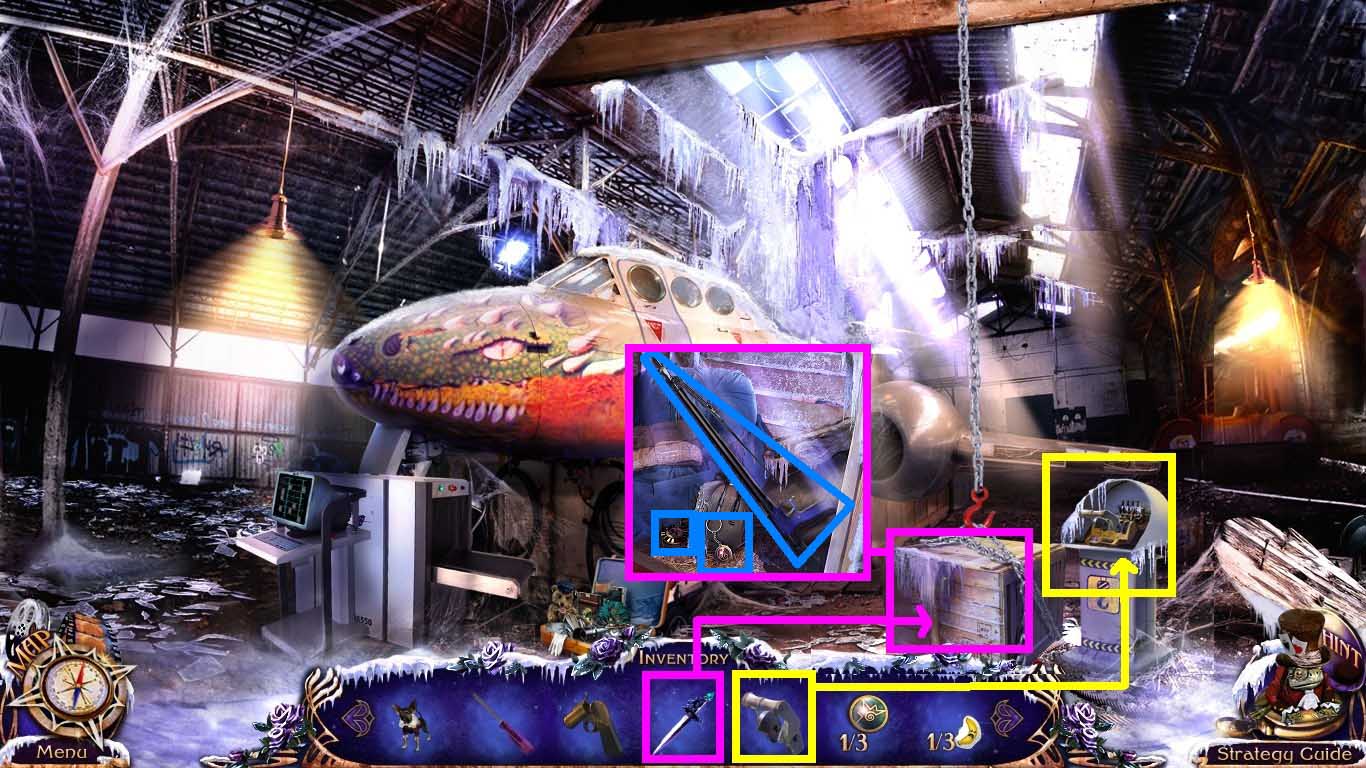
- Click the control panel to zoom in.
- Insert the control panel lever.
- Click the lever.
- Click the box.
- Use the dagger to cut the box open.
- Collect the chip, the 2/3 post office trinket and the loaded spear gun.
- Go to the dead end.
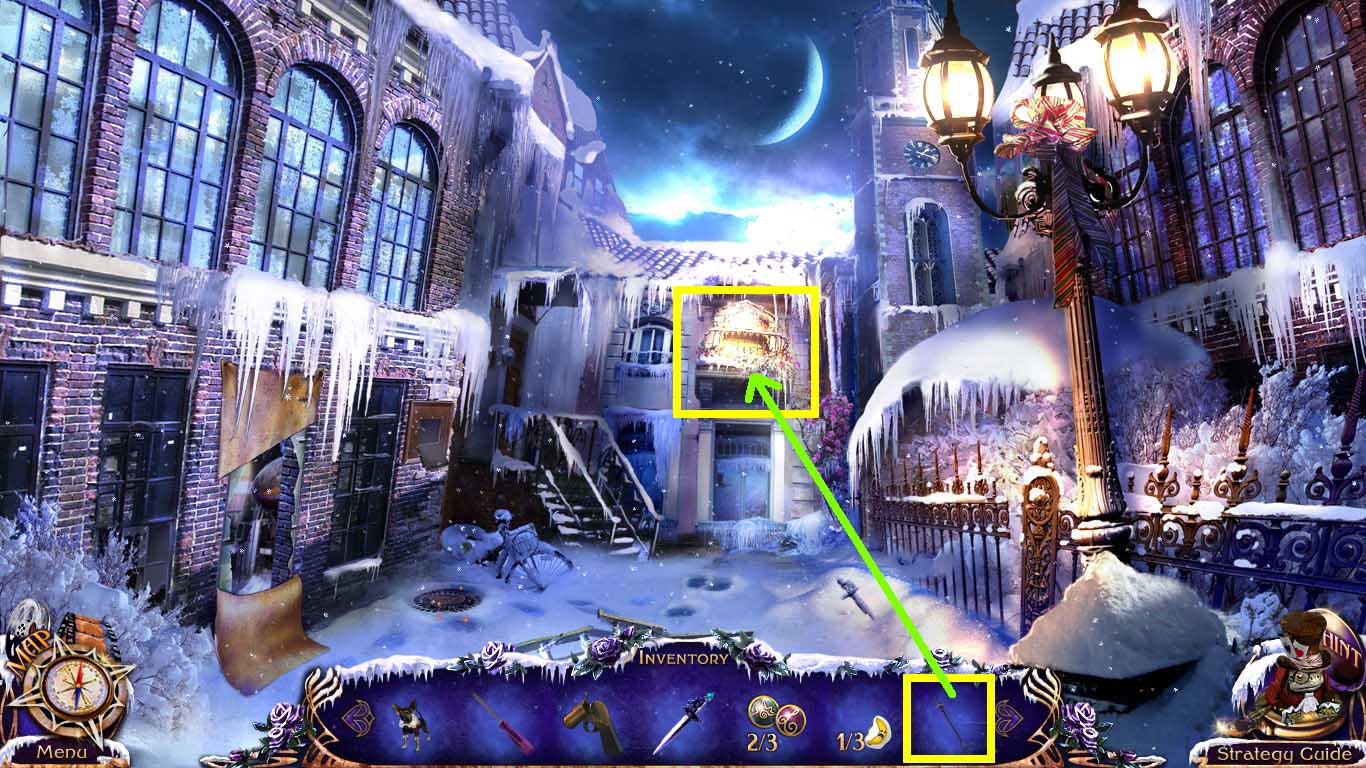
- Use the spear gun on the balcony.
- Go into the lair.
- Click anywhere to trigger a cut scene.
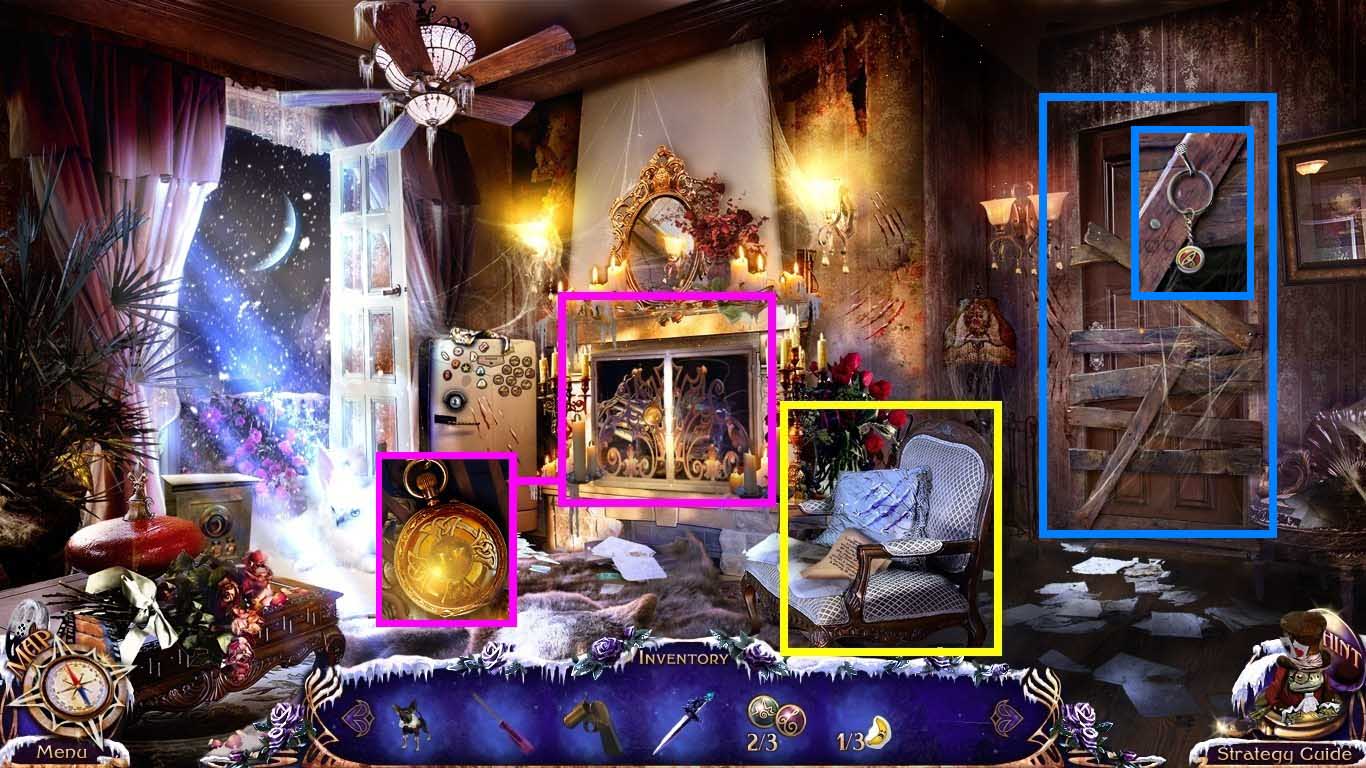
- Click the chair to zoom in.
- Read the letter.
- Click the fireplace to zoom in.
- Click the medallion to trigger a cut scene.
- Click the blocked door.
- Collect 3/3 post office trinket.
- Turn left and go to the balcony.
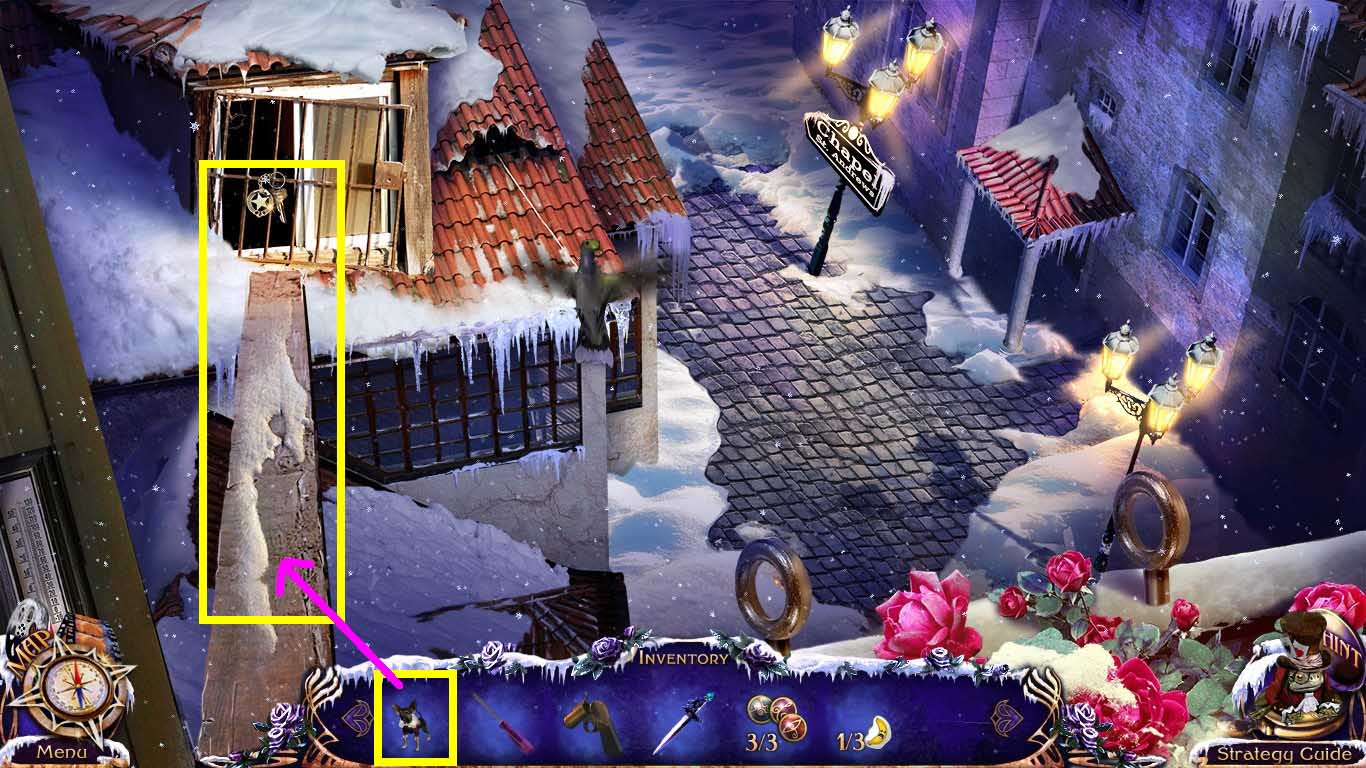
- Use Elf to uncover the wooden board.
- Take the police car key.
- Go to the lair.
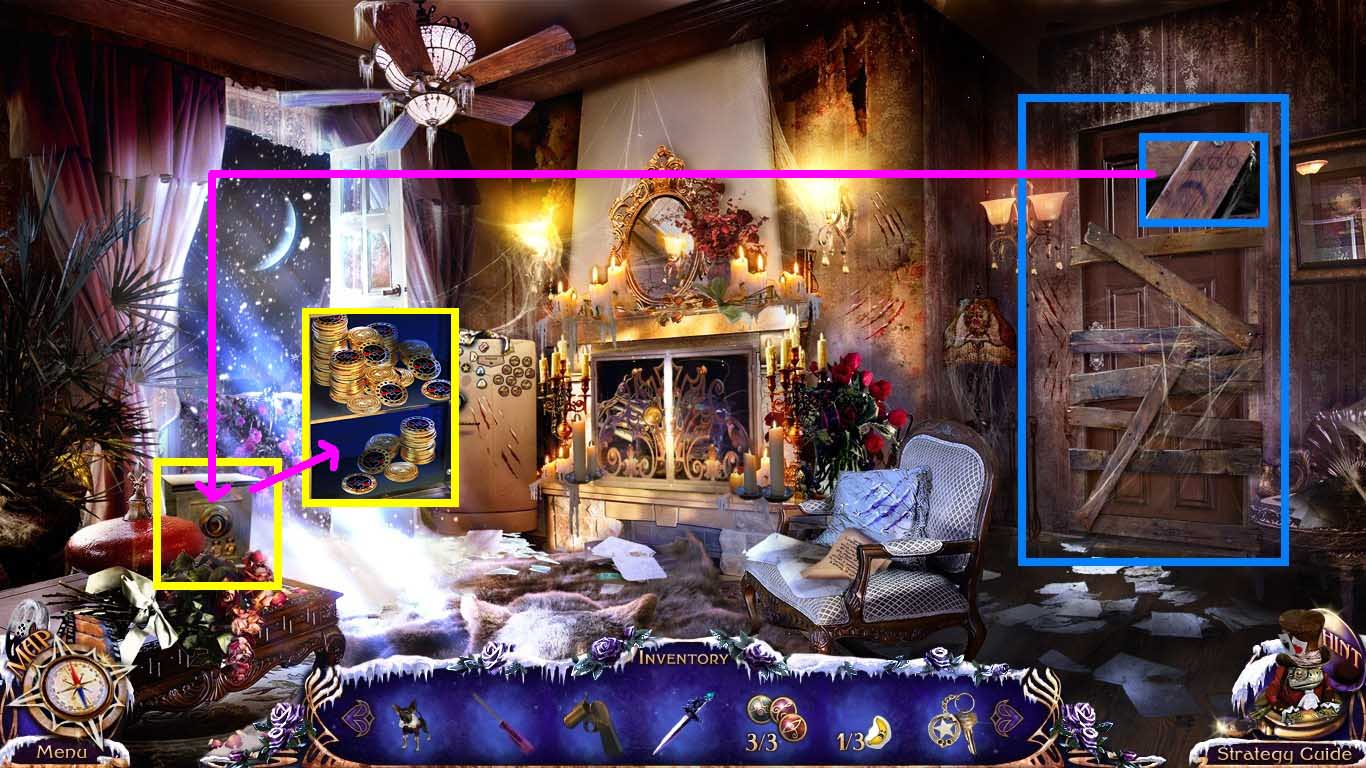
- Click the blocked door to zoom in.
- Notice the code.
- Click the safe to zoom in.
- Click the buttons to adjust the symbols.
- Press the code from the blocked door.
- Collect the 50 chips.
- Go to the side street.
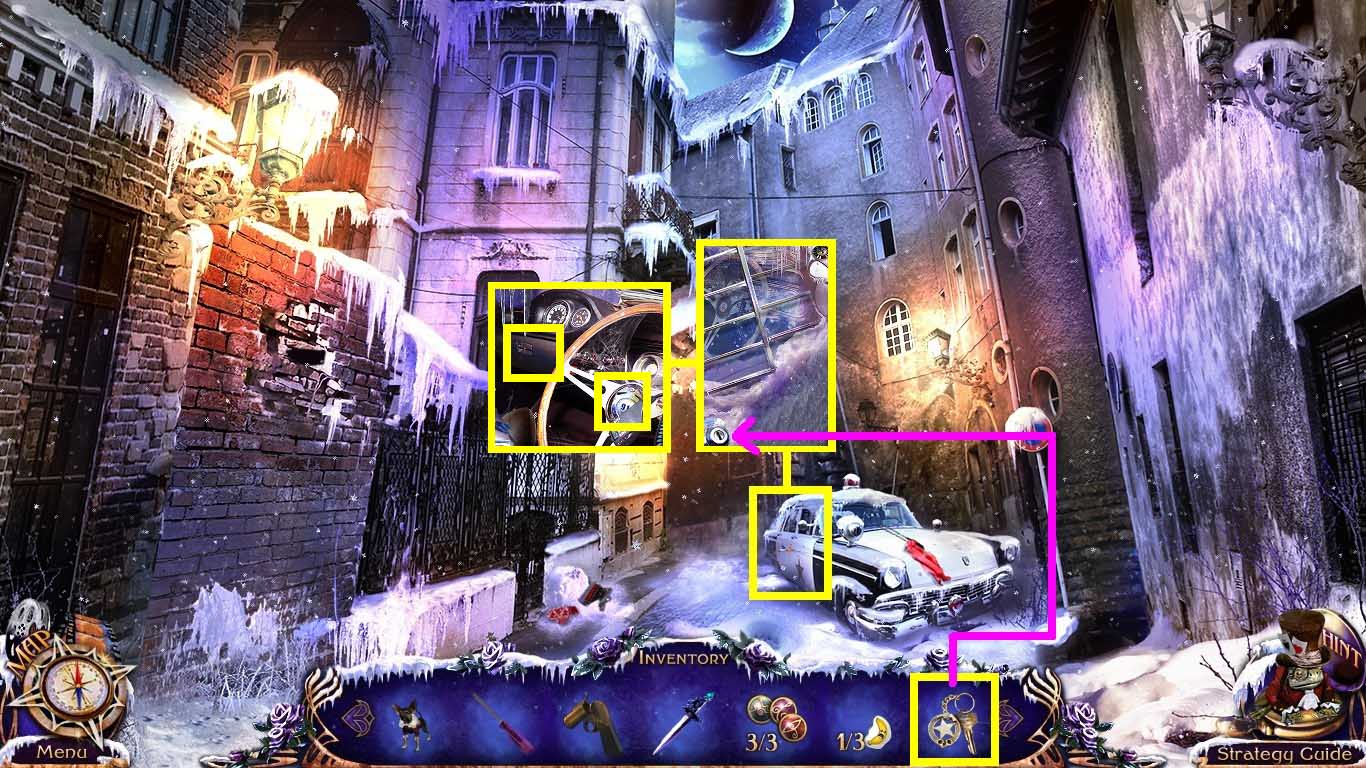
- Click the back of the police car to zoom in.
- Collect the chip.
- Insert the police car key into the lock and click it once.
- Go to the police car on the right.
- Collect the police badge and trigger a cut scene.
- Click the compartment to zoom in.
- Click it open and collect the 3 chips.
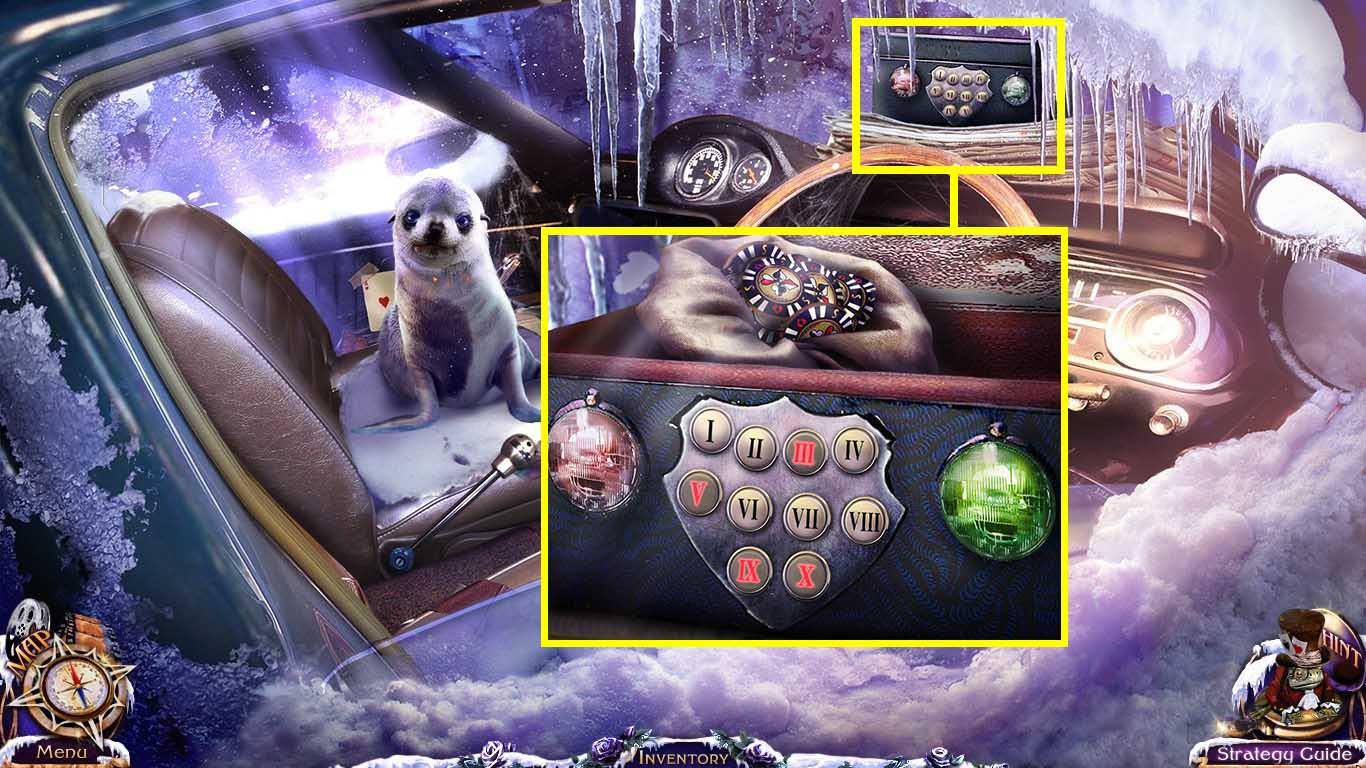
- Click the safe to zoom in.
- Press the code V – III – IX – X.
- Collect the 50 chips.
- Go to the fire station.
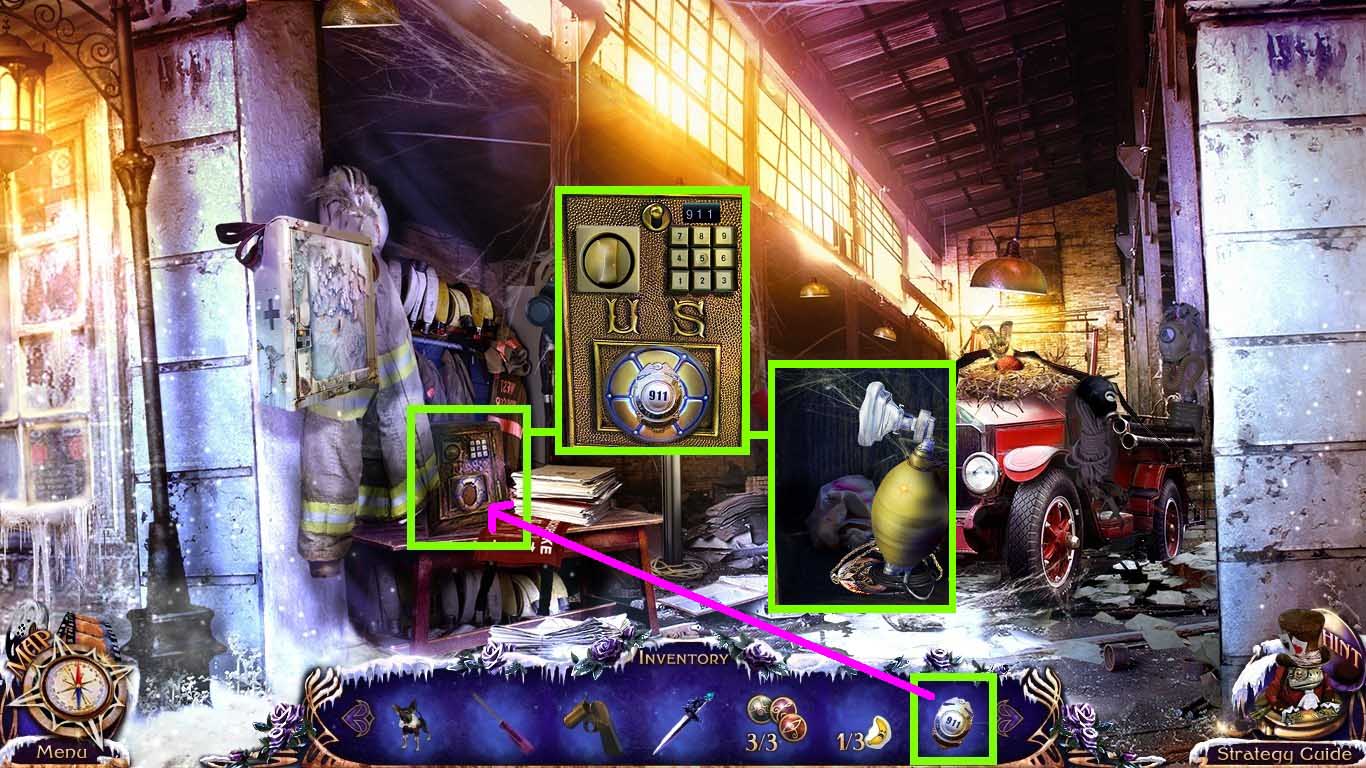
- Click the safe to zoom in.
- Insert the police badge into the slot.
- Press in the code 9 – 1 – 1.
- Click the switch to open the safe.
- Collect the oxygen mask, the wolf paw medallion, and the 50 chips behind the oxygen mask.
- Go to the crossroads.
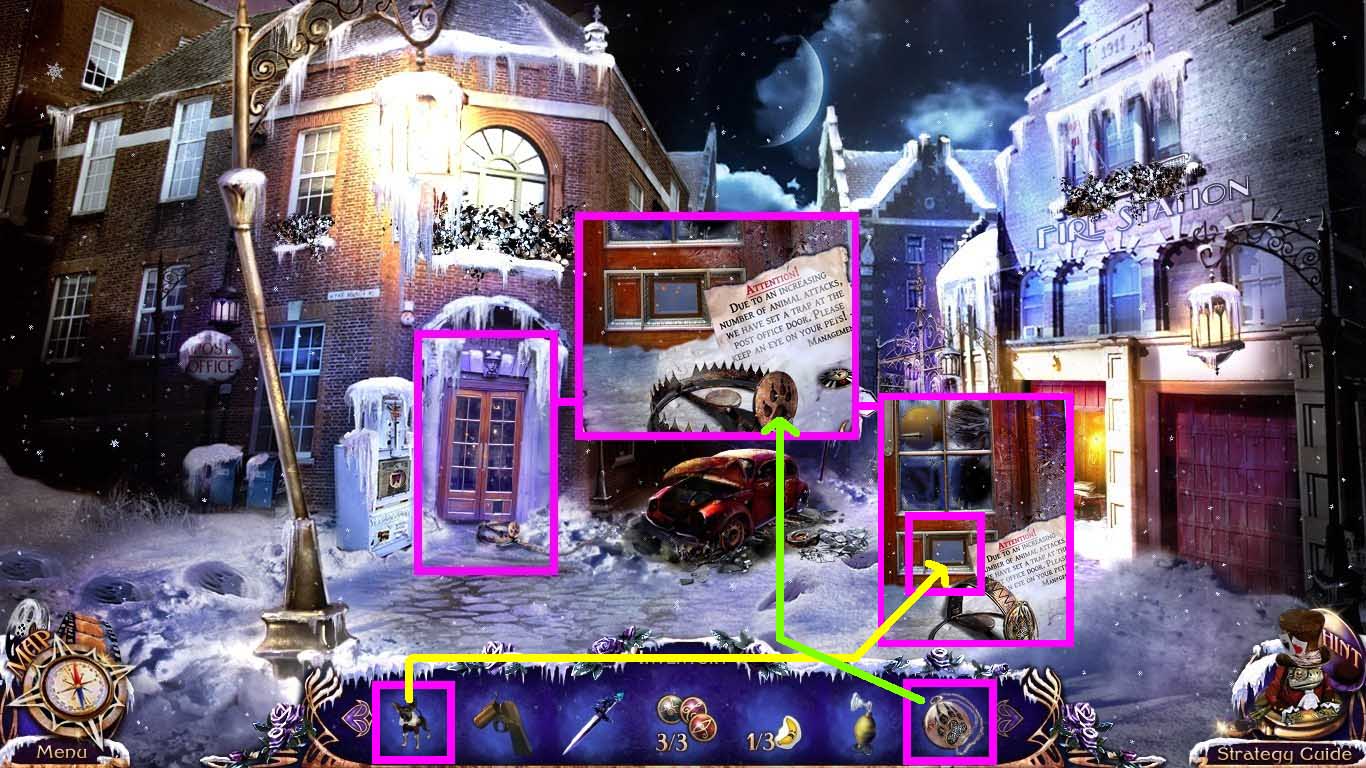
- Click the post office entrance to zoom in.
- Take the chip.
- Disarm the trap by using the wolf paw medallion.
- Send Elf through the doggie door.
- Go into the post office.
Comments will load when you reach this part of the walkthrough.