
Chapter One: Brightfield
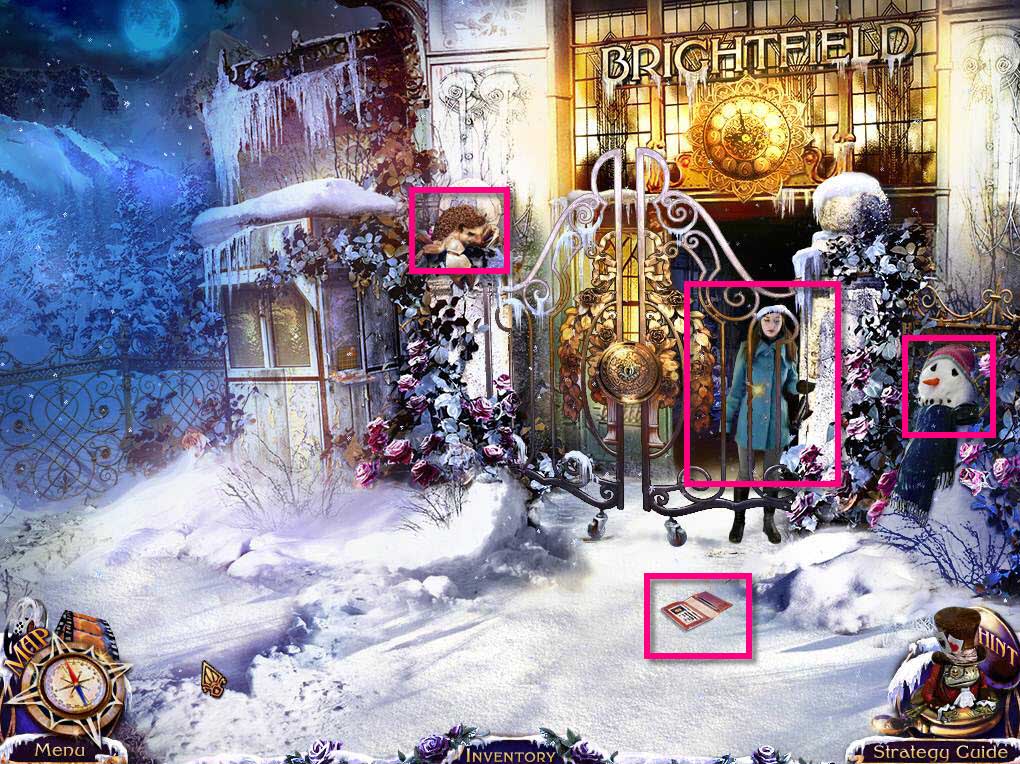
- Click on the girl to talk to her.
- She'll throw the key over the gate.
- Click on the ground to zoom in.
- Take the GATE KEY.
- Click on the snow man to zoom in.
- Take the 2 CHIPS.
- Click on the hedgehog creature by the door.
-
This is your first morphing creature - the Hedgecrab.
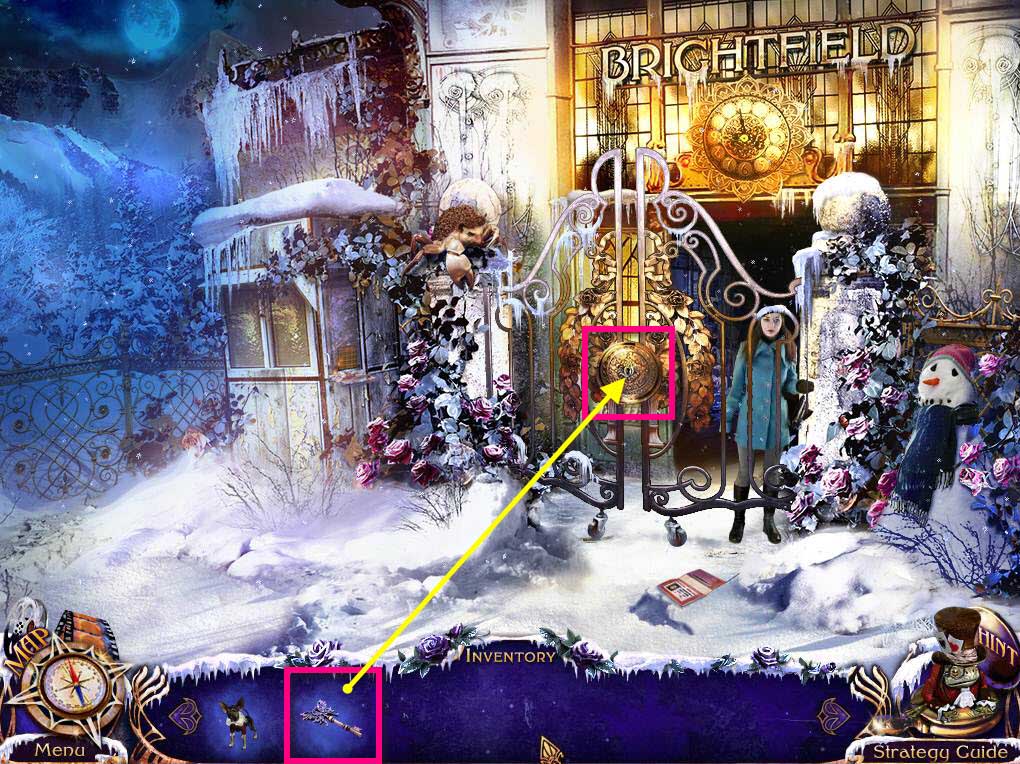
- Click on the gate to zoom in.
- Take the CHIP.
- Use the GATE KEY on the lock.
- Click the key to unlock the gate.
- Watch the cutscene.
- Attempt to enter the Waiting Room.
- Click on the closed gates to zoom in.
-
Take the PUZZLE PIECE.
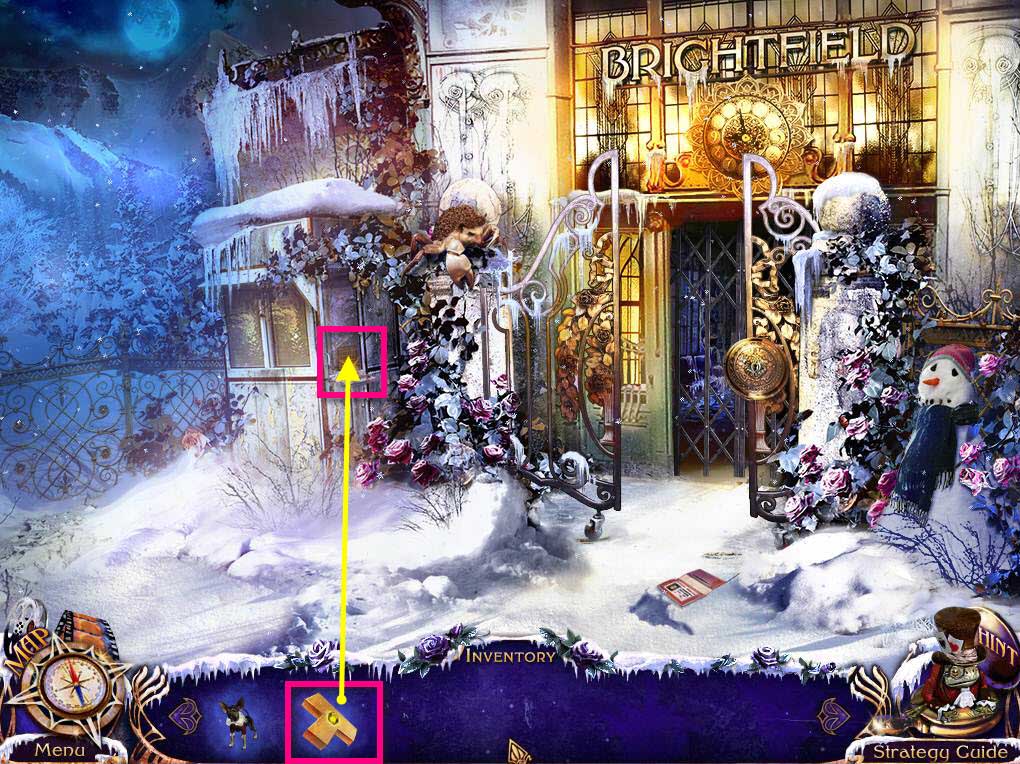
- Click on the window on the left to zoom in.
- Use the PUZZLE PIECE on the board.
-
This will start a mini-game.
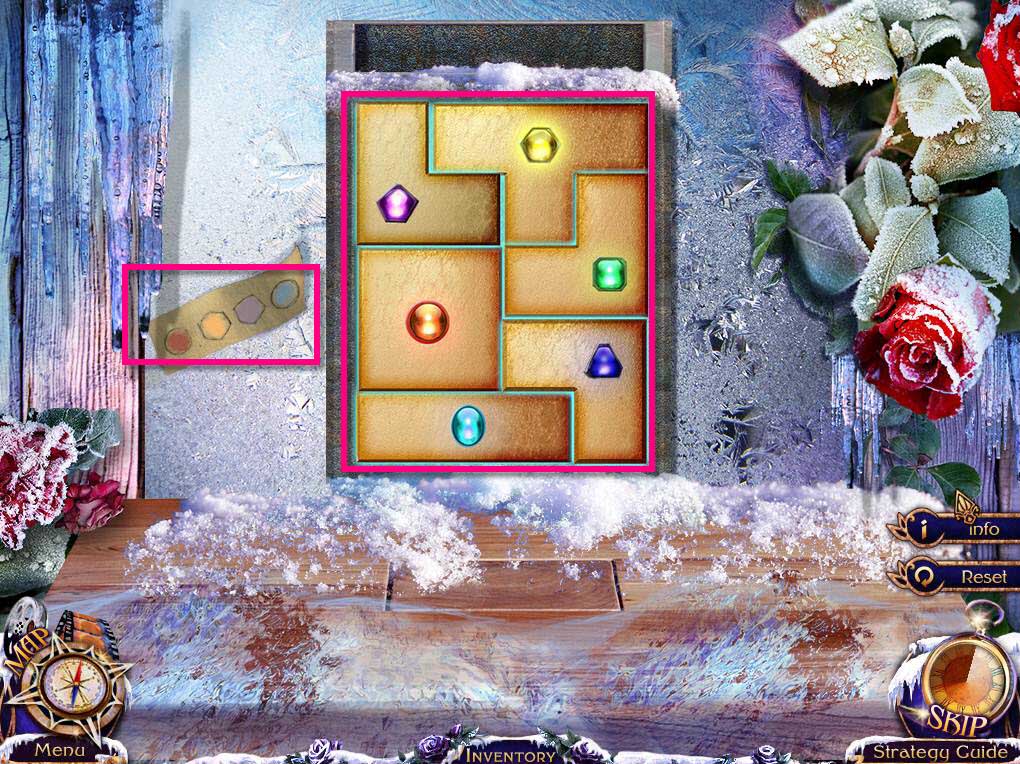
- The goal of the mini-game is to place all the puzzle pieces on the board and then select the colors based on the piece of paper on the left.
- See the screnshot for the solution. Press Orange, yellow, purple, and teal.
- Click on the sparkles that appear.
-
This will start a hidden object game.
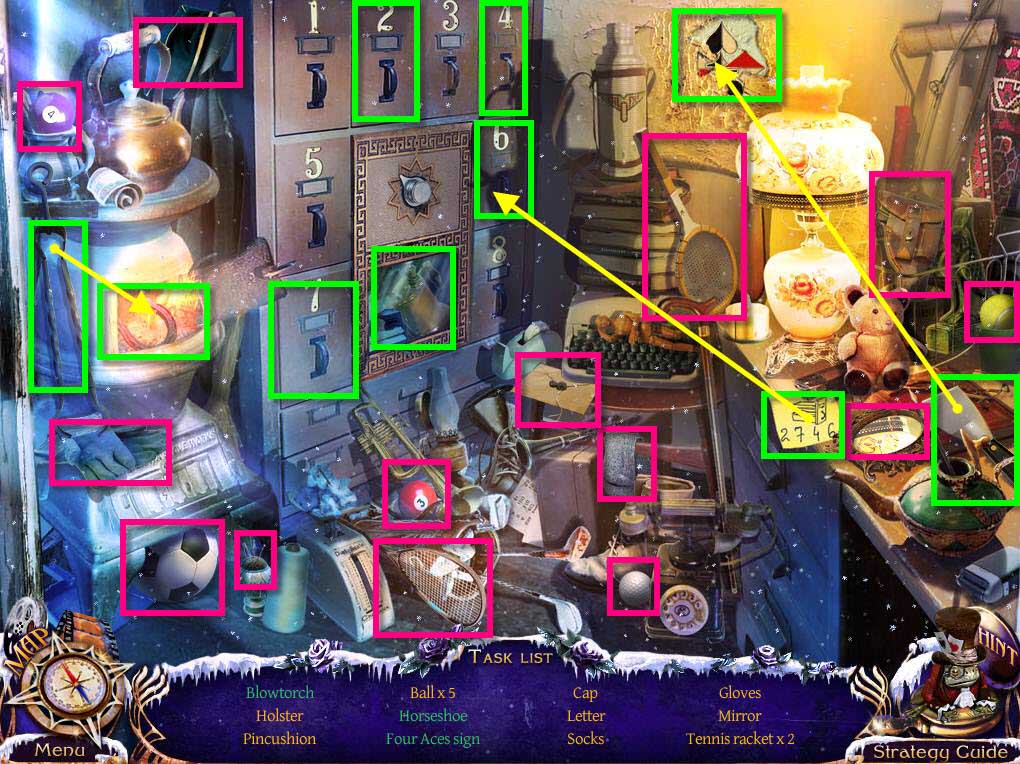
- Find all the items on the list.
- The items in green require an extra step.
- Use the tongs to get the horseshoe.
- Use the scraper to get the Four Aces Sign.
- Use the code of 2746 to open those drawers and get the Blowtorch.
-
You will receive the BLOWTORCH.
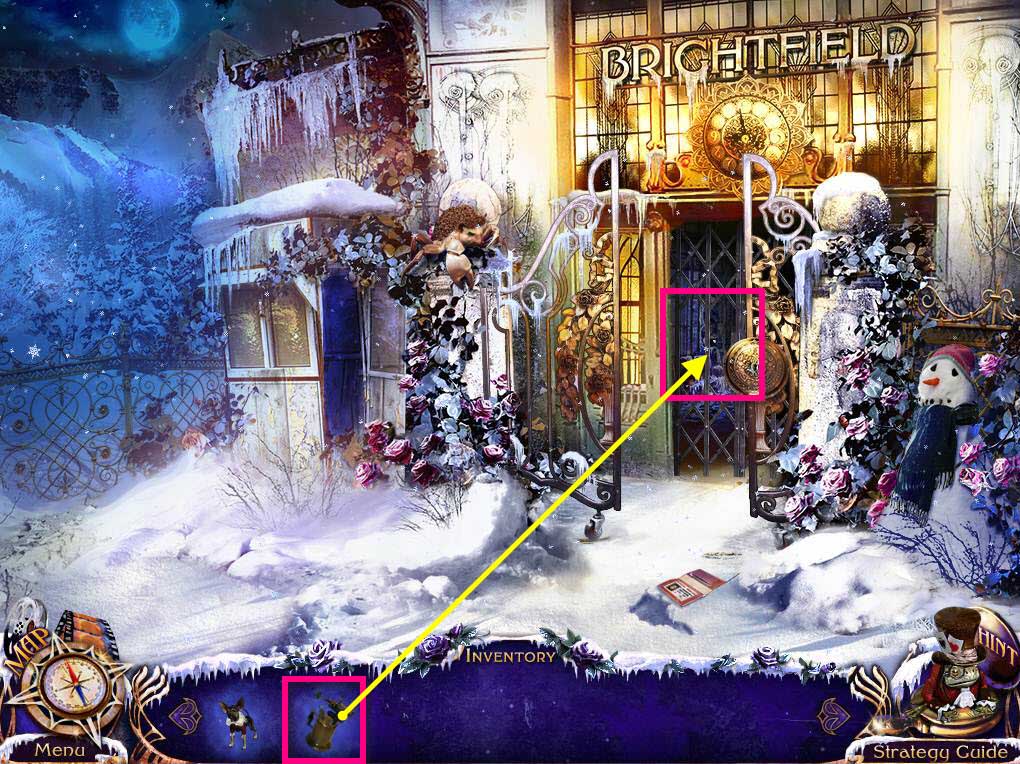
- Click on the gate to zoom in.
- Use the BLOWTORCH on the door.
-
Go into the Waiting Room.
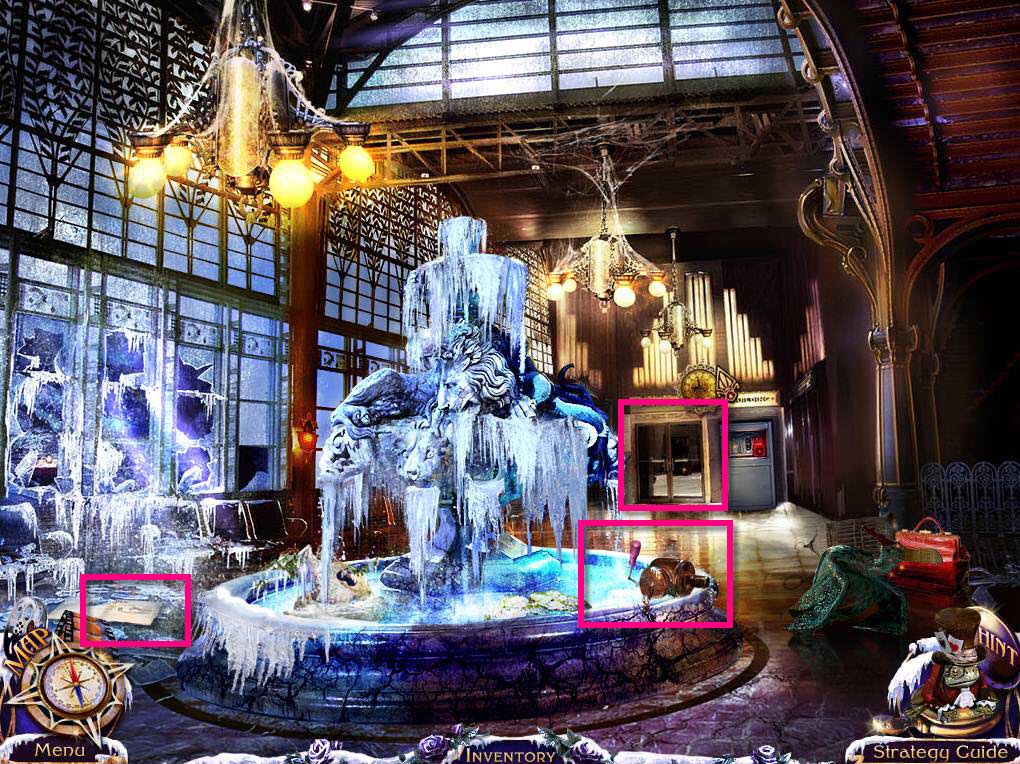
- Click on the fountain to zoom in.
- Take the CHIP and the SCREWDRIVER.
- Click on the paper on the left to zoom in and read about the animal attacks.
-
Click on the doors to watch the cutscene.
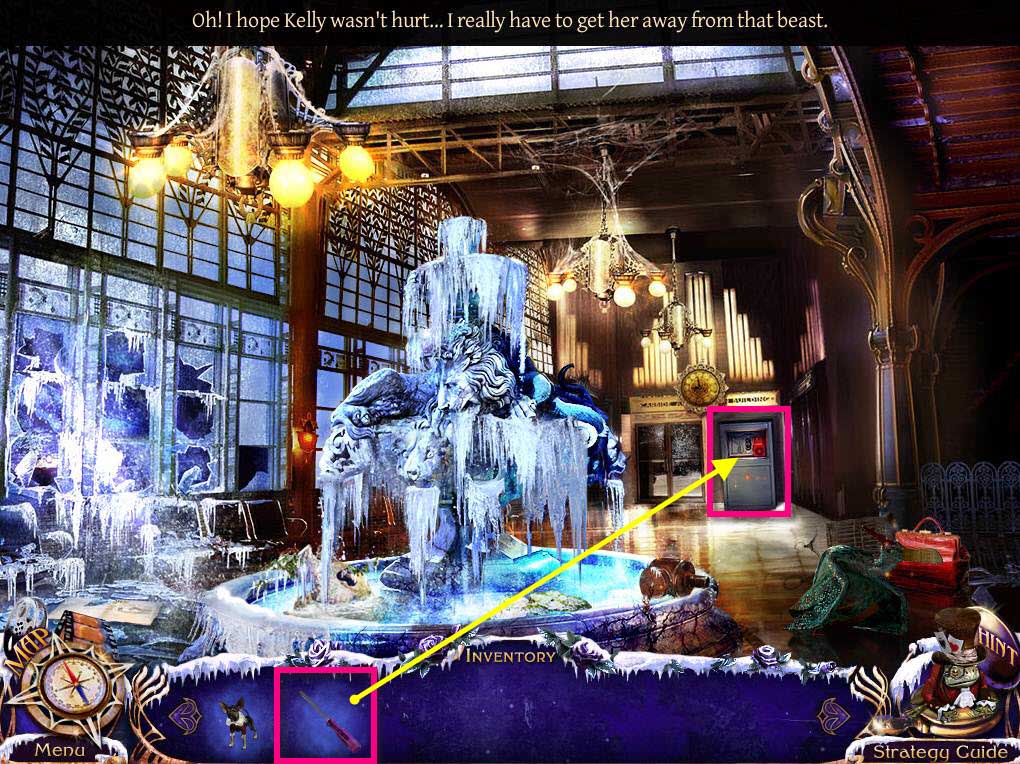
- Click on the alarm panel to zoom in.
- Take the CHIP.
- Use the SCREWDRIVER on the screws.
-
Take the LOADED FLARE GUN.
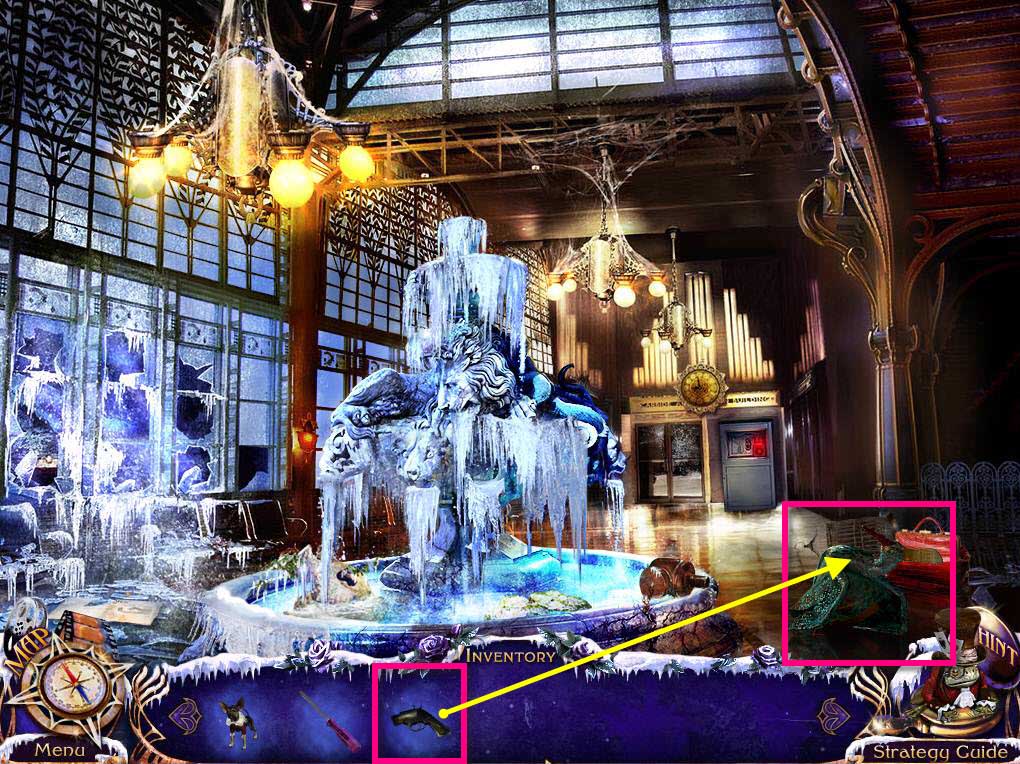
- Click on the bird creature to zoom in.
-
Use the LOADED FLARE GUN on the creature to scare it away.
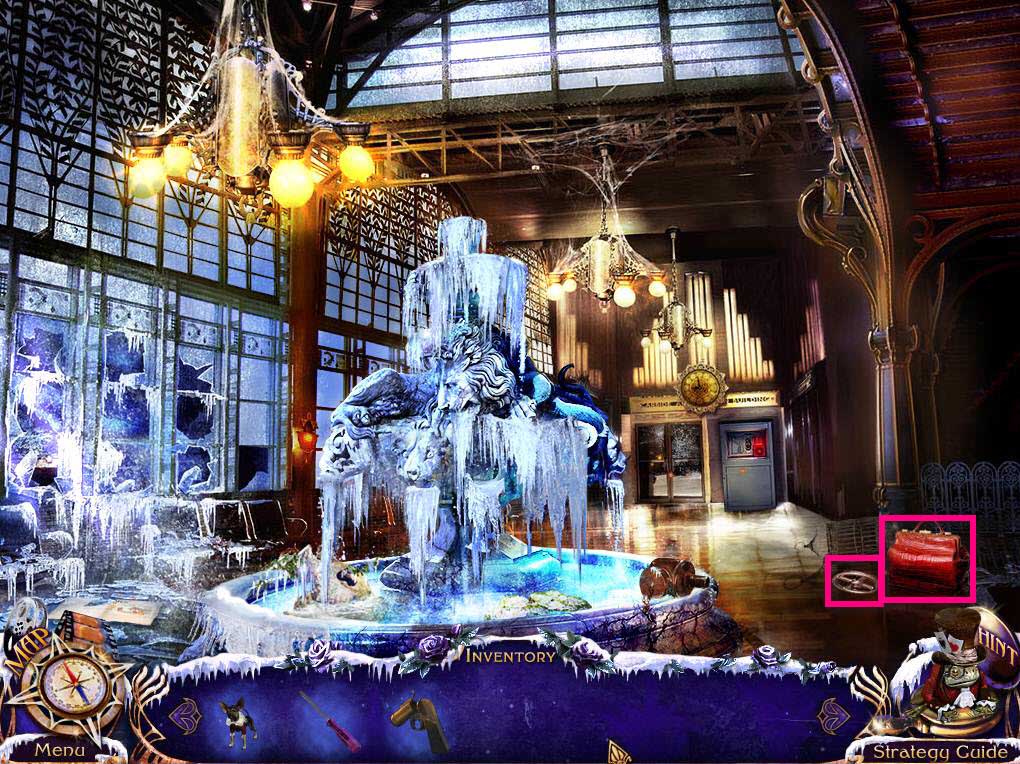
- Click on the bag to zoom in.
- Take the VALVE HANDLE.
- Click on the bag to open it.
- Take the CHIP and the POST OFFICE TRINKETS 1/3.
-
Click on the recorder to play the recording.
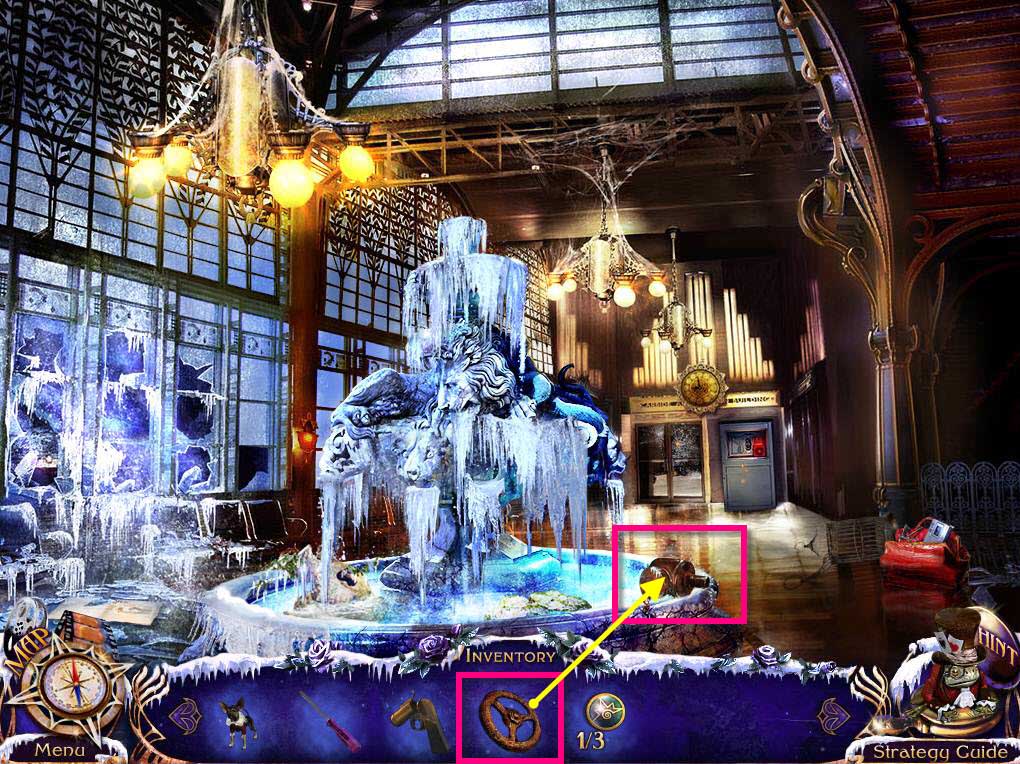
- Click on the fountain again to zoom in.
- Use the VALVE HANDLE on the temperature device.
- Click on the sparkles that appear.
-
This will start a hidden object game.
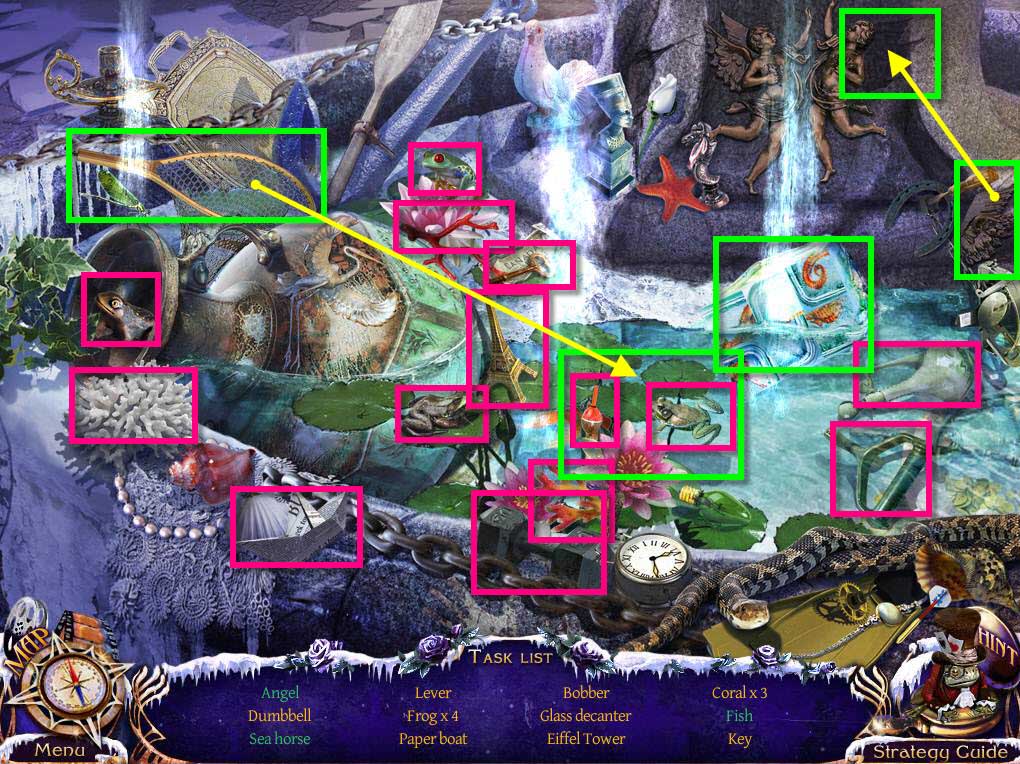
- Find all the items on the list.
- Use the net to catch the fish.
- Use the angel wings on the angel.
- Click on the tiles to put the image of the seahorse back together.
-
You will receive the SECURITY PANEL LEVER.
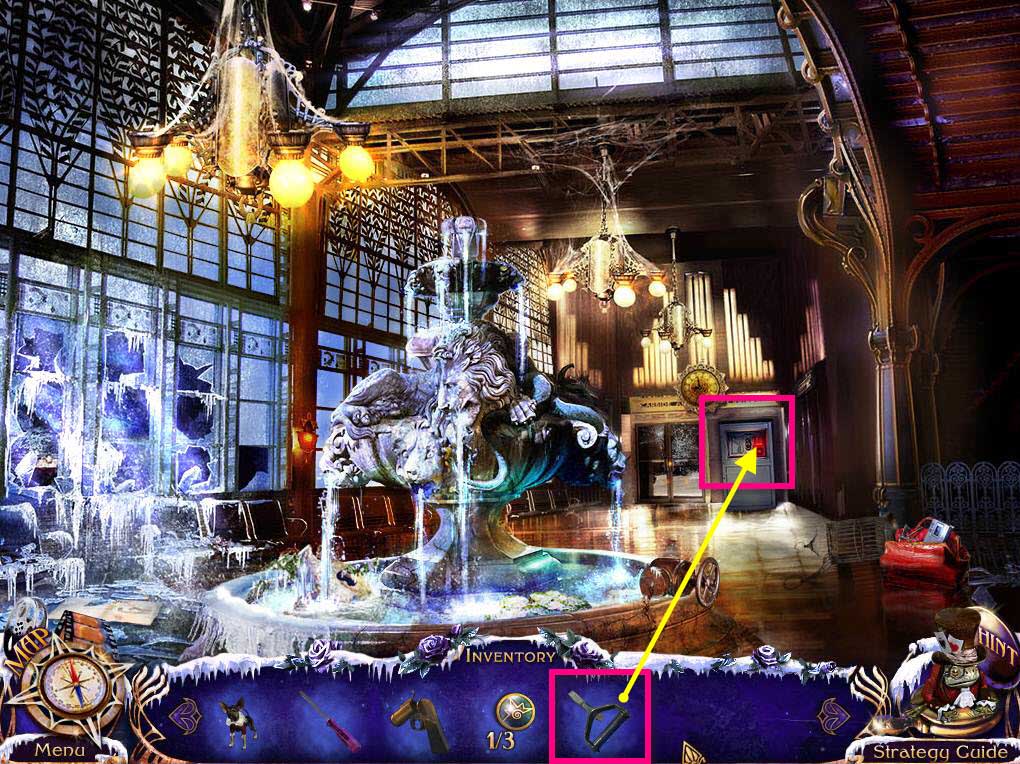
- Click on the security panel again to zoom in.
- Use the SECURITY PANEL LEVER on the missing lever area.
- Click to pull the lever.
-
Go forward to the Crossroads.
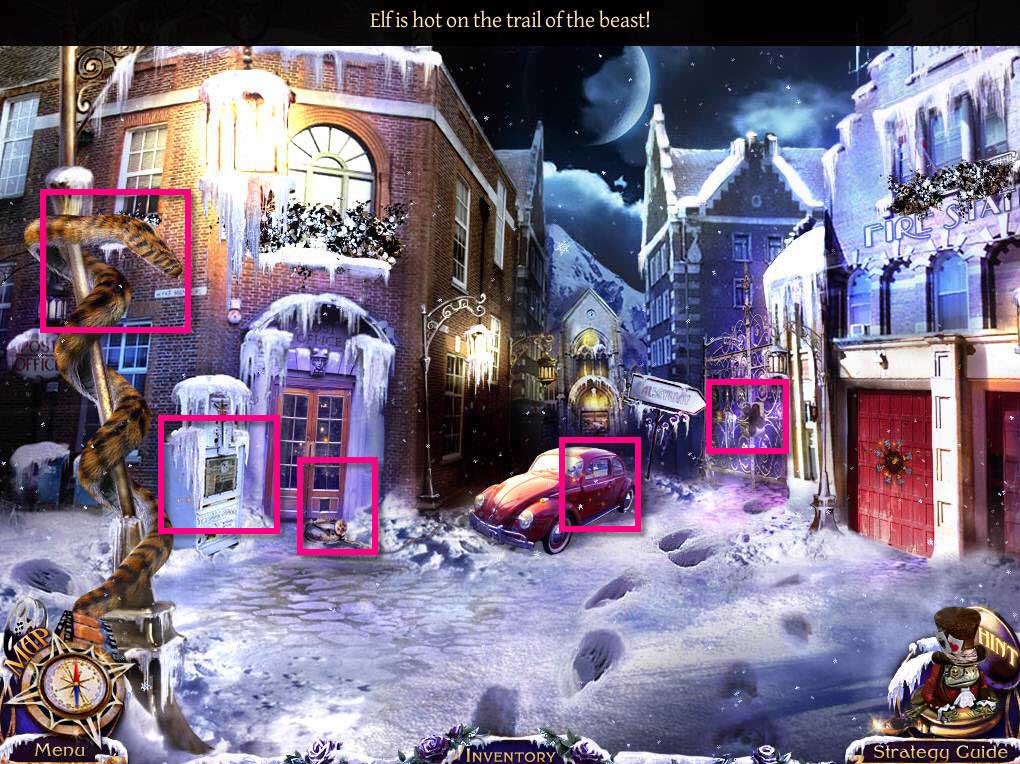
- Click on the newspaper stand on the left to zoom in.
- Take the CHIP.
- Take the PUZZLE PIECE 1/2.
- Click on the gates to zoom in.
- Take the PUZZLE PIECE 2/2.
- Click on the furry snake to get your second morphing animal the Pythiger.
- Click on the post office doors to zoom in.
- Take the CHIP.
- Click on the car door to zoom in.
-
Take the CHIP.
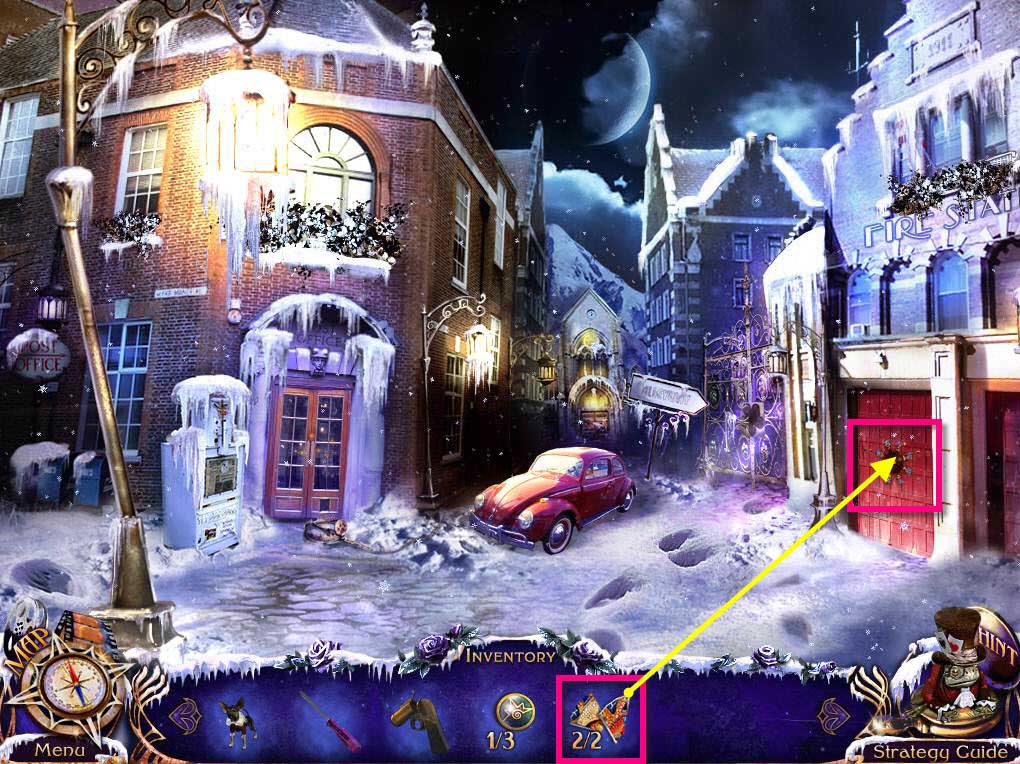
- Click on the fire station doors to zoom in.
- Use the 2 PUZZLE PIECE on the door.
-
This will start a puzzle.
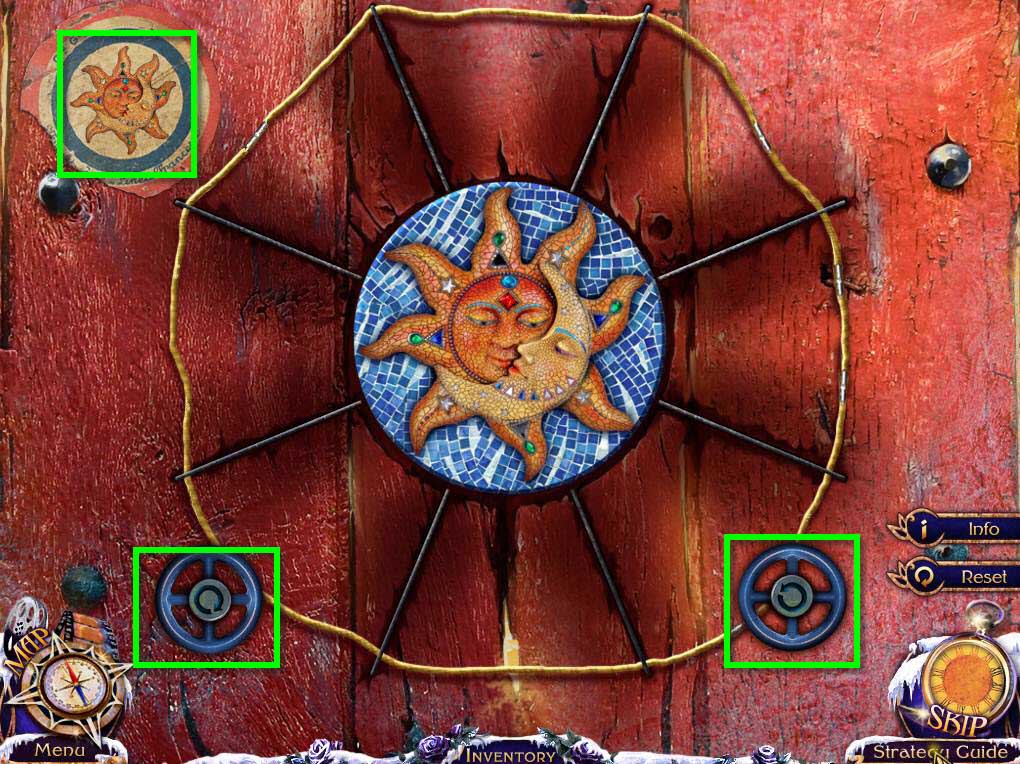
- The goal of the puzzle is to recreate the image on the top left.
- Click on the two valves at the bottom to turn the middle piece.
- Click and slide the pieces onto the spokes to place them in the correct area.
- Start with the inside pieces and work your way out. It helps to put the moon together first and then move on to the sun.
- See the screenshot above for the final solution.
-
Enter the fire station.
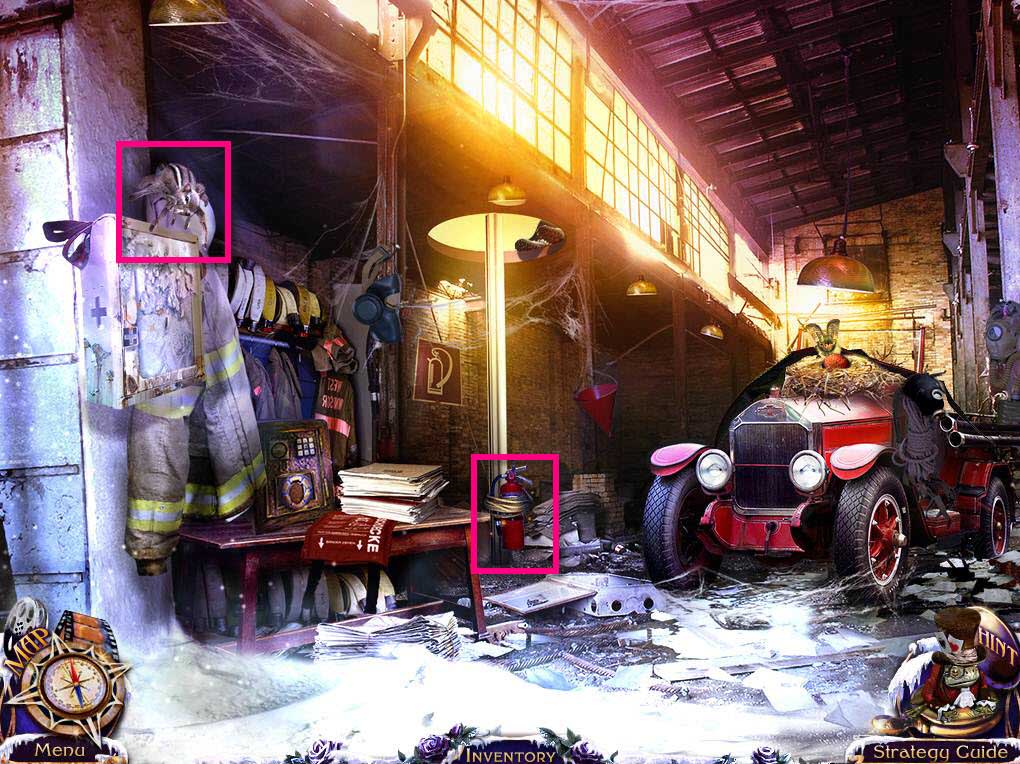
- Click to zoom in on the fire extinguisher.
- Take the CHIP.
- Take the GLASS CUTTER.
- Click on the chipmunk spider thing for your third morphing creature the Arachnunk.
-
Go back one screen.
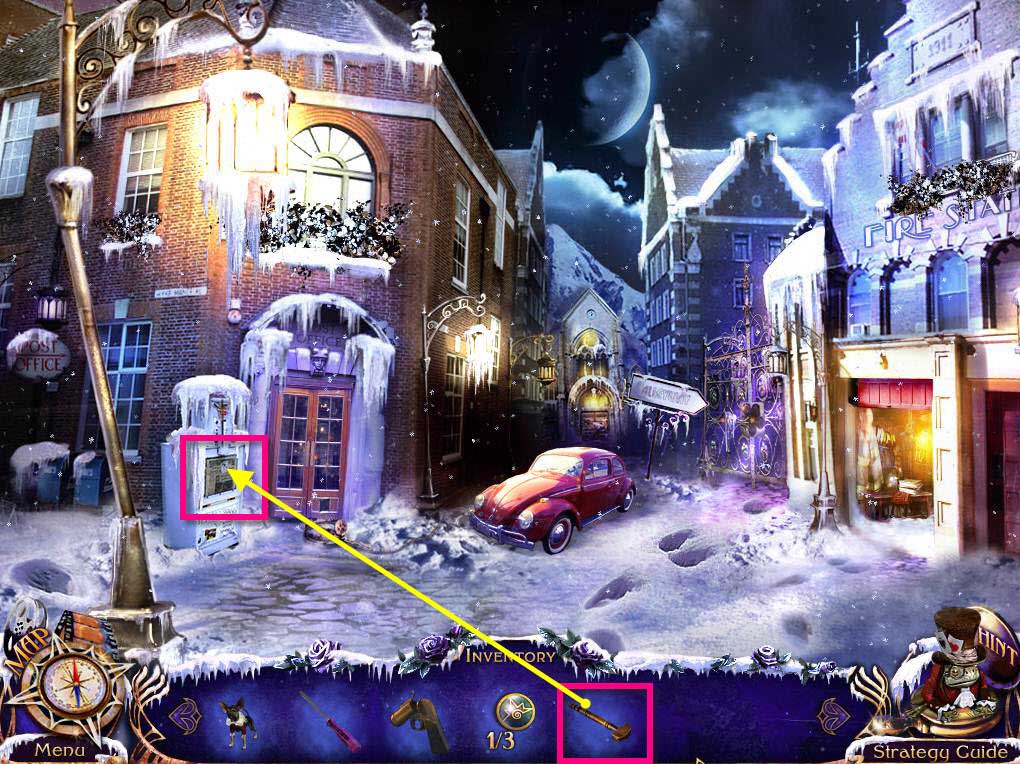
- Click on the newspaper stand to zoom in.
- Use the GLASS CUTTER on the glass.
- Watch the cutscene.
-
You will receive the FLOWER MEDALLION.
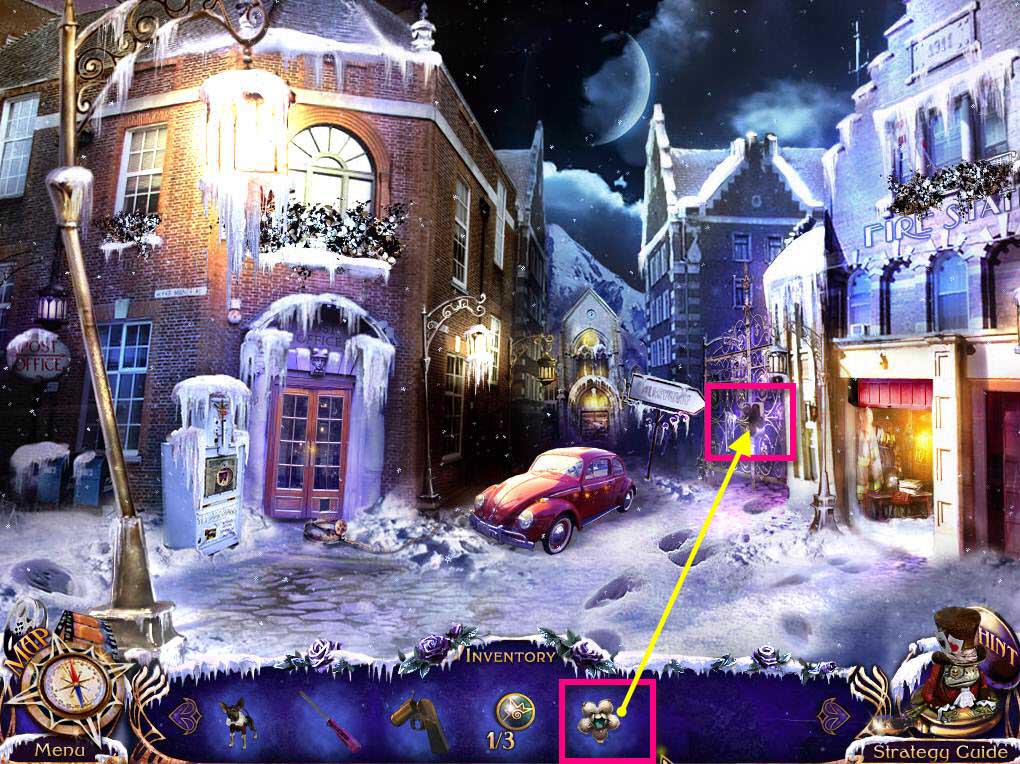
- Click on the gate to zoom in.
- Use the FLOWER MEDALLION on the gate.
-
Go to the Side Street.
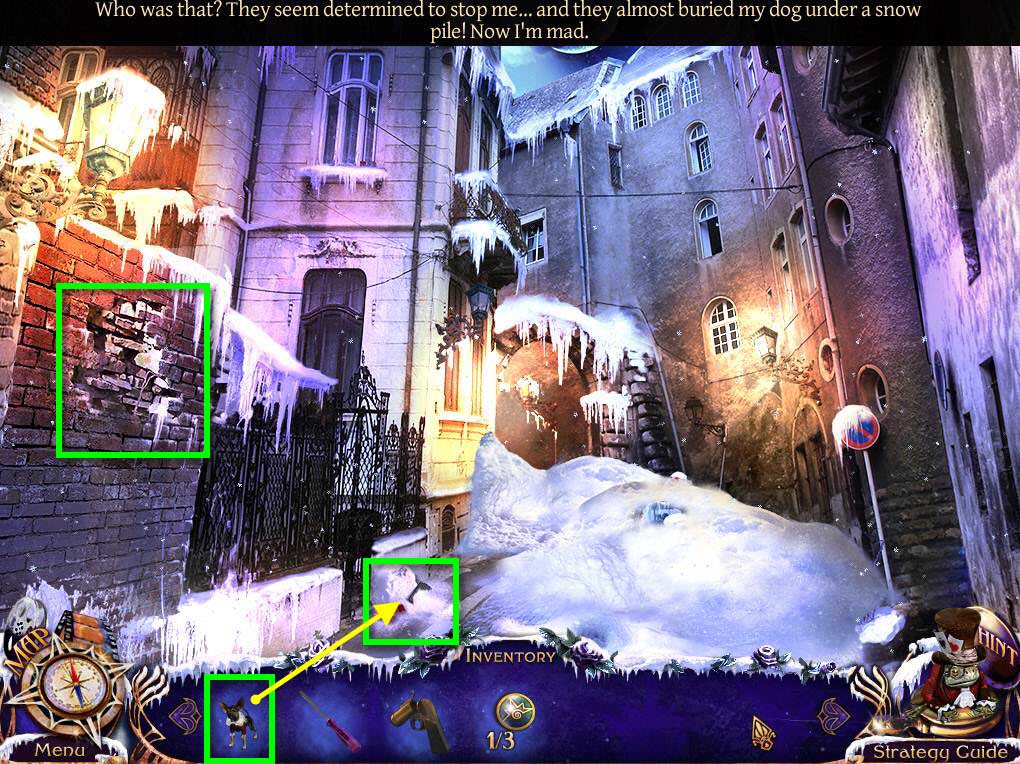
- Click on the brick wall on the left to zoom in.
- Click on the brick to remove it.
- Take the CHIP and the LETTER "K" MEDALLION.
- Use your dog ELF on the snow pile by the gate.
- Use the LETTER "K" MEDALLION on the purse to open it.
- Take the CHIP and KELLY'S CAR KEY.
- Click on the letters and watch a cutscene.
-
Go back one screen.
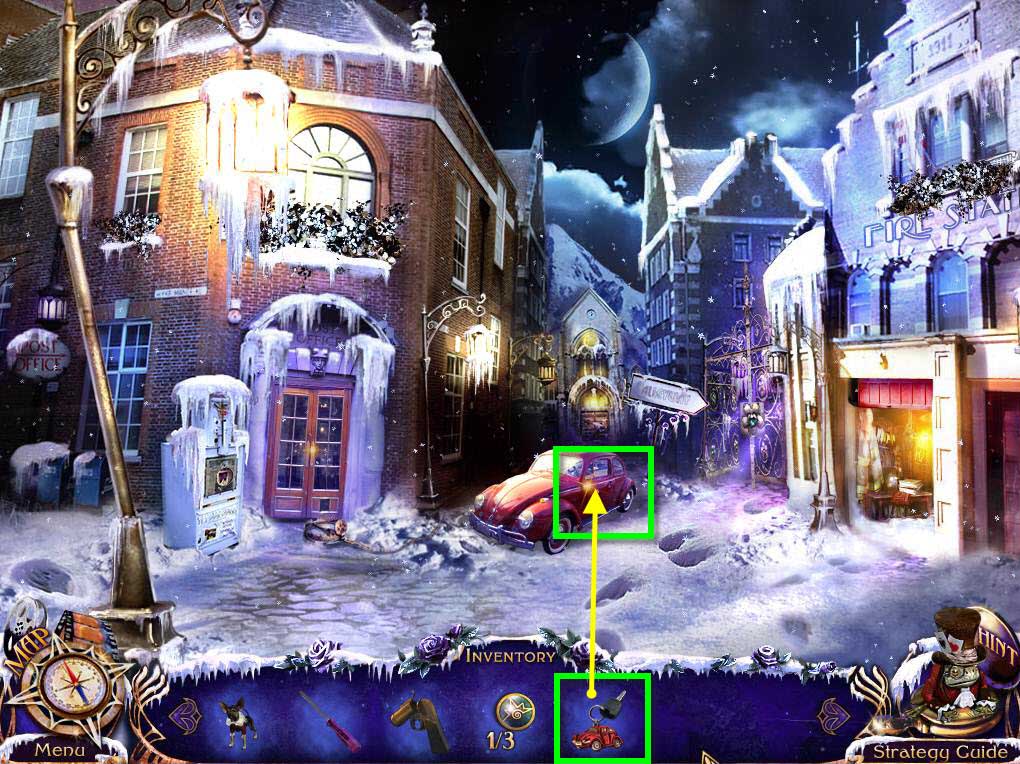
- Click on the car to zoom in.
- Use KELLY'S CAR KEY on the lock.
- Click the key to open the door.
- Watch the cutscene.
- Click on the car to zoom in again.
- Take the GLASS SHARD.
-
Go into the fire station.
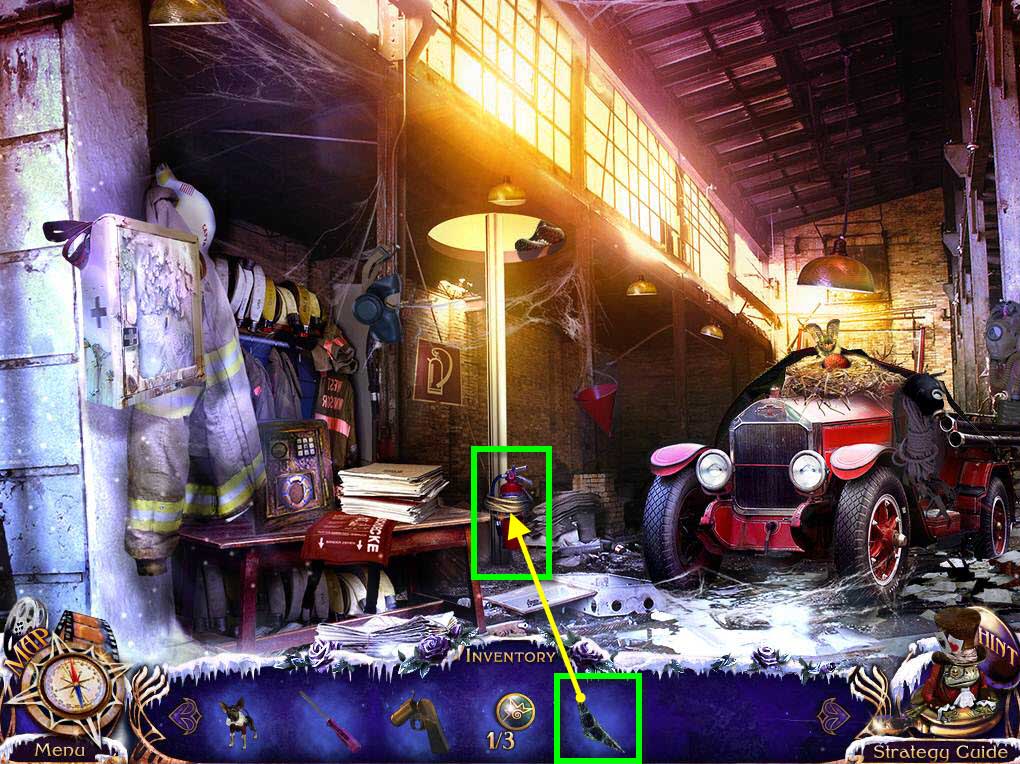
- Click on the fire extinguisher to zoom in.
- Use the GLASS SHARD on the ropes 3 times.
- Take the EXTINGUISHER.
-
Go back outside.
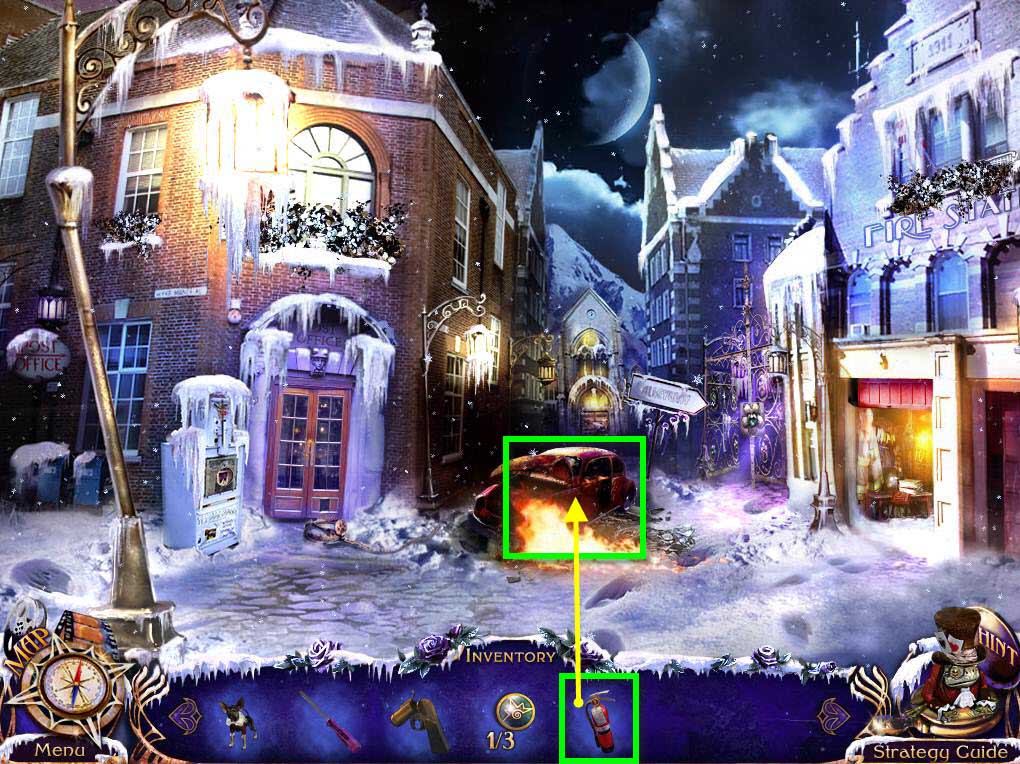
- Click on the car to zoom in.
- Use the EXTINGUISHER on the fire to put it out.
- Take the CHIP and the SHOVEL.
-
Go back to the side street.
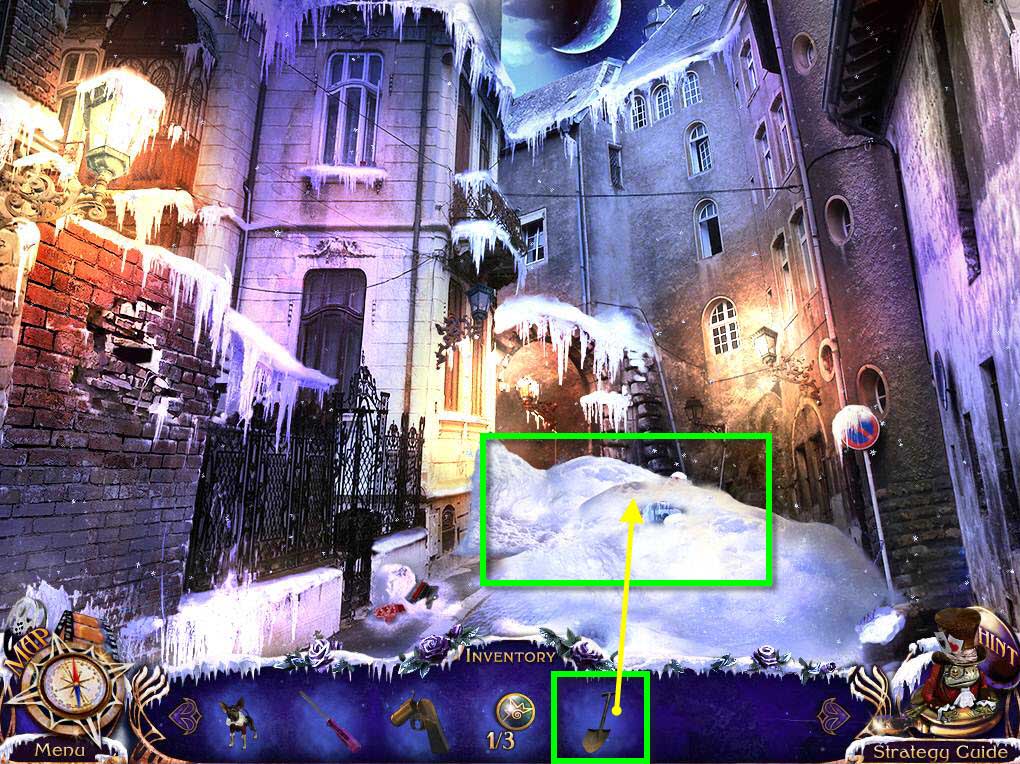
-
Use the SHOVEL on the snow three times to clear it.
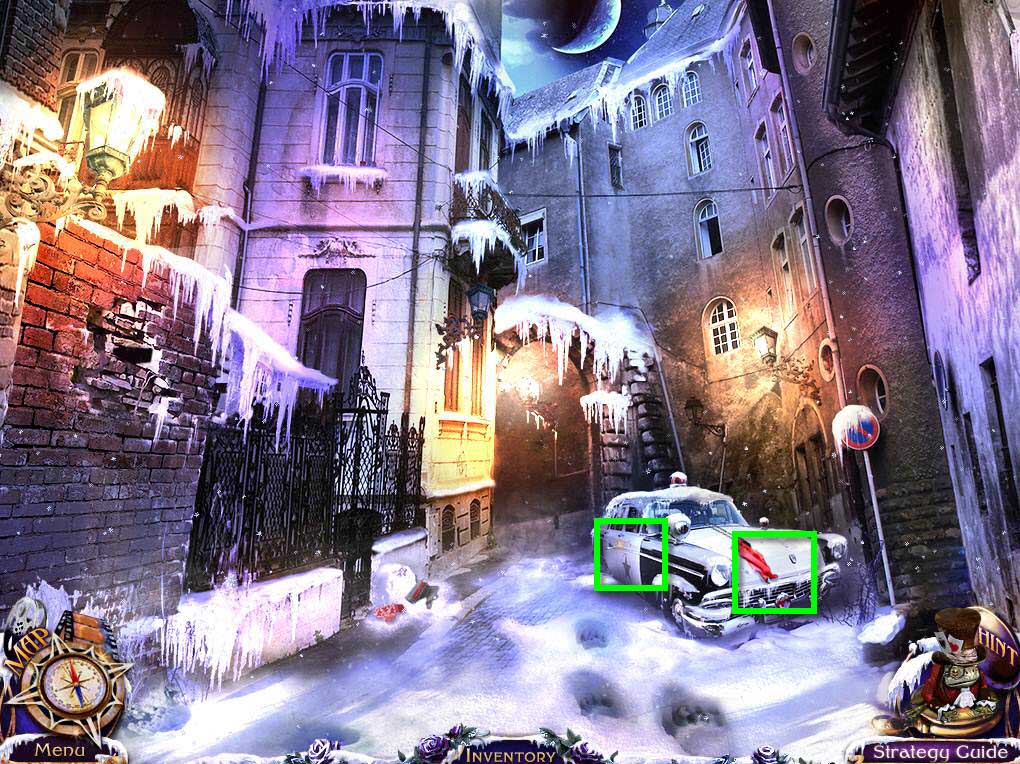
- Once the snow is cleared, click on the front of the cop car to zoom in.
- Take the CHIP and the FRIDGE MAGNET 1/3.
- Click on the cop car door to zoom in.
- Take the CHIP.
- Move forward to the Dead End.
Comments will load when you reach this part of the walkthrough.