

Chapter Five: Derek
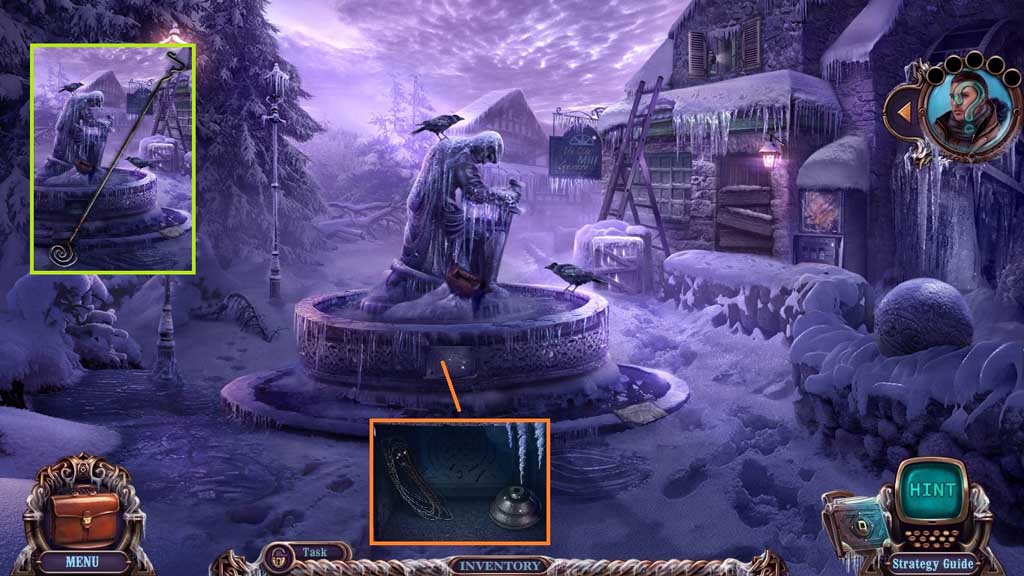
- Select the furniture wrench to remove the cover.
- Collect the wire and the 1st glass cutter part.
- Attach the wire and the nippers; click the wire 5x’s to collect the lock pick.
- Move to the Pharmacy.
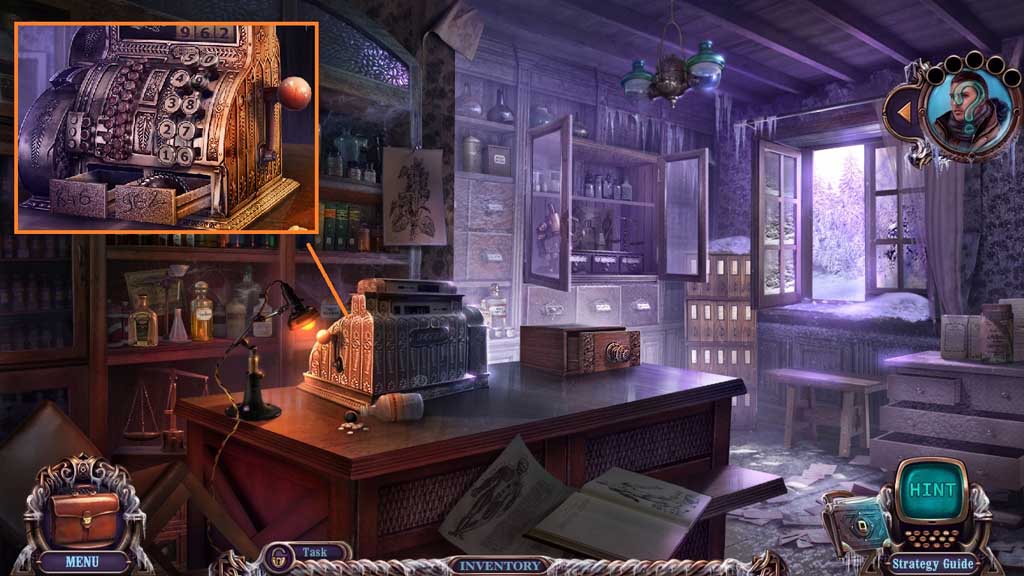
- Attach the register buttons.
- Click 9 – 6 – 2 and click the handle.
- Collect the ring.
- Move to Derek’s House.
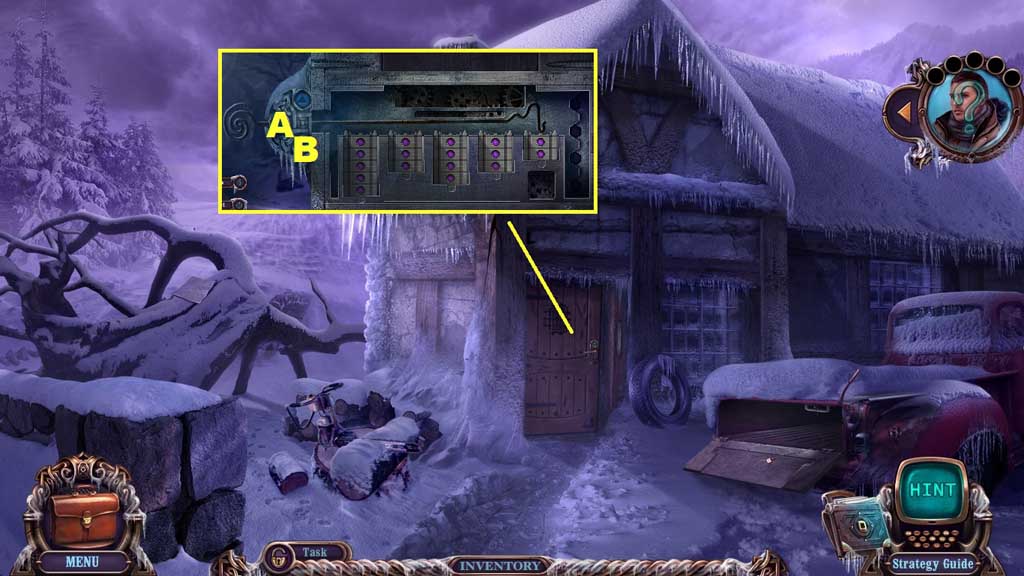
- Select the lock pick and click the handle to open the lock.
- Use the following sequence: B – A – B x 2 – A – B x 3 – A – B x 3 – A – B x 4 – A
- Move ahead.
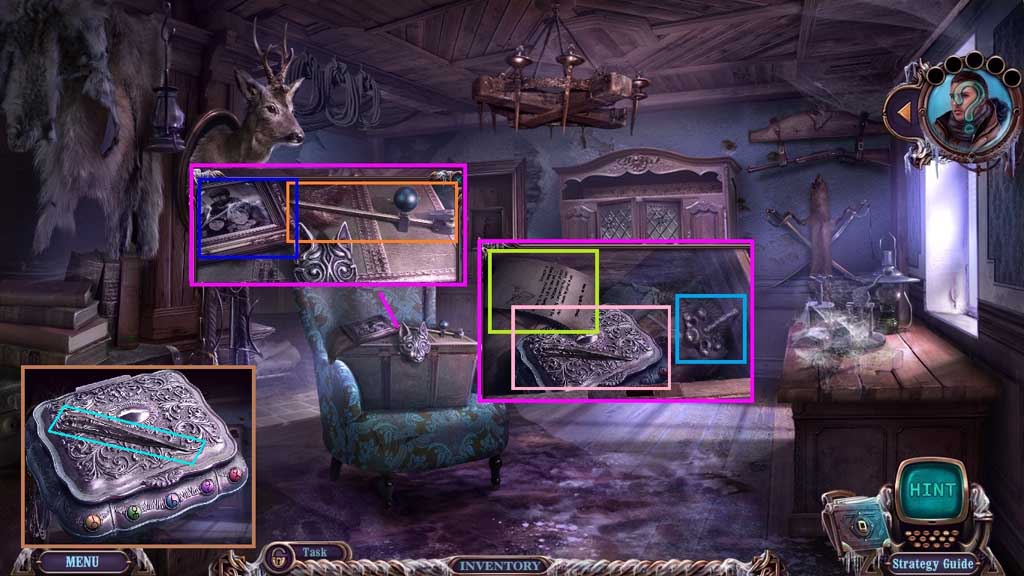
- Collect the glass cutter base.
- Click the glass; collect the family picture.
- Place the ring and click it once.
- Collect the library entry box and the valve.
- Examine the box; collect the tweezers.
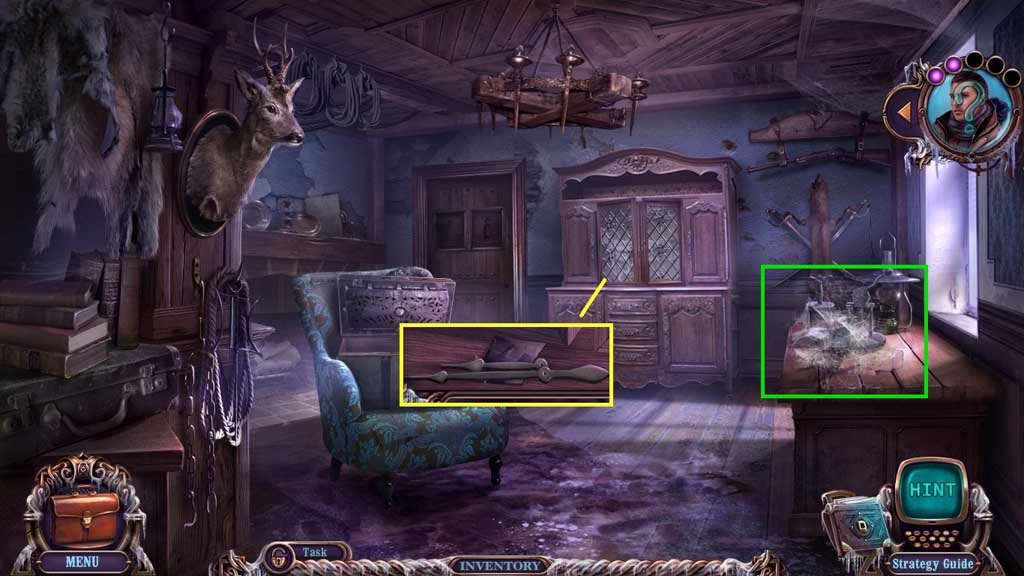
- Collect the clock hands.
- Select the brush to remove the cobwebs.
- Move to the Sitting Room.
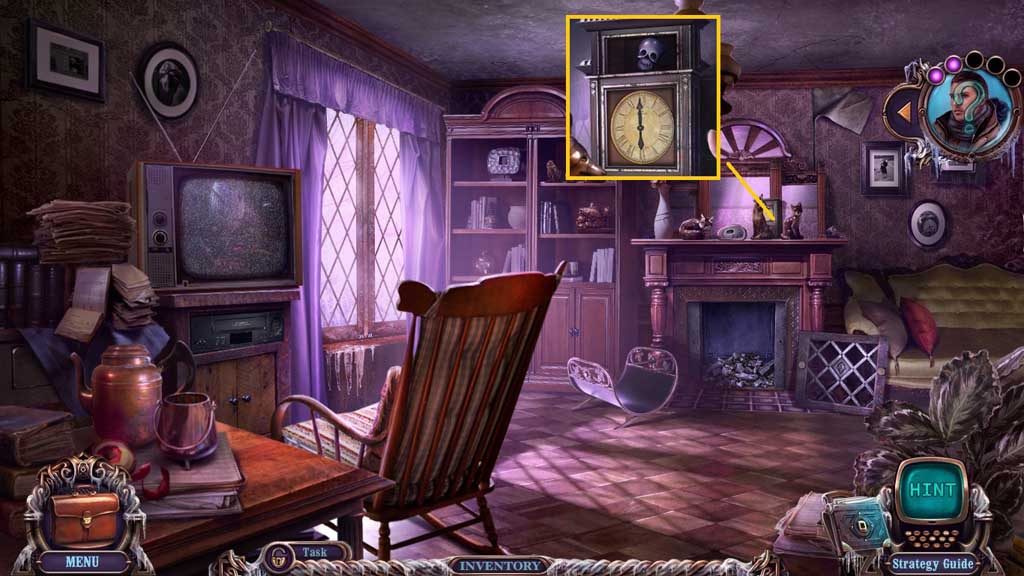
- Attach the clock hands and click the face.
- Collect the skull.
- Move to the Staircase.
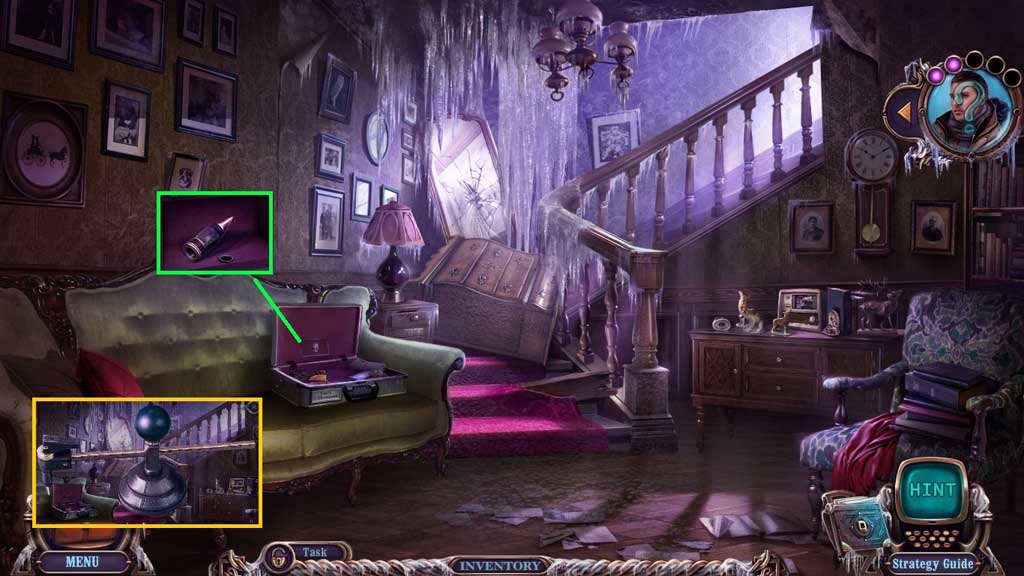
- Insert the skull and collect the 2nd glass cutter part.
- Attach the glass cutter base and the 2 glass cutter parts; collect the glass cutter.
- Move to the Shop.
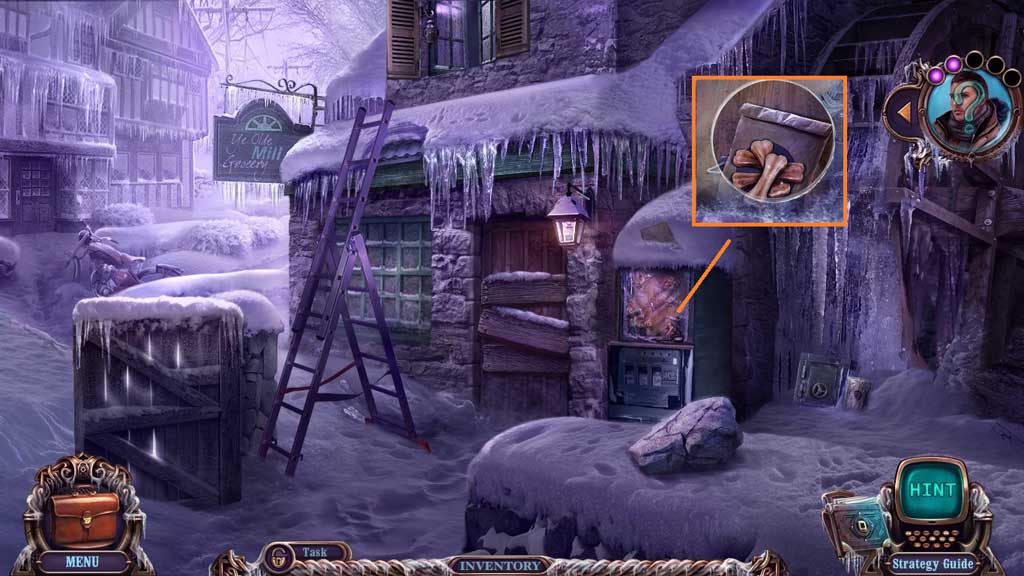
- Select the glass cutter to collect the dog food.
- Move down once and ahead once more.
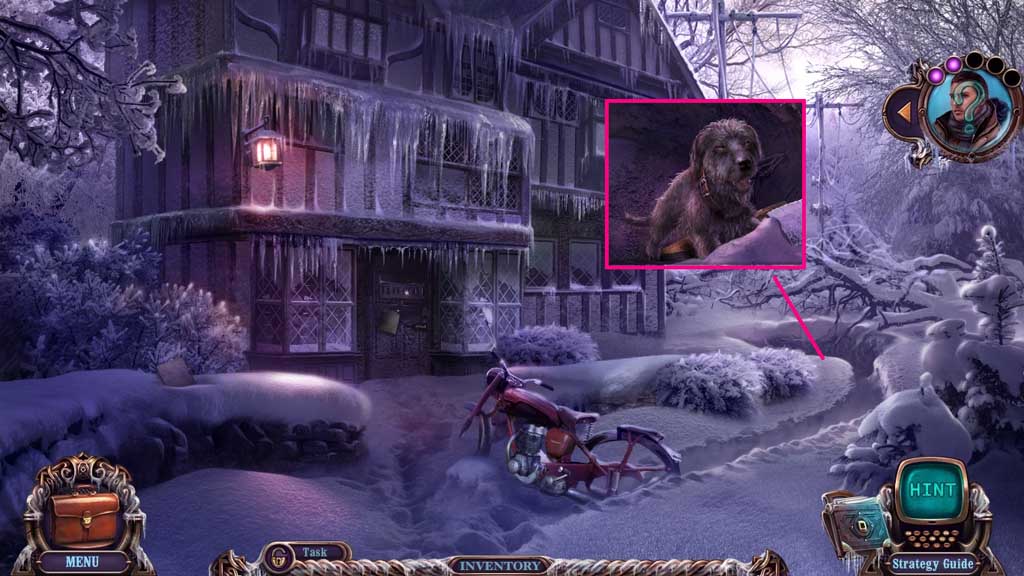
- Give the dog the dog food.
- Lay the board and collect Thunder.
- Move to the Old Tree.
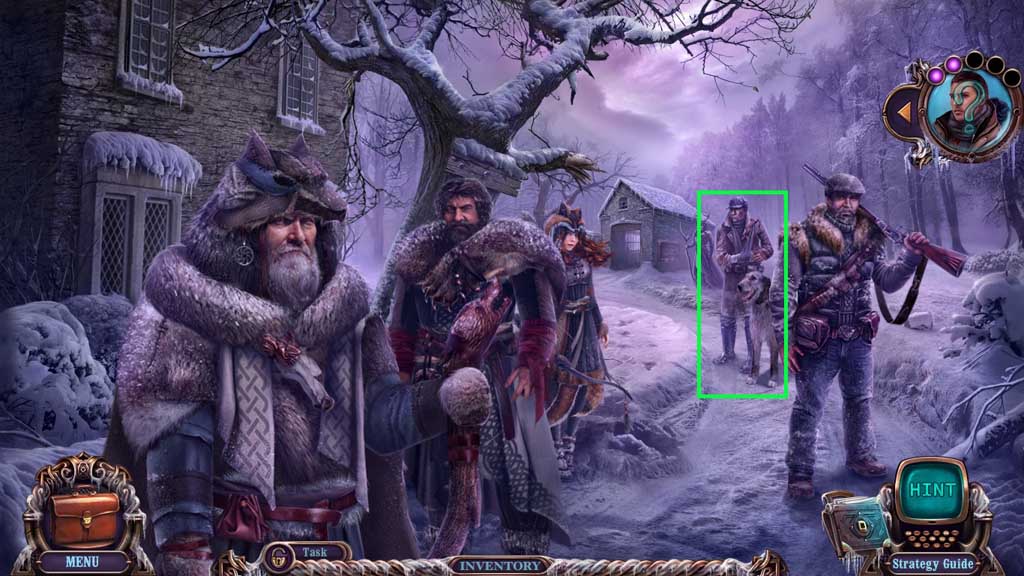
- Give Thunder to Ted.
- Collect the handsaw.
- Move to the Square.
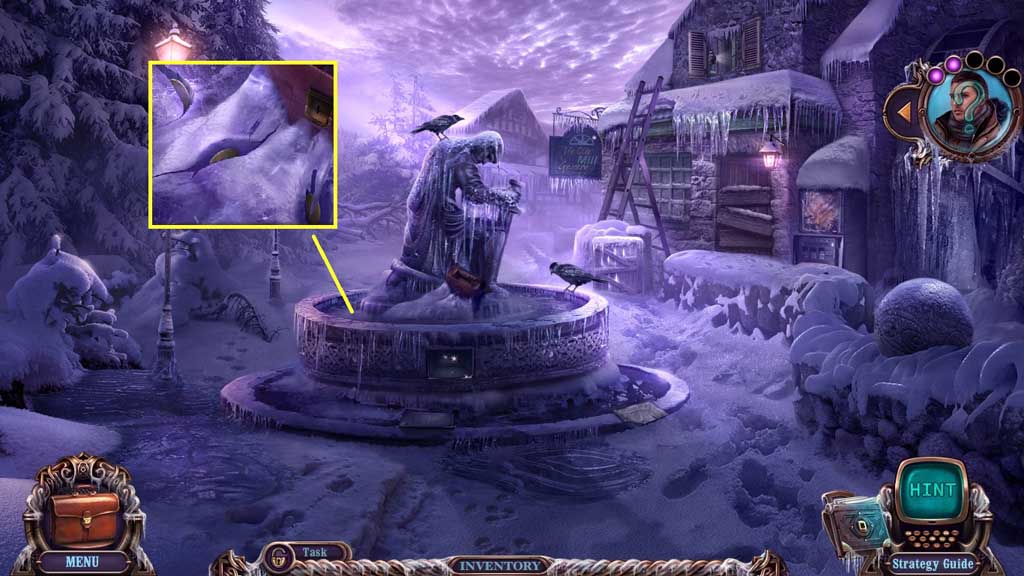
- Select the tweezers to collect the 3 brass circles.
- Move to Derek’s House.
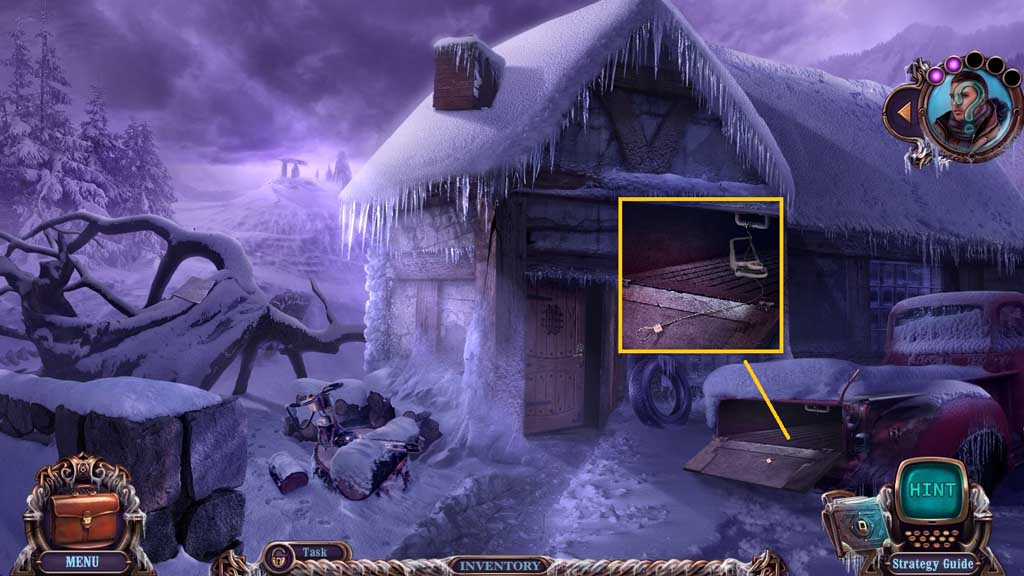
- Select the handsaw to collect the cable.
- Move ahead.
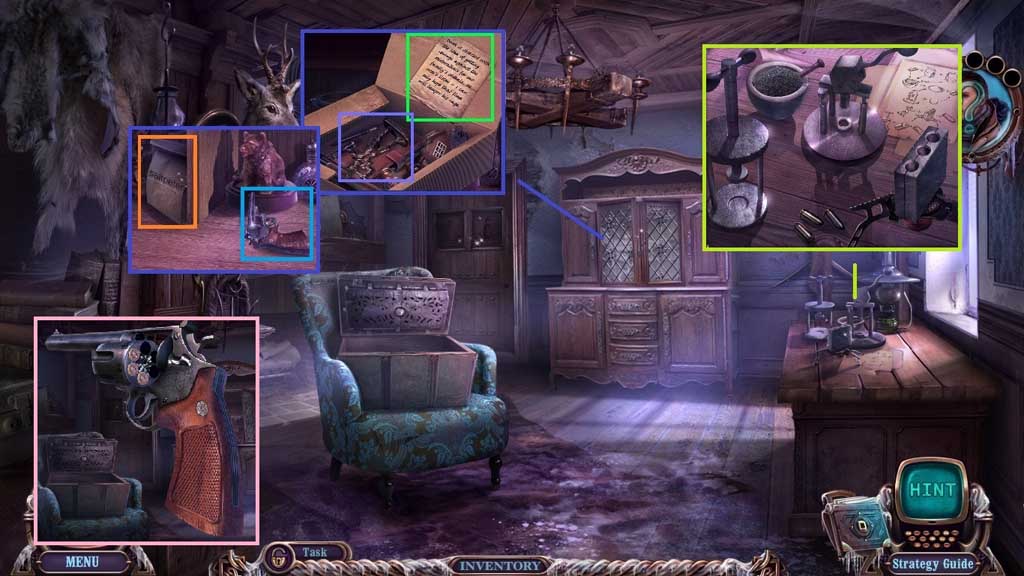
- Select the cables to place onto the cabinet doors.
- Click the cable and open the doors.
- Click the box; collect the lead toy and Samuel’s notes.
- Collect the saltpeter and the unloaded gun.
- Place down the coal, the sulfur and the saltpeter; click the mortar.
- Place the brass circles.
- Click each one once then place the lead toy.
- Click the mortar, the lead cap and the case to create the bullet; repeat this 3x’s.
- Collect the ammo and insert it into the unloaded gun.
- Collect the loaded gun.
- Move to the Street.
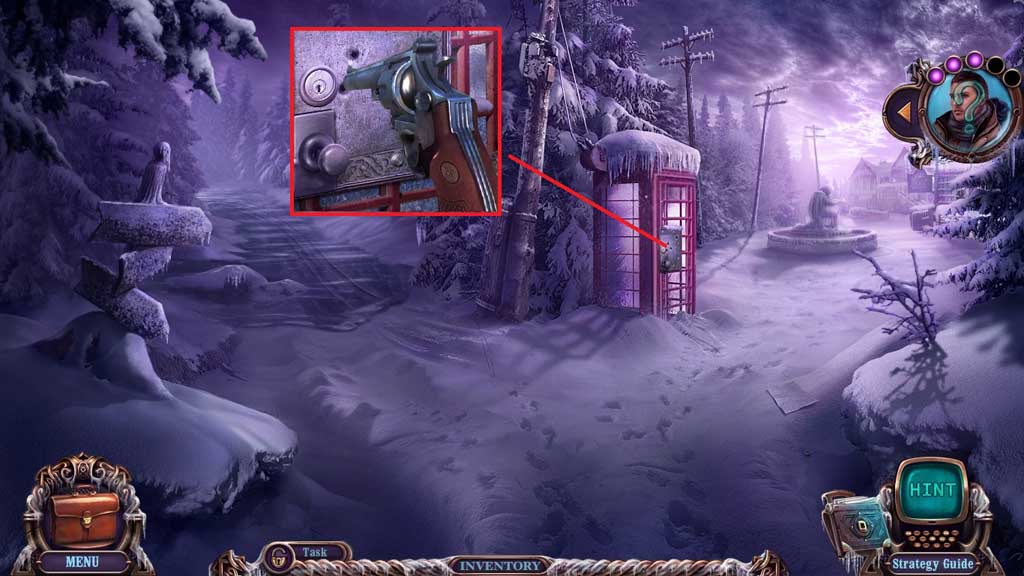
- Shoot the loaded gun toward the phone booth to trigger a hidden objects area.
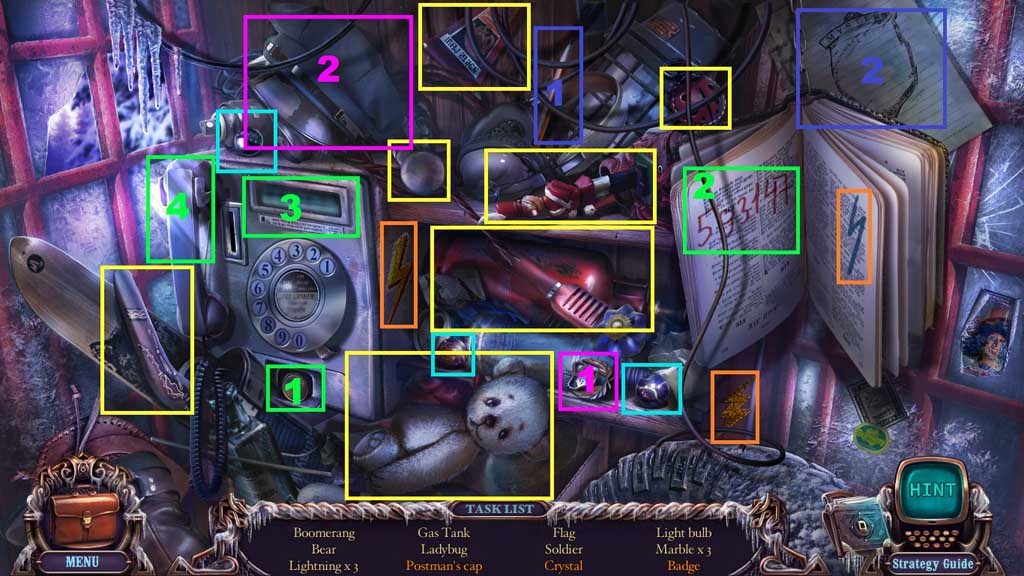
- Find the items.
- Select the emblem and place it onto the cap; collect the postman’s cap.
- Select the coin and place it into the slot; dial the number and collect the crystal.
- Select the pencil to complete and collect the badge.
- Collect the torch base.
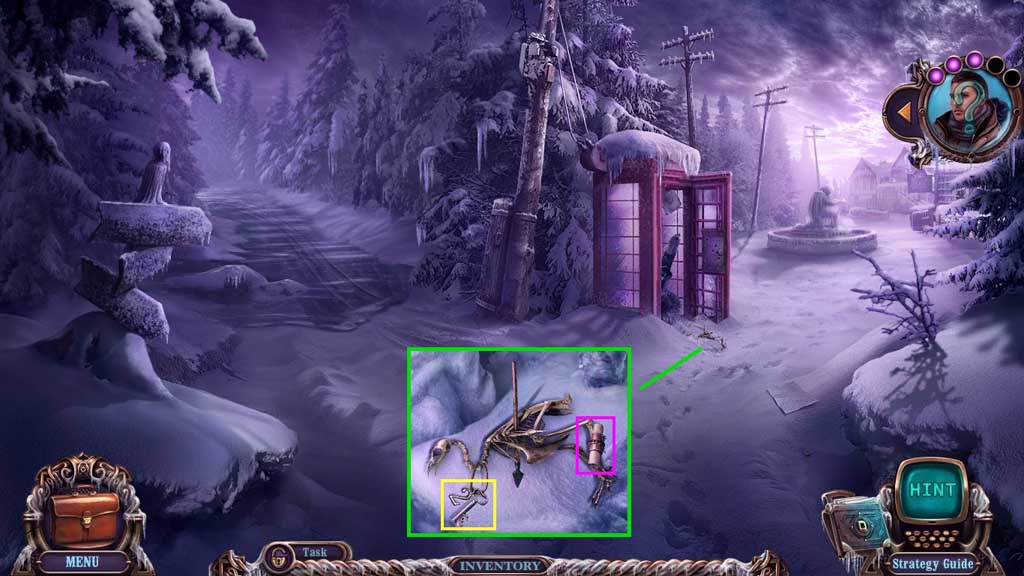
- Click the snow then click the skeleton.
- Collect the message to Mistwalkers and the hotel drawer key.
- Move to the Hotel Hall.
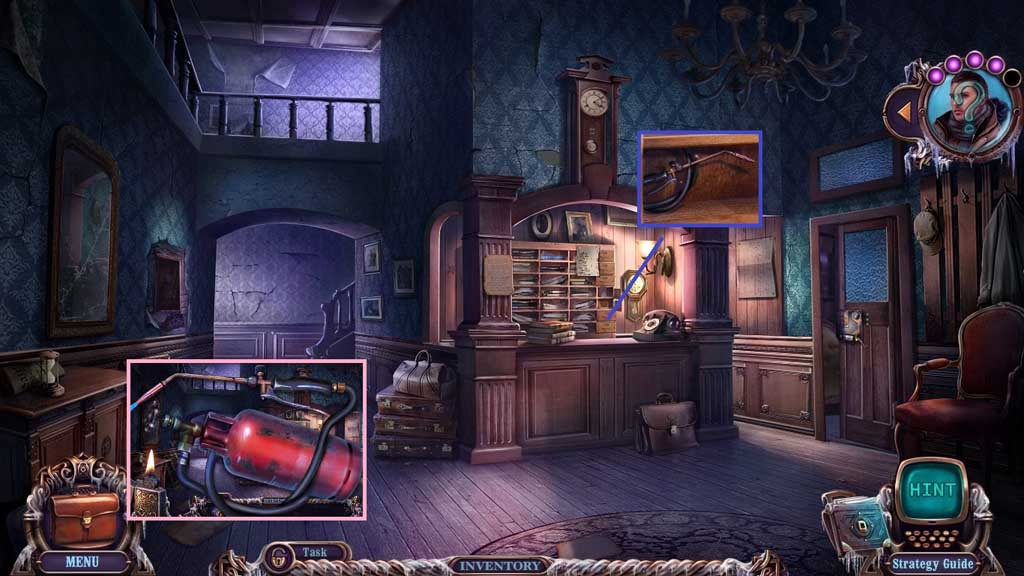
- Insert the hotel drawer key and collect the torch hose.
- Select the torch base, hose and valve and place them together along with the fueled lighter to create the torch.
- Move to the Shop.
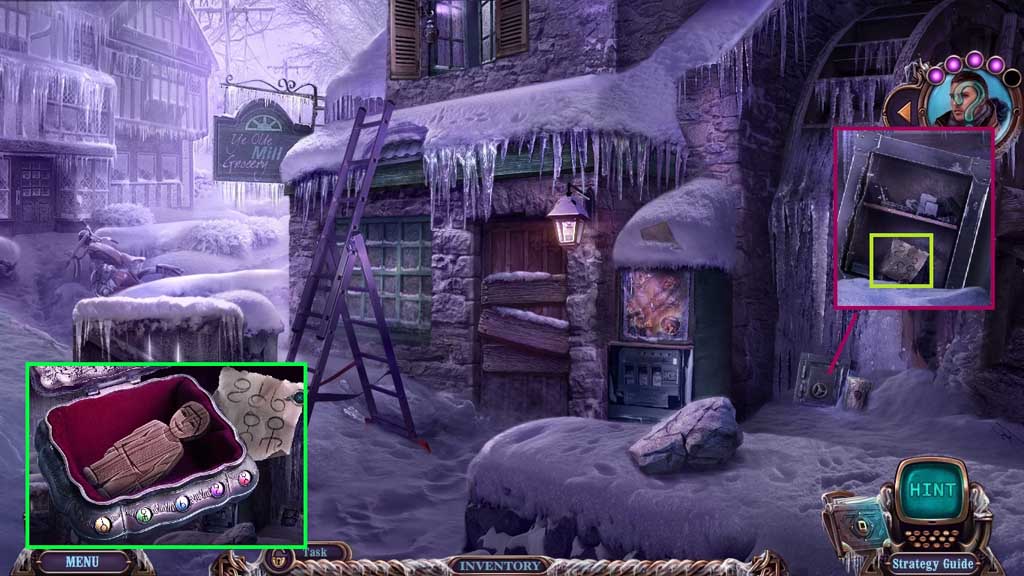
- Select the torch to melt the ice and create and opening; click the door.
- Collect the hint.
- Place the hint along with the box; click the runes based on the clues.
- Collect the Derek figure.
- Move Inside the House.
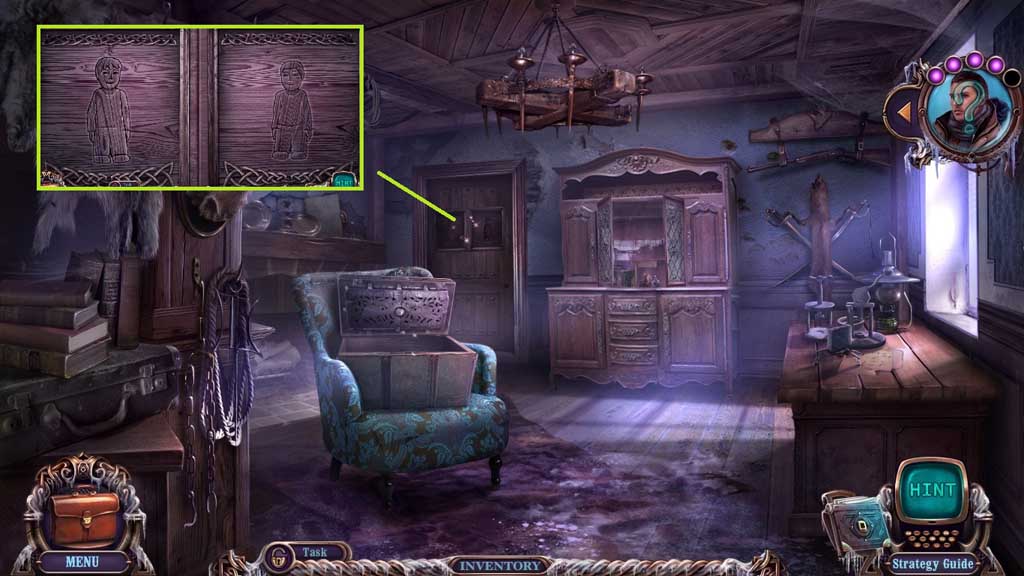
- Place the Derek figure to trigger a mini game.
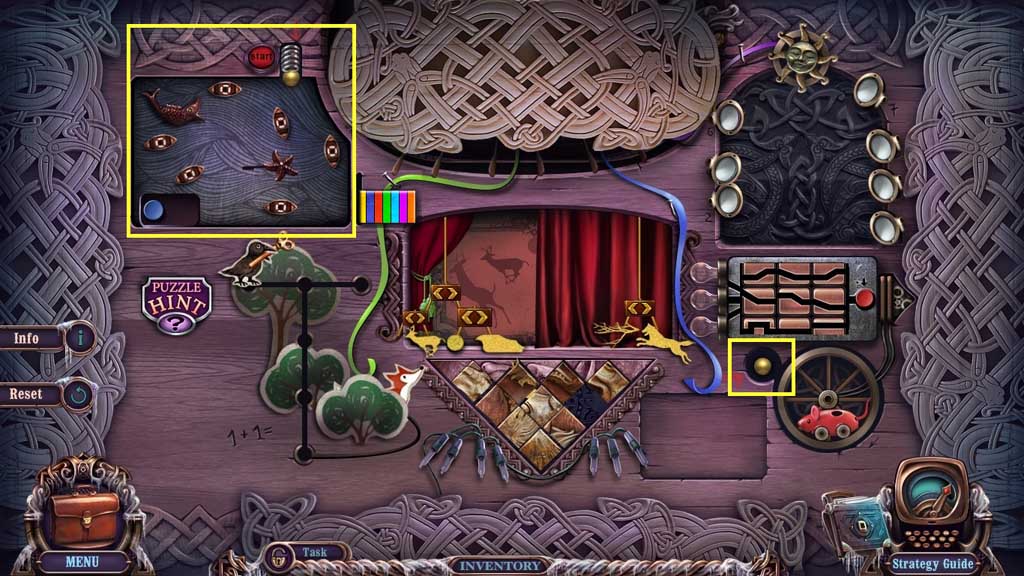
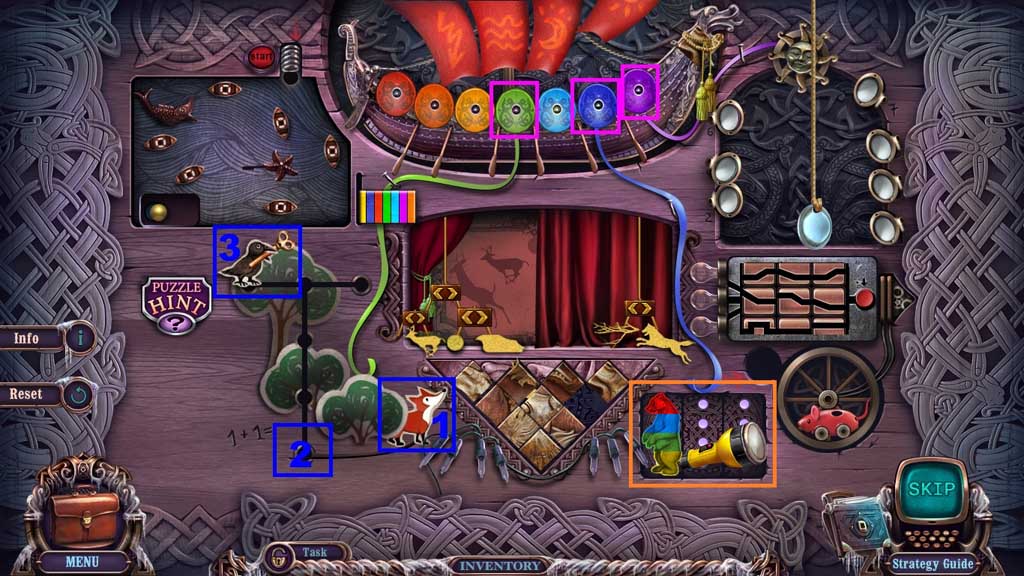
- Select the gold ball and place it into the pin ball game; guide it
- Click the starfish, the fish and the bumpers as shown; click start (yellow).
- Click the green shield 5x’s (pink).
- Click the blue shield 2x’s (pink).
- Click the purple shield 3x’s (pink).
- Move the fox (blue).
- Click the fox 2x’s; click the crow (blue).
- Move the colored pieces of the bear to the far left column (orange).
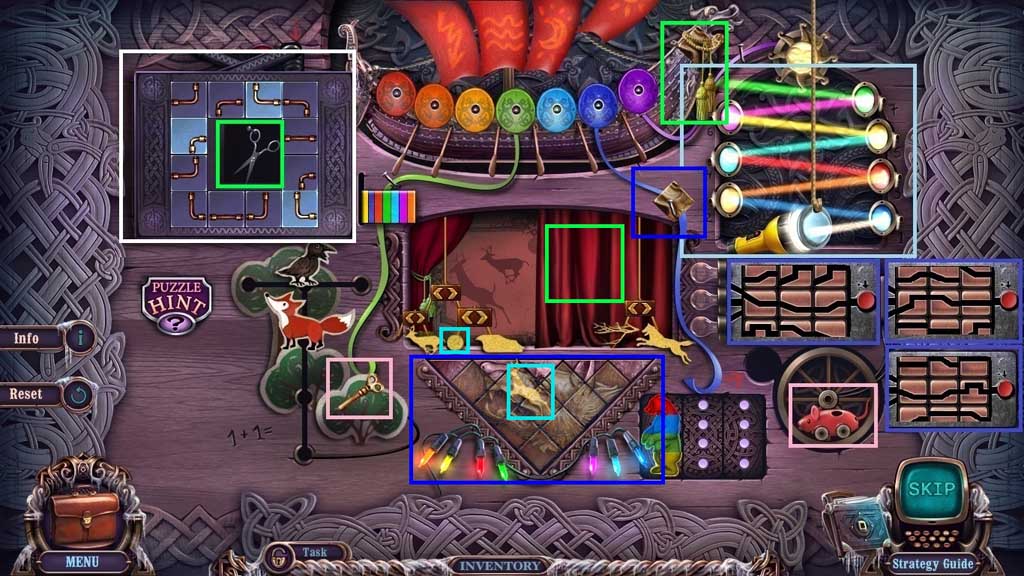
- Place the flashlight near the reflectors and adjust them as shown (light blue).
- Collect the key and insert it into the mouse (pink).
- Move the paths as shown and click the button (purple).
- Move the paths as shown and click the button (purple).
- Move the paths as shown and click the button (purple).
- Switch the tiles around to collect the scissors (white).
- Select the Scissors to cut the ship tassels (green) and use it to tie back the stage curtain.
- Insert the tile and restore the carving (dark blue).
- Click the stag and move it to the stage (aqua).
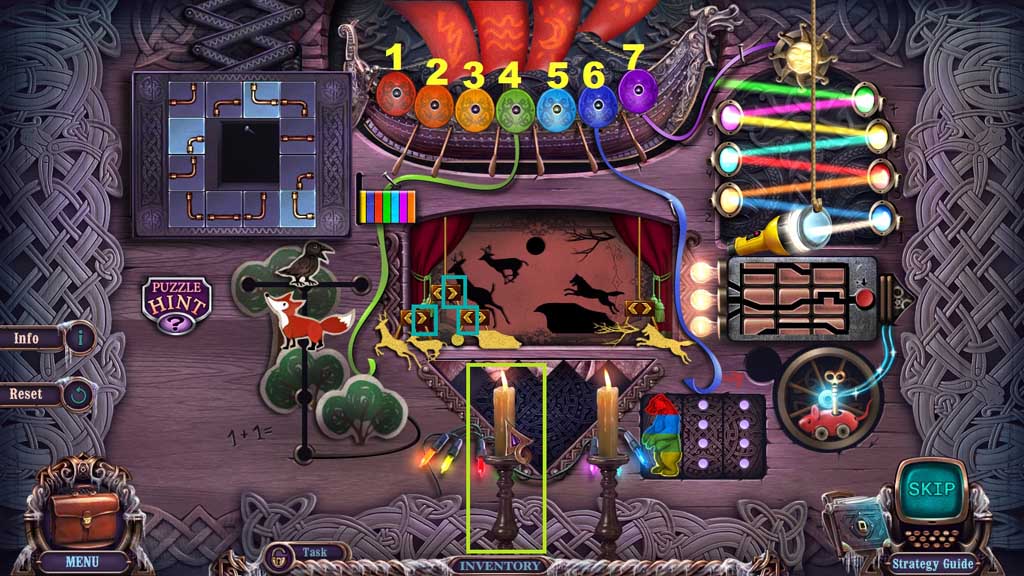
- Click the (blue-green) arrows once.
- Adjust the candles into the position shown (yellow-green).
- Click the shields (yellow) 3 – 6 – 1 – 4 – 5 – 7 – 2 / 2 – 7 – 5 – 1 – 3 – 2 – 4 – 6 / 2 – 3 – 1 – 4 – 7 – 5 – 6 / 6 – 2 – 1 – 5 – 3 – 7 – 4
- Click the hidden objects area.
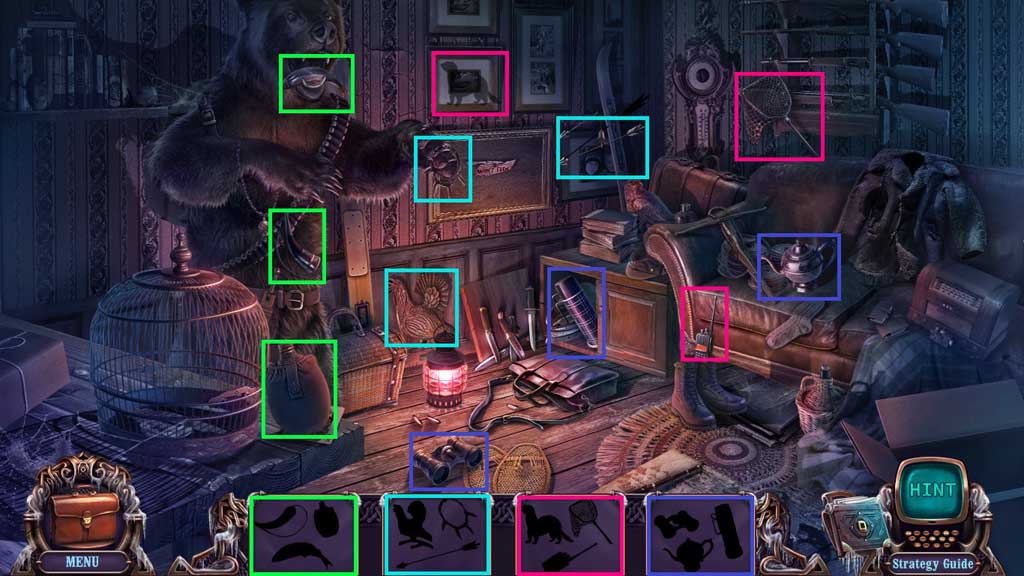
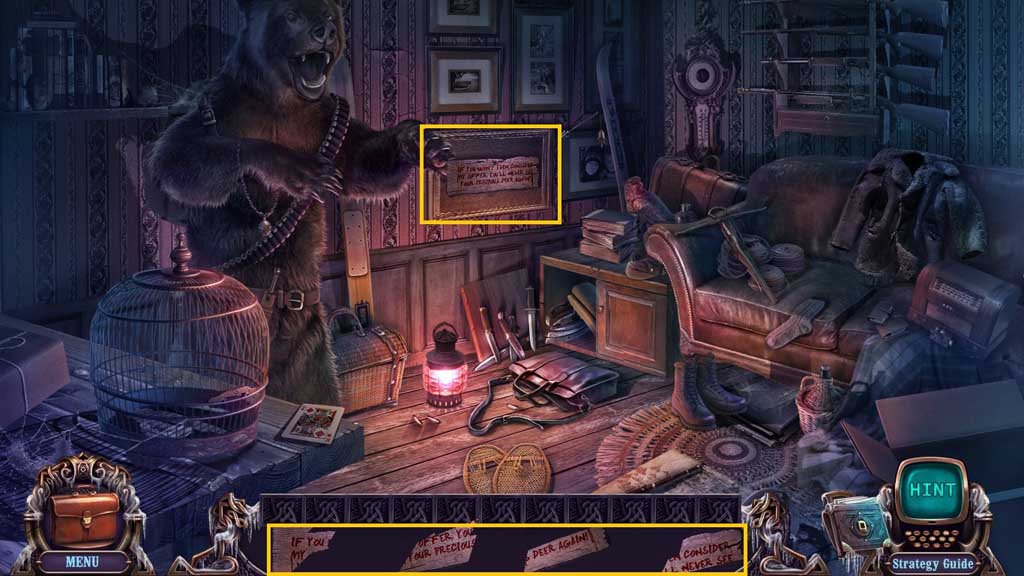
- Find the items.
- Collect Derek’s sign.
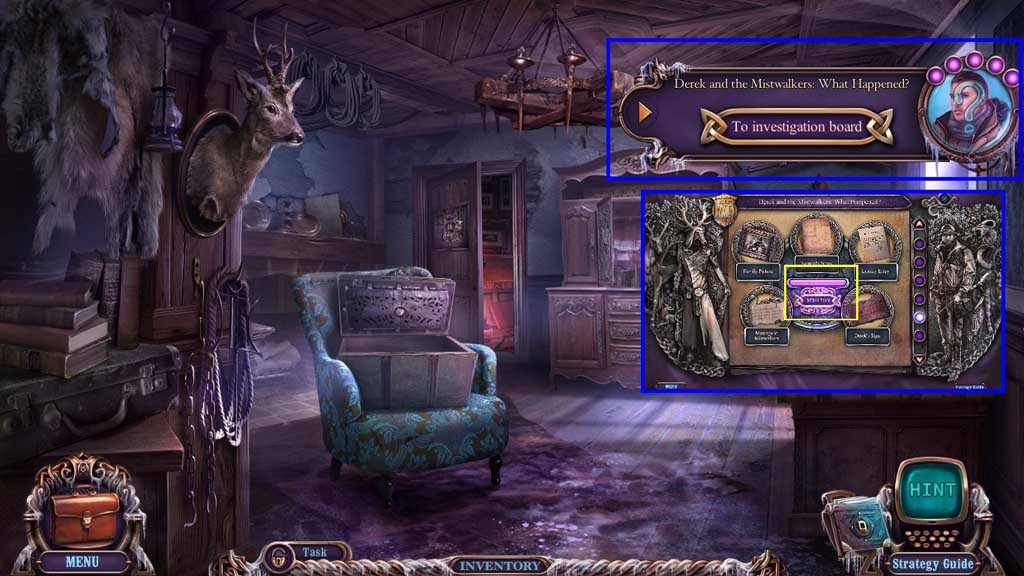
- Click the investigation board and click deduction.
- Move to the Old Tree.
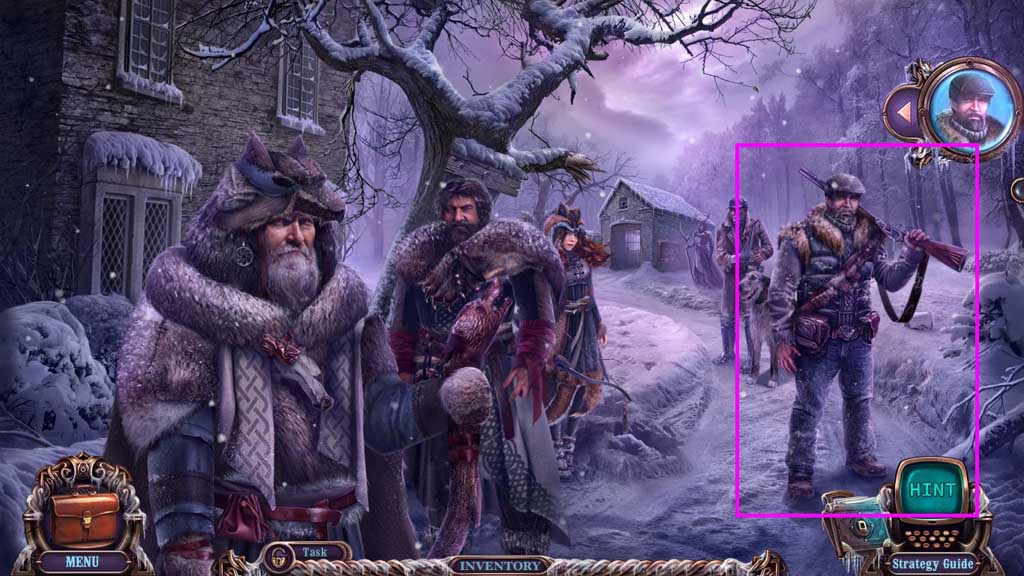
- Speak to Samuel.
- Move to Derek’s House.
Comments will load when you reach this part of the walkthrough.