

Chapter Three: Samuel
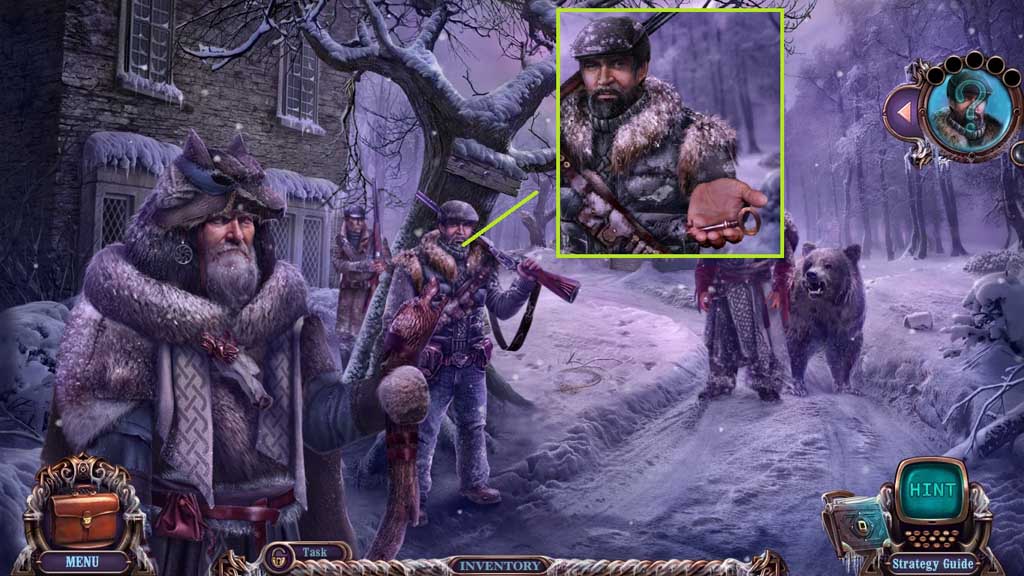
- Speak to Samuel; collect the hotel key.
- Move to the Hotel Entrance.
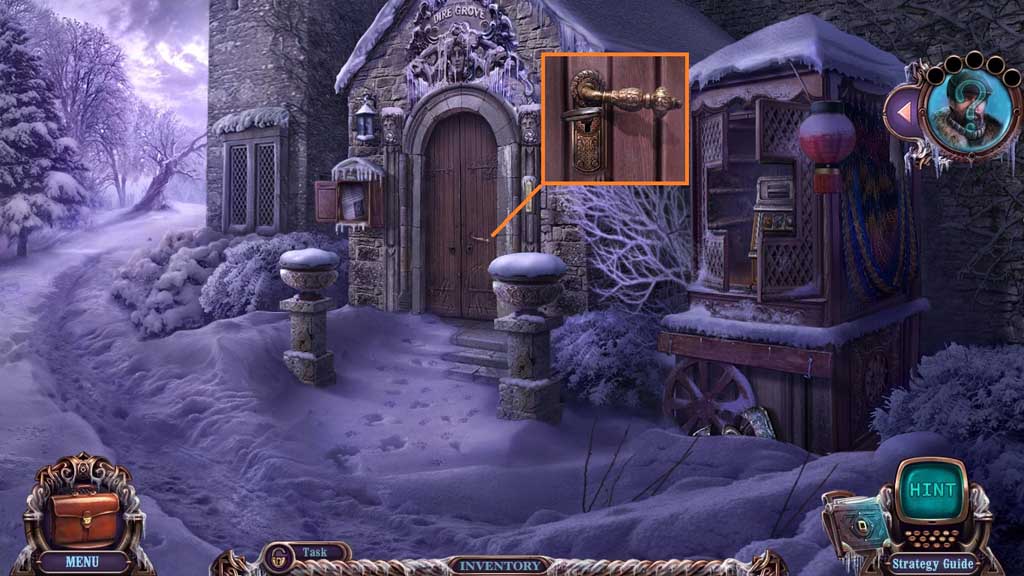
- Insert the hotel key, click the handle.
- Move into the Hotel Hall.
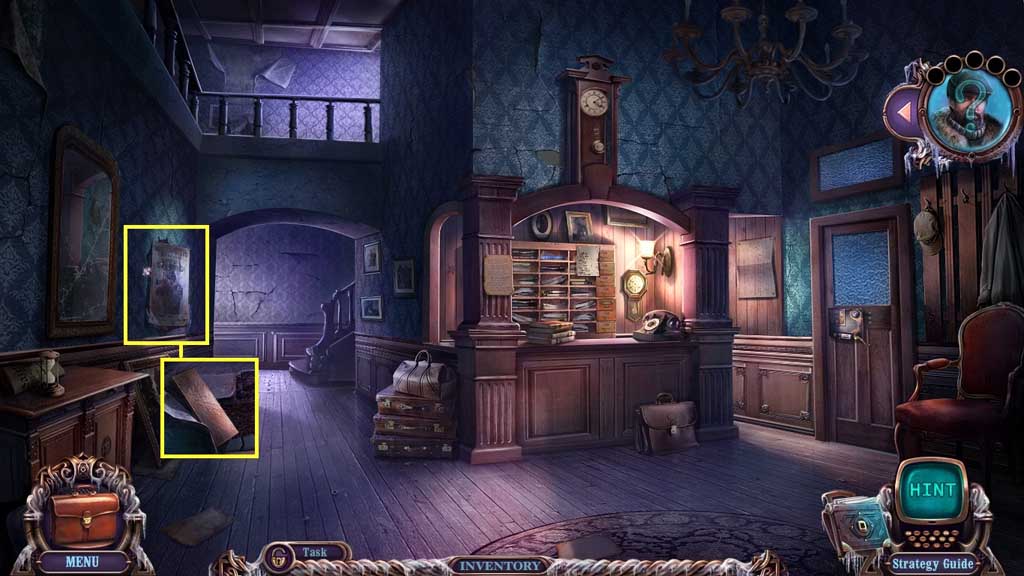
- Click the poster 5x’s.
- Clear the cobwebs and collect the grindstone.
- Move to the Sitting Room.
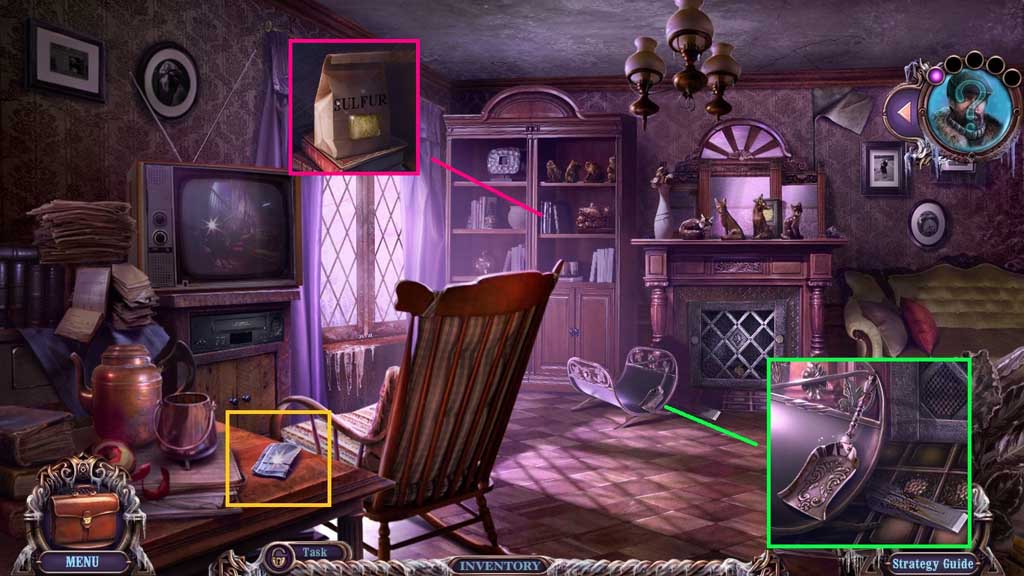
- Collect the hanky.
- Collect the sulfur.
- Collect the blunt wedge and the scoop.
- Place the blunt wedge on the grindstone 3x’s; collect the wedge.
- Move to the Path.
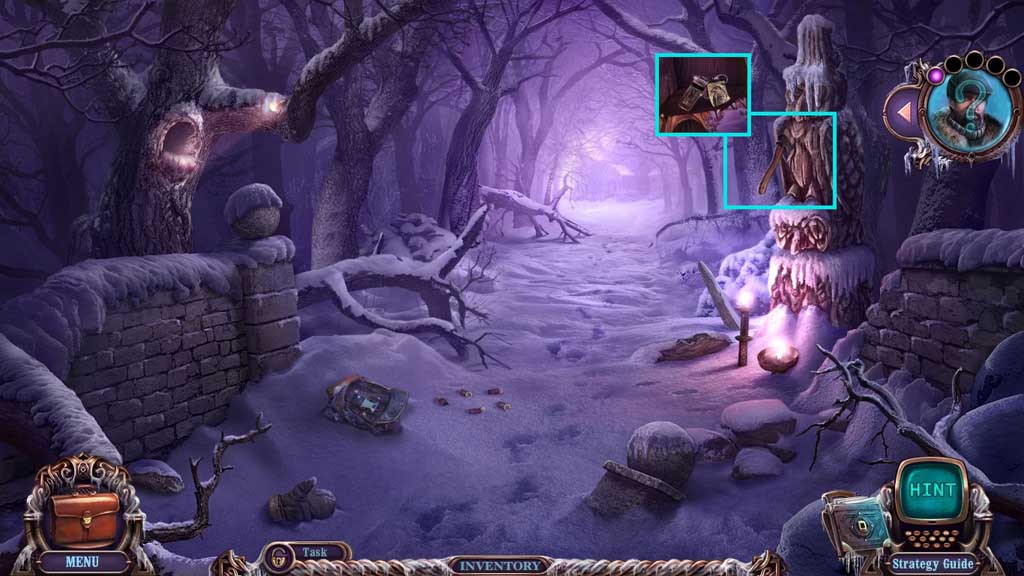
- Select the wedge and stone to collect the axe.
- Collect the whistle.
- Move to the Snowdrifted Street.
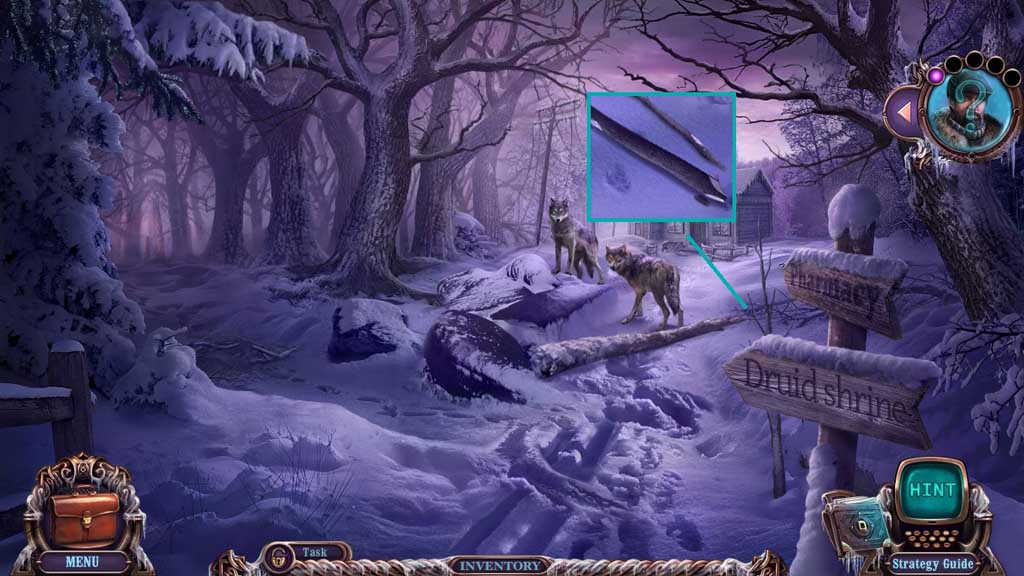
- Zoom into the signposts.
- Select the axe and use it 3x’s; collect the stick.
- Move to the Yard.
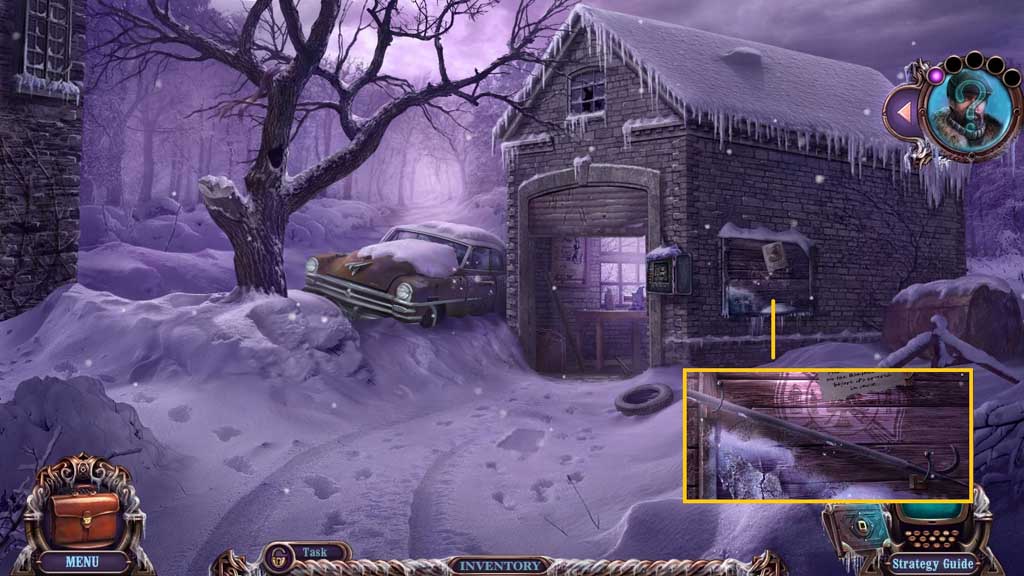
- Click the broken handle and replace it with the stick.
- Collect the huff.
- Move to the Old Bridge.
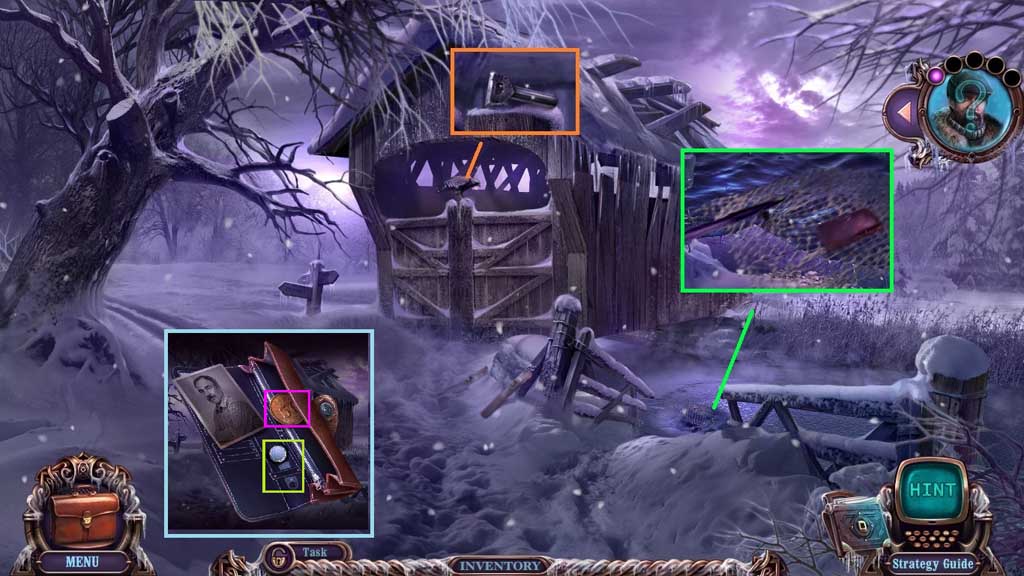
- Blow the whistle to scare the bird.
- Collect the latch.
- Select the axe to break the ice, and use the huff to grasp the net.
- Collect the wallet and click it open.
- Collect the magnet key and coin.
- Move down once.
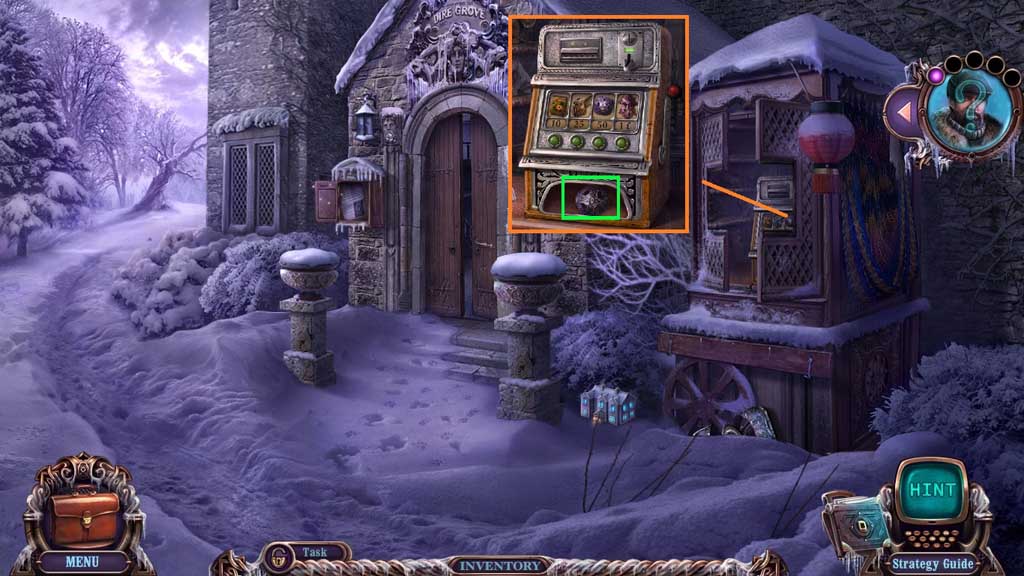
- Insert the coin and click the lever.
- Collect the Celtic Cross.
- Move to the Garage.
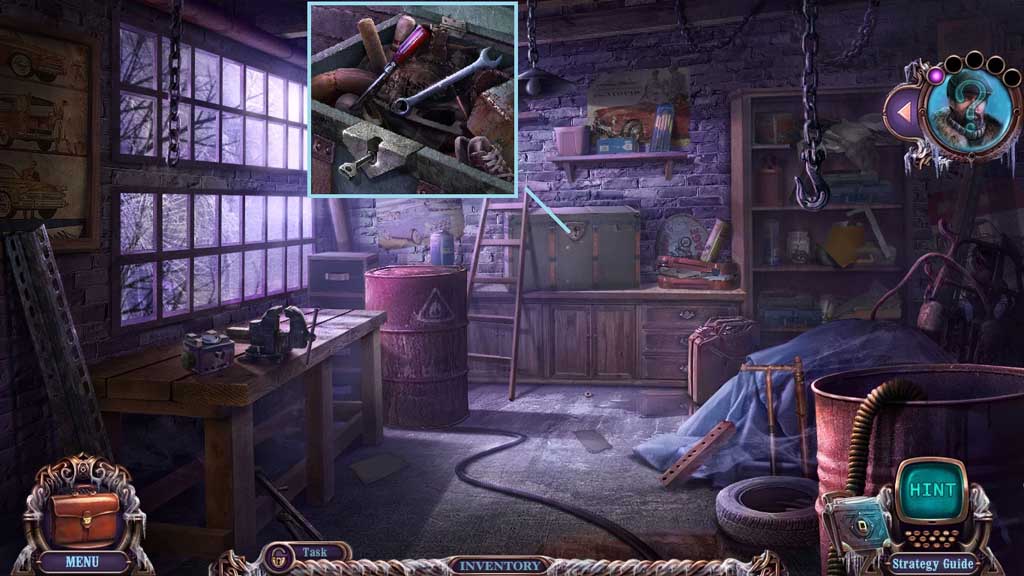
- Attach the latch and click the chest open.
- Collect the screwdriver and the wrench.
- Move to the Sitting Room.
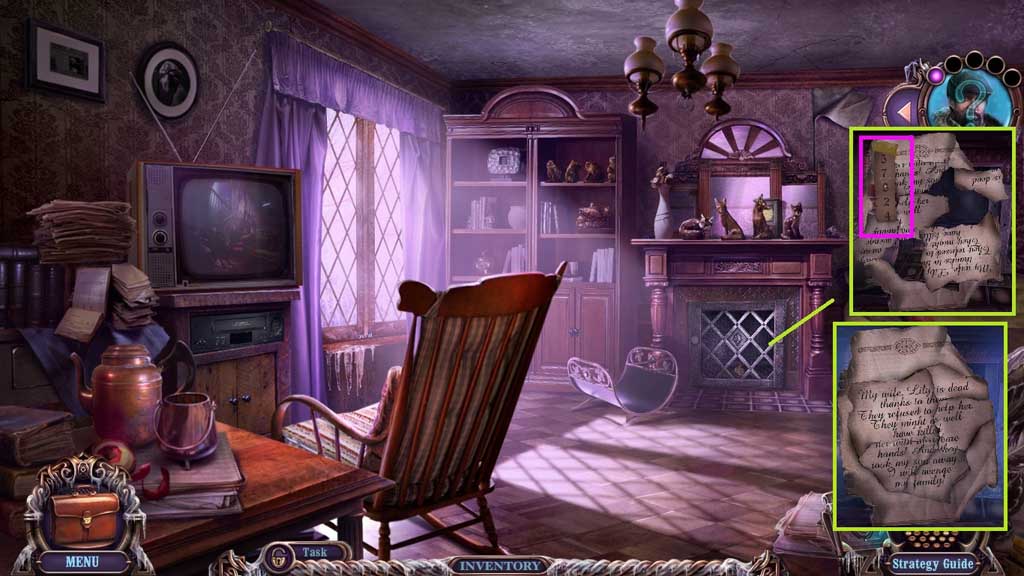
- Select the wrench to remove the grate.
- Collect the code.
- Restore the burned note.
- Move down once.
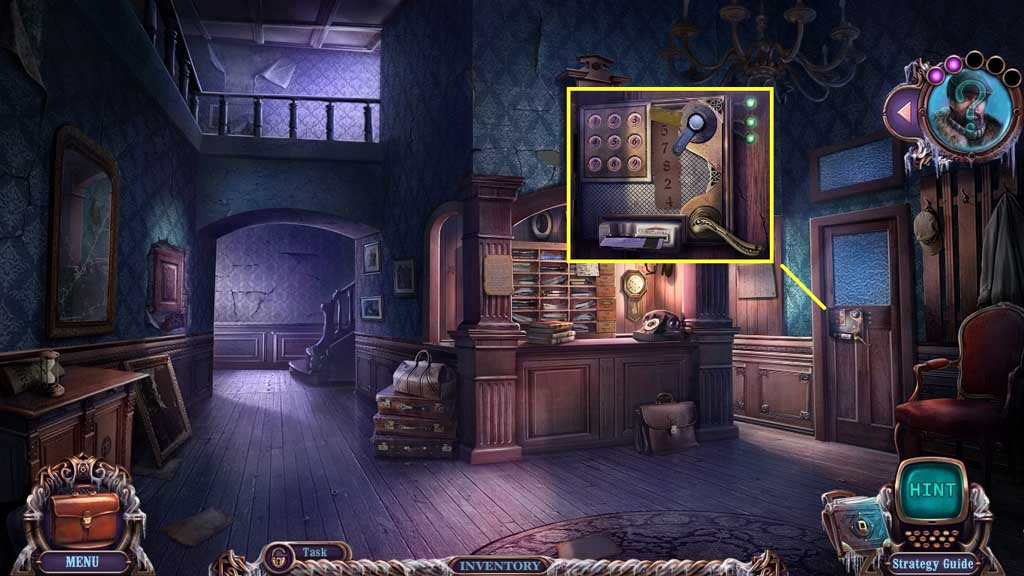
- Insert the key card, the code and the magnet key.
- Enter the code 5 – 7- 8 – 2 – 4 and click the handle.
- Move to the right.
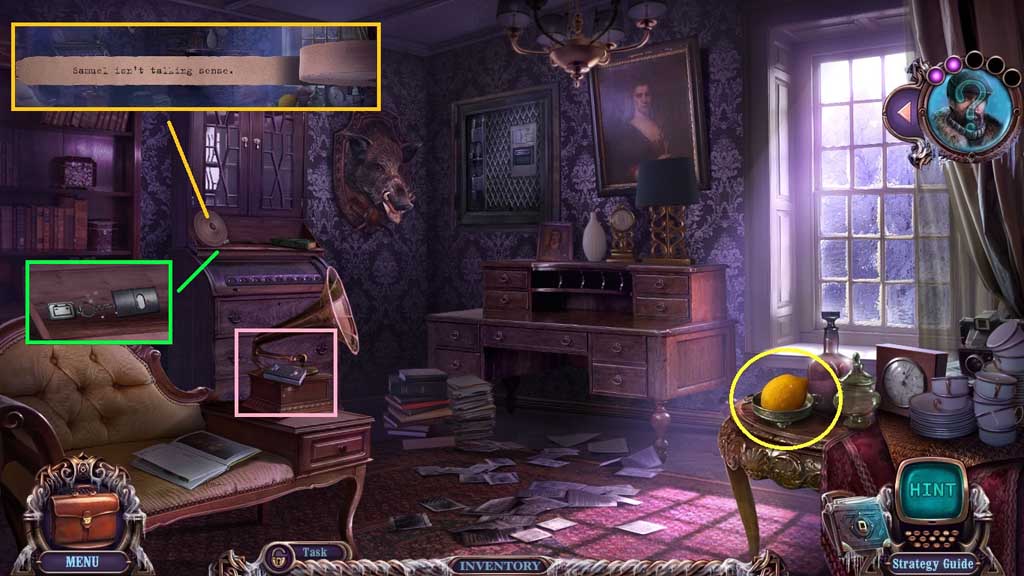
- Collect the video tape.
- Collect and read the telegraph tape.
- Collect the generator door remote and the lemon.
- Move to the Path.
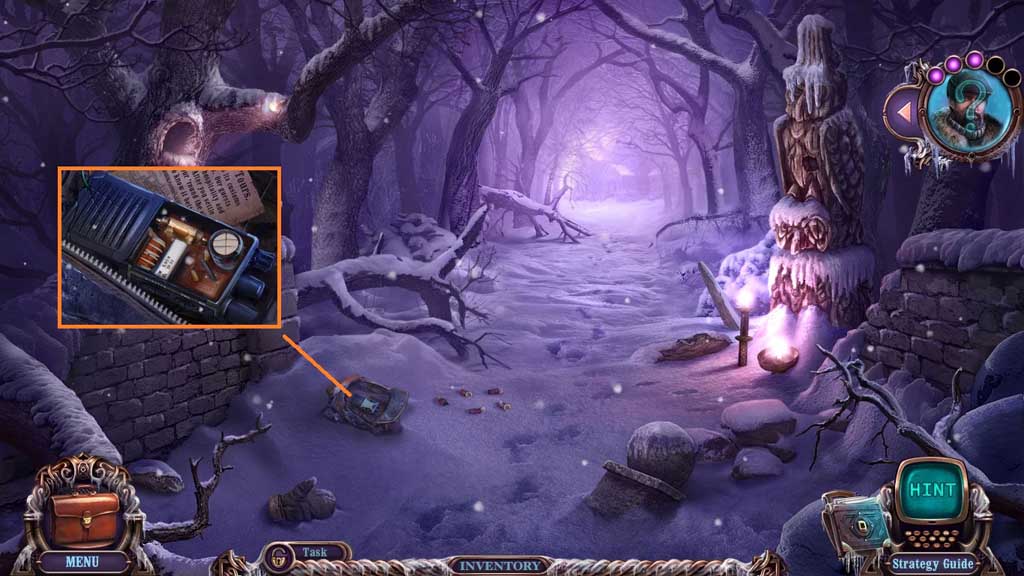
- Select the screwdriver to remove the cover.
- Collect the 1st safety lock.
- Move to the Staircase.
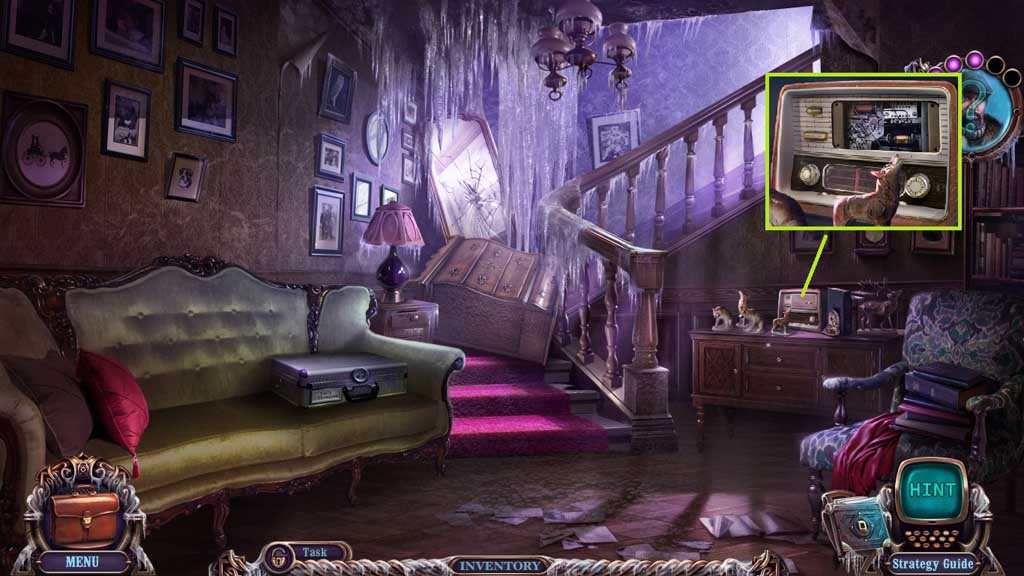
- Select the screwdriver to collect the 2nd safety lock.
- Move to the Hotel Side Yard.
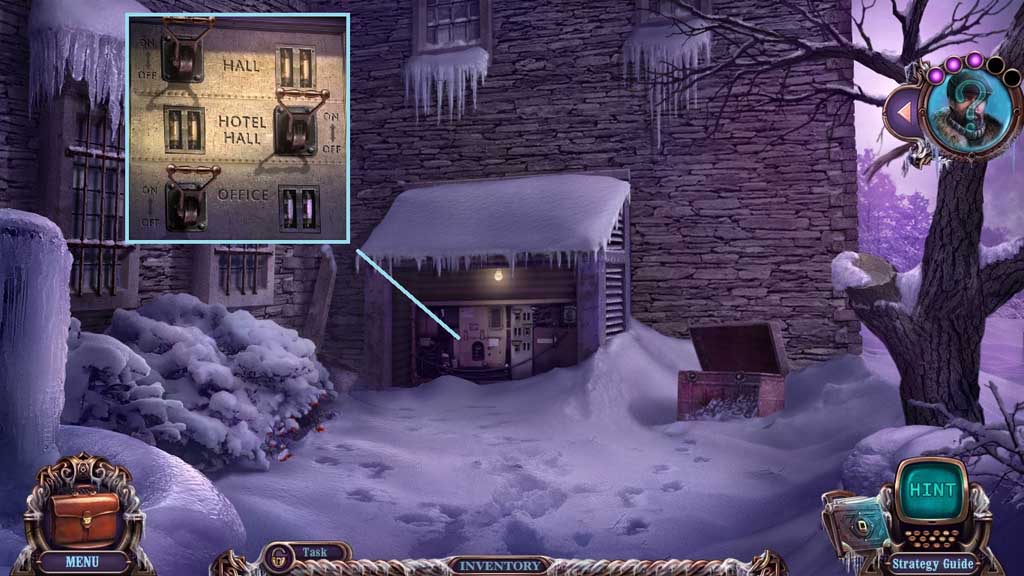
- Select the generator door remote to open the door.
- Click the switch and click the burnt fuses.
- Attach the 2 safety locks and click the switch.
- Move to the Sitting Room.
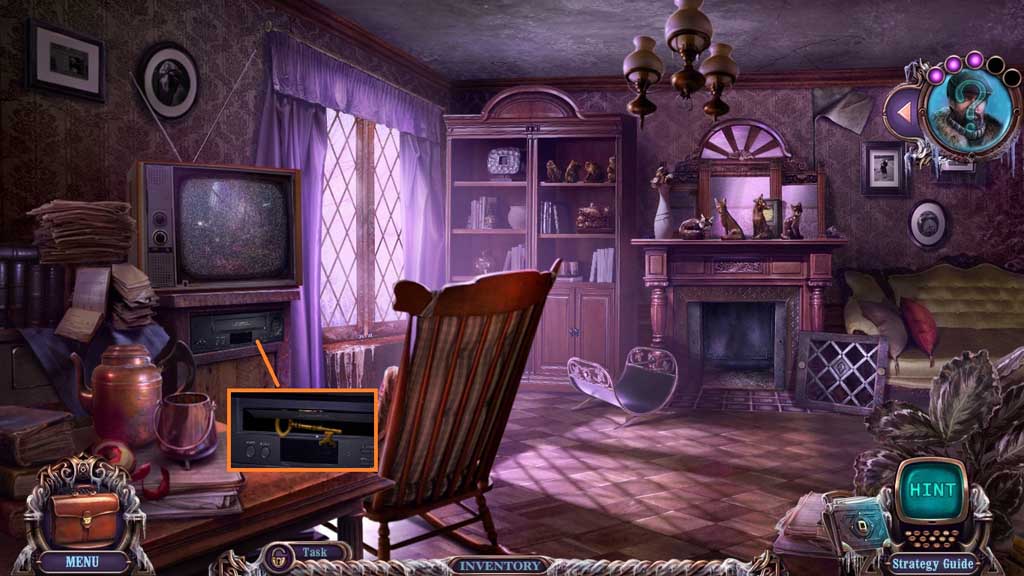
- Insert the video tape and click the tv knob 3x’s.
- Collect the camera recording and the owner’s drawer key.
- Move down once.
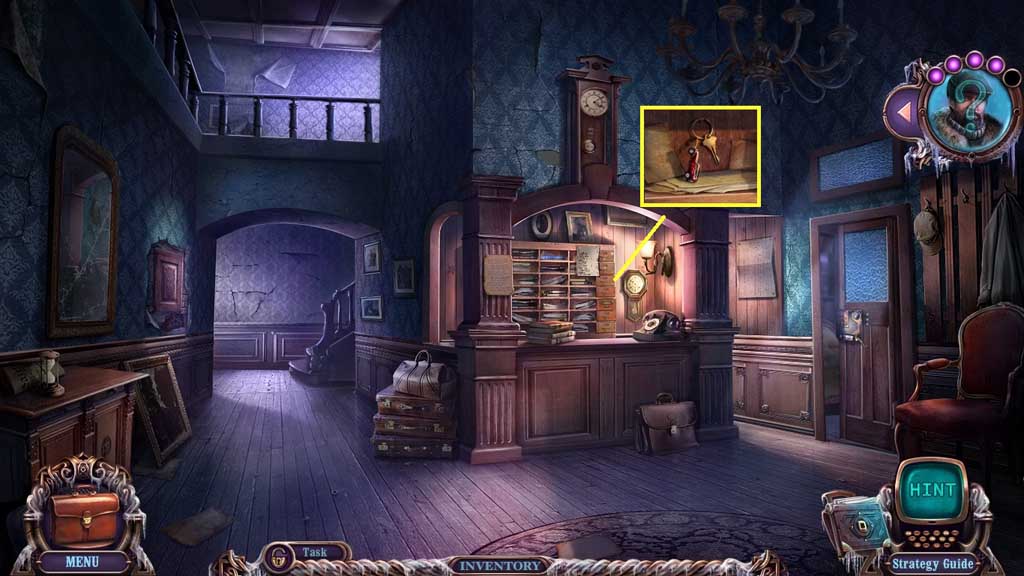
- Insert the owner’s drawer key.
- Click the papers aside; collect the car key.
- Move to the Yard.
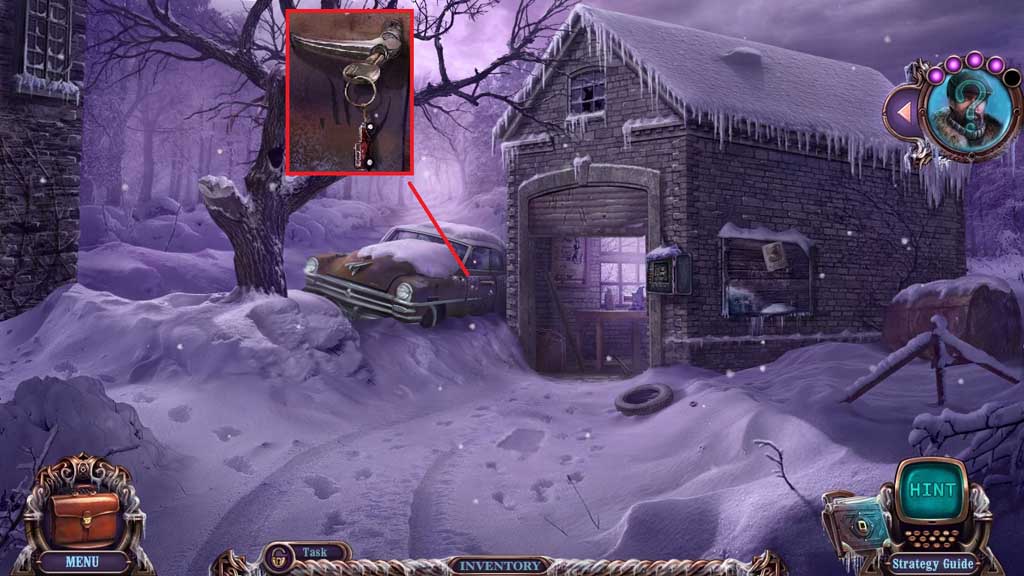
- Insert the car key and click the door to trigger a hidden objects area.
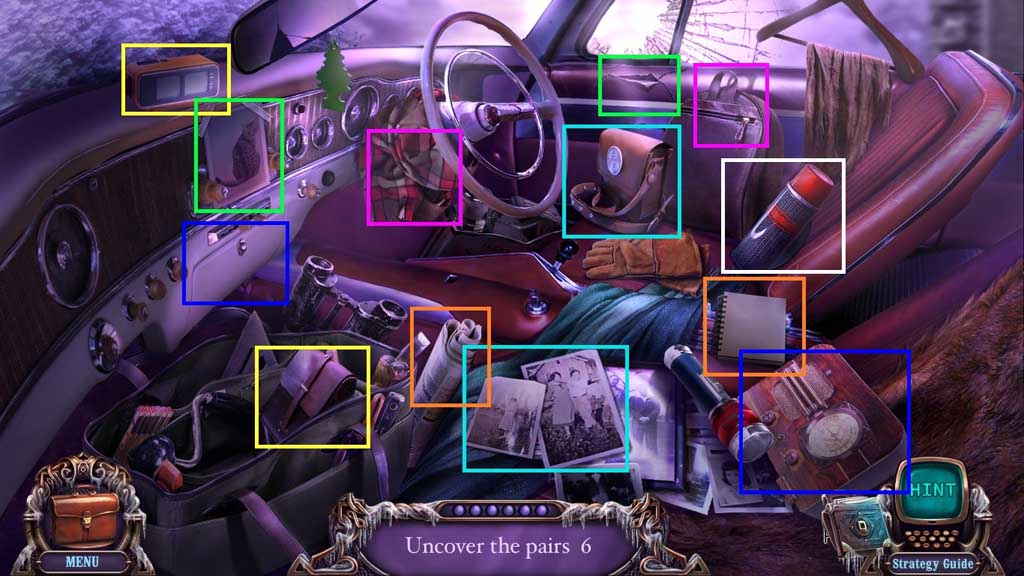
- Find the matching items.
- Collect the record.
- Move to the Office.
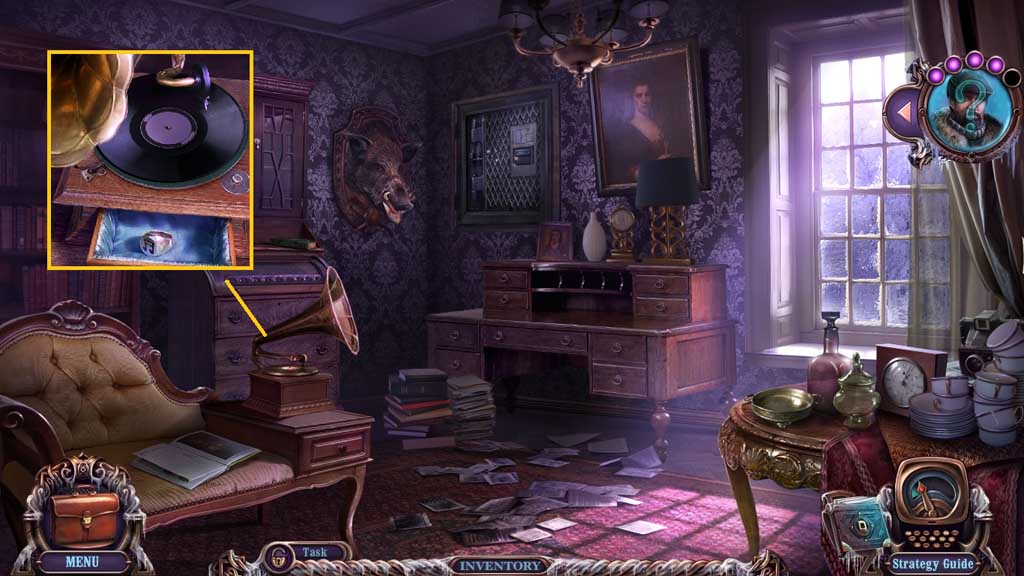
- Place the record down and click the spindle 2x’s.
- Collect the signet.
- Move to the Staircase.
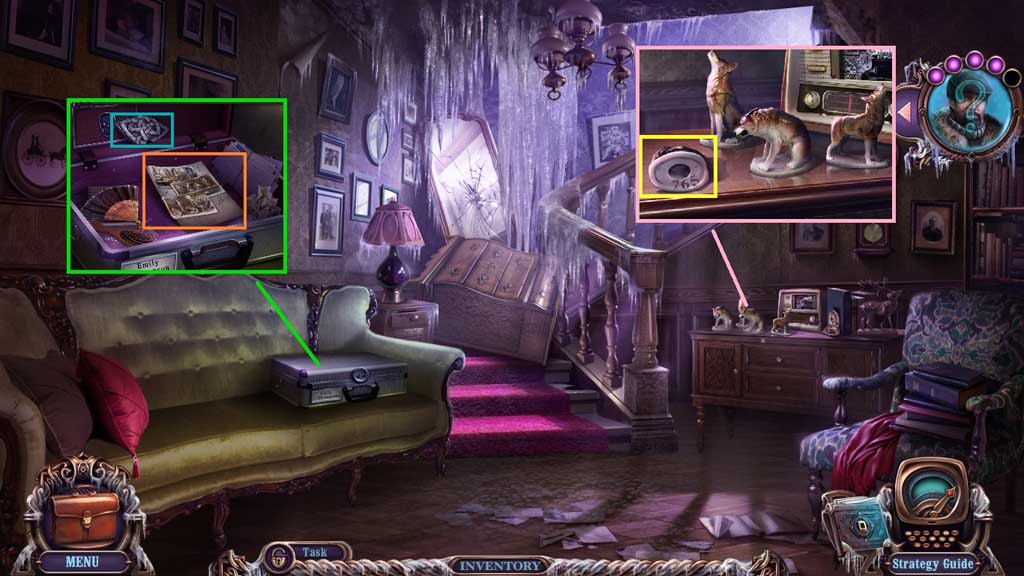
- Insert the signet into the case.
- Click the items aside; collect the hint and the 2nd druid amulet piece.
- Click the wolf figurine.
- Move down once and to the left.
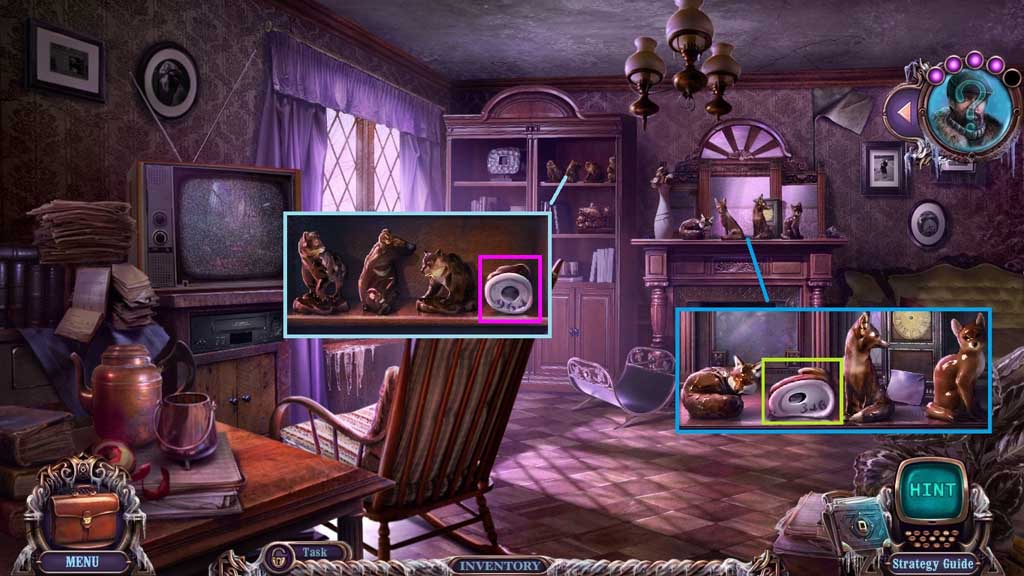
- Click the bear and fox figurines.
- Move to the Office.
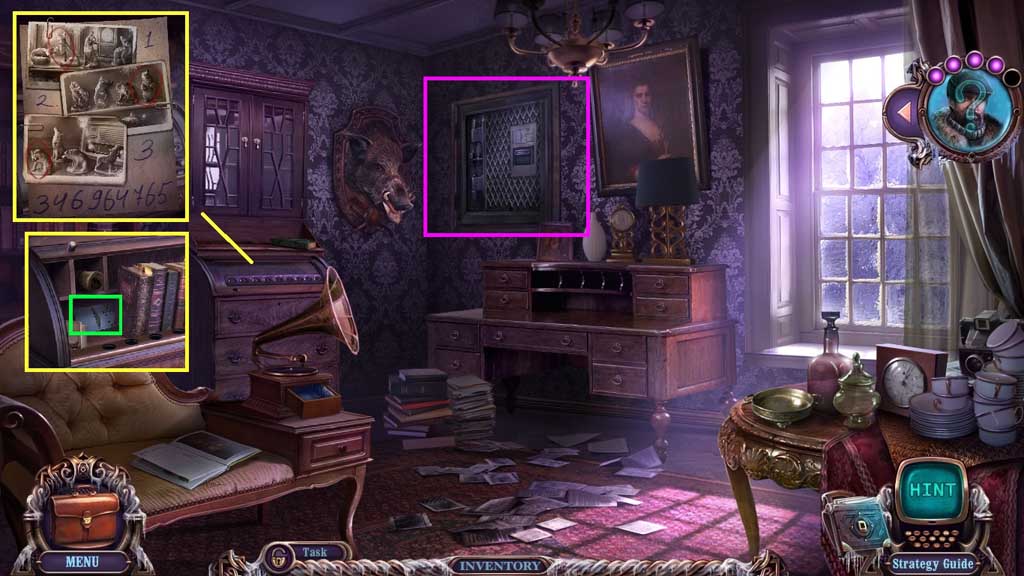
- Click the hint for reference.
- As per the hint click 3 – 4- 6 – 9 – 6 – 4 -7 – 6 -5
- Click the letters aside; collect the punch card.
- Insert the punch card and click the safe to trigger a mini game.
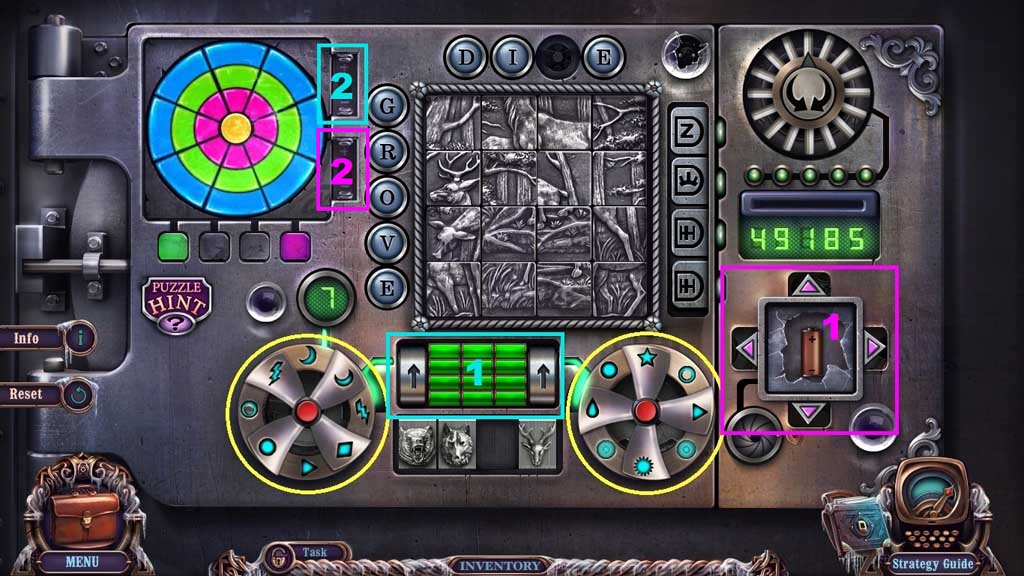
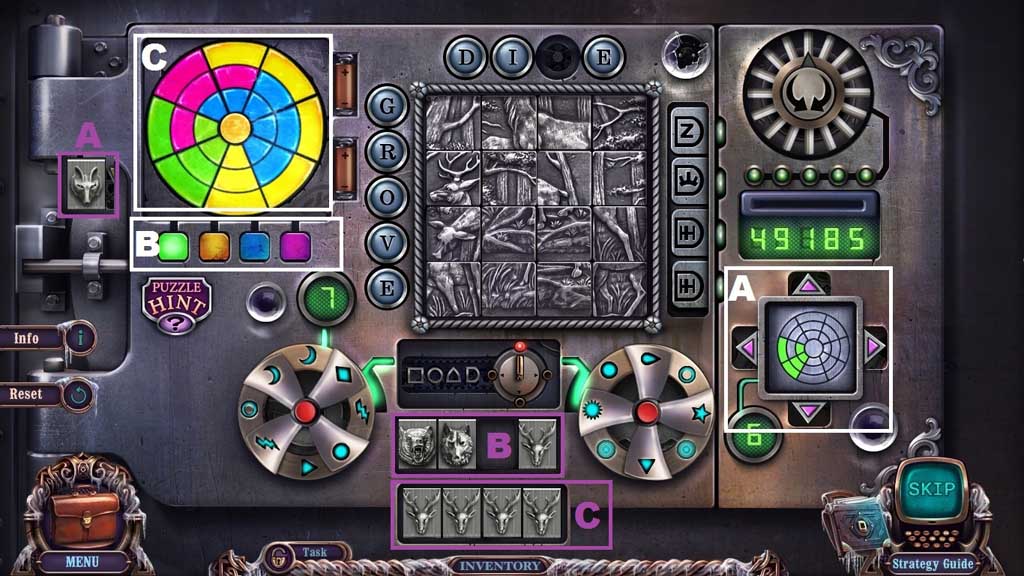
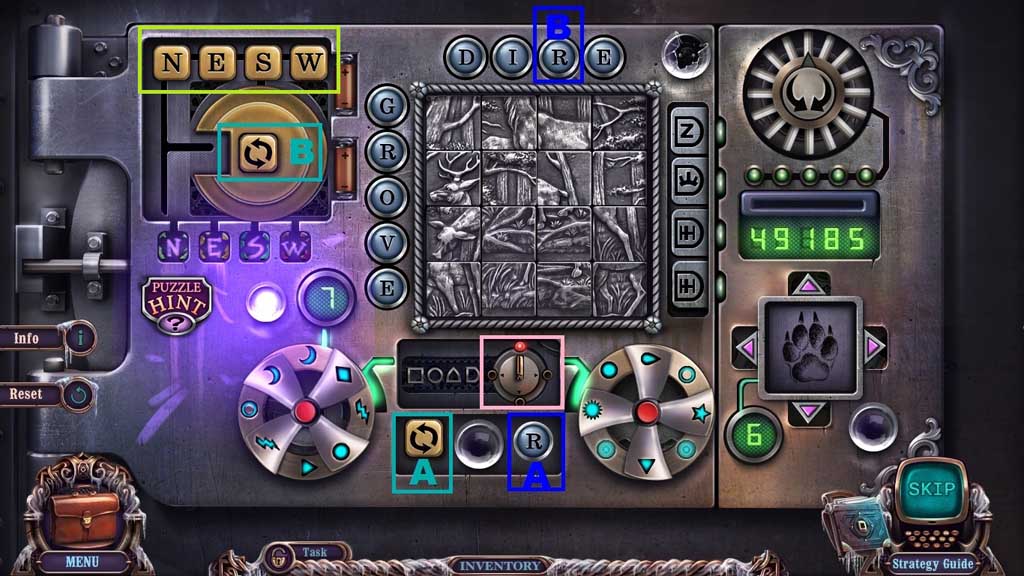
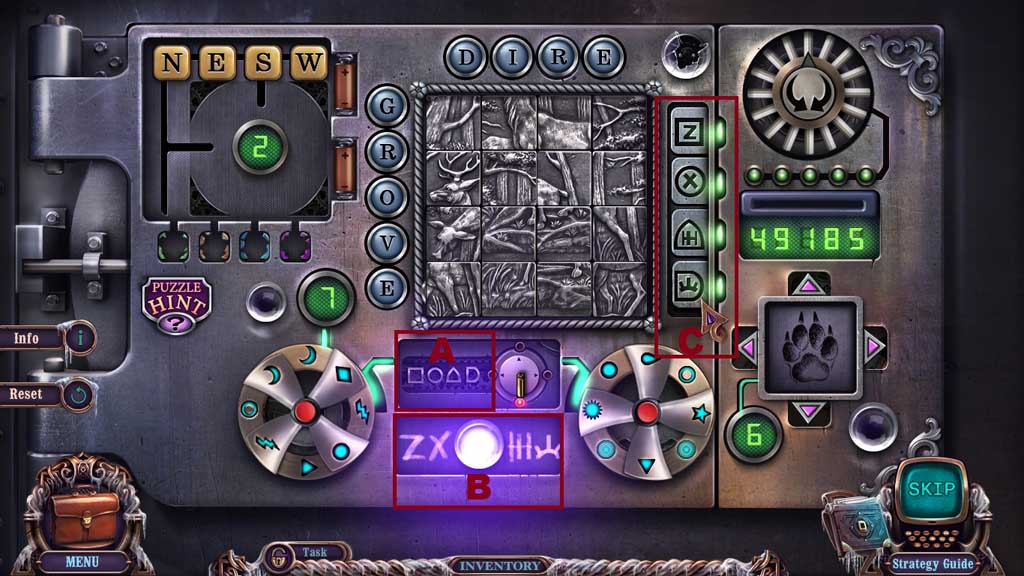
- Click the red buttons on the wheels to select the matches on the wheel plates (yellow).
- Click the arrows (aqua) to illuminate the entire panel in green; collect the battery and place it into the open battery slot.
- Click the buttons (pink) to collect and attach the other arrow buttons; then use the buttons to find the battery and place it into the open battery slot.
- Use the arrows (white) to find the colored patterns then press the button of that color pattern in the upper left corner; reproduce the pattern in the target and repeat this process until all the color patterns are completed.
- Collect the fox head and place it into the open slot; click the wheels to show all of the same animal heads (purple).
- Move the “R” button to the open slot at the top center (blue).
- Move the toggle button to the center top left (blue-green).
- Click the switch to activate the lighting (pink).
- Arrange the letters to read N – E – S – W (yellow-green).
- Click the switch to activate the lighting again (pink).
- Look at the shapes and symbols (dark red) and match them with the buttons on the right of the jumbled image.
- Assemble the image; collect the numbers and change them to match the display.
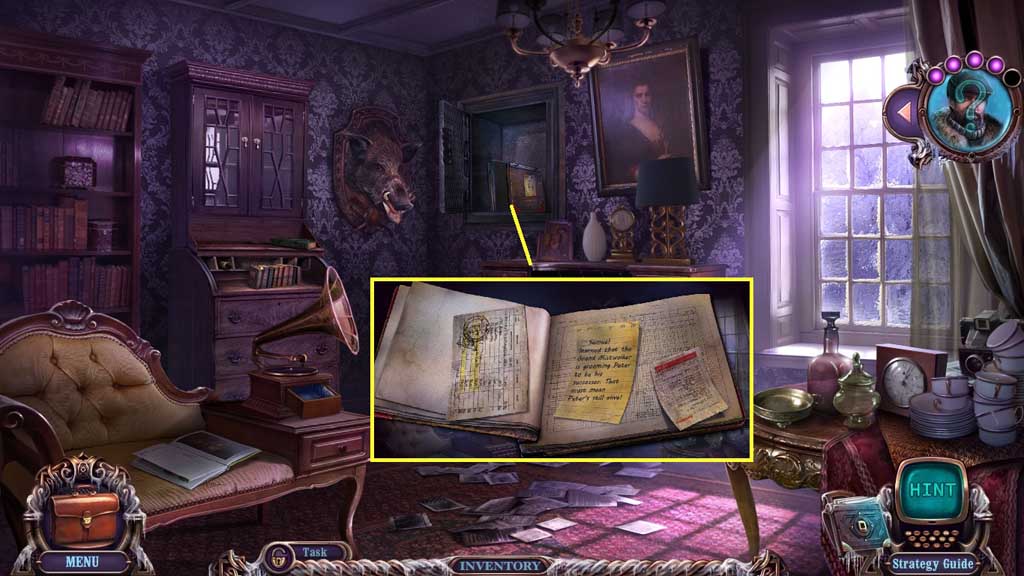
- Collect and open the ledger.
- Collect the hotel owner’s note.
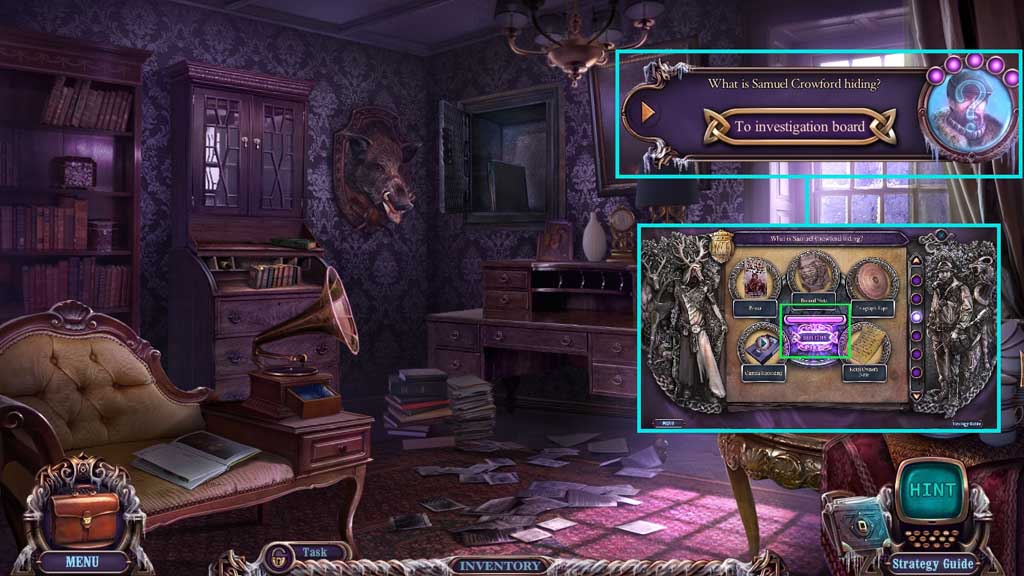
- Click the investigation board.
- Click deduction.
- Move to the Old Tree.
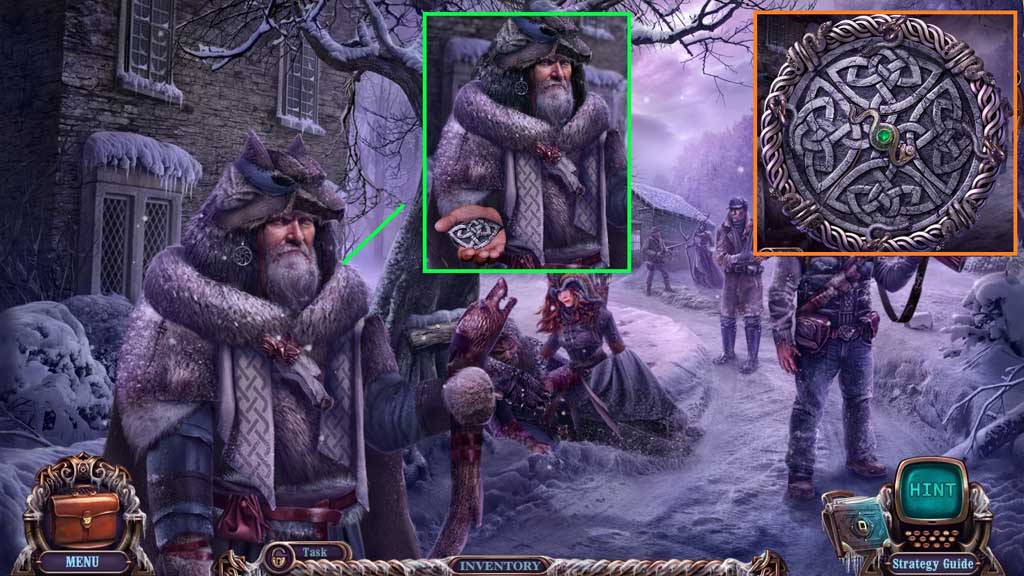
- Speak to Ulf; collect the 3rd druid amulet piece.
- Restore the druid amulet.
- Move to the Mistwalker’s Camp.
Comments will load when you reach this part of the walkthrough.