Boss Guides and Bullet-Hell Pattern Counters
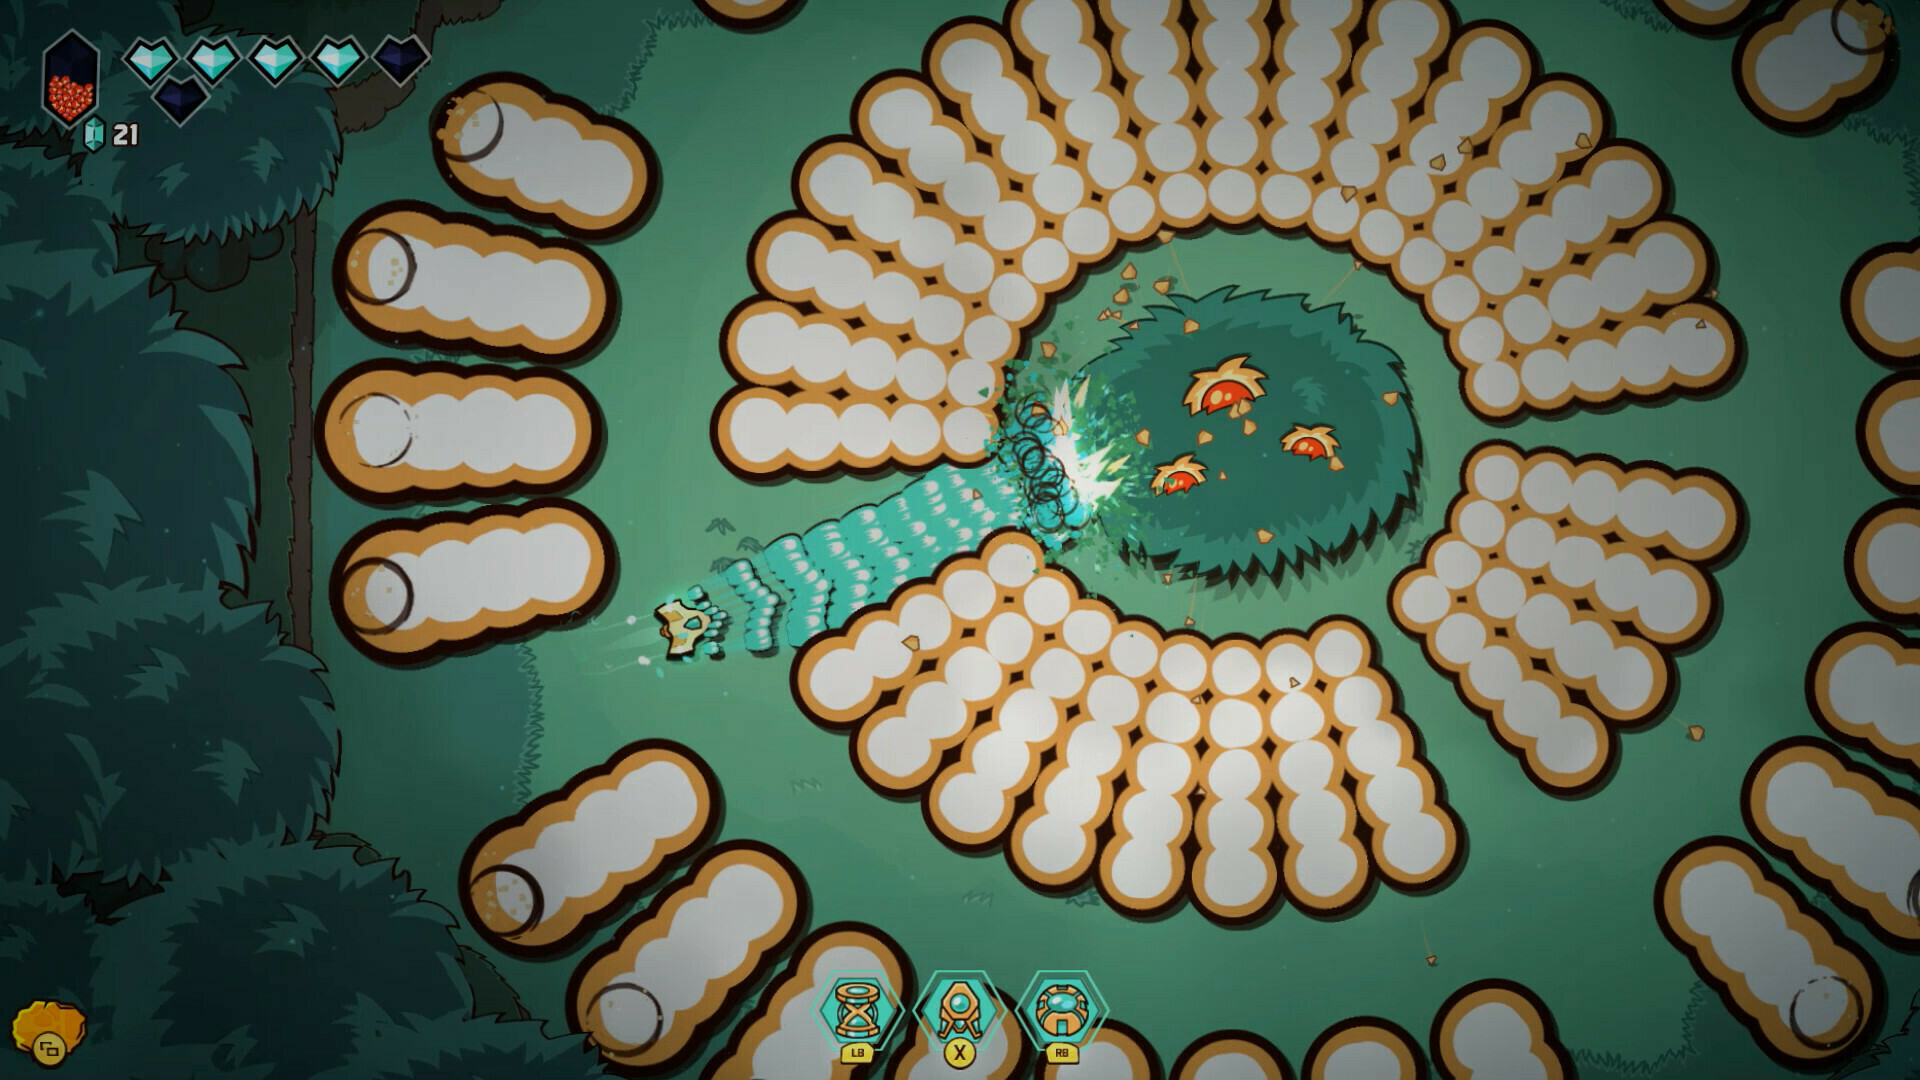
Most early boss losses in Minishoot' Adventures have the same shape: you dodge the opener, the arena fills up, and your ship slides into the one gap that was never safe. That usually means you lost the pattern read. These fights ask you to track lanes while moving and aiming separately, so cleaner wins come from shorter movement, earlier reads, and keeping one safe lane open.
Once you start treating bosses like pattern reads instead of pure reflex checks, fights get much cleaner. A damage window is the short opening after a charge, slam, or big volley when the boss is exposed and you can unload without gambling. That is where the game really clicks. Your tiny ship stops feeling flimsy and starts feeling like a sharp custom build that can weave, punish, and stay in control. If one pattern keeps clipping you, do one calm scout attempt where you watch first and shoot second. You are learning the route through the bullets, not trying to brute-force the win.
Boss rules that solve most wipes
- Start at mid-range. Stay in the outer third of the arena, not glued to the wall and not hugging the boss. Mid-range gives you room to read arcs and still keep solid damage on target.
- Against aimed spreads, keep walking one way. Hold a steady strafe through the first shots, then make one short cut back through the gap after the volley commits. Wild zigzags usually make you dodge straight into the next shot.
- Against radial bursts, pick one seam early. When rings or spokes spread out, choose a single gap and slip through it with a short diagonal tap. Do not try to outrun the whole circle.
- Against charges or sweep attacks, play the outside lane. Let the boss commit, cross behind it, and fire into the recovery. That recovery is your safest damage window.
- When adds spawn, clear the nearest chaser first. Space is health in this game. One small enemy on your flank is how a clean boss pattern turns into a messy hit chain.
- Shrink your movement when nerves kick in. Use tiny comma-shaped strafes instead of full circles, and keep your aim planted as much as possible. If you hit a wall, use the game's aim assist or a lower difficulty for a few study pulls, then switch back once the pattern makes sense.
Tip: If a boss drops you twice in a row, leave on purpose. Grab one safe level-up, one heart or energy pickup, or a nearby rescue you skipped, then come back. That small reset keeps the run moving, helps with the game's occasional lock-in-room fatigue, and often turns the next attempt into the clean one because the fight ends a little faster and your movement stays calmer.
Comments will load when you reach this part of the walkthrough.