
Chapter Five: The City of Canterbury
Midnight Mysteries: Ghostwriting
Chapter Five The City of Canterbury

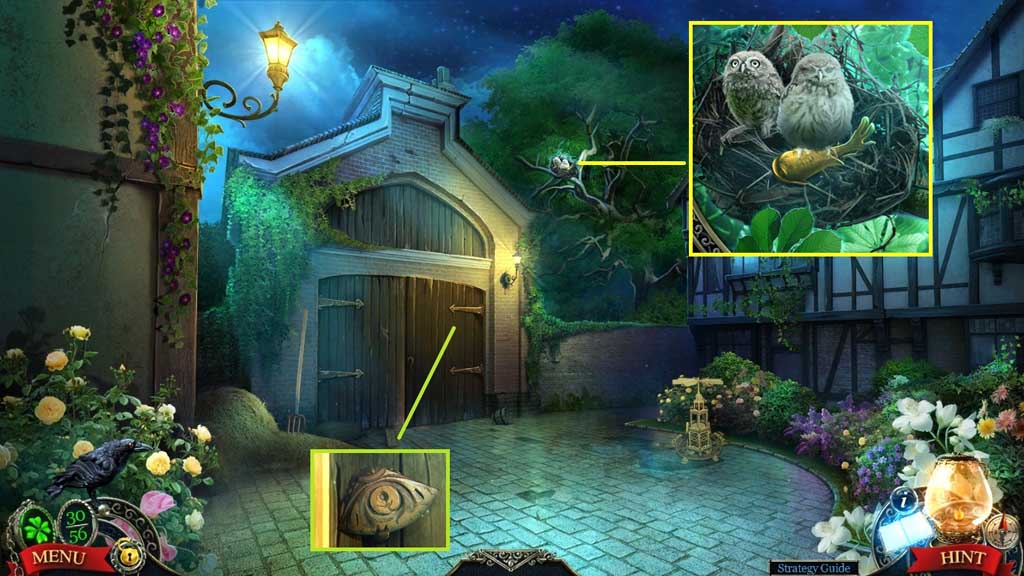
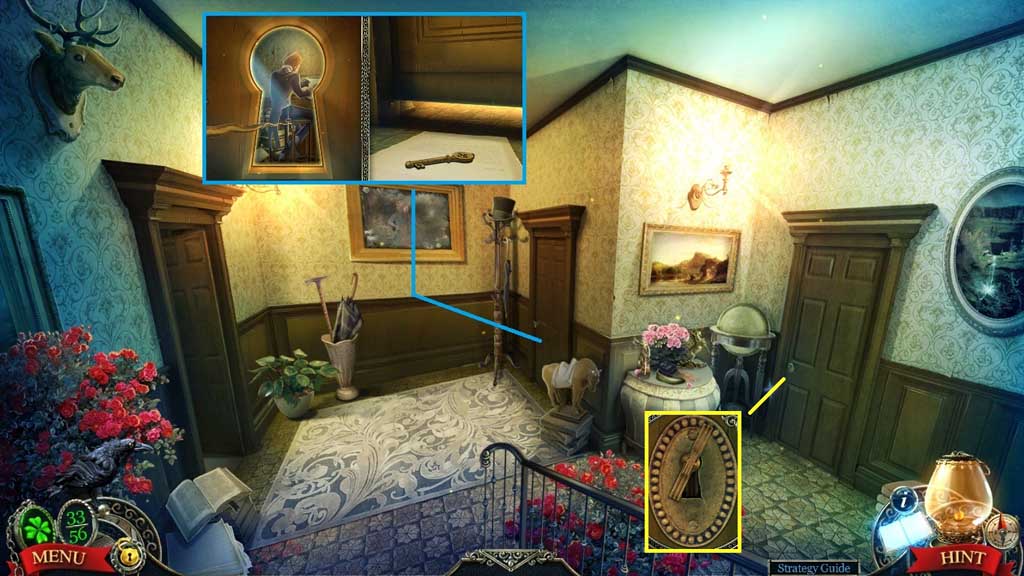
- Collect the golden garnish.
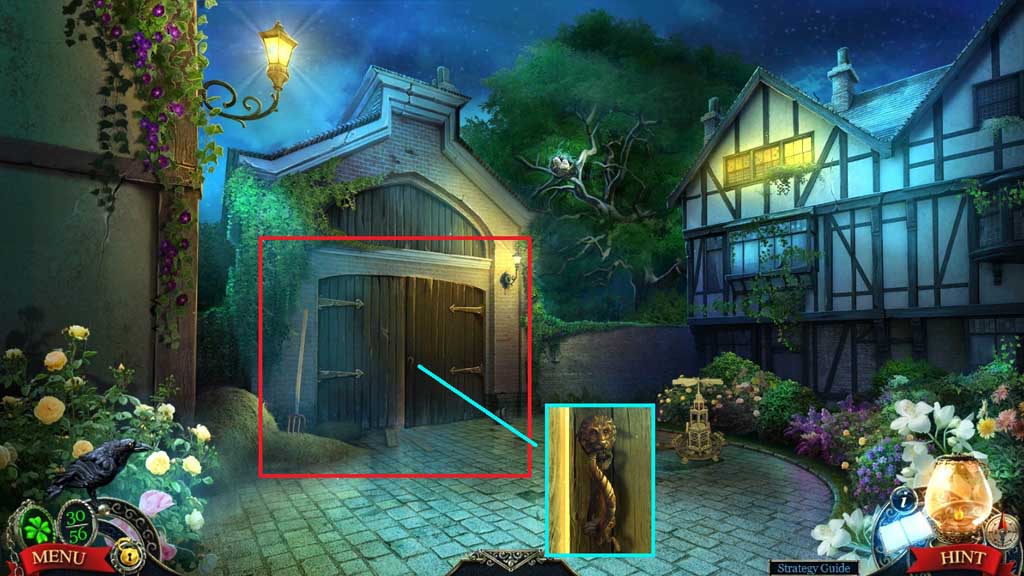
- Click the gate to trigger a mini game.
- Solve the game by clicking the tiles so that each row has 3 related images.
- Move ahead.
- Collect 1 /3 key parts.
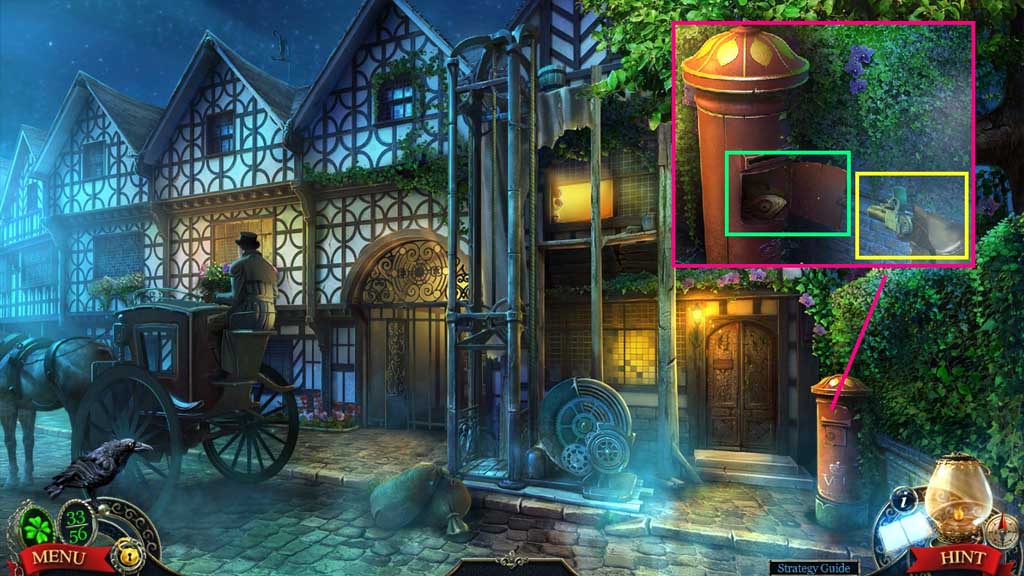
- Select the spyglass to look toward the nest.
- Select the golden garnish to give to the owlets; collect the door knocker.
- Move down once.
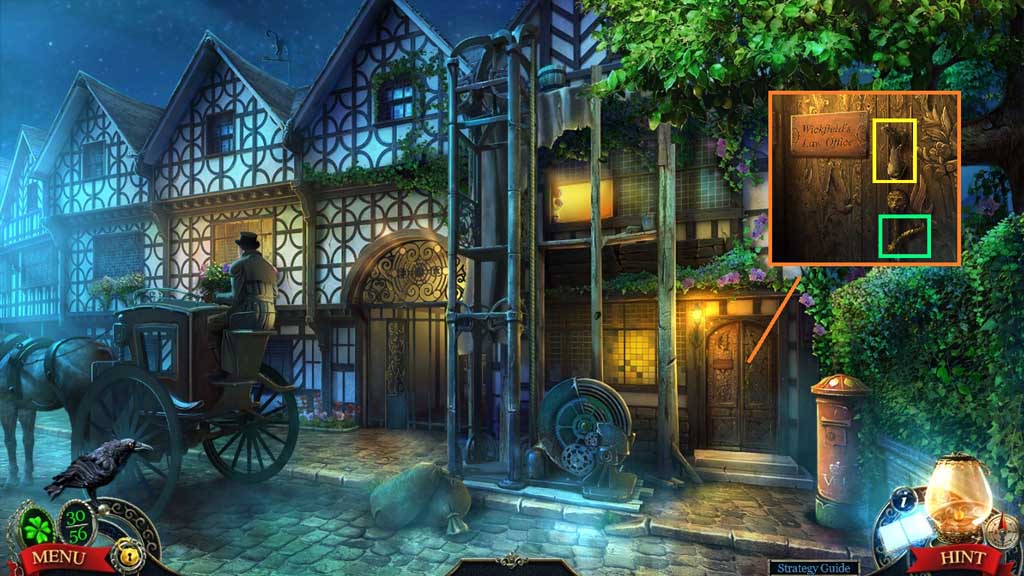
- Attach and click the door knocker.
- Collect the door handle.
- Move ahead.
- Attach and click the door handle to trigger a hidden objects area.

- Find the items.
- Collect the gear.
- Move down once.
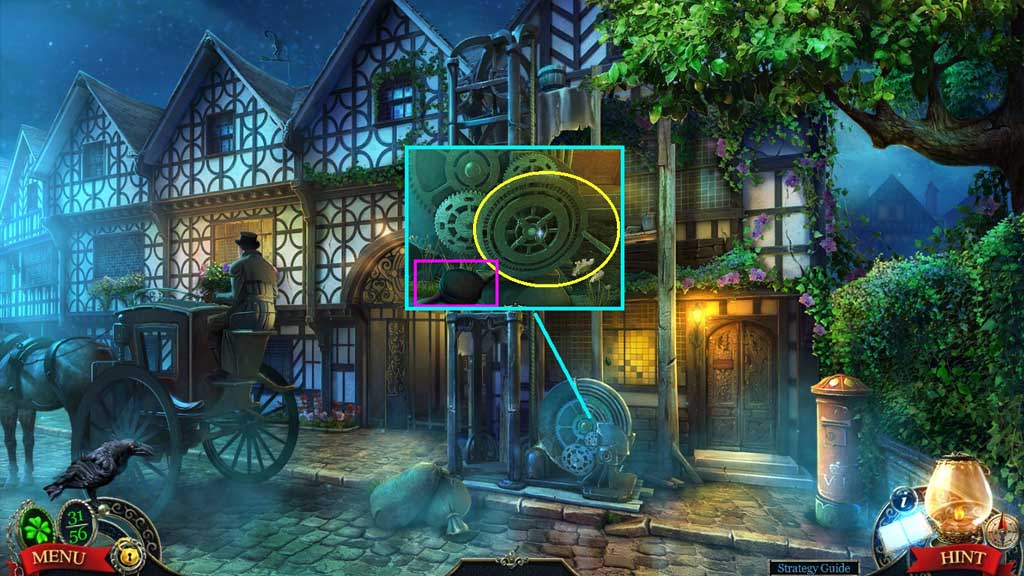
- Collect the bellows.
- Insert and click the gear.
- Move into the elevator.
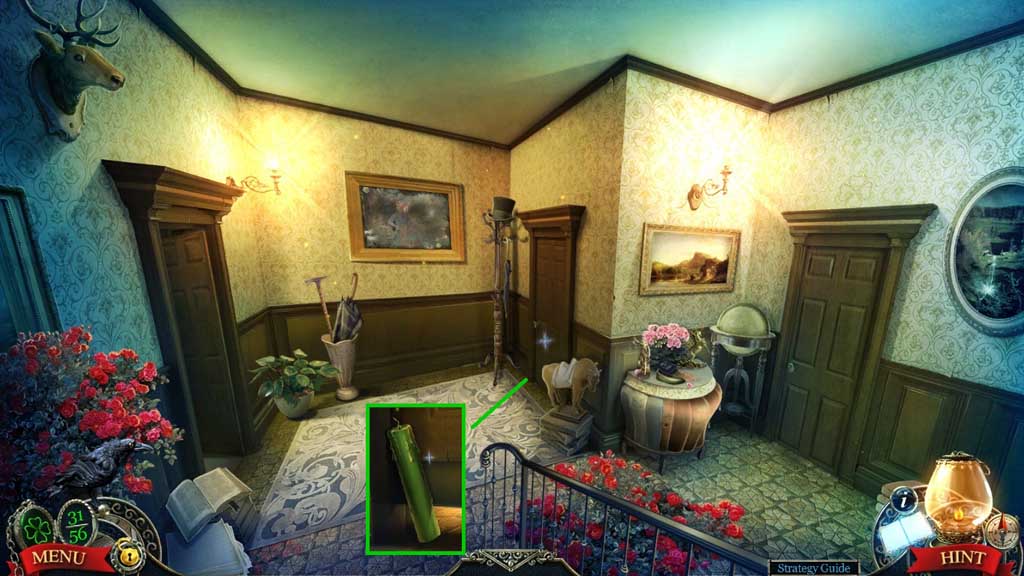
- Collect the green candle.
- Move to the left.
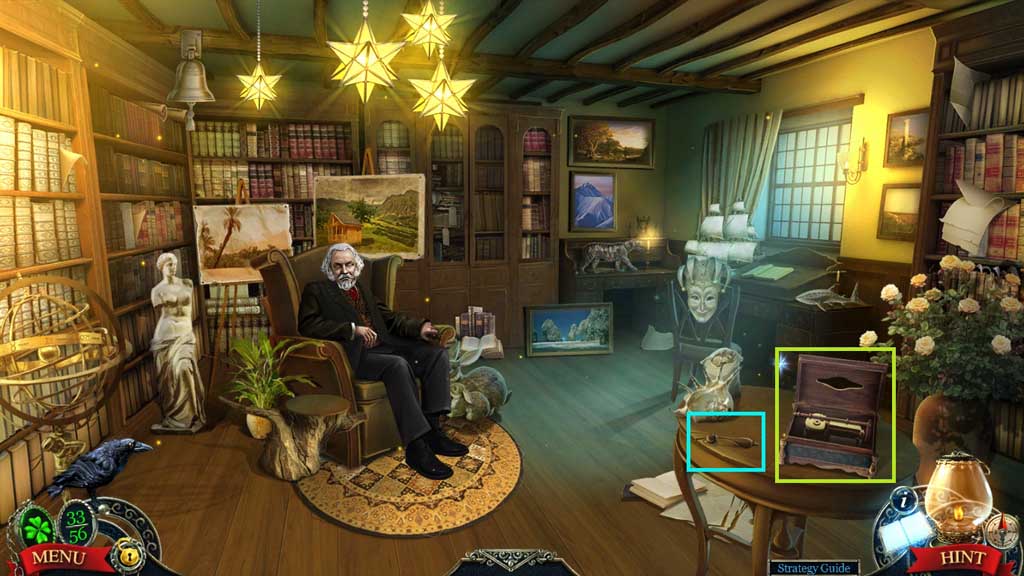
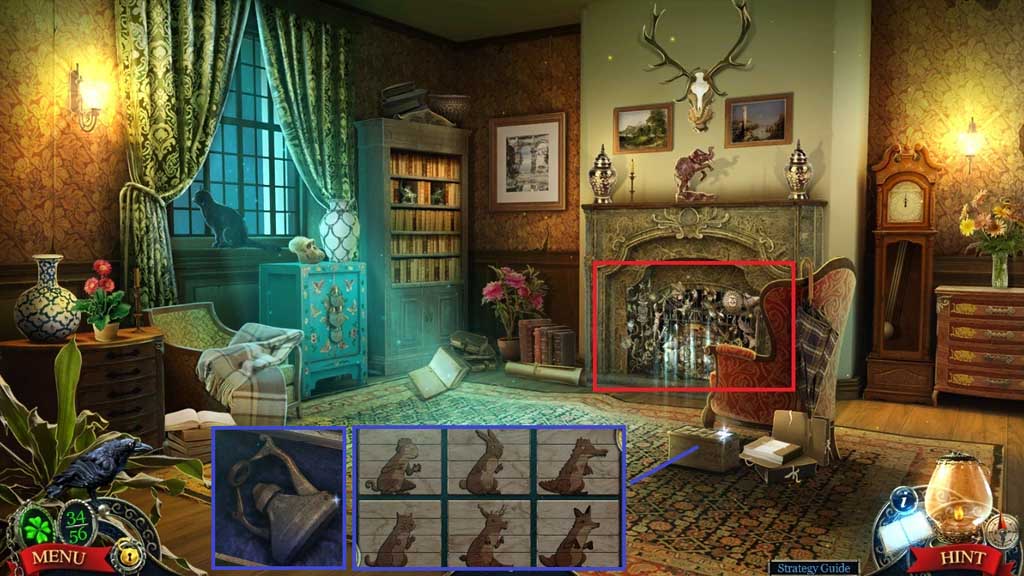
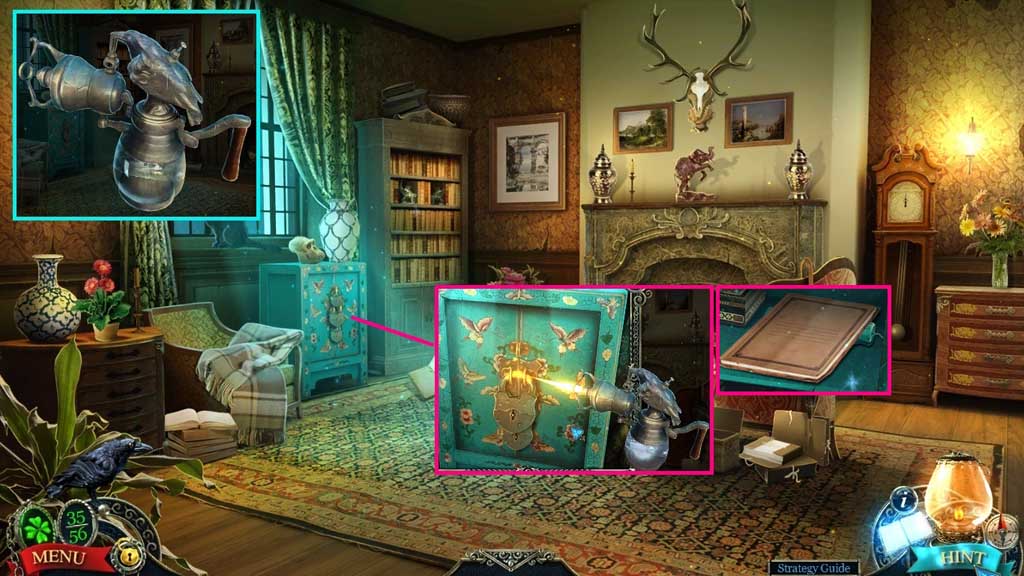
- Collect the soporific music box and the bureau handle.
- Move down once.
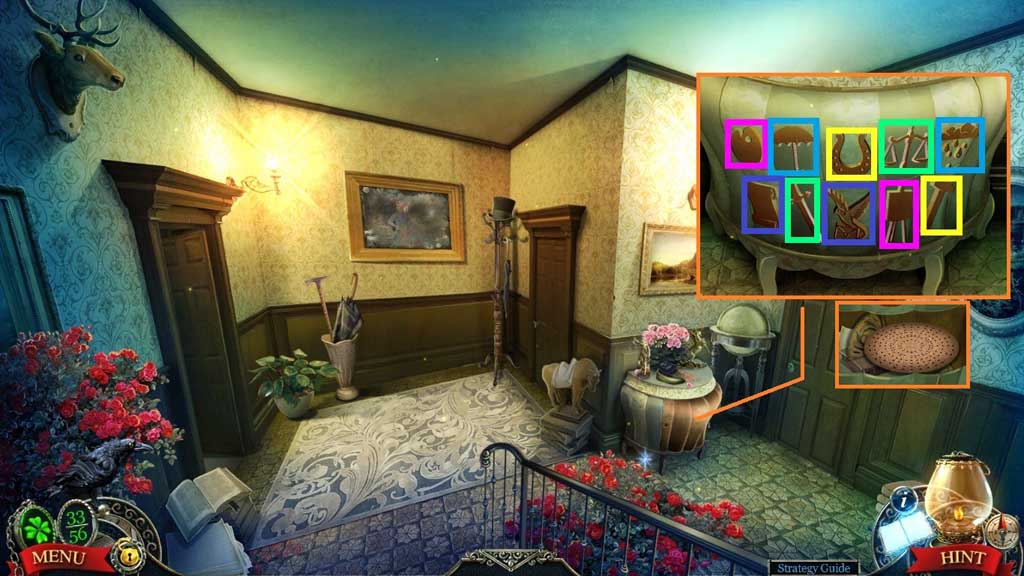
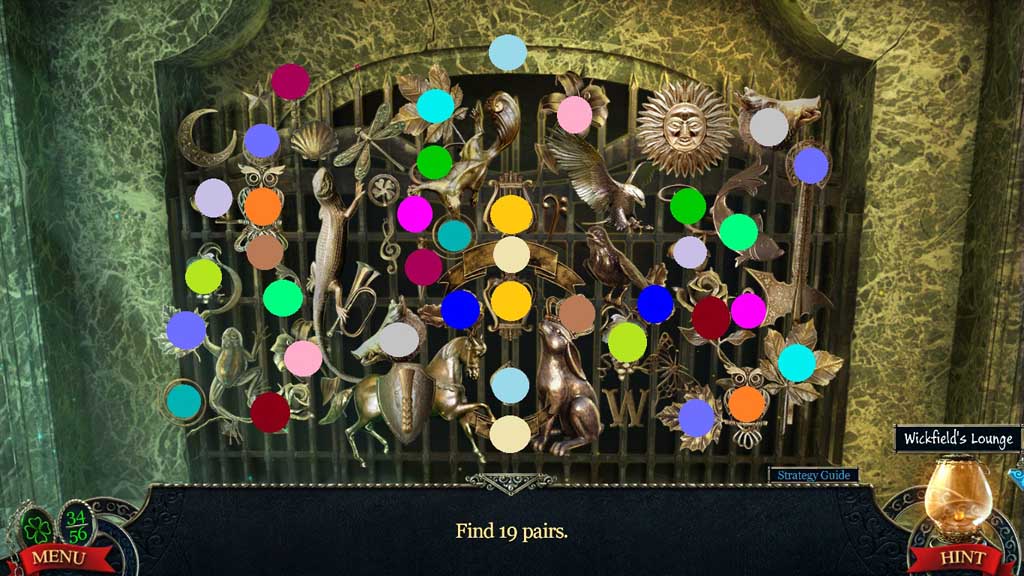
- Attach and click the bureau handle to trigger a mini game.
- Solve the game by selecting the related object pairs.
- Collect the music box cylinder and 2 /3 key parts.
- Move to the left.
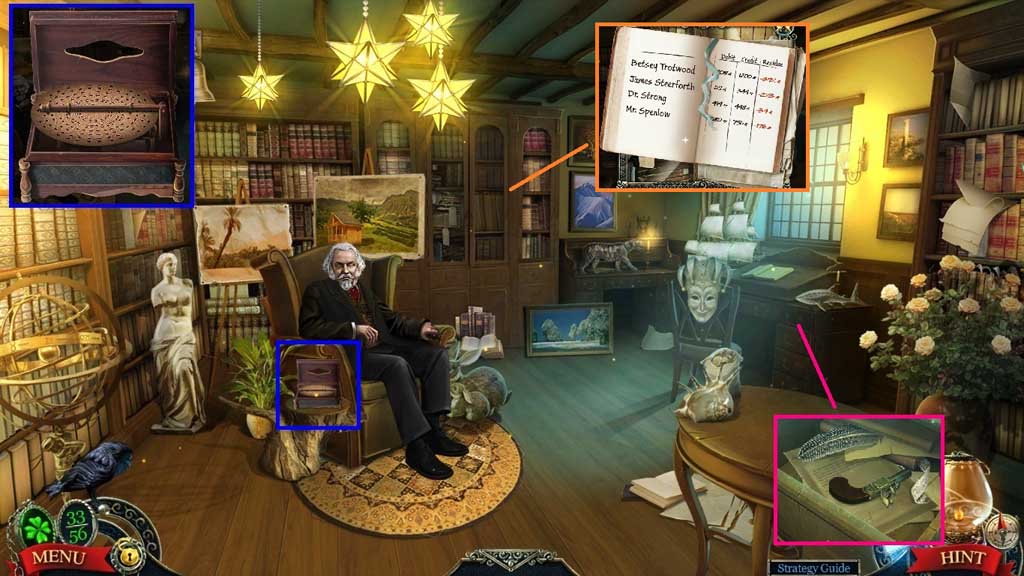
- Attach the music box cylinder onto the soporific music box to create and collect the musical box.
- Place the musical box onto the side table.
- Click the drawer open and collect the pistol, the notice of bankruptcy and the key.
- Insert the key into the cabinet and click the folders aside.
- Collect the wire and read the file.
- Move down once.
- Select the notice of bankruptcy to slide beneath the door and the wire to grab the key.
- Click the notice.
- Collect the key and insert it into the door.
- Move down once.
- Select the pistol to shoot the compartment open; collect 3 /3 key parts.
- Move to Wickfield’s Lounge.
- Insert the 3 key parts to trigger a mini game.
- Solve the game by assembling the images correctly.
- Collect the nozzle.
- Click the hidden objects area.
- Find the paired items.
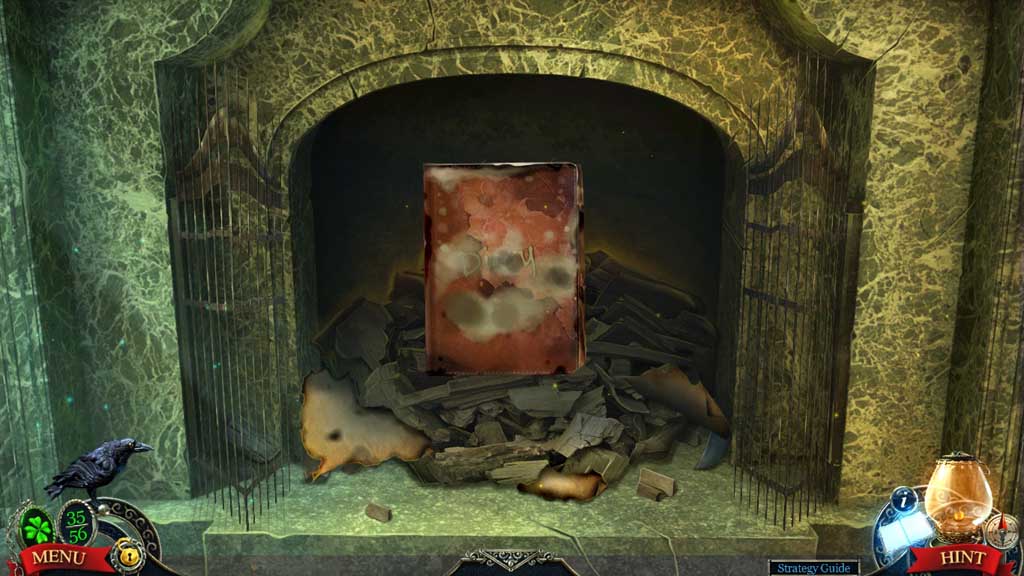
- Remove the diary from the ashes.
- Attach the nozzle onto the lit carbide lamp; collect the modernized carbide lamp.
- Select the modernized carbide lamp and zoom into the cabinet.
- Click it 3x’s; collect the folder and the blue candle.
- Move to the Canterbury Patio.

- Place the blue and green candles into the holders and zoom into the 2nd tier to trigger a mini game.
- Solve the game by clicking the arrows in the correct sequence.
- Use the following solution to solve: A – B x 2 – A
- Collect the bellow part and attach it onto the bellow.
- Move to Wickfield’s Law Office.
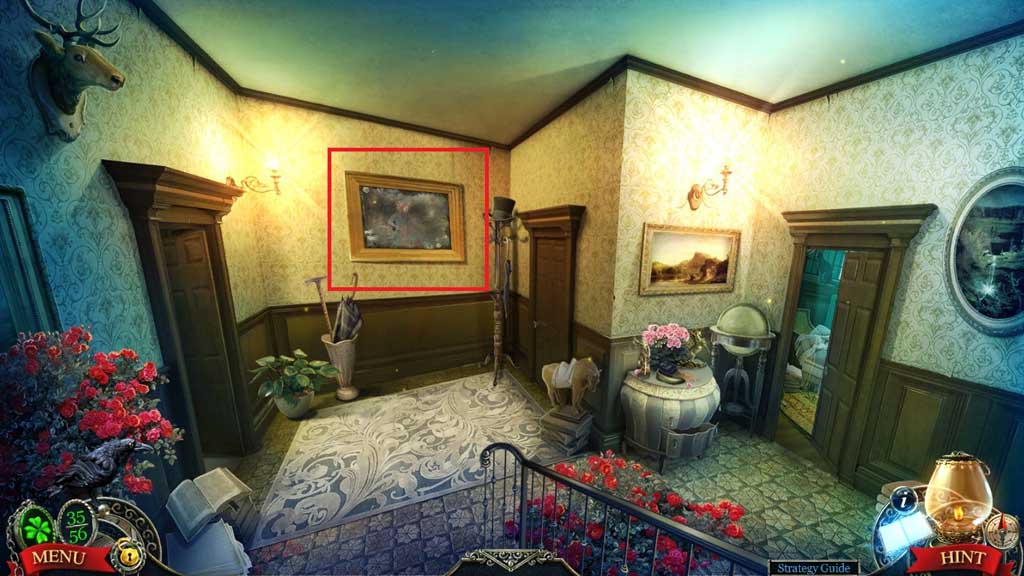
- Select the bellows to remove the dust from the painting and trigger a hidden objects area.
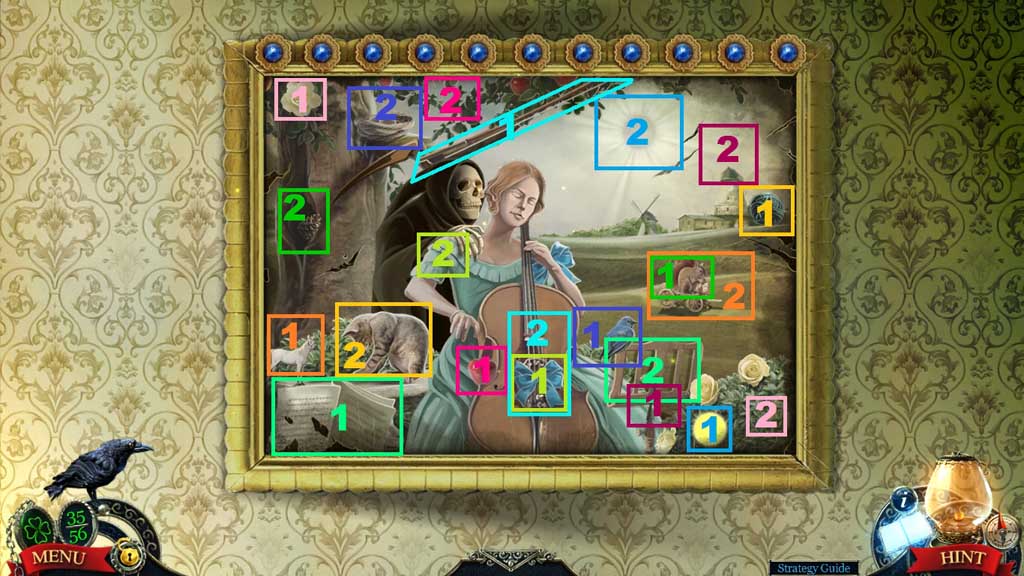
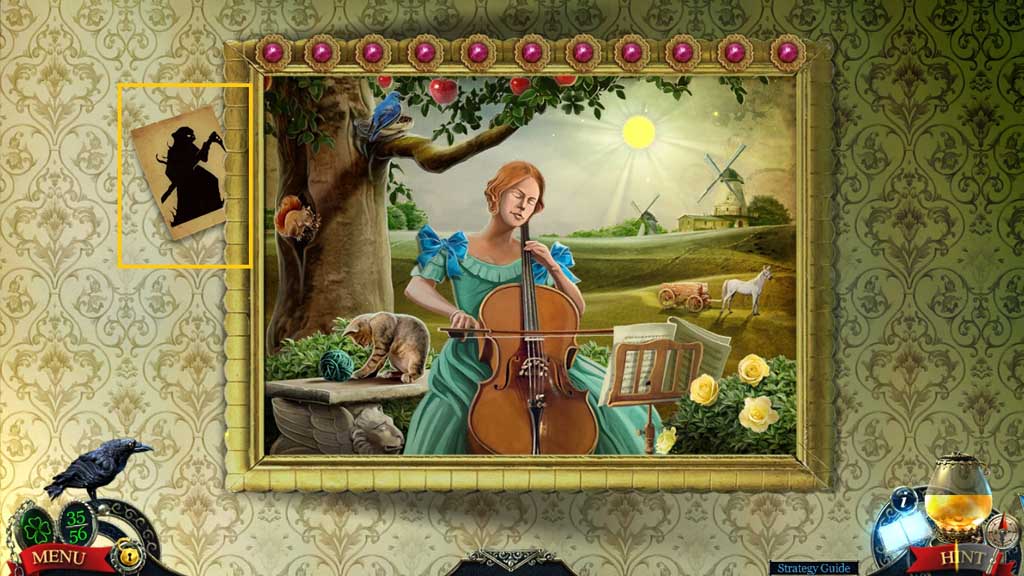
- Find the items and place them correctly in the scene.
- Collect the death figure.
- Move to the right.
- Select the bellows to use on the diary; click and collect it.
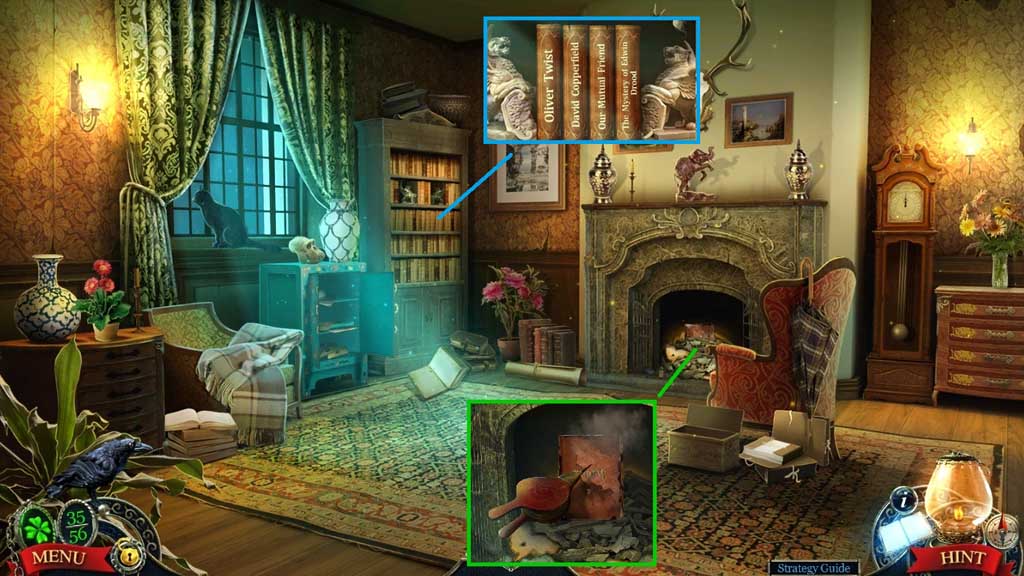
- Zoom into the shelf to trigger a mini game.
- Solve the game by arranging the books correctly.
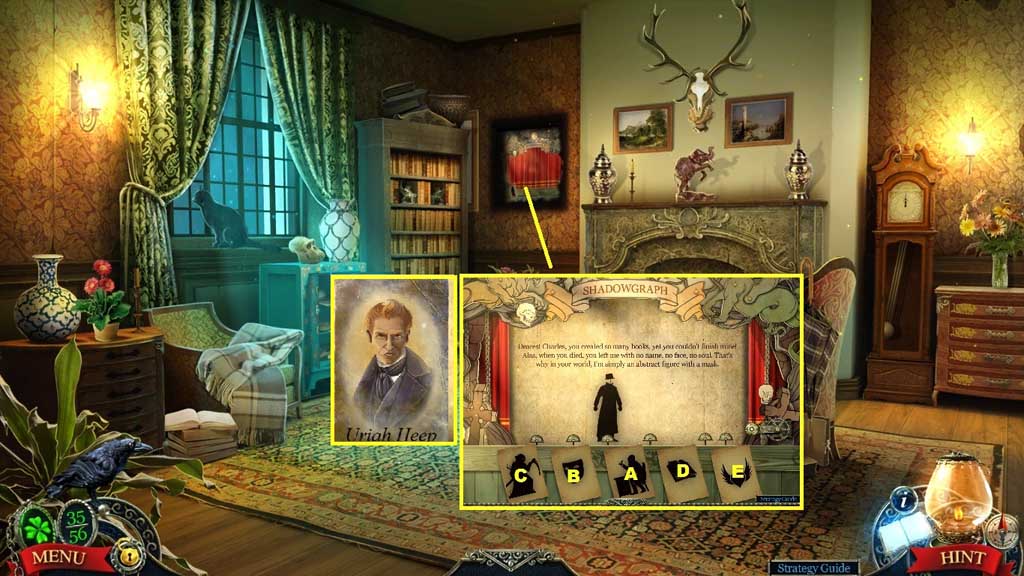
- Insert the death figure to trigger a mini game.
- Solve the game by clicking the shadow pics in the correct sequence.
- Collect Uriah Heep’s photo.
- Move down once.
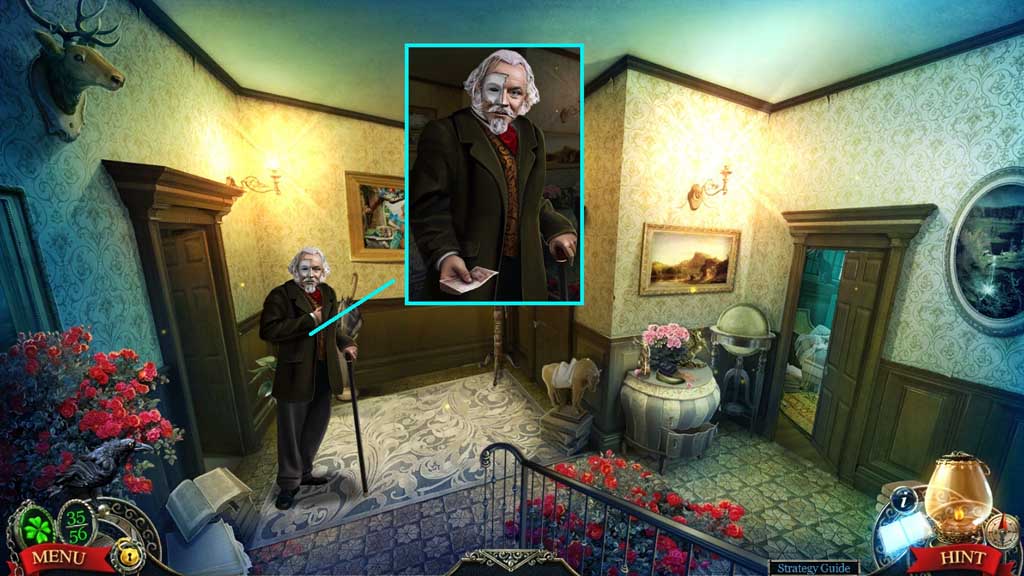
- Speak to the man.
- Collect the banknote.
- Move down once.
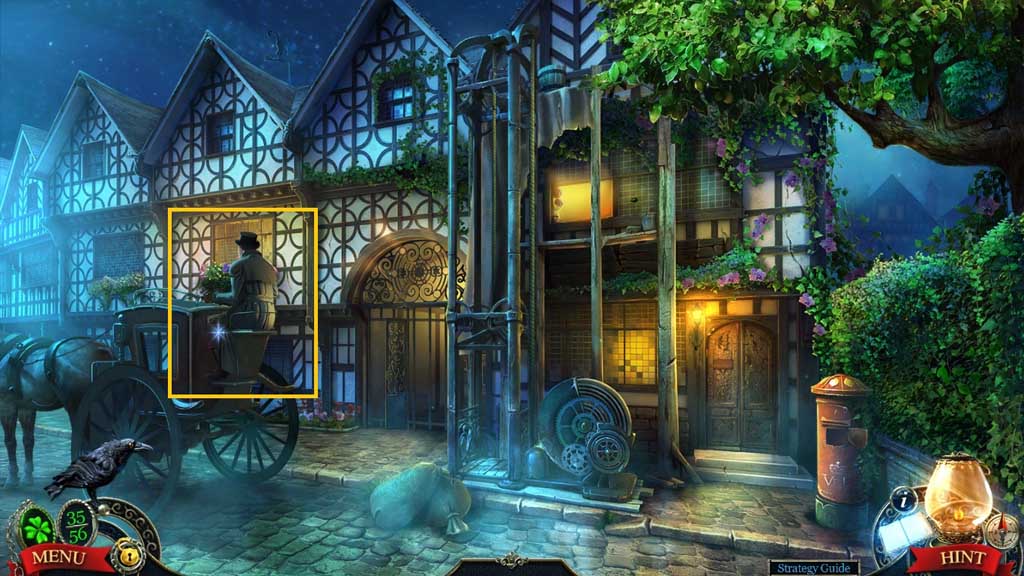
- Select the banknote to give to the coachman.
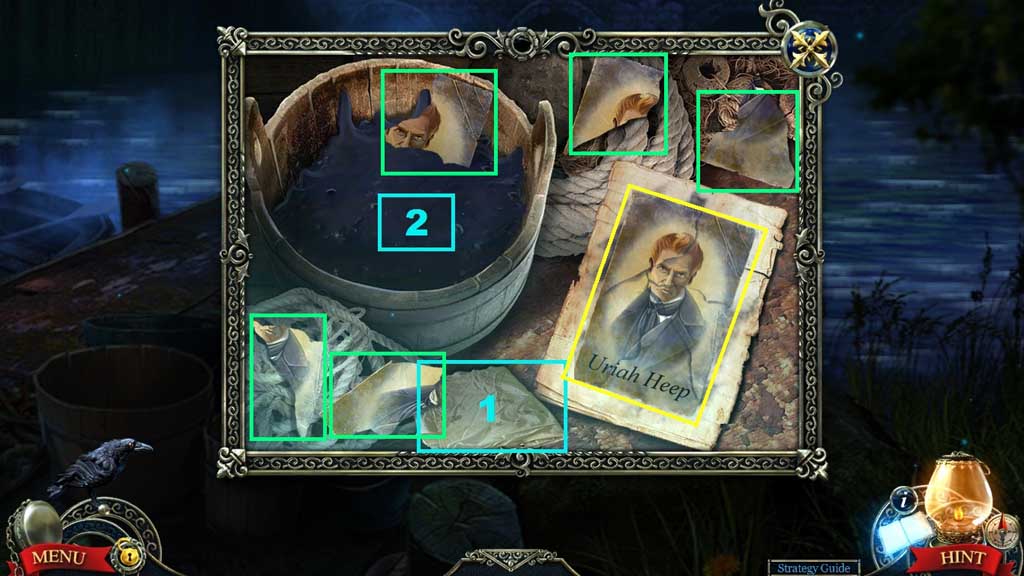
- Select the cloth to dip into the liquid.
- Restore the image.
- Collect Uriah Heep’s photo.
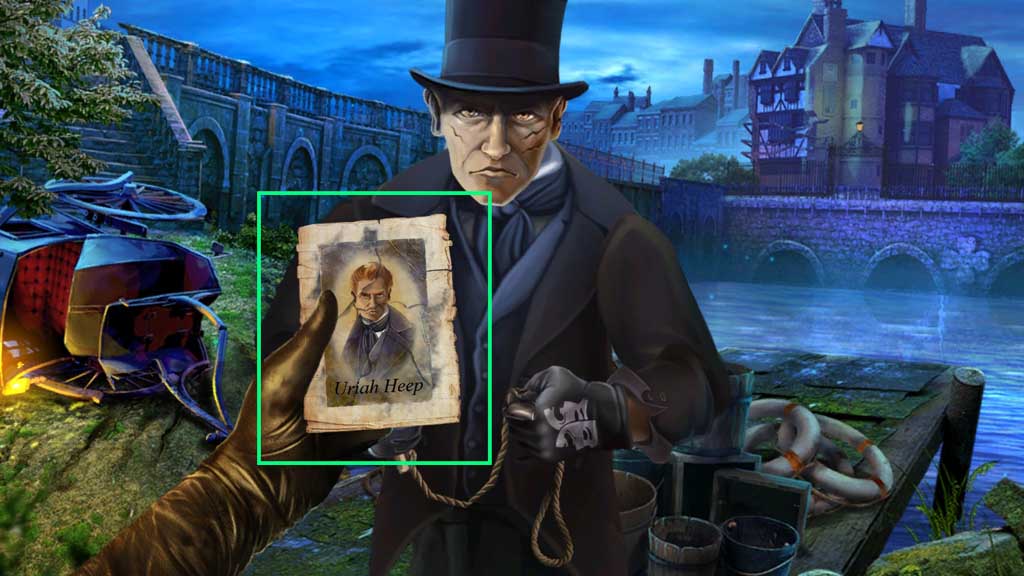
- Select Uriah Heep’s photo to use on the man.
- Enter the portal through the book.
Comments will load when you reach this part of the walkthrough.