

Chapter Four: Candy
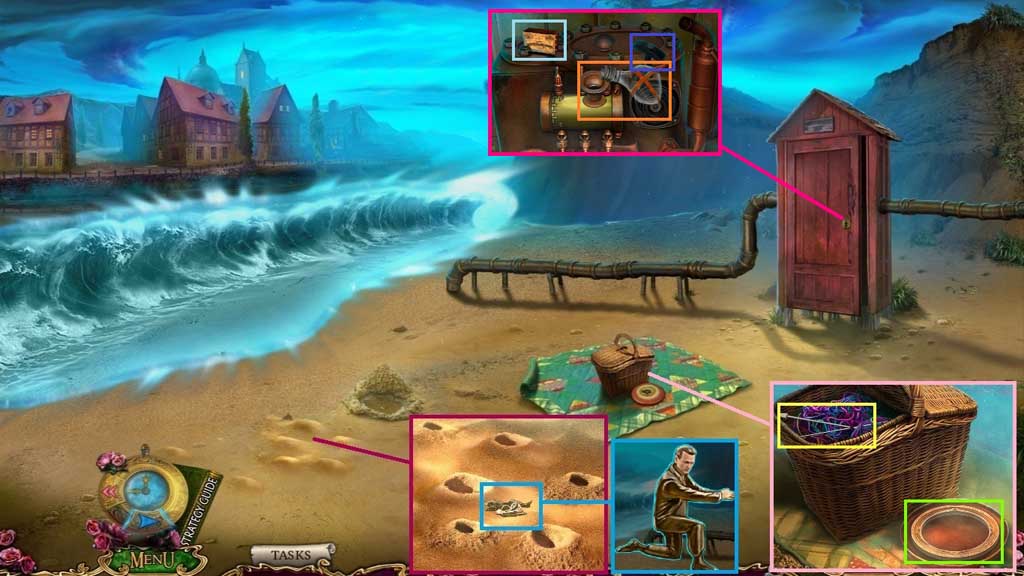
- Click the sand 6x’s; collect the figurine parts and reassemble them.
- Remove the bolt and the cover; collect the disc.
- Click the basket; collect the pins and use them to pick the lock.
- Collect the matches.
- Click the gas cap and use the gas flask to fill the tank.
- Click the cord.
- Select the chronometer to use on the scene.
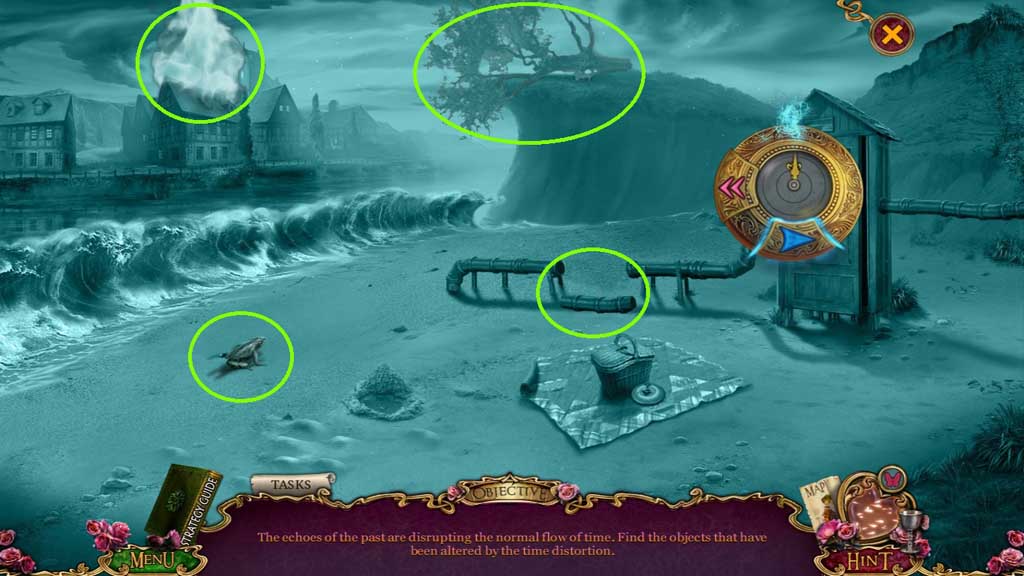
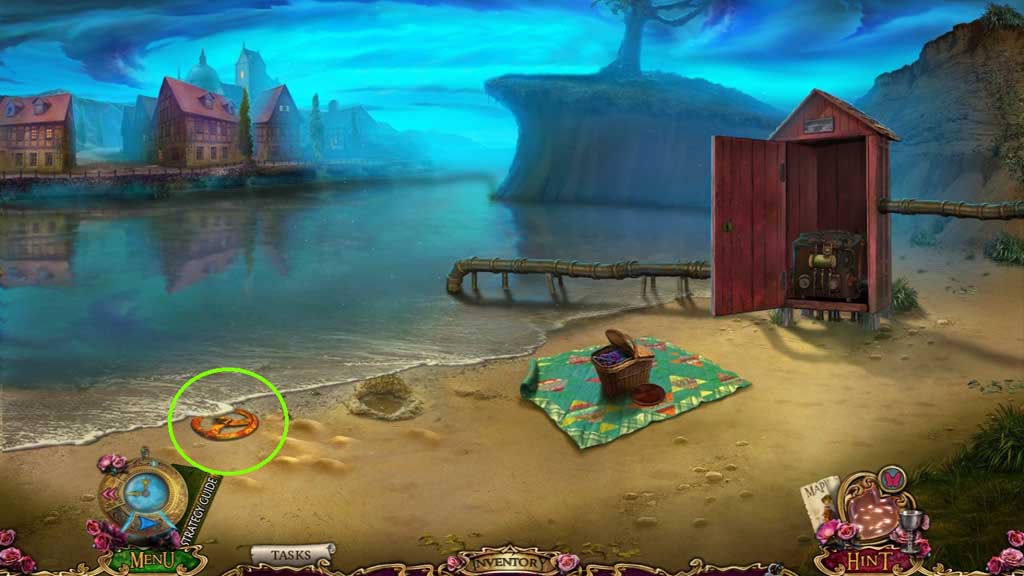
- Click the items that have been altered by time.
- Collect the valve.
- Move down once.
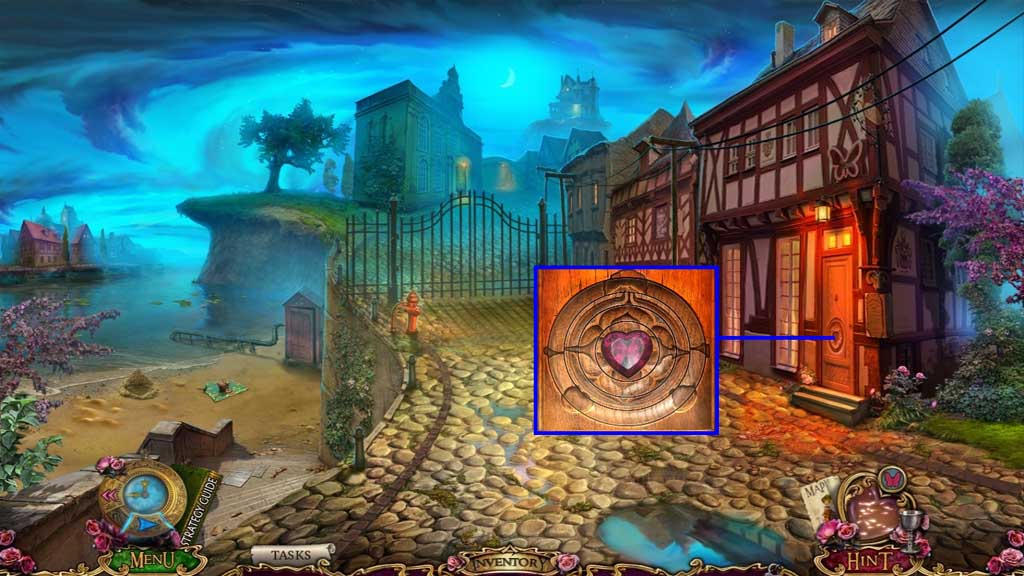
- Insert the ruby heart and the disc.
- Adjust the pieces to restore the lock.
- Move to the right.
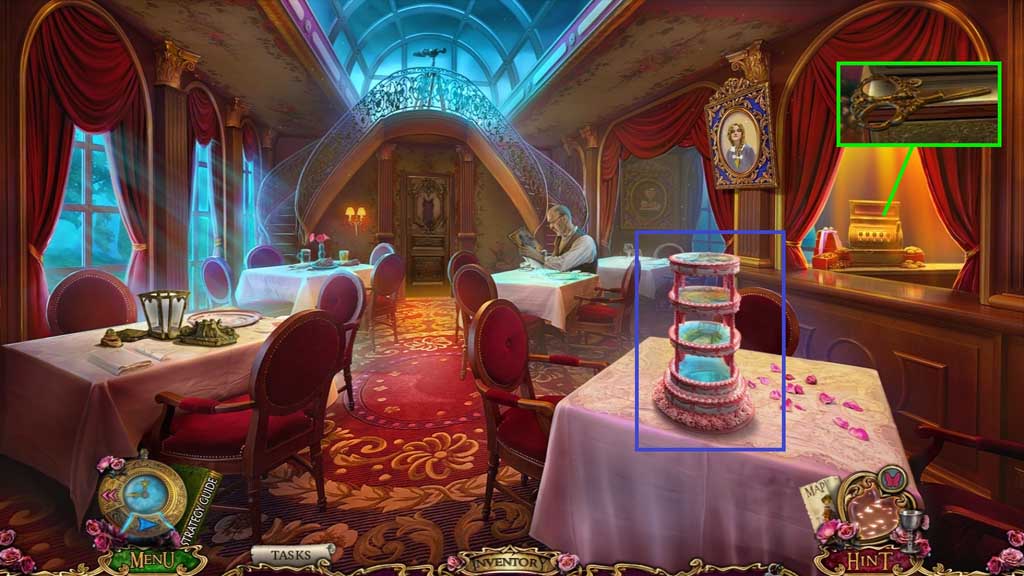
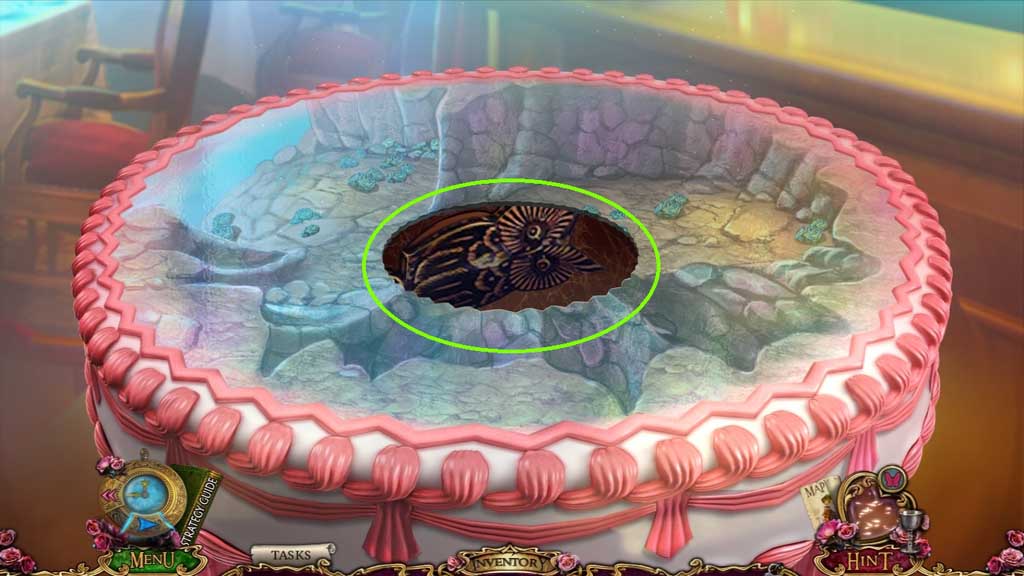
- Collect the scissors.
- Click the cake and place the figurine onto it to trigger a mini game.
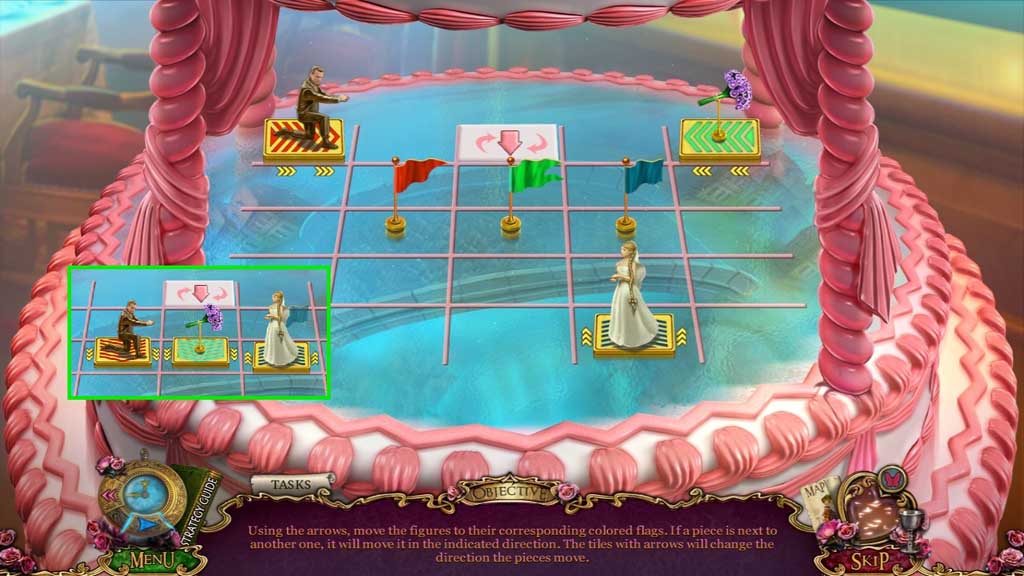
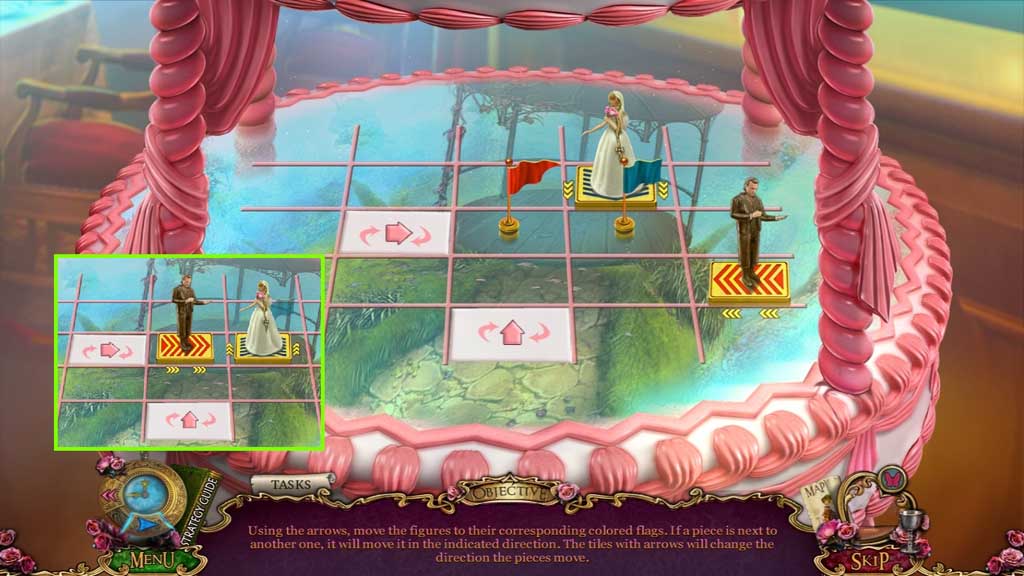
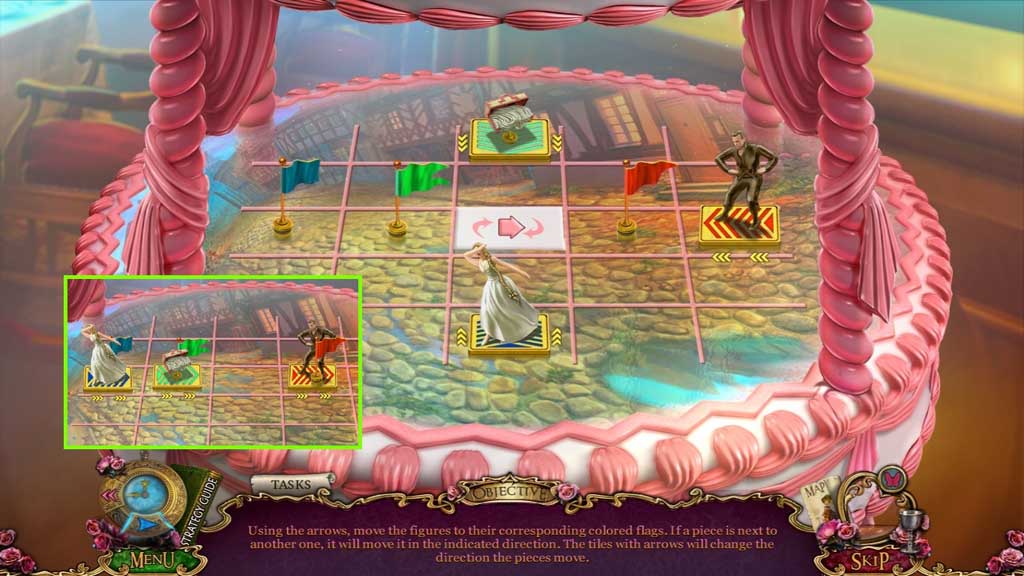
- Solve the game by moving the figures to the correct spots.
- Use the following solution: male 2x’s – flowers 4x’s – male 2x’s – female 2x’s
- female 2x’s – male – female – male – female – male – female – male
- luggage 3x’s – female 2x’s – male 3x’s
- cart – robe – cart – robe – man – robe – cart 3x’s
- Click the cover; collect the owl badge.
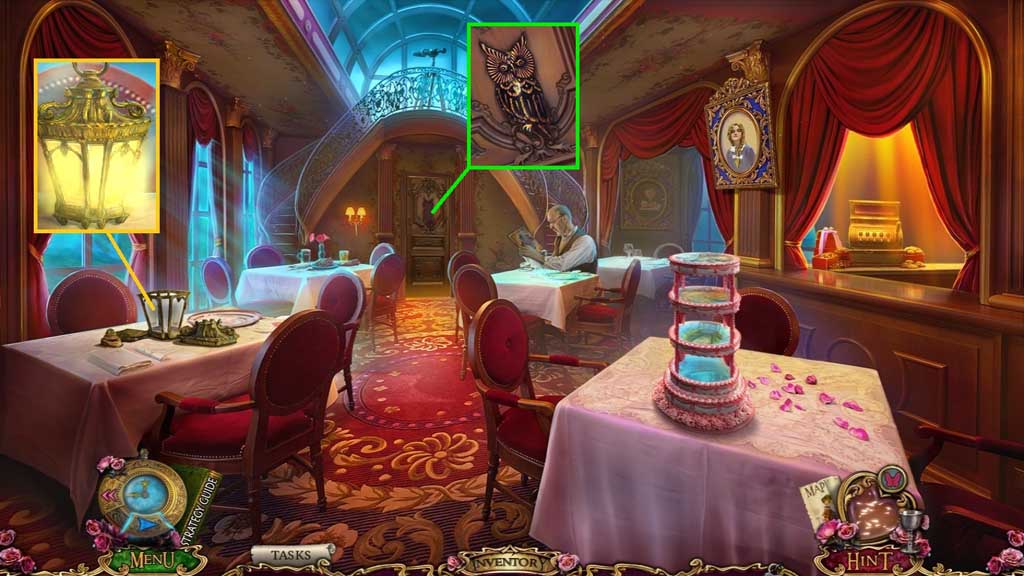
- Assemble the burner and the cover and use the matches to ignite it.
- Place the cover onto the burner; collect the lantern.
- Insert the owl badge.
- Move ahead.
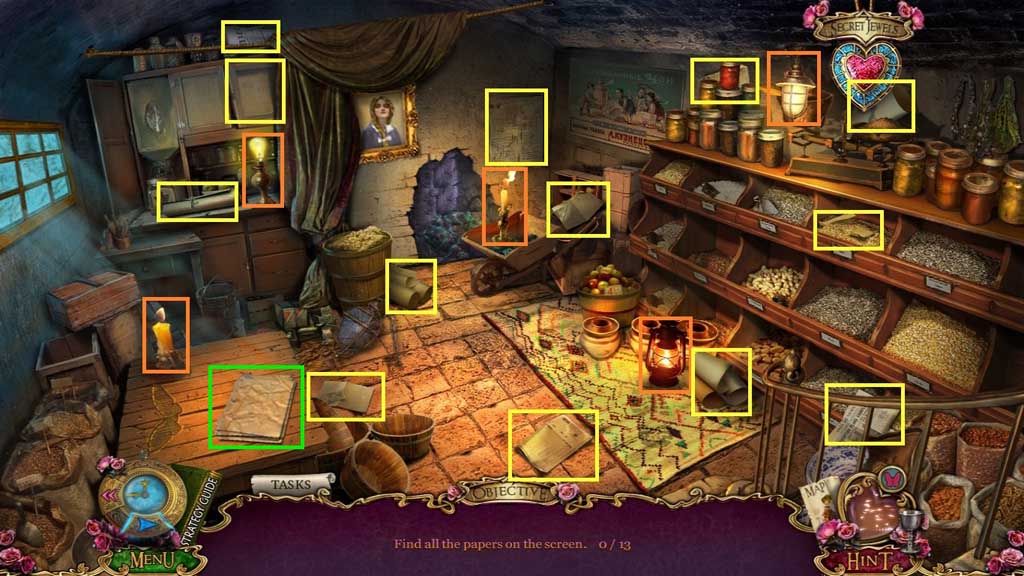
- Select the lantern 5x’s to illuminate the scene and trigger a hidden objects area.
- Find the items.
- Collect the papers.
- Move down once.
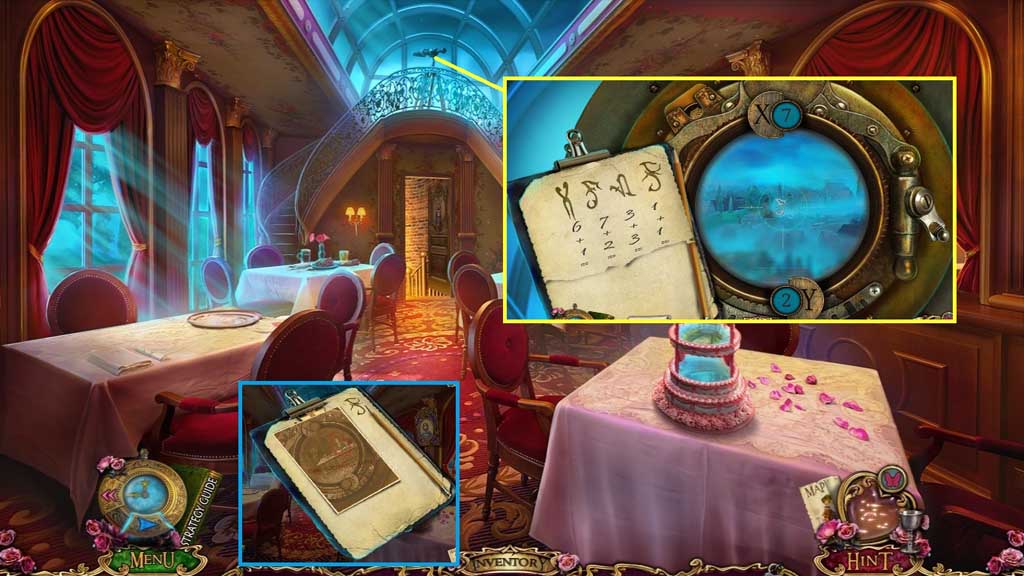
- Read the paper; collect the tablet and the coin.
- Click the telescope and place the tablet and coin to trigger a mini game.
- Solve the game by locating the 4 symbols.
- Use the following X and Y coordinates: ( 6 , 1 ) ( 7 , 2 ) ( 3 , 3 ) ( 1 , 1 )
- Click the lever.
- Collect the code.
- Exit the close-up.
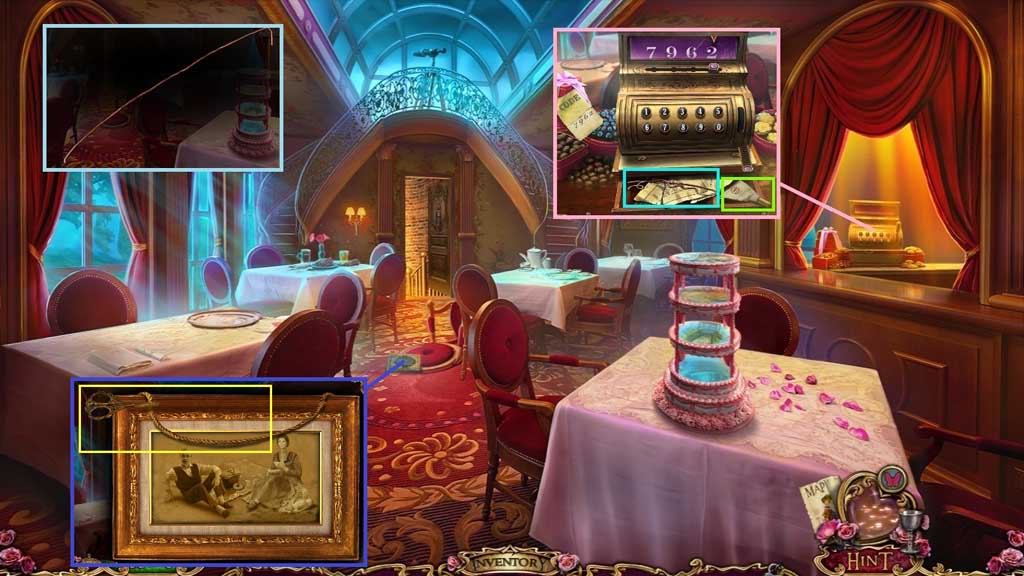
- Place the code down and enter it into the register.
- Collect the wire and the pastry bag.
- Click the wire 5x’s.
- Collect the portrait and use the scissors 2x’s on it to collect the cord.
- Move down once and to the left.
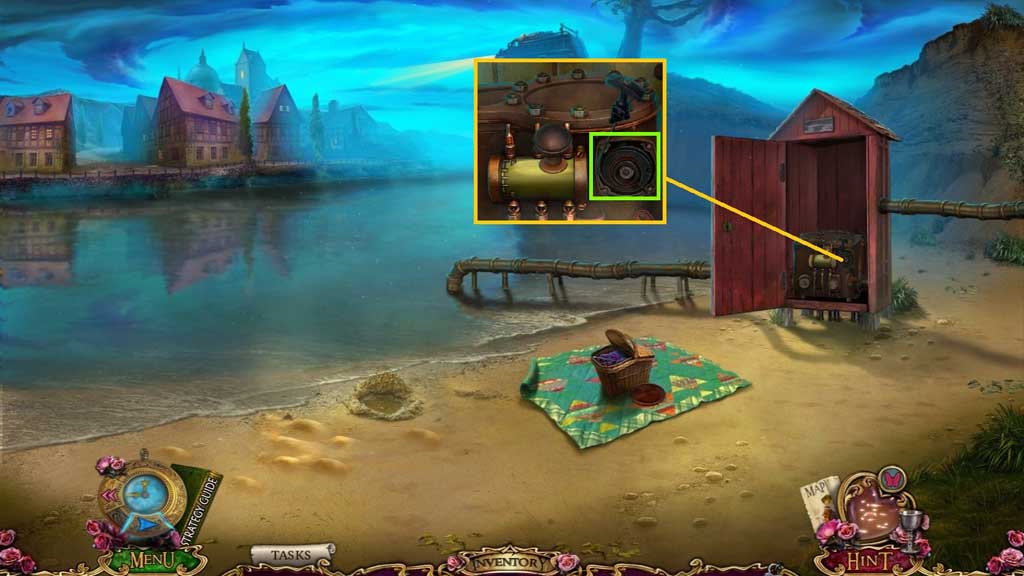
- Attach and click the cord.
- Move down once.
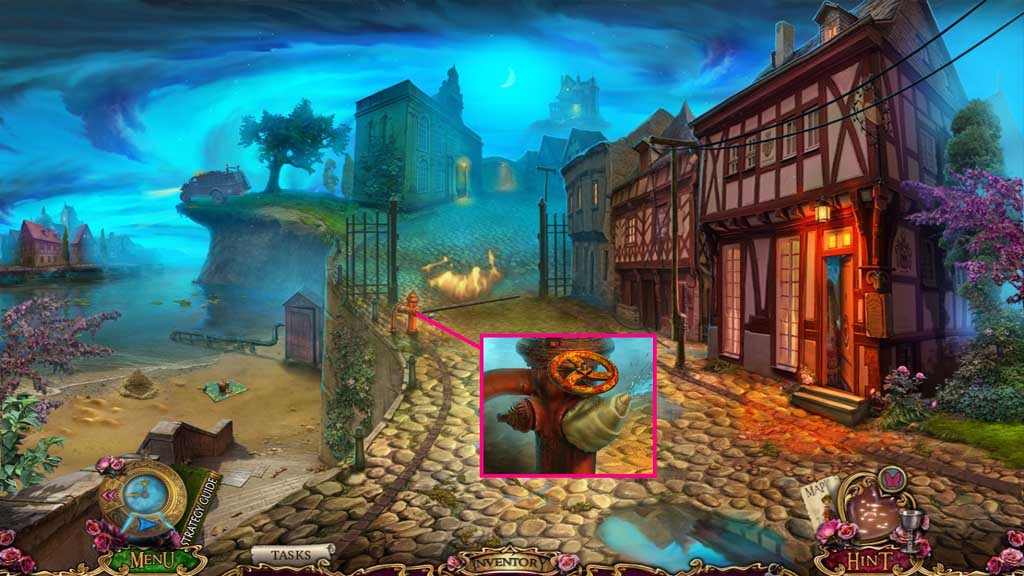
- Attach the valve and the pastry bag.
- Move ahead once and to the left and click the hidden objects area.
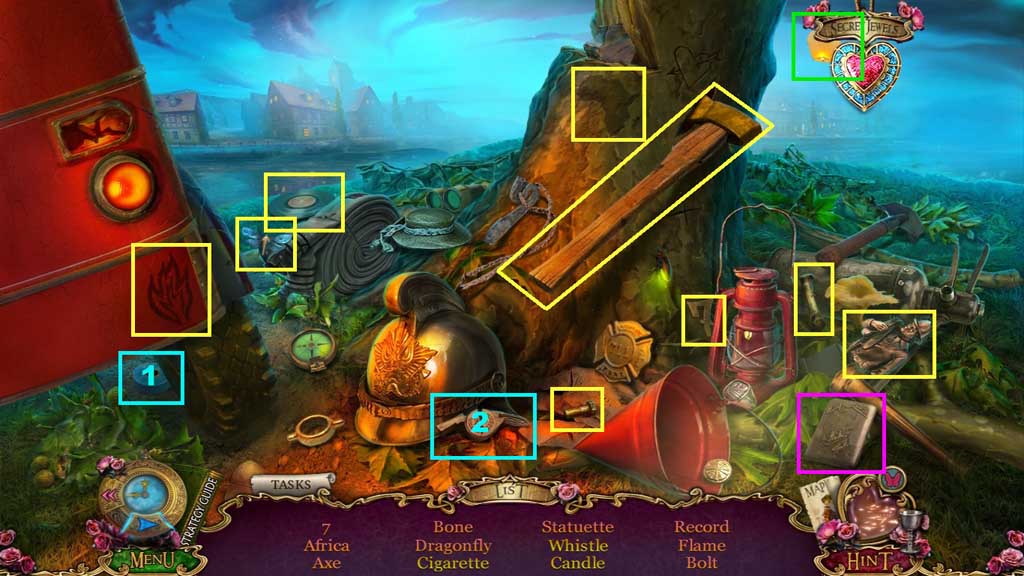
- Find the items.
- Collect the axe.
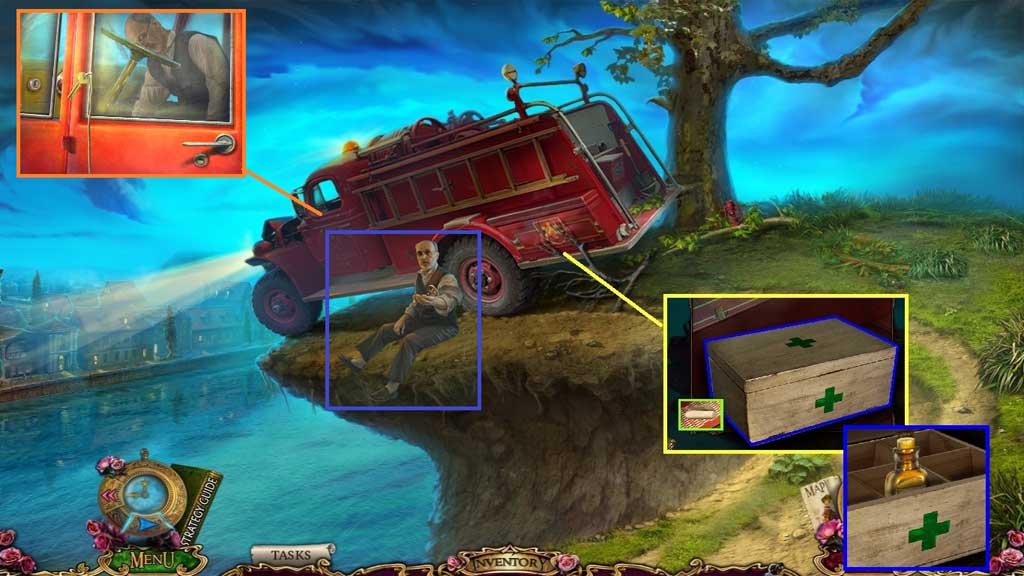
- Click the 3 branches.
- Click the latches and cover; collect the bandage and medical kit.
- Click the medical kit; collect the ammonia.
- Click the window and insert the wire hook to collect the fire truck key.
- Insert the fire truck key into the truck door.
- Select the ammonia to revive the driver.
- Give the bandage to the driver; collect the city hall key.
- Move down once.
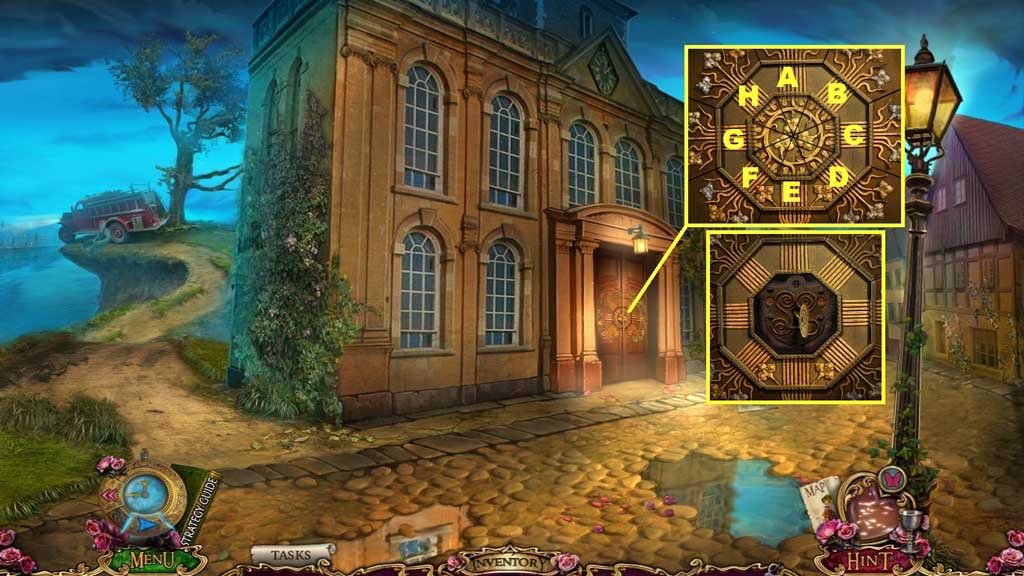
- Click the buttons in ABC order.
- Insert the city hall key.
- Move ahead.
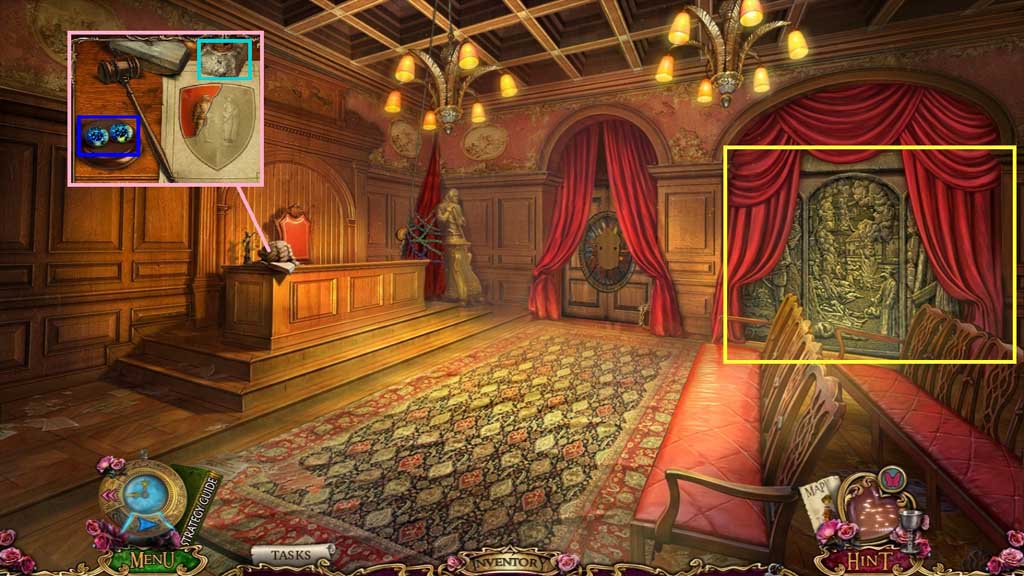
- Collect the round gems and the inkpot.
- Click the fresco to trigger a mini game.
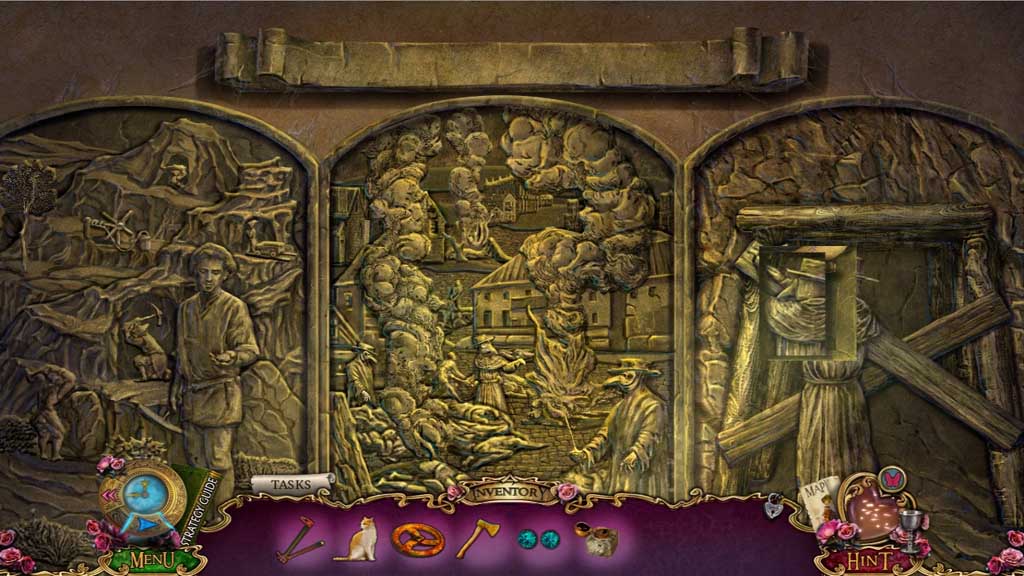
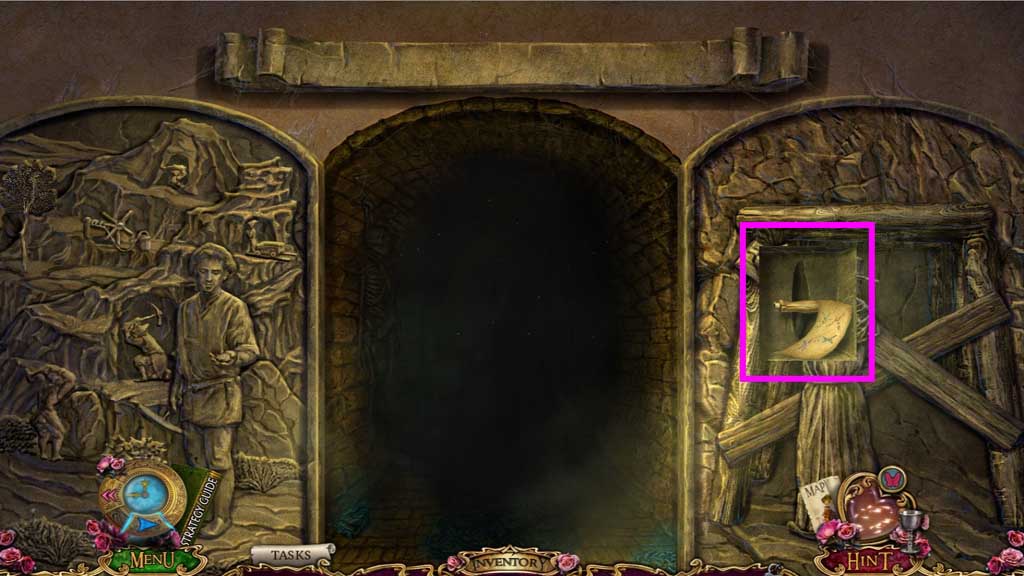
- Solve the game by restoring the panels.
- Click the switch; collect the ties note.
- Exit the fresco close-up.
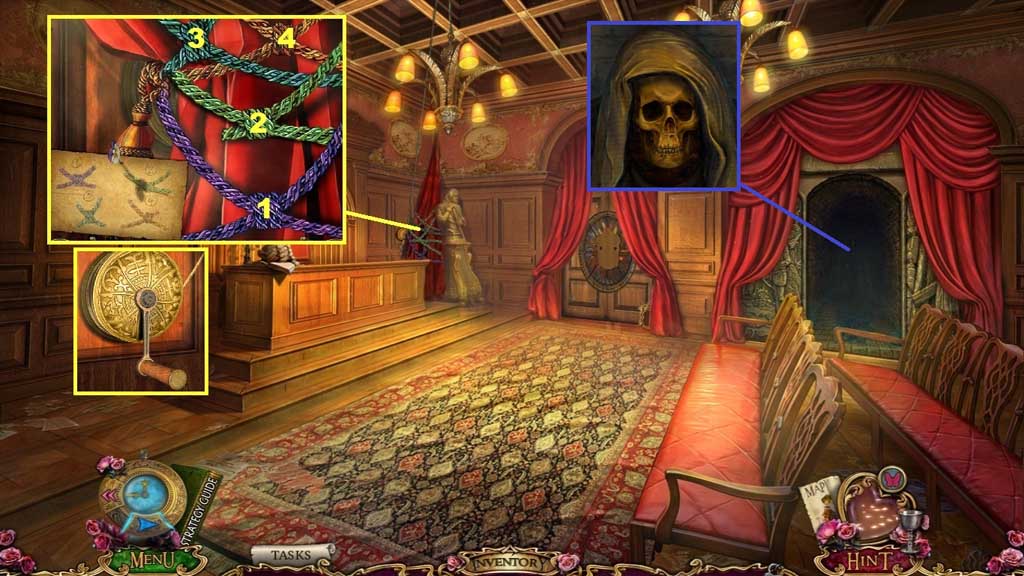
- Place the ties note.
- Click the ties in order.
- Click the crank.
- Collect the skull.
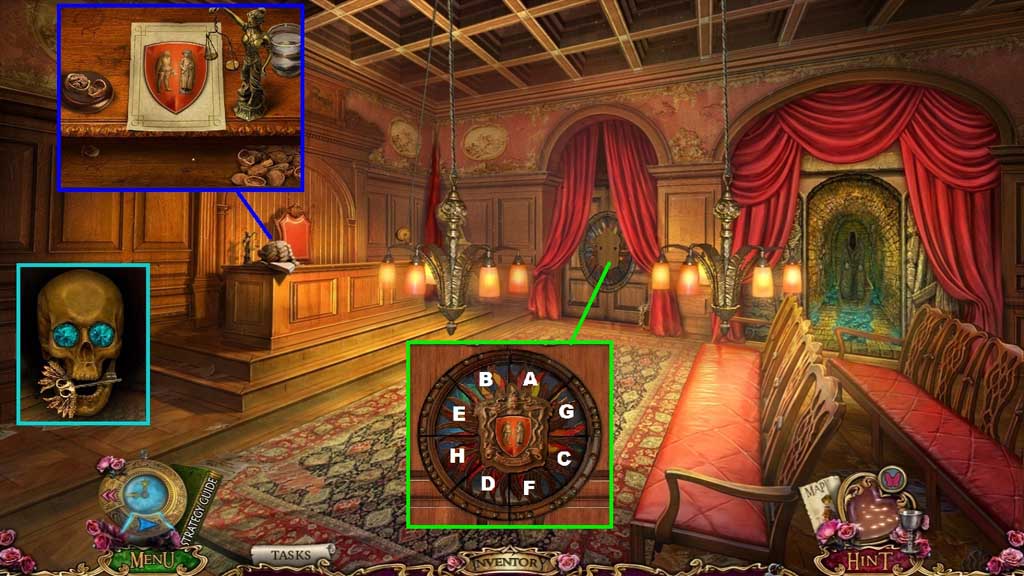
- Insert the round gems into the skull; collect the winged key.
- Click the blotter aside and insert the winged key.
- Click the nuts aside; place the scales onto the figurine.
- Reassemble the pieces and collect the coat of arms.
- Click the nut and select the gravel; collect the tasty walnut.
- Click the frame and insert the coat of arms.
- Click the segments in ABC order.
- Move ahead.
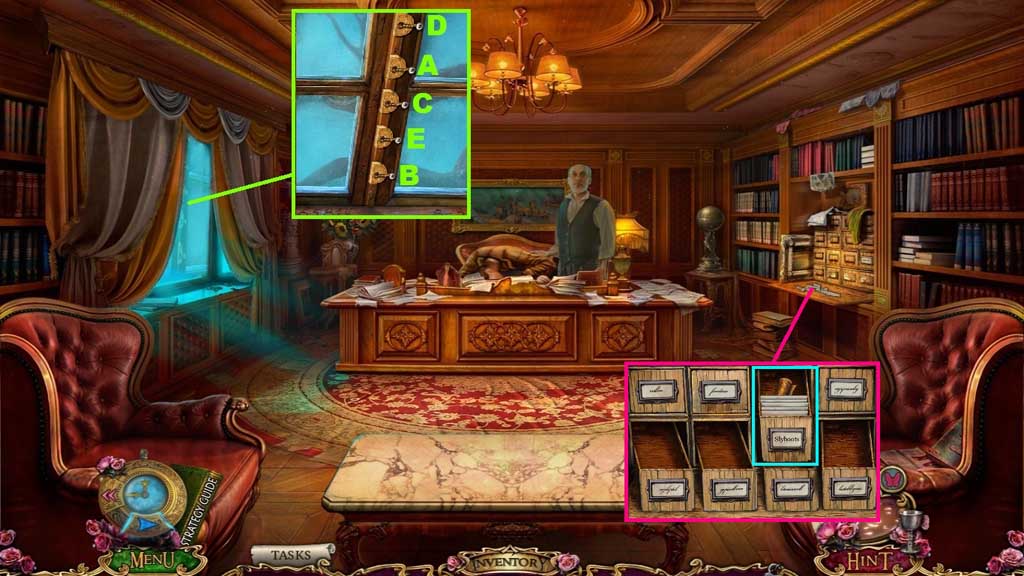
- Click the window locks in ABC order.
- Restore the tags.
- Read the papers and collect the scroll.
- Move down 2x’s.
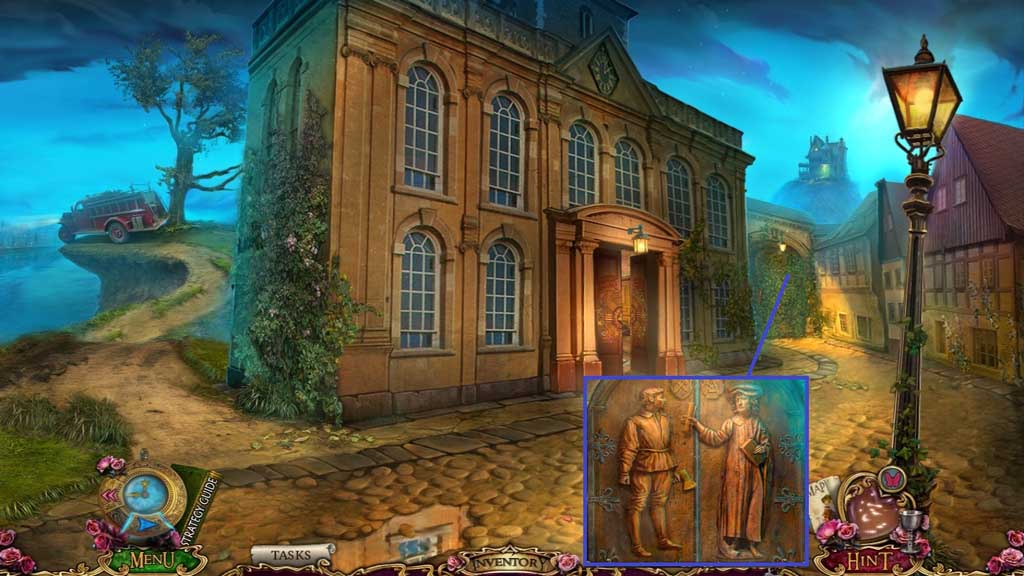
- Select the axe to use 3x’s on the overgrown greenery.
- Place the axe and the scroll into the door.
- Move ahead and to the right.
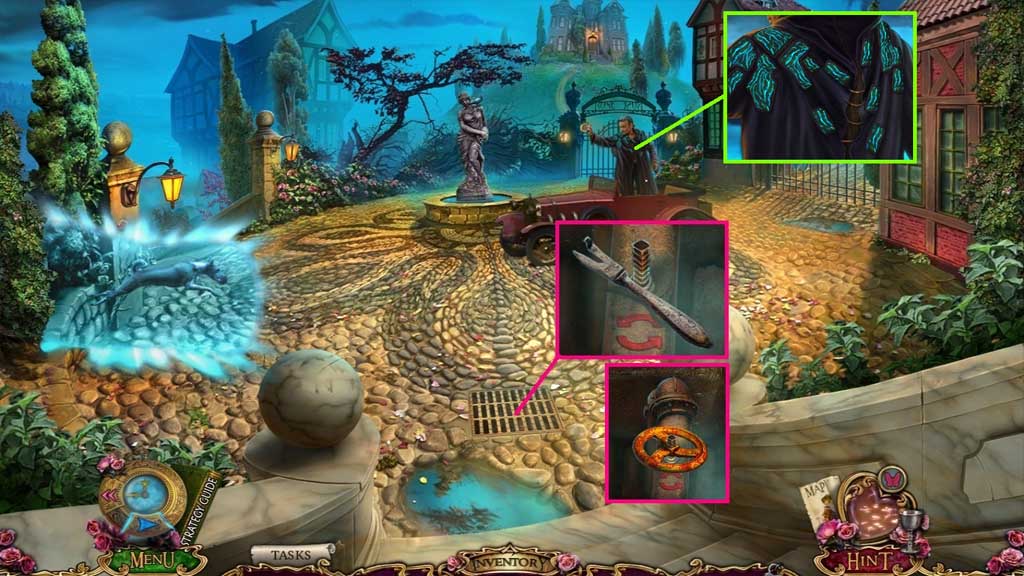
- Click the grate; collect the can opener.
- Attach and click the valve.
- Click the cloak 3x’s to remove it.
- Select the chronometer to use on the scene.
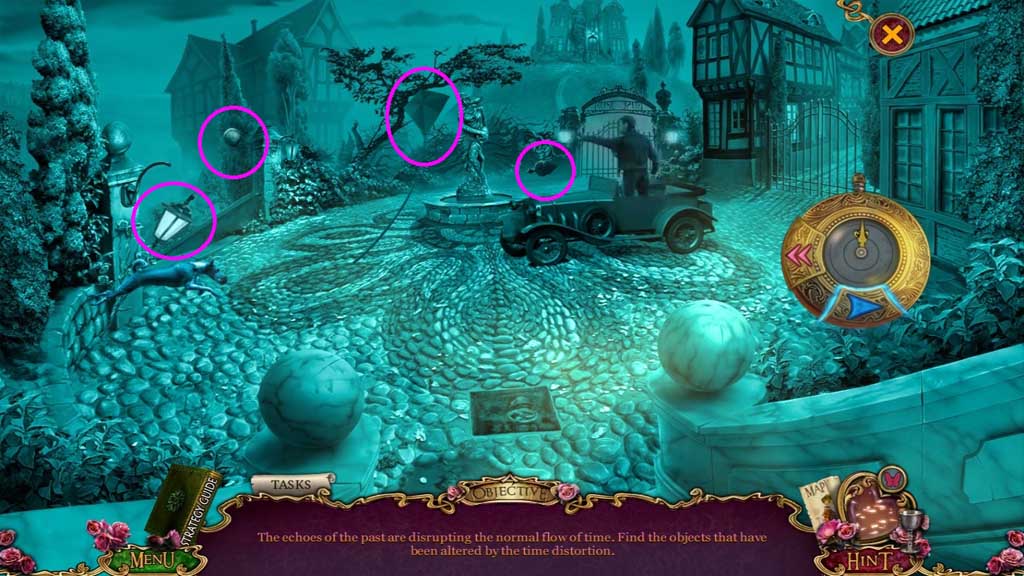
- Click the items that have been altered by time.
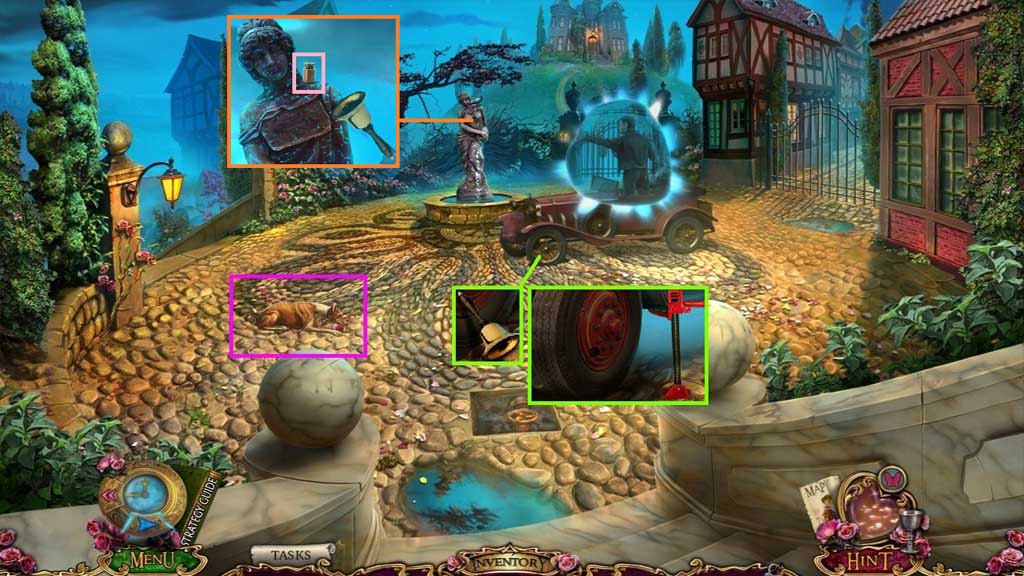
- Select the cat to distract the dog and collect the ball.
- Collect the bell.
- Place and click the jack 3x’s.
- Select the bell to distract the bird; collect the small weight.
- Move to the left.
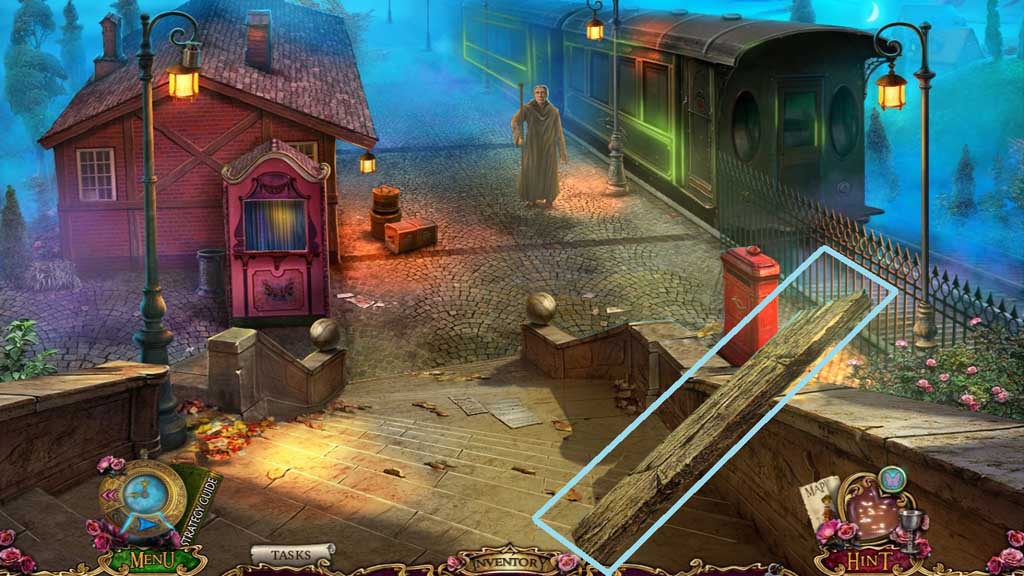
- Collect the firm plank.
- Move down once.
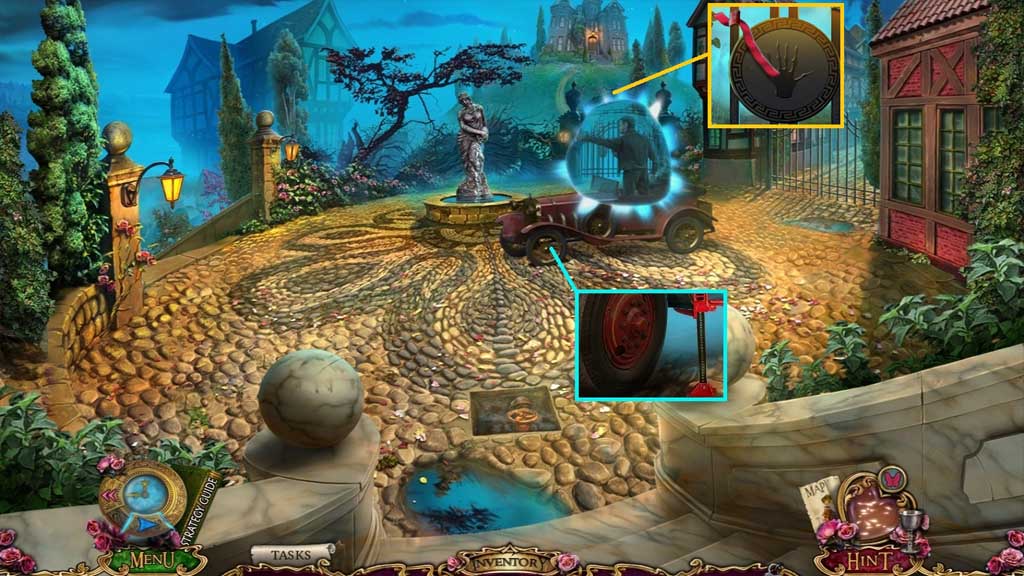
- Place down the firm plank beneath the wheel.
- Collect the cloth strip.
- Move to the left.
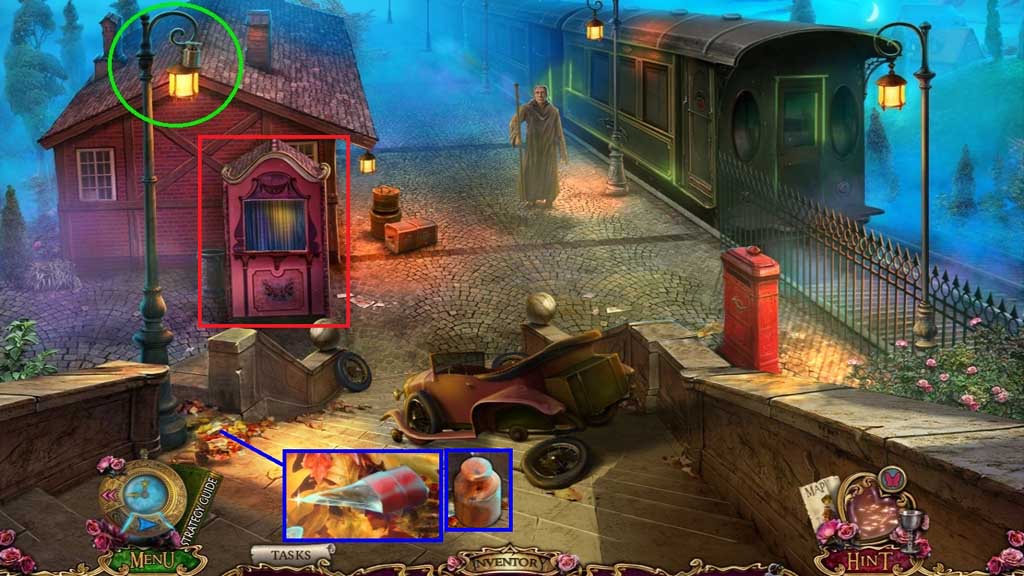
- Select the ball to toss towards the street light.
- Select the cloth strip to collect the sharp shard.
- Click the leaves aside; collect the medium weight and place it along with the small weight onto the scale to trigger a hidden objects area.
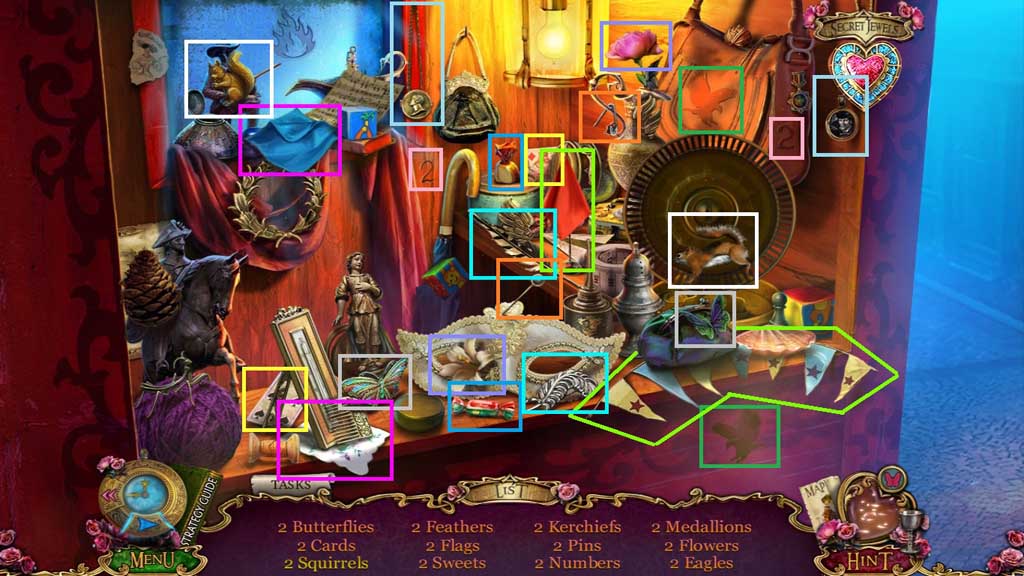
- Find the items.
- Collect the squirrel.
- Move to City Hall 2nd Floor.
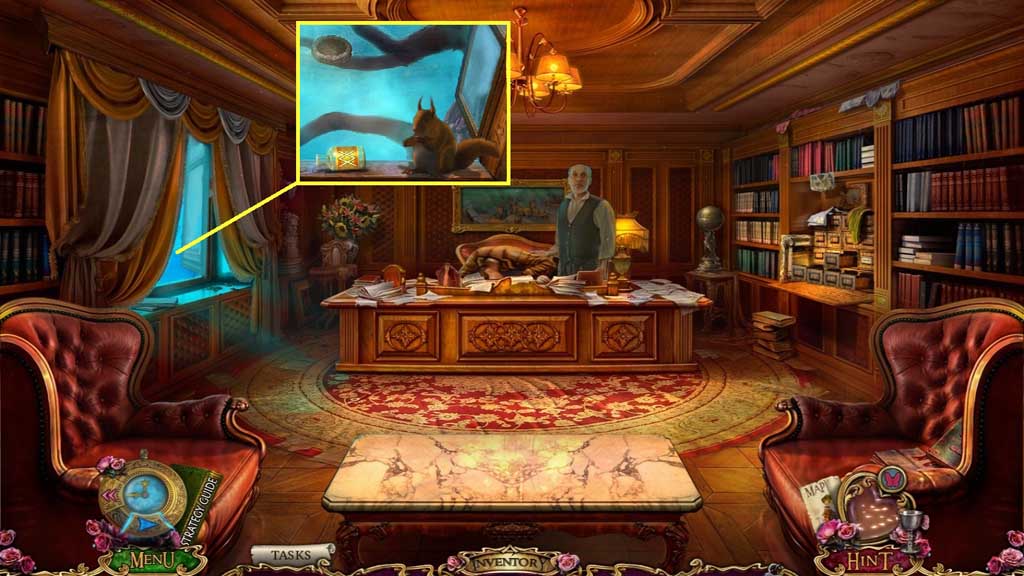
- Select the squirrel and the tasty walnut to collect the poison bottle.
- Move to the Train Station.
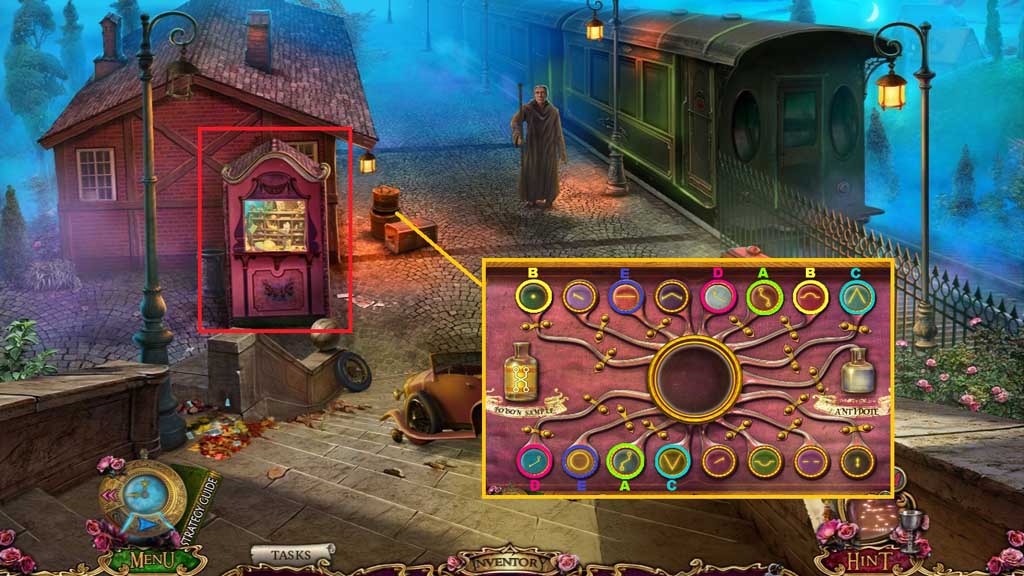
- Click the luggage.
- Click the forensic kit 2x’s.
- Insert the poison bottle to trigger a mini game.
- Solve the game by finding the matching pairs.
- Collect the antidote.
- Click the hidden objects area.
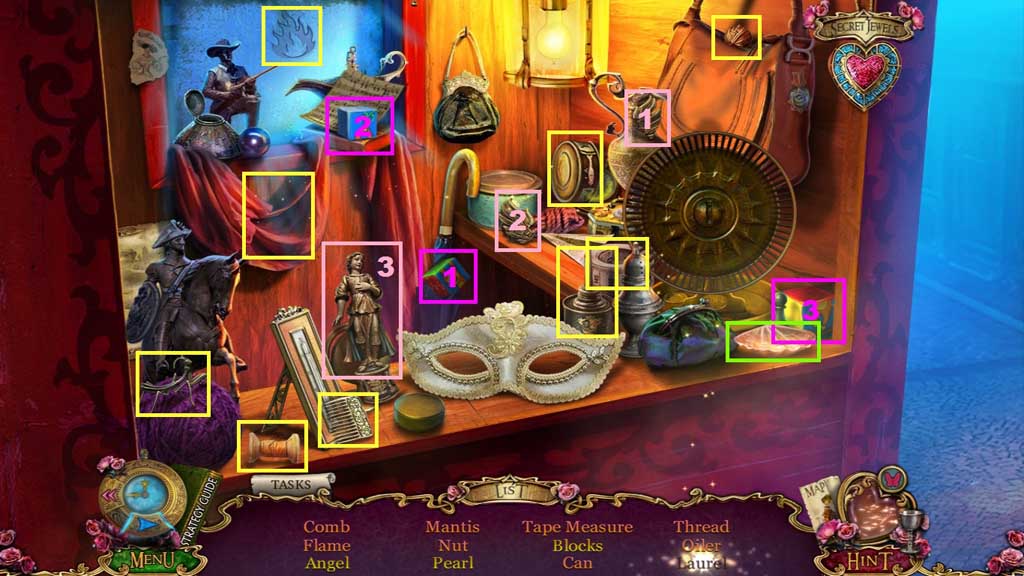
- Find the items.
- Collect the can.
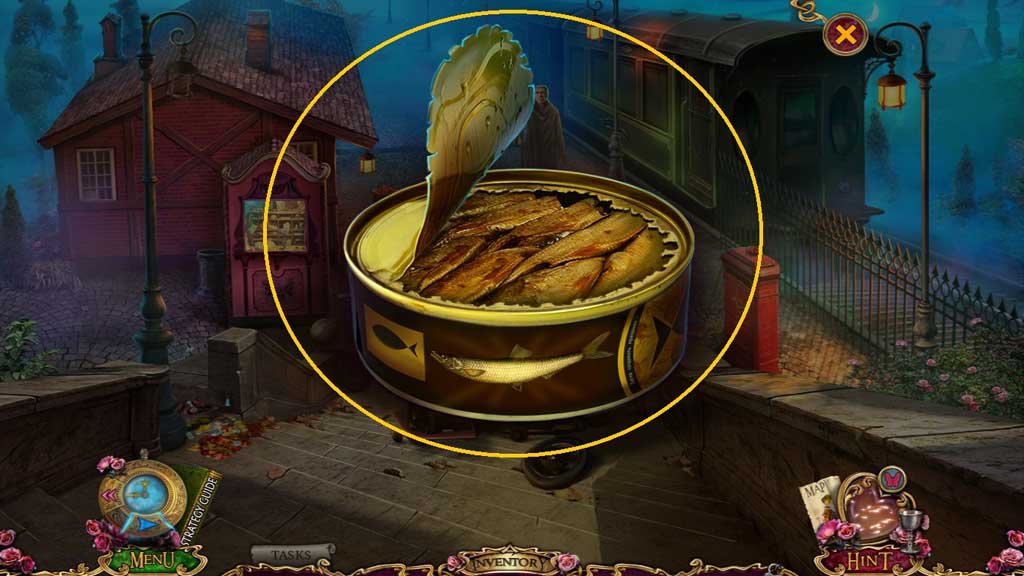
- Place the can opener with the can; collect the can of sardines.
- Move to City Hall 2nd Floor.
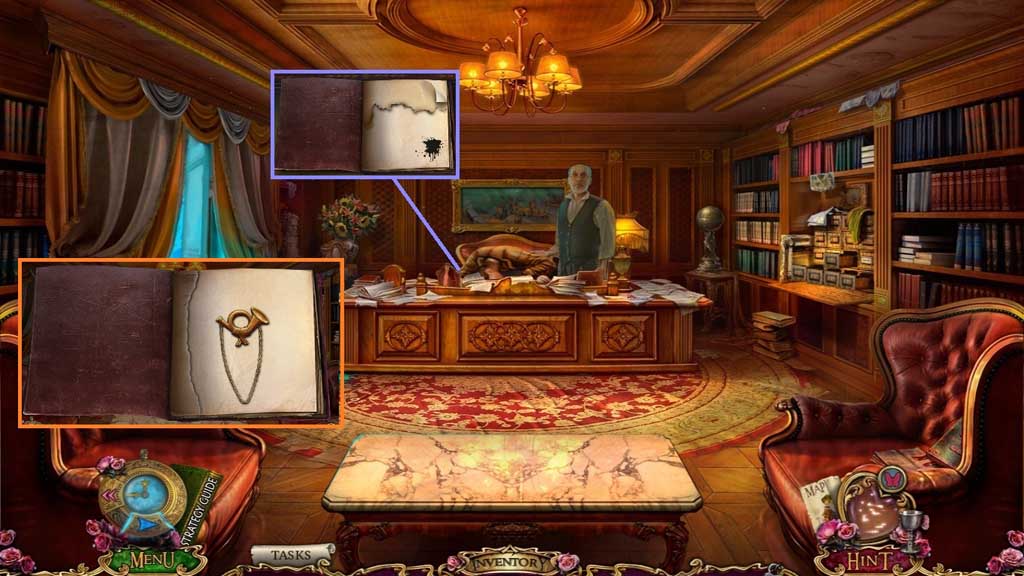
- Give the antidote to the man.
- Collect the notebook and place the inkpot onto it.
- Click through the pages; collect the mailbox badge.
- Move to the Train Station.
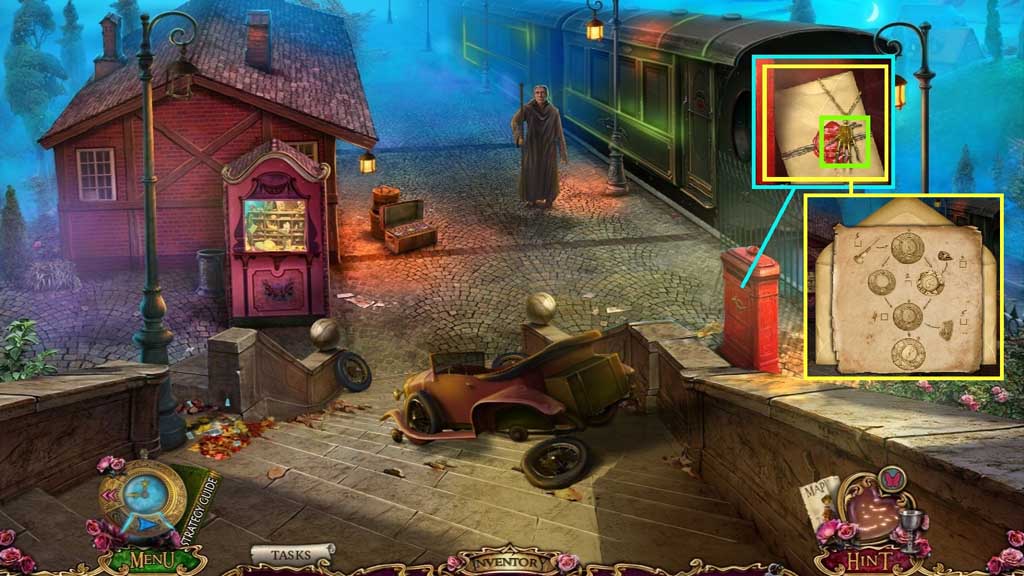
- Insert the mailbox badge; collect the hand emblem and the letter.
- Use the sharp shard on the letter; collect the chronometer upgrade schematic.
- Move down once.
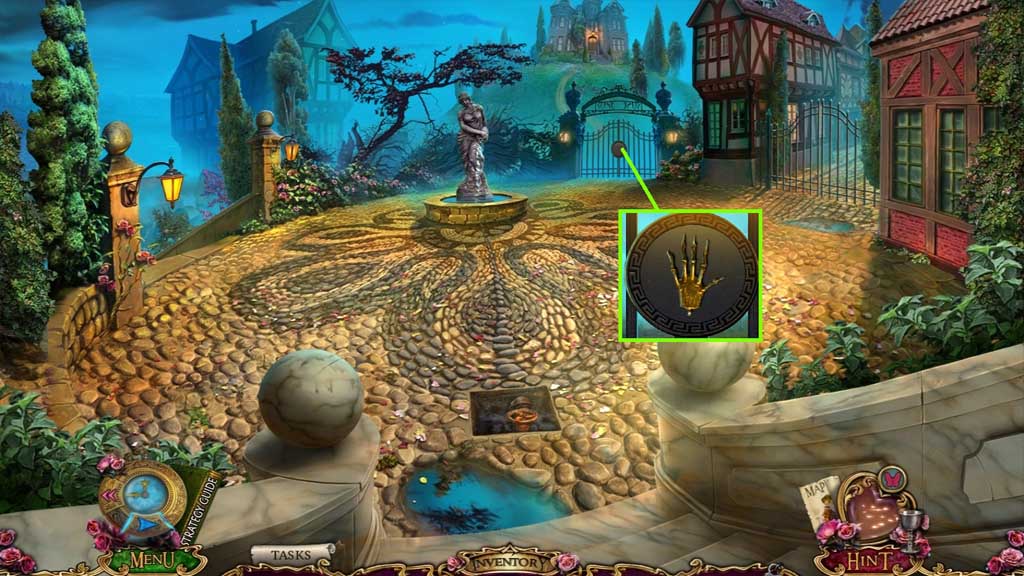
- Insert the hand emblem.
- Move ahead once.
Comments will load when you reach this part of the walkthrough.