
Chapter One: The Town of Farrington
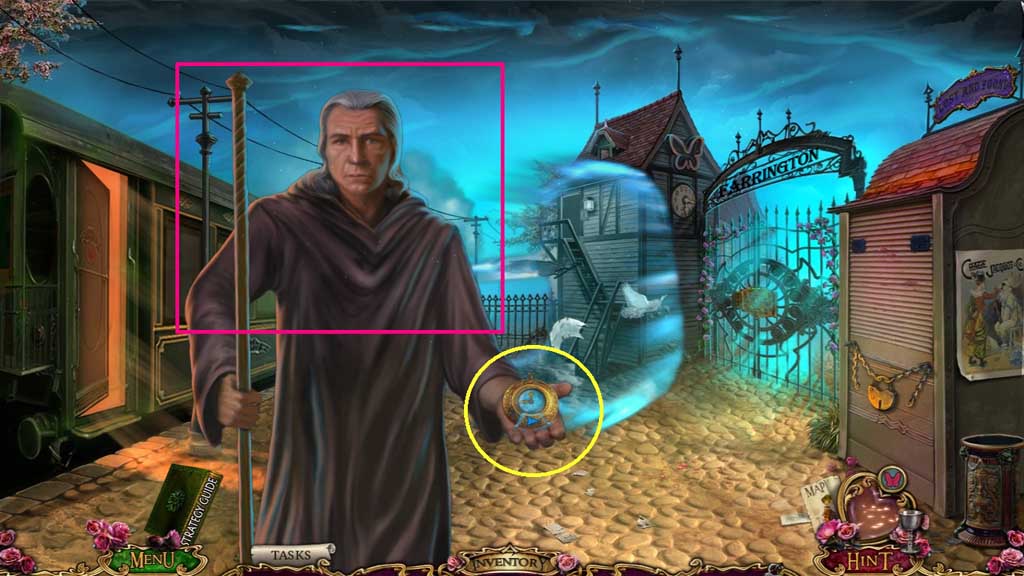
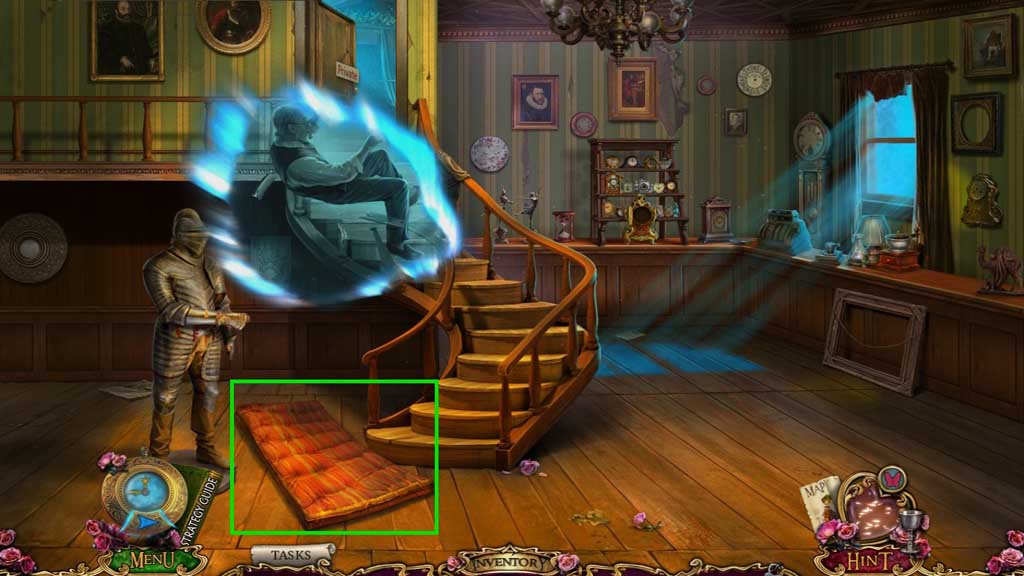
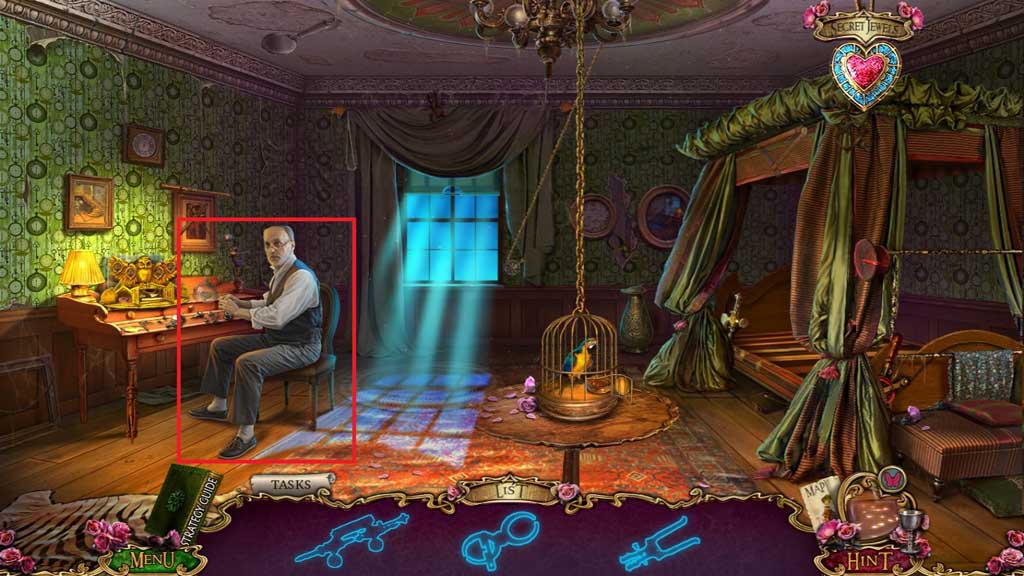
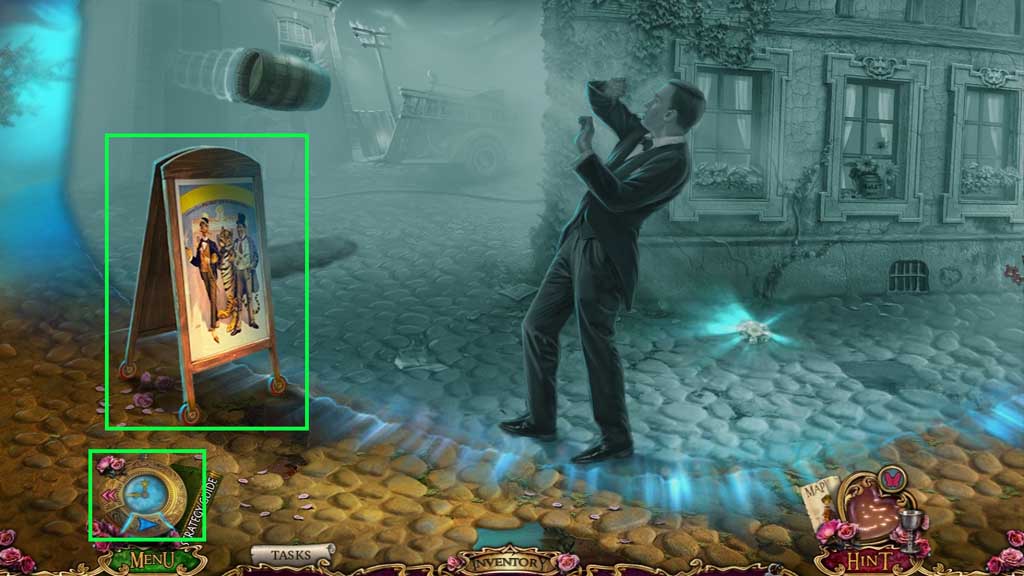
- Speak to Charon.
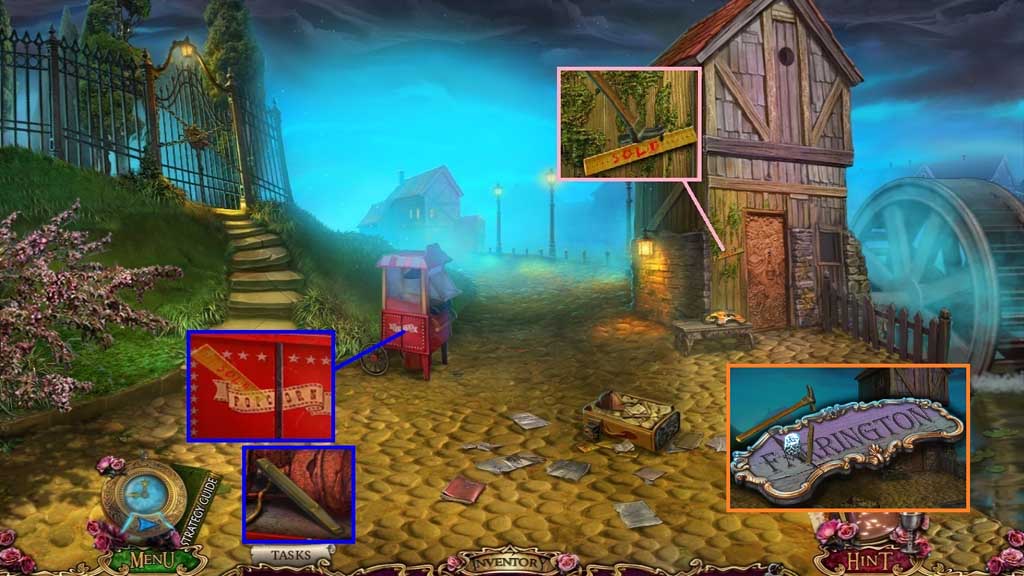
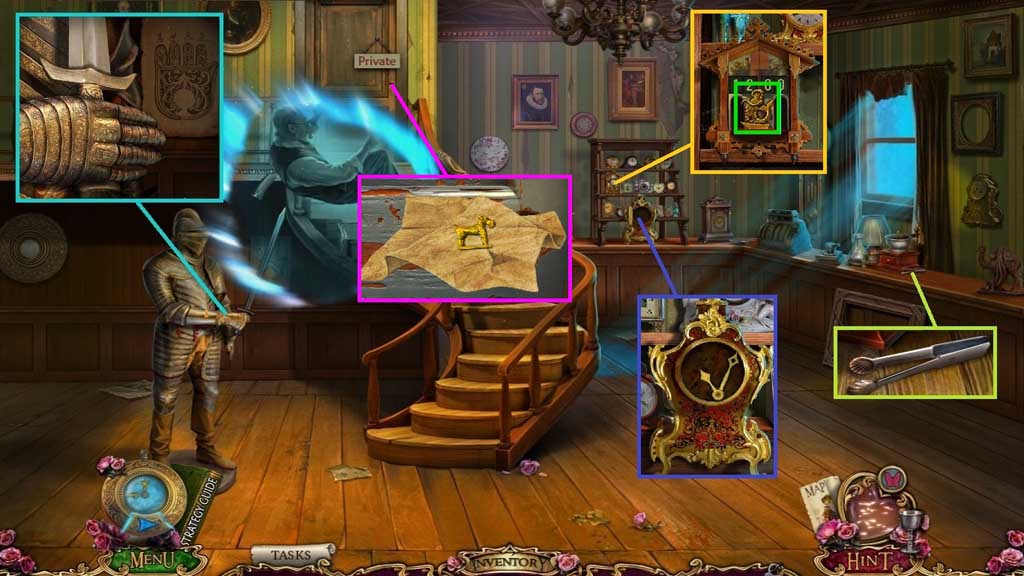
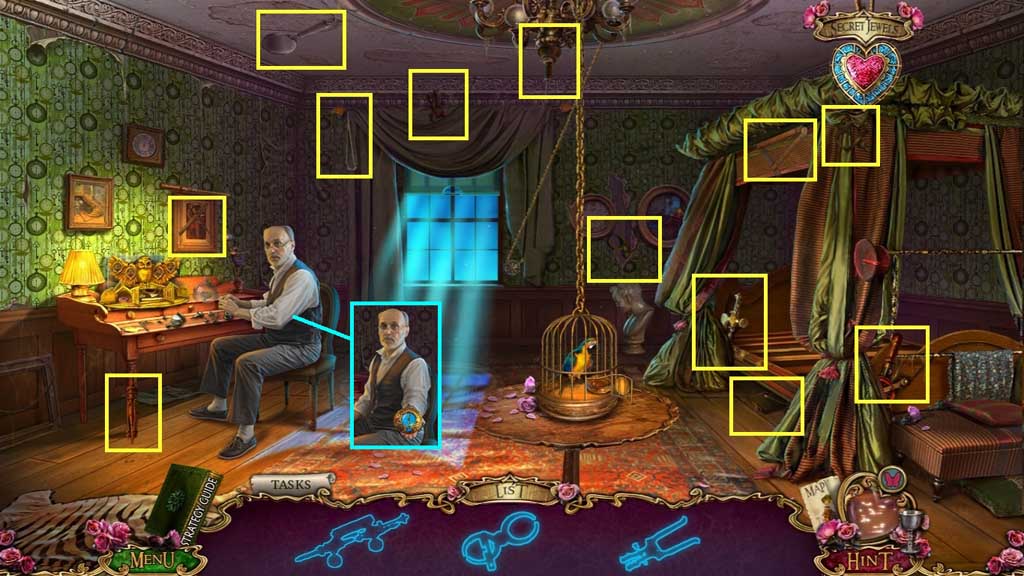
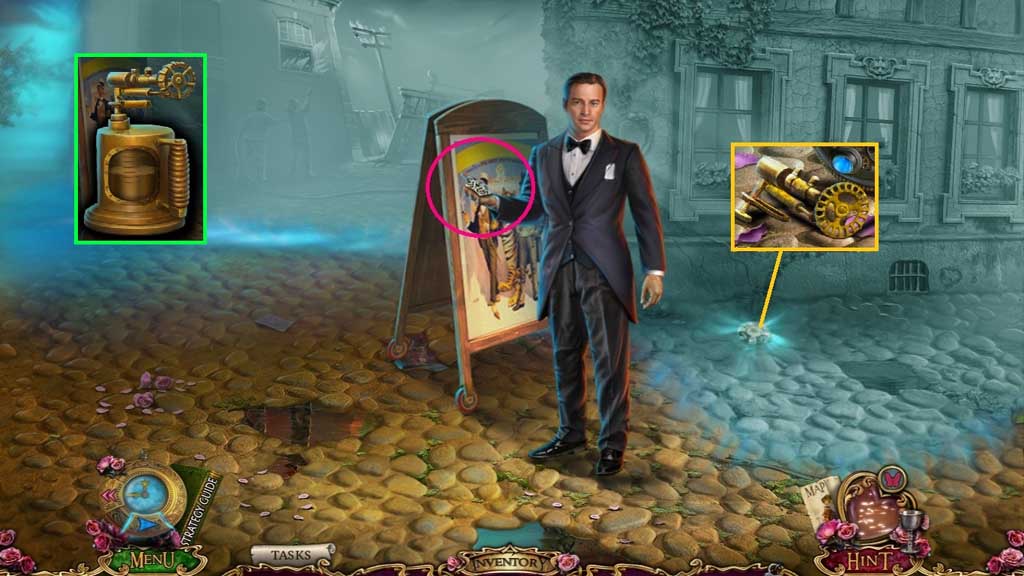
- Collect the chronometer.
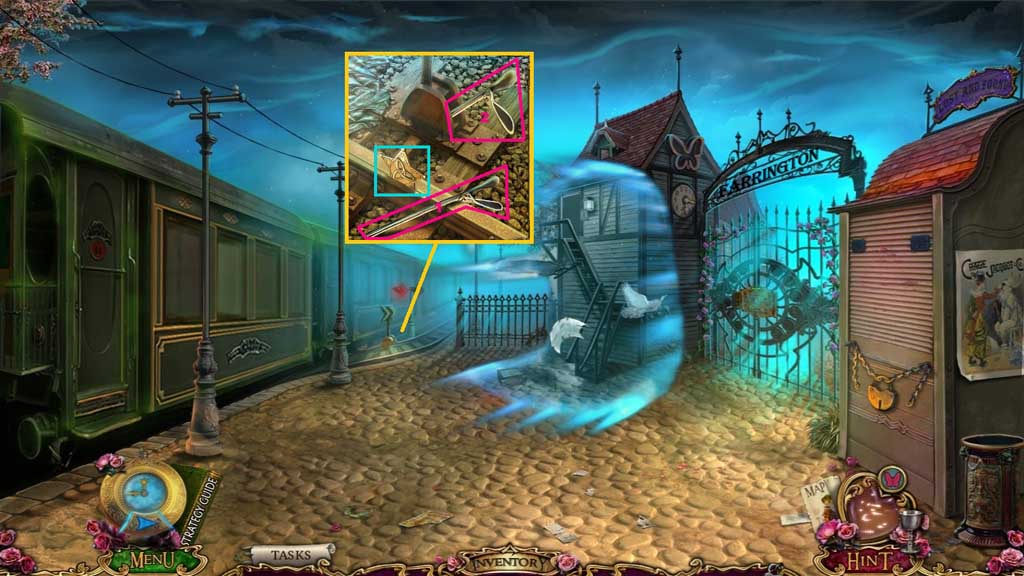
- Collect the lever and place it into the switch; click it 2x’s.
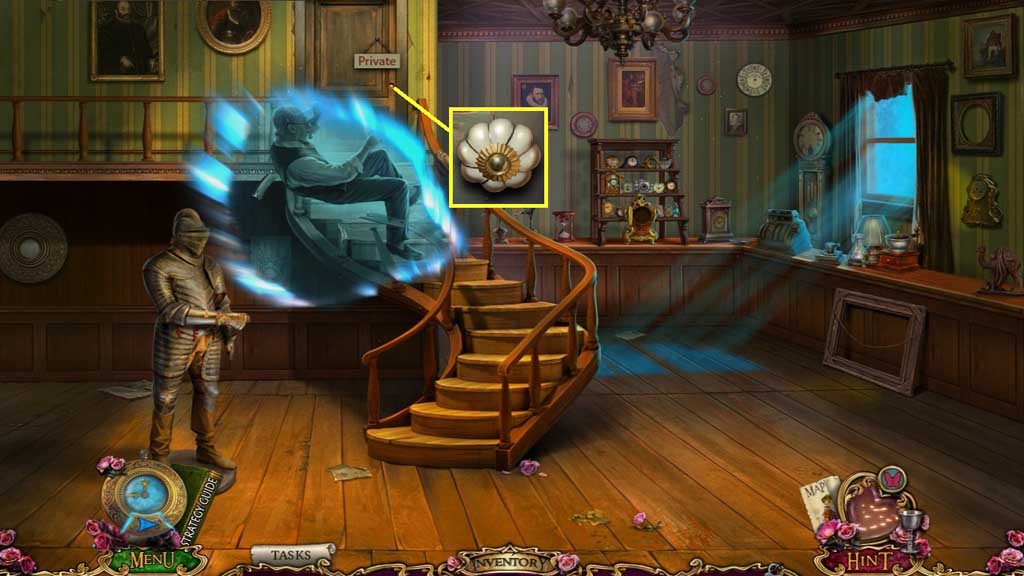
- Collect the star emblem.
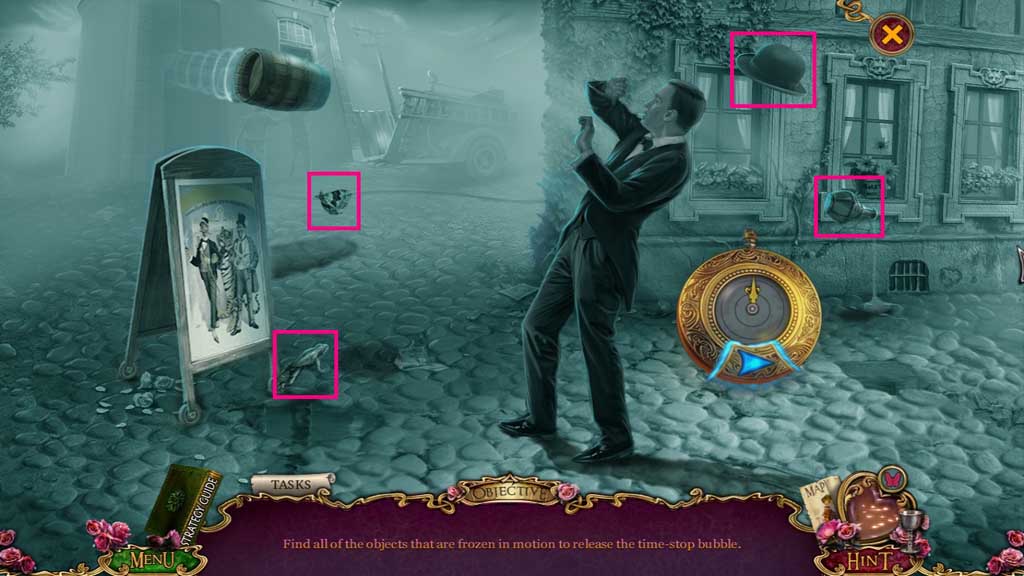
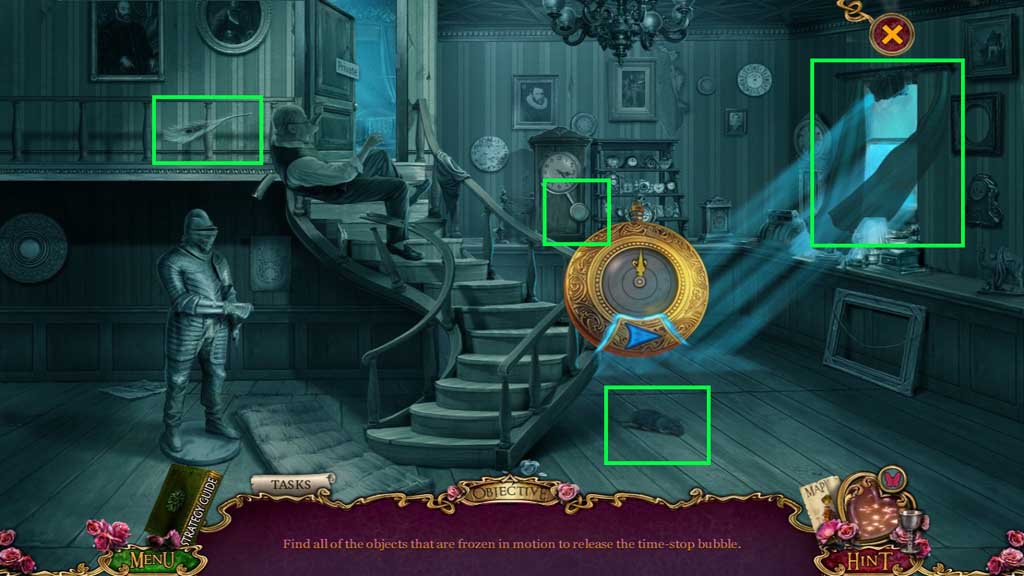
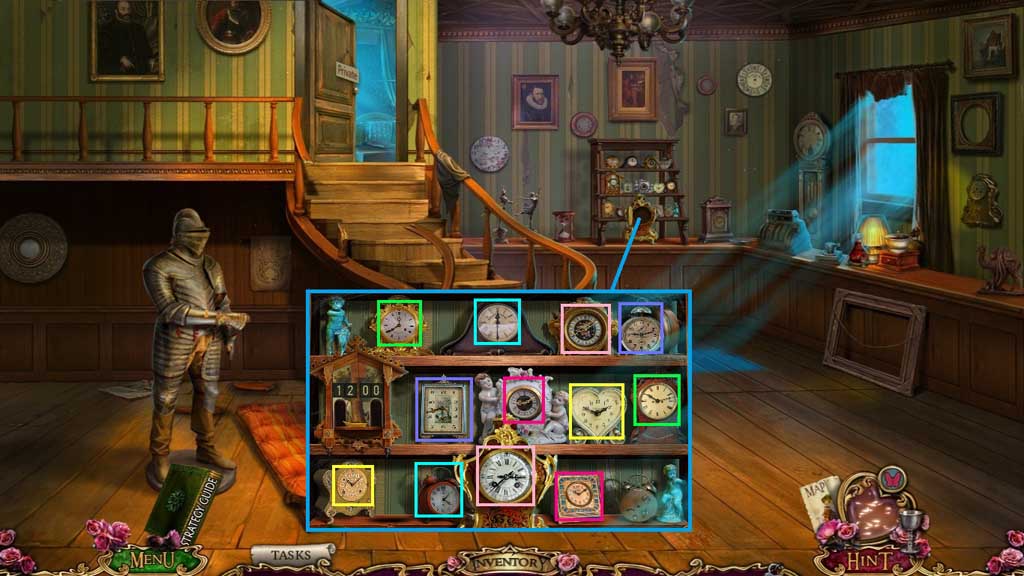
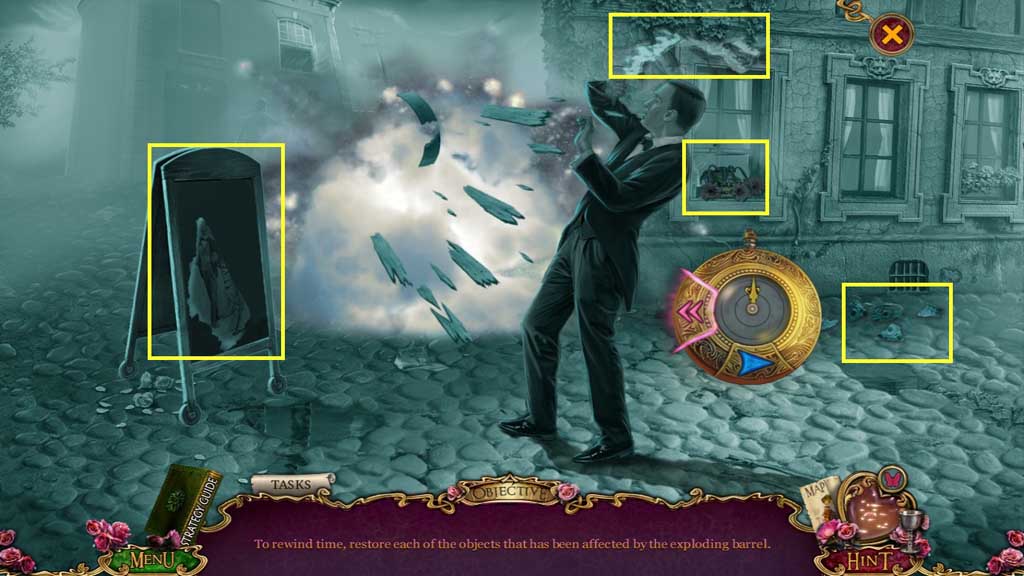
- Select the chronometer to use on the scene and trigger a mini game.
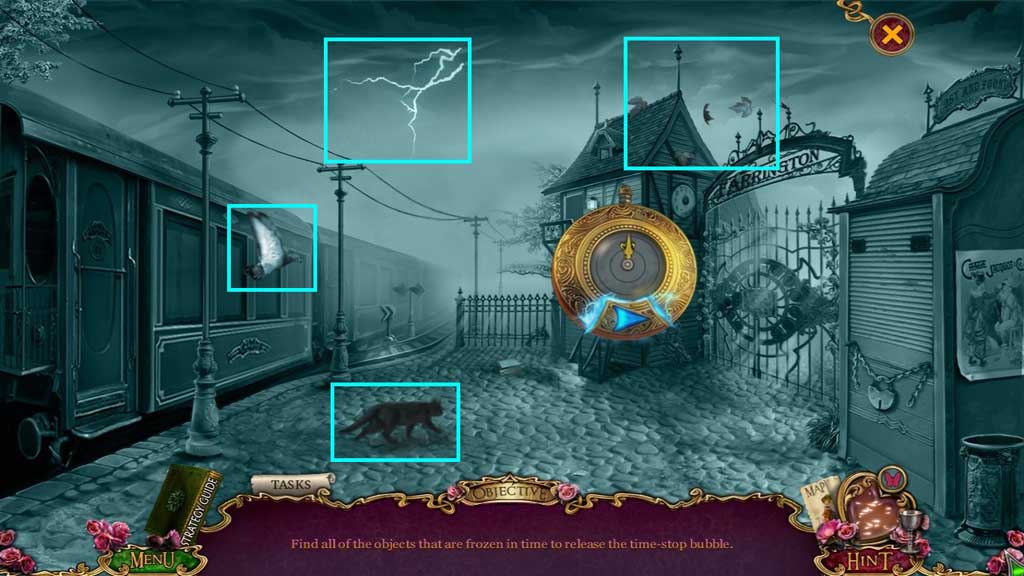
- Solve the game by clicking the frozen in motion items.
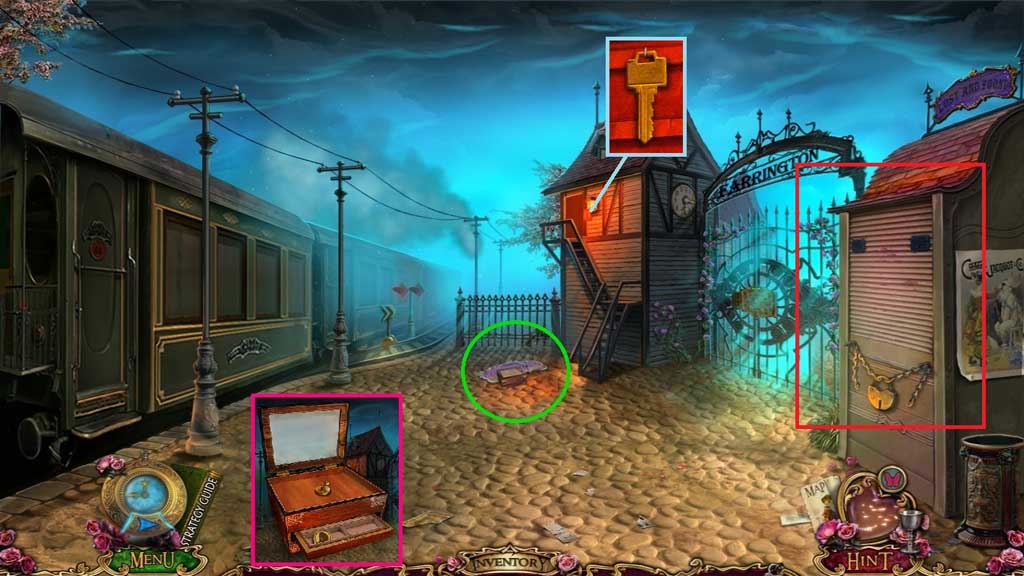
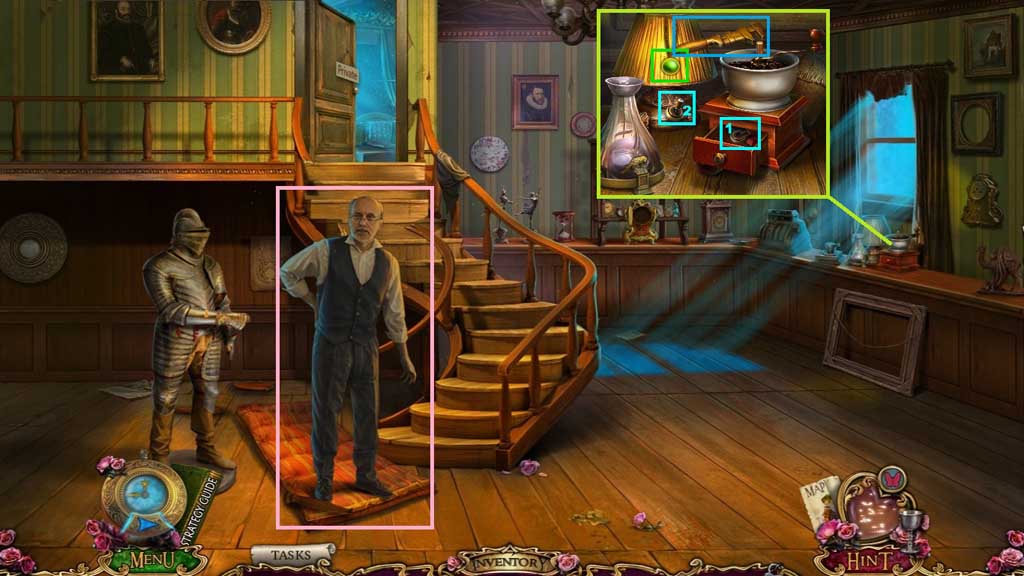
- Collect the box and ruined sign.
- Click the box; collect the 1st golden token.
- Click the door and collect the key.
- Insert the key to trigger a hidden objects area.
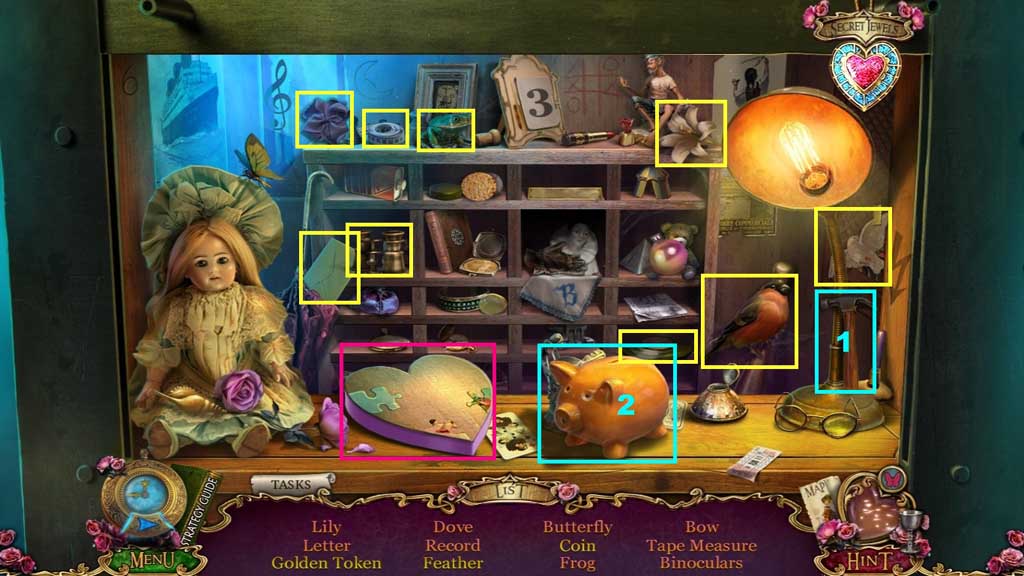
- Find the items and click the fragments beneath them.
- Collect the 2nd golden token.
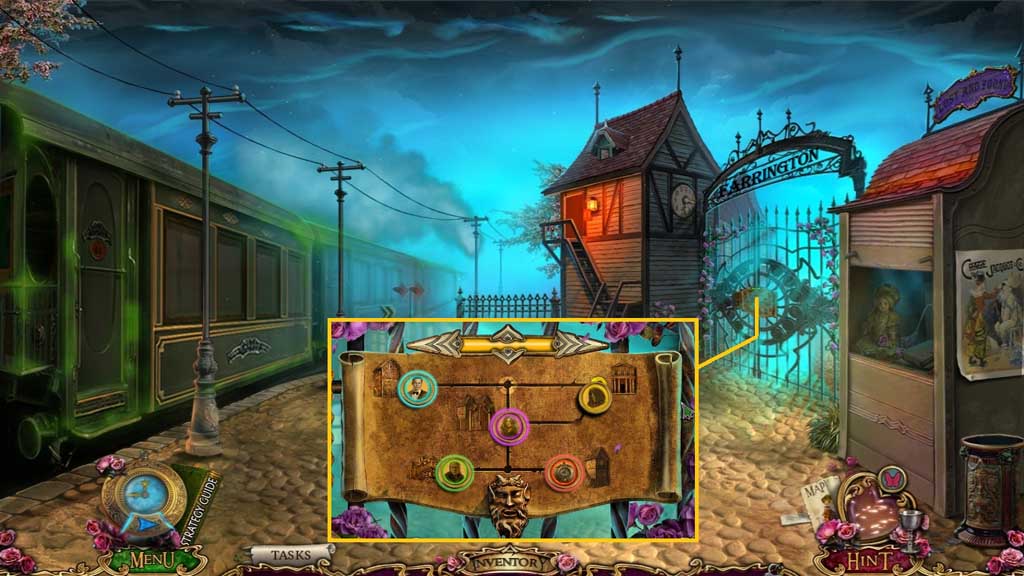
- Click the gate.
- Place the 2 golden tokens onto the panel.
- Slide the token to the correct slot.
- Move to the right.
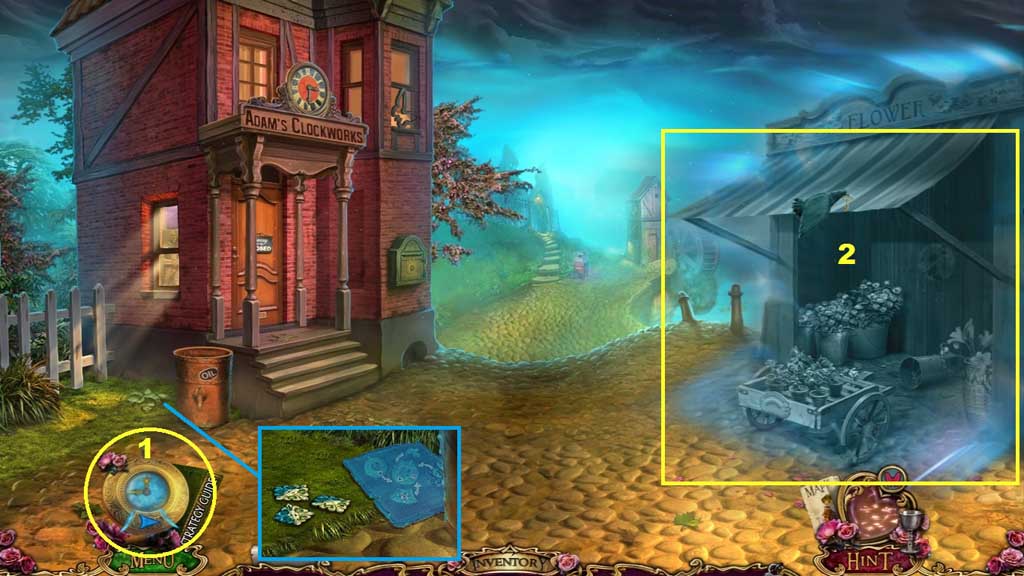
- Collect the buttons and the chronometer blueprint.
- Select the chronometer and use it on the scene to trigger a mini game.
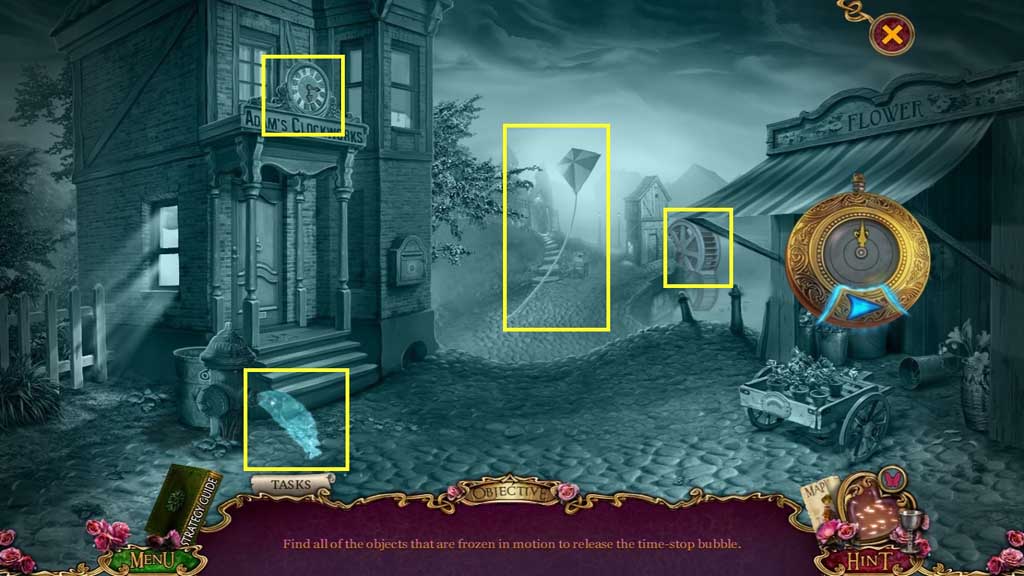
- Solve the game by clicking the frozen in motion items.
- Collect the torn bellows.
- Move ahead.
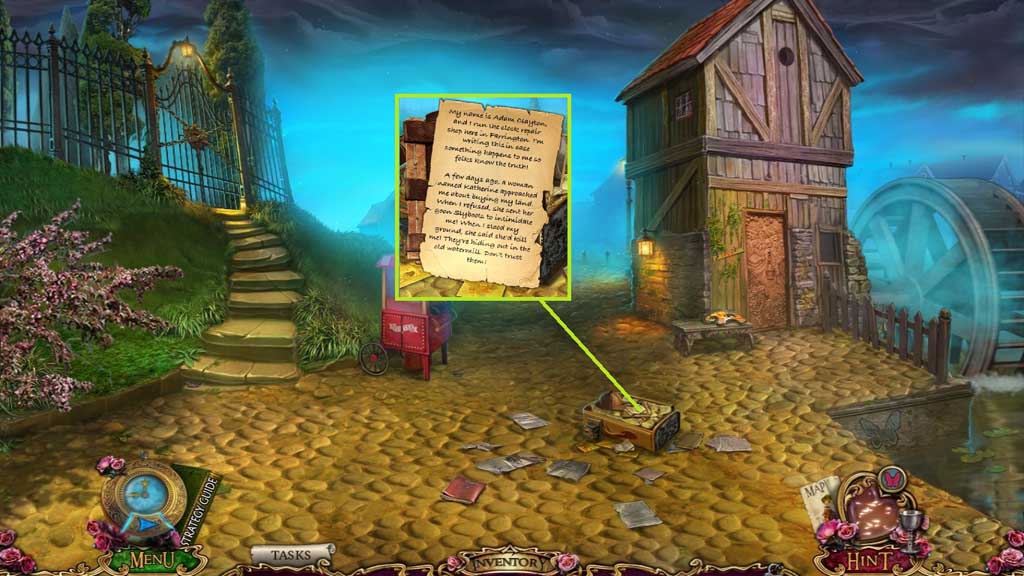
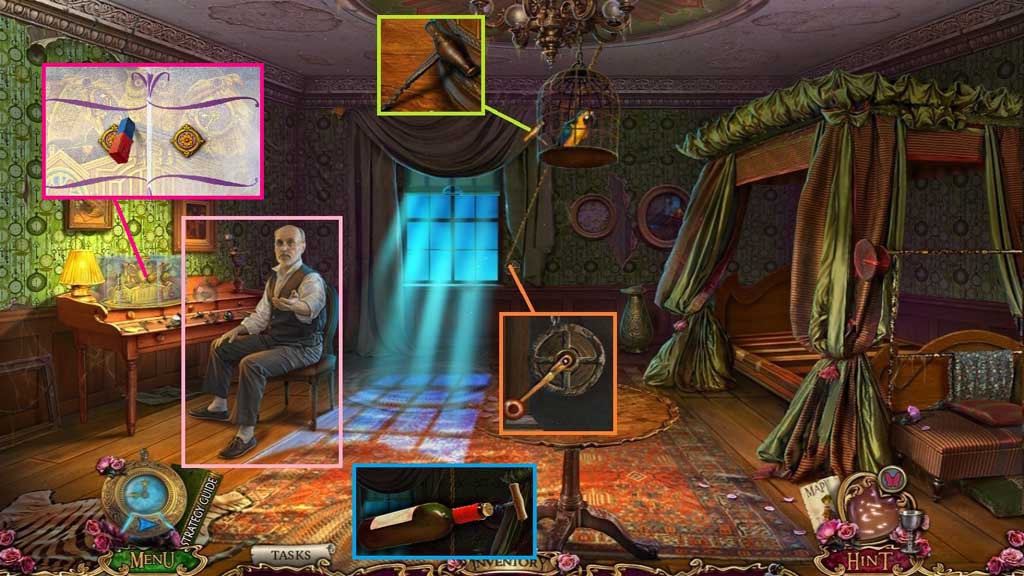
- Click the items to uncover the diary.
- Reassemble the note.
- Place the items in the scene correctly.
- Insert the star emblem; collect the hammer and use it to collect the ruler.
- Select the ruler to collect the wood chisel and use it along with the hammer on the ruined sign.
- Collect the 1st chronometer shard.
- Move ahead once.
- Click the 2 vines aside.
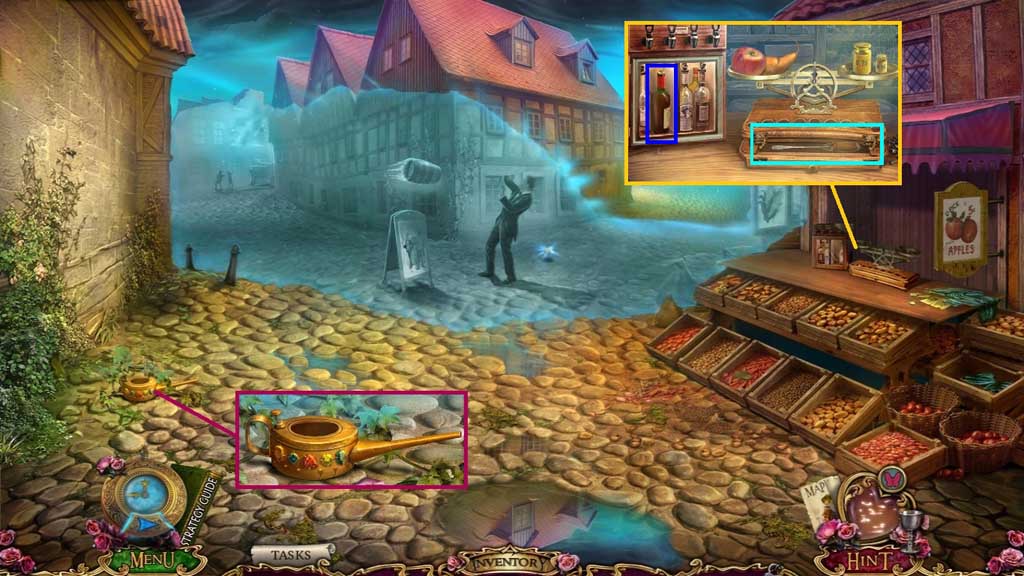
- Collect the empty oil can.
- Place the apple and the pear onto the scale; collect the screwdriver.
- Click the case; collect the wine bottle.
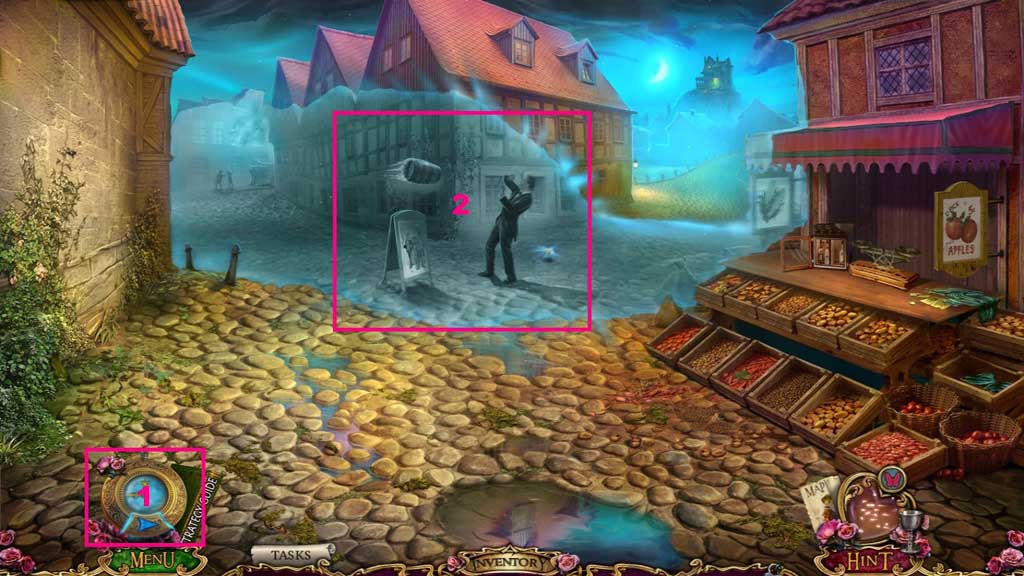
- Select the chronometer to use on the scene and trigger a mini game.
- Solve the game by clicking the frozen in motion items.

- Insert the screwdriver; collect the valve.
- Move down 3x’s.
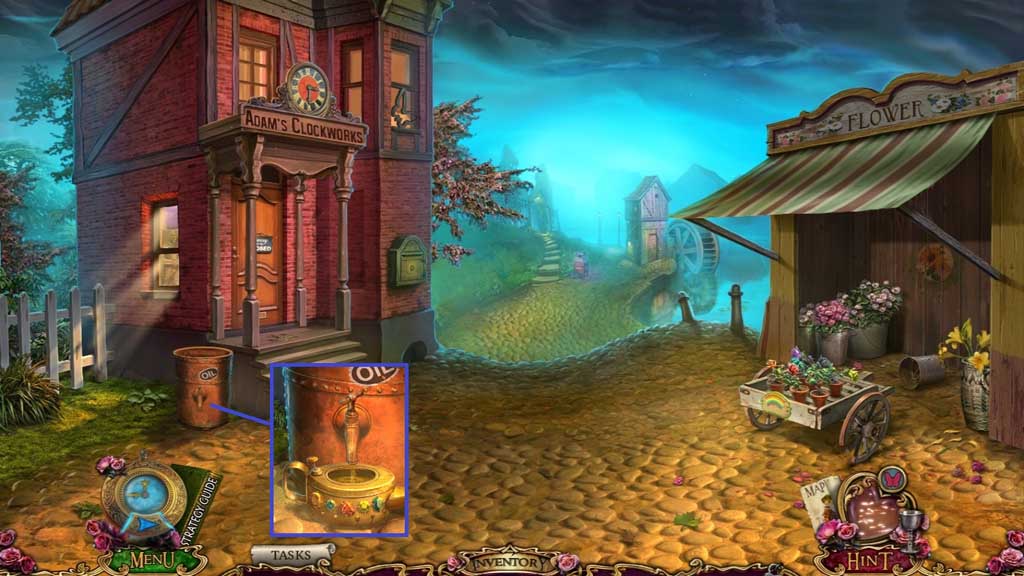
- Place down the empty oil can.
- Attach and click the valve; collect the oil.
- Move down once.
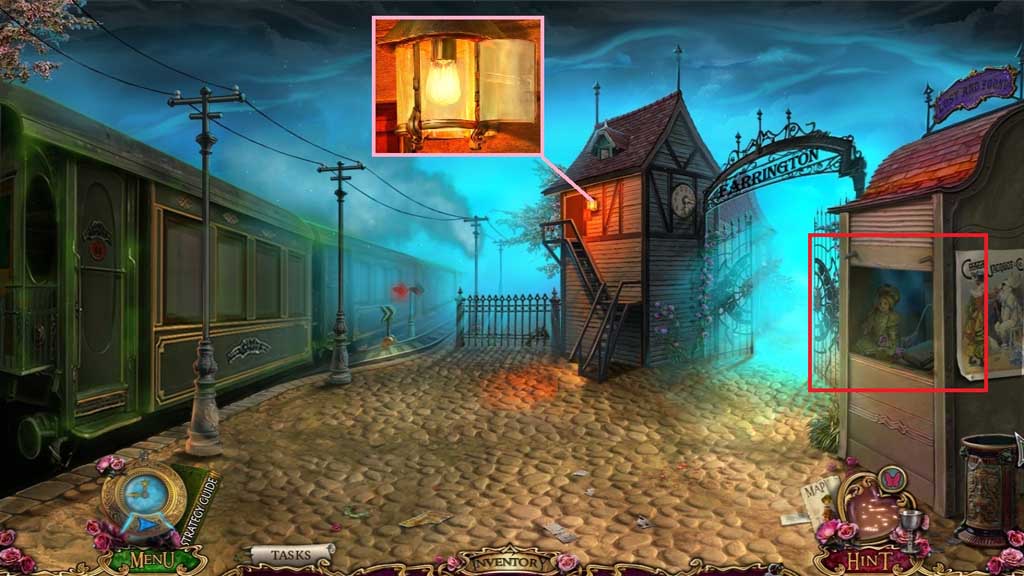
- Select the oil to lubricate the hinge; click the glass.
- Collect the lightbulb and place it into the lamp to trigger a hidden objects area.
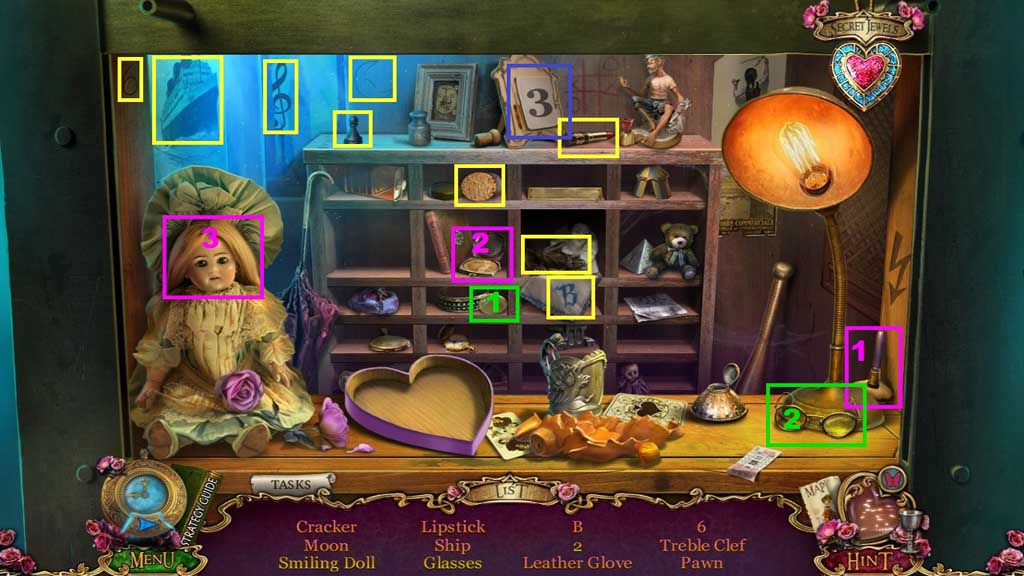
- Find the items.
- Collect the leather glove.
- Move to the right.
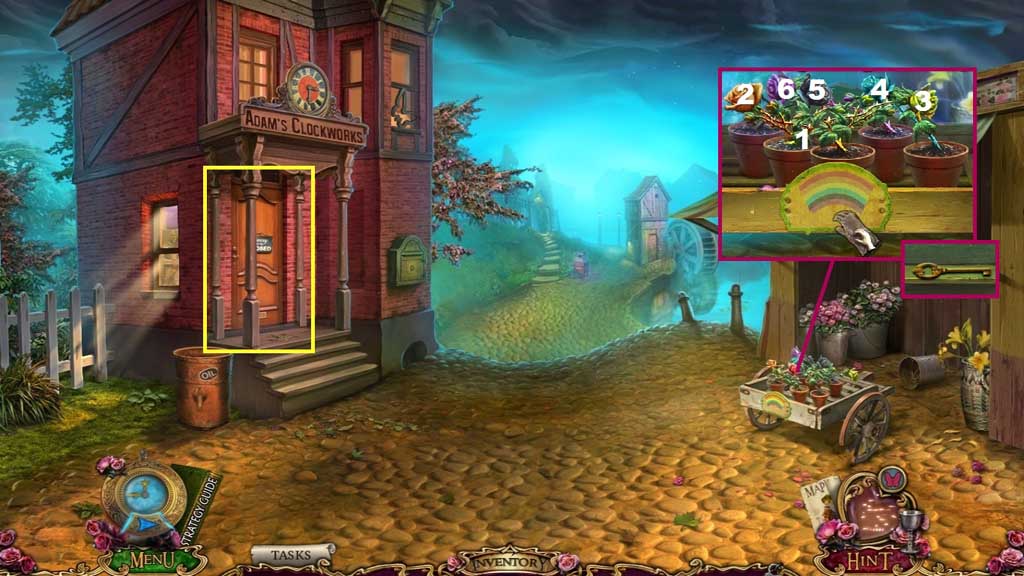
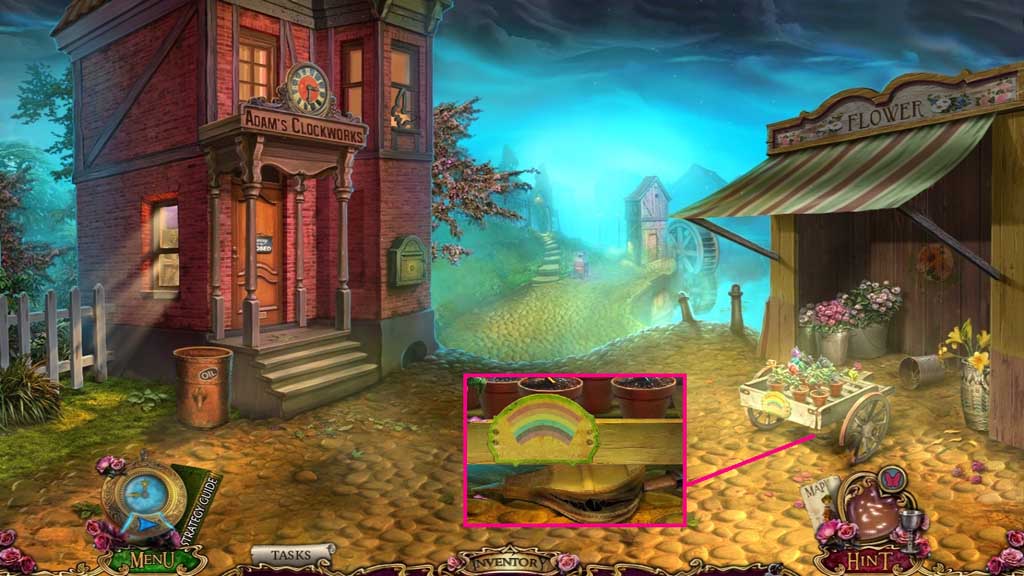
- Select the leather gloves to use on the flowers and trigger a mini game.
- Solve the game by selecting the flowers in the correct order.
- Collect Adam’s house key.
- Click the sign and insert Adam’s house key.
- Move to the left.
- Click the fingers as shown in the diagram; collect the sharp sword.
- Collect the tweezers.
- Collect the clock hands.
- Click the clock; collect the mermaid medal.
- Select the tweezers to collect the dog medal.
- Move down once.
- Attach and click the clock hands 4x’s.
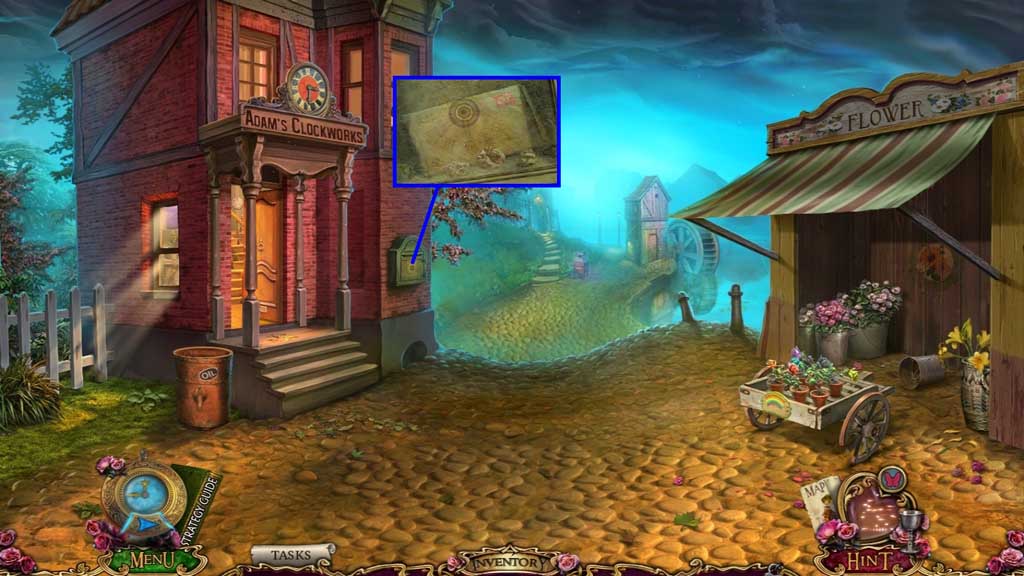
- Click the cobwebs aside; collect the letter and the door handle.
- Move to the left.
- Attach and click the door handle.
- Move ahead.
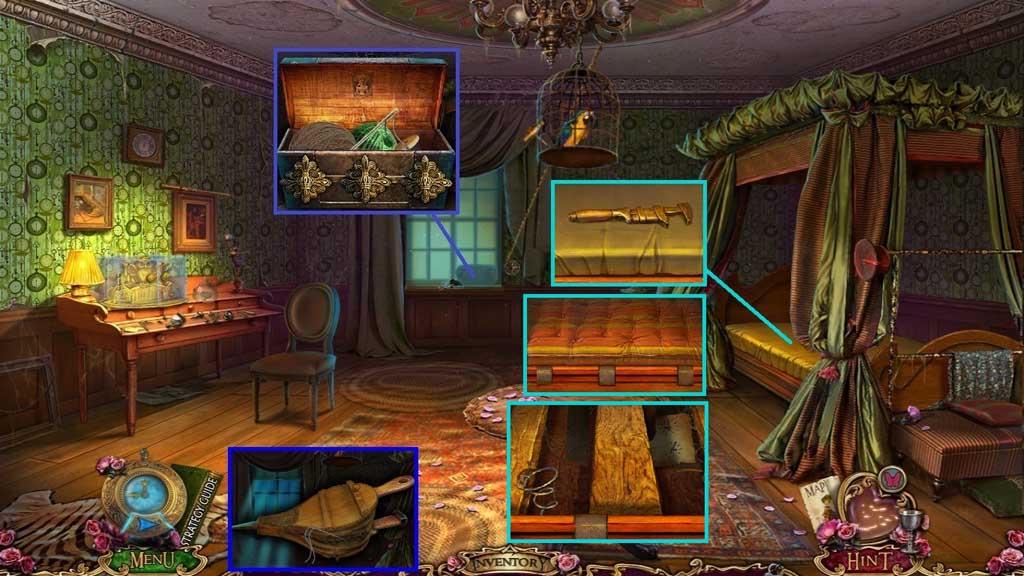
- Select the hammer to lift the shade; collect the chest and insert the buttons.
- Click the buttons and collect the needle and thread and use it on the torn bellows.
- Collect the adjustable wrench and click the cover.
- Select the sharp sword to slice the straps; collect the mattress the torn note and the spring.
- Move down once.
- Place the mattress down.
- Select the chronometer to use on the scene and trigger a mini game.
- Solve the game by clicking the frozen in motion items.
- Speak to Adam.
- Select the bellows to inflate the ball.
- Click the switch collect the magnet.
- Collect the green gem.
- Select the adjustable wrench to collect the handle.
- Move ahead.
- Give the chronometer and the chronometer blueprint to Adam.
- Attach and click the handle; collect the corkscrew.
- Place the corkscrew into the bottle of wine.
- Select the magnet to open the glass doors.
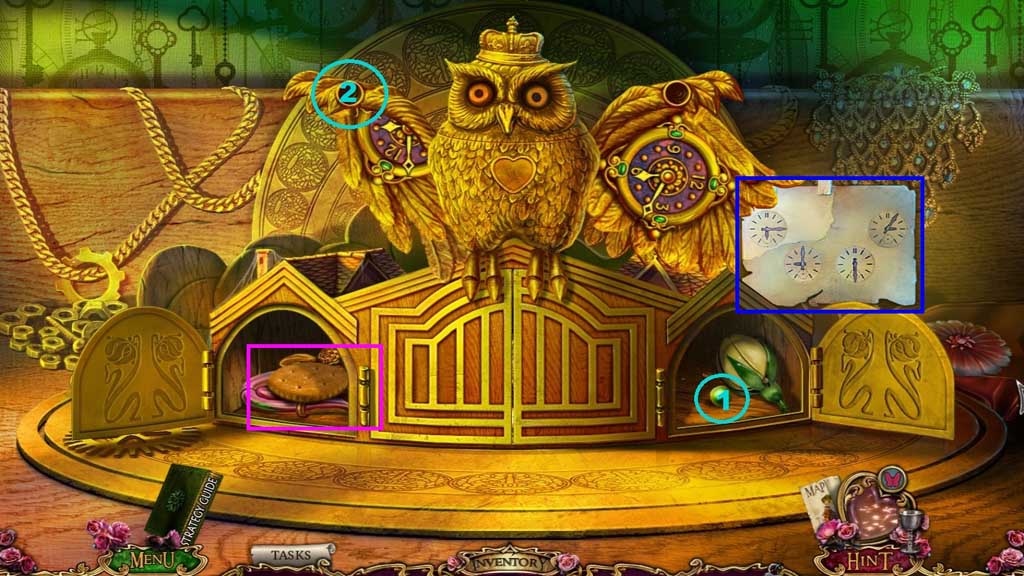
- Insert the dog medal; collect the cracker.
- Insert the mermaid medal; place the green gem to the wing.
- Insert the green gem and the torn notice.
- Exit the owl game and move down once.
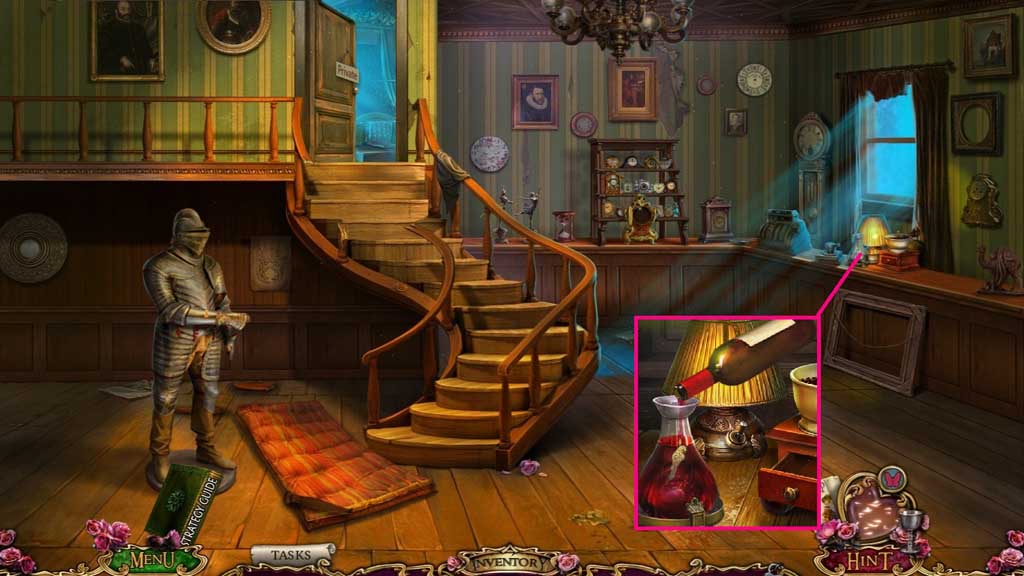
- Select the wine to pour into the carafe.
- Collect the parrot emblem.
- Move ahead once.
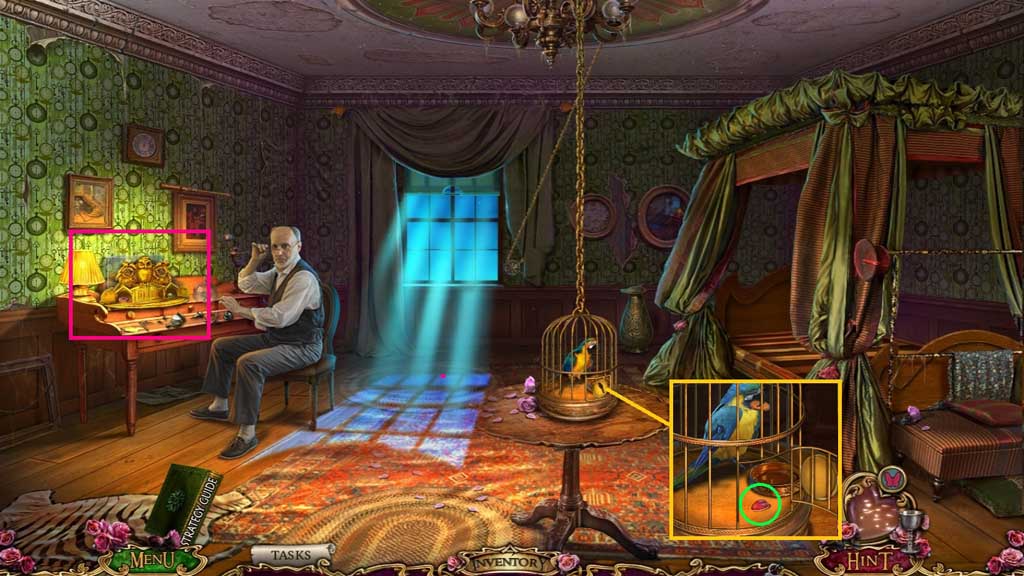
- Insert the parrot emblem.
- Place the cracker.
- Collect the crystal heart.
- Click the owl mini game.
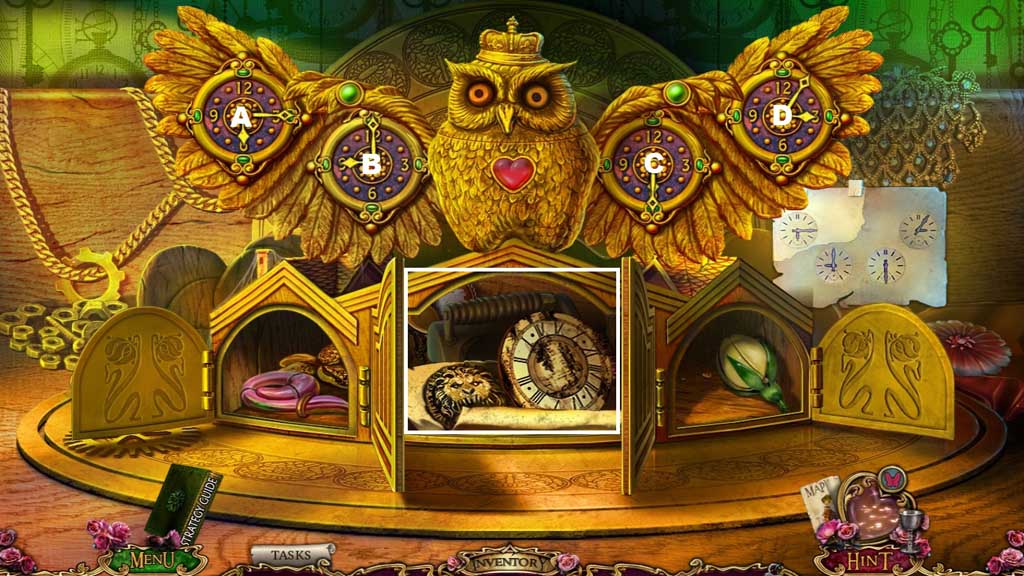
- Insert the crystal heart.
- Click B x 2 – C x 3 – D x 3
- Collect the clock face and the broken blowtorch.
- Move down once.
- Attach the clock face to trigger a mini game.
- Solve the game by clicking the pairs.
- Collect the chronomium.
- Move ahead.
- Give the chronomium to Adam; a hidden objects area will trigger.
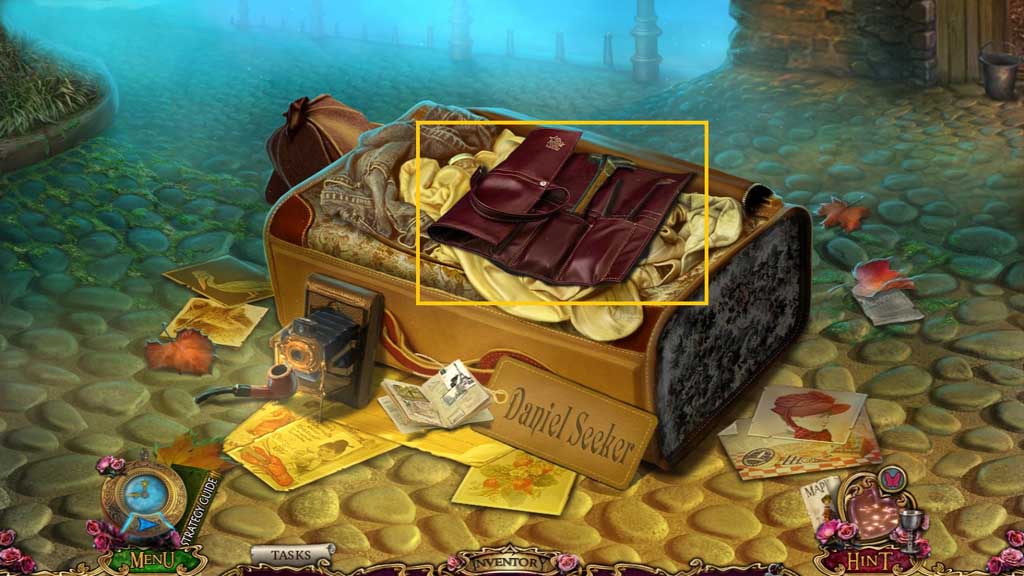
- Find the items.
- Collect the chronometer.
- Move to the Town Square.
- Select the chronometer to use on the scene.
- Restore the items.
- Click the sign board.
- Select the chronometer again.
- Collect the 2nd chronometer shard.
- Collect the nozzle with valve and attach it onto the blowtorch.
- Move to the River Walkway.
Comments will load when you reach this part of the walkthrough.