
Chapter Four: S.C.
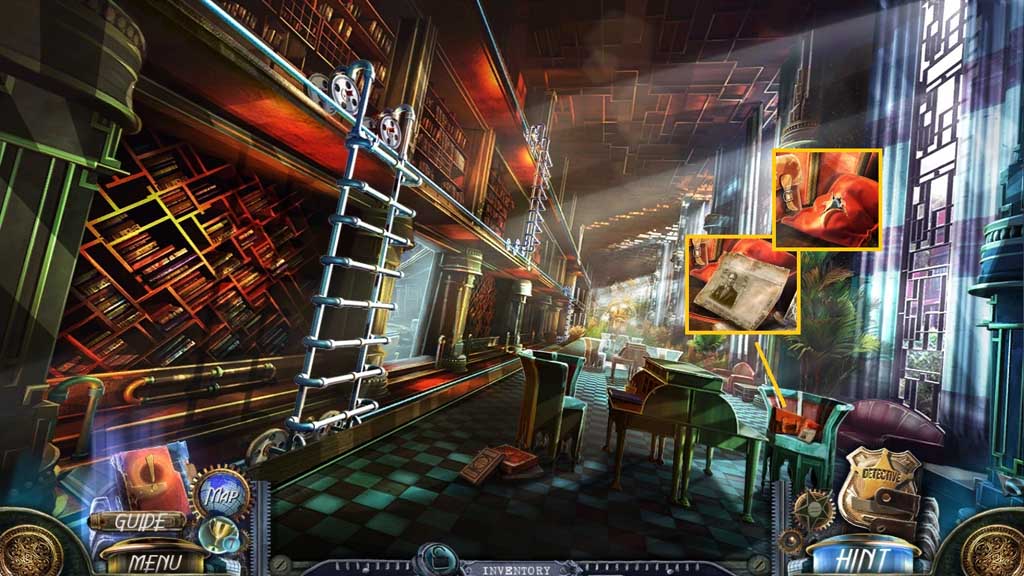
- Collect the evidence.
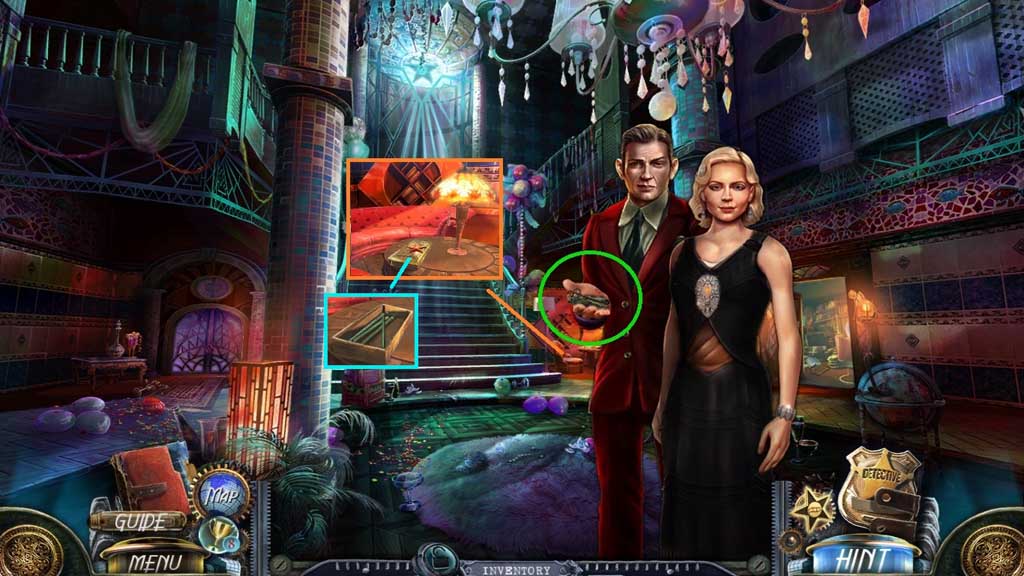
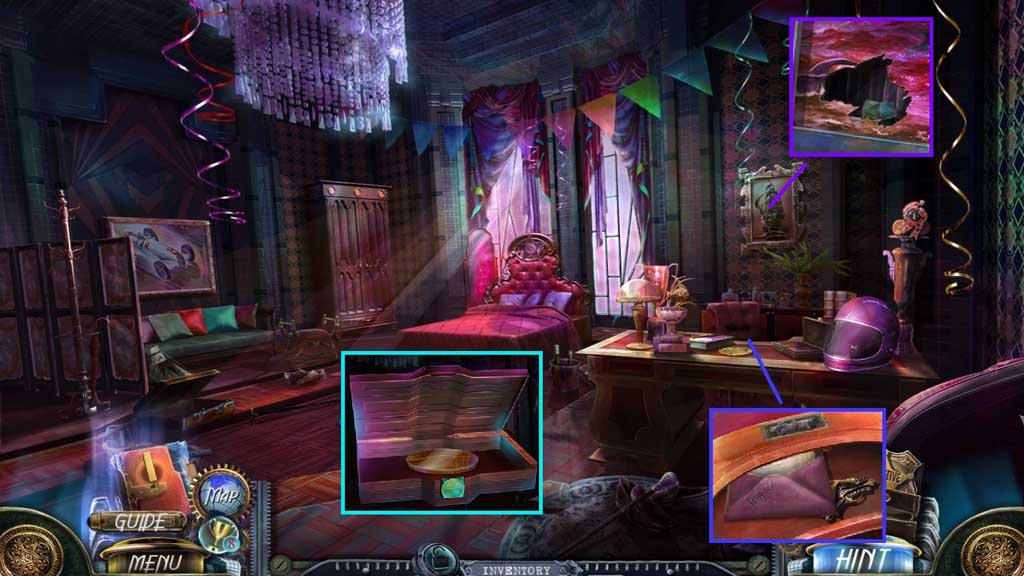
- Use the razor to slice the cushion; collect the glass cube.
- Move to the left.
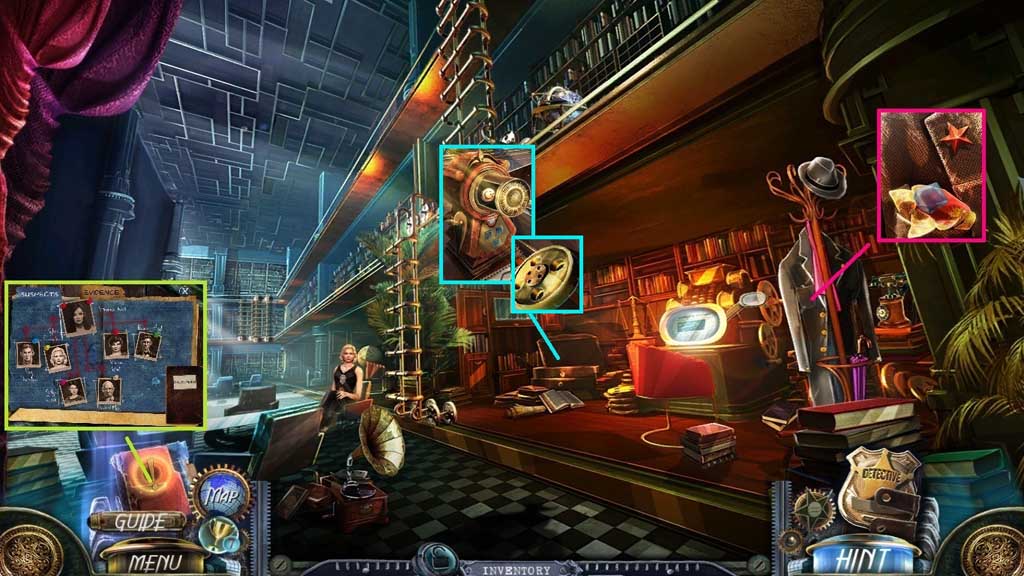
- Click the evidence board and move Sylvia’s picture to the step-daughter area.
- Click the handkerchief; collect 3/ 3 glass cubes and the star.
- Collect 2 /2 wheels.
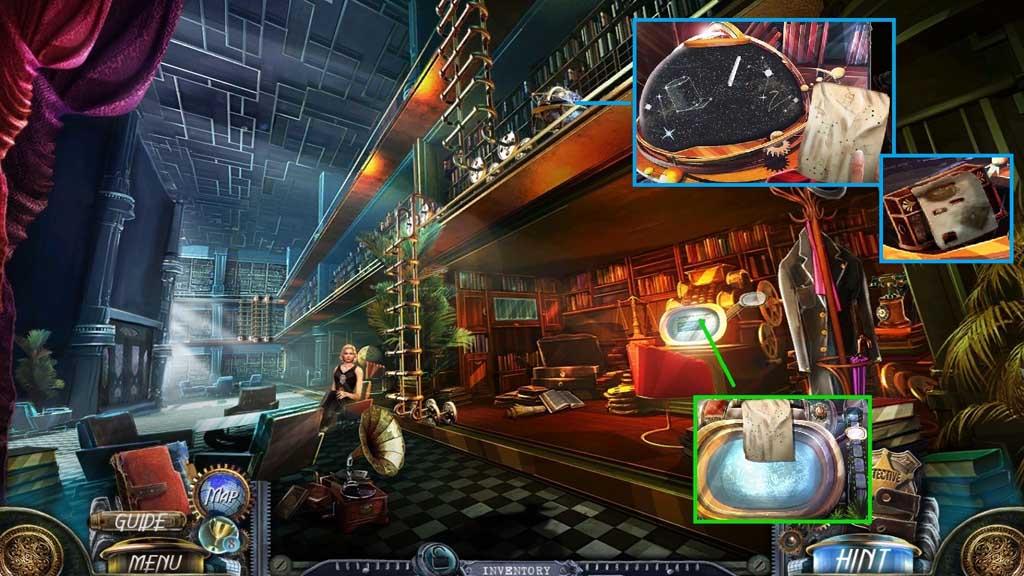
- Place the glass cubes into the clock; collect the machine button.
- Move down once.

- Place the wheels onto the ladder; click it once.
- Click the box; collect the broken initials and 1 /6 mosaic parts.
- Move to the left.
- Attach the machine button and film tape onto the projector.
- Click the button; adjust the lever and click the red square button.
- Collect the constellations list and place it onto the globe to trigger a mini game.
- Solve the game by using the chalk to connect the stars and create the constellations.
- Collect the paper with holes and the music box.
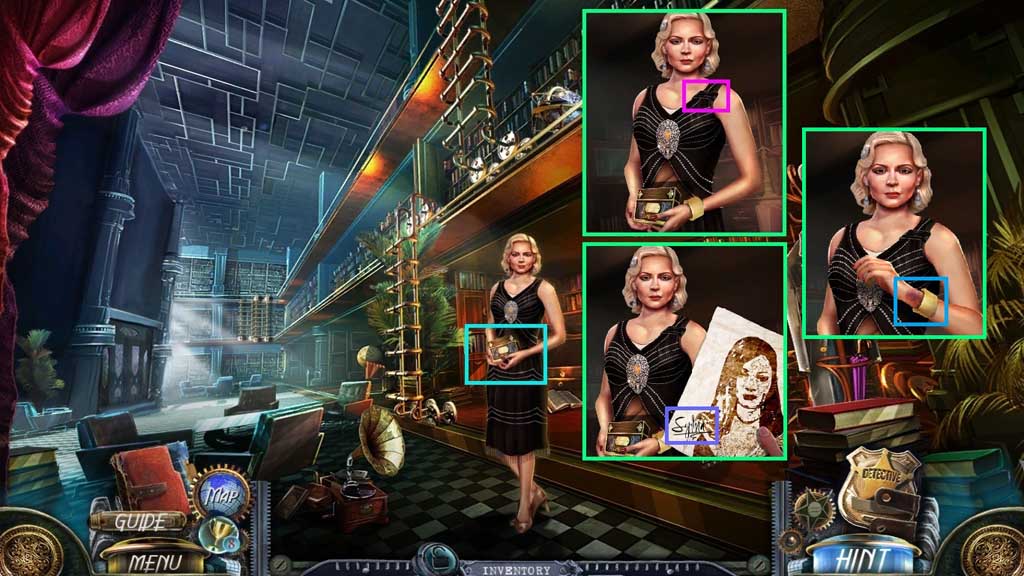
- Give Sylvia the music box.
- Examine the ribbon.
- Examine Sylvia’s signature, the bracelet and the bruises.
- Move to the left.
- Collect Ray’s room key.
- Insert the star; collect the dull pencil.
- Move to the right.
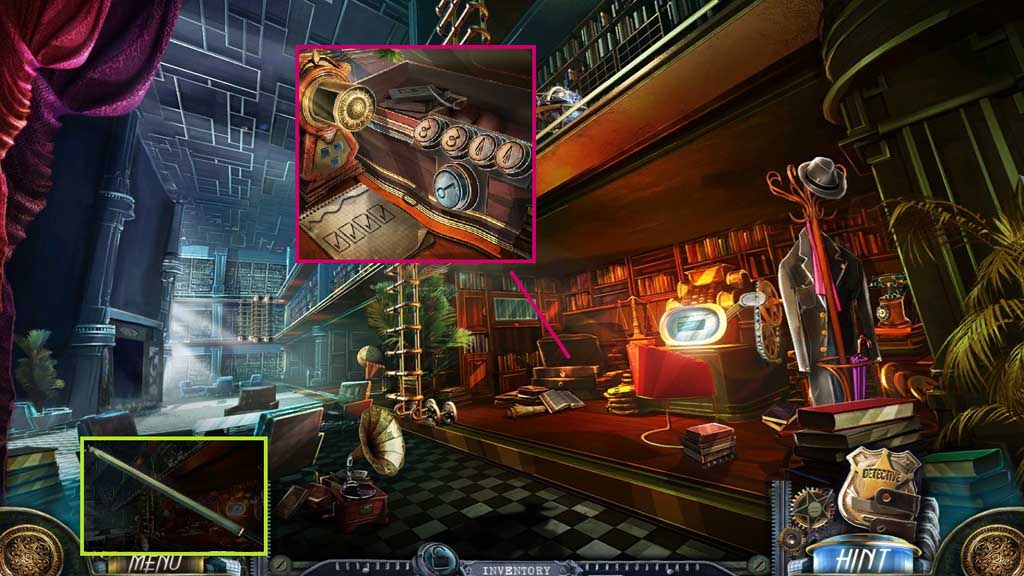
- Click the dull pencil and use the razor to sharpen it; collect the pencil.
- Place the pencil onto the pad to trigger a mini game.
- Solve the game by finding the correct combination.
- Collect the pipe slot and 2 /6 mosaic parts.
- Move left and ahead.
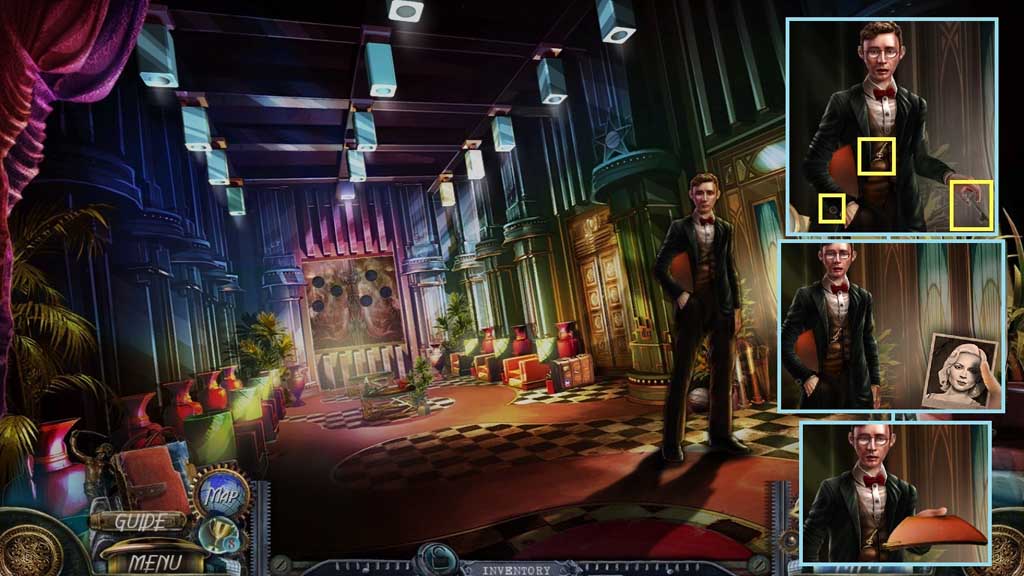
- Speak to Thomas.
- Examine the key, the cufflink and the pocket watch.
- Click the picture.
- Click the folder 3x’s; receive the evidence.
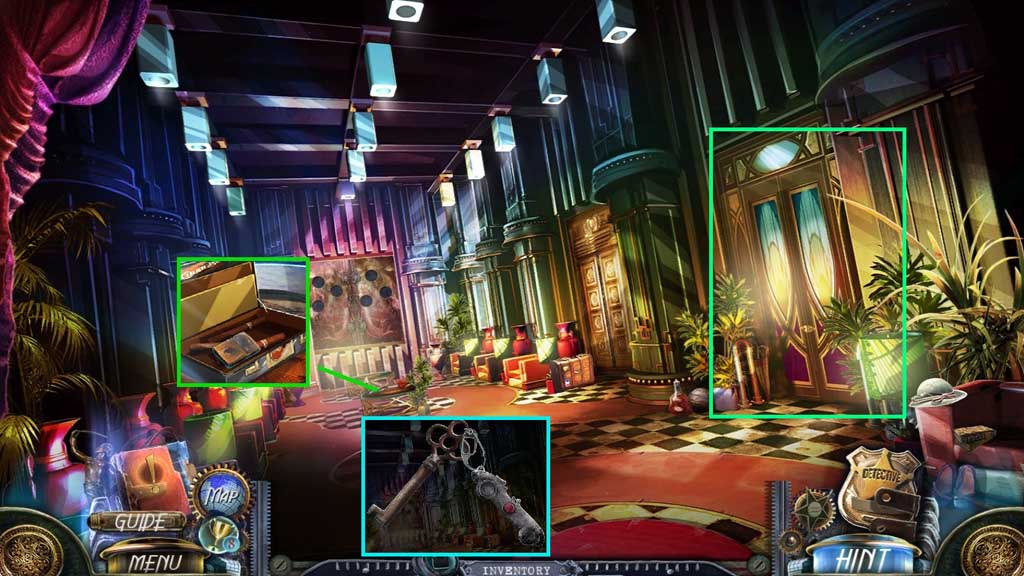
- Insert the pipe; collect the lighter.
- Click Ray’s key 2x’s; receive room key and key ring.
- Insert Ray’s key into the door and click it once.
- Move into Ray’s Room.
- Insert Ray’s key ring and click it once; collect the evidence and the initials piece.
- Use the razor to slice the painting; collect the ornament box key.
- Click the ornament box and insert the ornament box key; collect 3/ 6 mosaic parts.
- Click the broken initials and the initial pieces, place the sealing wax and use the lighter on it.
- Drip the wax onto the pieces; collect the initials.
- Click the cabinet; insert the initials into the secret compartment.
- Collect the notebook.
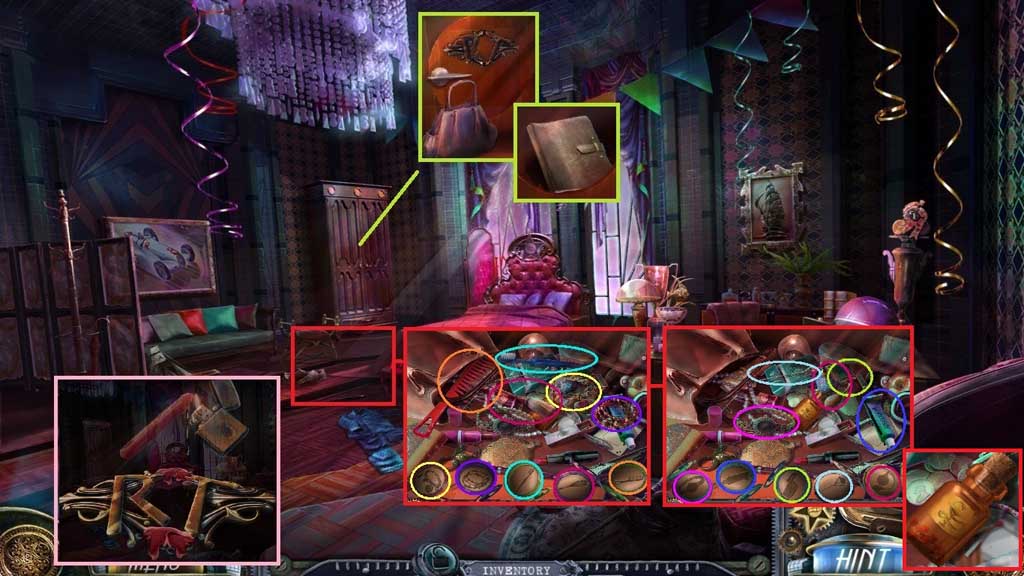
- Click the hidden objects area; collect Sylvia’s pills.
- Move to the Pool Room.
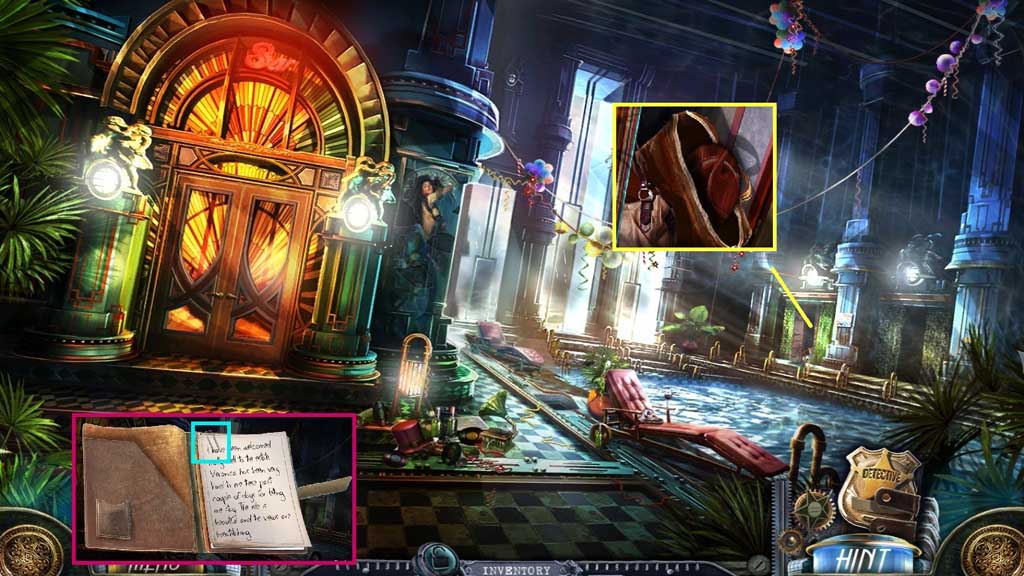
- Click the notebook 2x’s; collect the paperclip.
- Use the paper clip to open the bag; collect 4 /6 mosaic parts.
- Move ahead.
- Give Sylvia her pills.
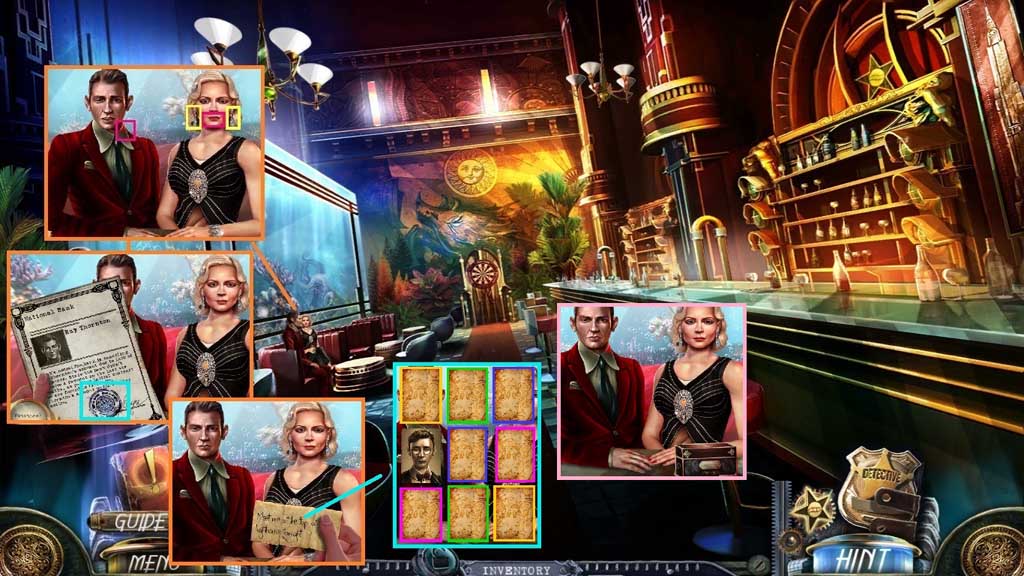
- Examine Sylvia’s lips and Ray’s collar.
- Click Sylvia’s earrings.
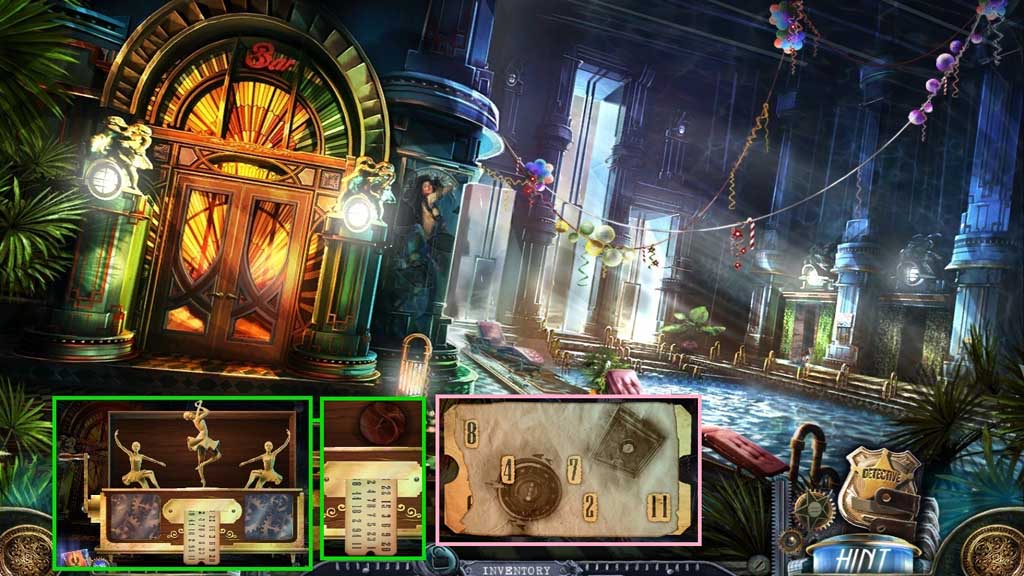
- Click the stamp, click the note to trigger a mini game.
- Solve the game by finding the matches.
- Collect Thomas’ photo.
- Collect the music box.
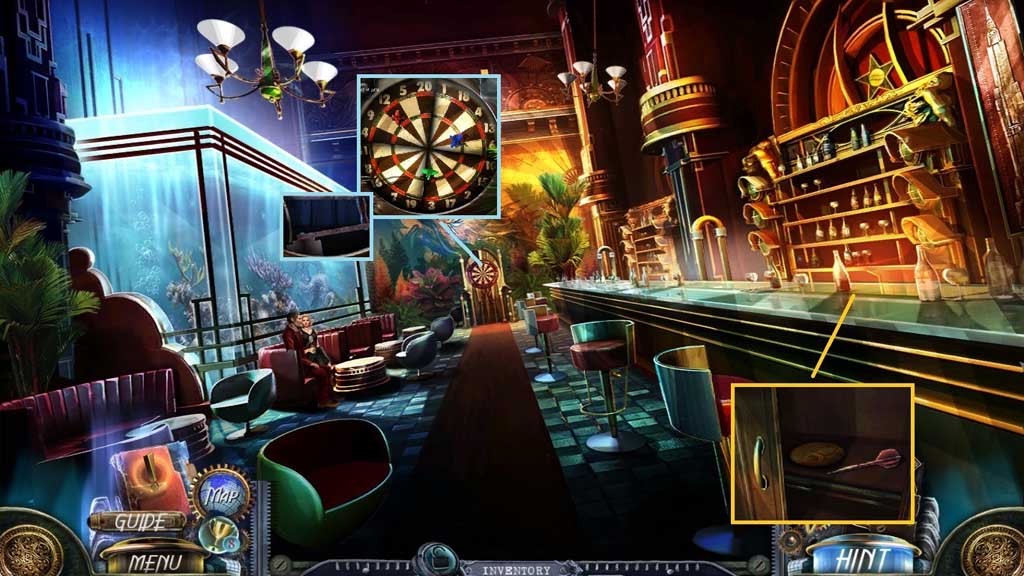
- Zoom into the bar and click the cabinet; collect 3 /3 darts and 5 /6 mosaic discs.
- Place the darts onto the board to trigger a mini game.
- Solve the game by hitting the correct numbers on the dart board (12 – 13 – 3).
- Collect the music box handle.
- Move down once and click the hidden objects area.
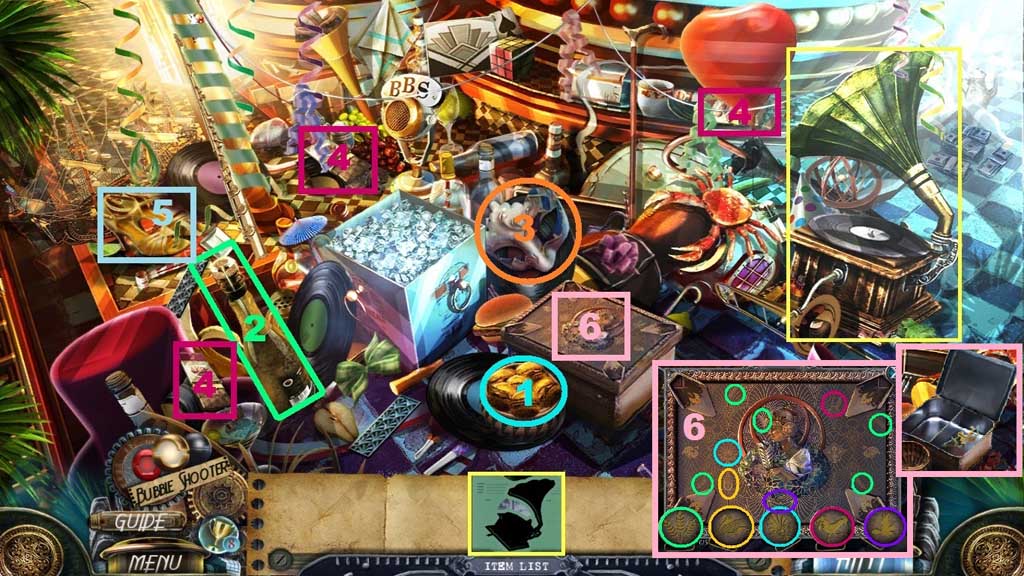
- Find the items based on the clues.
- Collect the music box figurine.
- Click the music box and attach the handle.
- Click it once and place the music box figurine.
- Collect the strange code and 6/ 6 mosaic parts.
- Click the strange code 2x’s and place the paper with holes onto it.
- Collect the combination.
- Move to the Hallway.
- Place the mosaic parts onto the wall to trigger a mini game.
- Solve the game by switching the discs and restoring the image.
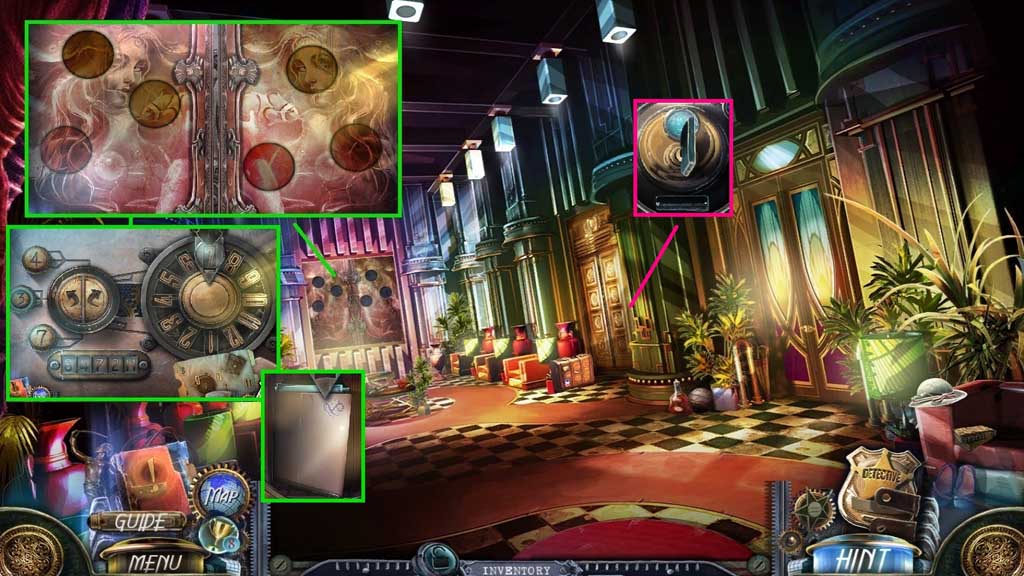
- Place the safe combination down to trigger a mini game.
- Solve the game by finding the correct combination.
- Use the following solution: 7 right – 4 left – 3 right – 7 right – 3 left
- Collect the evidence and the elevator key.
- Insert and click the elevator key.
- Move to the right.

- Click the “Office Hallway” key.
- Move left.
Comments will load when you reach this part of the walkthrough.