

Chapter One: Death
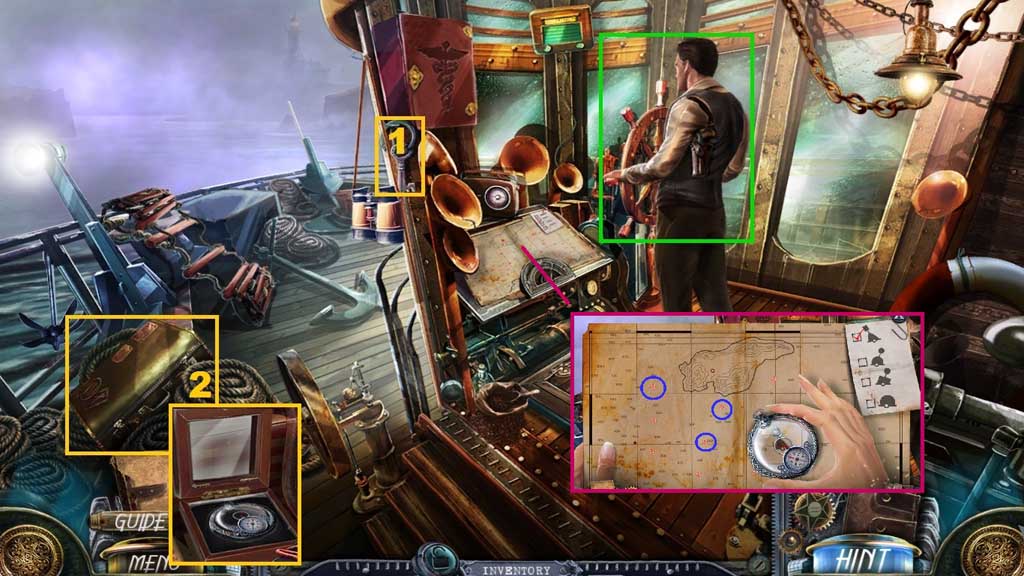
- Speak to Daniels.
- Collect the small key and use it to open the suitcase.
- Click the box; collect the compass and place it onto the map to trigger a mini game.
- Solve the game by using the compass to locate the icons shown.
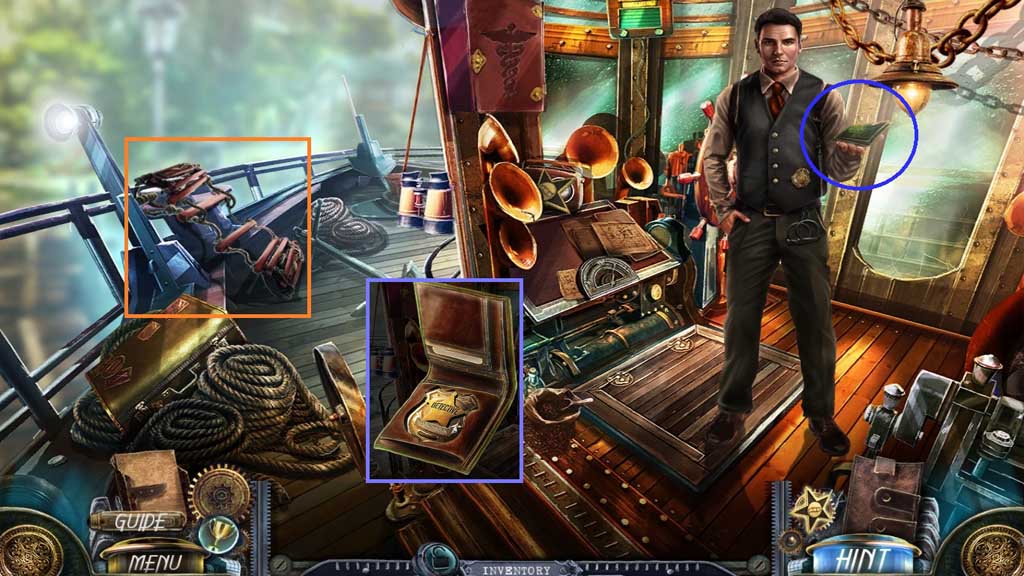
- Collect the badge.
- Click the badge 3x’s.
- Click the rope ladder.
- Move ahead.
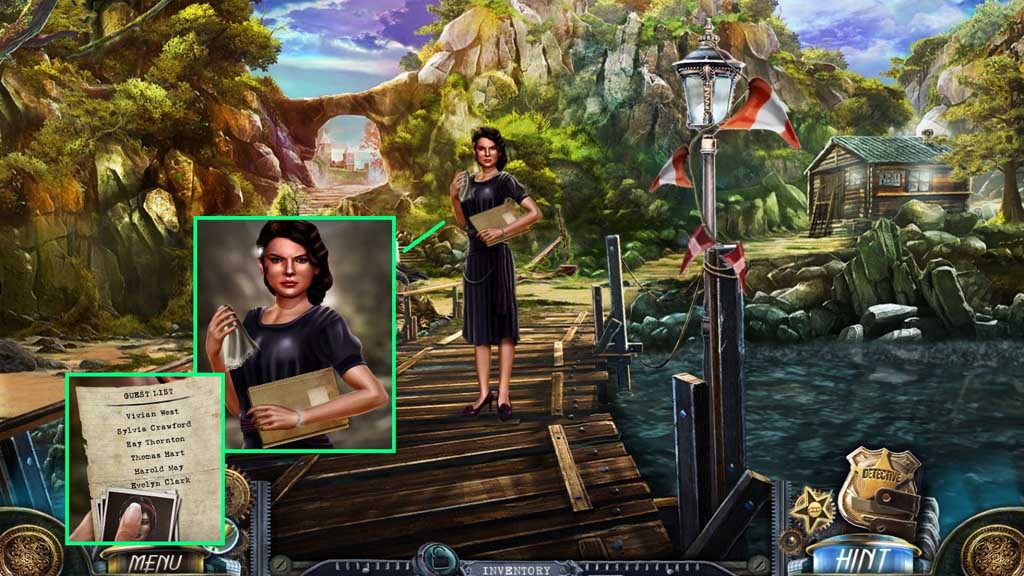
- Speak to Evelyn.
- Verify if she is lying by examining her eyes and the handkerchief.
- Examine the bracelet and the hairpin.
- Ask for and collect the case file.
- Collect the suspect list.
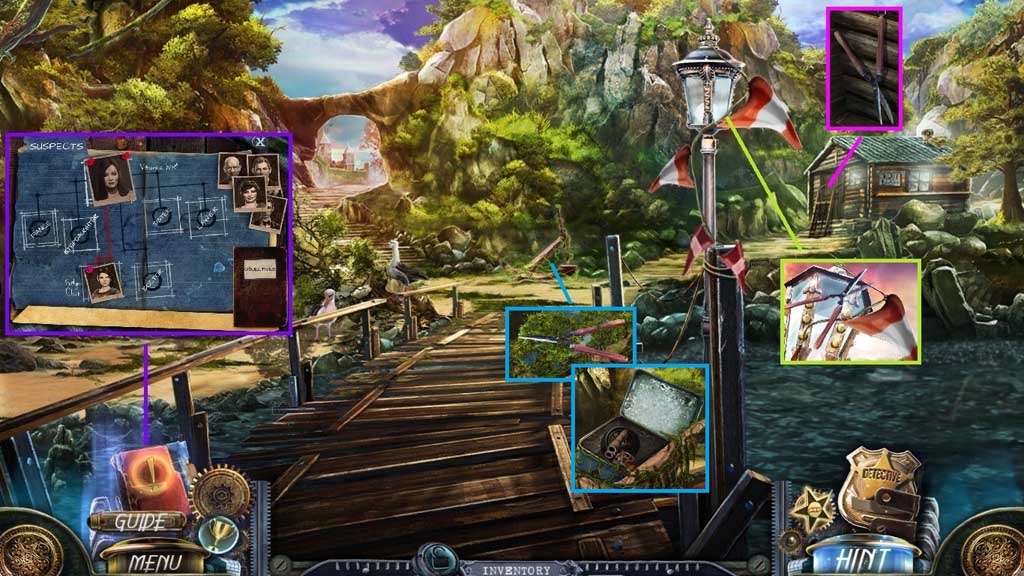
- Examine the evidence board.
- Click and drag Evelyn’s photo onto the maid area.
- Collect the garden shears and use them to collect the pennant string.
- Use the garden shears 2x’s on the algae.
- Click the suitcase; collect the empty flare gun and 1 /2 hand truck wheels.
- Move ahead.
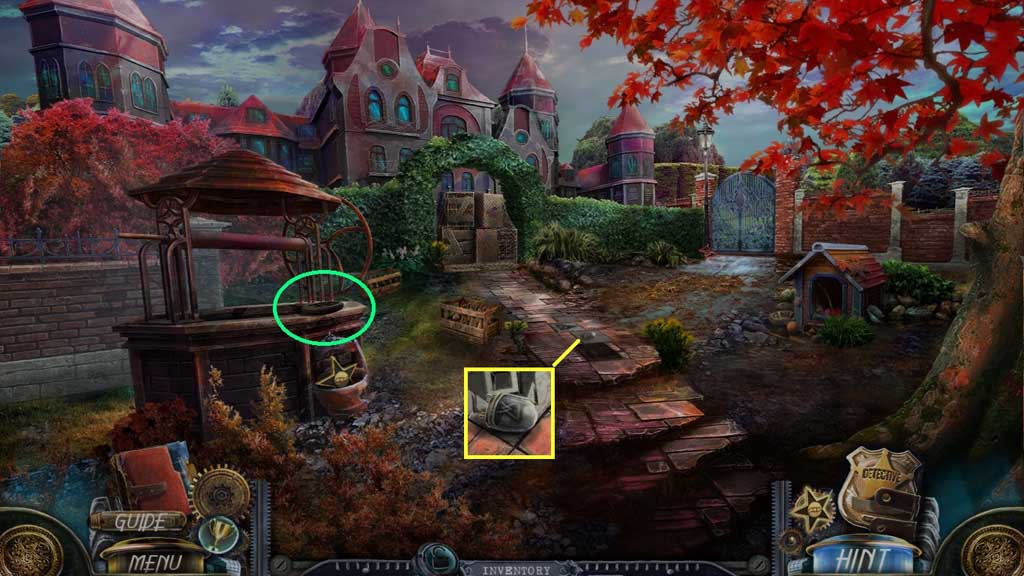
- Collect 2 /2 hand truck wheels.
- Collect 1 /3 fuses.
- Move down once.
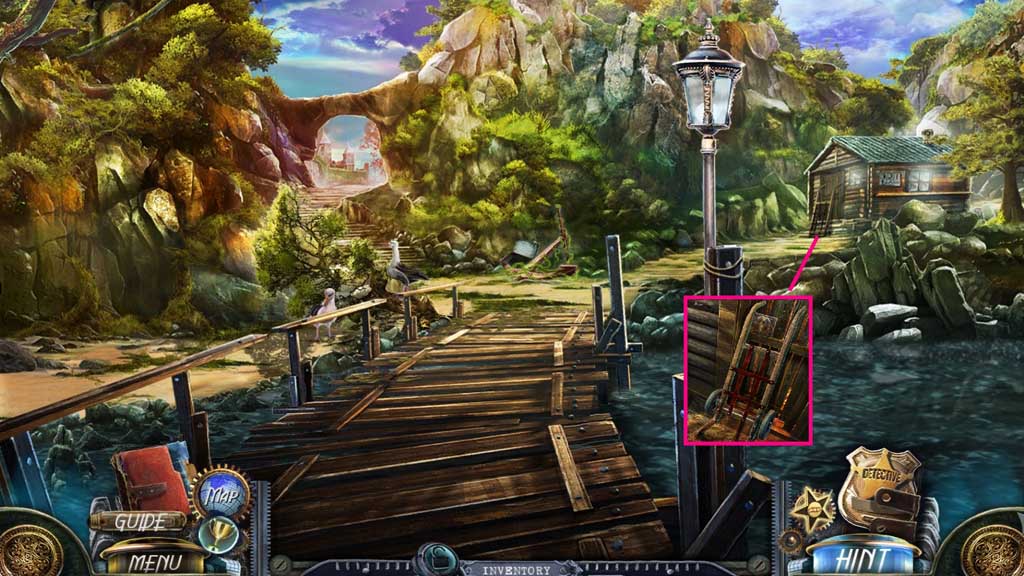
- Attach the wheels onto the hand truck and collect it.
- Move ahead.
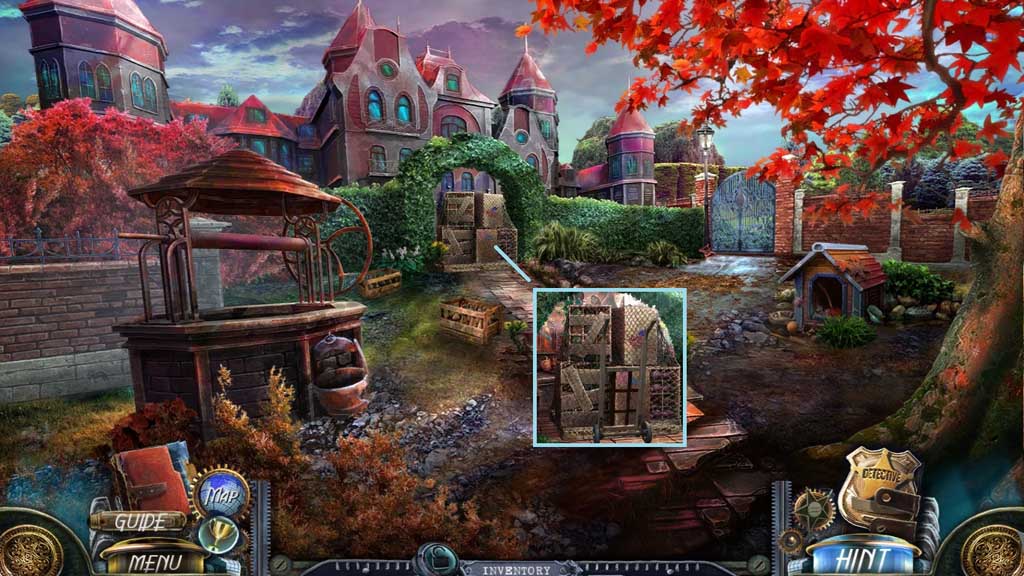
- Use the hand truck to remove the crates.
- Move ahead.
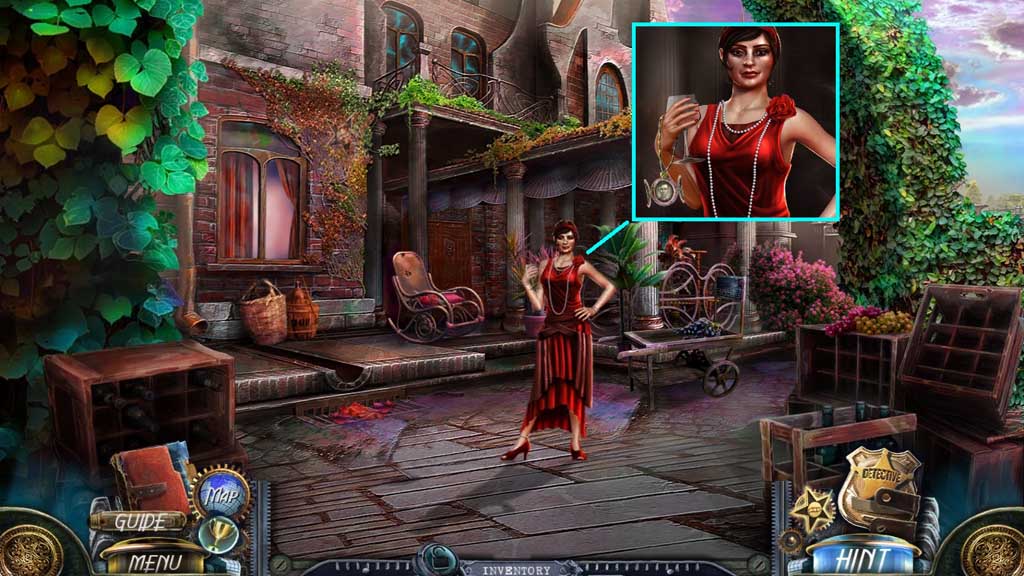
- Speak to Vivian.
- Examine her eyes.
- Examine her wine glass.
- Click and examine the locket.
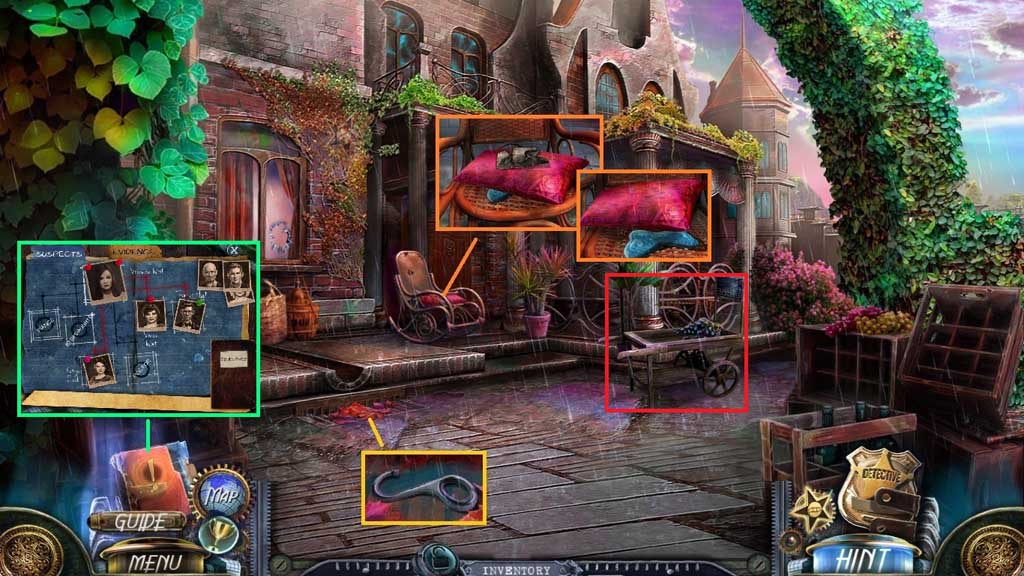
- Click the leaves; collect the fish hook.
- Collect the evidence.
- Click the evidence board and click the evidence tab.
- Click and drag the photo pieces into the frame.
- Move Vivian’s picture to the sister area and Thomas’ picture to the lawyer area.
- Click the cushion; collect the bone.
- Click the trolley to trigger a hidden objects area.
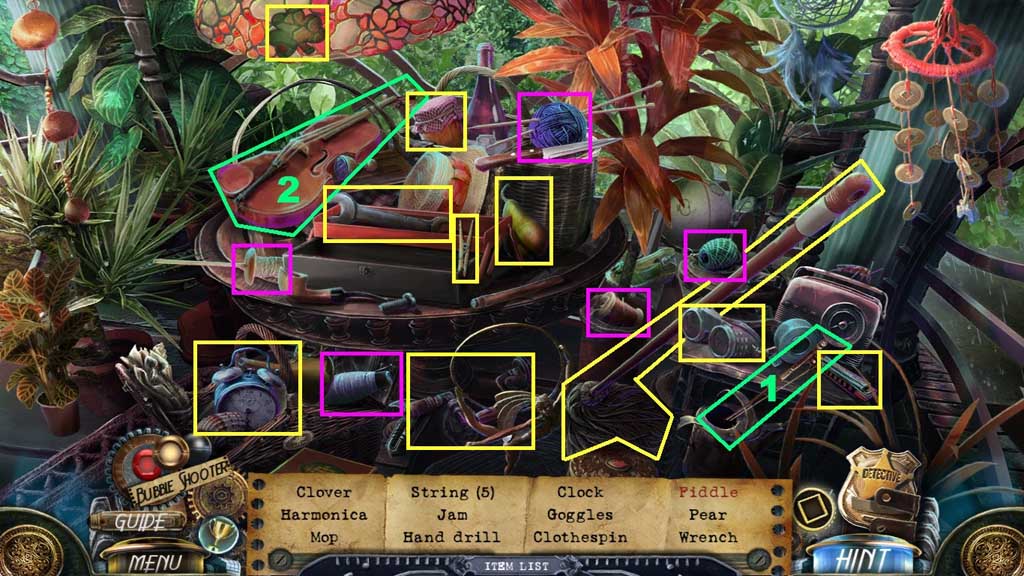
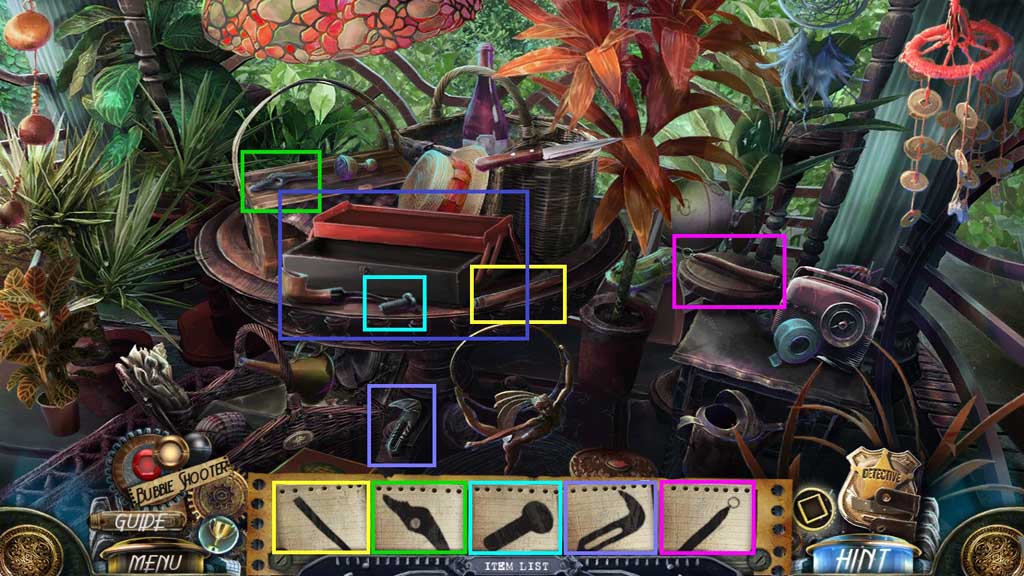
- Find the items.
- Collect the pliers’ parts.
- Move down once.
- Chapter-1-11-Bone
- Give the dog the bone.
- Click the mini hidden objects area.
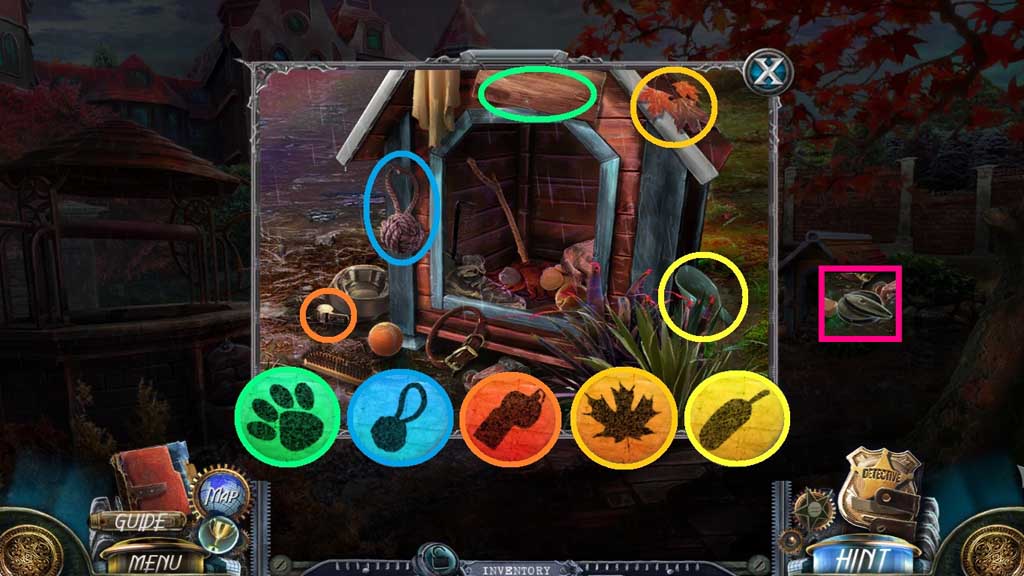
- Find the items.
- Collect the switch.
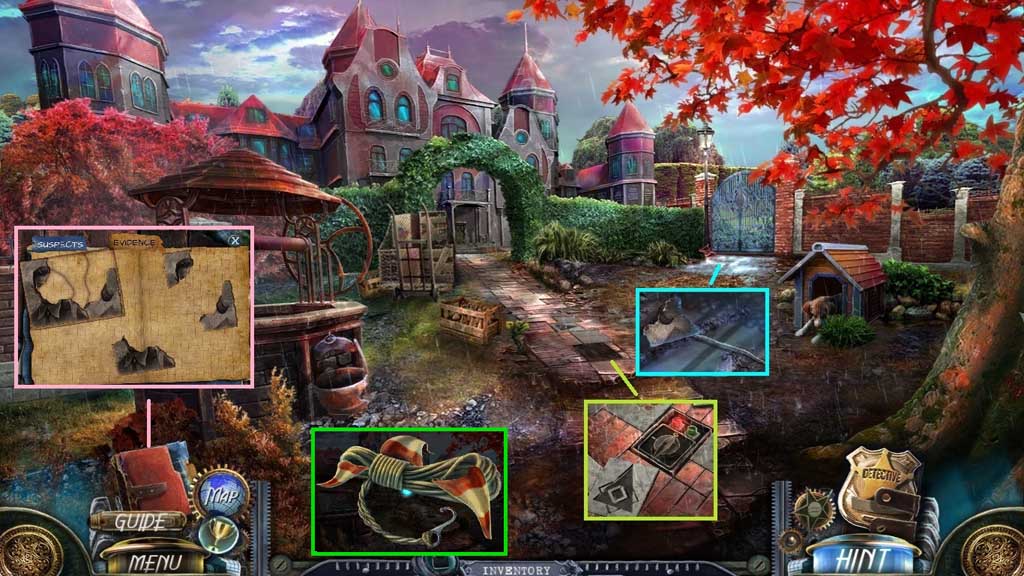
- Click the panel.
- Insert the switch and click it once.
- Attempt to click the gate; collect the evidence and the steel wire.
- Click the evidence board, then click the evidence tab and click and drag the photo piece into the frame.
- Click the fish hook and connect the pennant string to receive the fishing line.
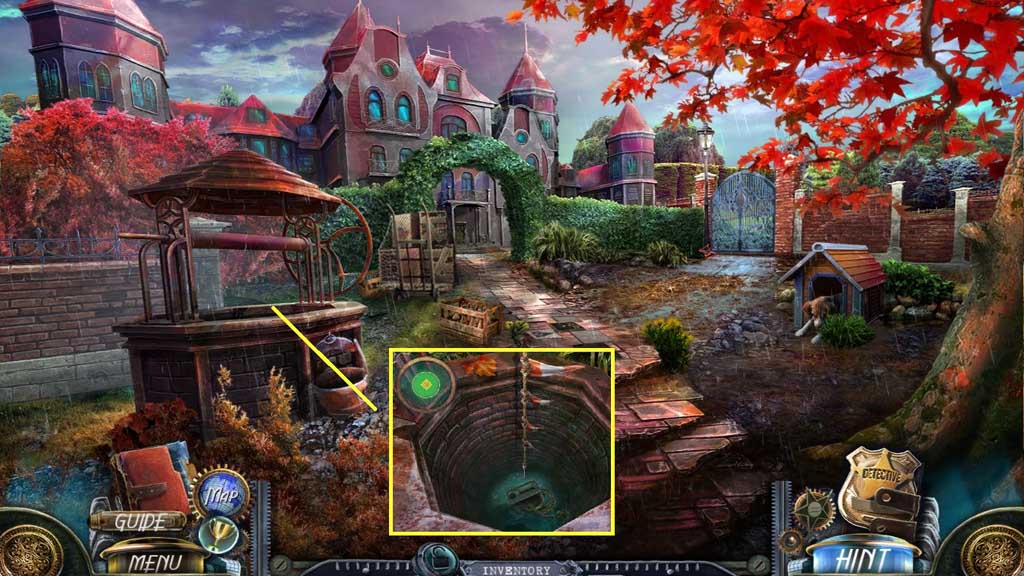
- Toss the improvised fishing line into the well to trigger a mini game.
- Solve the game by clicking the hook when the ball is in the green circle.
- Collect the gasoline can with rope.
- Move down once.
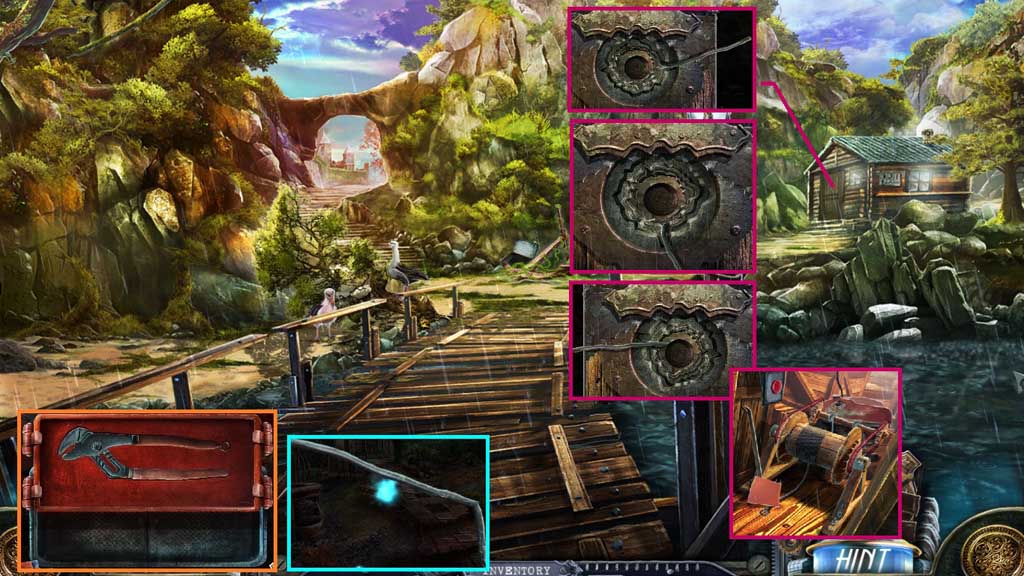
- Click the pliers’ parts and click and drag the parts into place.
- Collect the pliers.
- Click the steel wire and use the pliers to bend it; receive the lock pick.
- Insert the lock pick to trigger a mini game.
- Arrange the discs so that the lock pick can slide through to solve the game.
- Collect the sand paper and the crow bar.
- Move down once.
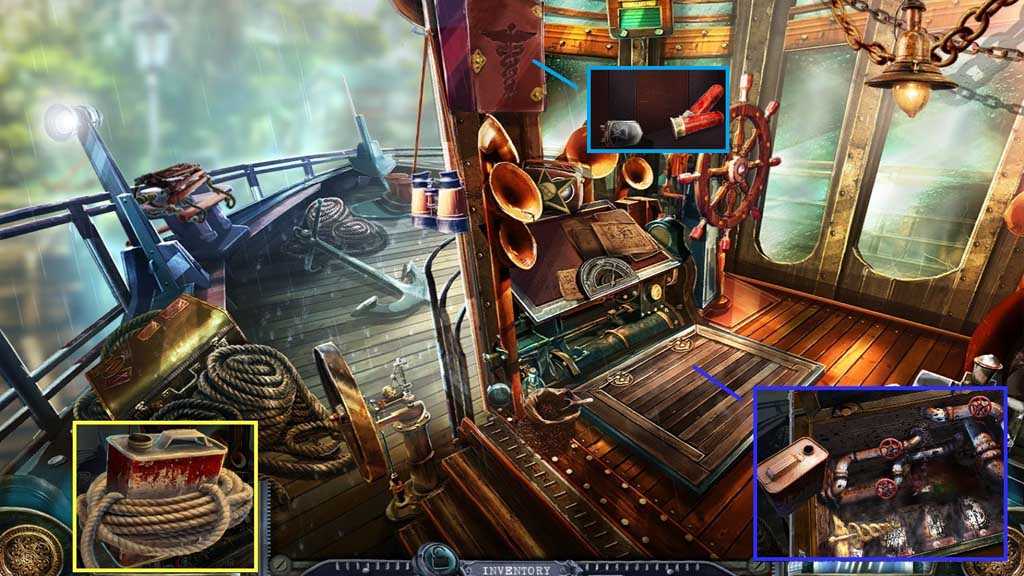
- Click the gas can with rope; collect the rope and the empty gasoline can.
- Use the crow bar to lift the hatch; click the 3 valves and fill the empty gasoline can.
- Collect the gasoline can and the caduceus.
- Insert the caduceus; collect the flares and 2 /3 fuses,
- Move ahead.
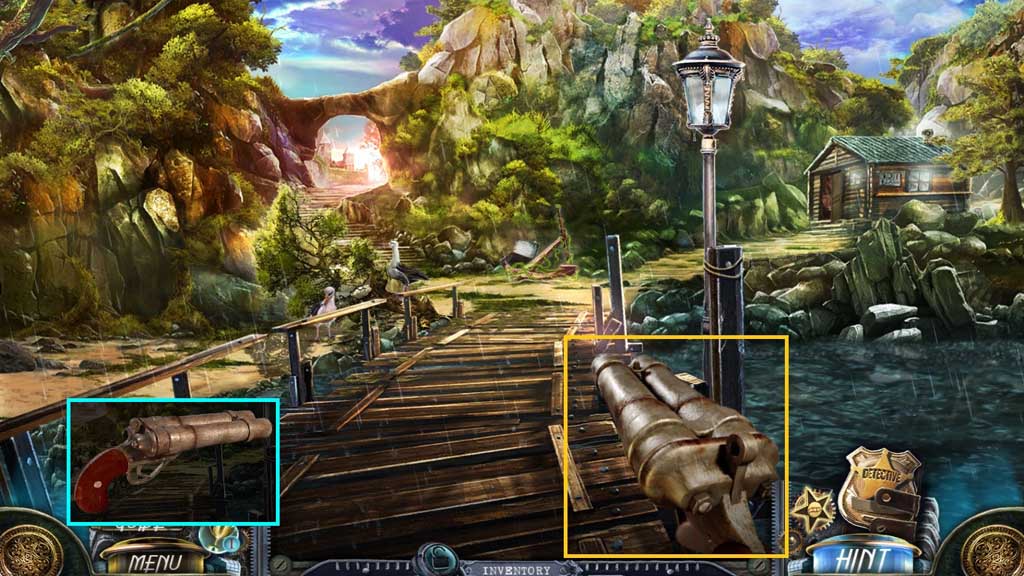
- Click the empty flare gun and insert the flares; receive the flare gun.
- Shoot the flare gun toward the gulls.
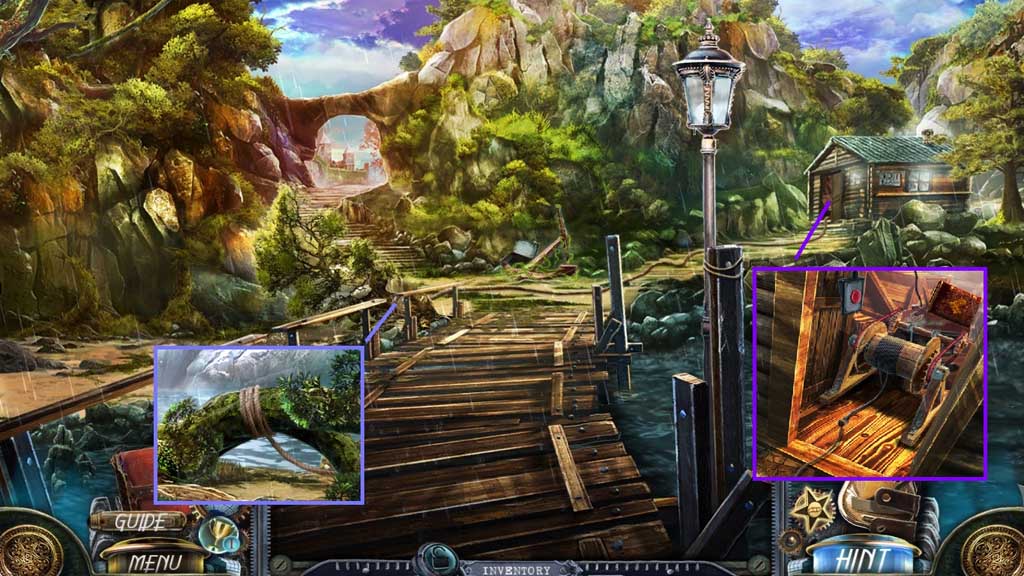
- Tie the rope around the tree.
- Pour the gasoline can into the engine, connect the rope onto the hook and click the button.
- Move to the left.
Comments will load when you reach this part of the walkthrough.