
Bonus Game
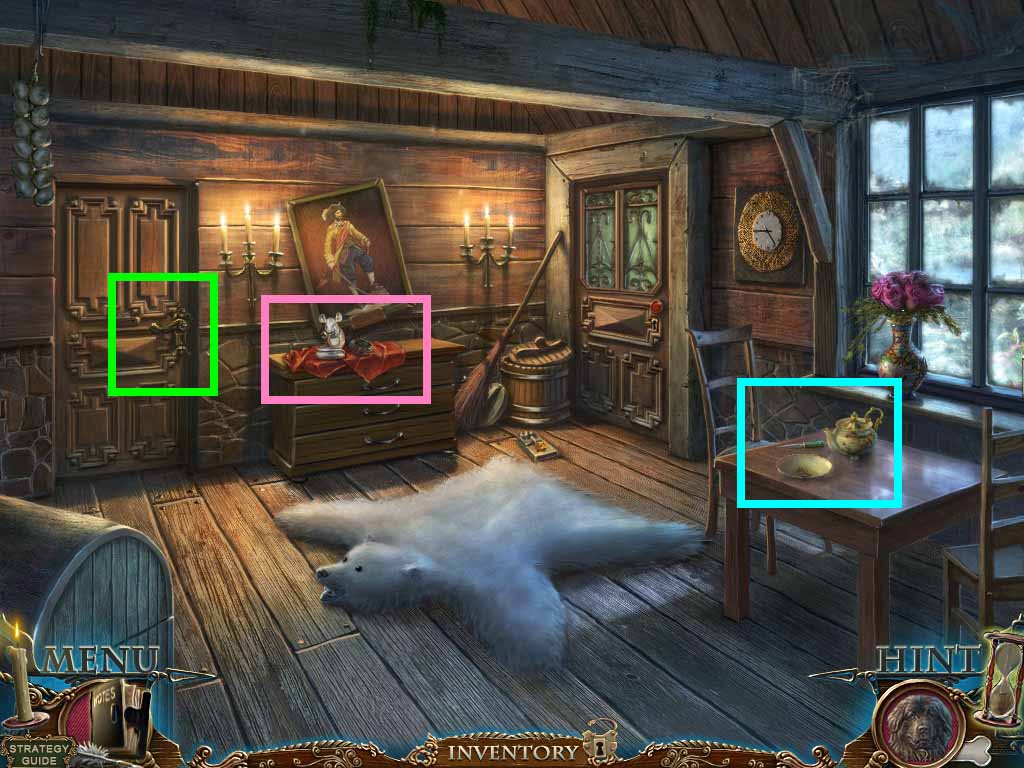
- Zoom into the table; click the teapot.
- Collect the bowl of water; collect the letter opener.
- Zoom into the chest of drawers; collect the copper wire.
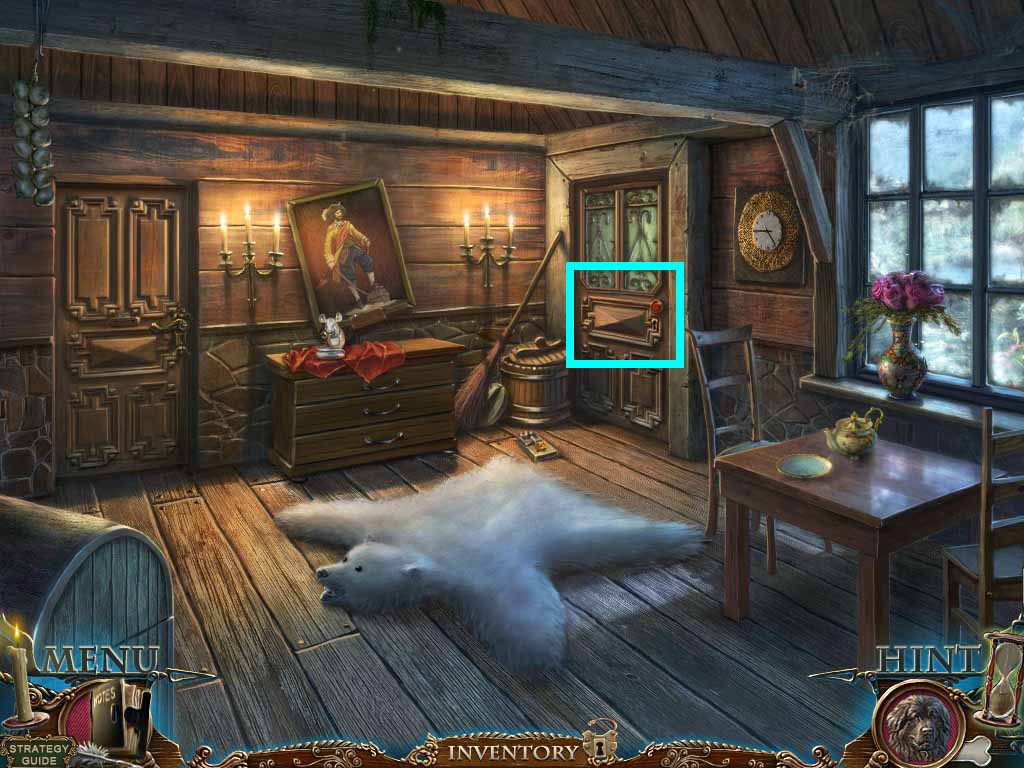
- Zoom into Le Grand’s office door
- Open the latch using the letter opener.
- Click the handle.
- Move through the door.
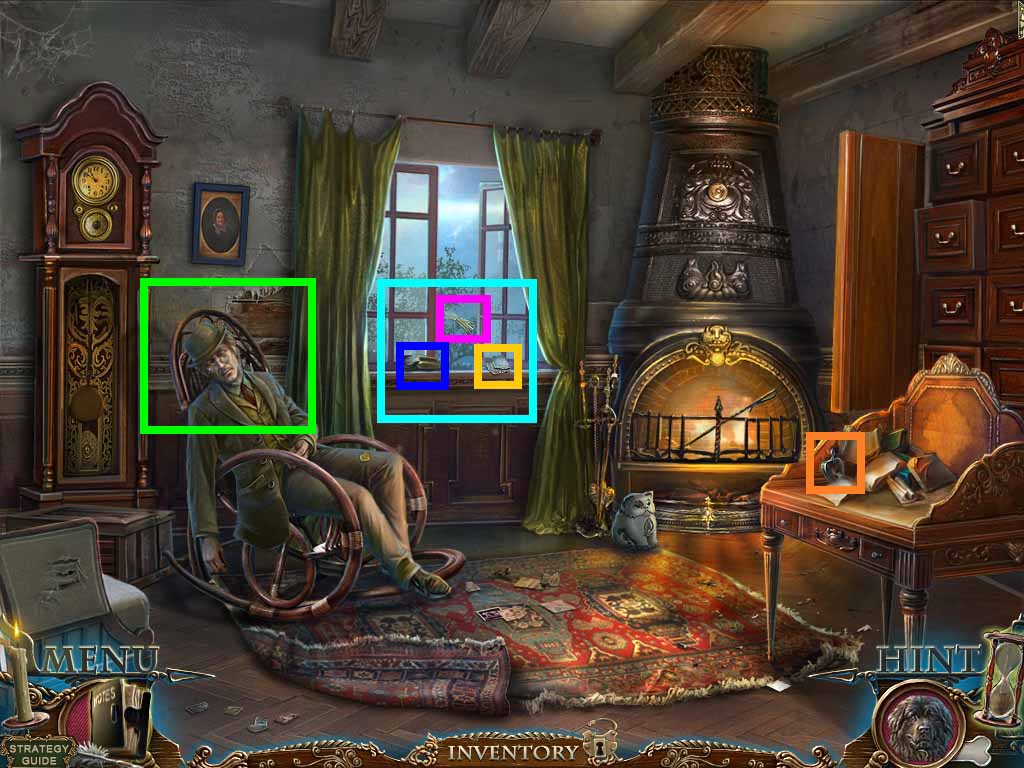
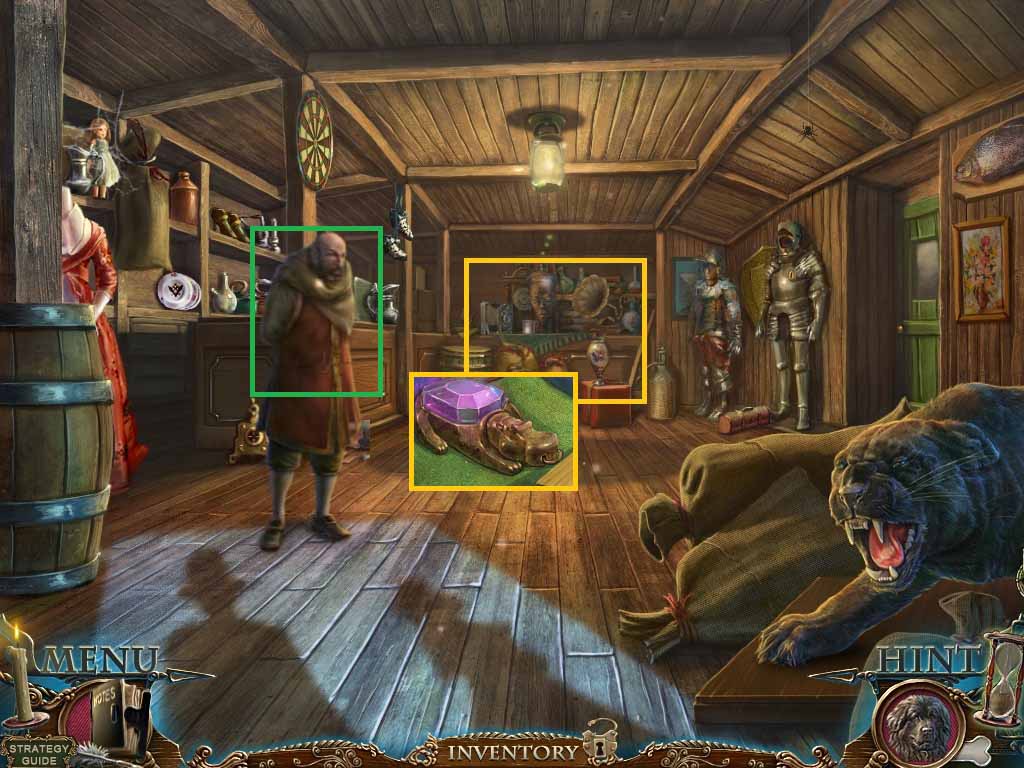
- Zoom into Le Grand; collect the coin.
- Zoom into the window; collect the bunch of straw, the hook and the handkerchief.
- Zoom into the desk.
- Collect the apple half.
- Move back one time.
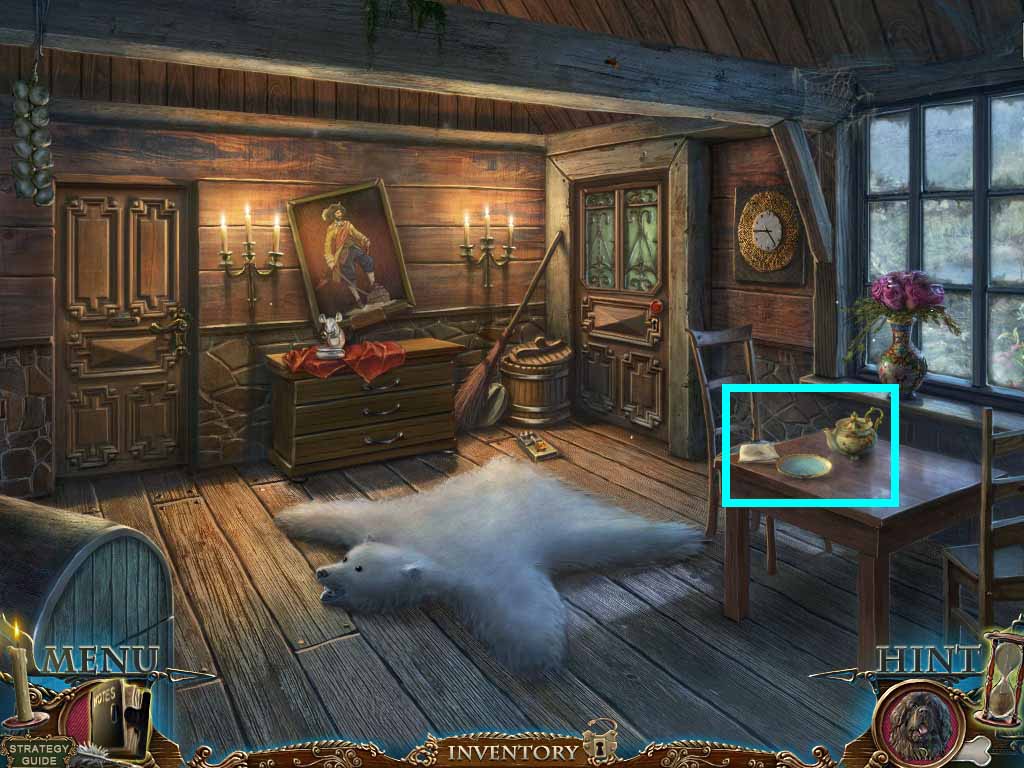
- Zoom into the table.
- Place the kerchief onto the table.
- Click and drag it to dip into the bowl.
- Collect the wet kerchief.
- Move back to Le Grand.
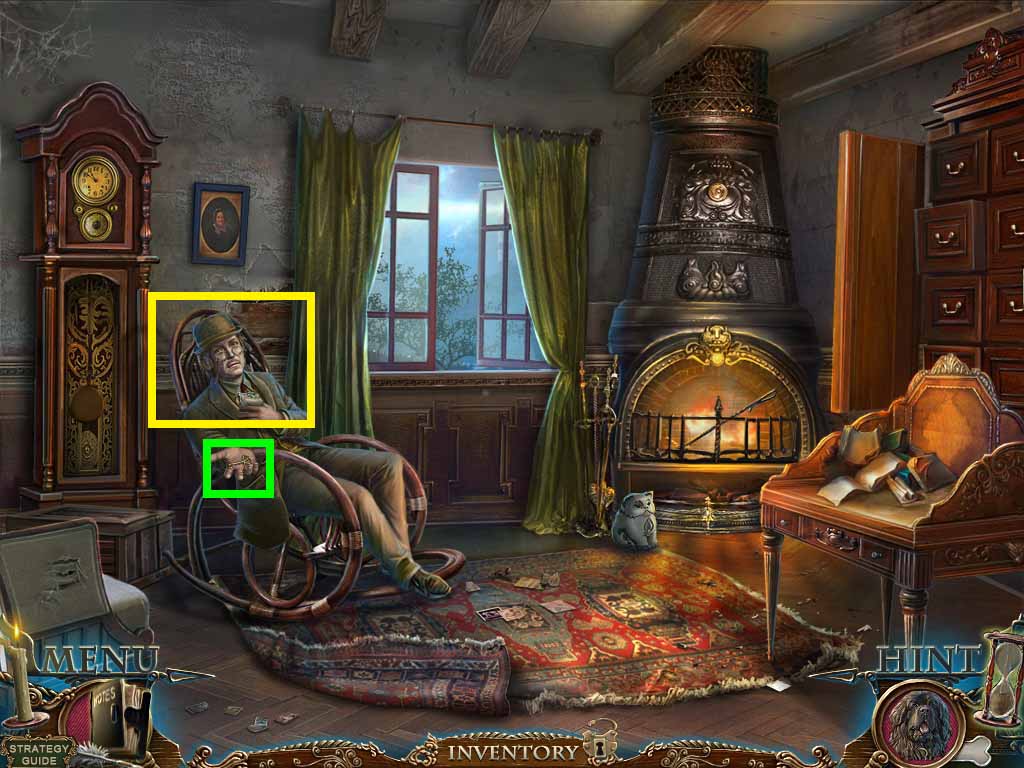
- Zoom into Le Grand and use the wet kerchief on him.
- Zoom into Le Grand again; collect the garden key.
- Move back once.
- Zoom into the door; insert the garden key and click the handle.
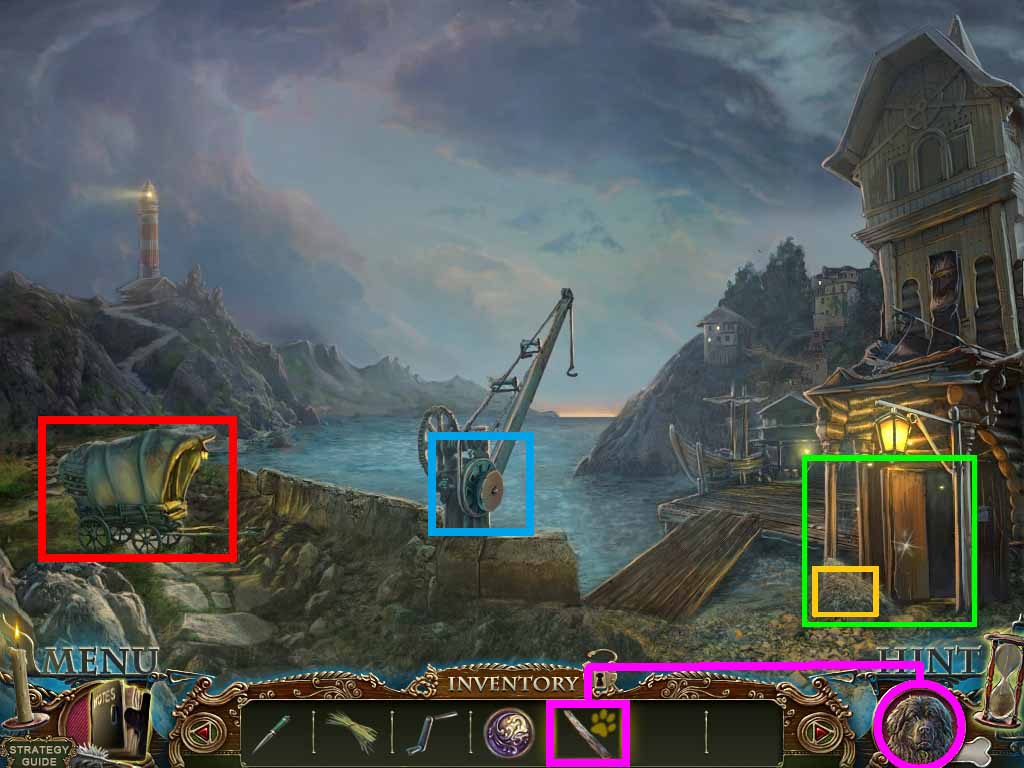
- Move to the right out of the door.
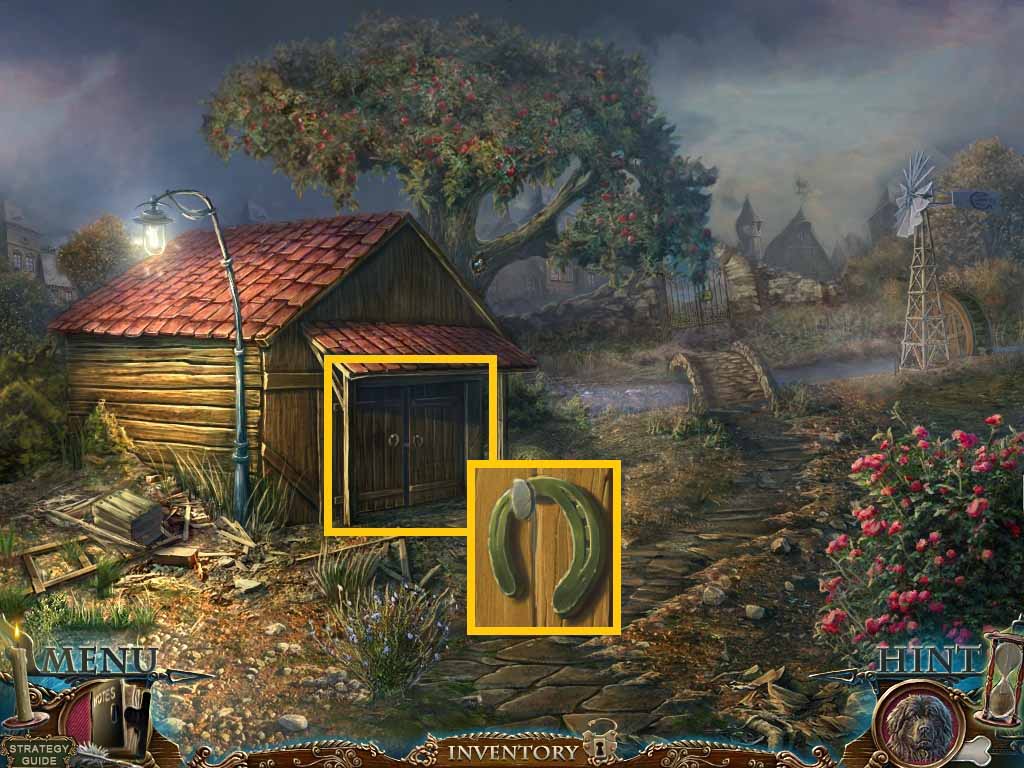
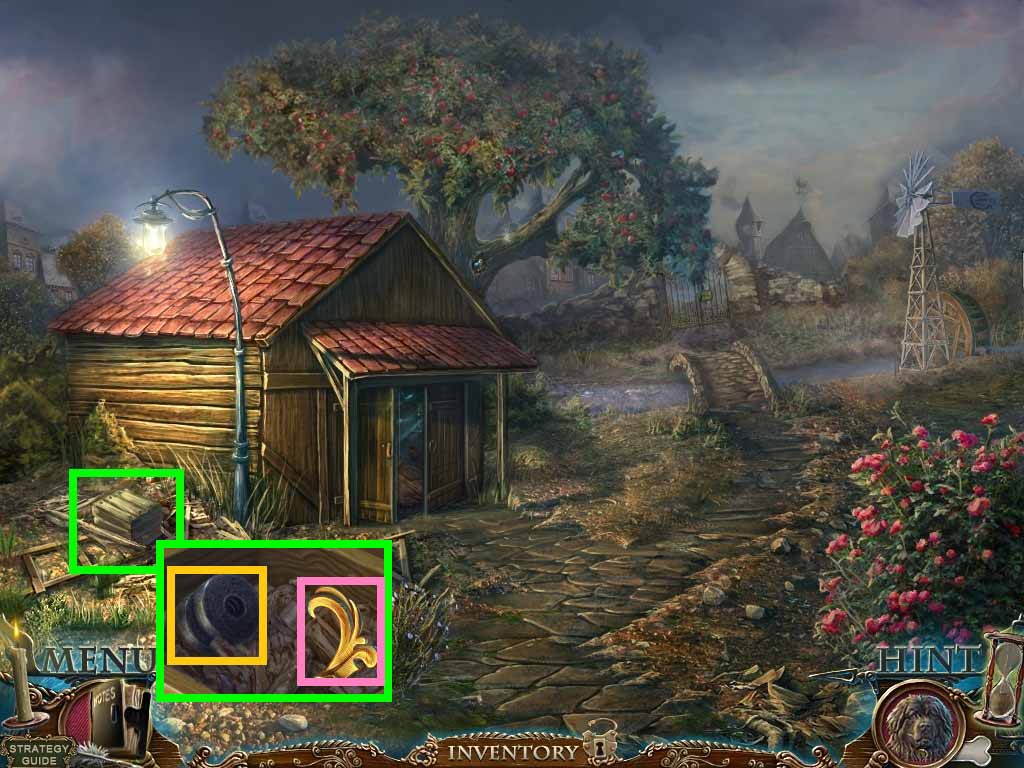
- Zoom into the shed door.
- Collect the horseshoe.
- Move back one time and into Le Grand’s office.
- Zoom into the desk.
- Place the horseshoe and the copper wire onto it.
- Connect the copper wire and the horseshoe; collect the magnet.
- Move to the shed.
- Zoom into the shed; put the magnet onto the metal.
- Go into the shed.
- Collect the oven mitt.
- Move to Le Grand’s office.
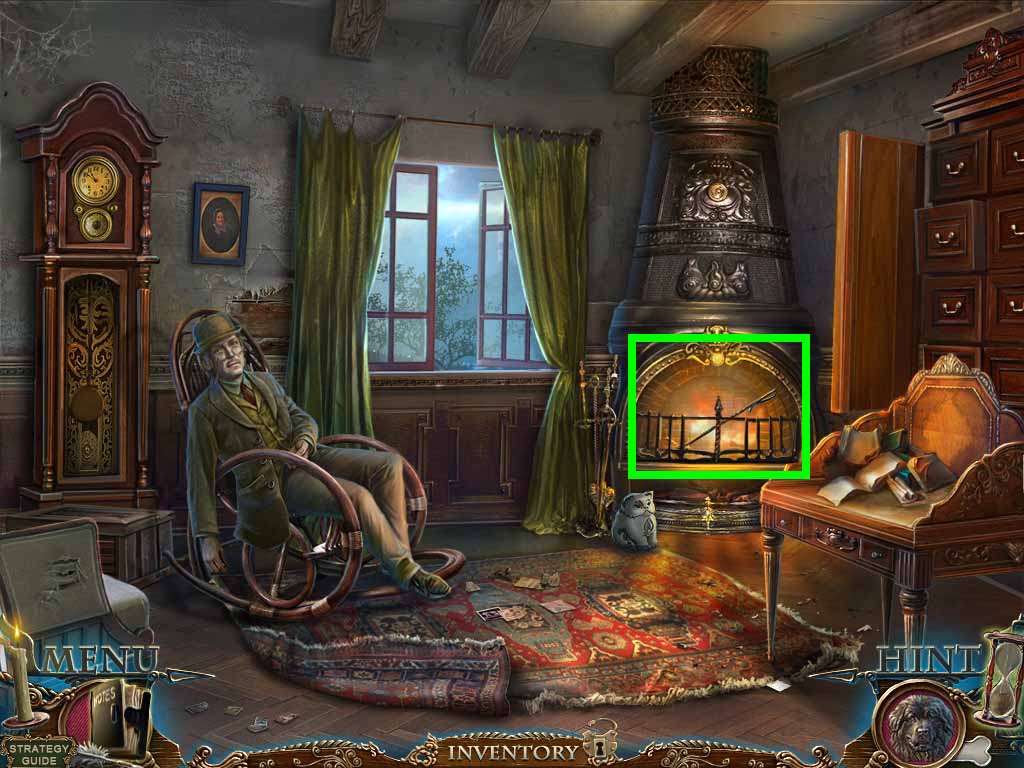
- Zoom into the fireplace.
- Put the oven mitt onto the poker; collect the fire hook.
- Move back once.
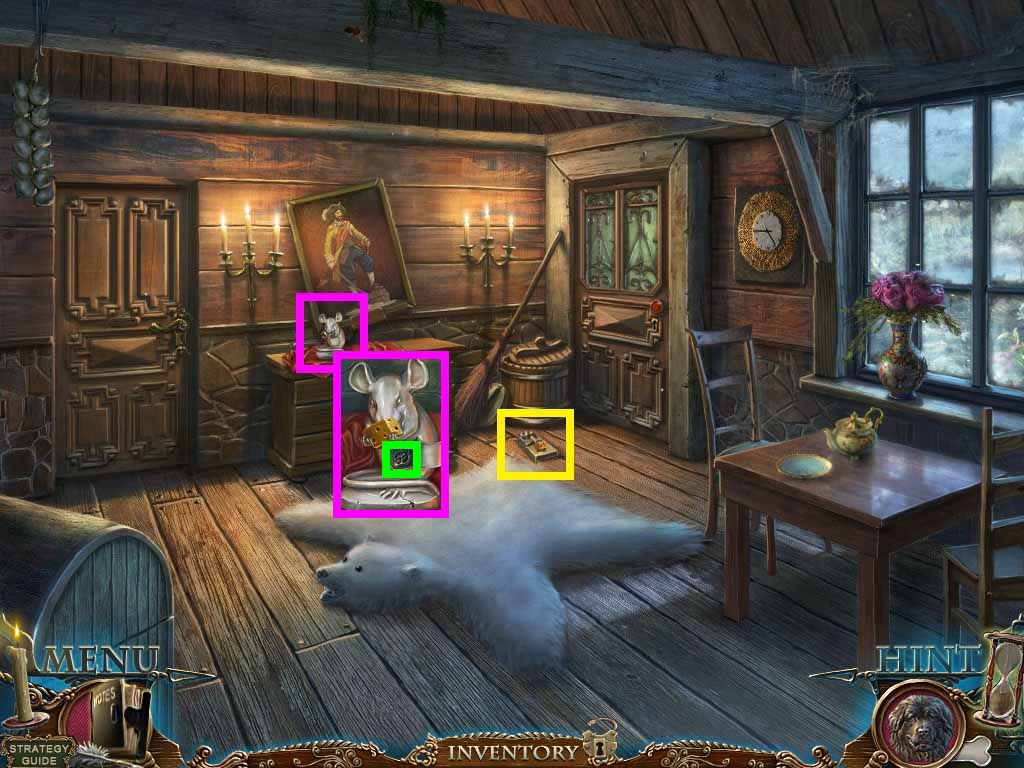
- Zoom into the mouse trap; use the fire hook to snap it.
- Collect the cheese.
- Zoom into the mouse; give him the cheese.
- Collect the fire medallion.
- Move to Le Grand’s office.
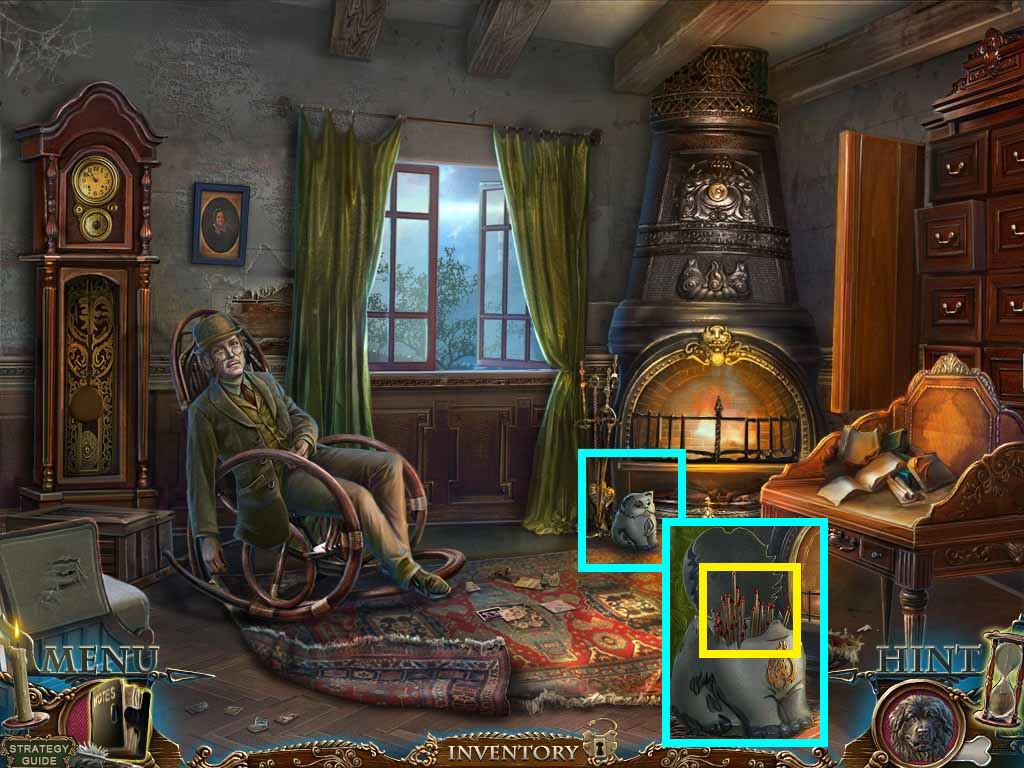
- Zoom into the fireplace.
- Place the fire medallion onto the cat statue.
- Collect the match.
- Move back and exit the house.
- Go into the shed.
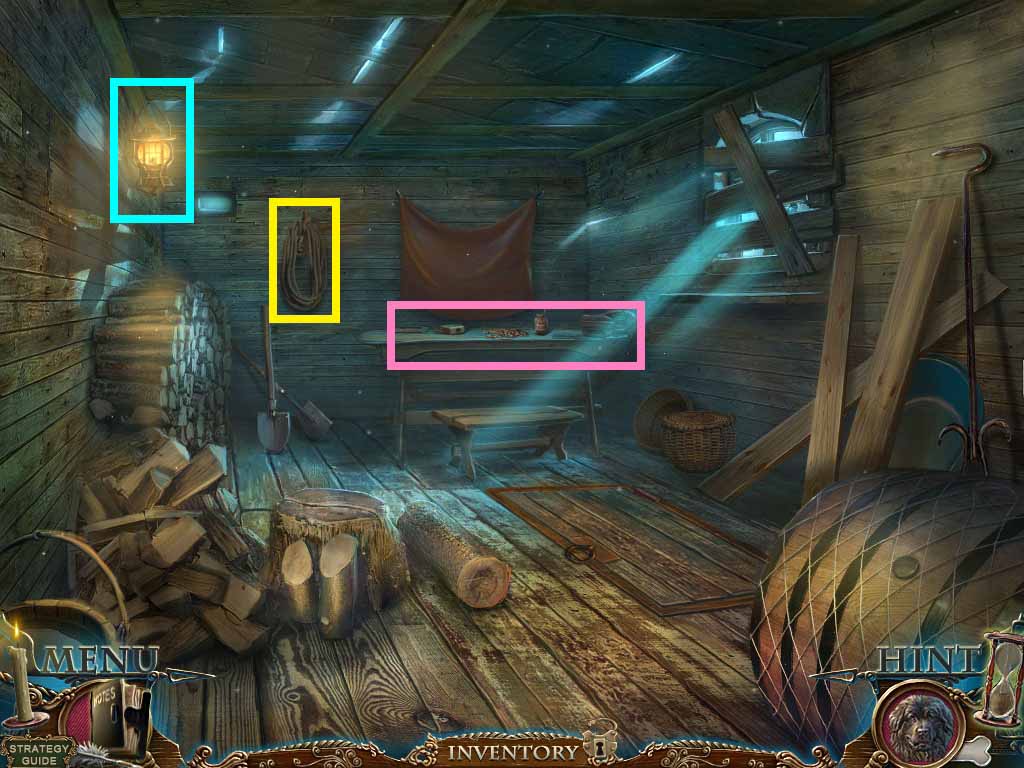
- Zoom into the lantern.
- Click it open.
- Use the match to light it and close the door.
- Collect the rope.
- Zoom into the workbench.
- Clear the wood shavings; collect the gem, crowbar and the glue.
- Move back one time.
- Zoom into the crate; use the crowbar on it.
- Collect the gold foil and the wheel.
- Move into the shed.
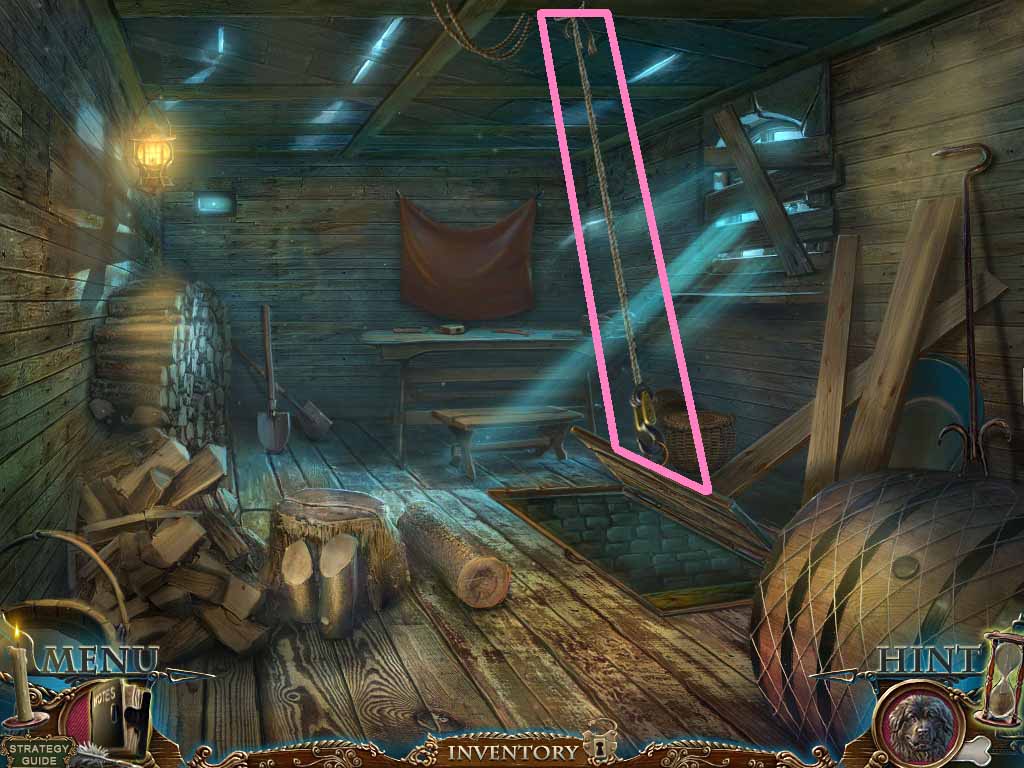
- Zoom into the rafters.
- Attach the rope, wheel and the hook onto the rope; click the hook.
- Zoom into the hatch; connect the hook.
- Move down into the hatch.
- Zoom into the ledge and click the bricks.
- Collect the spoon.
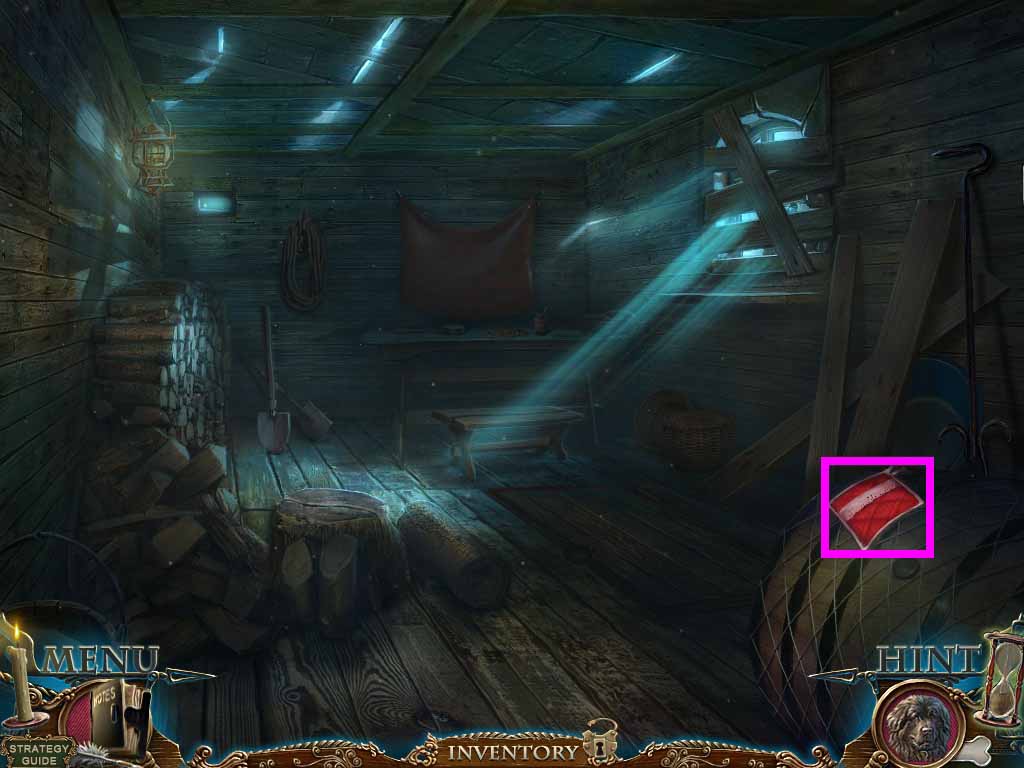
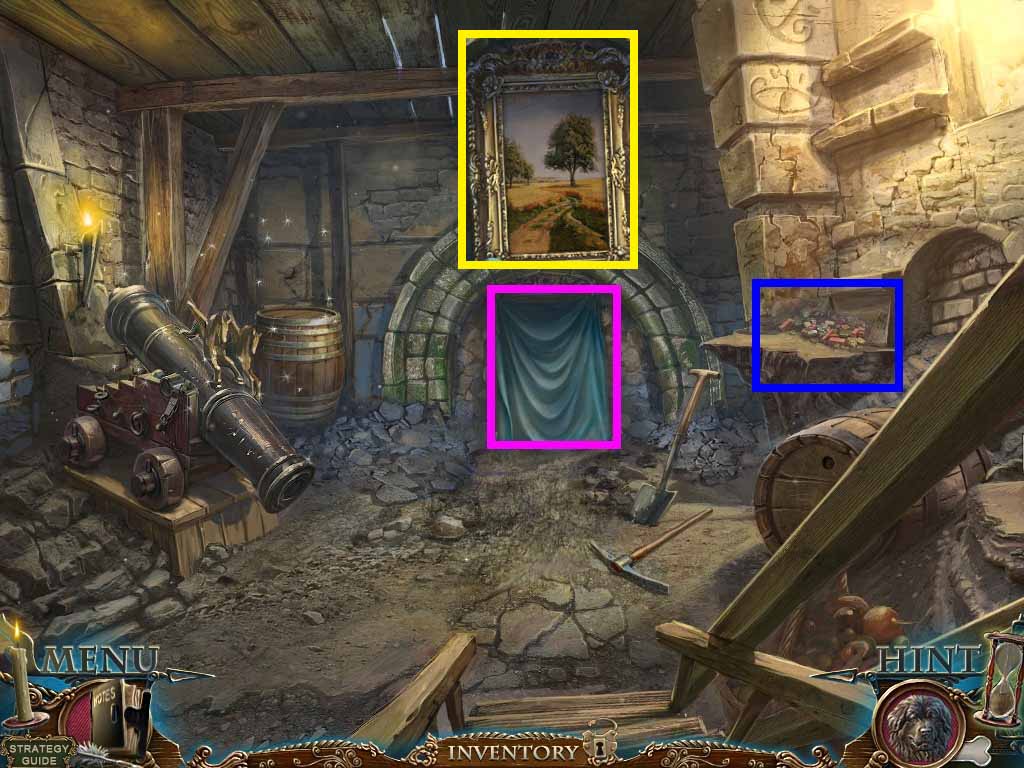
- Zoom into the curtain; click it and collect the curtain.
- Zoom into the painting; insert the gem and gold foil to trigger a puzzle.
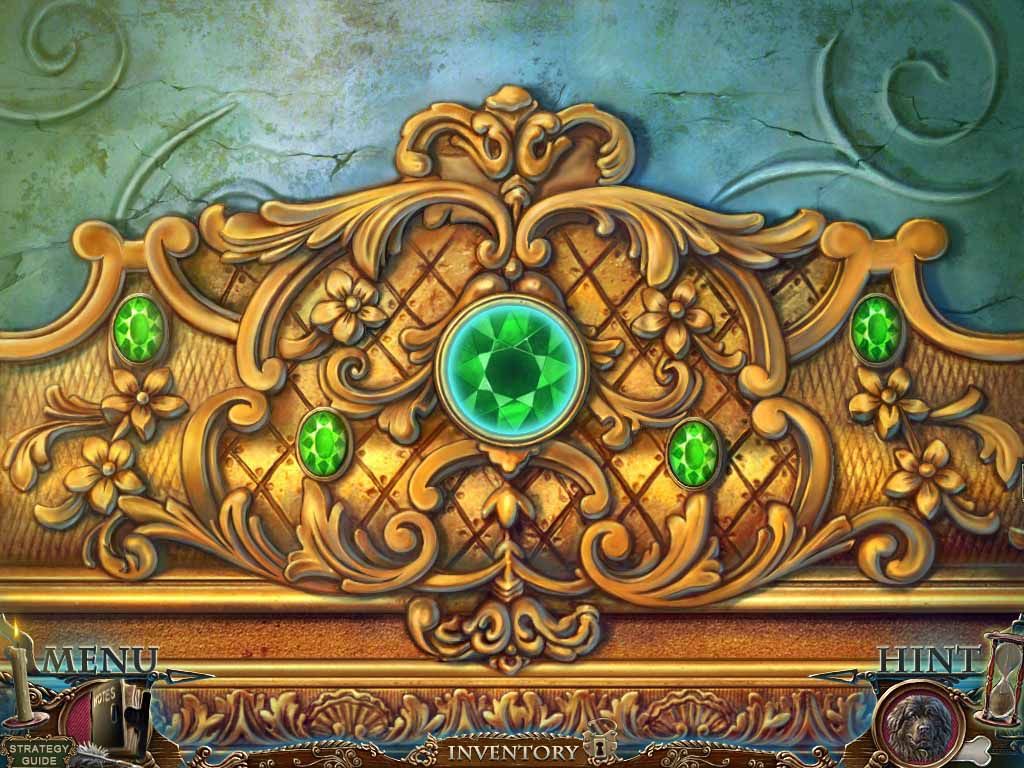
- Insert the missing pieces to complete the picture.
- Click the large gemstone when complete.
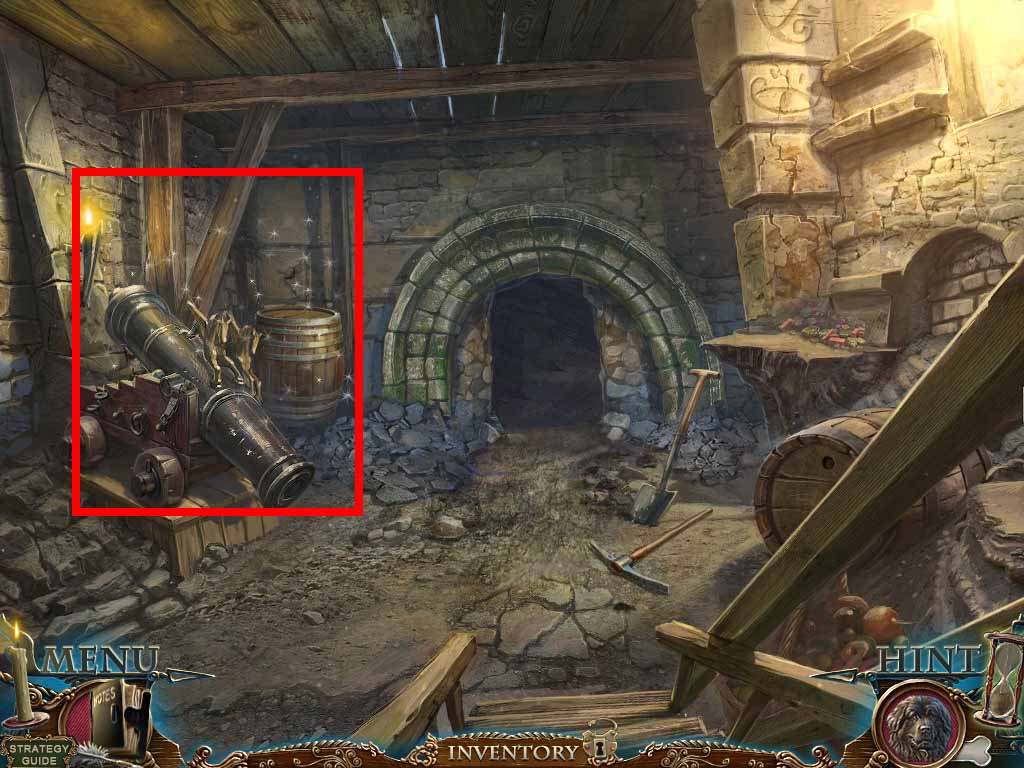
- Zoom into the cannon to access a hidden objects area.
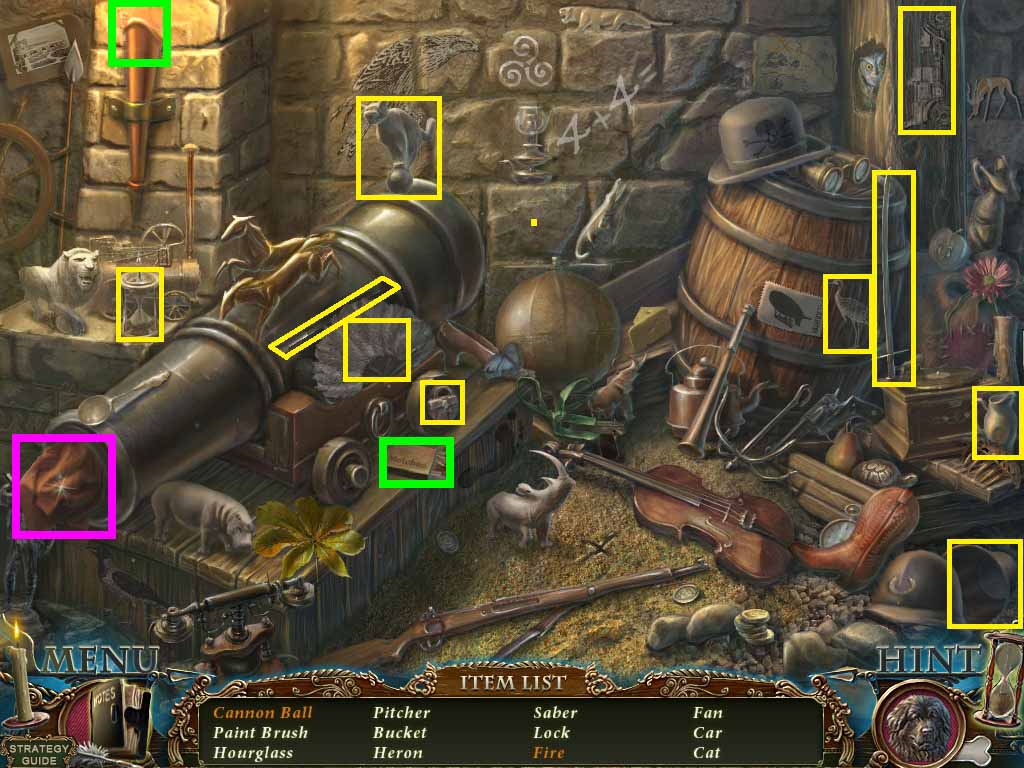
- Find the listed items.
- Click the cloth to collect the core.
- Light the torch with the matches to collect the fire.
- Collect a bucket.
- Move forward to the grotto.
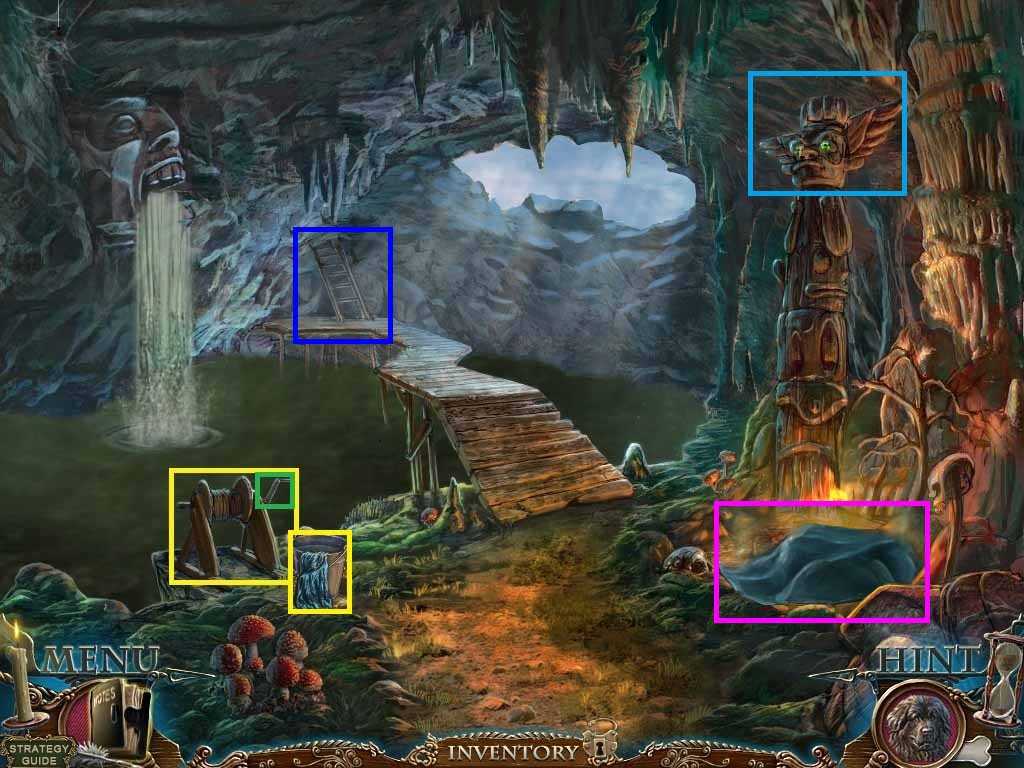
- Zoom into the winch; place the bucket near the rope.
- Click the bucket and turn the handle.
- Put the curtain into the bucket of water.
- Collect the handle and the wet curtain.
- Zoom into the totem head; collect the totem eyes.
- Zoom into the fire; Place the wet curtains onto it.
- Zoom into the ladder; notice we need a key.
- Move back one time.
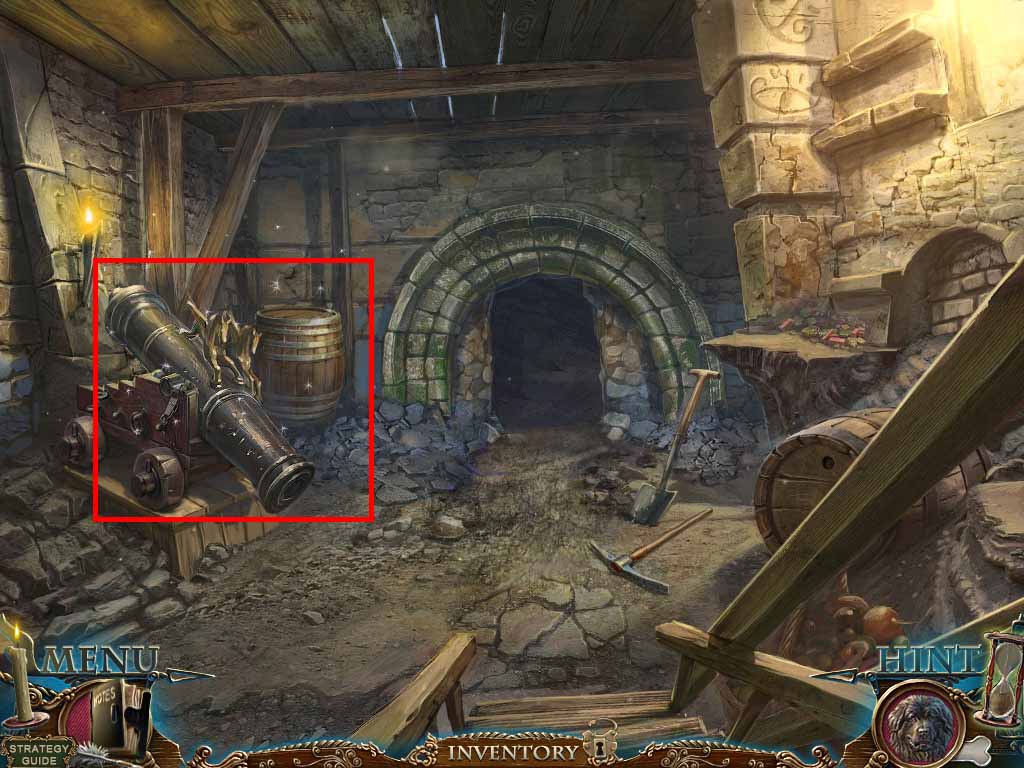
- Zoom into the cannon to access a hidden objects area.
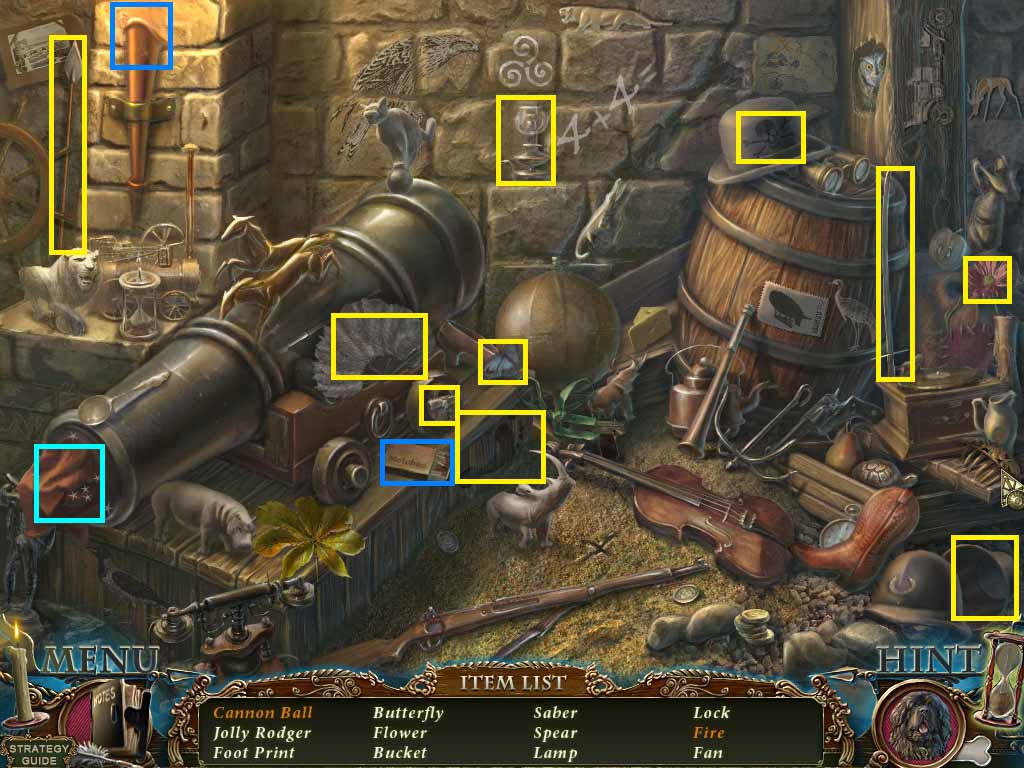
- Find the listed items.
- Use the chalk on the equation to collect the 8.
- Use the shovel on the “X” to collect the shell.
- Collect the 2nd apple half.
- Move back two times.
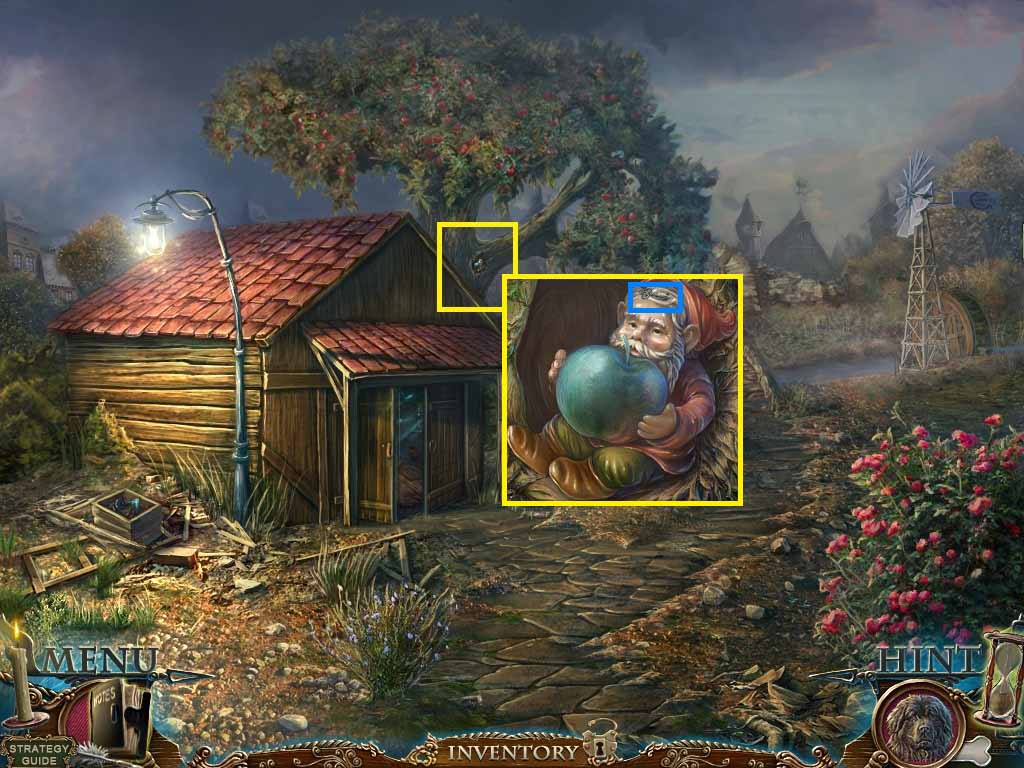
- Zoom into the top of the tree trunk.
- Give the gnome the 2 apple halves.
- Collect the key.
- Move to the lower level of the shed and move forward to the grotto.
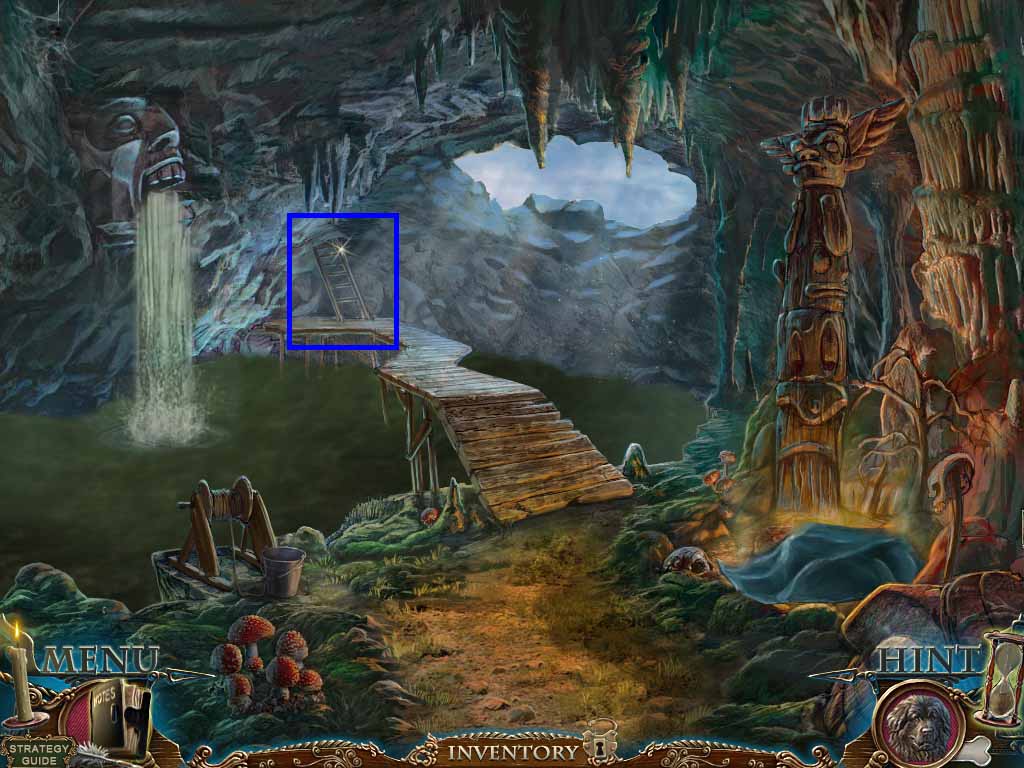
- Zoom into the ladder; insert the key into the hatch.
- Go into the cabin.
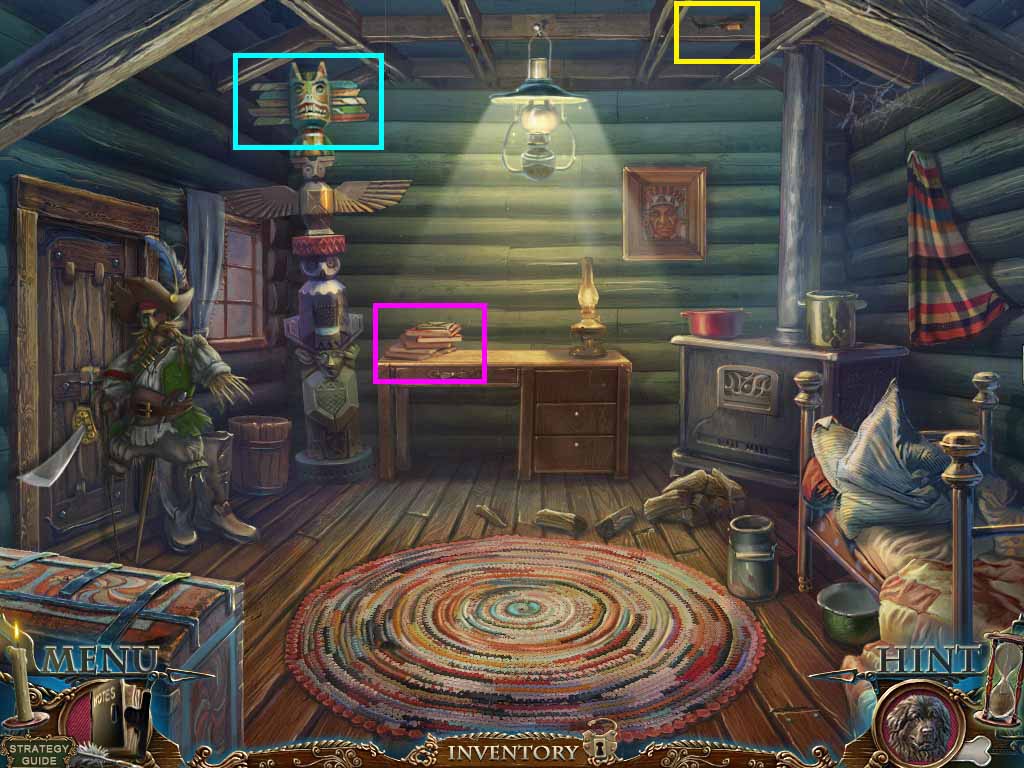
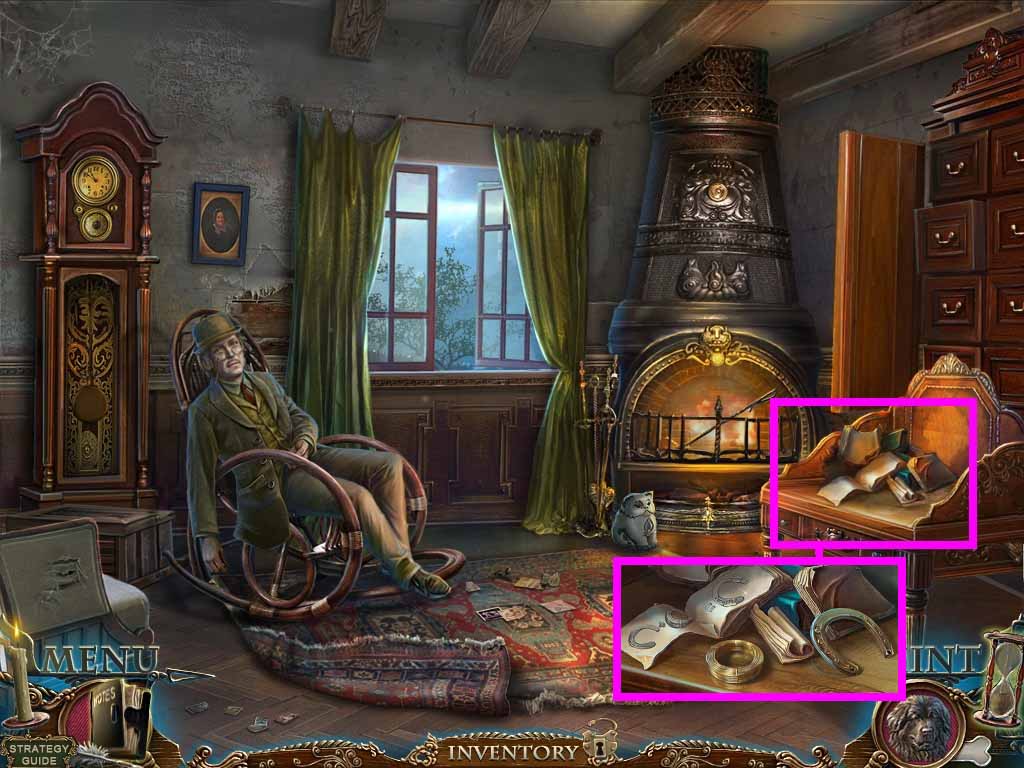
- Zoom into the left side of the desk.
- Click aside the 2 books and the envelope.
- Open the envelope and collect the note.
- Zoom into the rafters; collect the chisel.
- Zoom into the totem top and insert the eyes to trigger a puzzle.
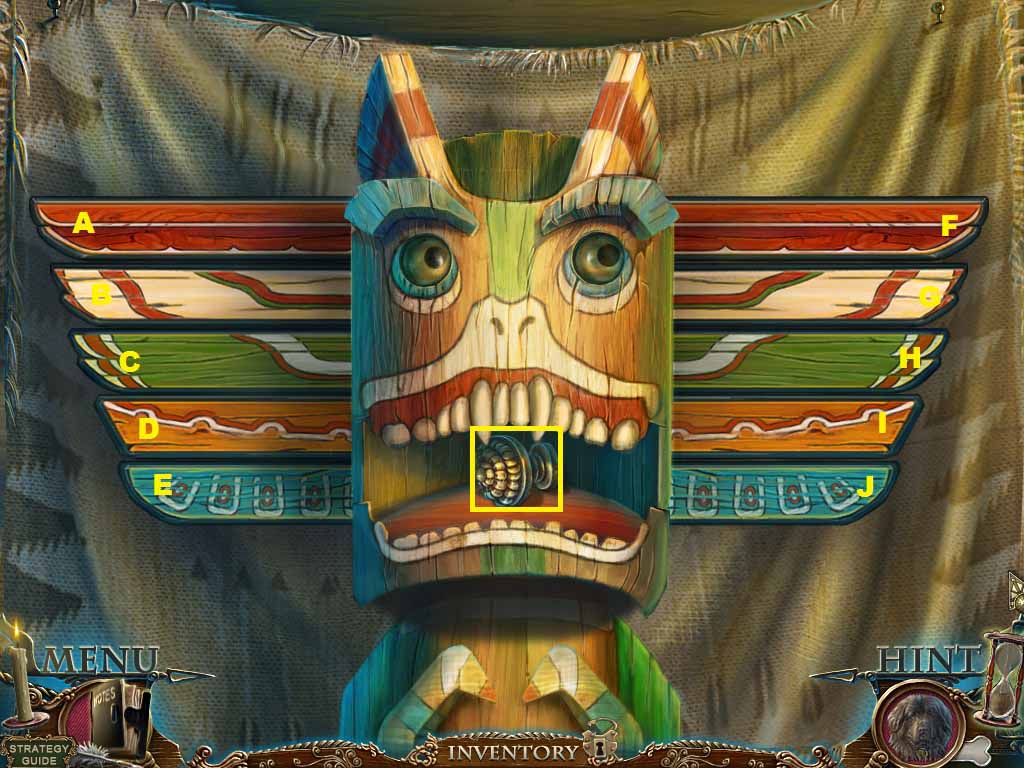
- Assort the wings from widest to narrowest.
- To solve switch the wings in the following pattern:
- J – I , I – H , H-G , G-F, D-C, C-B, B-A, I –H, H-G, G – B , J – E , E – D , D – C , E – D, J – I, I – H , J – I, J – E.
- Collect the drawer handle.
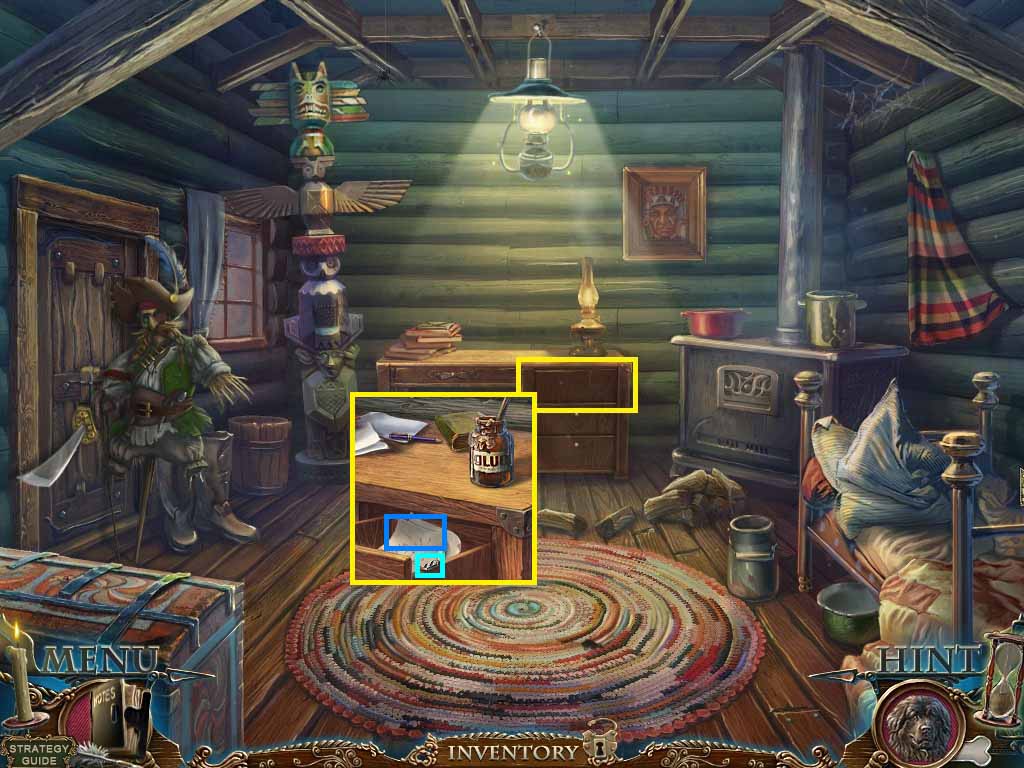
- Zoom into the desk drawers.
- Put the glue and the drawer handle onto it.
- Open the drawer; collect the roller lock and read the letter.
- Move back four times.
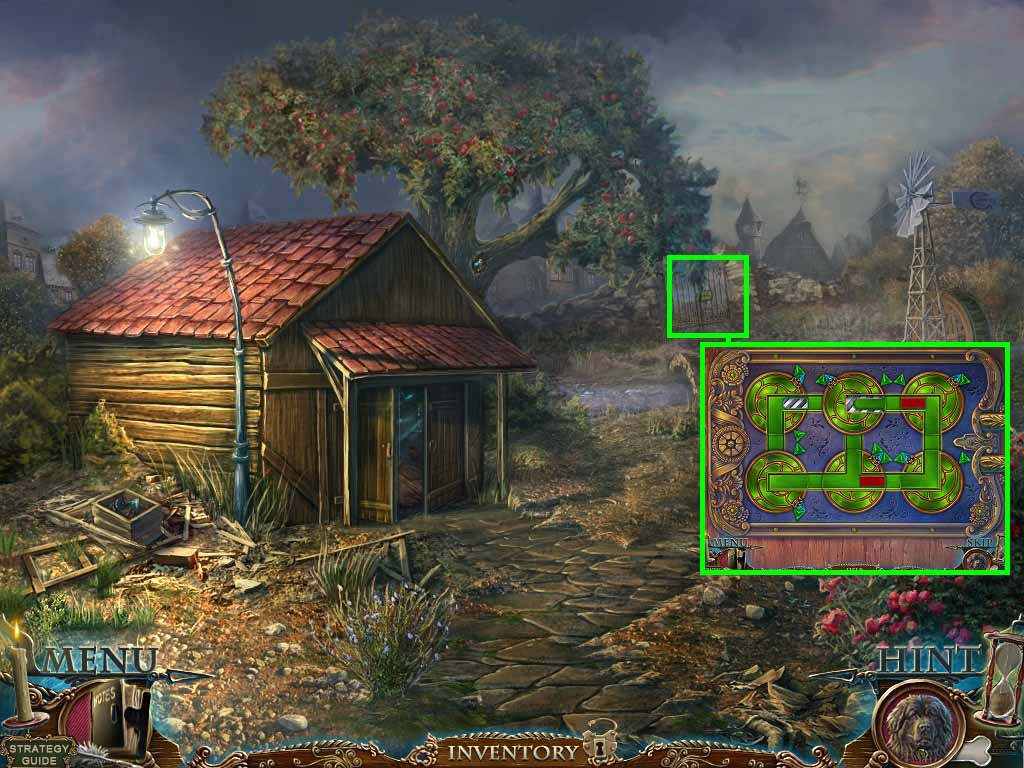
- Zoom into the gate; insert the roller lock to access a puzzle.
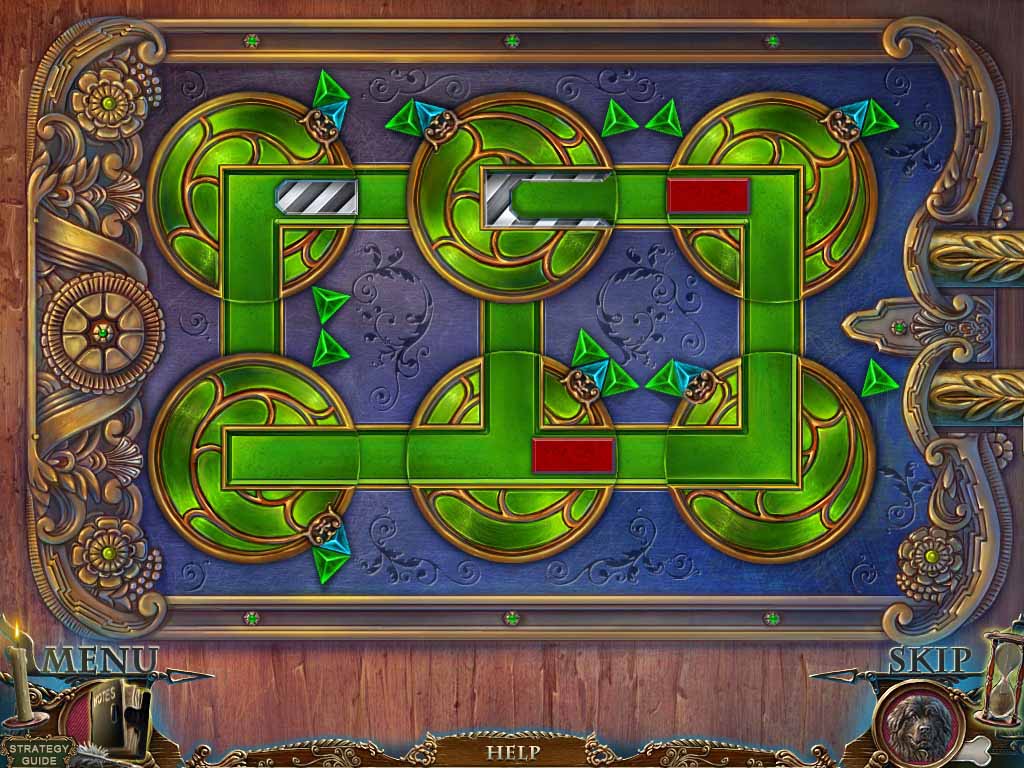
- Move the roller through the maze by rotating the discs.
- Go into the gate.
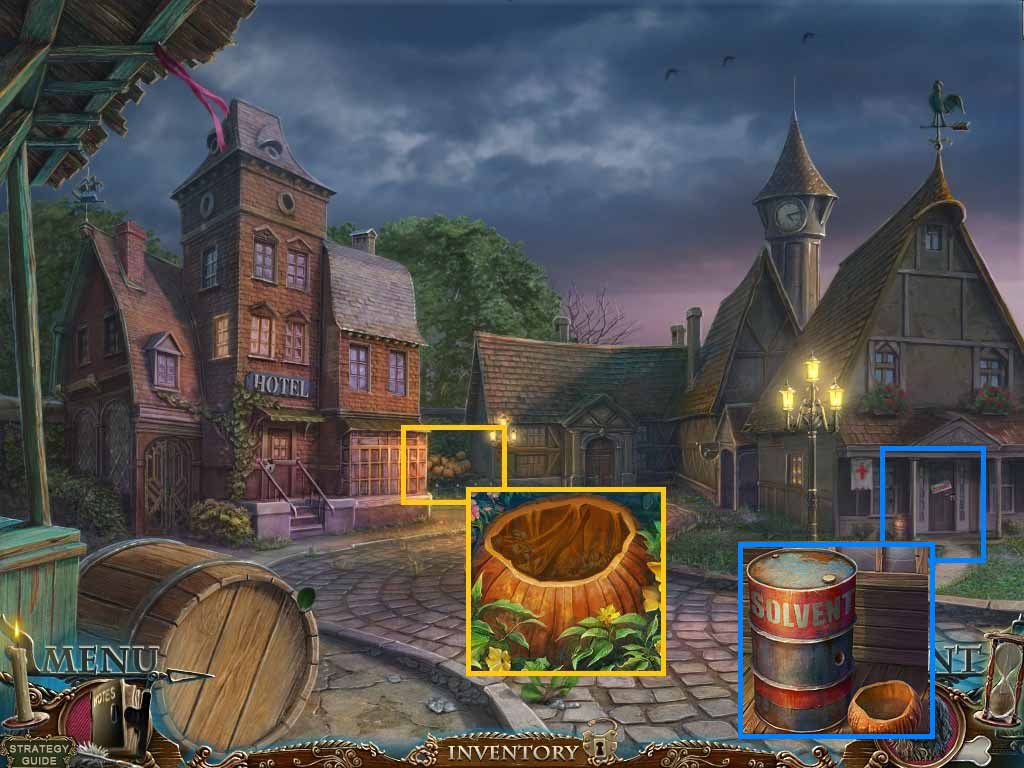
- Zoom into the pumpkins.
- Carve it using the letter opener and the spoon.
- Collect the hollowed pumpkin.
- Zoom into the clinic’s doorway.
- Place the hollowed pumpkin near the barrel.
- Use the chisel on the barrel; collect the solvent.
- Move forward into the junk shop.
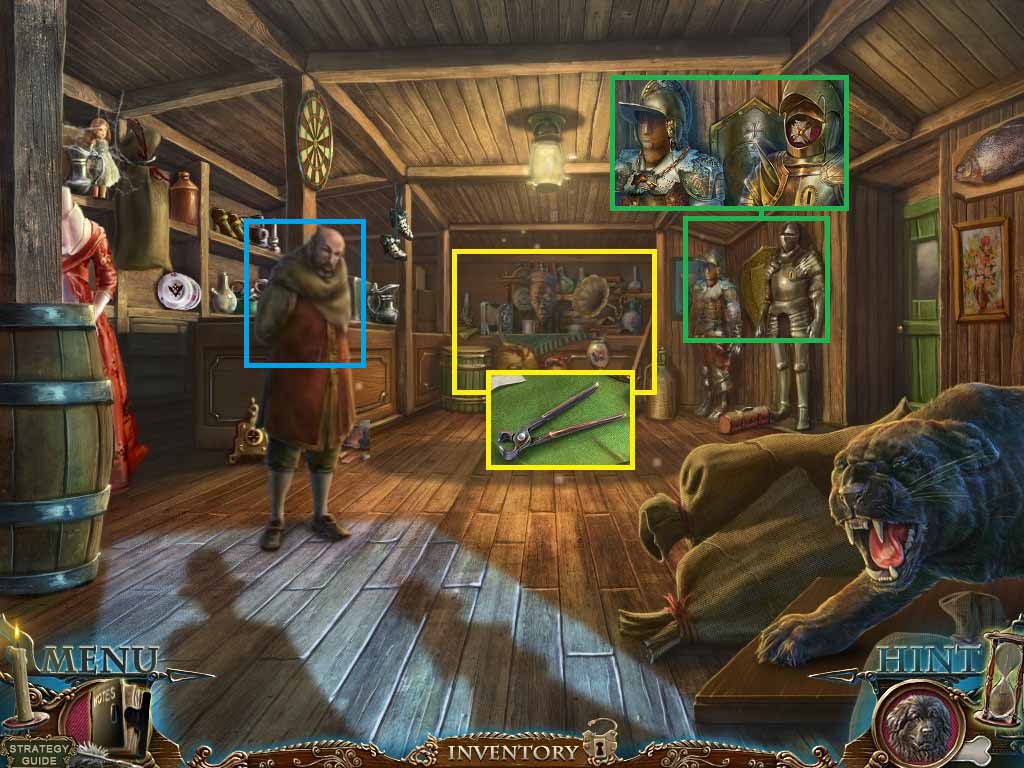
- Zoom into the back counter.
- Click aside the paper; collect the pliers.
- Zoom into the armor; insert the coin into the slot.
- Put the emblem on the left armor.
- Collect the medallion.
- Speak to the junk dealer.
- Move back once.
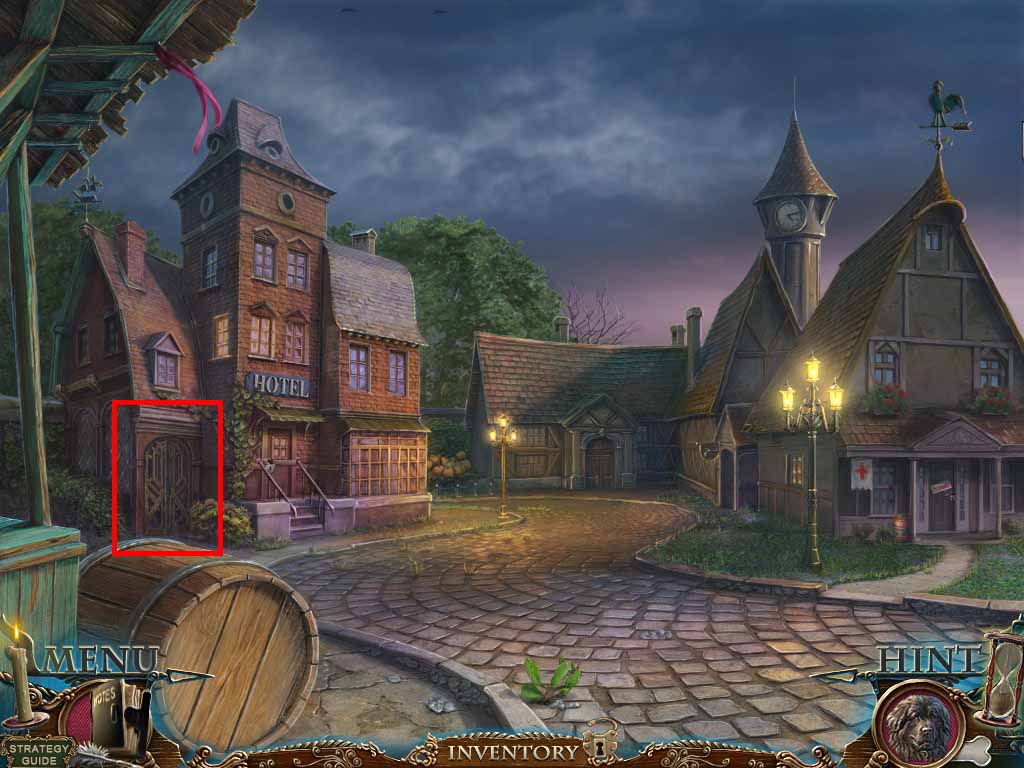
- Zoom into the gate.
- Use the solvent and pliers on the lock.
- Zoom into the gate again to access a hidden objects area.
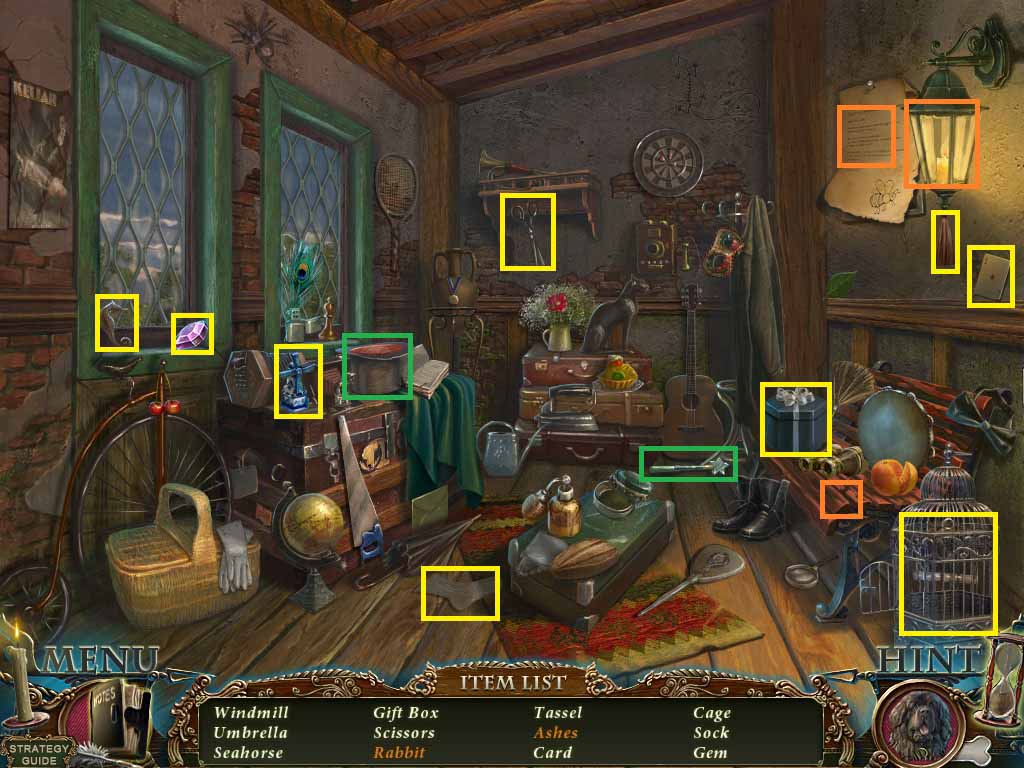
- Find the listed items.
- Use the wand on the hat; collect the rabbit.
- Use the paper on the lamp to collect the ashes.
- Collect the hippo gem.
- Move forward.
- Zoom into the back counter.
- Put the hippo gem into the hippo; collect the hippo brooch.
- Give the junk dealer the hippo brooch.
- Move out the door on the right.
- Zoom into the doorway; click the hay.
- Collect the piece of iron.
- Give Arthur the piece of iron.
- Use the letter opener on the wet stone.
- Collect the sharp knife.
- Zoom into the wagon.
- Cut the cover using the sharp knife to access a hidden objects area.
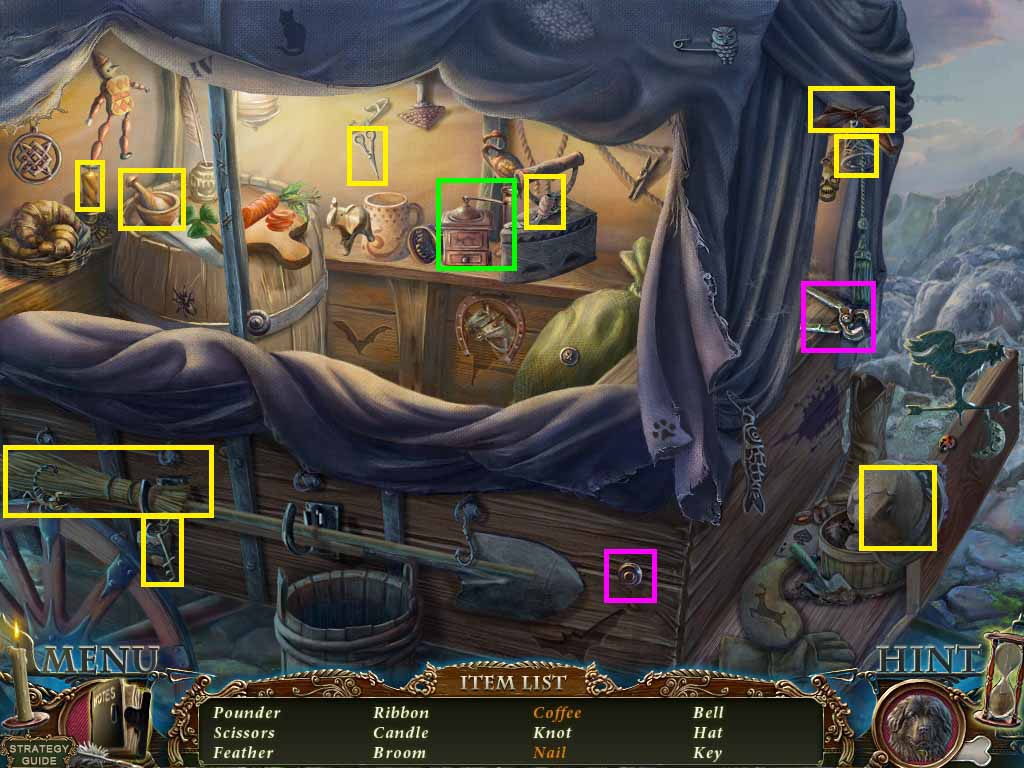
- Find the listed items.
- Click the coffee grinder to get the coffee.
- Use the nail puller to collect the nail.
- Collect the broom.
- Move forward.
- Give Arthur your broom.
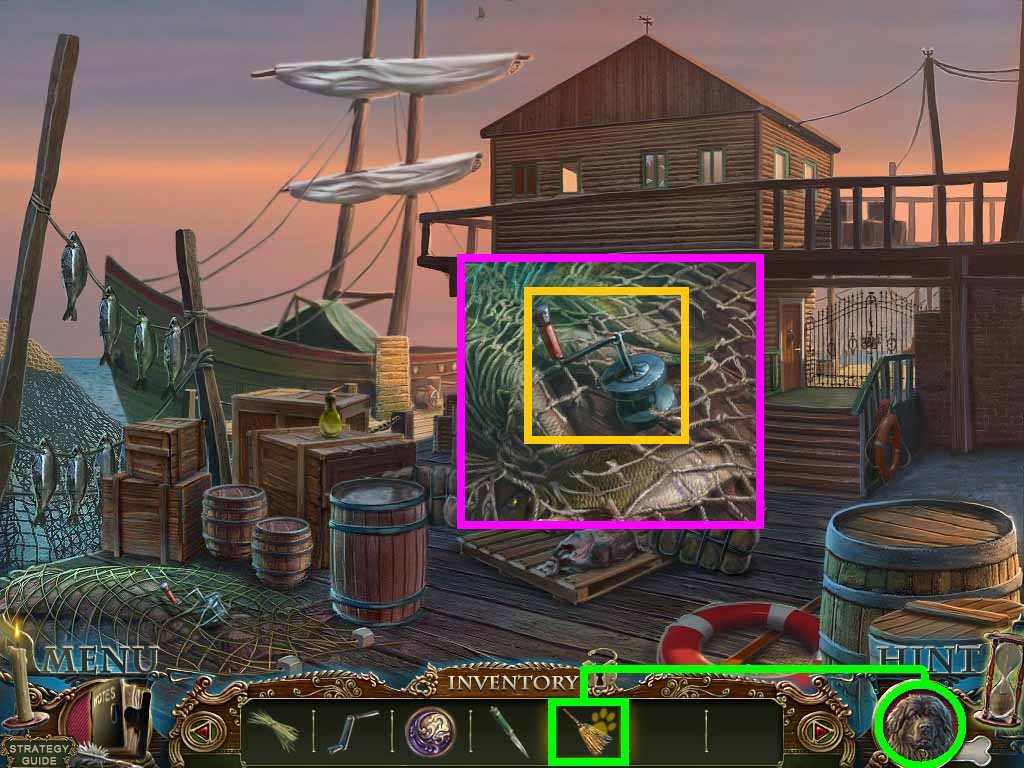
- Cut the net using the sharp knife.
- Collect the half rigging.
- Move back three times.
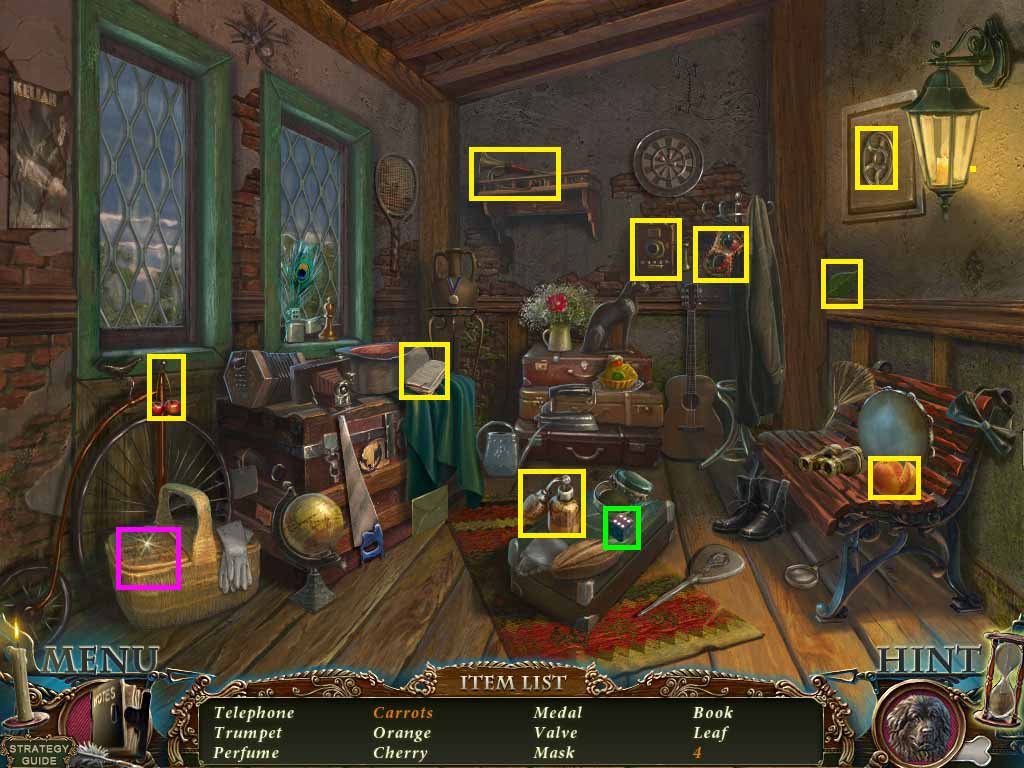
- Zoom into the room on the left to access the hidden objects area.
- Find the listed items.
- Open the basket to collect the carrots.
- Click the die until you roll a 4.
- Collect the valve.
- Go to the shipping dock.
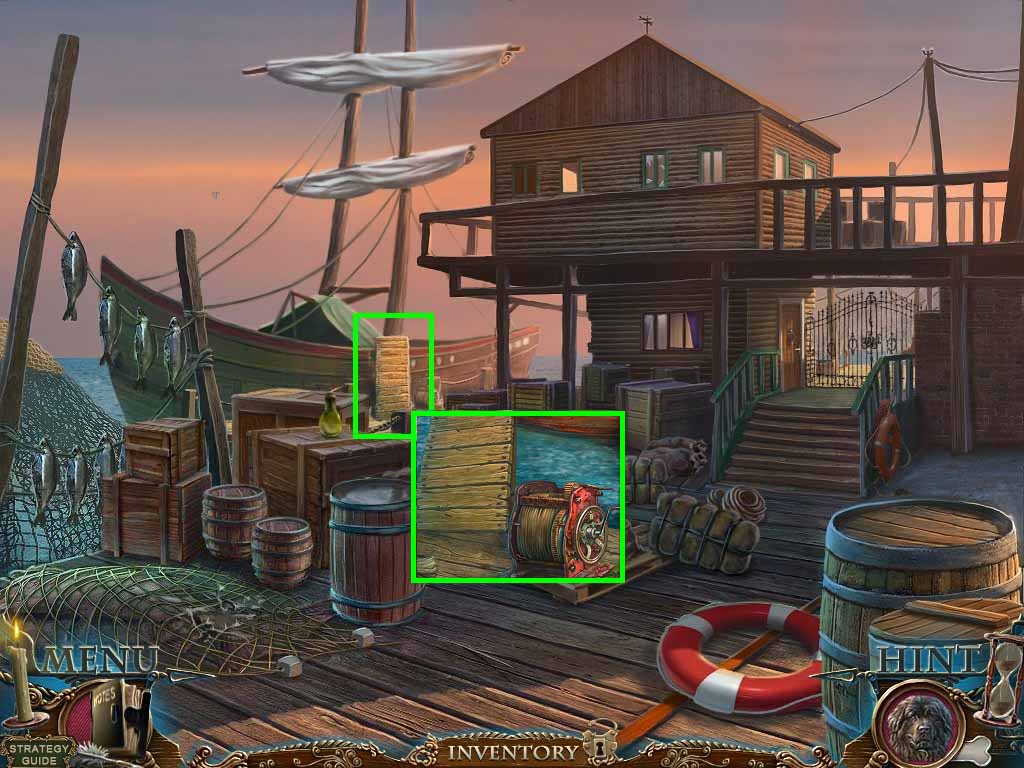
- Zoom into the gangplank.
- Place the valve and the handle on the winch, click the handle.
- Move forward onto the boat.
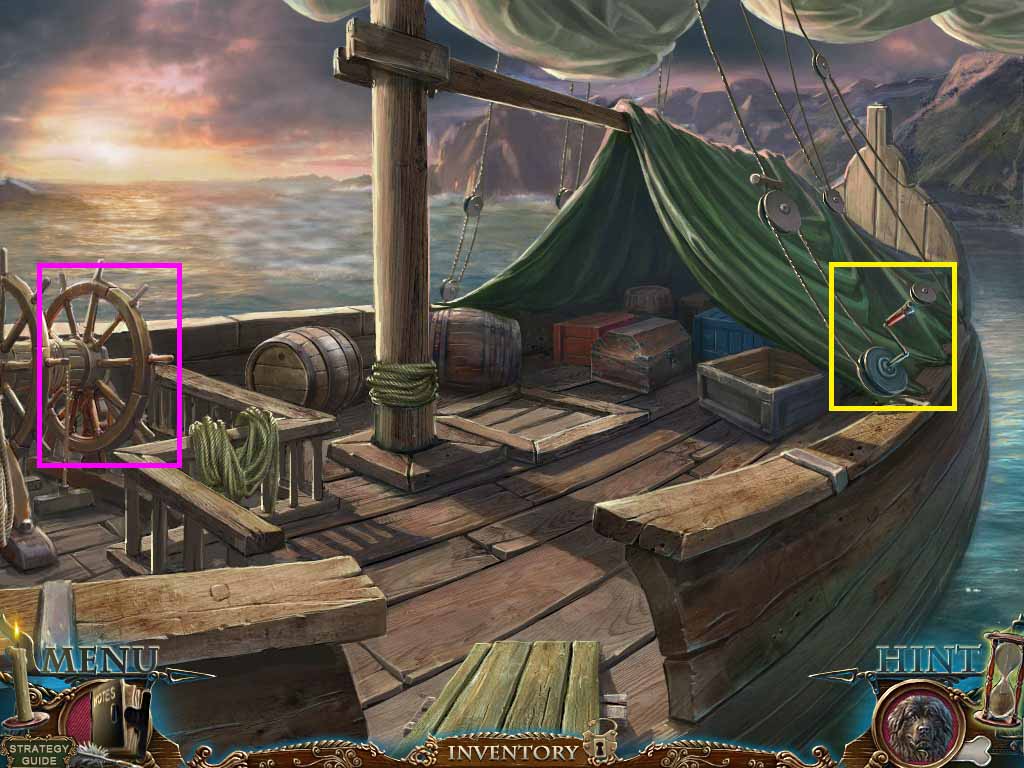
- Zoom into the tarp.
- Place the half rigging onto the ropes.
- Crank the rigging to pull the tarp.
- Zoom into the ships wheel to trigger a puzzle.
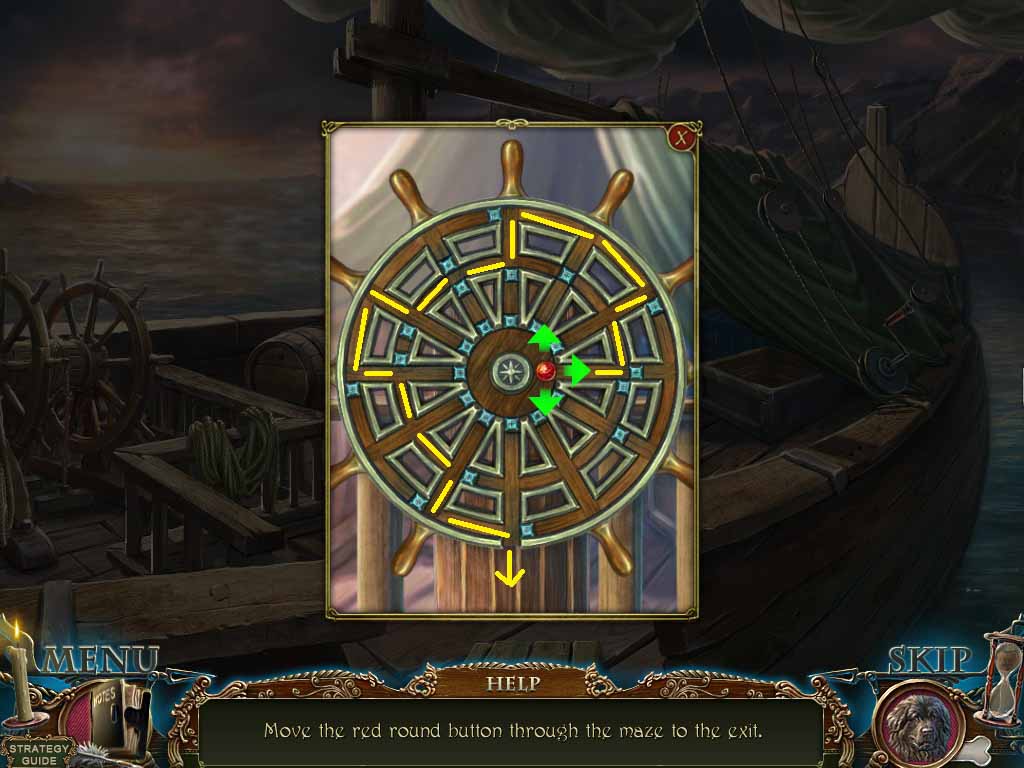
- Move the red button through the maze.
- Solve the puzzle using the following sequence of arrows:
- Right – up – right – up – left – down – left 3 times – down – right – down 3 times – right – down.
- Collect the 2nd medallion.
- Move back once.

- Zoom into the gate.
- Insert the 2 medallions into the lock to trigger a puzzle.
- Move the levers to the suns.
- Click the levers as follows:
- A: down – right – down – left – down
- B: 2 x’s right – left
- Go upstairs into the post office.
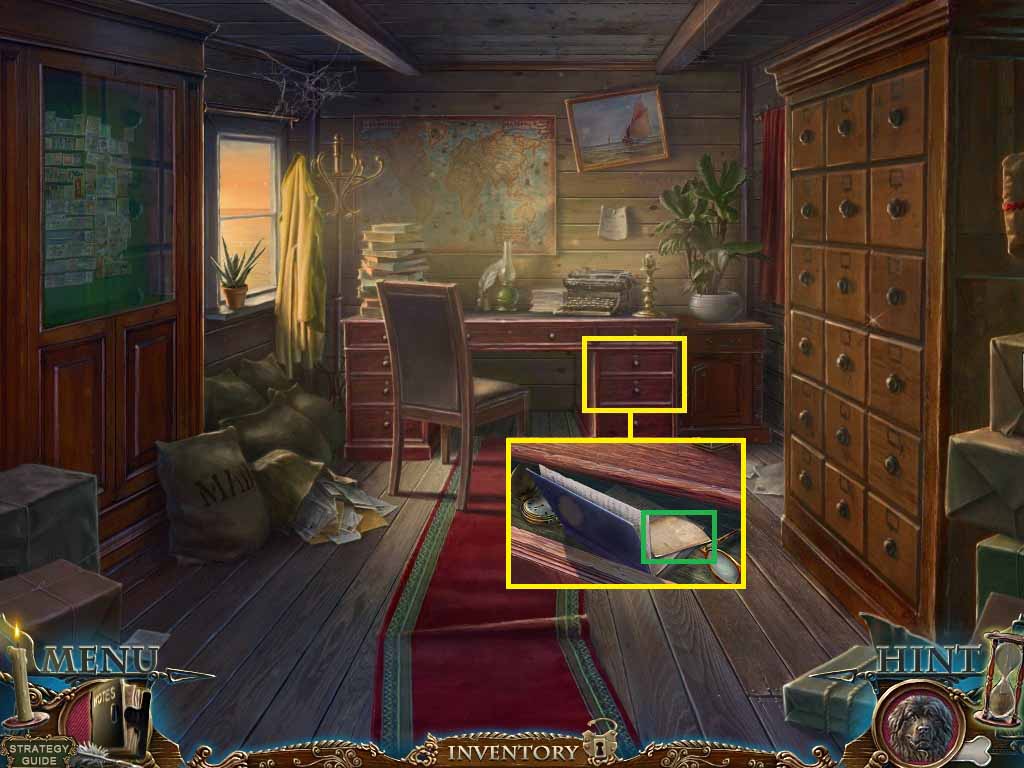
- Zoom into the drawer and open it.
- Open the book and letter to get a clue.
- Move back two times.
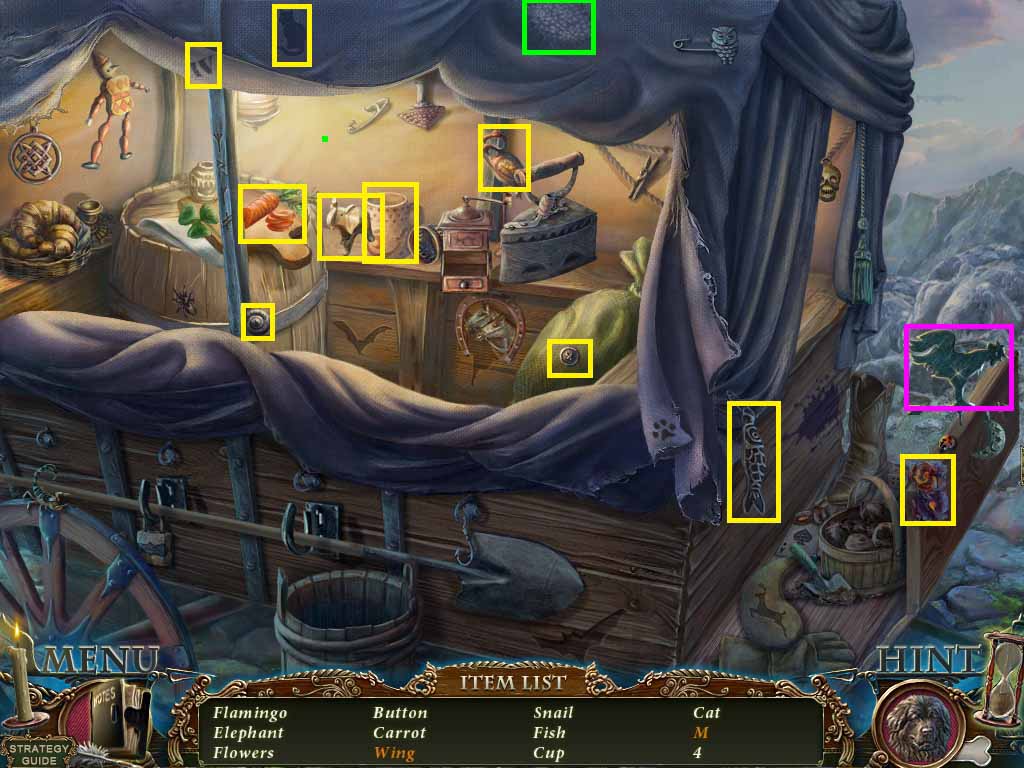
- Zoom into the wagon to access a hidden objects area.
- Find the listed items.
- Rip the patch to collect the “M”
- Click the weather vane to collect the wing.
- Collect the typewriter button.
- Move back to the post office.
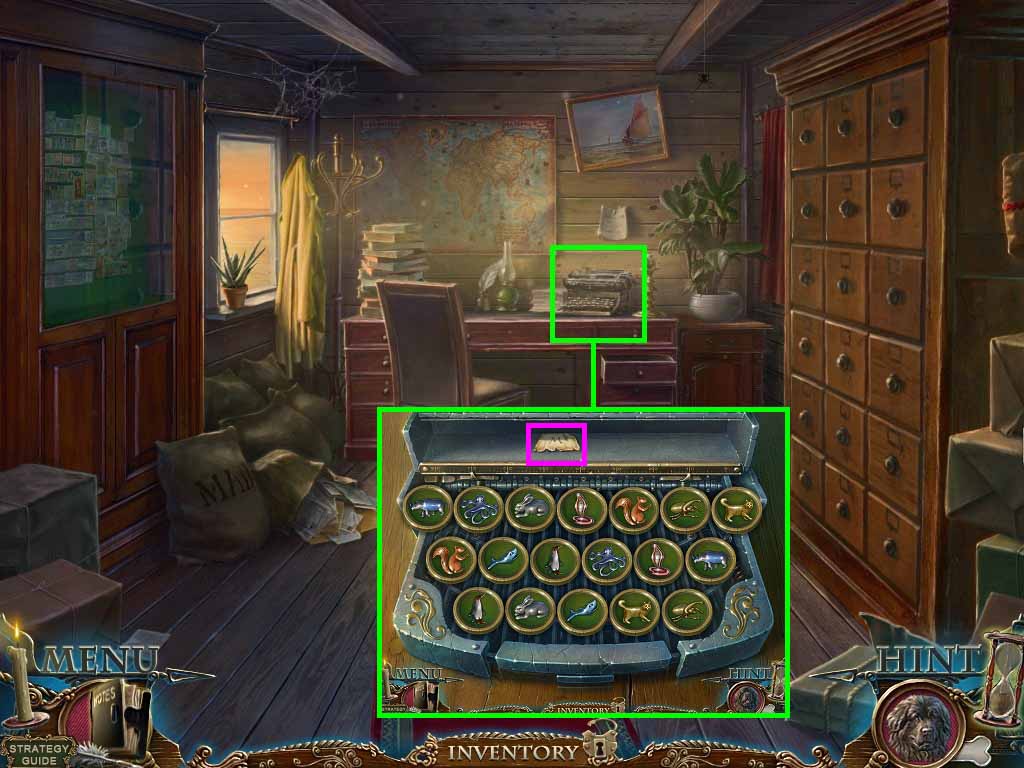
- Zoom into the desk.
- Place the typewriter button onto the typewriter to trigger a puzzle.
- Find the matching pieces;
- Collect the post office box label.
- Zoom into the mailboxes.
- Place the post office box label onto the upper left box.
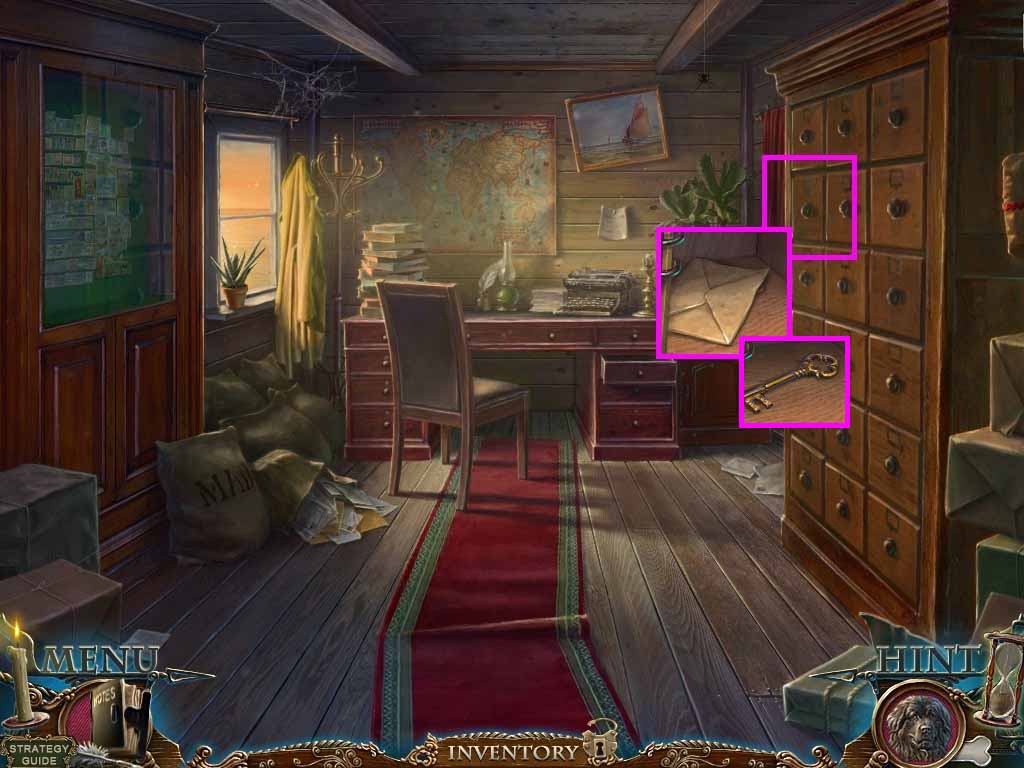
- Collect Mike’s letter and Mike’s key.
- Move back once and go onto the boat.

- Zoom into the chest; insert Mike’s key into the lock.
- Click the bottle and the book; collect the amulet.
- Move back five times.
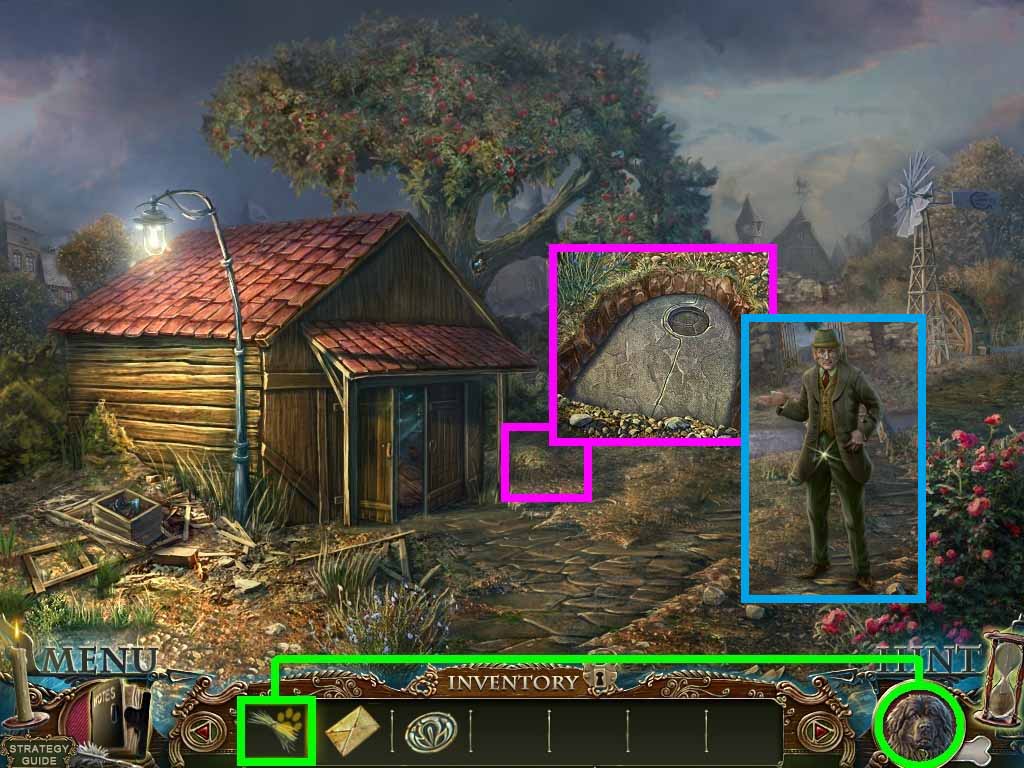
- Give Arthur the bunch of straw.
- Insert the amulet into the slot.
- Give Mr. Le Grand Mike’s letter.
- Move forward.
Congratulations! You have successfully completed: Dark Tales: Edgar Allan Poe’s The Gold Bug Collector’s Edition!
Comments will load when you reach this part of the walkthrough.